Casper’s Final Project Build (Pre-Critique)


I reworked my project so it was closer to the beginning where the mice began hoarding all of the food from the village, so there’s still a ton in the village but also a ton in the mice hideout.

Area where the mice started taking the food; there are multiple animation scenes in here!

Firefly and fog particle systems that I made.

Cute bridge scene (also fog and fireflies here, just not visible in this screenshot).

Tower entrance.

Marketplace scene.

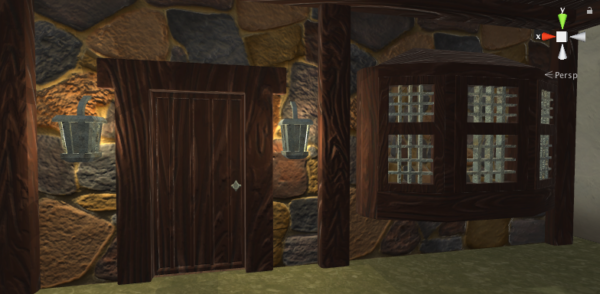
The house you can go into and explore!

House interior. 

Another mouse scene within the village.

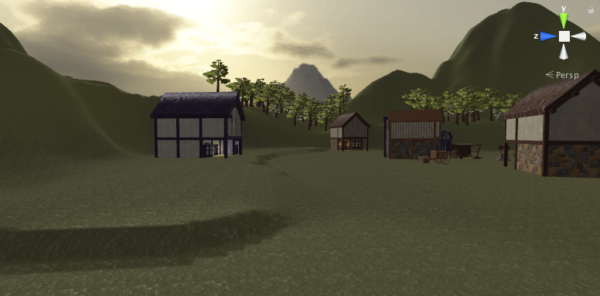
Village shot.

Another Progress Update

I reworked my mouse animations so that they’re longer. I want to make one or two more in addition to the ones I have though, probably mice interacting with food. I also am going to make one more house version with an animated door; this will be the house that Max can actually go into (assuming I can get the camera to be friendlier with odd angles instead of clipping into the ground).

{I’ll upload the animation videos on here later once they’re all grouped together.}

The biggest thing I did this weekend was getting my Max rig to work. I definitely need to go back and tweak some of the animations, since it seems like they all got cut slightly in Unity. I might add one or two loops to each of the baked animations so that it has less of a chance of getting cut off. (You can see what I’m talking about with the animations clipping in the build I posted earlier this morning.) If anyone wants the rig, I’ll happily share it, but I do have to note that you can only animate it in 3DS Max (can’t figure out how to transfer it to Maya), which might not be too friendly for most people in this class since we haven’t worked with 3DS Max.

Otherwise, I made some more progress making clutter and some stone wall pieces to surround the town, as well as a picket fence to border most of the rest of the level.

What I have to do for Thursday is make a few more clutter pieces, mostly food items, implement the rest of my animations, fix Max up a bit, make audio and particles, and finish placing everything! Exciting exciting.

Animation Update

{EDIT: Oh god so I was so stressed this week that I completely spaced on the fact that it was supposed to be 10 – 30 seconds and not 10 – 30 frames (even though that’s short as heck and doesn’t make sense), so my animations are not even close to complete and I did everything wrong this week 🙂 }

So I ran into problems galore this week; nothing too terrible, but definitely all setbacks. Actually, the only thing I didn’t run into major problems with were the animations. I made the three “scene” animations and have them split up in my timeline as the three idle animations, then the three response animations (I can set this up differently if need be). The way they’re supposed to be paired is first idle goes with first response, but honestly the poses for my idles are all pretty similar so it would be easy to tweak any of them together.

Then there’s my rig (which I focused on instead of the third-person walk cycle since this is what I want my walk cycle to be on). Setting up the skeleton went pretty well, but I’ve been running into a lot of problems with the skinning process. The base/default skin is really sloppy looking, and when i edit envelopes I can fix a decent amount, but there’s still more distortion than I’d like throughout. I was going to have Farley help me with it on Friday so that I can hopefully have the rig up and accessible by Saturday or so, since the rest of the process after skinning is just adding handles and making sure you can’t directly mess with the bones (easy stuff).

Then I couldn’t get the build to work since my computer convinced itself that I didn’t have the ability to make a WebGL build despite the fact that I downloaded it (I might not have done one important step though? I really don’t know. I have no idea what it wanted me to do), so I’m going to try building my level in the labs after class, because it will definitely take a while (one word, trees) and probably have the computer make scary jet plane noises.

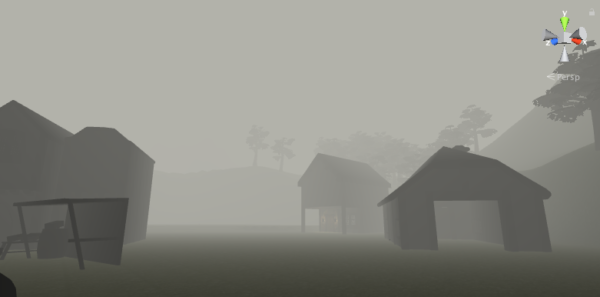
Not as good, but here are screenshots of the progress. I threw out the fog altogether because I couldn’t get that to cooperate, so I switched to nighttime and am way happier! The town is way farther along now, and I’ve started trying to flesh out the other areas a bit too. I still need to add a ton of clutter elements, and also need to make some wall/ fence pieces to border the playable parts of the level more. I’m also going to see if there are any trees that I can get rid of to save some resources.

Progress Update

This weekend I was working on finishing assets for being moved into my level, and terrain stuff. I started setting up the village area and am figuring out a few more clutter pieces that I could add to make it look more lived-in.

Additionally, i started moving my plant textures into Unity.

The overhead has the larger village area in the bottom right, and a farm area in the bottom left. The top center is going to have the gypsy camp area, and maybe a repurposed tower. (Still deciding if I want to keep that in the town or not) These are the only explorable areas just to make the actual map size a lot smaller than the current; the parts around the water are just for show.

Making a dense forest has been more time-consuming than expected since I’m not a fan of how the auto-placer sets trees.

I also started playing around with fog settings. I think I like this look better, but I might switch to trying to find a particle system that I can repeat to get a more selective fog effect. My biggest issue with the default Unity fog is that it’s too dense in the way it’s dispersed. You can change how far it effects, but as far as I know there isn’t a way to change the actual thickness of the fog itself. I spent all the time making pretty details, so I want to see them!

Otherwise, if I can’t get fog to work the way I want, I’m going to try switching to more of a nighttime setting. I really just want the level to have a more dismal feeling than it does with the sunset skybox. (Unless I change the story, which might happen because bright happy levels are nice too.)


ALSO, my Max is pretty close to being done. I’m finishing the rig up today hopefully, but the character is optimized and friendly for games.

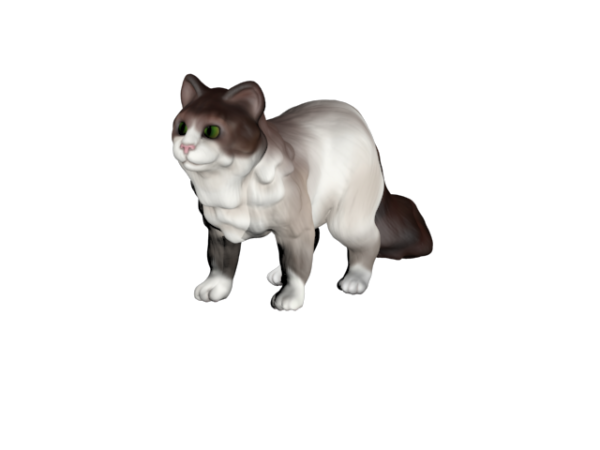
Zbrush view.

3DS Max render.

Outdoor Progress

I was really short on time this week due to a ton of stuff coming up for other classes, so I didn’t get as much done as I would’ve liked. Hopefully I’ll have more time to really do things this weekend.

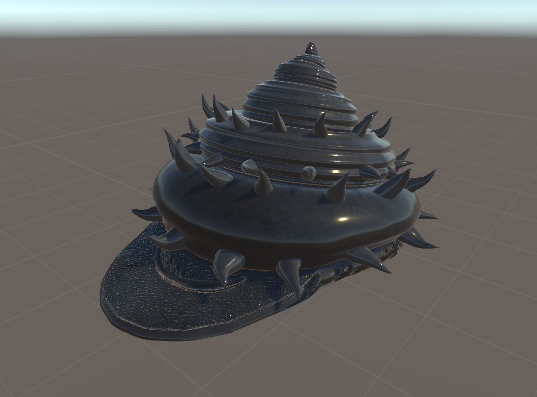
I changed the color map on my shell helmet so that there was a little bit of a rusty factor. You can’t tell too terribly much, but I changed the lighting too to help the effect.

I think you can see the varying tones best in this one.

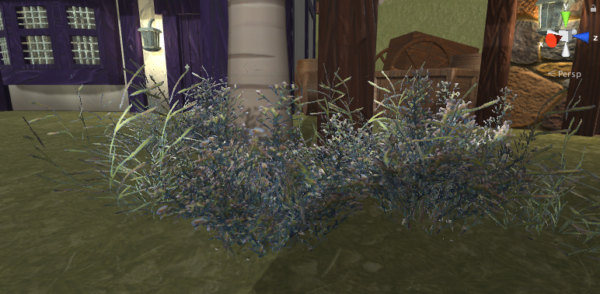
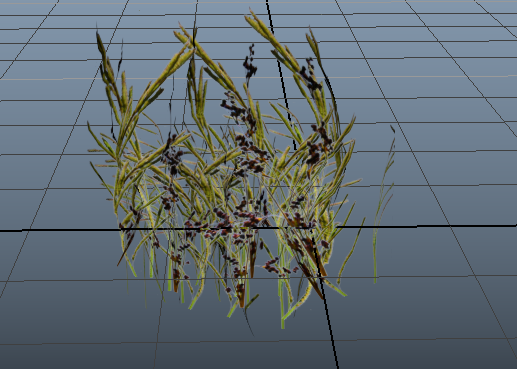
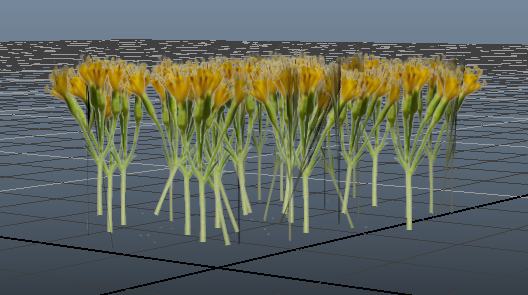
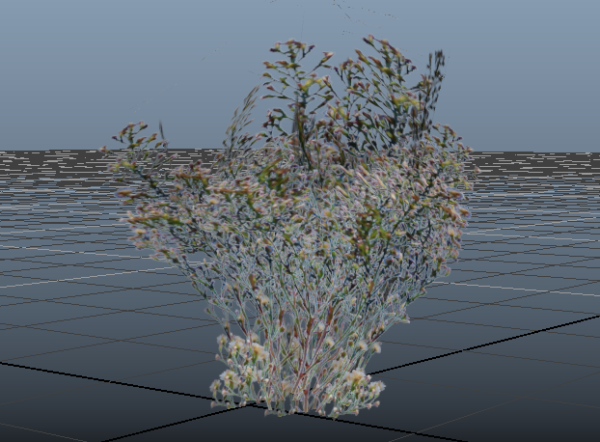
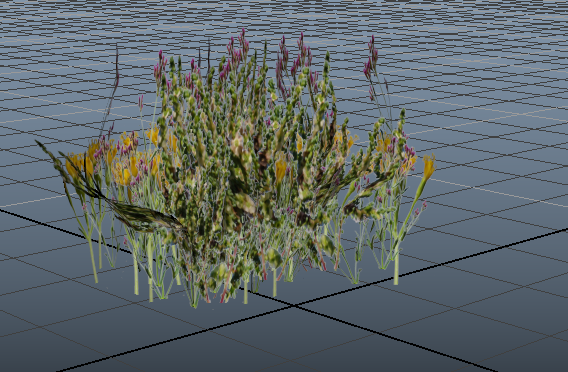
Then I started making some plant groups! I’m also going to make individual pieces (or smaller groups), but I wanted to start with the bigger chunks since a lot of my level is going to be sort of an overgrown forest.

This one is my favorite. It looks so soft.

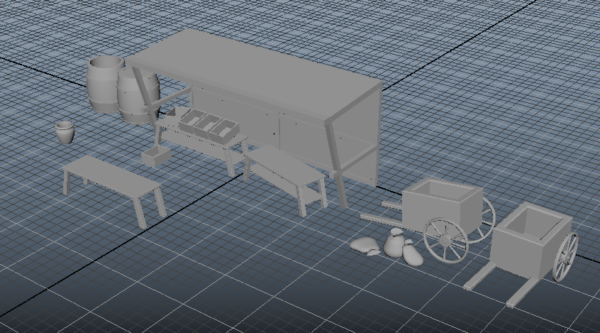
I started making some more clutter for my level too. Most of the stuff in this scene is for a marketplace setting, which is something I plan on having in the center area of my town section. I have some more things in mind that I’d like to make for this too. 

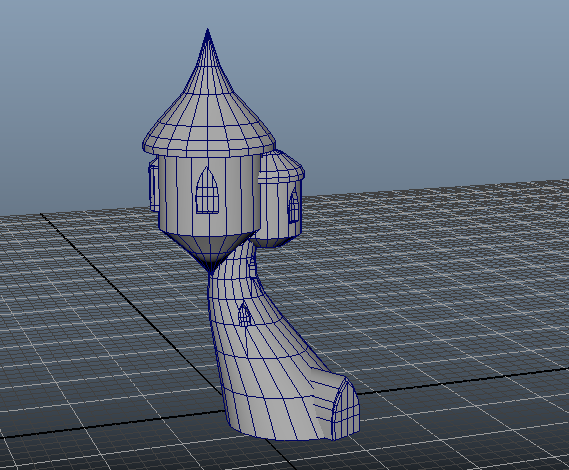
I also made some changes to the main tower in the town so now it looks more whimsical. I need to finish up the door and some trims on it before texturing. 

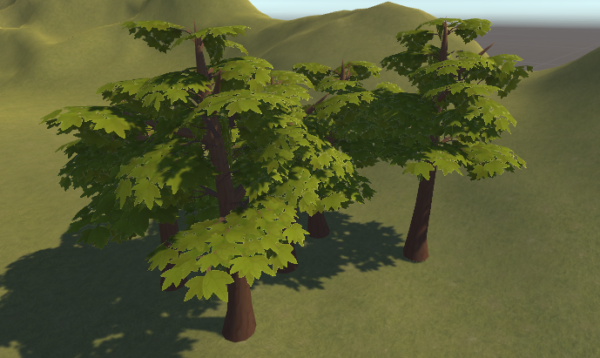
I found a tree pack on the Unity asset store which I really like. I don’t remember what it’s called, but if anyone is interested I can find it again and share! The pack also has birch trees (which I have in my level I just didn’t screenshot).

Then here’s my start of the landscape layout. I have to make it pretty large since it has to be overscaled due to Max being the main character. The chunk that dips down in the lower right corner (kind of a bean shape) is where the town is going to be. I’m probably going to make that a bit larger since most of my assets right now are town pieces. I’m going to make a lake or two on the left side and upper right.

My time of year that I’m going for is end of summer, start of autumn. I’m going to see if there’s a way to change the materials on the trees I found to match this a bit better so I could have some more variations, but I set up the lighting to fit the mood a little better. I’m probably going to make it more orangey for a sunset, I just wanted to make sure my grass texture didn’t look completely dead for the screenshot.

Some Progress

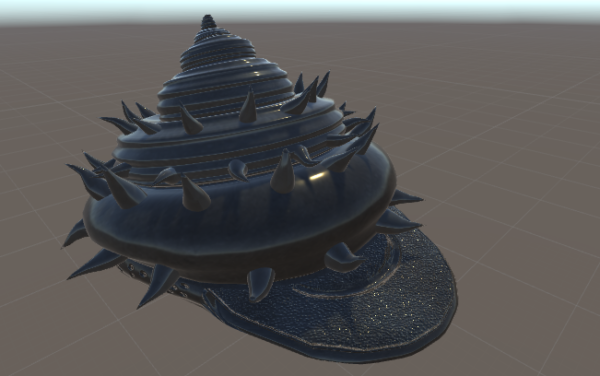
I fixed up my UVs on the shell helmet so that the textures are way easier to add. I couldn’t get seam cutting to work, so I ended up selecting face loops and individually mapping each part. I also configured it so there are three separate textures on the helmet: one for the visor area, one for the overall shell, and one for the spikes. You can’t tell tooooooo terribly much, but the overall shell shape also has a difference in smoothness from the base to the ridgey bits, Overall I’m a lot happier with how it looks this way.


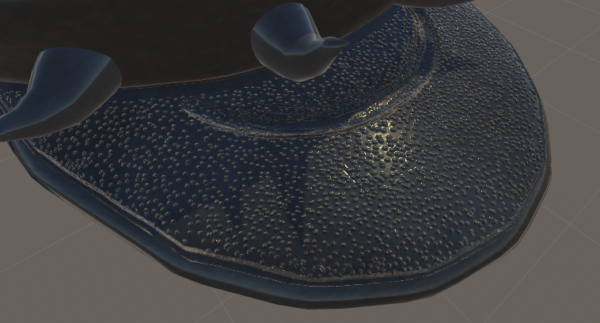
In this screenshot you can see the difference in smoothness fairly well. The base part of the shell is a little less shiny than the ridged pieces.


The other big thing I did this week was I started modeling my version of Max.

Honestly I’m fairly happy with how he looks even at this stage; I’m definitely going to go in and make his paws look nice and clean up some of the anatomy a little bit more, but he has the sort of soft, cartoony feel that I’m going for which is good. (I also just think he looks cute right now which was my main concern. All cats must be cute.)

I’m going to texture him inside of Zbrush with polypainting, and I’m also going to Zremesh to get him down to a game-friendly polycount afterwards.


Then I did some more work on textures. I changed my plaster texture so it theoretically should tile better (it was really hard to tell if there were seams with how the contrast was, so I changed that a bit so hopefully it’s a bit better). I also made some more color variations for it so there are different plaster colors. I have to work on that part a bit to get them to have the correct feel, but I’m happy with the direction. I also finished up my stone wall texture, and I think I’ll make a variation or two of that as well. Otherwise I worked on bump maps and smoothness maps.

So bumpy!

Plaster variations like I mentioned. I also have one that has an orange tint to it. Like I said, I just need to find the right balance and also test it out with a texture on the ground. 


This week I’m planning on making an extra foundation piece for the houses which is made out of brick and/or wood so that the houses can always be flat even when there’s hills on the terrain. I’m also going to start making the terrain; i’m not sure if I want to do that in Unity or Maya yet, though. Additionally, at least for now I’ve decided to scale my project back by a little bit to focus more on the town and a little area of forest around it. I still plan on using all of the assets I’ve made so far, though. I’m also going to make more town elements such as market stalls, barrels, food crates (emptyish since the mice stole the food), banners, flags, little plants, etc.


Shell Helmet Object Model

I ended up sticking to just Maya because I wanted to challenge myself with creating the bumps on the visor (if you can call it that) with just textures in Photoshop instead of modeling them in Zbrush and creating maps that way. I’m pretty happy with how it came out; it was definitely a bit of a learning experience. I’ve really only ever done texturing with Zbrush so using solely Maya for it was pretty interesting.
I’m extremely happy with how my ridges on the shell part came out. That took a bit of experimentation to get it right.

Object Model: Conch Shell Helmet

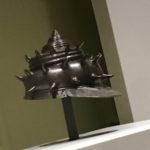
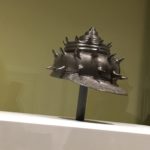
Some of the photos I took at the museum:

Sketch (initially I wanted to do a small knife, but the helmet just seemed too fun):

Model Progress:

I’m planning on adding a smoothing modifier to the spikes so that I can change their form to fit the reference photos better. Then I’m either adding loops manually within Maya to add the ridges on the upper tiers of the shell, or I’m importing the model in Zbrush to add them there through sculpting. (The helmet is extremely smooth, so I might end up doing a mix. I definitely want it in Zbrush to dynamesh the spikes to the helmet to get the welded look.)


Modular Update

I built some more house variations, and added the lights from Will’s atlas to a few of my houses. (I decided to remove textures for now until all of them are the way I want them to be.)

I also created a few new props, such as crates (for climbing on) and the well for the middle of my town center.

I also started adding windows and cutouts to the main tower.

I also took some advice from Rachel on sticking to my original concept, so I made some more variations on my textures with fun colors and hand-painted plaster.

I’m also planning on creating some trims for the bottoms of my houses, as well as an alternate plaster texture that looks dirtier towards the bottom.