I am still working to manually draw seams on the meshes to unwrap UVs.
I also started to make a mouse model that I will use in my level.


A17 Artistic Game Development I
Interactive Media & Game Development at Worcester Polytechnic Institute
I am still working to manually draw seams on the meshes to unwrap UVs.
I also started to make a mouse model that I will use in my level.
For this weekend I focused on updating my modular set with normal maps for additional detail. I made insets for my wood columns, the wood floor and the mousehole that I made:

I also used a normal map to add detail to the painting model I am making, and used normals to add a small inset into the table pieces:

Lastly, I started on a new sub-kit for my kitchen area of the level. Right now I only have the floor, but I will also be making walls, stoves and possibly a new table for the kit:

I tried to implement everyones ideas into my mace. I added beveling to the blades to make it look more interesting and then also added a ring to separate the head from the shaft. I also made the handle longer and beveled the bottom so it wasn’t as flat.
I still need to work on getting textures for it. I also plan on doing something with the normal maps to etch some details into the head.
For my modular pieces, I started fixing some of the textures and also added horizontal beams to make it more cohesive.

I also started playing with normal mapping to make the wall plaster stick out more. I did have some trouble with the smoothness maps, it was making my wood shiny even when I tried making it in both black and white. Hopefully I can resolve this later this week.
Some things I need to do: model smaller objects around the room, fix textures on modular pieces + normal map, find textures for weapon.
I added normal maps to my modular walls. The stones don’t pop out too much, but the walls don’t seem as flat anymore. The corners haven’t been normal mapped yet, so you can really see the difference.


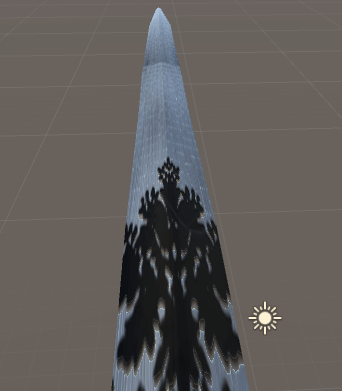
I have also been working on reworking my game level. I am focusing on the center tower, so I have been redoing the structure and adding a maze. Unfortunately, there isn’t much to see yet as I have just been redoing the structures, but I will keep you guys updated.
Hello! So far I’ve added various texture maps to the objects in my atlas. This week I will begin populating my castle.


I fixed up my UVs on the shell helmet so that the textures are way easier to add. I couldn’t get seam cutting to work, so I ended up selecting face loops and individually mapping each part. I also configured it so there are three separate textures on the helmet: one for the visor area, one for the overall shell, and one for the spikes. You can’t tell tooooooo terribly much, but the overall shell shape also has a difference in smoothness from the base to the ridgey bits, Overall I’m a lot happier with how it looks this way.


In this screenshot you can see the difference in smoothness fairly well. The base part of the shell is a little less shiny than the ridged pieces.
The other big thing I did this week was I started modeling my version of Max.


Honestly I’m fairly happy with how he looks even at this stage; I’m definitely going to go in and make his paws look nice and clean up some of the anatomy a little bit more, but he has the sort of soft, cartoony feel that I’m going for which is good. (I also just think he looks cute right now which was my main concern. All cats must be cute.)
I’m going to texture him inside of Zbrush with polypainting, and I’m also going to Zremesh to get him down to a game-friendly polycount afterwards.
Then I did some more work on textures. I changed my plaster texture so it theoretically should tile better (it was really hard to tell if there were seams with how the contrast was, so I changed that a bit so hopefully it’s a bit better). I also made some more color variations for it so there are different plaster colors. I have to work on that part a bit to get them to have the correct feel, but I’m happy with the direction. I also finished up my stone wall texture, and I think I’ll make a variation or two of that as well. Otherwise I worked on bump maps and smoothness maps.


So bumpy!
Plaster variations like I mentioned. I also have one that has an orange tint to it. Like I said, I just need to find the right balance and also test it out with a texture on the ground. 

This week I’m planning on making an extra foundation piece for the houses which is made out of brick and/or wood so that the houses can always be flat even when there’s hills on the terrain. I’m also going to start making the terrain; i’m not sure if I want to do that in Unity or Maya yet, though. Additionally, at least for now I’ve decided to scale my project back by a little bit to focus more on the town and a little area of forest around it. I still plan on using all of the assets I’ve made so far, though. I’m also going to make more town elements such as market stalls, barrels, food crates (emptyish since the mice stole the food), banners, flags, little plants, etc.
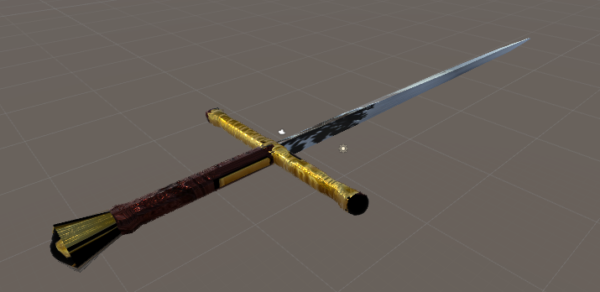
I ended up scrapping what I had done in ZBrush because it was being a pain in the butt and just redoing it in Maya. The textures came out pretty well, I think. I’m especially happy with the jewel texture and how it looks translucent. The only problem I ran into was that the blade is supposed to glow, and I couldn’t for the life of me figure it out. It glows in Maya but doesn’t seem to be glowing in Unity, so if anyone has any idea as to how to fix that, I’d really appreciate it.


Screenshots from Unity

Screenshot of what it looks like glowing in Maya
This mace is the queen’s personal mace for hunting down those pesky mice, once and for all.


A few grabs from Unity of my texture on my 3d object.
Few notes, it seems the UV maps are a little distorted and messed up when exporting into Unity. Also some of the textures come up differently in here, going to have to make some adjustments in the near future
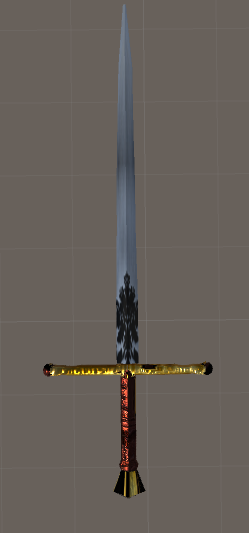
Also to note, the handle should not be shiny, going to have to export that as its own new material to get a leathery feel that it should have.
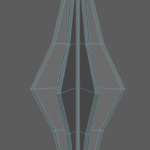
Mace
head

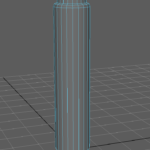
handle detail

full body
