For the flex sensor controller, a flexible foam shell in the shape of a building would pull the project together in terms of concept. Having the user smash a small building to make a film-monster smash an entire city creates a firmer connection between action and result.
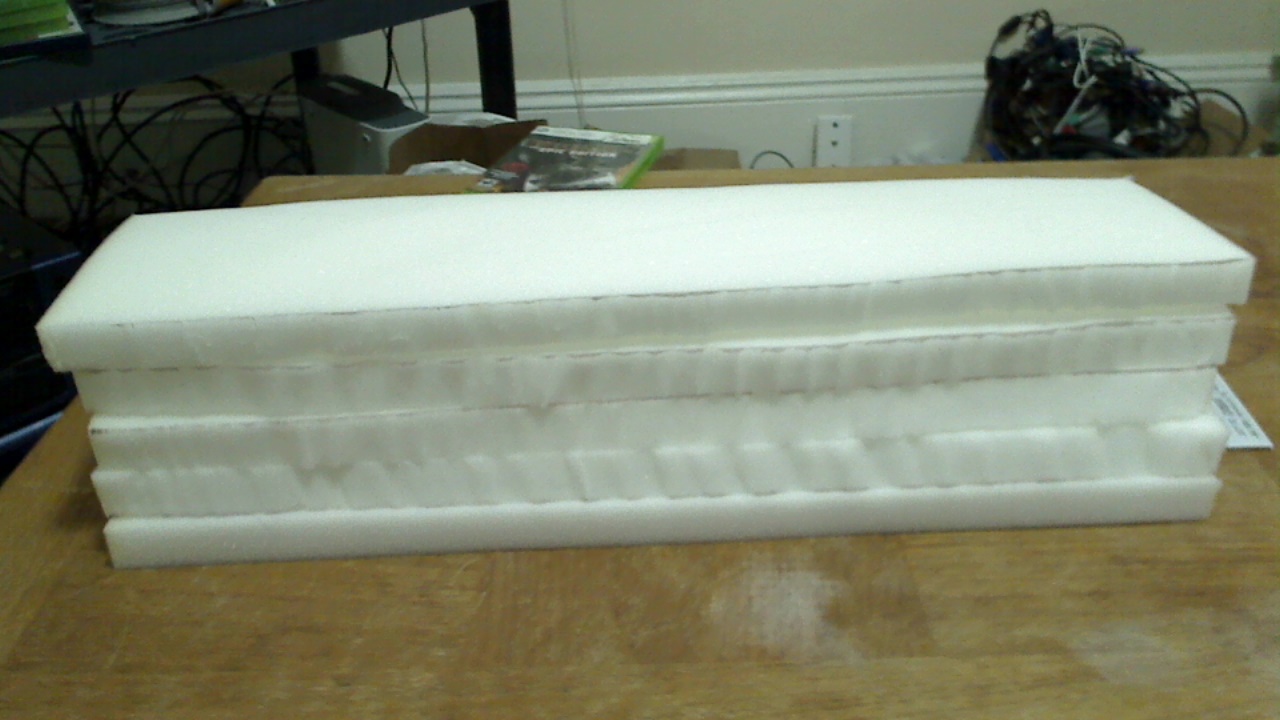
The actual assembly of the foam building started with a purchase of the 1″ thick super soft foam from a site called Foam Factory. As I waited for the foam to arrive, I went out and got the rest of the supplies.
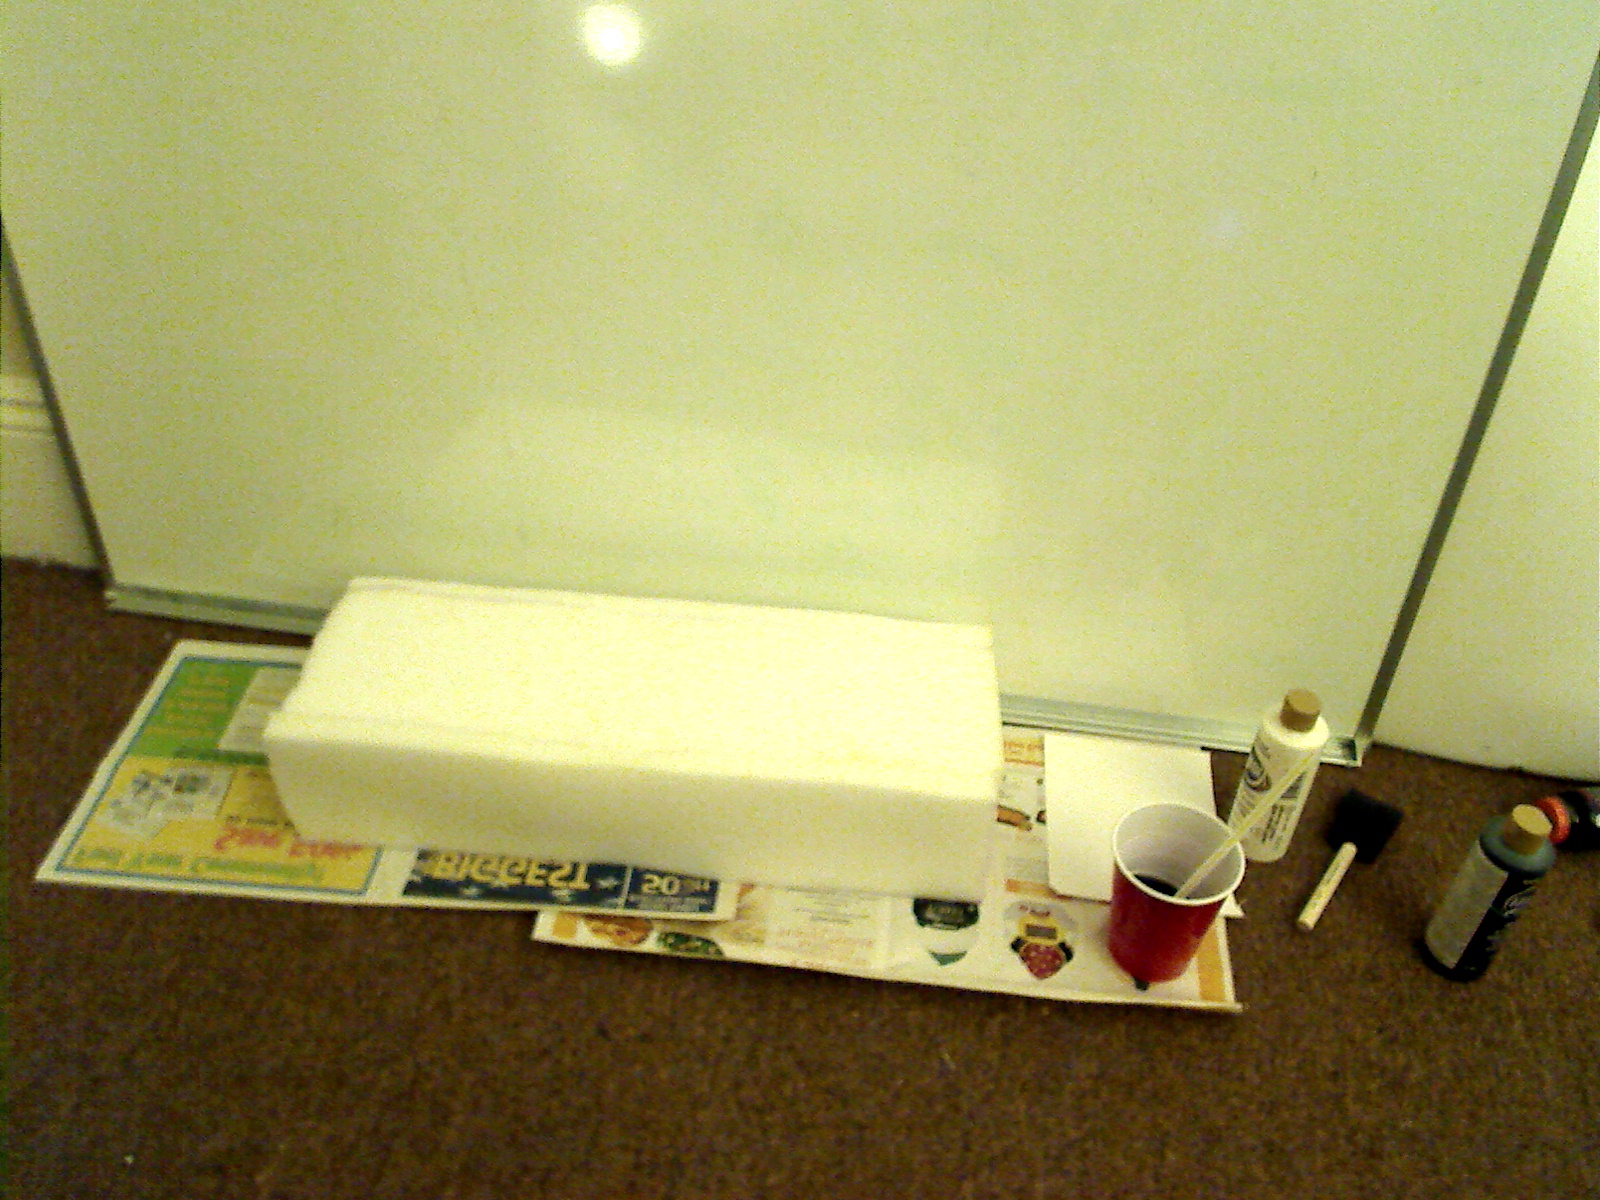
- 1 6oz bottle of acrylic paint [black]
- 1 6oz bottle of acrylic paint [white]
- 2 bottles of Elmer Rubber Cement
- 1 hot wire foam cutter [uses 2 D cell batteries]
I used rubber cement as my adhesive since I knew that it could flex without breaking and that it wouldn’t melt my foam too badly when applied.
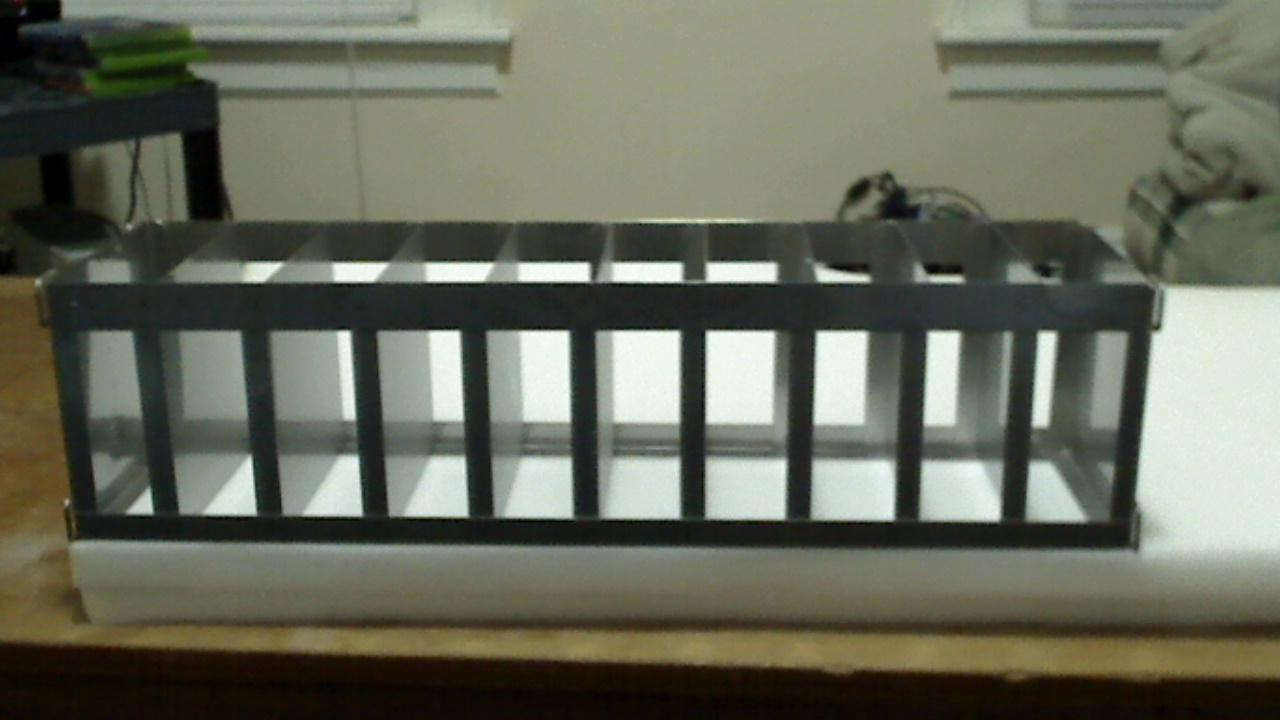
When the foam sheet arrived, I got to work. Using a bio lab sample storage tower of a good size, I marked out a set of cutting lines and took the hot wire to the sheet.

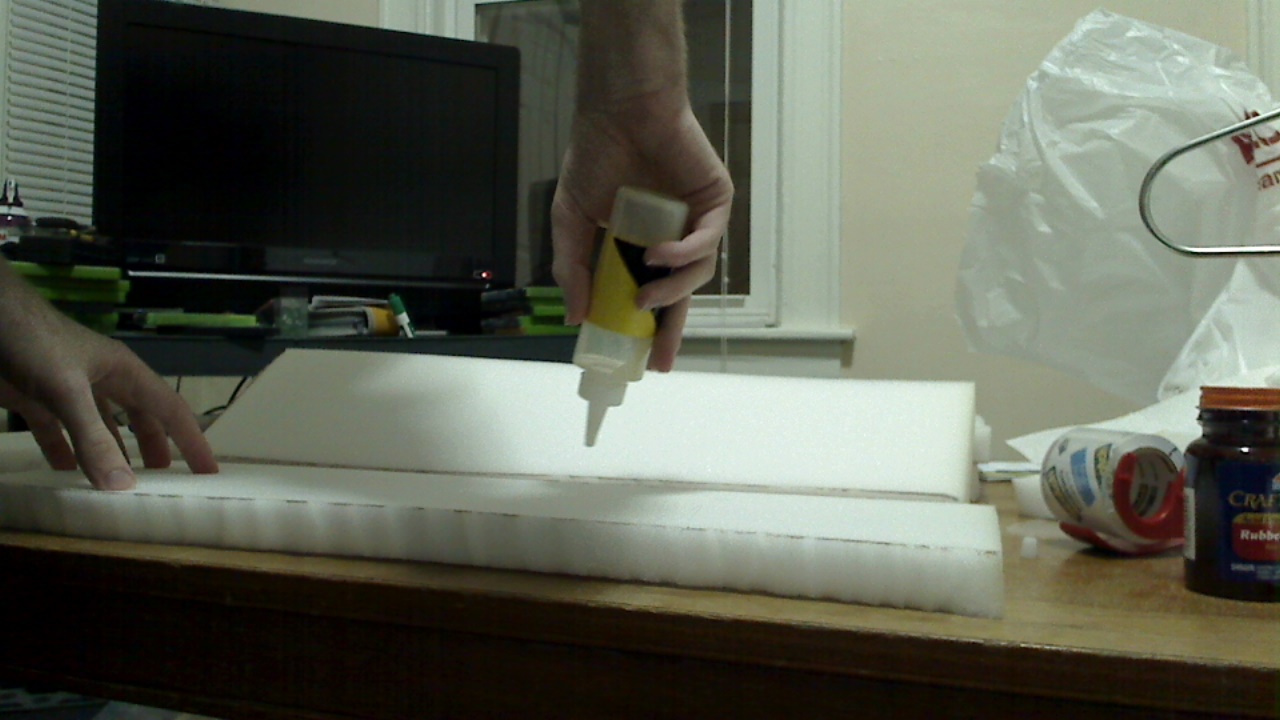
After enough pieces of foam were cut to get a reasonable width, the layers were adhered to one another using the cement. During my first test of the cement, I found that using the normal brush applicator did not allow me to get enough of the stuff on the foam at a time, so I ended up pouring the jar of rubber cement into a plastic squeeze bottle with a tapered nozzle. This was I would just draw a think line of glue that would stay on the surface of the foam long enough for me to put the pieces together.

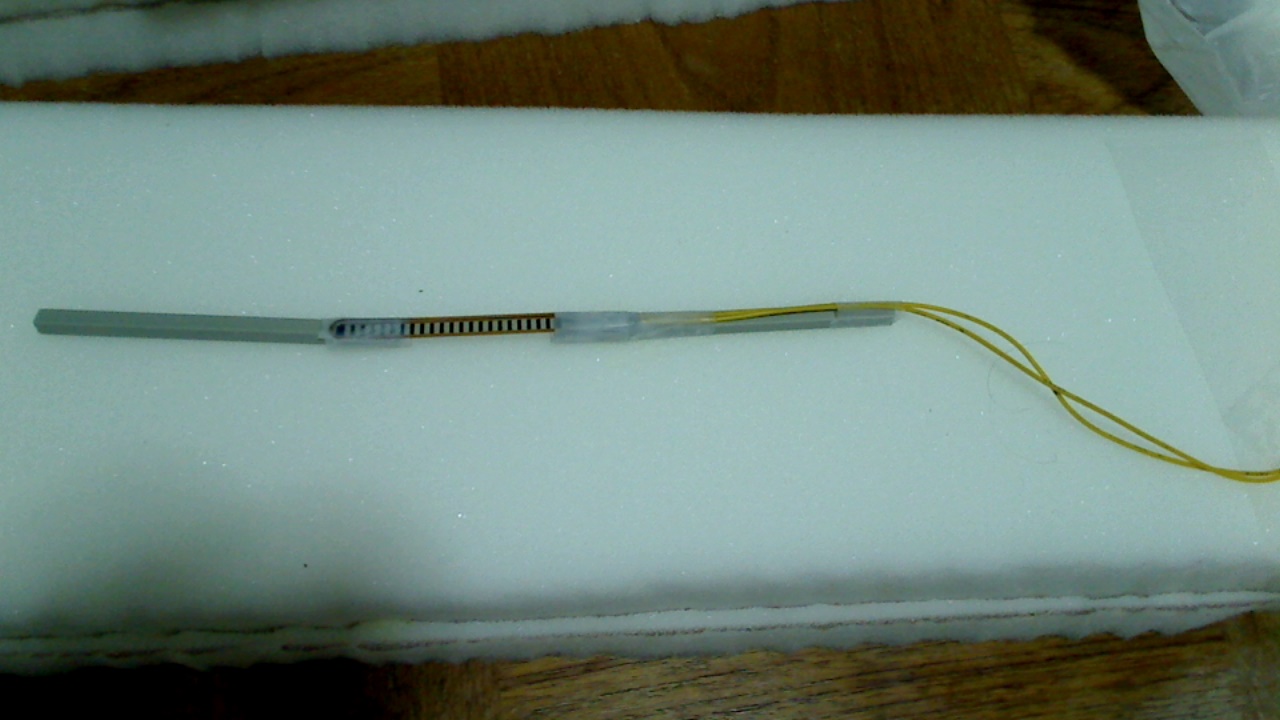
Eventually I got the foam slices into two solid pieces that the flex sensor would then reside in. Since the actual sensor is quite small, I taped a few inches of broken acrylic scrap onto each side so that the overall working length of the sensor was more formidible. To prevent sliding, one side of the sensor was glued to the foam while the other side was left free to extend and contract during flexing.
After inserting the sensor, the two larger foam halves were glued together and the entire assembly was let to cure overnight.
The following day, the completed tower was coated in a layer of grey paint. This was applied using a large foam brush in broad strokes.

After the grey coat had some time to dry, black windows with white banisters were added to the broad sides of the structure to give a more building-like appearance.
But I’m going to wait for the paint to fully dry before I take pictures, so stay tuned!