Alright, time to take the concept art and bring it to fruition. Honestly the most difficult part of the process of making this was finding out what the right way to twist the tree was. Too often did I find myself trying to twist and tie branches together who just wouldn’t stay twisted. However I figured out a fix for that I will get into later.
The method is simple, cut the top of the paper bag so it becomes these sort of hair looking 2 or three centimeter thick strips. Then take the whole bag, grab it from the center, flatten out the bottom, and twist it all together, leaving the top dangly bits you just cut out free floating. Once the body is all properly twisted up start twisting the dangly bits into little tree branches!
You should end up with something like the following:
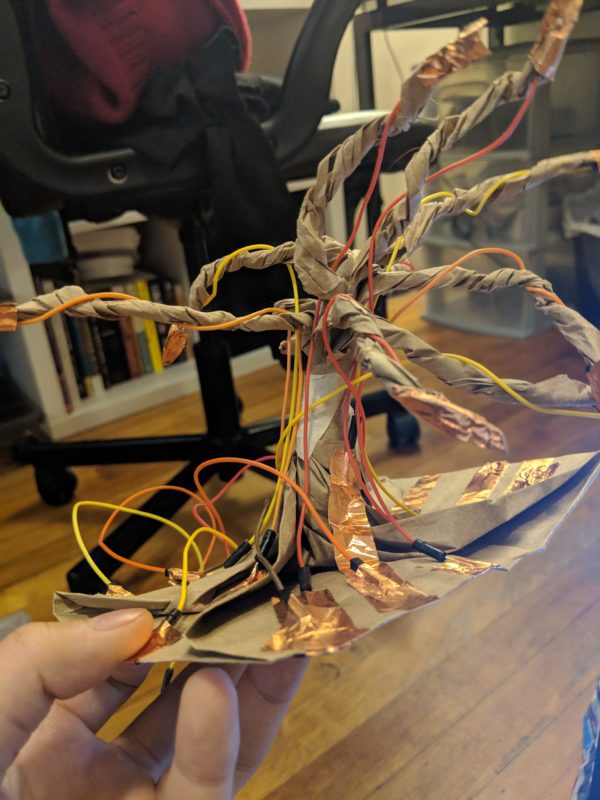
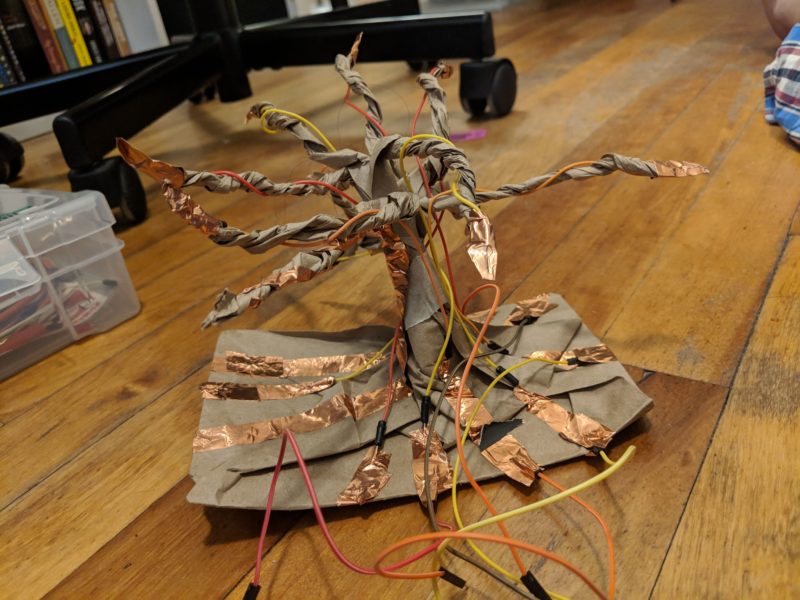
Nice now, what you see above is actually a little bit after that step. So to make your paper bag tree look like that, all you got to do is wrap a wire around the branch, make sure the tip of the wire is at the edge of the branch and then seal it all together at the edge by using some copper tape. The copper tape will act as your instruments contact point as well as a glue to sort of hold it all together. Let the wire hang from the tree branch, but if you want you can also fang-jangle it around the tree trunk and into the base at which point you can then use some more copper tape to extend the wire’s contact to the edge. This is necessary so the makey makey can get access to it.
Ok, now this isn’t just gonna make sounds on its own, so we need that Max 7 patch. 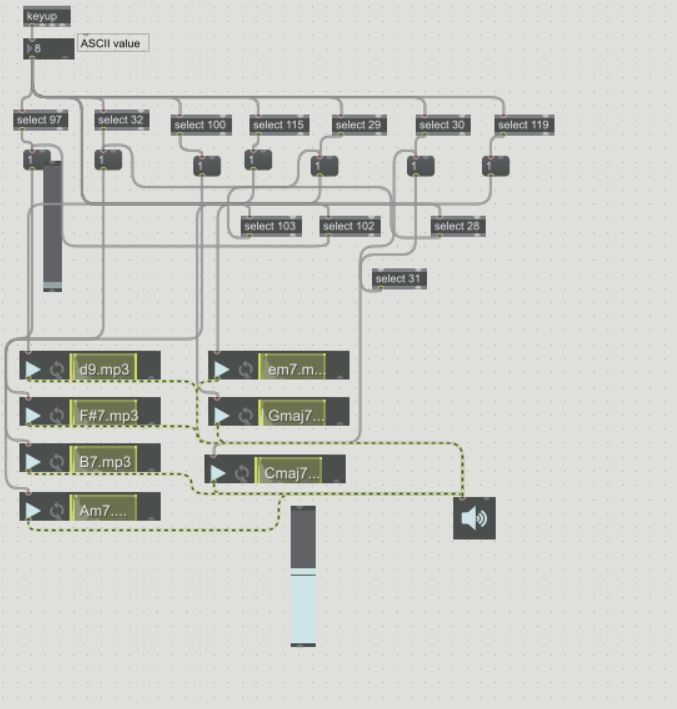
The makey make kit outputs a specific key stroke for each connective I/O port it has on its own board. This means that its basically a keyboard extension. So naturally the Max 7 patch is fairly simple, where keys are read through the keyup object and then specific keys are parsed as specific sounds which are then played.
Here is an example of it working! (don’t forget to hold the ground!)