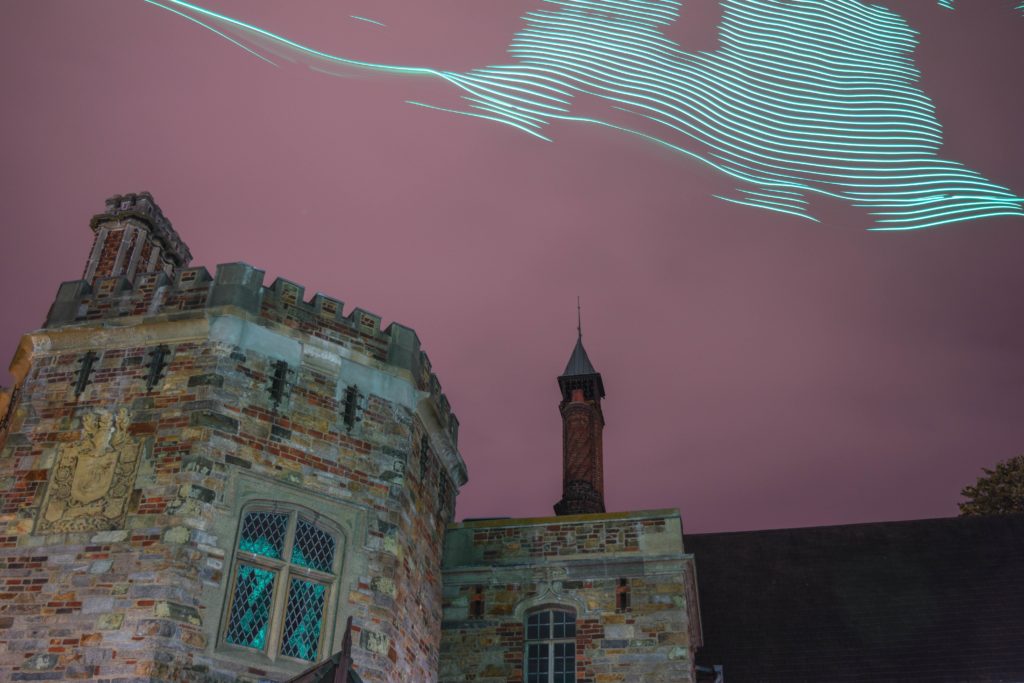
For my humanities project, I set out to do something I had never seen before. It was something within my hobby of drones and RC planes, but I was unsure if it would be possible. I set out to take long exposure photos of LED lights attached to a drone. I originally set out with a few ideas in mind. I wanted to fill the sky with little LED lights by dropping them from an RC plane, but because of weather I did not get a chance. I also wanted to use drones to tow a strip of LED lights across the sky in an attempt to recreate the Northern Lights. To do so I had to overcome a few obstacles.
First, I have had almost no practice with taking long exposure photos. To capture the images I had imagined in my head I had to do research online and practice taking long exposure photos. Once I was confident in my photo taking abilities I could focus on the next step.
Next, I had to figure out how I was going to wire the LEDs to a drone and RC plane. I figured a strip of LEDs would suffice in creating a Northern Lights like effect in the sky. I began by purchasing a strip of LED lights and an LED light controller which would work off the voltage of the battery from drone and RC plane. I had some difficulty soldering everything together, as the soldering tips offered in the MakerSpace were for small circuitry work, but after some digging around I found larger tips to use which worked. I soldered together a harness of wires to allow me to connect the LED light strip to where ever I used hobby batteries. With the wiring all done, it was time to start taking photos.

The first time I went out to take photos, I learned a lot. I started taking photos right after the sun set and I quickly realized it was too bright out and in order for this to work it would need to be much darker. I waited for it to begin to become much darker out and took more photos. Going into this I did not have much faith in the LEDs looking just like Northern Lights, but to my surprise they really did.


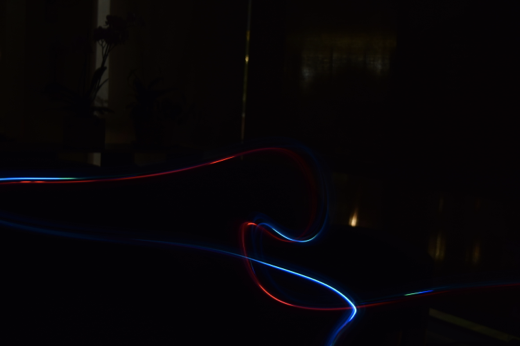
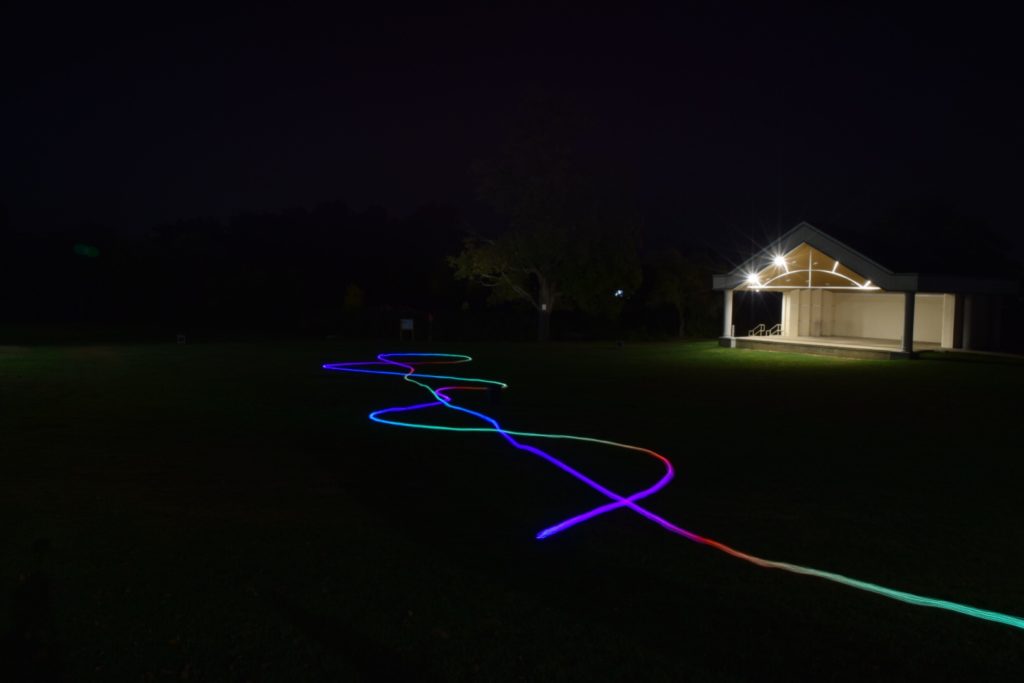
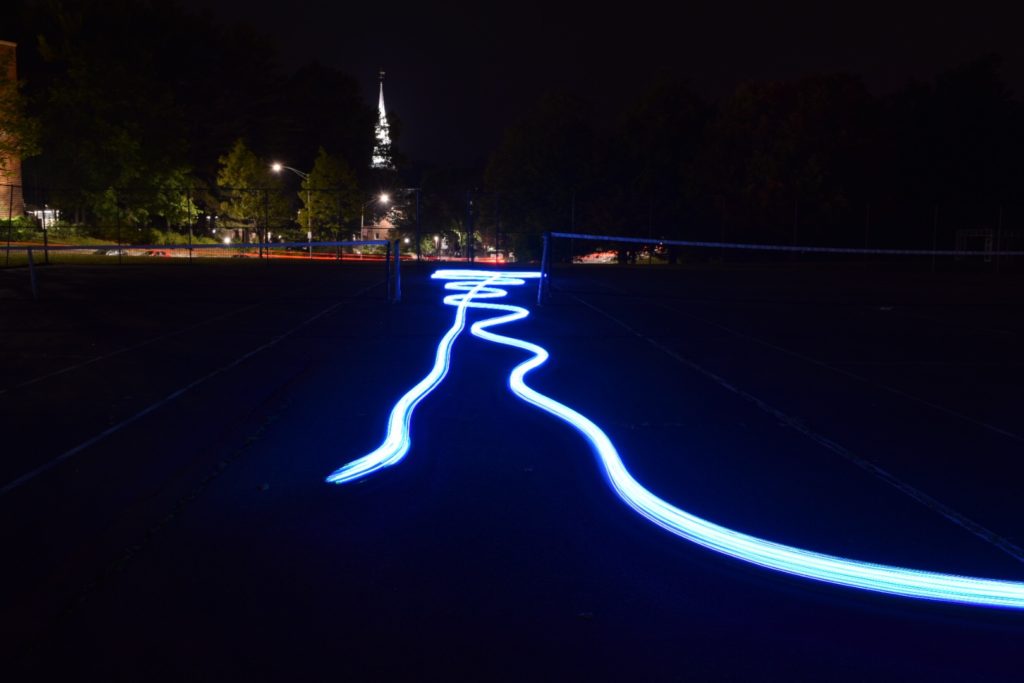
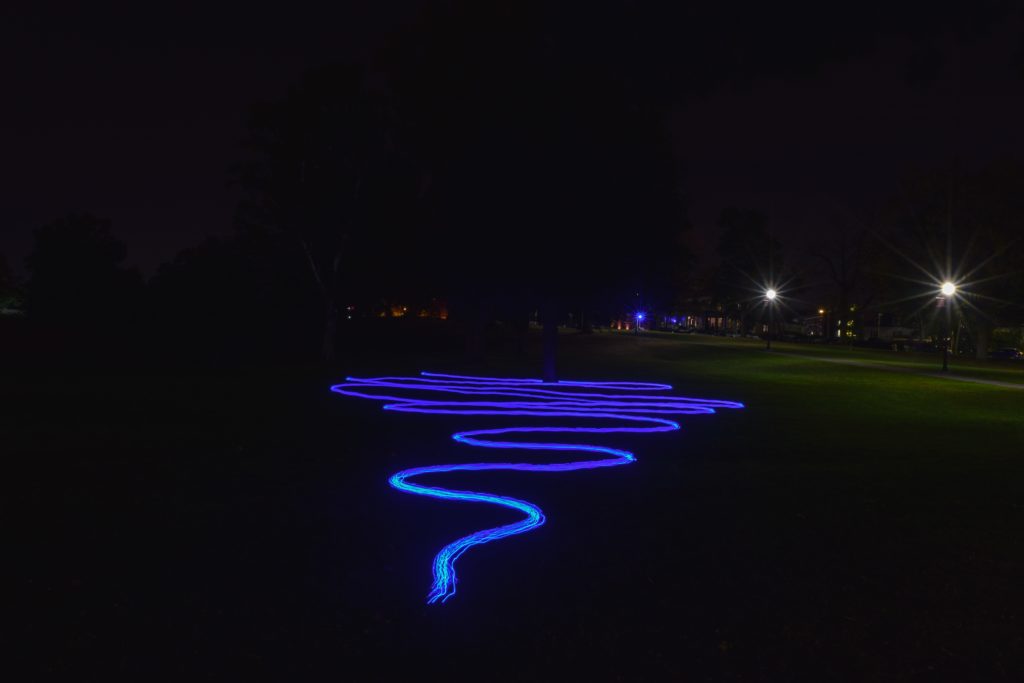
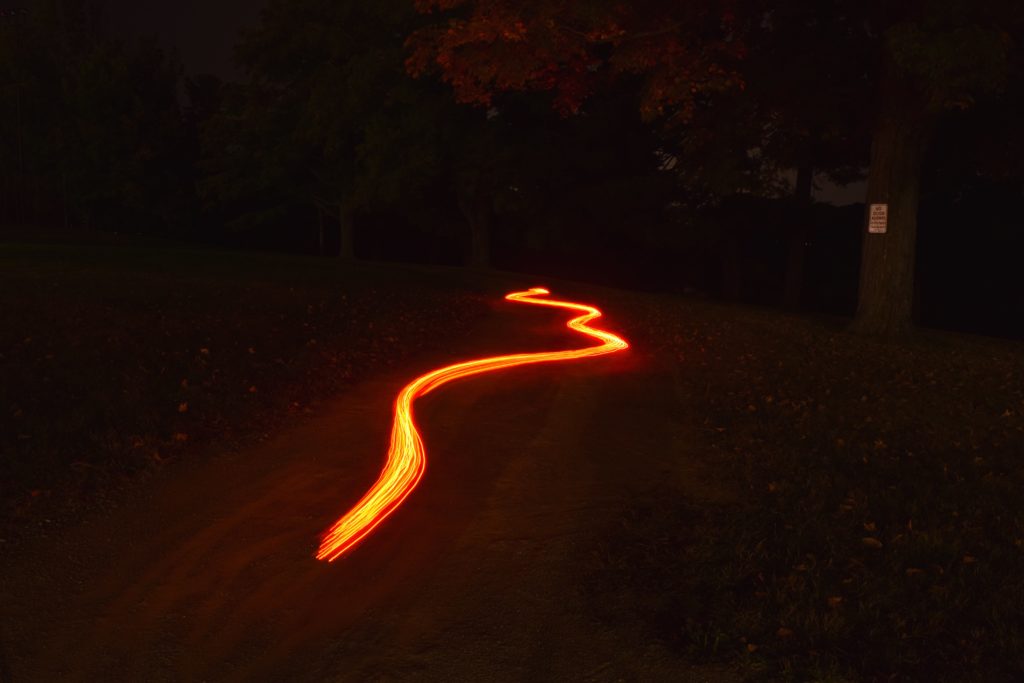
After going out and getting a large amount of photos with the drone towing LED lights, I was ready to switch gears to a few of my other ideas, but because of weather, I was limited. I decided to take the same strip of LED lights and mount them to my RC car. I then took it out and got a few practice shots. Again, I realized the photos looked really intriguing. I then decided to try to make natural shapes on the ground by driving in a zig-zag or in a wavy line. Depending on the color this made the photos look like a river of water or lava.

With a lot of photos now taken, it was time to decide which ones will make it to the final presentation. I went through and picked the most interesting and clear photos to begin editing. I edited all the photos in LightRoom. I did not edit them too much, I did some color correction and made the photos look a little bit softer. At this point had narrowed down my choices to 5 photos in particular.
For my final presentation I knew I wanted to get prints of these photos to hang on the wall and create a small photo gallery. I ordered 8×10 prints from CVS because they had the quickest turn around. On presentation day, I hung up the prints and allowed the class to walk around and view my photographs.
I am very pleased with how this project turned out. I think I was able to capture really interesting photographs which were taken in a way I have never seen done before. If I had a few more weeks to take photos I would take photos from a further distance as the lighting effect looks more like Northern Lights. Below are the final five photographs of my project.


I would like to thank Professor Rosenstock for teaching this Light Art Practicum. I also want thank Jeremy Lopez for hitting the shutter button for almost all of my photos.