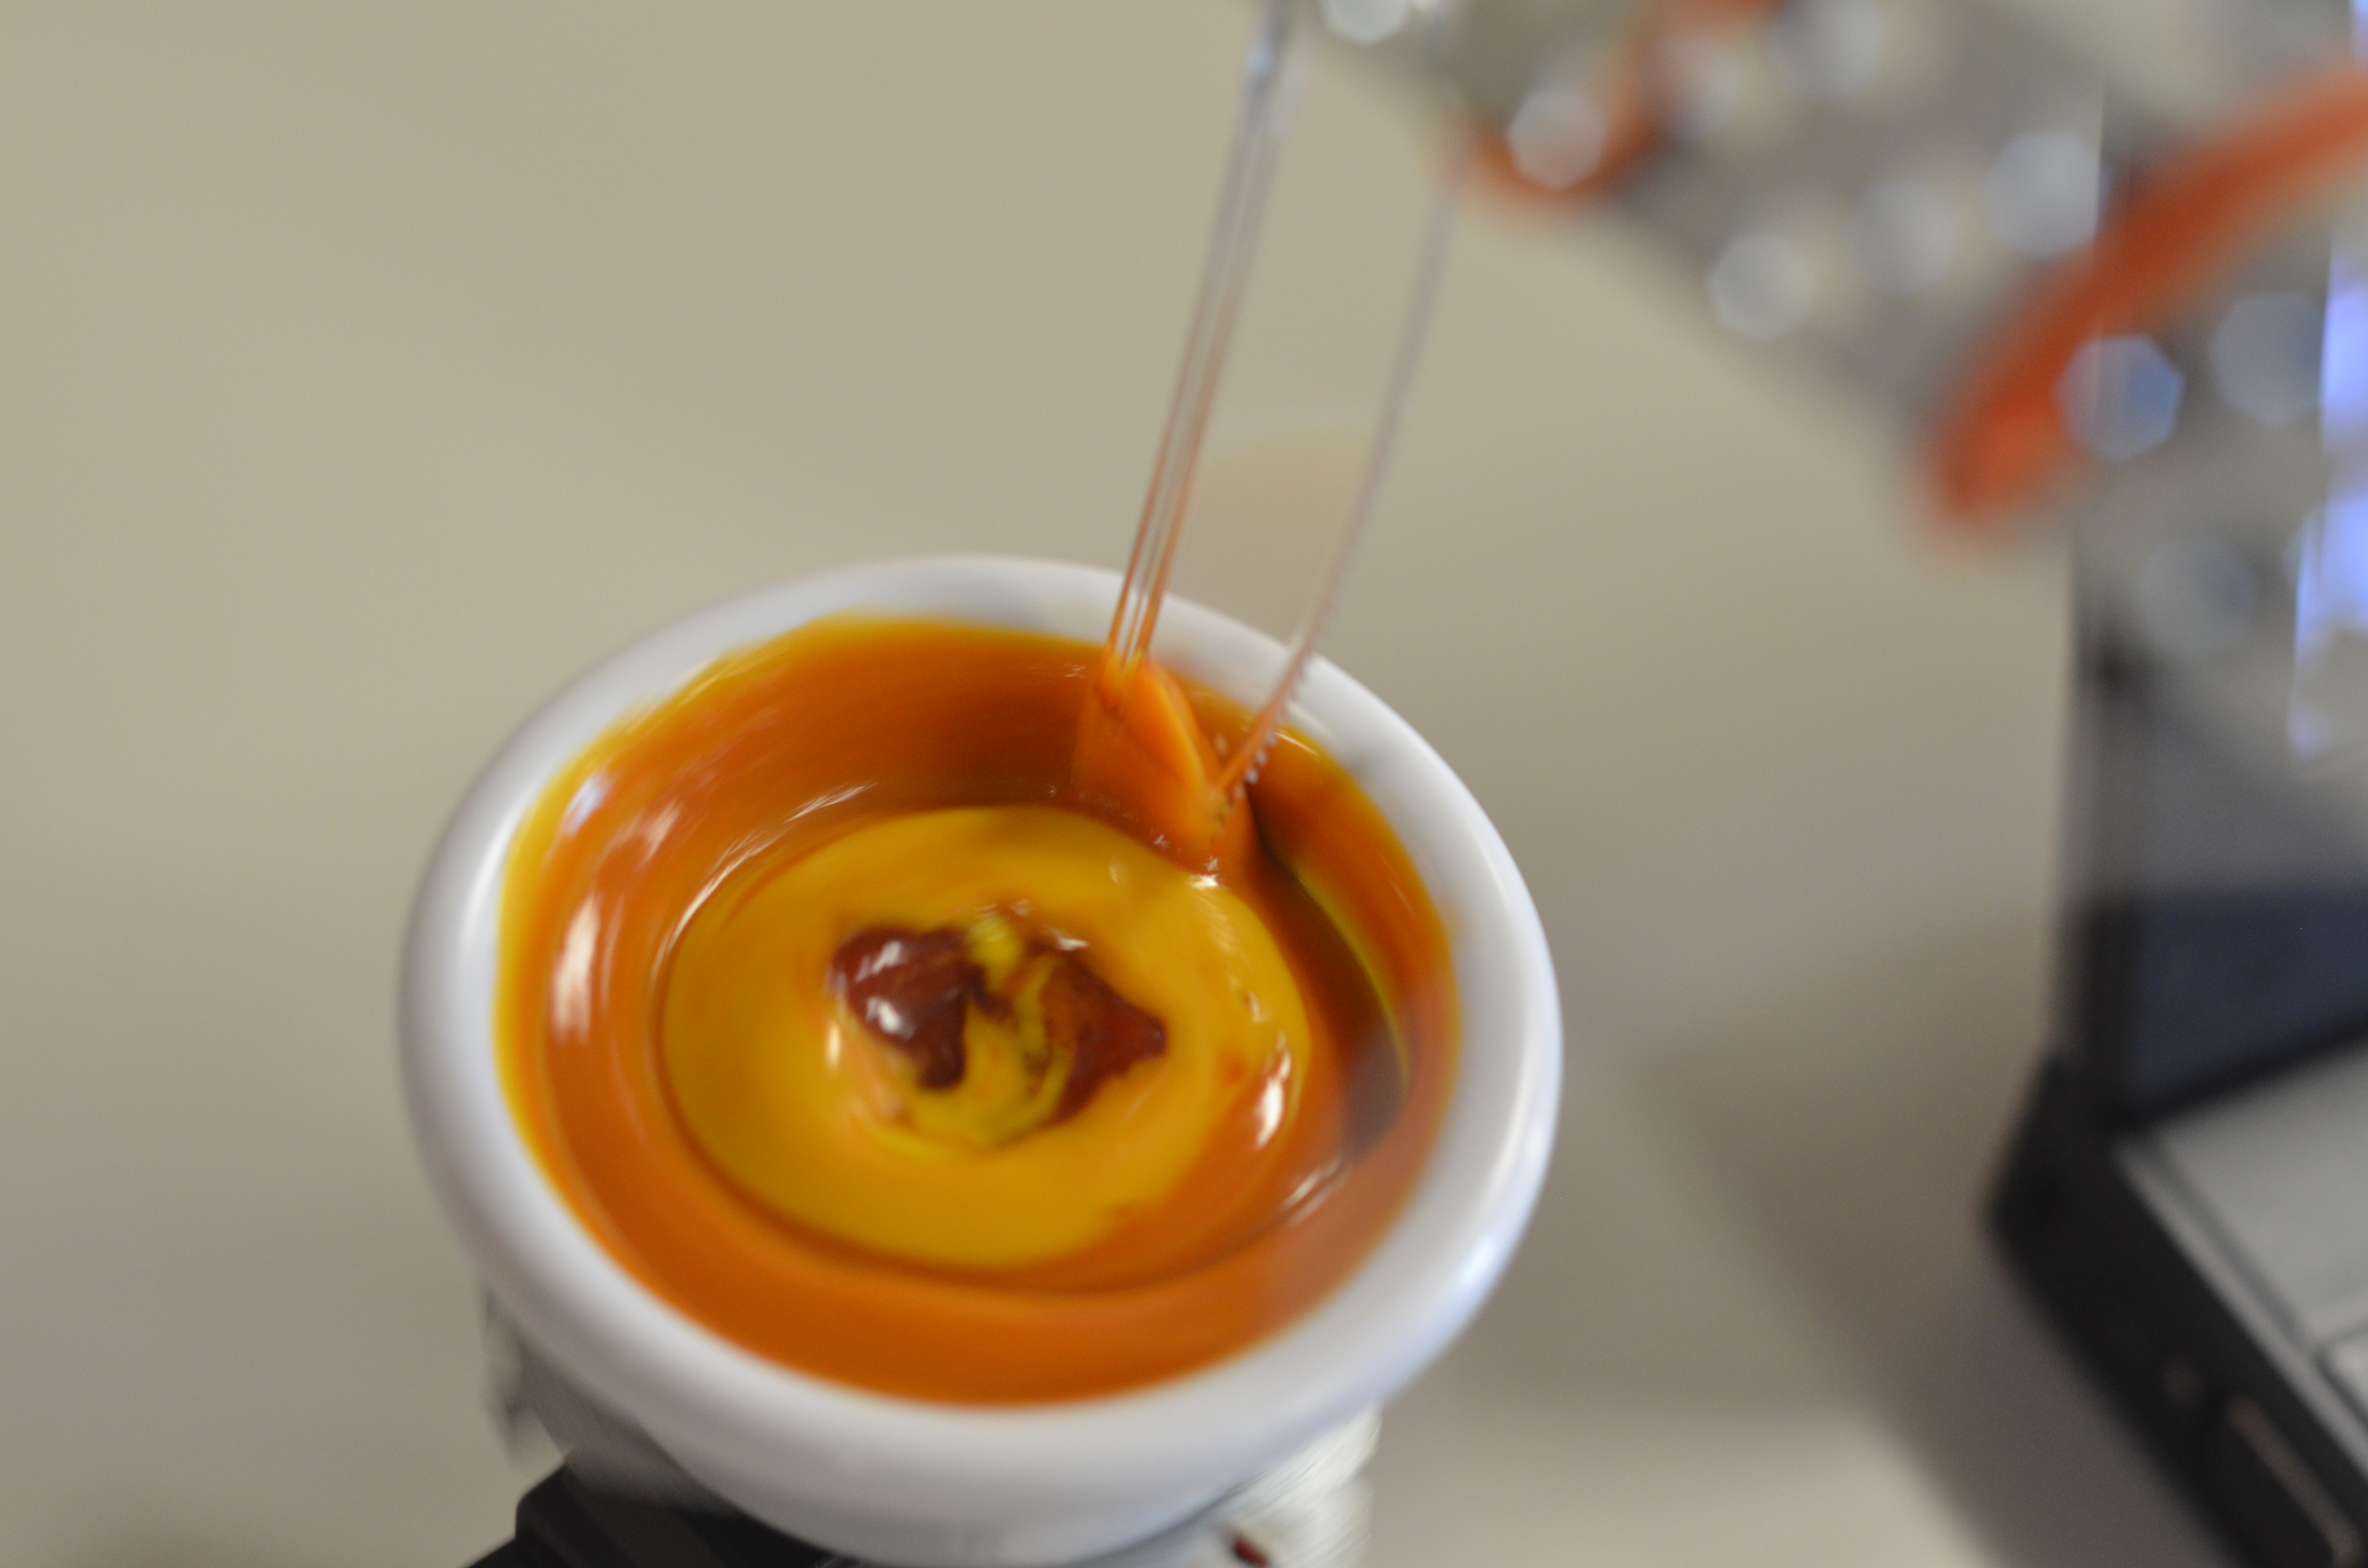
My final project evolved from a latte art making robot to a condiment art making robot. The video (still uploading) describes most of the process and the final result, but I still would like to focus on a few pictures I took.
Here is an example of an interesting pattern made by the machine.
Profile view of the machine with standard issue ketchup
A side view of the finished project making a delicious work of art.
The electronics to go with the entire system. The LEDs blink too! The small red PCB is the breakout board for the microphone. It handles some of the more complicated amplification tasks with the audio.
I would also like show everyone https://processing.org/ It is a sister project to Arduino that uses Java to create visual interfaces on a PC.
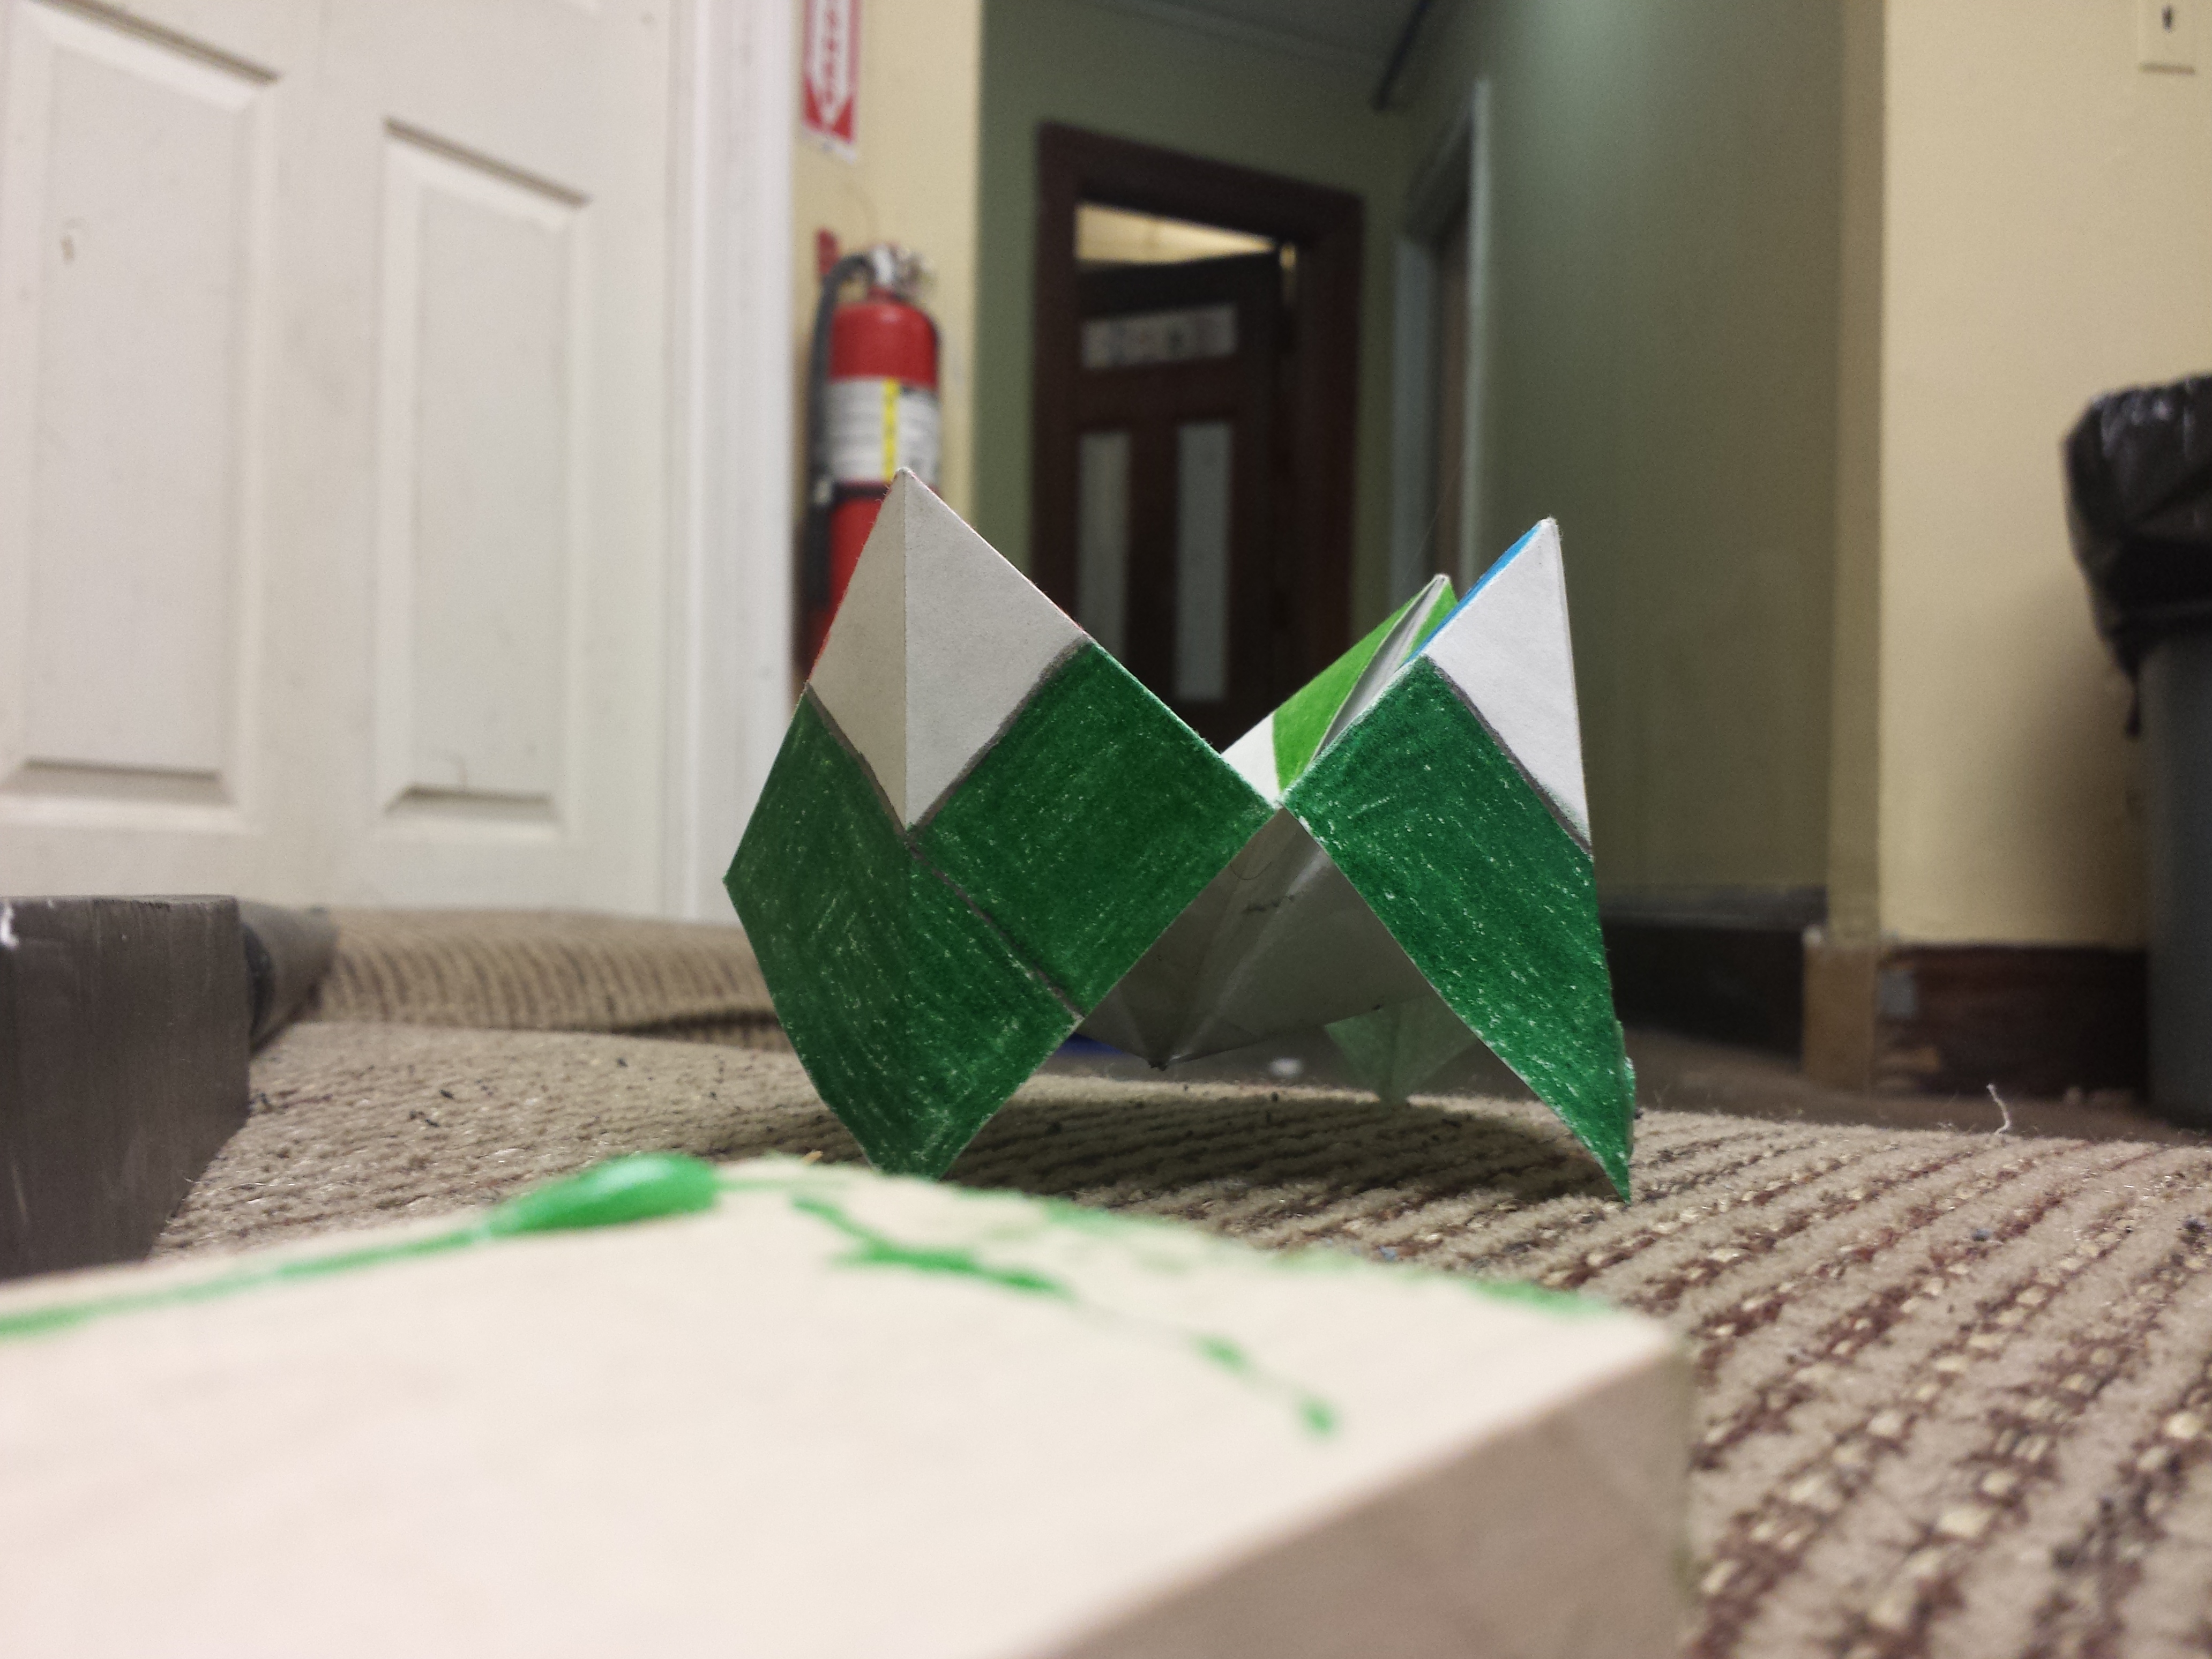
image taken from “Graffiti: Art through Vandalism”
Bienvenidos all. On this page i will be documenting the results of my Final interactive electronic arts project titled “Color Drips”.
The primary focus of the project was to create a digital and riskless canvas for street art, also known as graffiti. Using only a wiimote synched up to my desktop computer, one color drip candle cut in half and some basic max/jitter patch work, I have tried to make as realistic of a spray paint simulator as I could given the time constraints and technical limitations
My initial concept for this project was much different than what I ultimately ended up going with. My initial concept/prototype idea, depicted by the drawings below, was to use a combination of arduino sensors and computer vision to take an empty spray can and give it new life, turning it into an interactive controller for spraying on a digital canvas.
The can would have had an arduino on the inside with the top spray nozzle removed and replaced with a similar shaped object known as an encoder(think a rotary dial that is also a button. Kinda like what is found on most car radios to control volume/turn on and off).
This encoder, when turned, would have controlled brush/spray size of the digital spray paint allowing for finer detailing and spray scaling based on screen size. When pressed, it would of course trigger the spray. The location you’re spraying at would have been controlled via a camera which looks at you holding the spray can outwards, specifically looking for an LED light setup on the outside of the can. To synch with the patch for drawing in jitter, this locational data would have then acted as a replacement mouse, the encoder button working as a left mouse click, and with the cursor being hidden/replaced by a max logic command when going fullscreen.
The final bit of functionality on the can would’ve been the addition of a color changing system which happens every-time you shake the can, perhaps controlled either with a flex sensor left to dangle in the hollow inside of the can or by some other manner of control. I purposely wanted to give the project a bit of random flair which would simulate the lack of/spontaneity of resources and permanency that is occurred when one tries to paint on the streets. It is for this reason that I choose to not pursue adding an erasing feature. Because in real life tagging you can’t really easily erase spray: you either paint over it or wait for it to be scrubbed off.
To this end, the original concept ALSO had an in patch feature in which, after a random (but not TOO short) interval of time, the piece would reset the entire canvas, whether the artist wanted it to or not. Through this i wanted to emulate the bit of risk/stress/problem with spraying on the street: the general impermanence and lack of time one has to complete their art whether it be due to the acts illegal nature or simply based on man and natures efforts to remove the piece against the endeavors of the artist.
Unfortunately due to lack of materials and time, it was necessary to somewhat dumb my project down a tad. The Arduino was quickly replaced with a wiimote and the processes necessary to sync it with a computer while the spray can was replaced with a halved color drip candle (from which the project now drives its name) and a mount to hold them with. The candle halves work like the basic wii sensor bar in that they emit infared light which the wiimote then picks up on and uses to determine location of the cursor.
The wiimote was coded to resemble my original spray can idea as much possible: the a and b buttons are spray triggers corresponding to left and right click respectively, home button turns on full screen and the plus and minus buttons adjust brush size. The 1 and 2 buttons turn on and off the cursor display respectively. When the wiimote is shook, it triggers a color randomizer that goes through the whole color spectrum and then repeats with randomized saturation levels. This randomizer can even be left on if you want to spray with a changing rainbow toned spectrum.
Admittedly, my project doesn’t quite have a singular metaphor or phrase which I can use to cleverly sum up or express the idea behind my project. Instead I wanted my project to be more of a conceptual metaphoric device used for simulating what it would be like as a graffiti artist on the street. Simulation isn’t quite so far off from metaphor conceptually, so I rationalized it as being an acceptable interpretation of what was asked.
Paper on metaphor and simulation in video games. Not Necessary , but provided as a resource for my views.
There is however a somewhat small artistic and perhaps metaphoric connection I can make from my project that emerged as it itself changed: the connection between the dripping candles and the “dripping spray paint”. The candles themselves are an interesting medium: cut from one original candle I’m literally burning the candle at both ends. And since they are different widths, one burns faster than the other, which makes they spray more erratic as the piece goes on until they have both burnt out and my time is fully up. It turns the painting process into a somewhat stressful race against the clock, perhaps a metaphor for how street painters feel racing against discovery. Not sure.
Ultimately, my final project is pretty close to the level that I wanted my original concept to reach, though obviously with a different control mechanism. i will however say that this is the first project where the coding aspect has fallen somewhat outside of my normal comfort zone and into far more complicated territory.
I had to use a variety of jitter features I have not had enough GENERAL coding experience to be able to understand completely. I have to give credit where credit is due and cite Andrew Benson at cycling74.com for his recipe 44 patch “Scrolly Brush”.
My patch relies heavily on his design for scrolly brush if only because his seemed to be the most elegant and intuitive method for taking the info generated by the jit.mgraphics object and using jit.pix and jit.matrix objects to create constantly layering strokes on a singular updating canvas. The “spray” itself is nothing more than a constantly generated ellipse with a gradient in it that’s being repeatedly saved in different locations onto one image screen.
It was also for this reason (unfamiliarity) that the randomly clearing part of the patch was left out: I currently know only how to clear the mgraphics object, and am not as familiar with matrices and the pix object as they are used in jitter. Nor do I completely comprehend which part is doing the brunt of the image saving, the pix or the matrix. Rather than futz with that, I felt it more appropriate to just leave that part for another day.
I also should credit or at least give a shout out too two people in particular who inspired me to think more critically with how drawing works in Max/Jitter: The artist Mr. Doob, original maker of the javascript based procedural drawing platform “Harmony Draw” (link Included below); and cycling74 user Der Hess who ported Harmony to max/jitter (blog link included below).
These two projects shocked me into realizing how much max/jitter can do if you know the right tricks to it, as well as giving me a near burning desire to learn much more about javascript. It was seeing this project that let me push through my original concept falling through and continue with my drawing spray paint idea rather than just giving up and abandoning it outright, and what makes me DEFINATELY want to return to this project specifically at a later date, so major props to these talented coders.
That being said, despite this post encapsulating what is the Final submitable version of my final project, I do have a strong desire to return to this project in the future. I’m going to be picking up an arduino board sometime soon and hope to use it to fully create my original idea. I plan on using my design possibly as a live interactive part of my room next year (and this year if possible) that I can boot up recreational for myself and my friends to come and express ourselves as we see fit. Make this project a permanent part of my daily life. Definitely.
Overall, and for the final time, I hope you all enjoy my project and I look forward to whatever comments and criticism you have to give.
If you have any other personal questions, or I havent responded here in a while, feel free to contact me at my public email at skids95@snet.net and I’ll respond as soon as I can.
Greetings Friends, Romans, Countrymen. On this page i will be documenting the results of my second interactive electronic arts project titled “How to Remix and How to Basic Video”.
The primary focus of the project was to create an interactive video mixing board/drum machine of sorts using only an Xbox 360 controller and Max/Jitter.
The Ultimate goal was to make a video remixing platform that could take the source video (shown below) and produce a live remix of similar quality as the one made by Steve Heller ( also shown below).
original video by “How To Basic” @ youtube.com
Original remix by Steve Heller @ youtube.com
To create the basic frame work for the remixing platform I first had to cut and edit out various short clips from the video, essentially turning them into less than a second or two long “drum” samples. This was by far the longest and most tedious part of the project, and admit-ably due to that the one where the most of the time was cut in terms of actual quality.
I ended up sampling far more clips than I actually needed: over 50 different sound bytes, and I still only got halfway through the original source video. A handful of the clips also have a minor one frame glitch or two simply due to the speed at which I was producing them and the way in which premiere was processing them. There are also some clips which, though cut to the appropriate length, I would have liked to have fiddled around more with in premiere itself if only to adjust for playback speed and tone.
I also admittedly did not use the best video format when exporting the clip: In effort to save time I saved the clips in a somewhat difficult/inefficient/ugly format for max/jitter playback. This was a simple mistake and will be fixed when i return to work on this for fun during break. I know a little better now what better formats work better and faster for projects like this and will be toying around with adobe mass encoder until I get the correct one.
The patch itself is relatively simple, using pure data to take and understand controller input data and then trigger the appropriate video clip based on a numerical listing.
I had originally intended to use a noviation launchpad to control the mix, in true vjing style, but I opted to go with the Xbox controller instead due to prior experience and familiarity with working with controller mapping and because it fits more with the art piece based on the subject material itself. Essentially it was the irony of using an Xbox 360 controller to control a video of an Xbox 360 being UTTERLY DECIMATED that won out in the end.
Side Note: for added humor, I DID also have a version of the project which took ps4 controller data, turned it into 360 controller data and then used THAT to control the remix in the same way, but it is no longer functional due to my Bluetooth driver turning non-functional. If you know the somewhat simple programs and processes needed to turn ps4 input into 360 controller input, I highly recommend doing so with this patch: it’s very much worth it at least from the conceptual point of view
Granted the patcher is slow to playback the video, based simply on the limitations of my computers processing speed, max/jitters instance on using quicktime, and the format in which the video clips are coded. Never the less I believe the video itself shows the key points I was trying to produce with my project: The ability to freely switch between multiple sets of clips in realtime and have them play back, the ability to slow down, speed up, and re-pitch the clips with the flicking of a joy stick, and the ability to use every input on a Xbox 360 controller to produce some controlled result.
Overall, I hope you all enjoy my project and I look forward to whatever comments and criticism you have to give.
If you have any other personal questions, or I havent responded here in a while, feel free to contact me at my public email at skids95@snet.net and I’ll respond as soon as I can.
Hello everyone. Boys and Girls, Cats and Squirrels. On this page i will be documenting the results of my first interactive electronic arts project titled “the lotus blossom”.
The primary focus of the project was to create an interactive piece of artwork that though drawn with graphite could function as an interactive electronic controller which controls various sound and visual digital media.
Sorry for poor quality. Encoder was giving me grief so I dumbed the quality down.
My initial inspiration for this project was drawn from the memories i had as a child of using origami fortune tellers (also sometimes known as cuttie catchers).
http://en.wikipedia.org/wiki/Paper_fortune_teller
When I was young it was sort of a hobby of mine to make these and share them among my friends. Though the fortune were simply answers to questions (yes no maybe try again), and the results could be repeated by memory alone, we still used to pretend that the paper craft was some mystical divination device and would wholeheartedly go a long with what they predicted (within reason of course).
I was therefore attempting to recreate that mystique by turning a simple paper fortuneteller into a mystical feeling art piece, where the fortunes weren’t quite so easily set in stone.
When ever a fortune was read and the participant would place their finger over the paper like is demonstrated in the video, it was supposed to trigger one of 4 different fortunes chosen somewhat randomly: as in, each “petal” was supposed to call up to 3 of the 4 fortunes to play at random. however, to save time and to capture the direct simplicity of the original fortunetellers, I decided it would be best to cut that part out and instead make each one trigger just one animation sequence instead.
There was also an unsolvable issue in the overall design of my project. Due to the conductive pathways being controlled entirely by pencil graphite lines, some very simple but unavoidable limitations started to occur. The makey makey board despite being highly sensitive to high resistance currents, needs relatively unbroken and thick graphite channels to connect to. When any line is drawn and then a fold in the paper occurs it breaks the connection at the point of the fold.
Due to the folding 3d aspect of the fortune teller design and the fact that it had to be hand hold-able, it turned out the the only physical way to keep the original handheld aspect of the project intact was to somehow weave thin conductive threads into the paper craft, a feat which would’ve matched thematically with the tendrils and inner organs of a flower but required to much time and design restructuring to pull off in a timely manner. This is why in the above video the fortune is told first, with the fortune teller in intact state, but the interactive part is done with the teller fully unfolded.
I many return to this at a future time to correct this issue and improve upon this design. Particularly once I obtain my own collection of semi conductive thread and a sowing kit.
The animations featured in this are not quite original. I had originally intended to roto-scope the lotus blooming video that plays each time, but out of time and simplicity simply decided to apply a simple set of filters to the video instead along with the text produced at the end.
I may also return to improve upon this as well, particularly once my laptop returns from repairs and my new touchscreen stylus (yufu) comes in.
The tranquil music that plays throughout is a song by 千年破曉 named 晴殤 Tranquil Departure. I’ve included a link to this below.
The Rainstick sound effect I pulled from an app and minorly edited. This link will also be included below.
Overall, I hope you all enjoy my project and I look forward to whatever comments and criticism you have to give.
If you have any other personal questions, or I havent responded here in a while, feel free to contact me at my public email at skids95@snet.net and I’ll respond as soon as I can.
The idea of Five Elements is from ancient China. The world is consist of five elements : Fire, Wood, Water, Iron, and Dirt. One element can born another element, and also can be destroyed by another one.
Iron can born Water. Water can born Wood. Wood can born Fire. Fire can born Dirt. Dirt can born Water.
Iron can destroy Wood. Wood can destroy Dirt. Dirt can destroy Water. Water can destroy Fire. Fire can Destroy Iron.
Therefore, all the element is related to any other one: be born, born, be destroyed, destroy, and is same (as itself).
There would be five bottoms to control the animation. When Iron is lighting up, the next element can only be Water (born), or Fire (be destroyed). Only Water bottom and Fire bottom will response when Iron is lighting up. Any other bottoms are not functional in these case.
This is the whole patch screenshoot.
There are three main part: Video (animation), Sound, and Logic.
This is the video part: 2 backgrounds, two Yin’yang Animation, and Elements switching Folder player.
The logic of this project costed most of my time.
First, there is five bottoms control the whole animation.
One bottom connects to two animation (element x be born & element x destroy).
The animation connects to the “Should it happen or not” part.
For this particular one.
It will play animation 5, which is “Wood born Water”, statue 1 to statue 2. Need the statue to be 1, and statue will go to 2.
When there is input, first it will update the present statue. After 500 ms delay, it will compare “the statue needed” to “the present statue”. Then it will output either 1 or 0.
If it is 1, output will be: 1, play the animation (which is 5 in this case), update the statue 2 to the “statue storing part”m and play the related sound effect.
Here is the sound part. There are just five sounds for five different elements.
So here is little ol Curious George. A little guy who sits in the chair at his computer, and looks about at anything that movez in his path. Quite the opposite of my original idea, he more shows the short attention spans of our generation, flitting from thing to thing atop his paper throne.
For the remix assignment I chose to work with source material from the Matrix. I felt the choice Morpheus poses to Neo of choosing the red or blue pills was a pretty iconic moment.
After randomly hearing a remix of those words put to a song, I felt that it would be a pretty fun piece to remix the remix of Neo’s choice.
The observer may choose a pill, using the arrow keys. Upon selecting a pill, the sound of “take teh red pill” or “take the blue pill” plays, along with an animation of the corresponding glowing pill.
Origionally, I had set out to use computer vision to track the choice of the observer, but I ran into too many obstacles, and in the interest of time opted to use the keyboard as an input device.
~ Written Statement
This idea of a miniature gallery had been floating around my head since the beginning of the course. The idea behind it is of creating an an art gallery that is in itself a piece of art. There is no metaphor, except perhaps that the gallery is not truly a gallery, but a representation of a gallery.
I wanted the interactivity to come into play with the computer showing how the character in the scene interprets each art piece. The “player character” goes through the gallery experiencing the art as a young girl, more so than as themselves, especially as the frames are so small their images may not even be clearly conveyed. The girl “looks” at the art pieces by standing in front of them. Her reaction to the piece is then showed on the screen in the form of a quick animation. Though in the sculpture, the picture inspires the sight and sounds for the girl as she “looks”, in reality, the song chosen inspired the picture which in turn inspired the animation that would play.
~Research
There was not too much research needed for this piece. I needed to acquire all of sound clips, “paintings” and then animations that corresponded to the paintings.
~Technical Info
For this to work, I will need to know how to play different movies on one screen. Ideally it would be nice to have videos stop when the girl moved away from “looking” at a painting, but I know that would require extra code, rather than just having a video trigger when token comes in contact with the conductor pedestal.
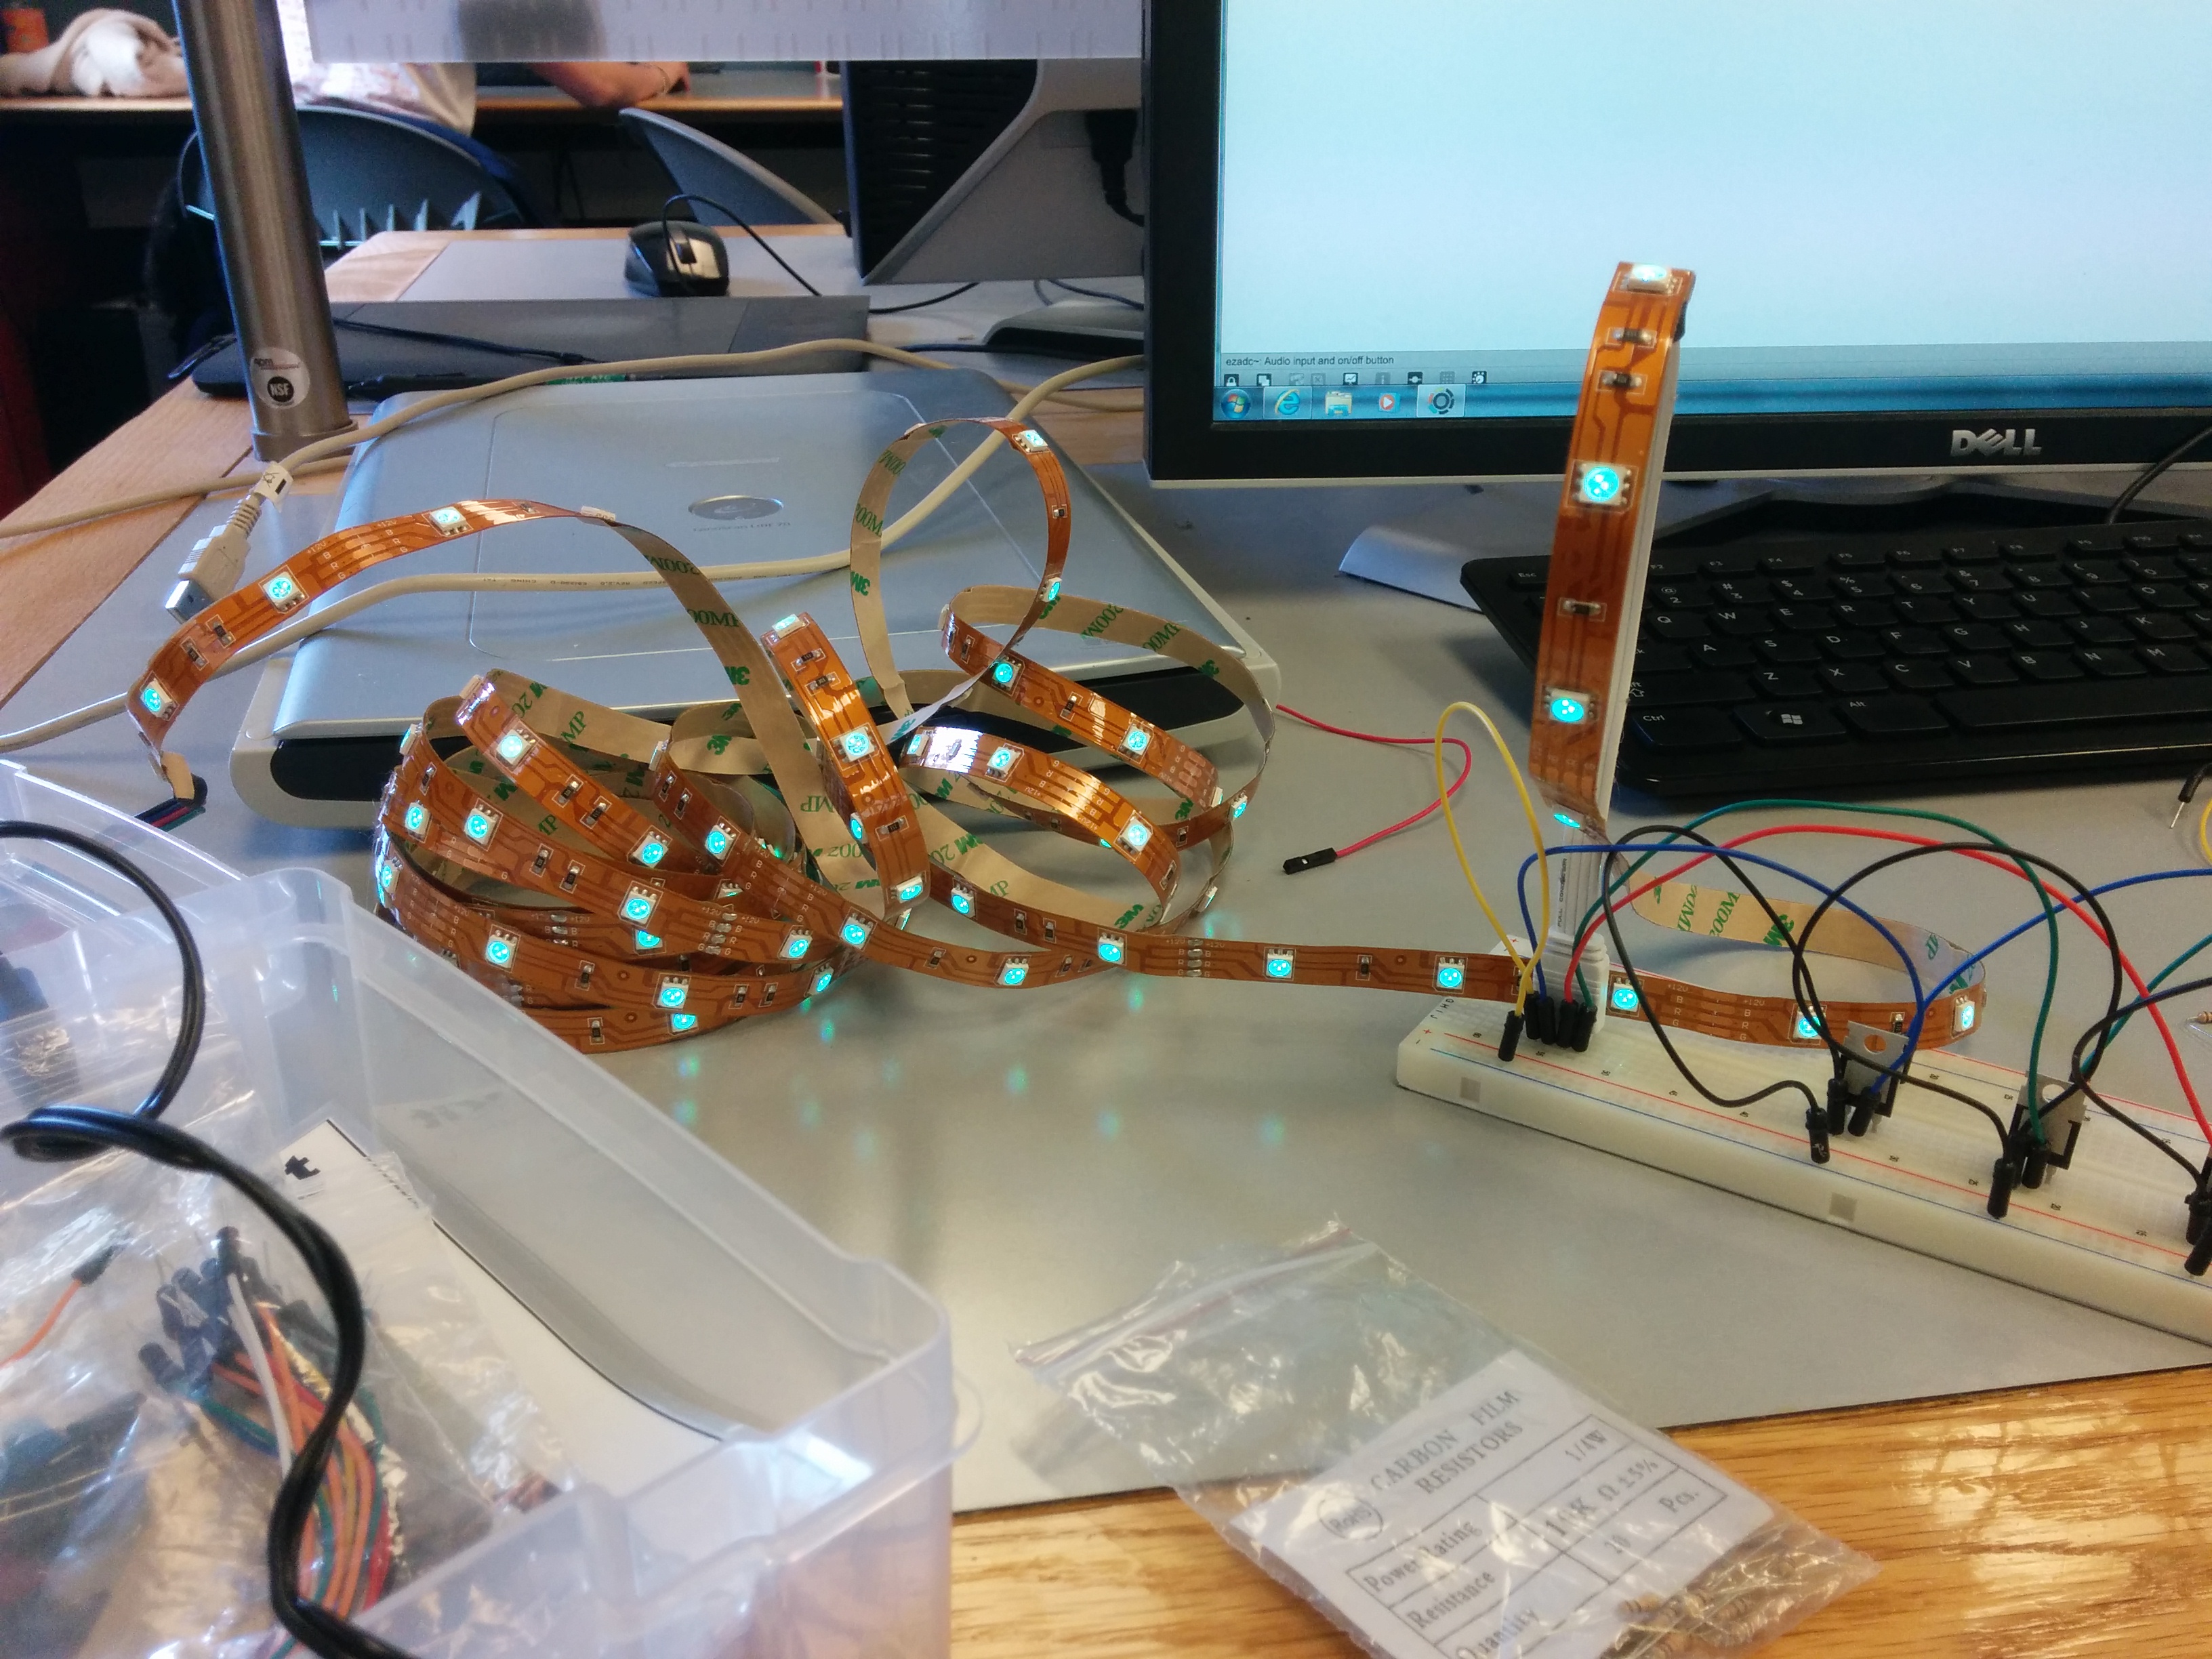
Unfortunately, this will not be narrated by Morgan Freeman – however, I think I am the next best thing. Anywho – big thank you goes out to the ECE department for providing me with a different bread board, the power supply, special pin cables, the TIP31 transistors and a power adapter for the board.
The project was going in the right direction all the time, however, there were many bumps along the way – mainly the power source, as well as my laptop’s and desktop’s inability to detect the board through Max 7 and Windows 8.1 (dammit, Microsoft). I had two bread boards at my disposal, as a result I built two circuits – one with one RGB LED light to test the patch and have a minimal viable product, and the second one with the full strip.
First step consisted of tearing down my LED light strip – good, since I am still going to rearrange the room after this. Second part involved me crawling on all fours to get my power supply for the board (ended up not using this one – did not work – used the one provided by the ECE department).
I built the single LED board and tested the patch – mine and the demo from myWPI. Everything worked. Then, I built the second board, replacing some of the resistors to weaker ones since the power consumption was already enough to keep the lights really dim. I ran over to the ECE department, grabbed what I needed for the power and hooked everything up. Well that did it – LEDs were reacting to sound. Primarily, as seen in the demonstration you had the green light favored over others due to volume and the sound filter. If you look below, you will see the final board images. After that – a video!