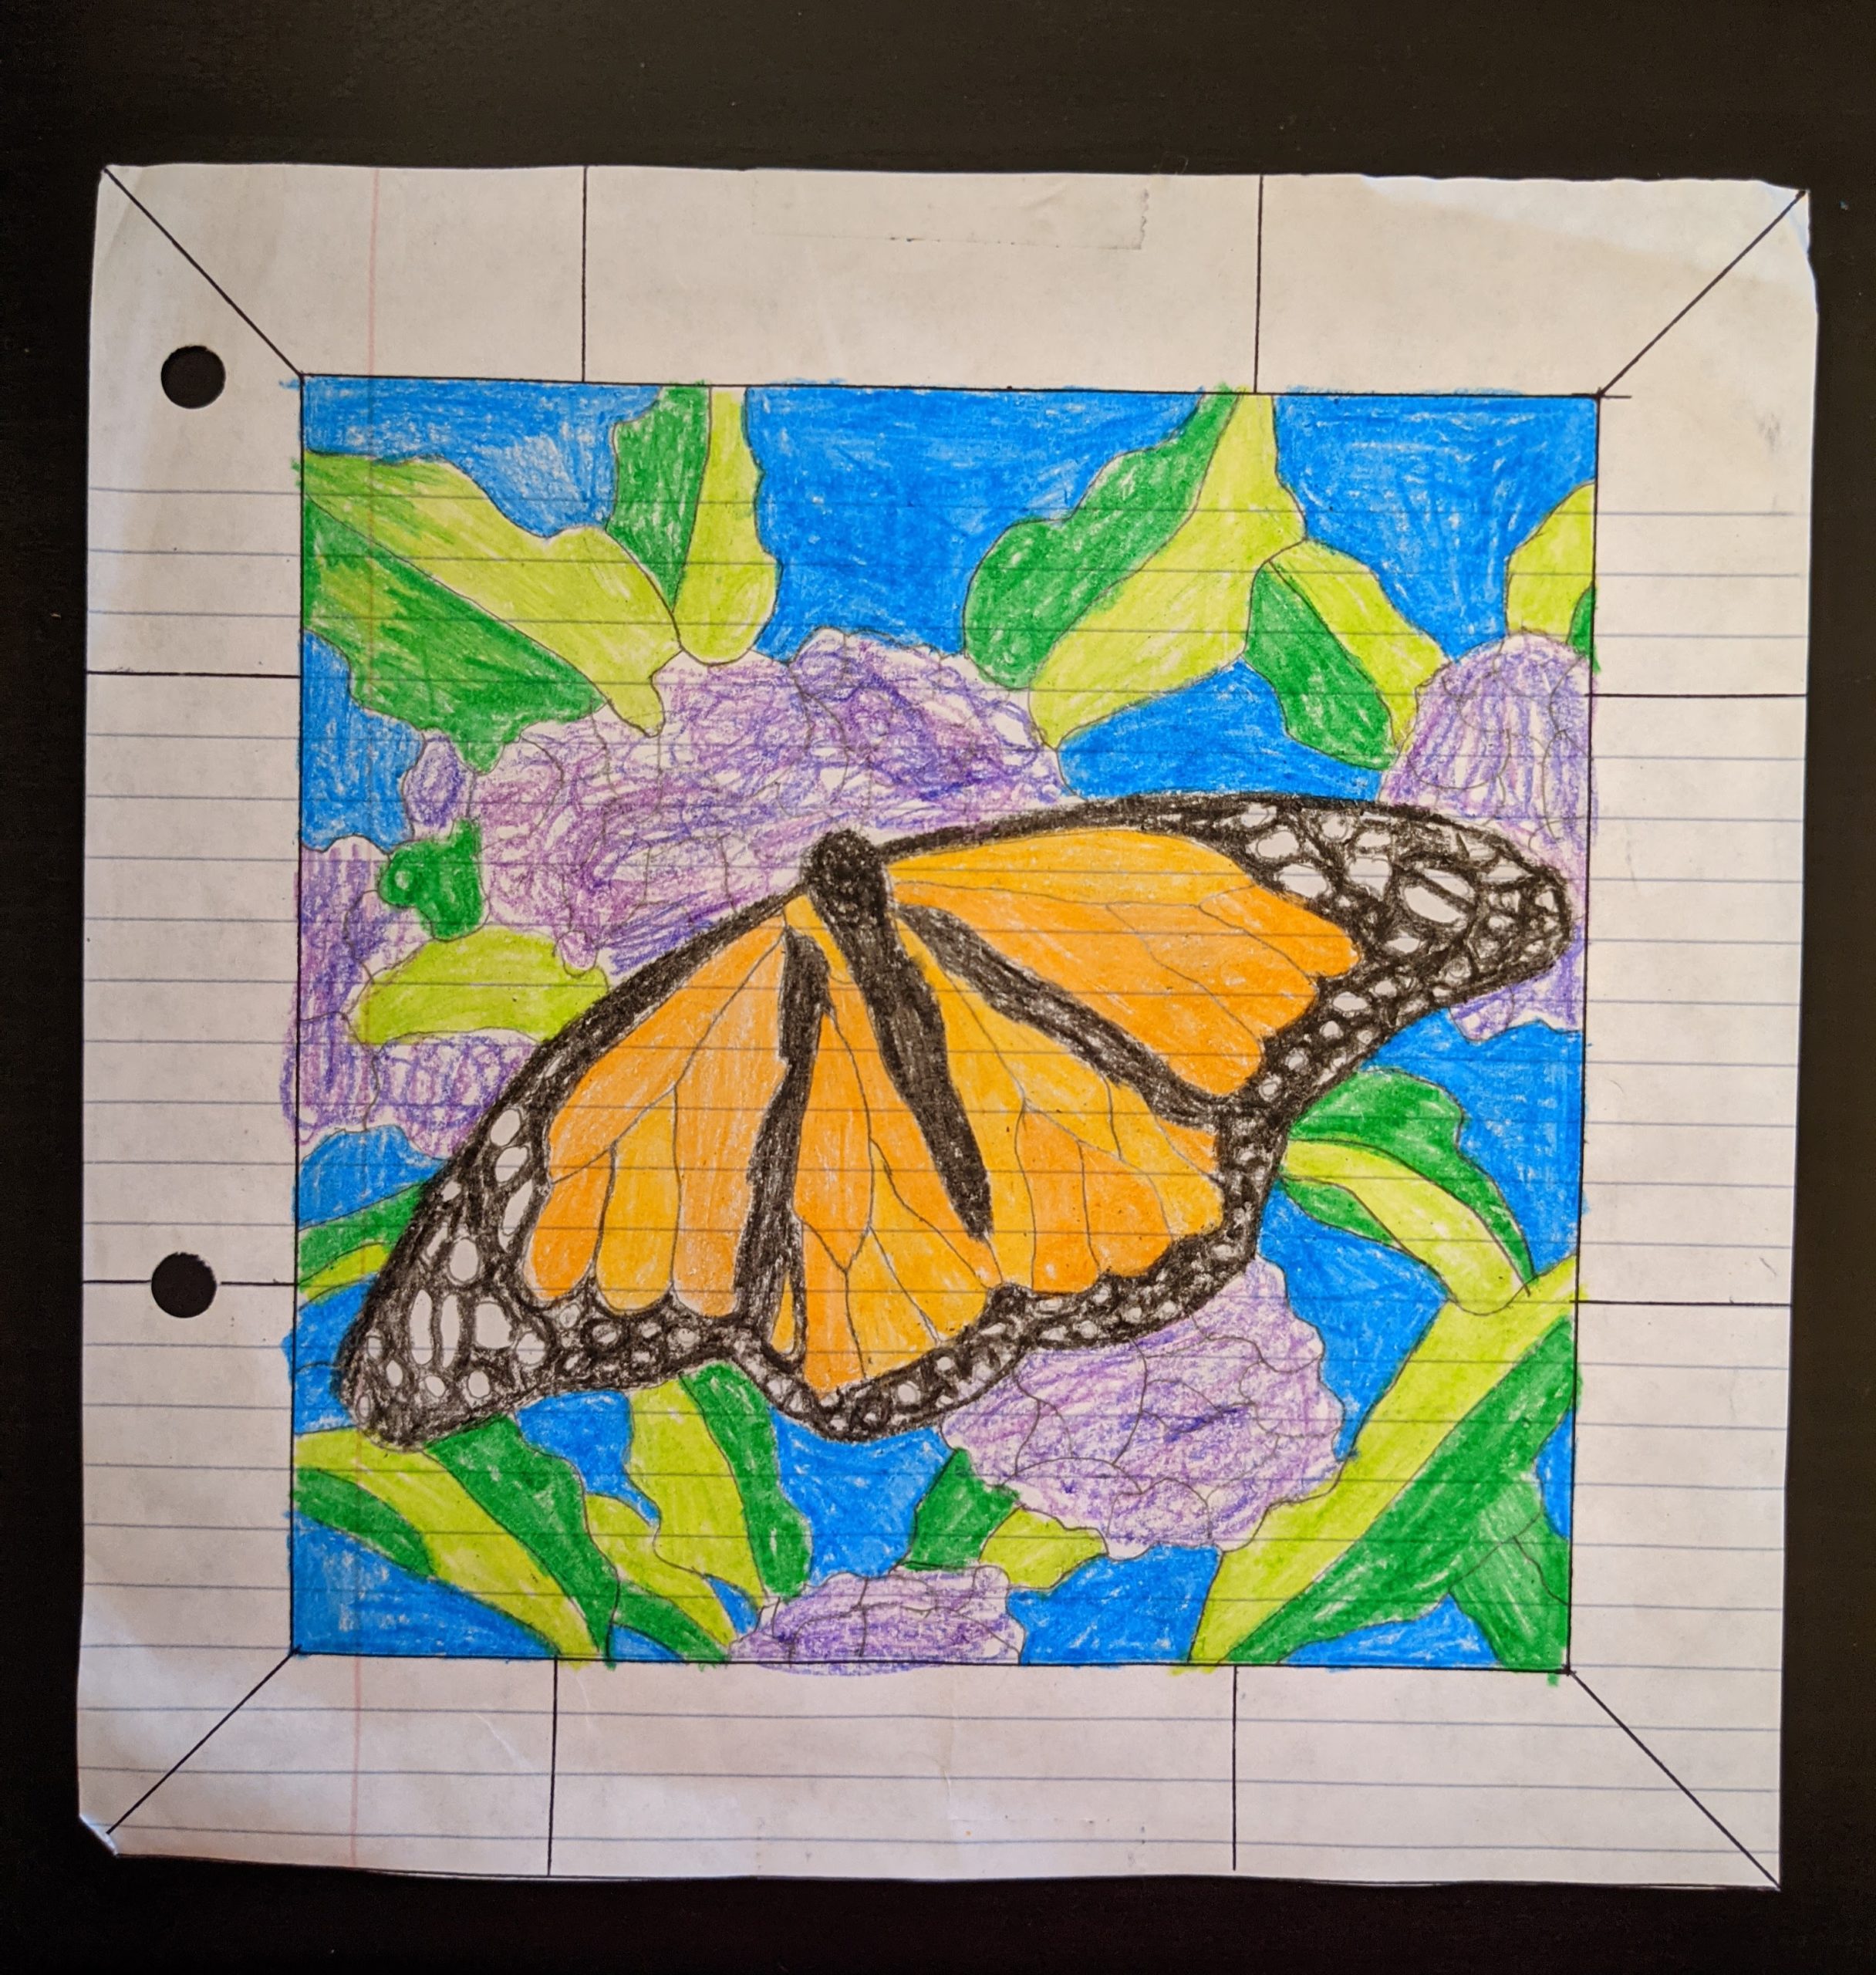
For my maquette, I decided to just draw it out on paper. I was originally going to cut out pieces of colored paper and glue them on in a stained glass fashion, but I didn’t want to spend $4 on paper that I would only need a few sheets of, so this was the most practical and cost efficient. I think that this image will be my final design, but maybe with a few tweaks. I hope to be able to do some more work with glass after I’ve attended my stained glass workshop!
Shopping List
- protective equipment (glasses, mask, gloves)
- Glass
- Glass cutter
- Running pliers
- Grozing pliers
- Glass grinder (can use at the WCC)
- Copper foil tape
- Fid
- Solder 60/40
- Flux & brush
- Soldering iron
- Black petina
- Glass polish
- Jump rings
- Flux remover and brush
- stained glass quick clean
- Glass wax
This is going to look really cool when lit up! How do you actually cut the glass without breaking it? Is it similar to sheets of plastic or acrylic? Are you also planning on a frame or border for this?
So to cut the glass, you use a glass cutter to score the surface and then use special pliers to break them. Since I changed my idea, I still plan to boarder my project in solder.
I’m excited to see how this will turn out! It looks like its going to be a very complicated piece. Although I don’t have any experience in stained glass, do you think you may need to simplify the design later on?
Yes, I ended up needing to simplify my design, to the honeycomb, but I am much happier with the honeycomb pattern, it feels more me.
My question is along the same lines as the others – do you have a plan for if the white spots are too small or difficult to make? I’m not sure how stained glass pieces are made or if the straight or curved edges are more difficult, but maybe turning them into larger oddly shaped chunks to give the illusion that there’s more detail could be an option.
Yeah, I ended up simplifying my design to the honeycomb pattern, and I like it much better!
Looks great so far! For something as delicate as this it’s good to have a sense of where things should be placed, so you don’t have to experiment too much with the final piece.
I agree with the other comments that this looks like a very involved work at the moment – to help alleviate stress from getting glass shapes to match your drawing exactly, I think it might be a good idea to think the other way: let the glass shapes dictate how the pieces fit together. Also think about which edges are most critical; e.g. where leaves and the background meet, think about whether you’d rather make blue pieces fit with the existing green ones, or if you’d rather make green pieces fit with the existing blue ones.
I love the combinations of colors in the background it looks very natural and the butterflies color pops out. I cant wait to see how it looks with light around it as well!