It’s finally done… for now! In the last two weeks of the term I was able to get everything working just enough in order to be able to demo my project. Now that the term has ended, I can reflect on the process up to this point, and look forward to what could still be improved.
Before that though, here is a gallery with all of the LED patterns I have right now:

clear 
drizzle 
rain 
thunder 
snow 
obligatory rainbow effect

On the hardware side, I didn’t do a particularly great job preventing bubbles from forming while I was gluing the acrylic. The glue I used sets in just a few seconds, and I wasn’t putting pressure on it fast enough to prevent bubbles from forming. I thought I would be able to get a good idea of how big the bubble problem would be from gluing some test pieces, but the little squares of acrylic I used for testing were too small for bubbles to really form.
I don’t think the bubbles are necessarily a completely bad thing, they seem to really help with preventing the light from falling off too much when it gets towards the top. I just think it would be better if they were less noticeable and more consistent throughout the layers. I will likely remake the acrylic panels in the future anyway (for reasons talked about below), and I think I could do a much better job of avoiding bubbles if I did it again.
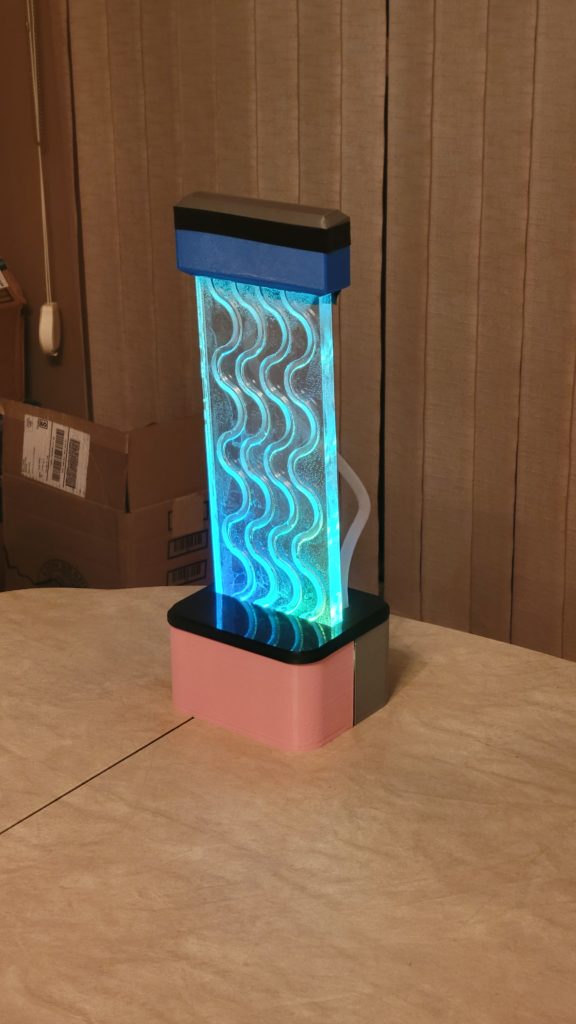
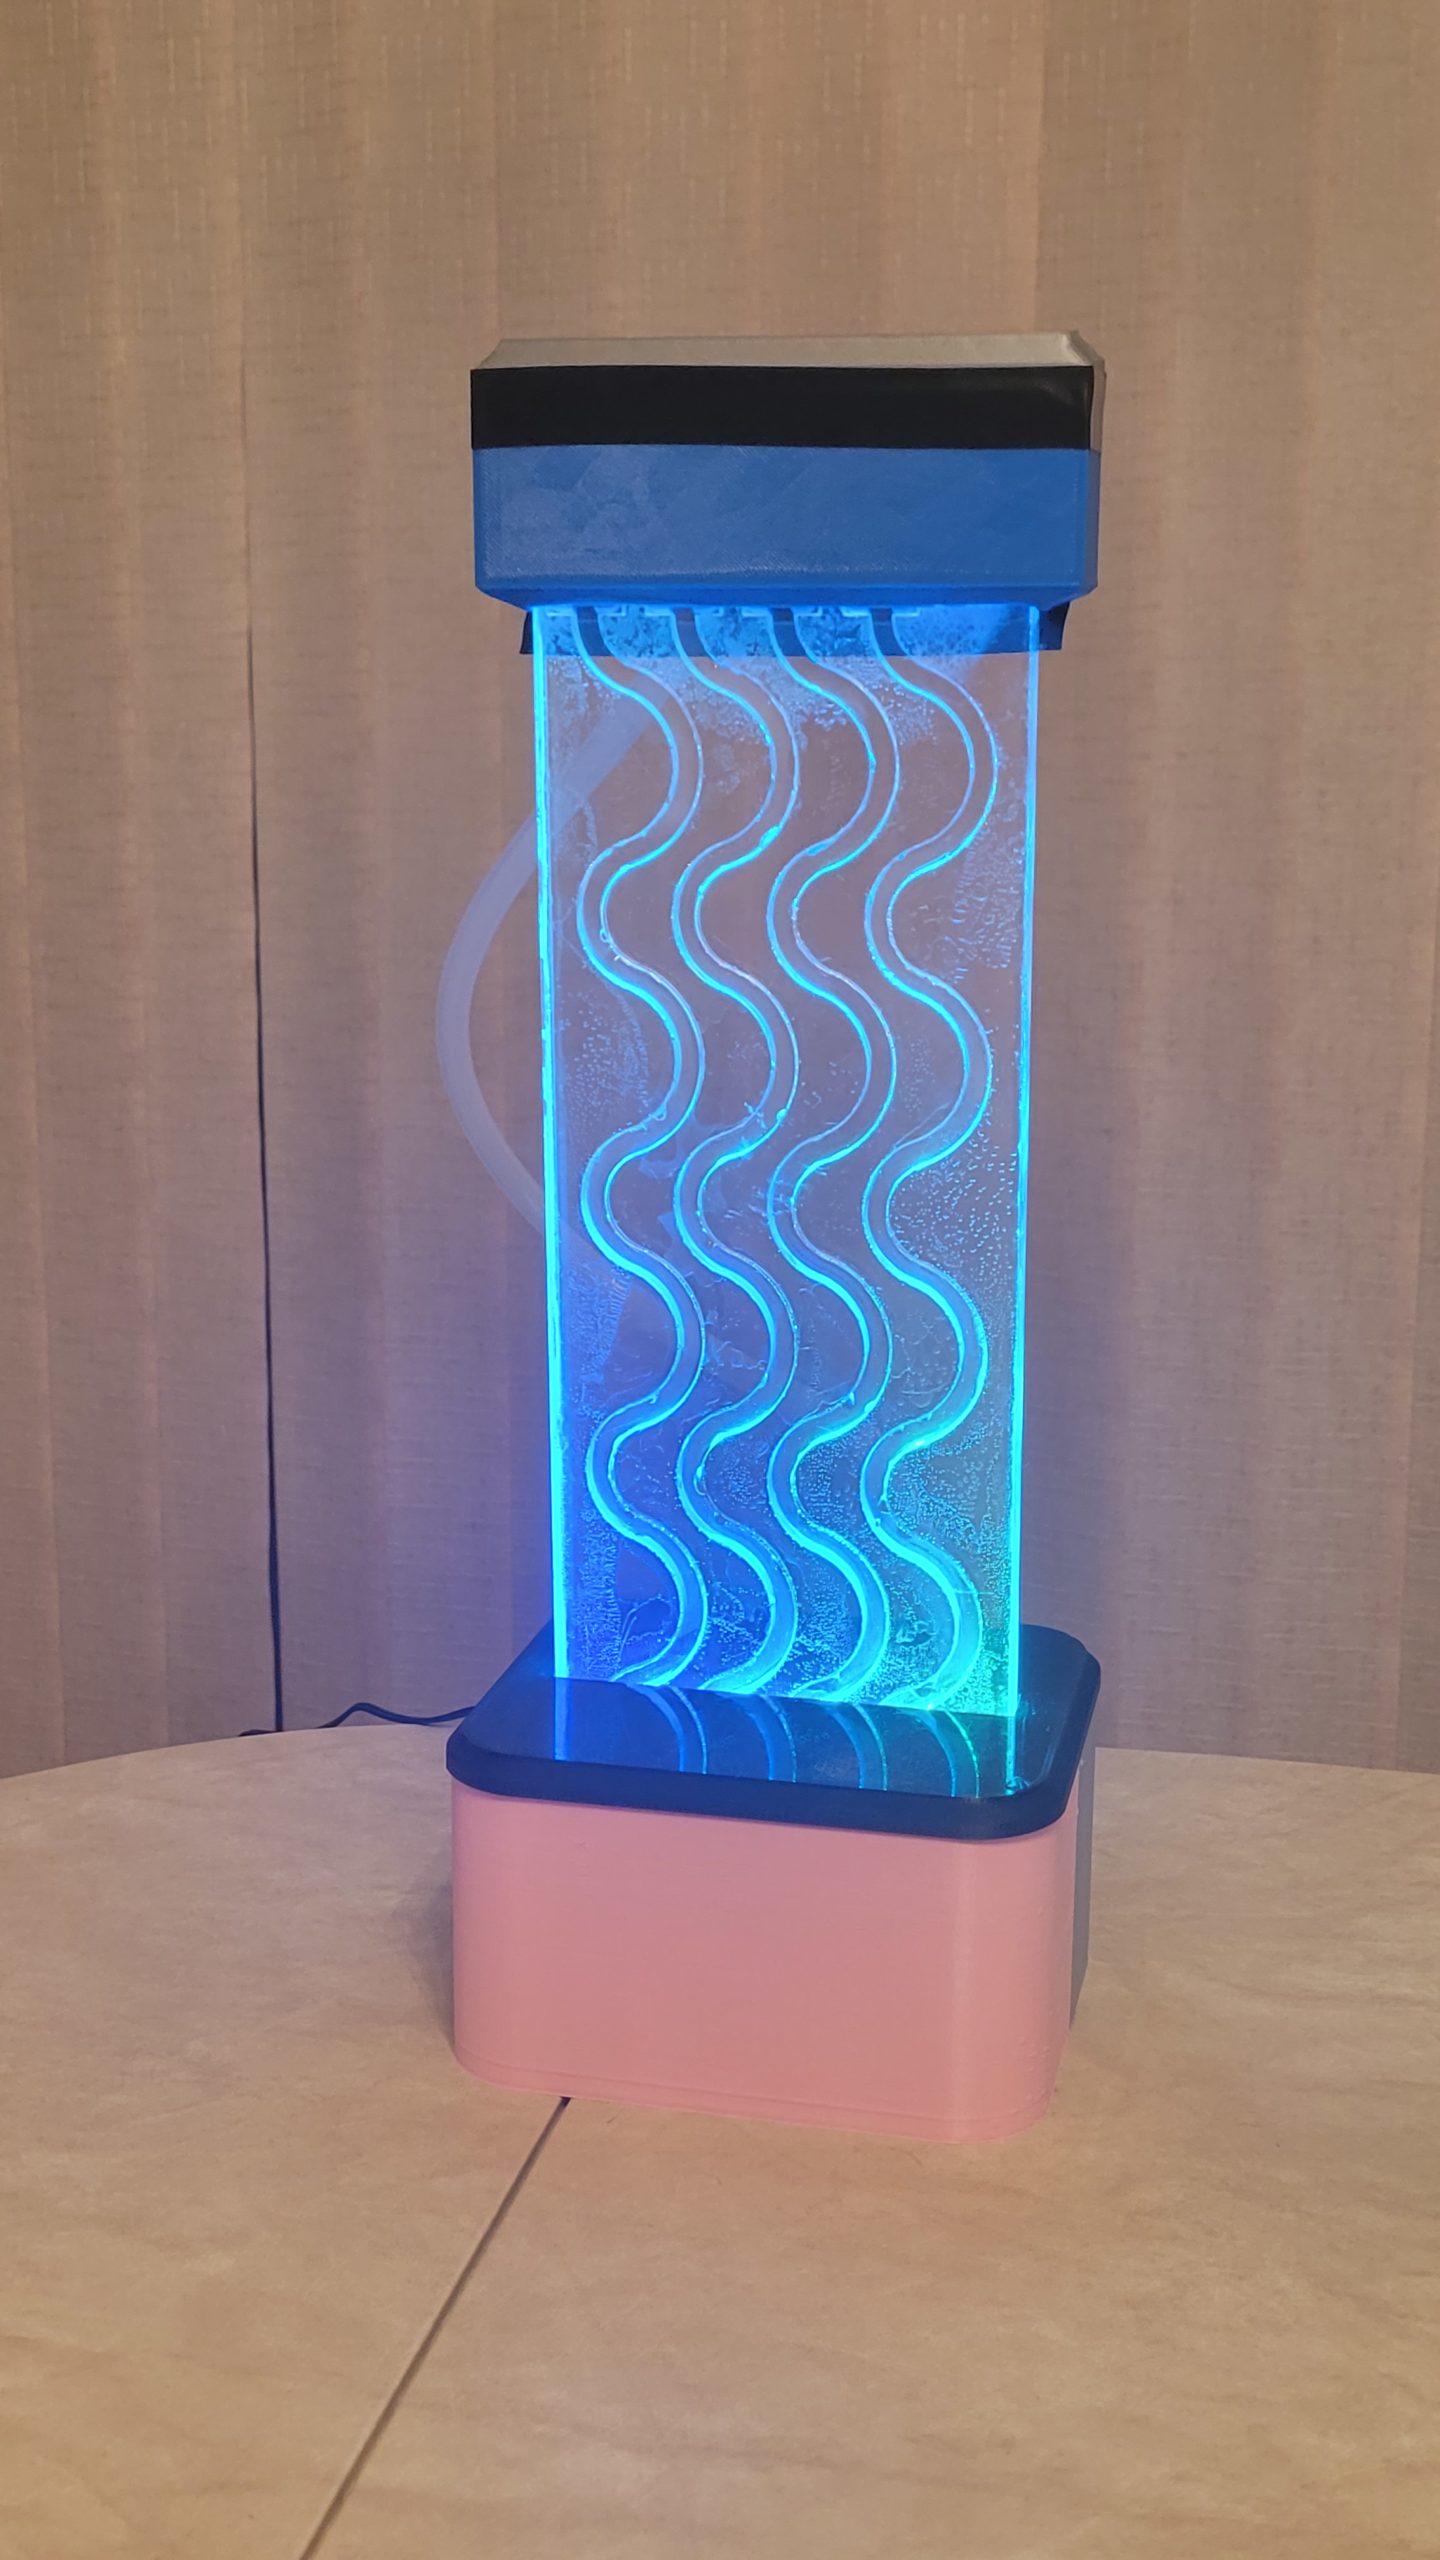

Another major struggle I had was with trying to prevent leaking. The main problem was that by the time I got to the leak-reduction step it was getting into the last week of the term, so there would be no time to get new parts 3D printed at the makerspace. Some of the parts really need some modifications done if there is any hope of fully patching leaks, especially the top assembly, which needed a bunch of tape and hot glue to seal it. The top part also had a pretty loose fit on the tube, so it needed to be wedged in place or else the tube might fall out on its own. The top part also did a very bad job of dispersing the water, since most of the time the water went exclusively through the middle two chutes, though this depends on the angle and the timing of the pump.
I hope to make some modifications to some parts (mostly the water side of the base, top piece, and the panels) in order to remove the tape and glue needed for the current version. I also hope to do new 3D prints on a friend’s printer so that the parts can have matching colors.
Overall though, I think the hardware side went decently, even though it’s not as polished as I would like. I got a bunch more experience using the 3D printing queue and the laser cutter, which before I had only used once about two years ago.
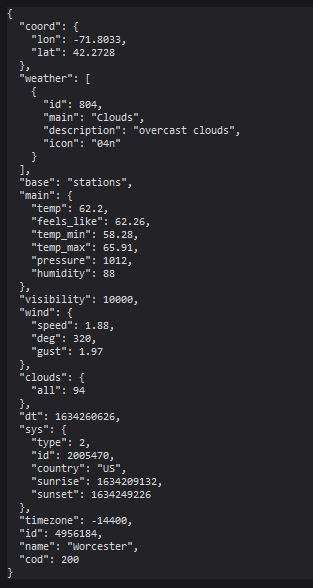
On the software side, there is a lot of improvement that can be made in the future, and the software is really more of an advanced proof of concept right now. The ESP32 automatically connects to a hard-coded WiFi network on startup, and once every minute, fetches the weather data for a hard-coded location using the OpenWeatherMap current weather API. There are 5 LED patterns I made (using FastLED) which correspond to certain weather conditions, and the pattern used switches based on the fetched weather data.
In the future, I want to make the LED pattern code more generalized. Instead of having fully premade patterns for specific weather, I want to have it so multiple patterns can overlay each other using the feature where OpenWeatherMap can give multiple weather types depending on their strength. I also want to have it so that the hue and saturation of the patterns changes depending on the temperature outside, and I could also try to take other factors like the humidity and pressure. I might also try out using OpenWeatherMap’s hourly forecast API as well.
I had the idea, which some people also brought up during the demo, of somehow timing the flashes in the “thunder” effect with actual lightning. I might look into seeing if there is a real time lightning strike database or something which would be great for this.
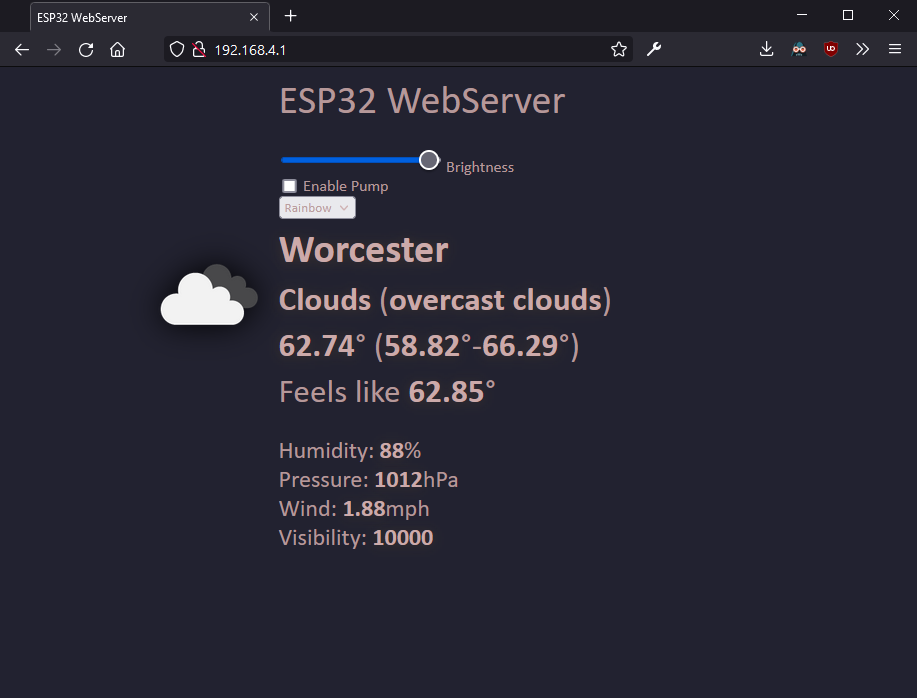
The ESP32 also runs a small HTTP server in the background, and opens an access point to allow you to connect to it over WiFi. Entering its IP in a browser shows a page that displays the fetched weather data as well as some inputs to adjust settings like changing the LED brightness, toggling the pump, and overriding the LED pattern.
In the future, I want to expand the web page to include the ability to change the currently hard-coded weather location and the WiFi network it tries to connect to.
Overall I had a lot of fun working on this project! I think what I completed turned out pretty good, and with a bit more work it can be even better.