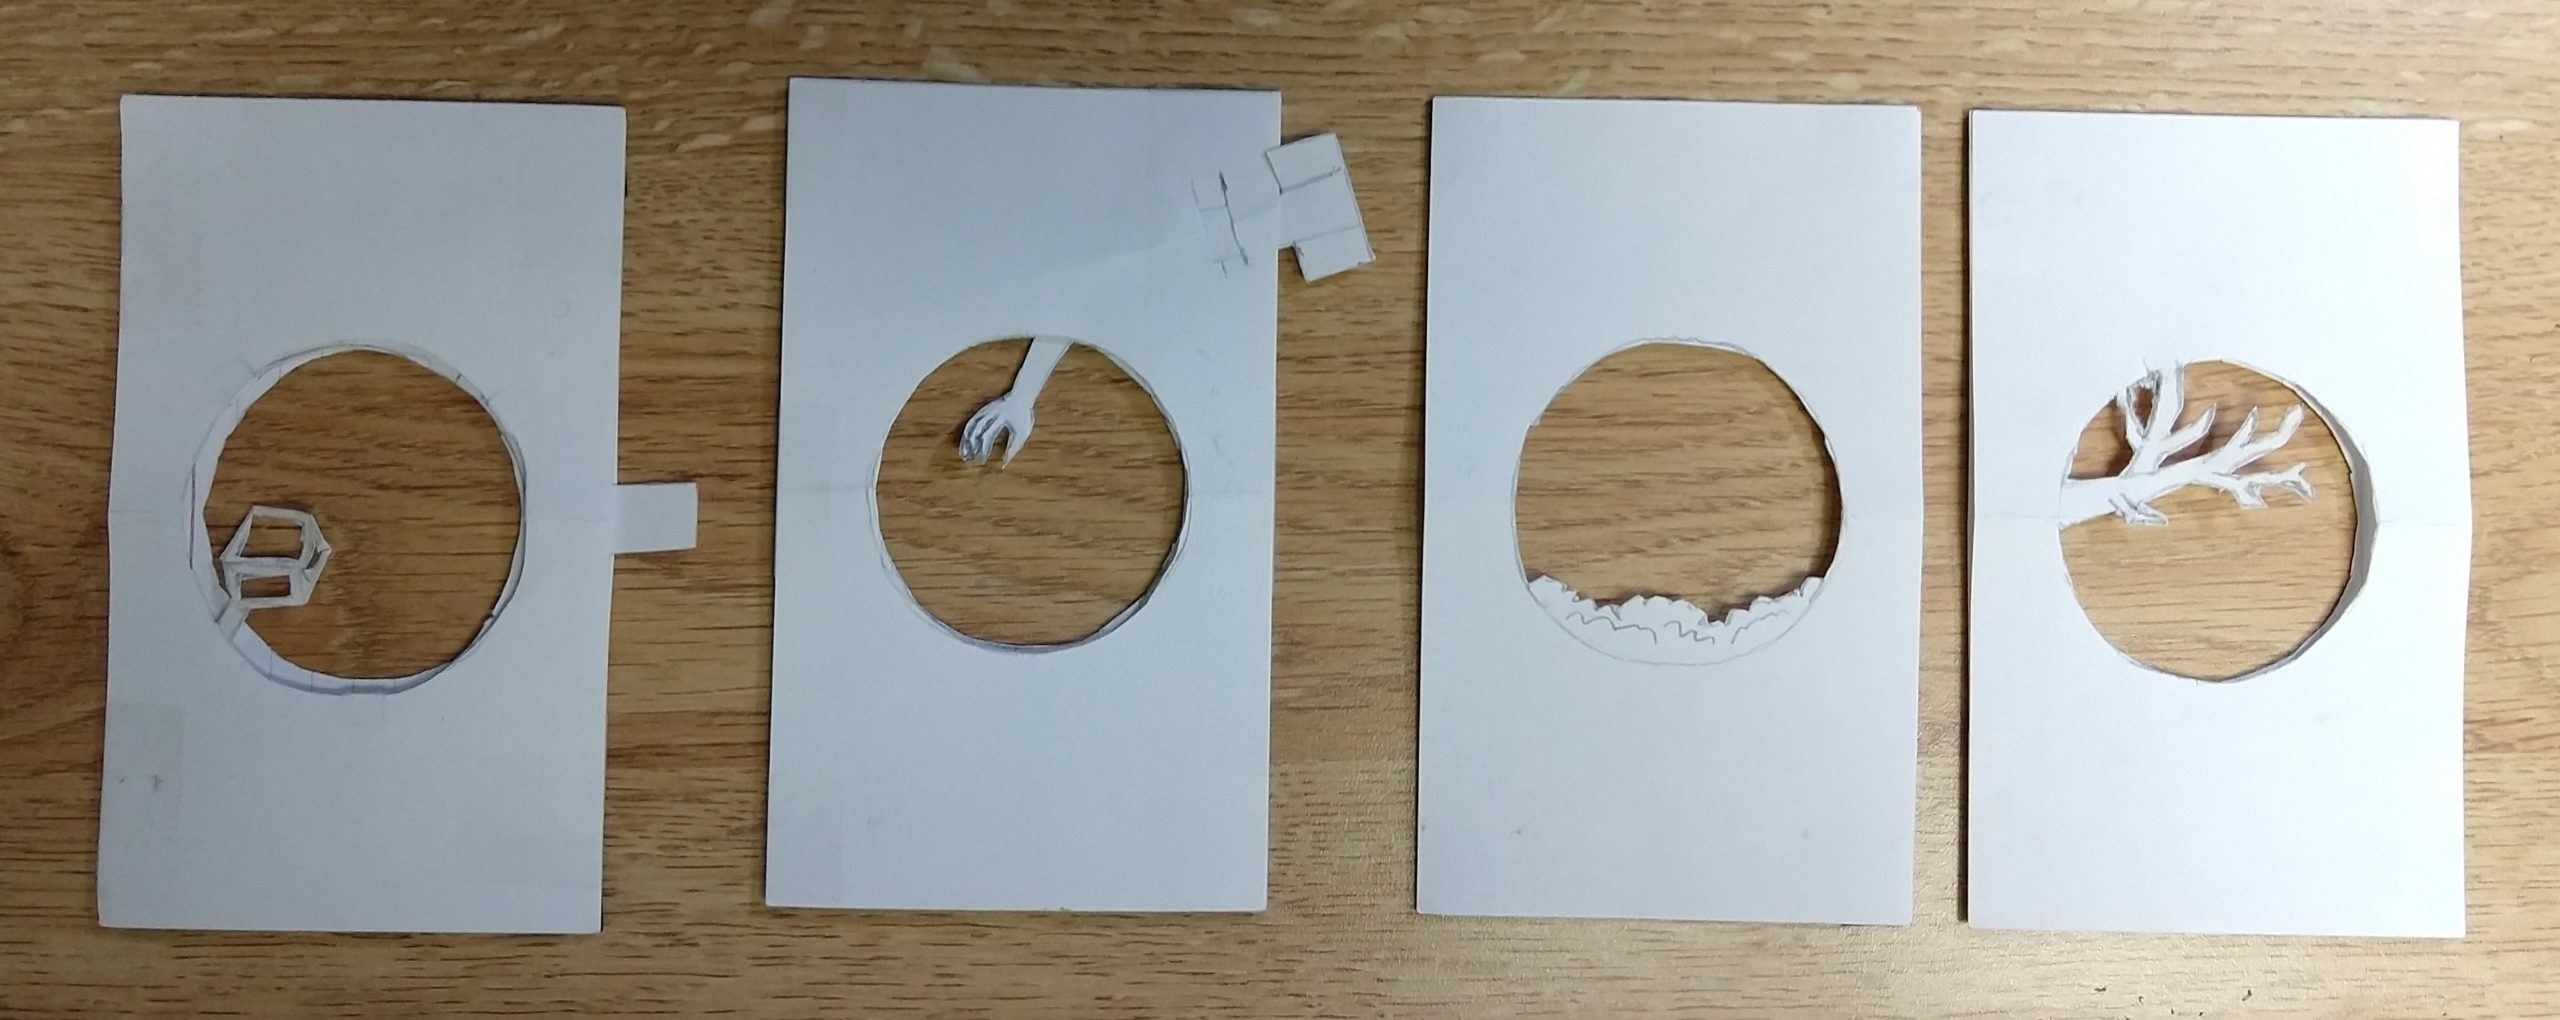
For the maquette of my light box concept, I wanted to have a physical mockup demonstrating at least a couple moving parts, and reorderable layers held together by magnets. I didn’t have time to get enough wood for a laser-cut version, so I cut up index cards by hand to make some layers.
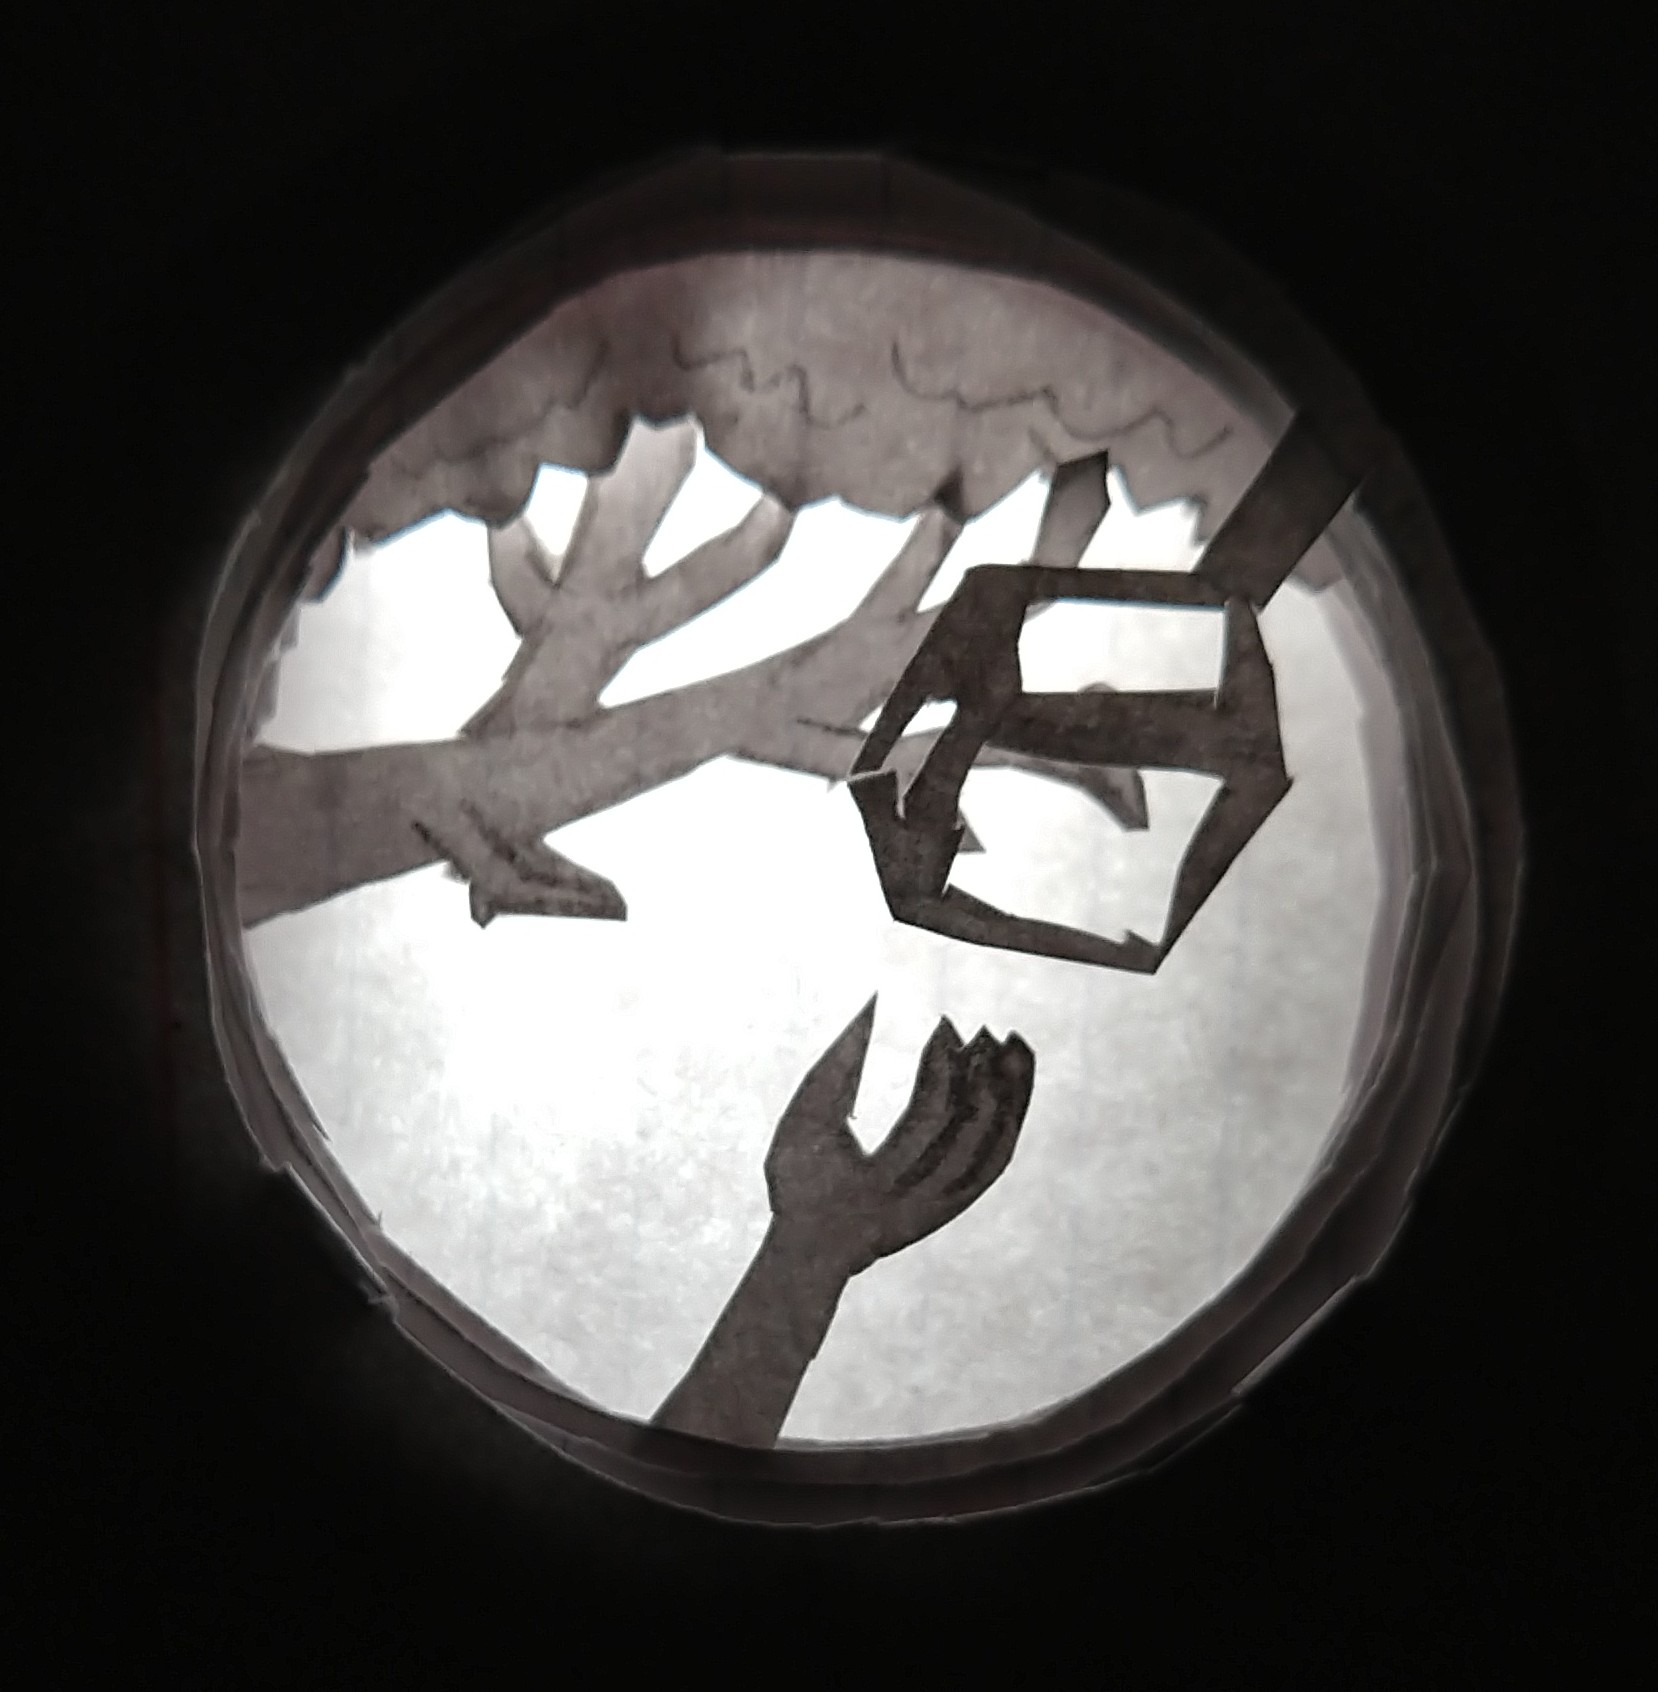
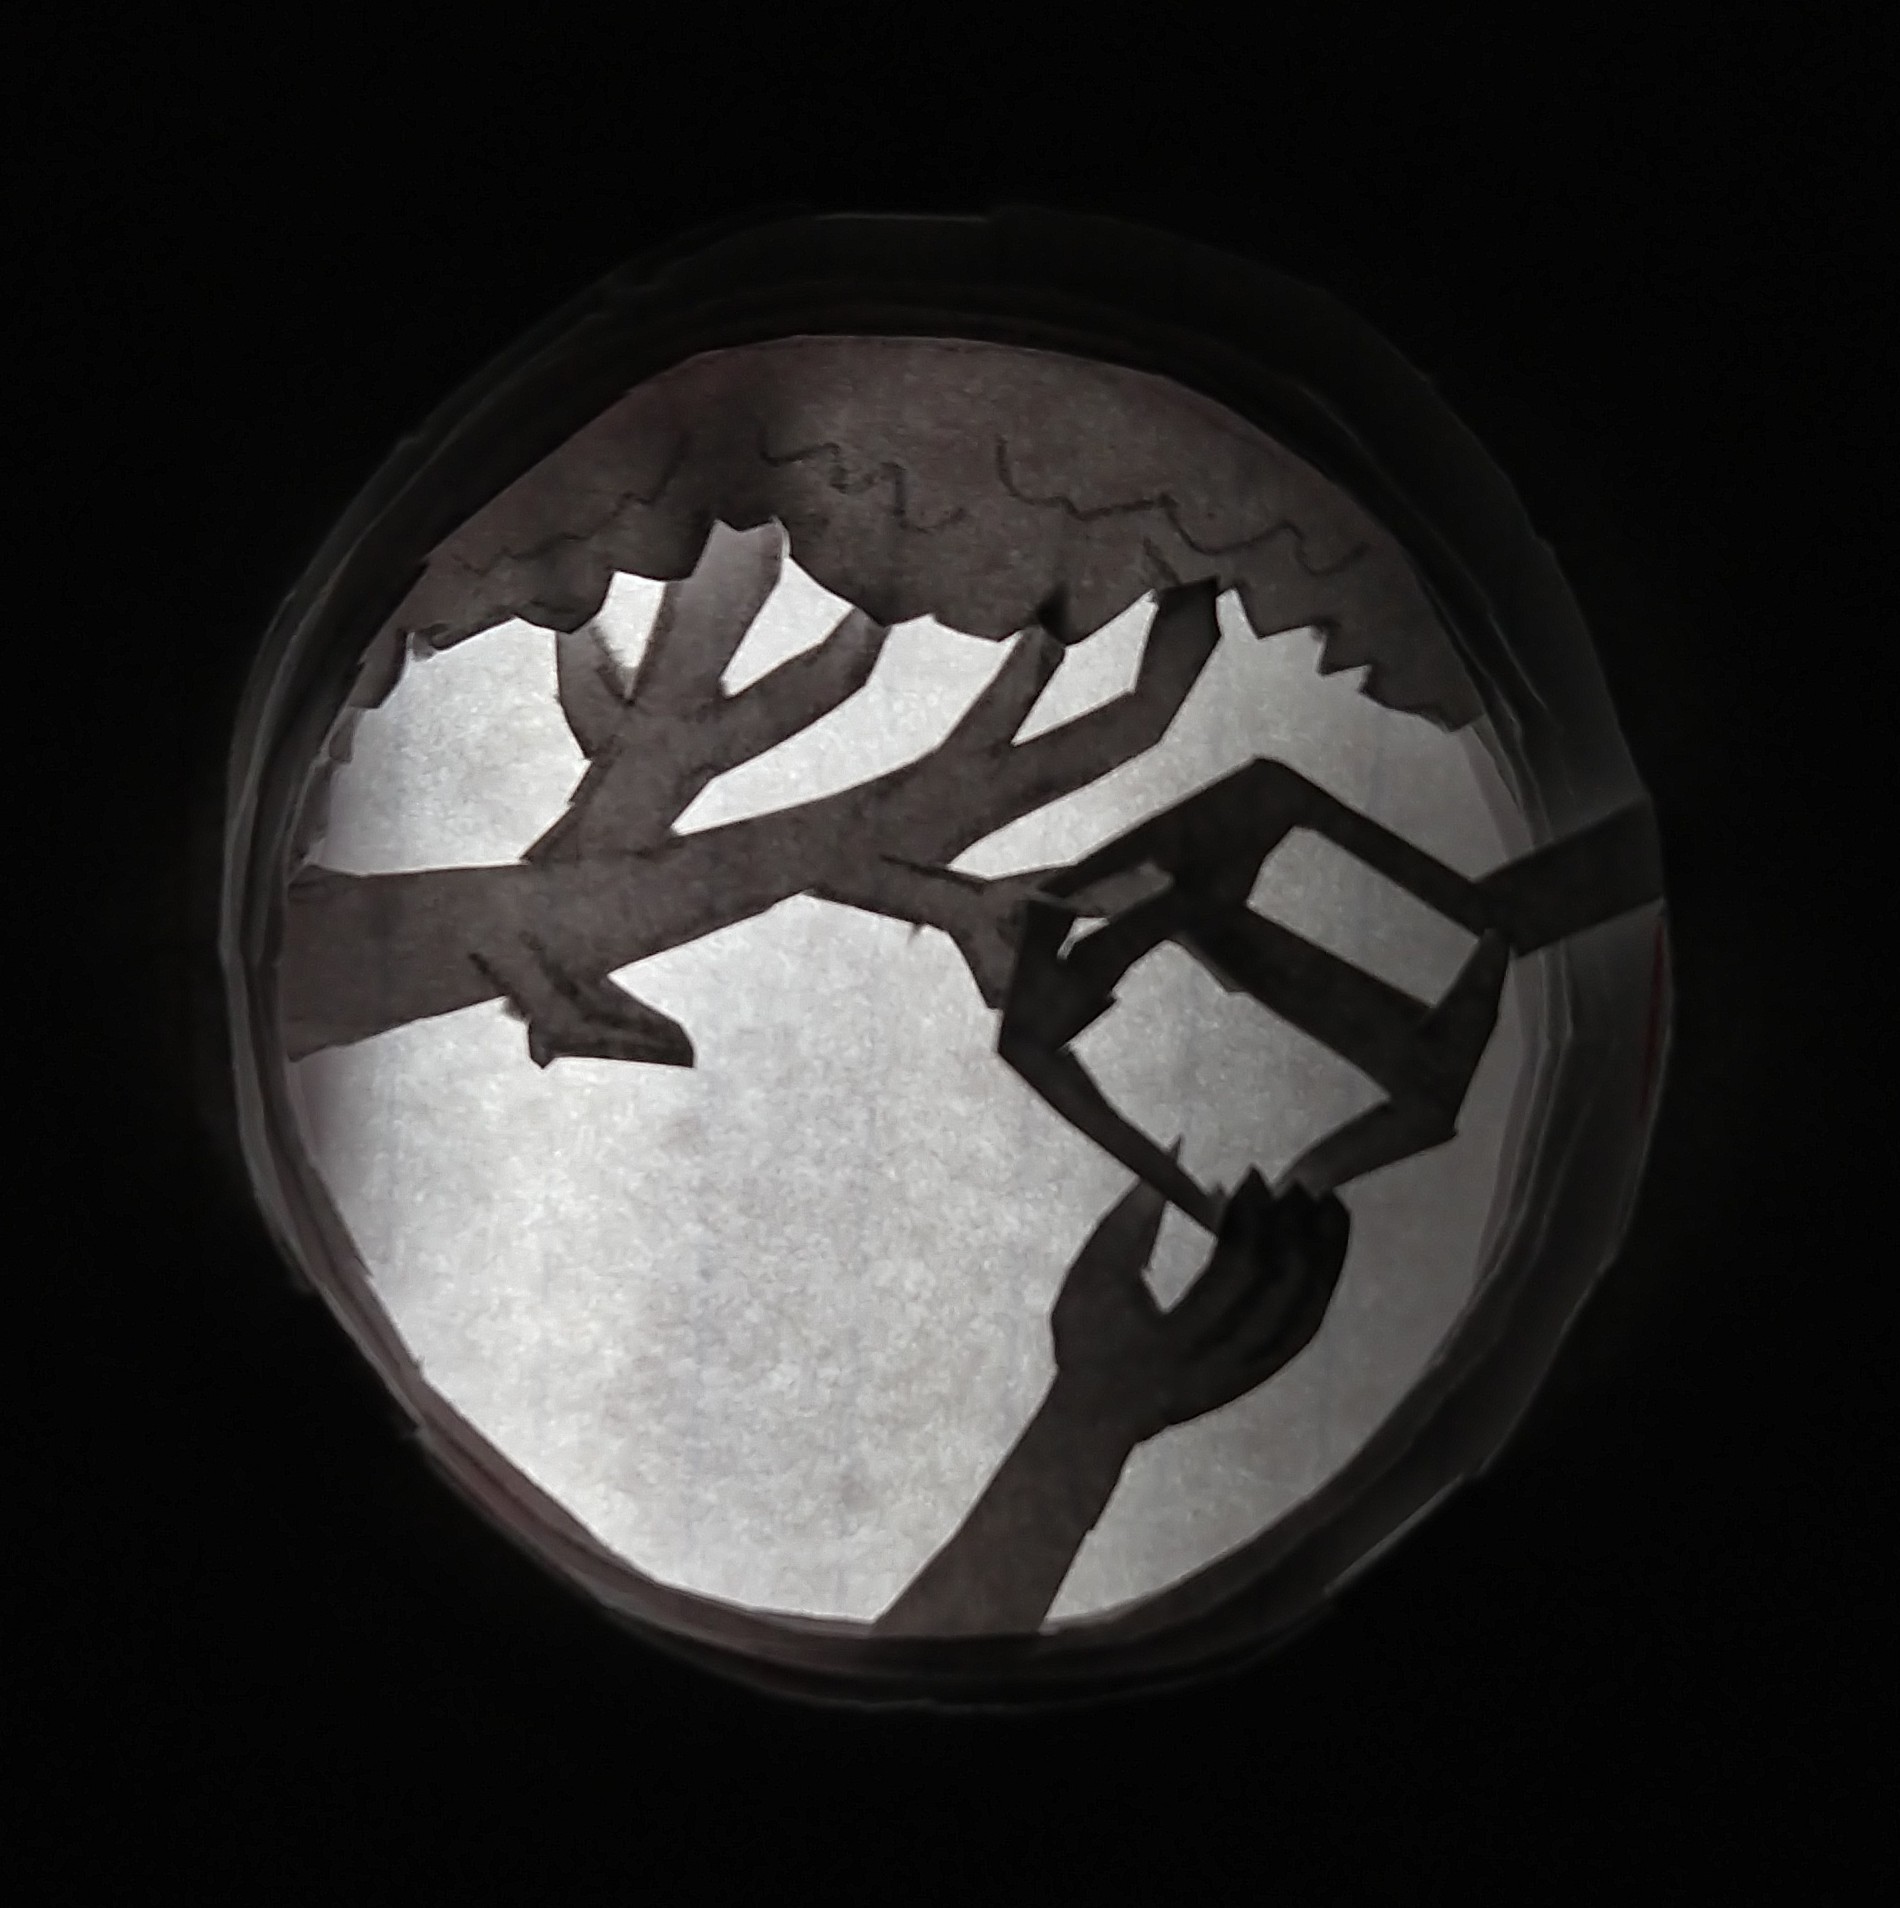
Below are the four layers I made for the maquette. The two on the right are static, and the two on the left have moving parts (the box shape is attached to a rotating circle, and the arm slides in and out of the frame):
Attaching Layers
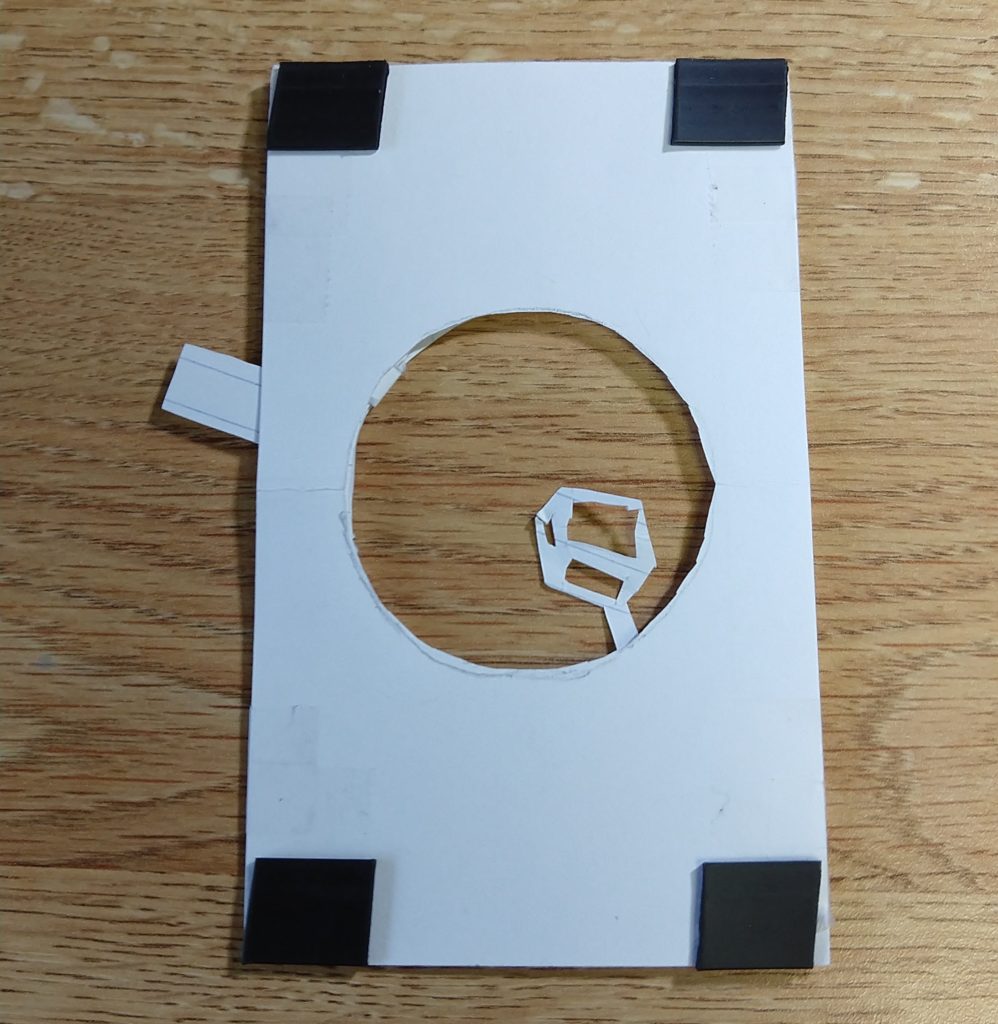
I had a large roll of magnetic tape left over from another project, so I used small squares of that to attach the layers together.
Rotating Mechanism
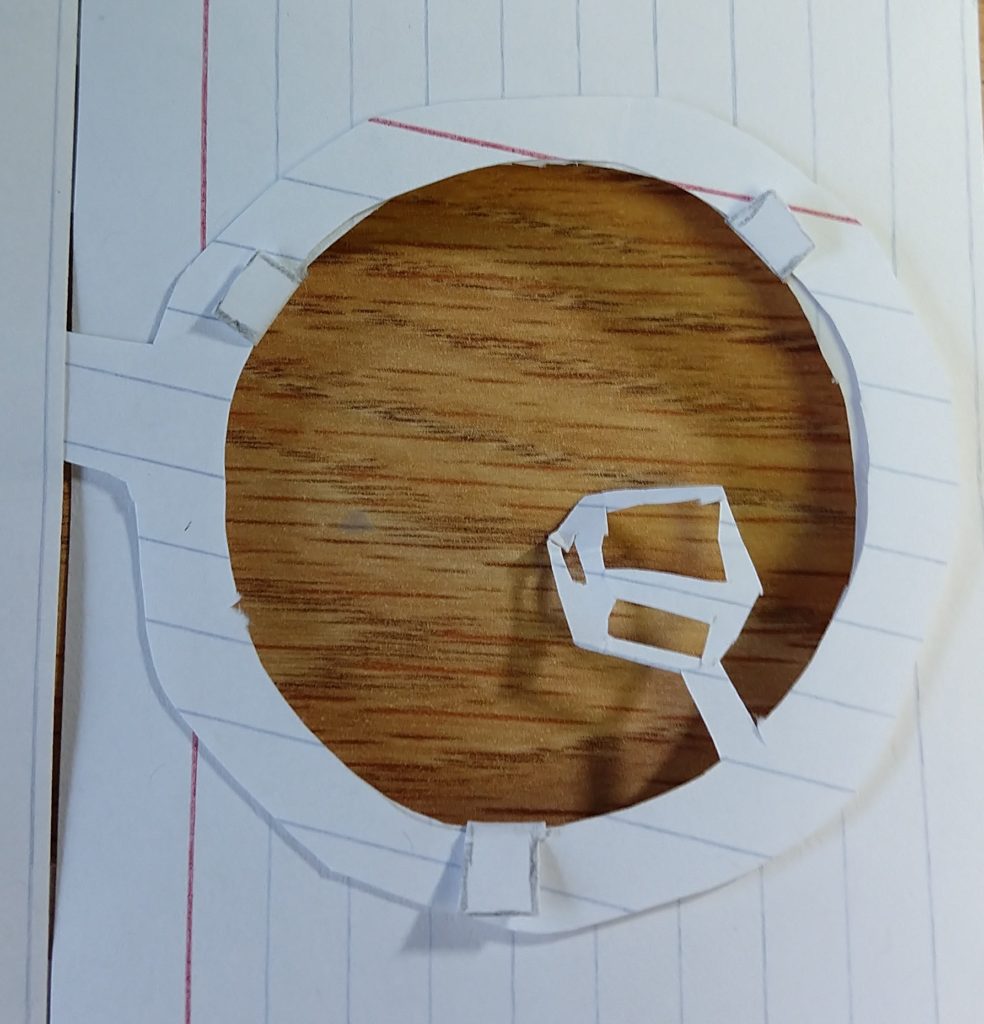
Of the two mechanisms, I had to put much more thought into the rotating layer. This is made of 3 sheets of paper – one for the moving part, and two to keep it in place. The lever poking out on the side attaches to the thin circle in the middle layer, and tabs from one of the outer layers fold inward to hold the circle in place.
Since part of the circle juts inward (to hold the shape that’s actually visible through the window), it can’t move all the way around – it’s just enough range to be interesting, but I’d like to do better than that for the real version.
Since wood is thicker and stiffer than paper, I shouldn’t need to use tabs like this to keep a shape from rotating out of place.
Here you can see the mechanism in motion:
Results
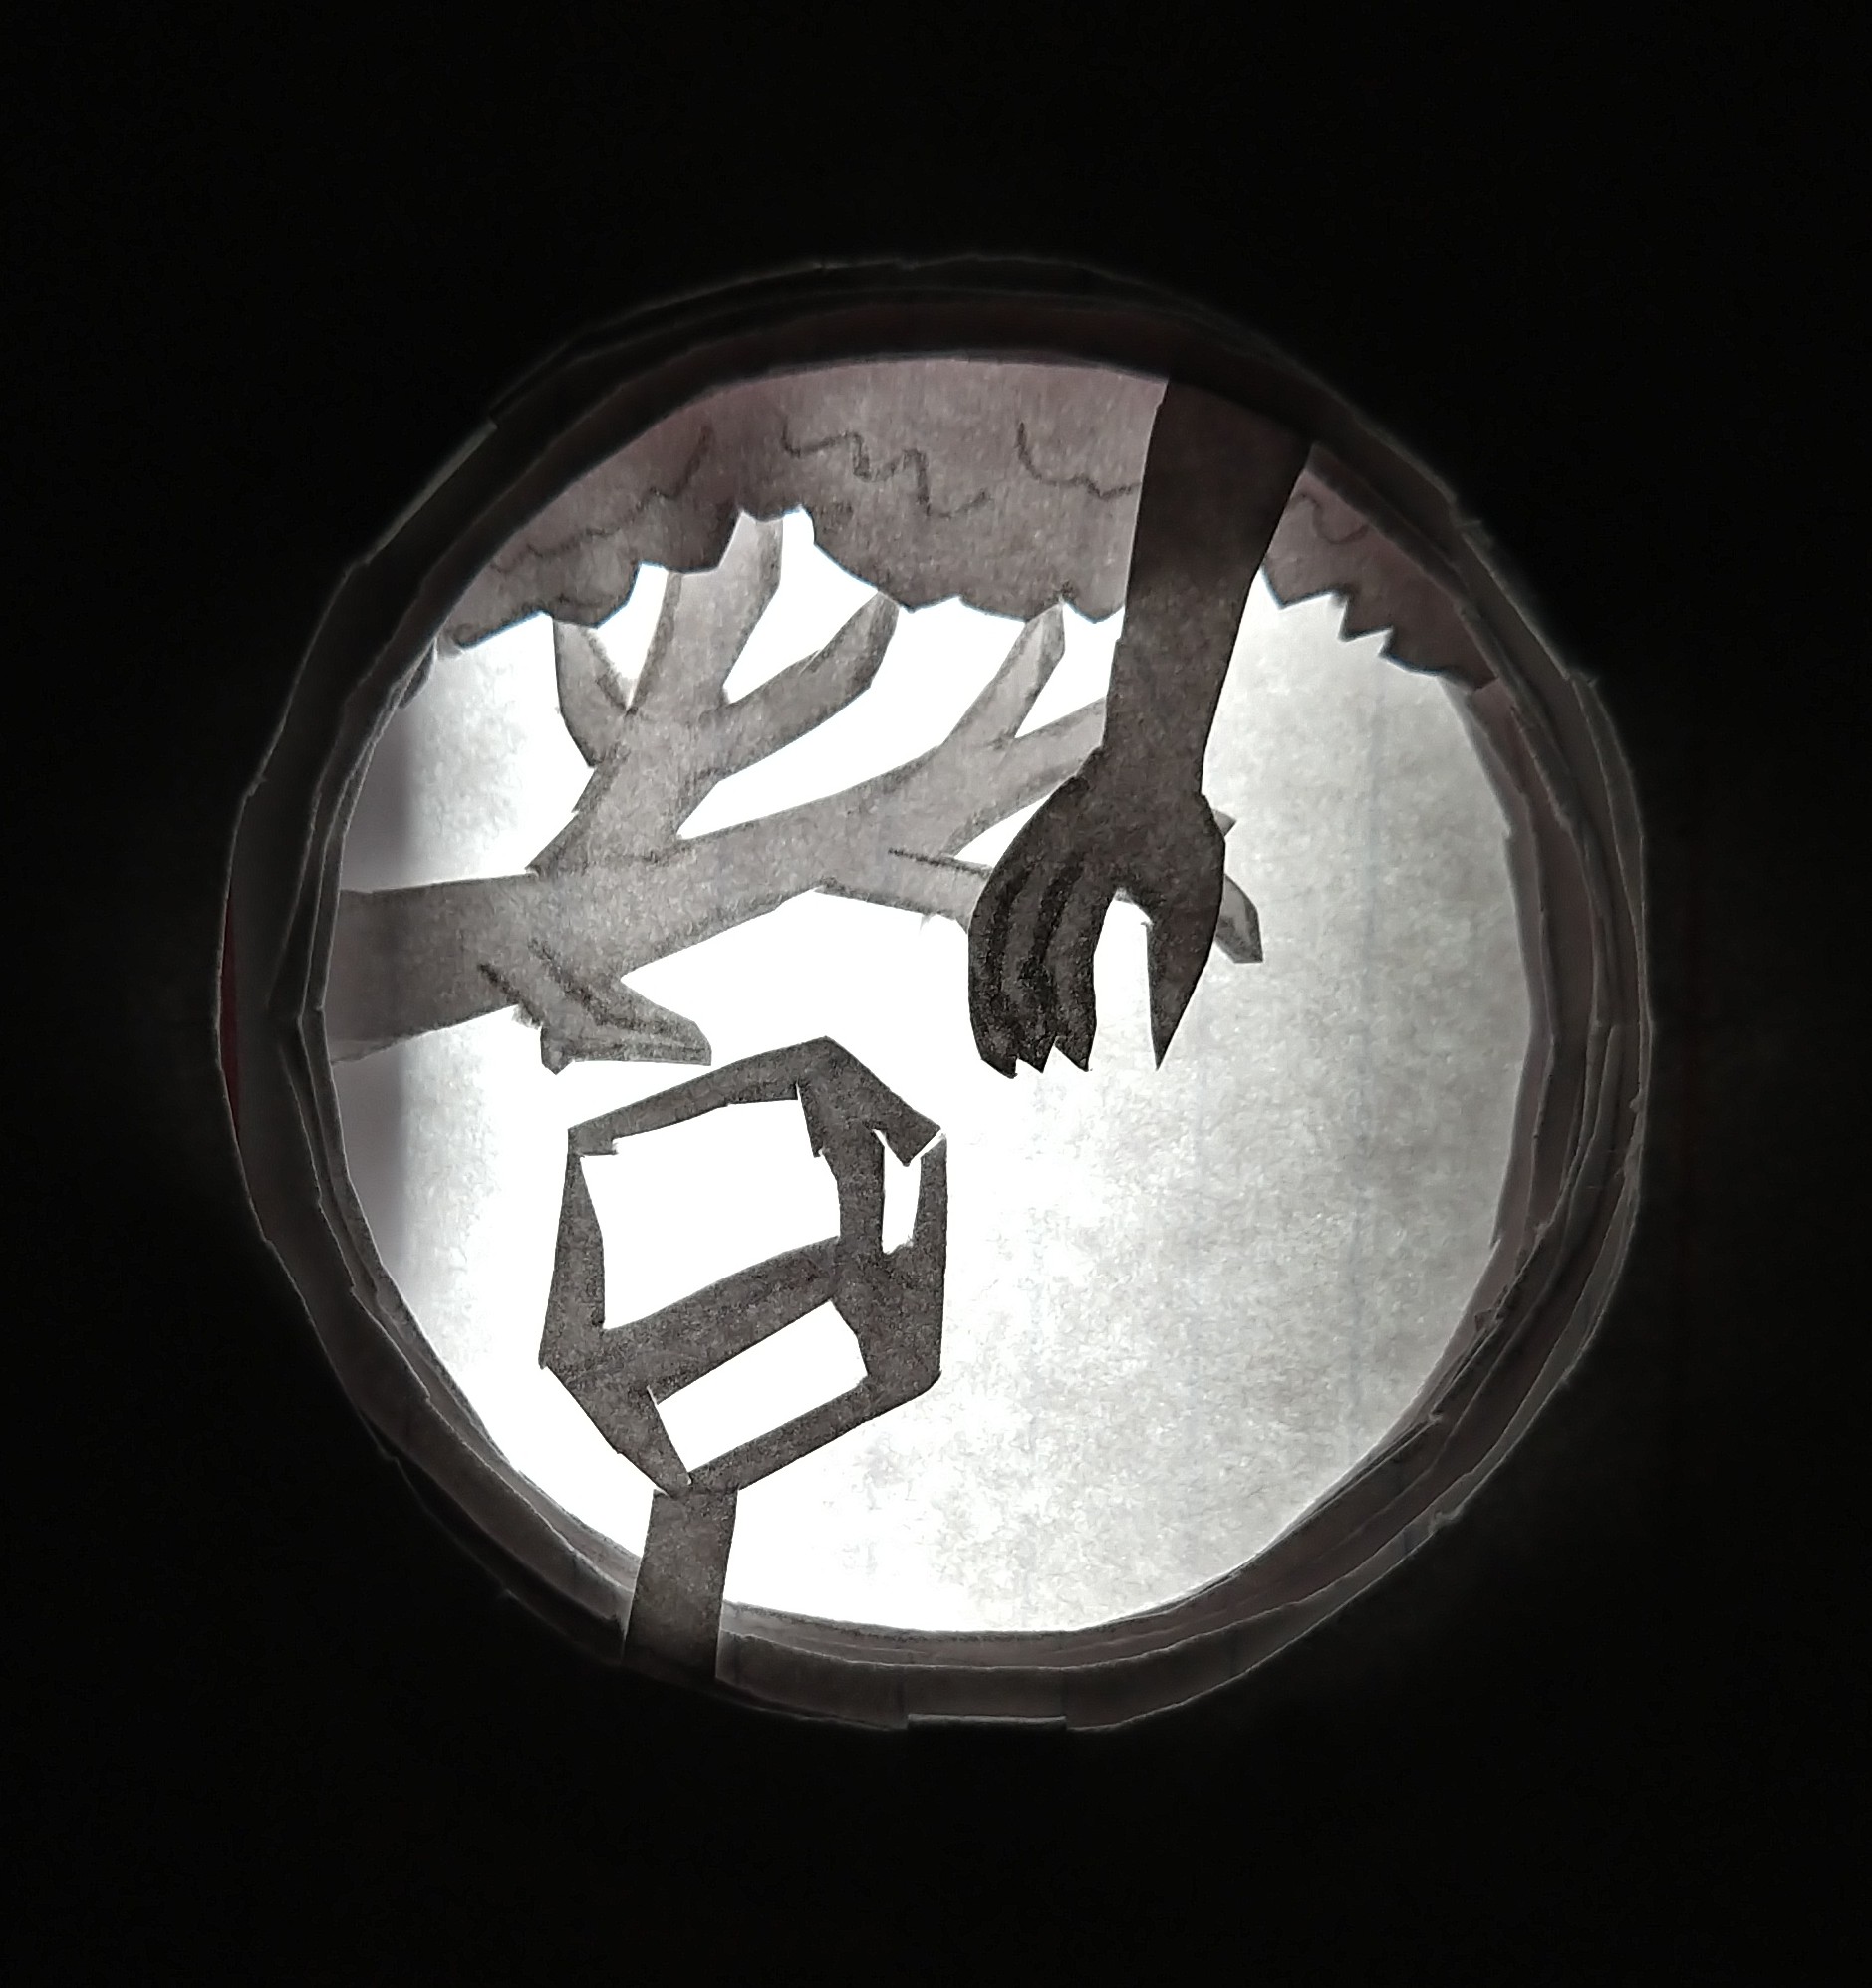
Finally, with all the layers cut out, I took pictures of a few variations of the maquette. In each one I tried to switch up the layer order, move the moving parts, and also flip some layers upside down (a feature I intend to preserve in the final version):

Materials
My main materials for this project will be:
- Wood
- 1/4″ or 1/8″ thick – will test both
- Purchase from Robosource.com or the WPI MakerStore
- Magnets
- Would prefer to use dollar store/craft store/Harbor Freight ceramic magnets
- Can use magnetic tape, but feels less polished
- Light
- Made test images above with a desk lamp, so don’t need anything very specific – just one bright light, paper will diffuse it
- Might have portable light from Harbor Freight, otherwise will use phone light or go to dollar store
- Paper
- Readily available – don’t need more than a few sheets
Timeline
This week, I plan on making some test slides using wood I received today, to see what movement mechanics/shapes/wood thicknesses work best. I will also start to finalize what I want the box to depict.
Over the following two weeks, I will start working out the graphics of my final design. This will likely take a number of design tests – for shaping, details, material strength, and how much light should be occluded by the wood. I’ll also settle on a light source and magnets during this period, and prepare the final design around them.
In the last week and a half, I will be creating any final layers that I had not created already, or re-cutting ones that broke.
I love the feature of flipping layers upside down to create different images! I really like the suggestion someone made during class about making the overall shape a circle instead of a rectangle. I’m not sure about the issues this might bring, but the ability to move the layers even more is enticing. Perhaps you could make an abstract pattern or a circular system, such as the solar system.
The 4 possibilities and the variations on how they could be interpreted was super cool. I look forward to seeing what this becomes with the final product!
Do you think you will use any type of colored paper to add dimension, or will you stick with white paper? If you are looking for something to be a little more see-through, I would recommend either transparent colored plastic or tissue paper.
The circular turning setup is so clever! Do you plan on the final version moving them by hand or have you thought about a way to automate that aspect?
I like how you incorporated moving parts in a crafty way, the adjustable scenes make the piece interactive which is a cool aspect.