For my project, I decided to go with the infinity mirror. I wanted to make something physical for my project. When comparing the LED cube and the mirror, I felt that the cube wouldn’t have enough of a resolution to create the liquid effect without using thousands of LEDs. For the mirror, I started to make a model of the icositetrahedron but quickly realized that figuring out the geometry of the shape would be too difficult. Instead, I decided to go with a deltahedron. The geometry is a little more uniform but the non-perpendicular faces still create an irregular shape inside of the mirror.
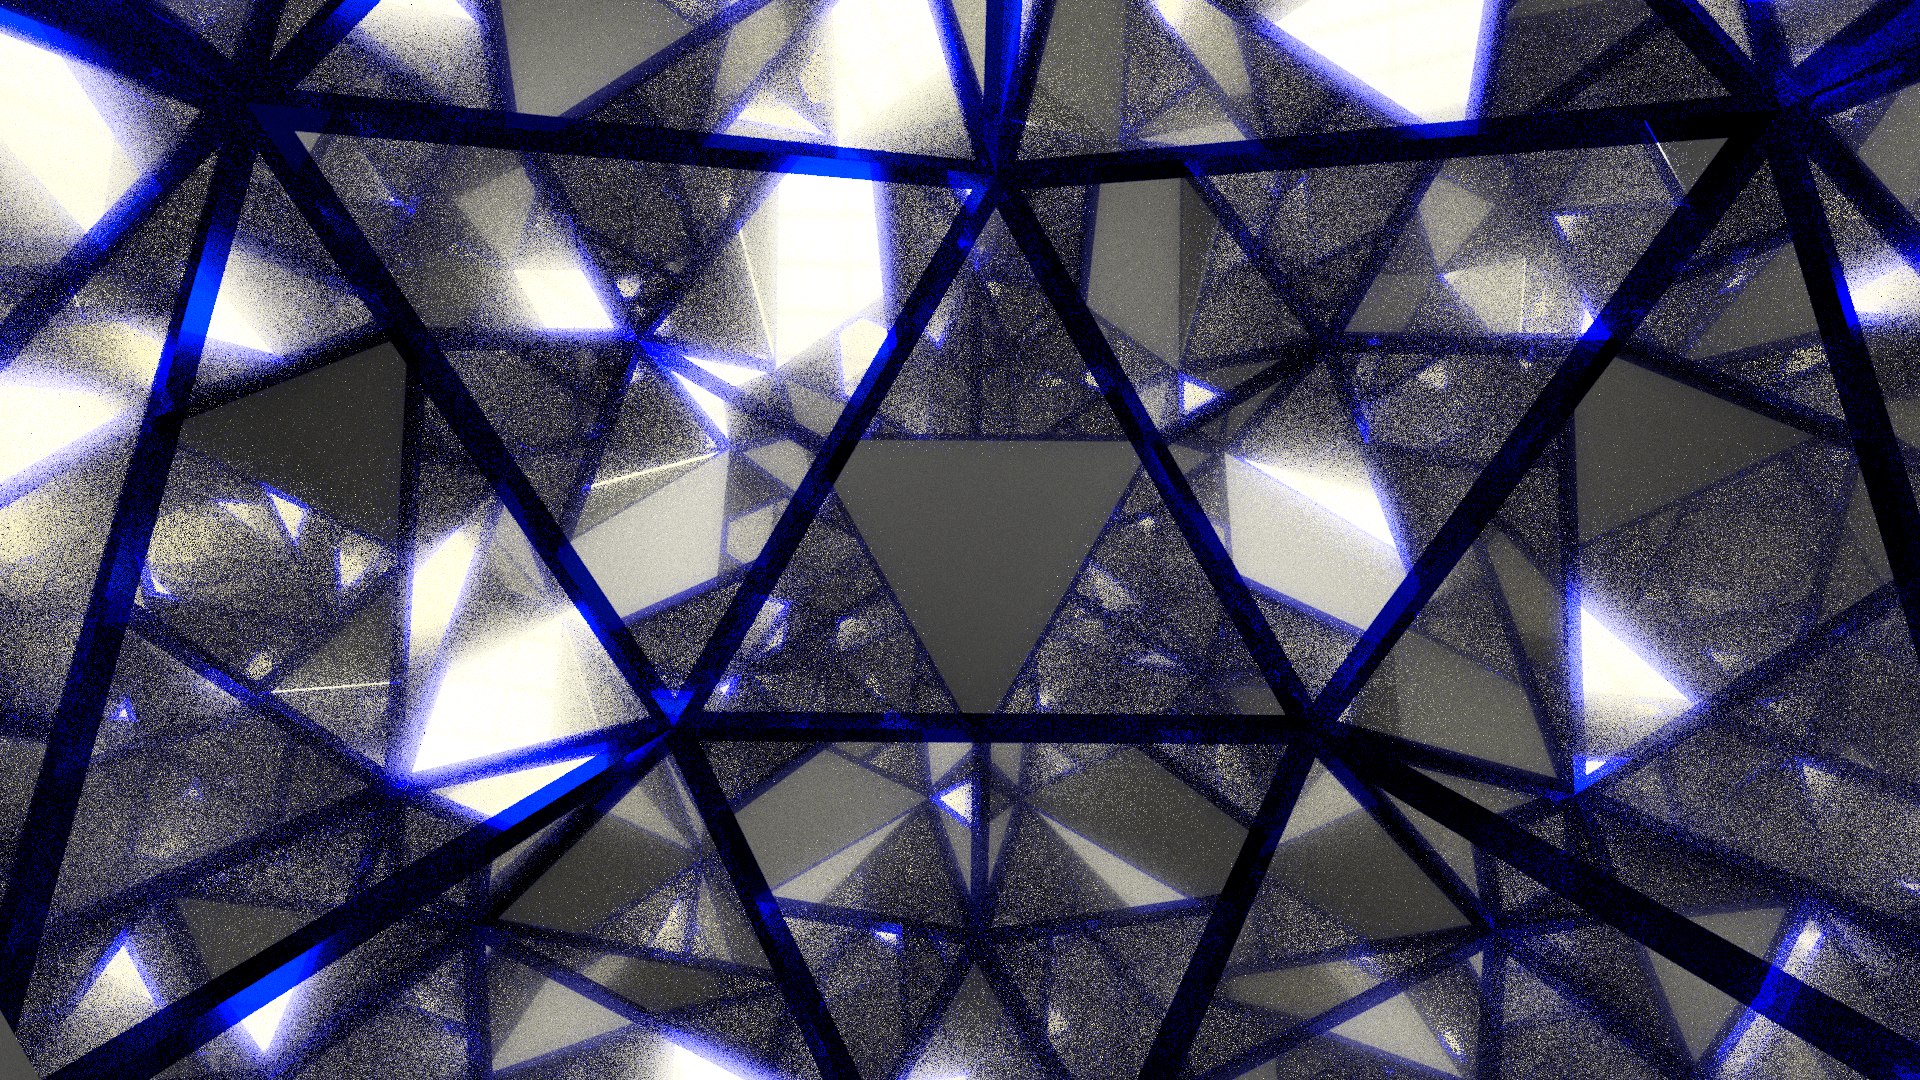
To start, I made a CAD model of the shape and applied a mirror finish to each face. This way, I could simulate the mirror effect from one face. This was the initial render that made me decide to go with this shape.

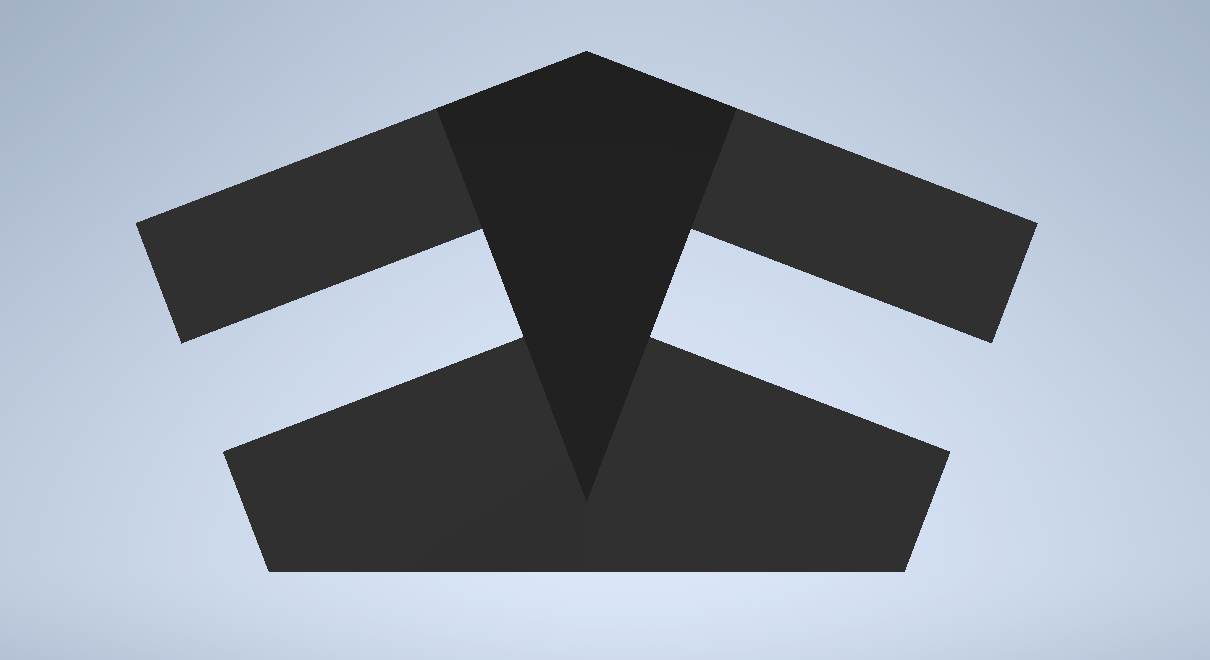
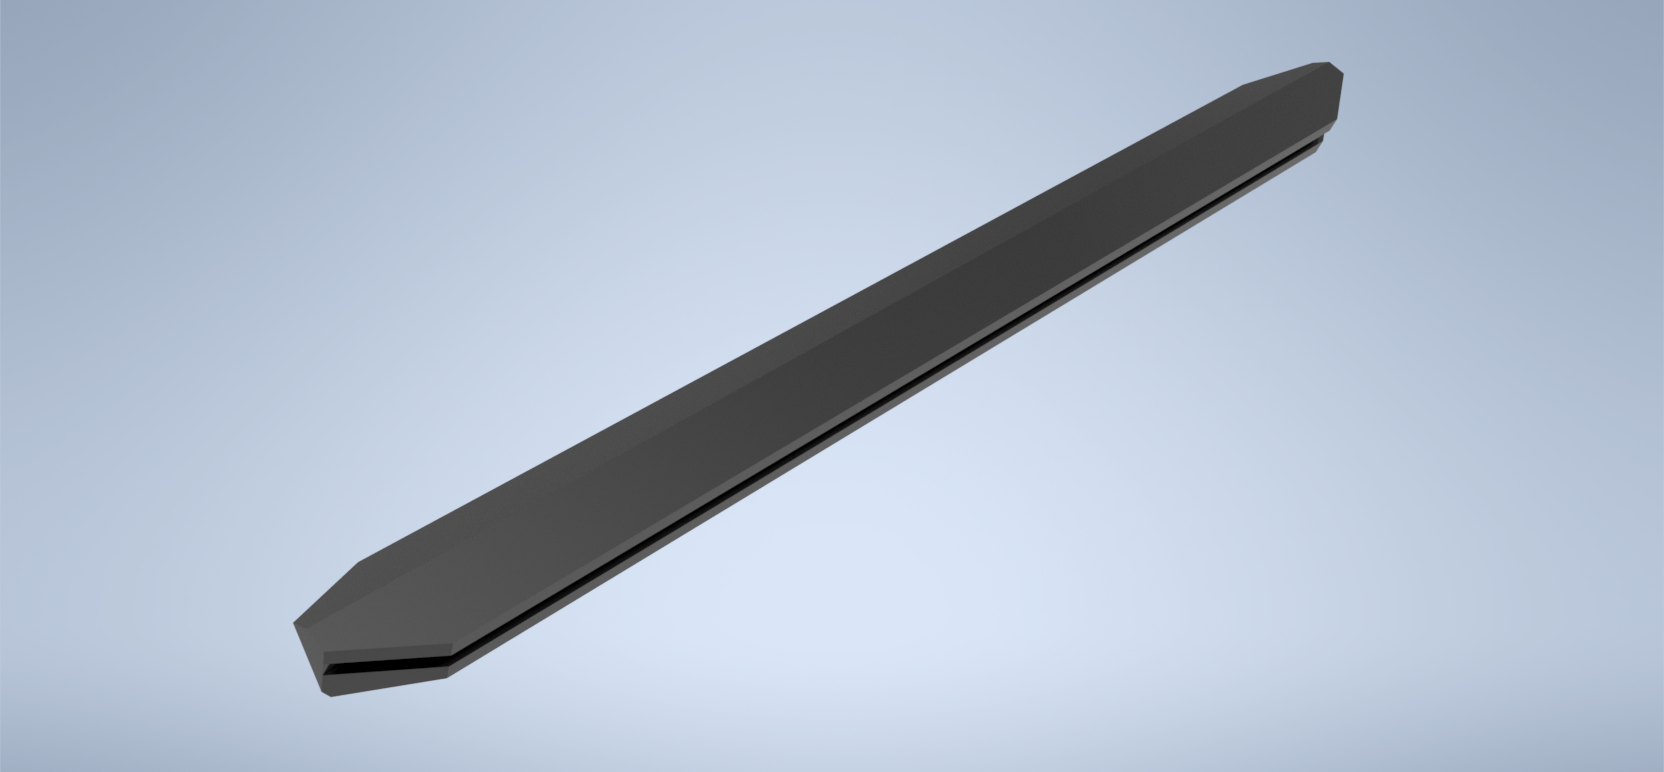
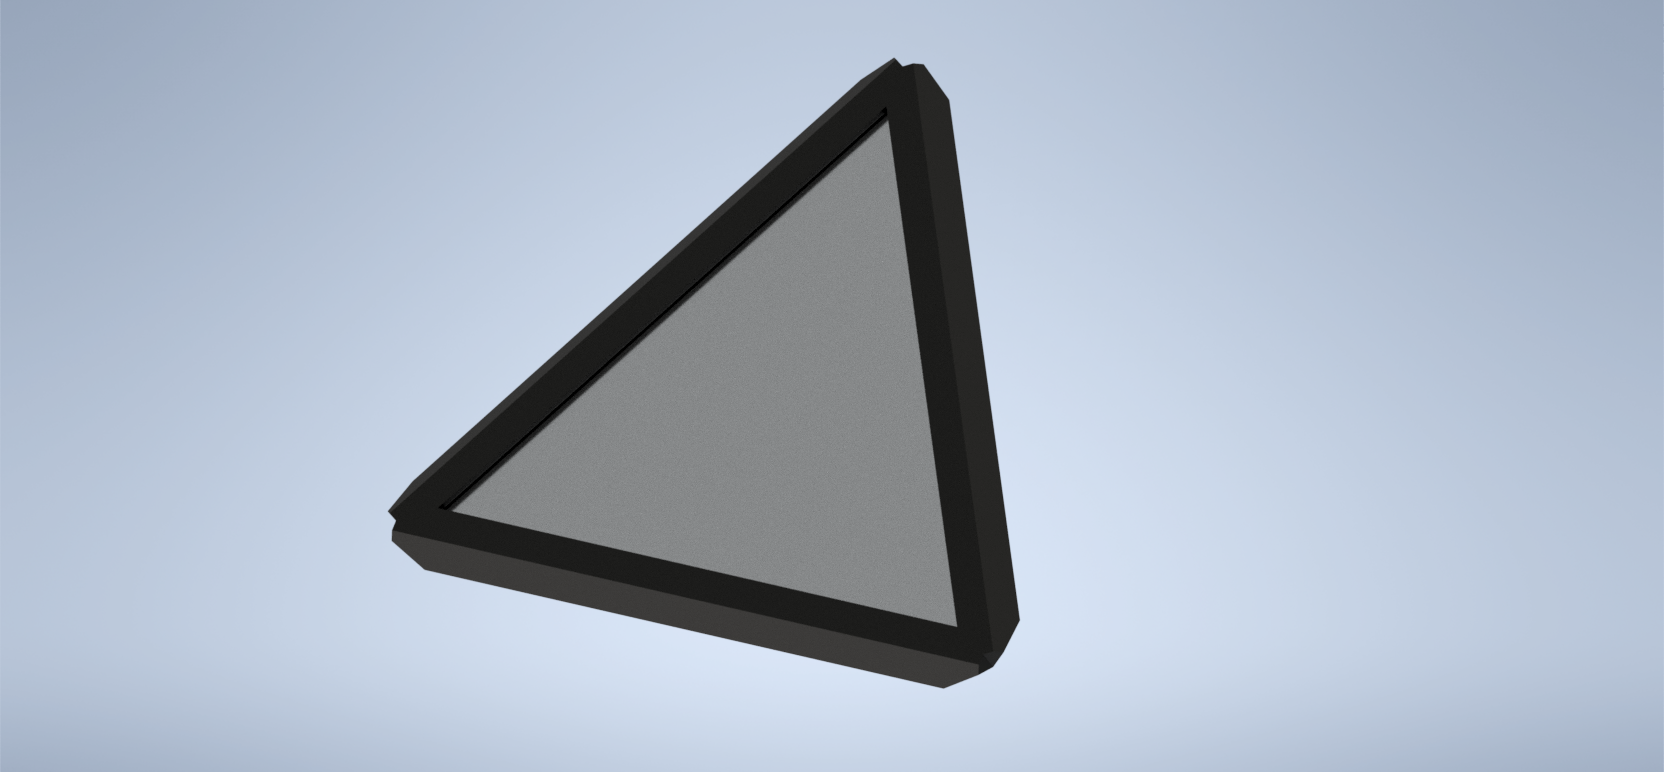
After deciding on this, I started to design how each face would be held together. I’m currently designing a bracket that will hold each panel together with friction.
For the model of the mirror, I wanted to have a physical model of the mirror to hold, so I build one out of acrylic. For this model, I used tape to connect each face. I wanted to try making at least 1 face into a mirror, but I couldn’t test it without buying a large amount of one way mirror film.
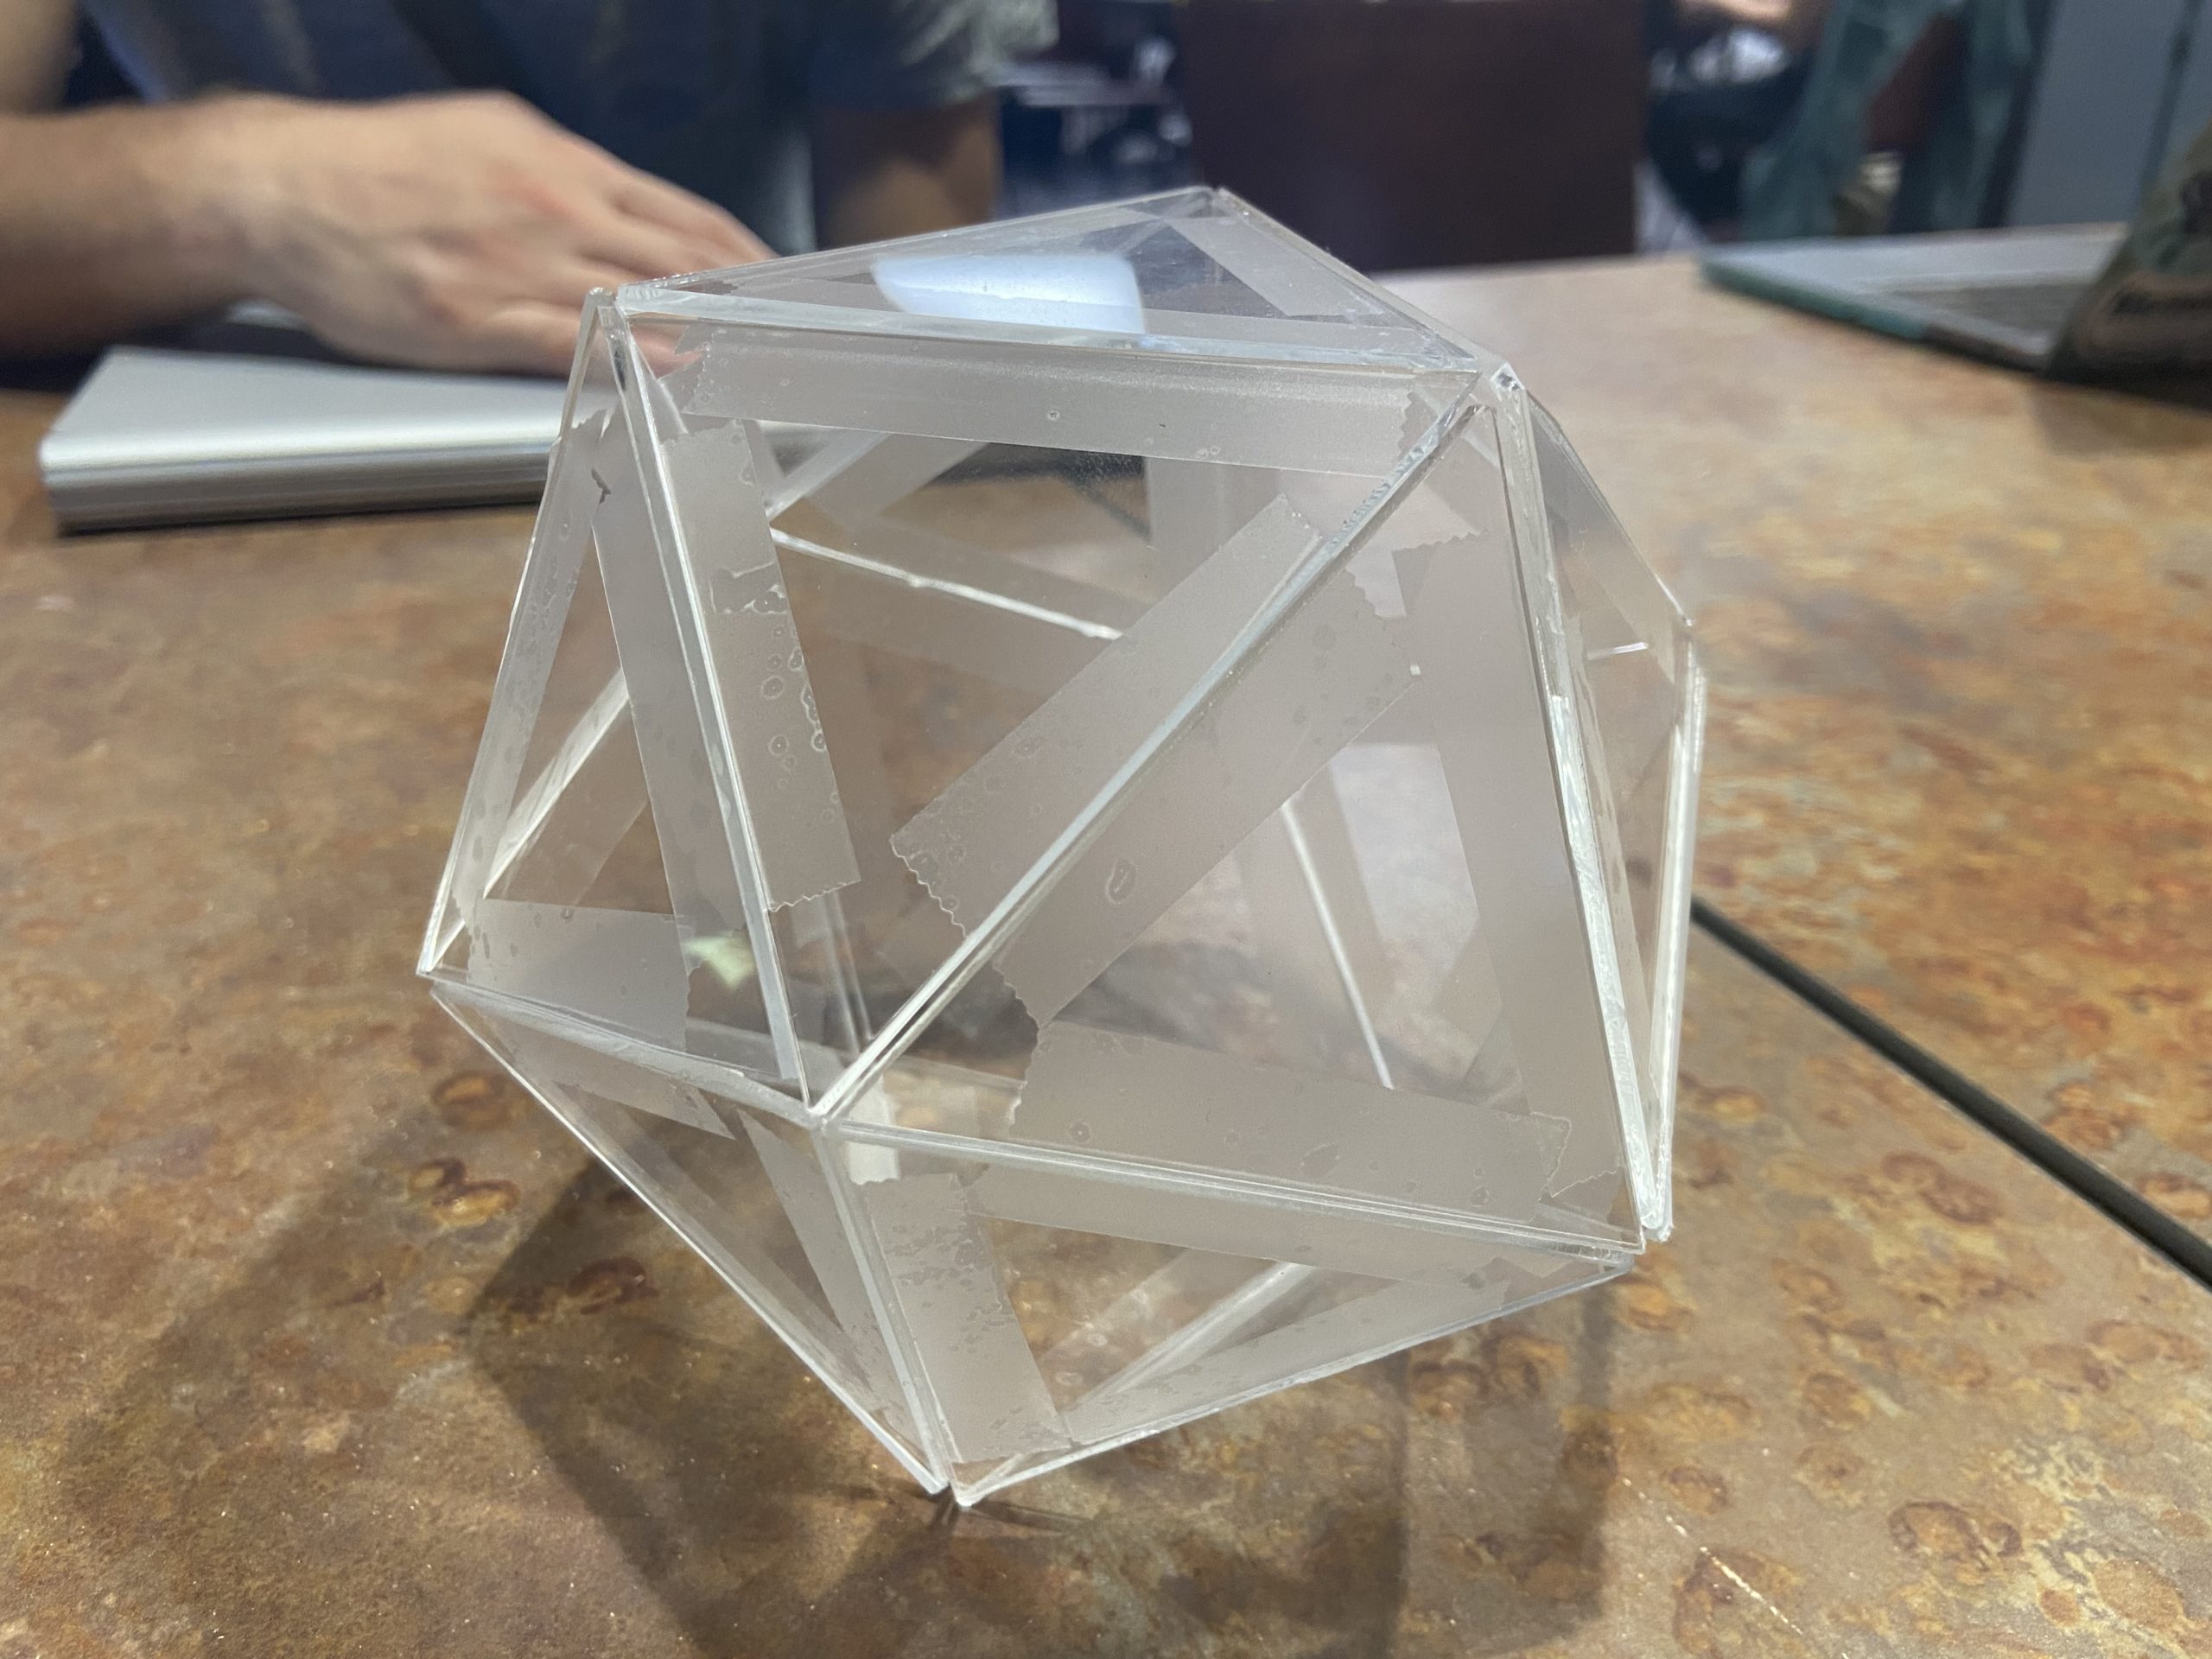
Overall, I really like the shape. When looking at it from the right angle, the entire frame looks like its skewed to one side, creating the irregular shape I was initially going for. The maquette model is only about 6″ wide, I’m expecting the final product to be 12-18″ wide.
Parts List
36″x24″x.125″ Acrylic sheets. I hope to get them from the makerspace once they are back in stock.
Black PETG 3D printer filament I already have this. I think PETG will hold up better with time since it shrinks less than PLA.
One-war mirror film I think this will be the hardest part of the project. I’ll need to develop a process to make sure this sticks well and doesn’t bubble.
Addressable LED strip I like this one the most but it could change. The important factor to me is the addressability.
20 AWG wire To be used for connecting each segment of wire.
Arduino Nano For control purposes.
5V 100W Power Supply To be used for powering the nano and LEDs.
Rough Timeline
I hope to have all of the necessary parts ordered by the end of this week. Right now, my focus is on printing the support brackets for each face. I need to print 30 pieces total but I expect there to be a couple screw ups. Figuring each one will take about 1 hour max, that is ~30 hours total for printing. If I print for 8 hours a day, that will take me about 4 days total for printing.
One the brackets are finished printing, I hope that the makerspace has materials back in stock. Assuming they are, I can reserve the laser cutter for next week. I don’t expect the cutting process to take more than 2 hours. Ideally, I’ll have the all of the frames and faces made by the end of next week. Throughout the rest of the week, I will work on applying the mirror film and wiring the LEDs. I expect this to be the first point of failure. I would not be surprised if I need to order more mirror film or resistors for the LEDs. If everything goes to plan, these steps will take me to September 24th.
Assuming everything goes to plan by the 24th, I think this will allow enough time for iterating any components that aren’t up to standard or don’t work. The final thing I can do it program the LEDs. If time permits, I could program multiple display patterns.
I love infinity mirrors and I’m excited to see your renders! I second the comment Adam had during class that the laser cutter will allow you to make the originally planned irregular shape. The biggest concern for that, I believe, would be that you would then have to create a unique bracket for each side of the face. Could you share some renders/screenshots of your originally planned shape?
I like that each panel is the same shape, and how that will look compared to the crazy patterns reflected inside. I hope you get to experiment a bit with the LEDs, because I would love to see how different patterns would look when mirrored inside. Would they line every edge of the shape?
Yes, I plan on having them cover every edge inside and have them programmed in a way that could make a beam of light travel through the entire shape. That will require some thinking and planning on the wiring though.
This sounds really well thought out and I can’t wait to see your final iteration! I am curious if you envision any type of base for the pieces, and if so, what material will you use?
I really like this so far – I was initially really sold on the irregular shape idea, but I’m glad this deltahedron still provides enough wild angles that it doesn’t look uniform on the inside, while being a bit easier to manufacture.
While designing the brackets, you should also consider how you will want to open the shape for maintenance. The last thing you’d want is to move one shape in slightly the wrong way and have it fall apart, or have to take the entire thing apart just to fix one wire.
Your model was amazing, I like how you have a solid idea of what you’re looking for. Interested in seeing where it goes.