This week a lot of things happened, I assembled the whole head, and put all the lights in it and it took a very very long time to do that…
Some cool additions that I made to the head, was I made it chargeable via micro USB, and I also added a lithium ion battery so that it can be portable.
One thing bad that happened this week is that I managed to break the amplifier, so I will need to get a new one, Im not quite sure how I broke the amplifier but I did… so that is what I will be looking into in the coming week.
I wanted to get all of the head made so that for the last week I can focus solely on the software, and not have to worry about trying to build everything as well. I think it took be about 30 hours this weekend to assemble everything. I started with a piece in the center of the back of the head, put in the battery, and the micro USB charger, and a little switch so that I can turn the head on and off. after I did that I started soldering up a little proto-board to hold the teensy, and the microphone, and easily connect the lights, and the battery. I wanted to also make this part removable so that in the future I can reprogram the head, and the project can evolve as my digital signal processing skills improve. currently I only have the lights cycling though random colors but I think it looks really really cool.
this picture shows the almost completed head with random RGB values for all the lights.
this was very early one when I started putting everything together, as you can see here I have the power switch, and the charger both put in place, on the right you can see that battery 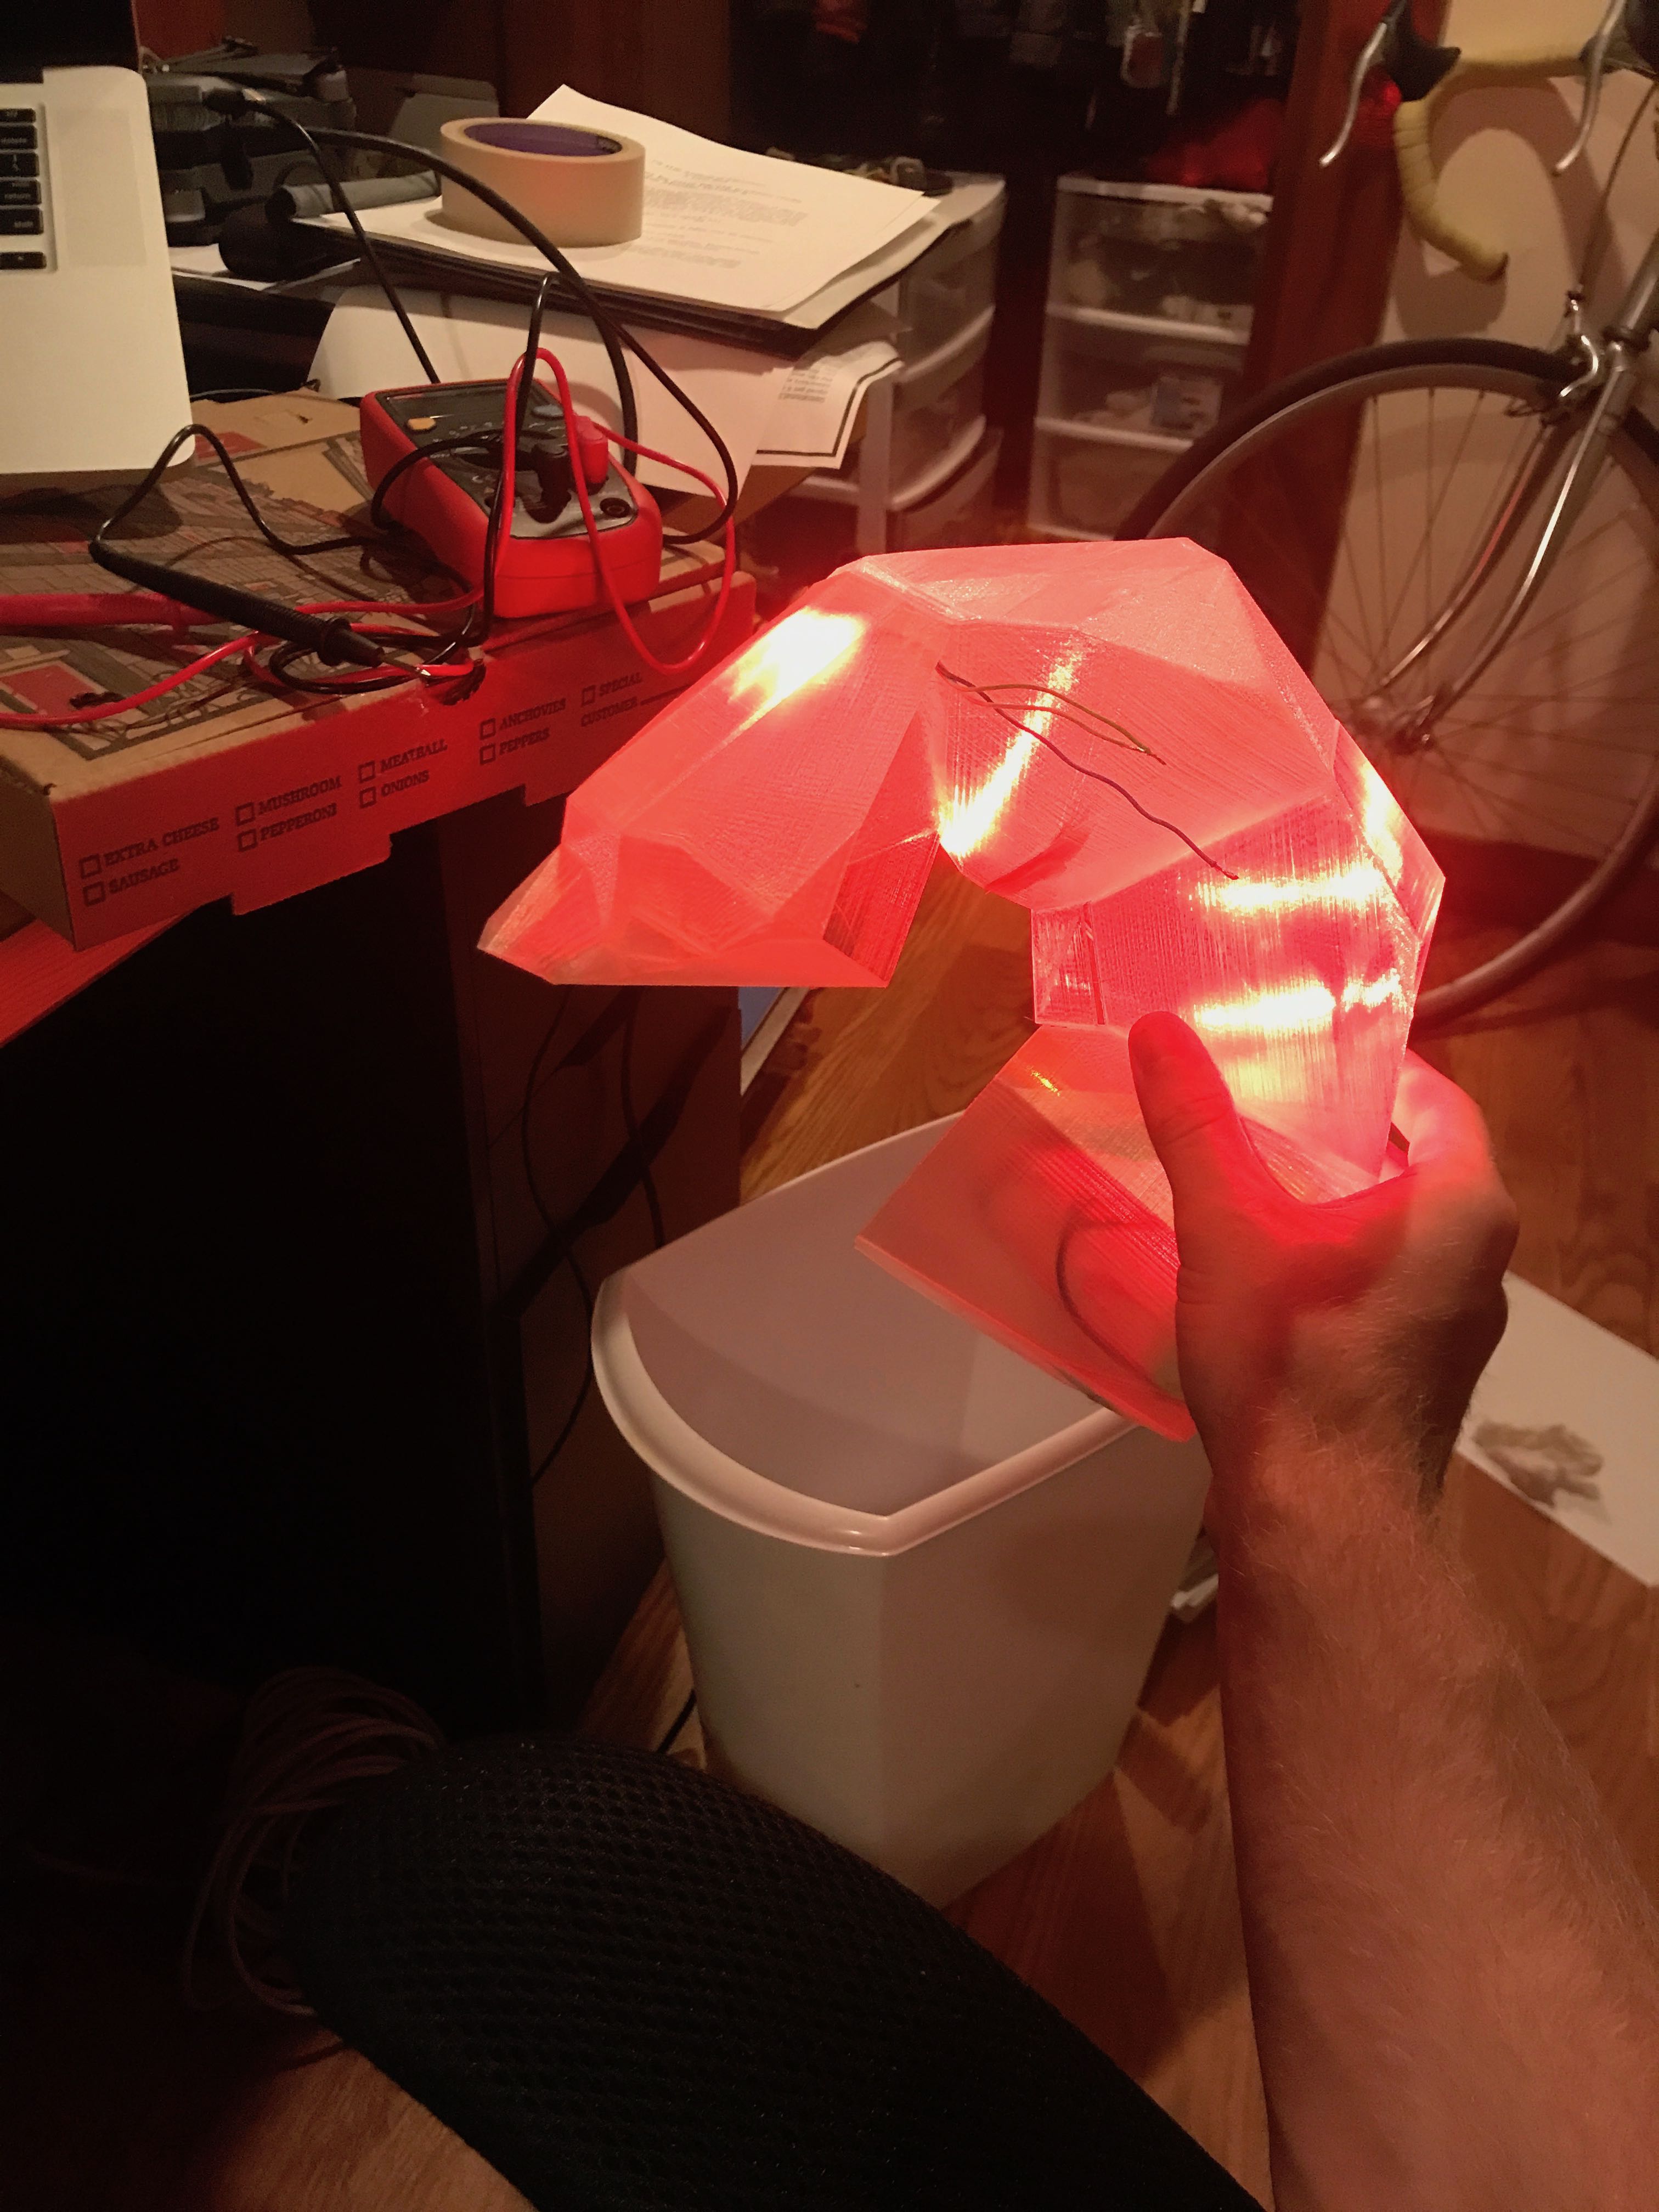
this is the same stage as the previous photo, but this is with the lead lit up, and everything is red, I liked this phase, because it it made a very cool ark with the initial parts of the face.
and this is my work space as I was assembling the head. I used a cut ethernet cord to wire all the lights to each other. I didn’t have a wire striper so I used box cutter blades and child scissors. I think that in total this head cost me about $40 worth of material, and $20 was just the cost of the teensy.
My assembly process, was that I started with the photo-board, and wired up the teensy harness and the mic, and the lights, and left two exposed pins for the ground and power to connect to. this allows me to take out the board when I need to work on it, inside the head I mounted in the battery, the switch, and the Lithium ion charge controller, which are all parts that I had from previous projects.
Assembling the head took I think around 30+ hours including getting the board harness soldered, and then working on the battery, and charge controller. I pretty much used a hot glue gun, and a soldering iron to do everything. I used the hot glue gun to melt holes through the plastic parts so that I could wire it all up it it turned out pretty nice.
I really like how portable and easy the head is to setup and move around, and can just sort of exist in any space because of how self contained it is.