
For the remainder of the project, I finished up all of the things I mentioned before. I sewed on the shoulders, siding, and installed zippers along the sides of the suit to make it easier to put it on and off. the final product (shown on figure 5.1)
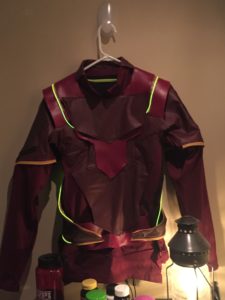
Figure 5.1: final product
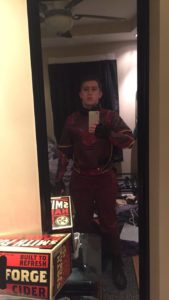
Figure 5.2: lights on
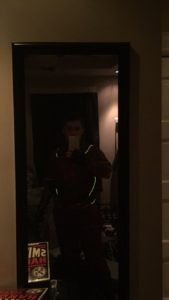
Figure 5.3 lights off
Now that the Flash suit project has been completed, I would like the chance (likely over this summer) to continue such projects in the future. while working on the flash suit, I ran into a few issues, namely in how to put the wire onto the suit in such a way that it looks presentable and nice. namely, I think it would have been far better if I had applied wire tubing instead of just using fabric loops.
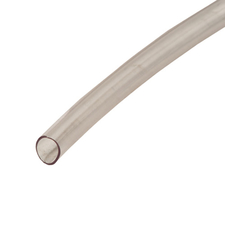
Figure 5.4 clear tubing
The problem with the fabric loops is that they seem to be very out of place when laid upon the leather. if I could fix one thing on the flash suit, that would be it. upon returning home, all I need to do for the flash suit, is to add the lightning bolt on the chest, which I will do using a car emblem (8$) and a circular door stopper I previously owned.
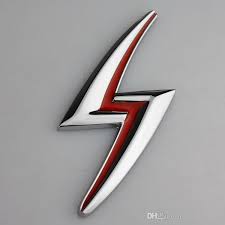
Figure 5.5 flash design Figure 5.6 physical emblem
in future projects over the summer, I would like to work on the Ant Man suit, using leftover fabric. this would also allow me to test out using the wire tubing technique for the suit, and have a better location for the power pack as well.
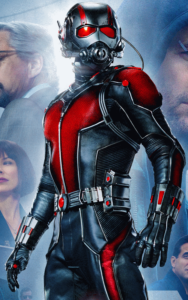
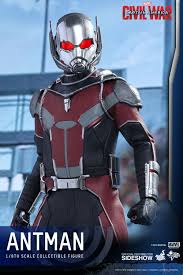
Figure 6.1: ant man mark 1 Figure 6.2: ant man mark 2