Light Rain – Dominic Redding

Concept

For this piece, I wanted to carve out a little section of the world on a rainy night. I was looking to replace the watery parts of the piece with light, and having it flow between a section of road as well as a central object– a boot– to see the interactions it would have with the light.

Materials and Construction

The materials I used were:

-2 2x2ft Insulation Foam Boards

-28ft of 1/2″ PVC Pipe

-Black and Light Grey spray-paints

-a boot

-7 wire coat hangers

-3 15ft strings of 50 LEDs from Synovia

-Tissues

I first constructed the base out of the foam board, creating an opening to emulate a drain, then making shallow cuts to show the tiling of sidewalk concrete. Finally it was spray-painted black on the street, and light grey on the sidewalk.

The frame was the constructed out of PVC pipe, 4 supports held together a 2x2ft square with 3-way connectors. The wire hangers were bent into wire, then strung across to create a grid on top. This was all spray-painted black.

Finally, I set the scene and placed the lights as shown in the images at the top of this post with tissues covering the denser portions to diffuse the light and have a more continuous flow.


Retrospection and Concluding Thoughts

If I had more time to execute this piece, there are a few things I would like to change. The first and most important would be to increase the density of lights– either by increasing the overall number of lights or by cutting off part of the frame to decrease the overall volume. While the math of how many times I could take each string from the bottom to the top (3 times with a few feet left over) sounded like a lot, once I laid the lights down and moved them around the base to set the scene, I lost a lot of length. If I used a few more strings, I could have used them to focus more on getting the falling effect I tried for.

Additionally, during the final presentation, I was given an idea I would like to see realized: changing the overall perspective of the piece. Rather than working in the empty space above my base piece, I could work below, focusing on the flow of pipes, or create my own layout for an underground irrigation network.

While the execution was not exactly what I wanted, I feel that I achieved the desired affect to the best of my abilities. I believe I made the best I could with the skills and materials that were available to me.
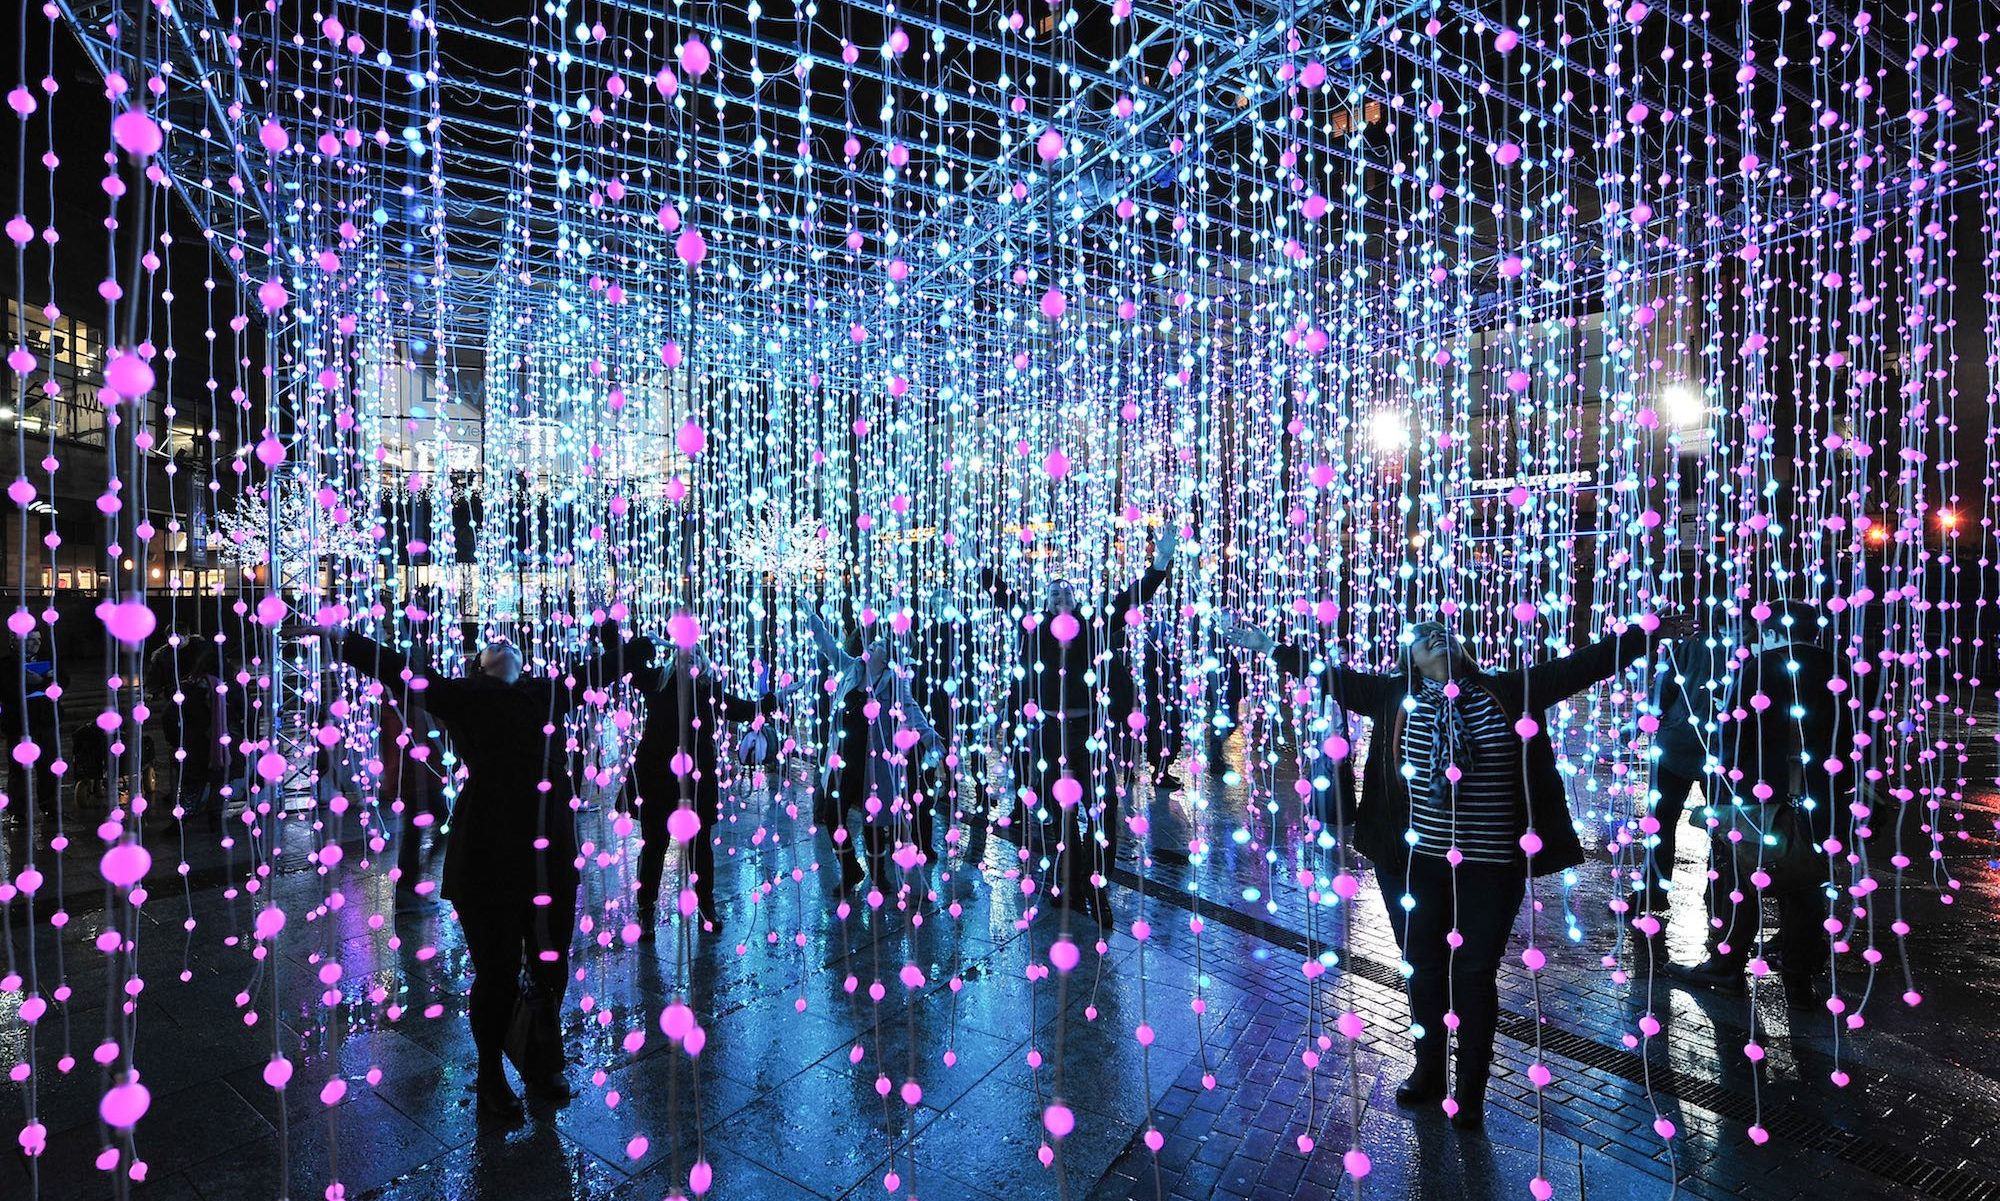
Final Week: Finishing and Presenting

I spent this week putting everything together, breaking it down, then setting it back up on campus in the lab.

I ended up saving most of my lighting-work for this week, which was likely a mistake. I had tested how much work I could get out of each strand of lights I was using, but hadn’t set them down and worked them around the piece until a couple days ago. As it turns out, 50 feet of lights isn’t as big as it sounds when you work with 18 cubic feet of space and have to double back when you drape it down without touching the base. I was also looking online for an umbrella that could realistically fit on a 2-foot square, but that was fruitless, so I ended up working the lights in and around a large boot.


I ended up doing a lot of work with what I had on hand: the lights are all taped onto the frame and base (mostly because I need to be able to take the lights off after we’re done), and I used tissue to diffuse light to a pretty good effect. If there’s one thing I would have liked to do better, it would be the size of the frame. I probably would have been better off cutting off another foot or two, freeing an upwards of 6 or 8 feet of lights to drape down. As it is now, I worry I may look sparse.

Everything (Almost) Working

It’s been a weird week. I feel like I haven’t made as much progress as I should have, and ran into a few snags that I was not expecting (but most of which are easy fixes). I have everything put together and built as you can see below, but I haven’t had a chance to spray the pipe black due to weather.

This weekend should be warming up, so that’s a quick fix. I’ve also put together a wire lattice on the top frame from which I can drape the lights and have them rise and fall from different positions on a grid. I tried out a few different objects in the scene, I’m favoring a pair of shoes at odd positions and angles and trying to work with how they interact with the lights.

There is one last issue that is going to be rather difficult to deal with and I can’t actually resolve until the very end: setting up my piece. The frame and the base are not connected, but the lights will be attached to both. This creates a problem where I can’t really move the thing once everything is set and fixed to the base/frame, so I can’t get to the point where I can say it’s finished until I can bring it into the art studio. I’m working out exactly where I want my lights, and will be drafting a blueprint for it this weekend, but I need to know when we have access to the room we will be showing the projects off in so I can get set up as soon as possible.

Failure and Recalibration

This week I put together the base piece of my project. I was, and arguably still am, having issues with some of the properties of the material I used for it: insulation foam board. Initially, I cut up my pieces and tried to use CA glue (superglue) to put them together. Unfortunately, this was the result:

Turns out that CA glue eats through insulation foam. Not only that, but it actually melts it into a glue-foam slough that gets very messy. After I got it to dry, I tried assembling it with packing tape. I got it stable, but the tape is painfully obvious:

I need tape both inside and out to get everything to stick together, so other than starting over with new materials, I cannot think of a way to do without the shiny effect with the tape. I then tried spraypainting the entire piece, as even in the darkness, the pink is not the color I want to stick with. Spraypaint also melts this stuff. At this point, I think everything melts this foam.

All of that texture effect is because the spraypaint melted the foam. One one hand, adding paint made the tape issue even worse, I need to see if minimal light can alleviate some of that. As for the visible melting, at this point I think I can say it actually turned out for the better, as it creates a more natural-looking asphalt look.

One last minor issue that I’m working through is acquiring materials. Three-way PVC connectors aren’t that common, so the Home Depot trip wasn’t a complete supply run. Thankfully I’ve found most of what I still need online.

Maquette, Shopping List, and Milestones

Since last week, I have worked on changing up my project proposal to a static scene of a rainy night.

I built my maquette using cardboard as the platform the sculpture, with one side not closed up to ensure I have a hollow base in which I can hide my wires and power source(s). The bendy-straw frame is there as a placeholder for what the actual scaffolding I use will be: either creating a frame around the base and draping the lights down from the top, or inserting rods into the base to run strings of lights along them. I will create a puddle effect by carving out a section of the base and placing a diffusing material on top to smooth out the light.


Materials I need:

-Strings of warm-white LED lights (likely Sylvania Microdots)

-an umbrella (Amazon)

-MDF or Foamboard for the base (Amazon or craft stores)

-many batteries

-PVC pipe for the frame, or Metal rods to attach lights to (Home Depot)

-Zip ties

-Some material to diffuse light

Milestones:

4/12 – Shopping and base completed

4/19 – Frame/scaffolding built, put together

4/26 – Lights added, Project finished

Concept Proposals – Dominic Redding

My proposed project is to recreate a scene which follows natural cycles around a fixed object: day and night or the four seasons. This would be a rotating plane bisected once (for day-night) or twice (for seasons) to display two or four versions of the same image under the different phases of the cycle using silhouettes and colored translucent materials against a single light source on different phases.

The main idea is to have a central object that anchors the scene as a silhouette in front of a light source, then have the rotating plane set behind the object to animate what is happening around it in the rest of the scene. This may take multiple planes and light sources depending on how it needs to be masked off.

The alternative execution is to set up an LED screen set to change the color of the lights around the central, fixed object as the phases pass over a constant time.

Urbanscreen, Light Artist

Urbanscreen is a creative art company in Bremen, Germany. It was founded in 2005 as a collective of architects, media artists, musicians, cultural scholars, and tech experts from various fields with a focus on cross-genre artistic expression and blending physical and digital media.

Urbanscreen, comprising of several experts in their respective fields, has spoken at various workshops and conferences worldwide. Of note, they were a speaker at OECD for their talk, “Getting Cities Right” which focused on integrating media facades and other digital installments into city design.

Urbanscreen divides their work into three broad categories, the first of which they call Lumentektur. Lumentektur is the projecting of 3D-mapped video onto existing architecture, using virtual lighting and theater to create art.

Buntes Gold is one of their Lumentektur pieces, projected onto Bremen’s house of commerce. Buntes Gold features four dancers performing across the face of the building as it transforms around them. The piece is designed to show the tensions between creativity and economic action. To create Lumentektur, Urbanscreen designs scale models of the face of the building they project onto, turn it into a green screen, and have the actors perform on it. Afterwards, the footage is edited to create the effects desired for the final piece before it is scaled to fit and projected onto the building.

The second broad category is sculpture. Urbanscreen designs installations of objects and projects imagery onto them. In downtown Houston, in the JW Marriott, is Solanum.

Solanum is a series of circular panels, some of which have had parts removed, offset from a blank wall. A projector hangs from the ceiling a few feet away projecting animations onto the piece. Solanum follows the day-night cycle: during the day, the animations are calm and gentle, as though it were sleeping, while at night, the full animation cycle plays to draw in viewers.

Urbanscreen refers to their third category of work as exploration. They take what they have learned since starting Lumentektur and expand upon it to meld together various disciplines. One of the most impressive pieces is called 320º Licht: it is an exhibition which was set up in the Gasometer Oberhausen, a discontinued gas holder in Oberhausen, Germany. 320º Licht is a projection on a 320º arc and 100-meter tall wall, creating approximately 20,000 square meters of projection surface. Urbanscreen used 21 inter-connected projecters to fill the space, and it became one of the world’s largest and most technically sophisticated indoor projections. The piece was designed to be a play between the real and virtual space as the projection turns the walls of the Gasometer into a series of patterns and shapes.

Finally, another impressive work done by Urbanscreen was on display during the 2012 Lighting of the Sails in Sydney, Australia. Sydney will bring in artists to create art on the surface of the opera house, and Urbanscreen created a play of Lumentektur. They took inspiration from the original architect, Jørn Utzon, who wanted to give the building human expression, by creating a work which tried to establish an immediate architectural expression.

Introduction and Art Portfolio – Dominic Redding

My name is Dominic Redding, and I am a senior working on a Mathematical Sciences major.

My experience with art goes back to mid-high school: I spent a couple years in my school’s Digital Arts class in which I dabbled in graphic design via logotype and icon making, editing pictures with Photoshop, and creating simple graphics for flash-like games in Illustrator and animating them in Edge Animate. Since I’ve enrolled in WPI, I’ve taken Essentials of Art, a drawing course, Intro to Digital Art with Photoshop for 2D and Maya for 3D, and 3D Modelling 1 with ZBrush.

My tech experience is almost entirely in programming. I’ve spent about 3 years at WPI taking various Computer Science courses, have been commissioned to design and build a game in Edge Animate, and completed some course projects using algorithms.

A big part of my life is my hobbies, the most significant of which is tabletop wargaming: essentially board games using miniatures painted by their owner. I have been playing various games and painting models for the past 5 years or so. One of the most interesting things about this is that, as some of the stories for these games have existed for 20-30 years, there is so much story which can be used and altered to fit my hobby. I can paint however I want, and create a story around it to represent my models in these universes.

Most importantly to me: art is fun for me. I like sitting down for a few hours at a time and paint without worrying about anything else going on around me. While I’m not sure I can necessarily call it a goal, painting is a thing I can always look forward to at the end of the day, and I can know I will walk away having bettered myself.

This is one I am proud of for how little paint went into it. After the first coat, the transitions on the arms and tentacles were all done with several coats of a very thin ink, which led to a smooth transition from base to end.


This was my most recent (and first) successful attempt at merging parts from different models into one.

I was happy with how clean the line between the blues and oranges turned out, and I was able to keep the black going up the shin to come into a relatively fine point.

This is the largest model I’ve painted to date, and is the cleanest coat of white I’ve managed in all my years of this hobby.

This is the piece I have most recently painted. While I am not completely happy with it, this is undoubtedly the best face I have painted. Additionally, I believe I am very happy with how the cape turned out, especially with the gold transitions.