
Zachary Armsby
For my project I chose to make light painting video and pictures using a robot arm. While I was looking for ideas at the beginning I saw lots of light paintings with organic and hand drawn lines, only a handful used sharp and precise lines. With my background in robotics and computer science I decided to use a robot arm to draw precise geometric images with light. After thinking about my initial idea for a while I realized two key things. First, the long exposure photo would only capture a 2D image while the arm was moving in 3D. A single photo would only capture a projection of the complete form. Second, that the ABB arm in Washburn was able to precisely replicate a motion path. In order to capture the form of the 3D drawing I could replicate the same path multiple times and move the position of the camera around the arm and stitch all of the photos into a video. This would fully show the 3D form.
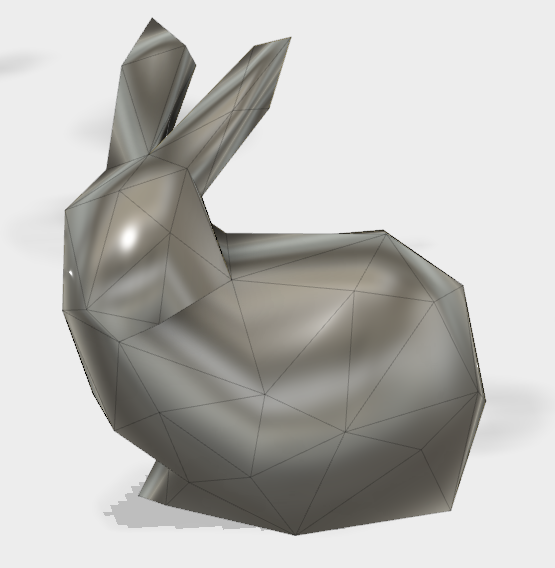
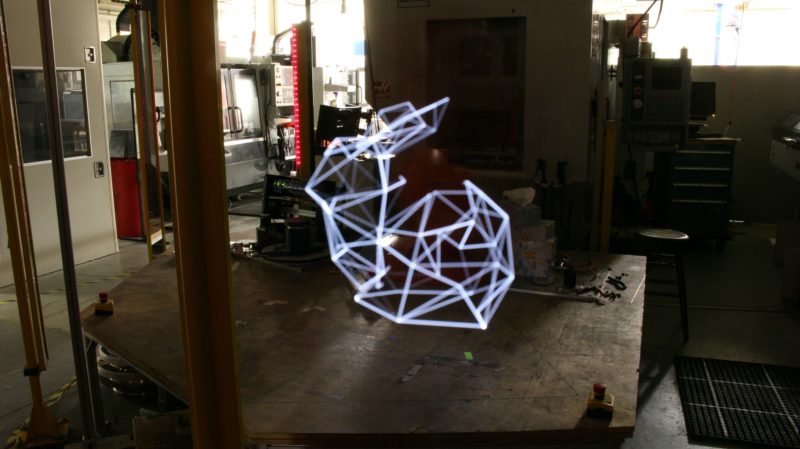
The form I chose to draw was a low poly bunny, the model was originally the Stanford Bunny, a 3D file used to test 3D printer quality. I decimated the model to be low poly and still retain distinctive features.
Then I learned how to light paint. To accomplish this I checked out a tripod and DSLR camera from the ATC and had my friend draw a circle with his phone’s LED light. I used this to learn how to adjust the camera settings for a long exposure photo.

Next I made a light source to attach to the robot arm. I did this by 3D printing a mount for all of the electrical components; an esp32, battery, and controllable LED. The LED was attached on the end of a dowel and placed inside of a small ping pong ball cut in half with nichrome wire. This was all attached with hotglue. Every part was designed to withstand the large amount of acceleration and jerk it would experience on the end of the robot arm.


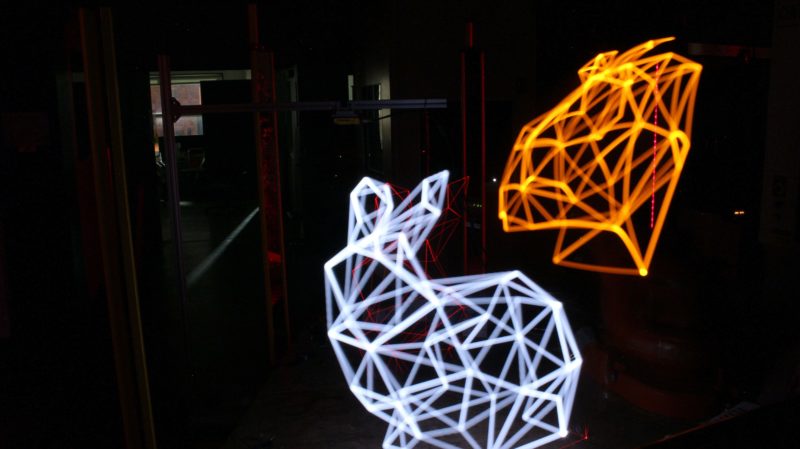
After completing the construction of the light source and learning how to light paint it was time make a light painting with the arm. This required learning how to use robotstudio, the software used to control the arm. Using the edge path generation feature I was able to trace the 3D shape I wanted. Then I had to reorient all of the target points to prevent the arm from blocking the light and to make sure every point was reachable. After this I learned how to load a program onto the arm and operate the controller. At this point I was able to make a light painting.
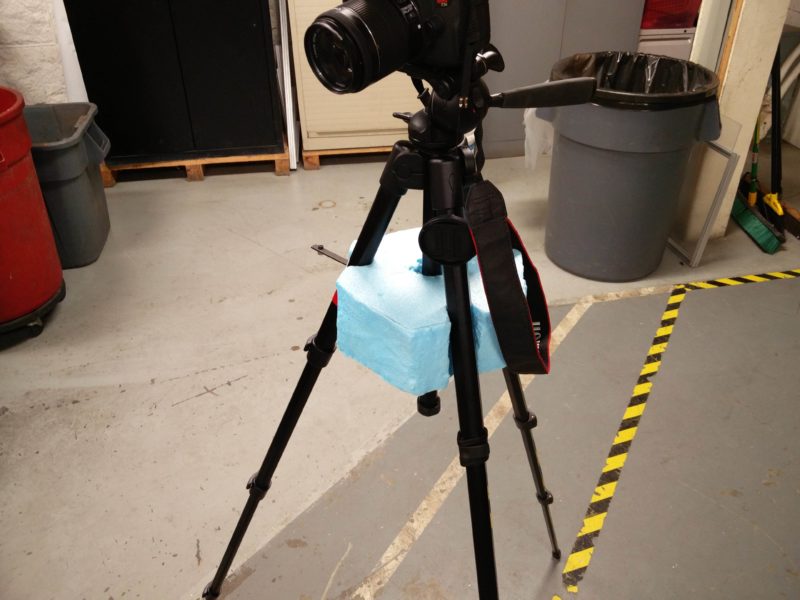
Then I switch tasks to focus on the 3D and rotation elements of the project. In order to move the camera in an arc around the arm it was necessary to make some custom tools. First, to stabilize the tripod from the ATC I cut a piece of foam to extend the legs a constant amount while re-positioning the camera.
Next I made a track of circles in an arc that slot together so the tripod feet could be positioned fast and accurately. The track was positioned so the center of the drawing would be at the center of the arc.


To test the rotation video component I took 231 regular photos around the robot arm. After taking all of the photos I learned how to use Adobe Premier to stitch all of the photos together.
Despite all of the fixtures, the video was shaky. To correct this I used a warp stabilizer effect to stabilize the video.
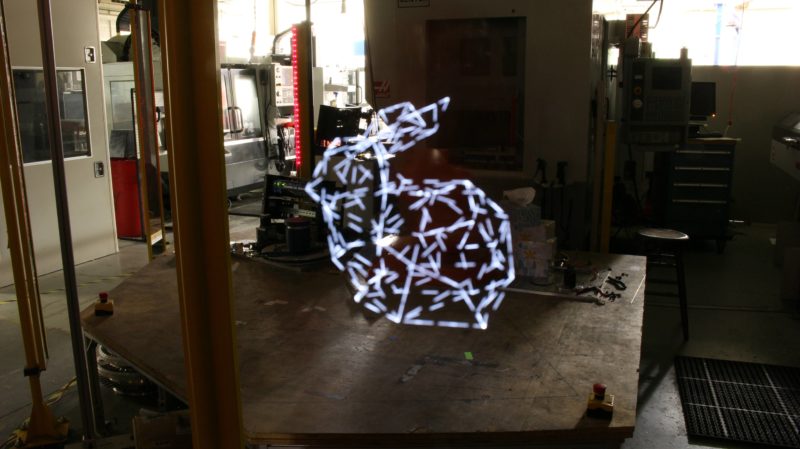
At this point all of the basic techniques where tested and it was time to make the final products. To make the video I needed to take 231, 77 second, long exposure photos; this took about 8 hours. A portion of one of the long exposures is shown below.
After taking the photos they where stitched together.
Then stabilized for the final rotation video.
After the rotation process I experimented with other techniques to try to improve on the solid white line. These photos are discussed in the Polish & present blog post.


Over all I am very happy with the execution and final results of my project. Previous posts explain the full iteration process.