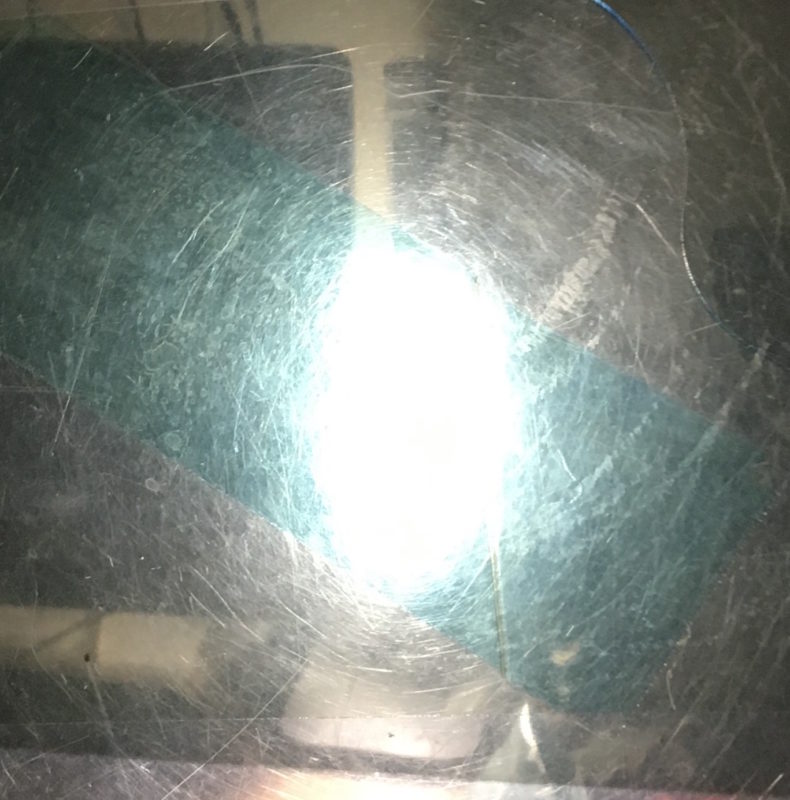
Constructing my maquette was as much a learning experience as much as a proof of concept for my technique for bending light. In constructing models, I found that none of the original 6 types of Scotch Tape that I had originally bought at Target would bend polarized light. Luckily, a friend had a roll of Scotch Packing Tape (The kind in the red dispenser, usually used for mailing packages). I was unsure whether the medium the tape is on, and that is between the tape and the filter, would have an effect on the outcome light.
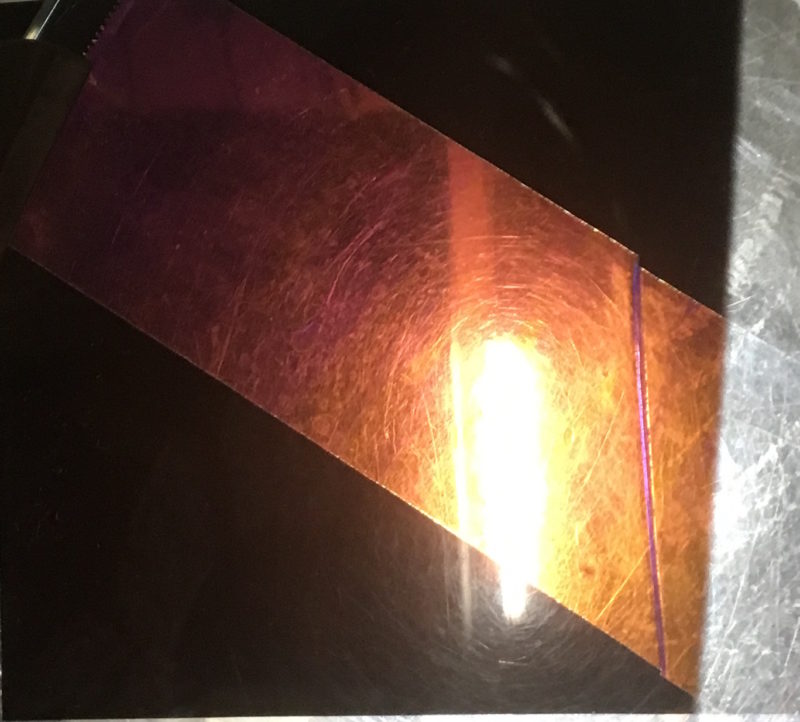
I tested a single piece, at a few different angles to prove that the light would be in fact colored.
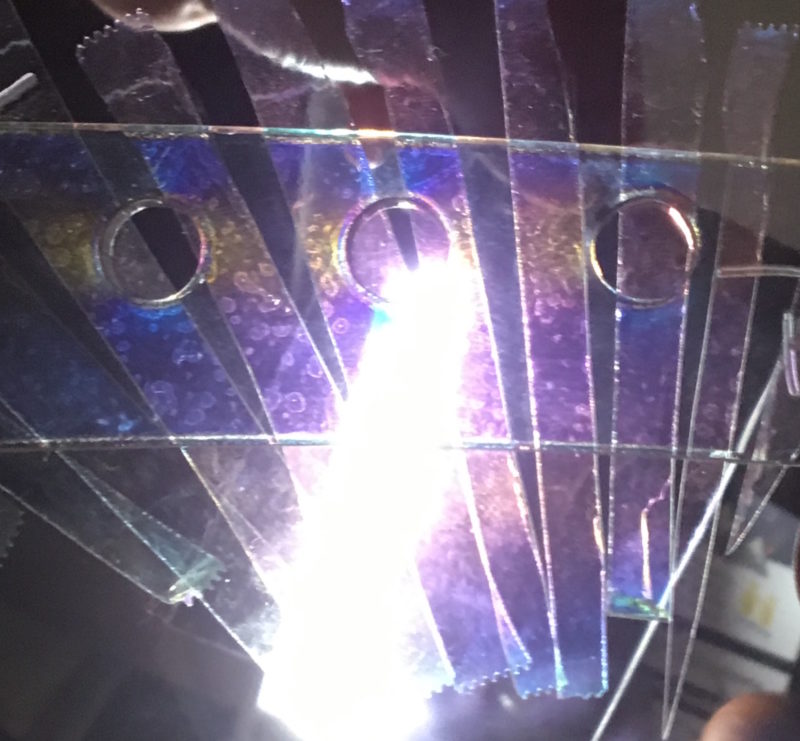
Seeing the result I wanted, I began to experiment to figure out how to manipulate the outcome color. I arranged thin strips in a starburst patter on a piece of acrylic I had lying around from another project, allowing me to test every angle over a 45 degree range at once.

I liked the colors I got as a result of single layers bending the polarized light, and became curious what angle between the polarizing filters, and the tape, would be optimal for colorful refraction. I found that the tape cant be in the same direction as the long axis of the polarizing filter. I’m not sure what direction of polarization this corresponds to, since I don’t know the direction of the filters’ polarization, but the angles should be adjustable and relative to each other- meaning this isn’t something I really need to worry about.
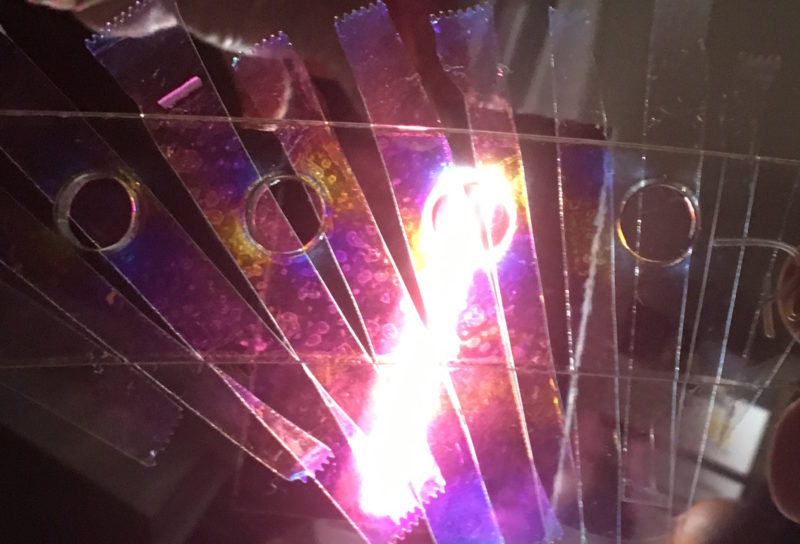
I was also curious what would happen if layers were overlapped perpendicularly. By organizing a lattice of thin strips, i can see the effect of crossing layers in a beautiful test.

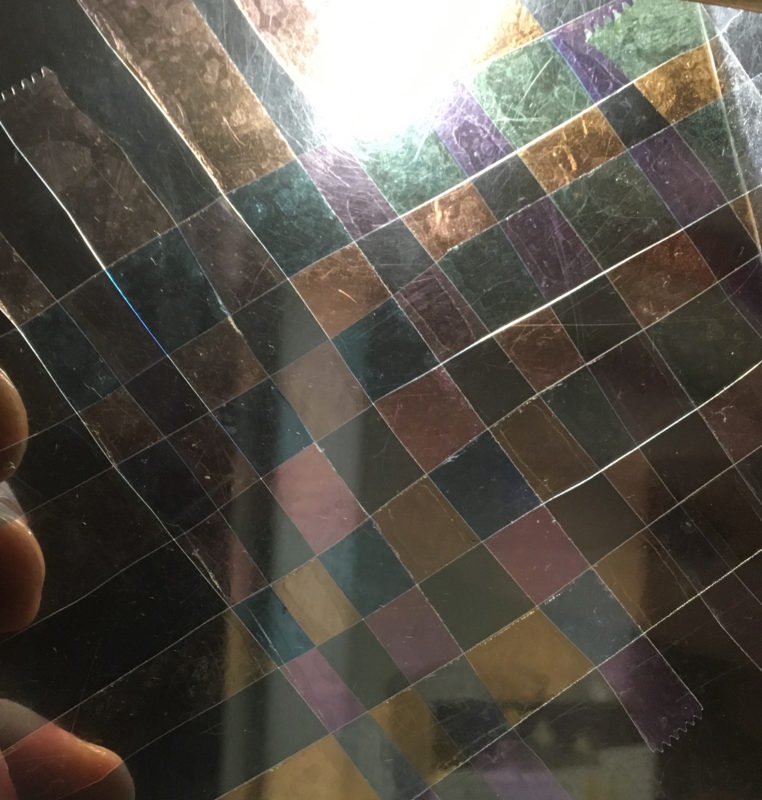
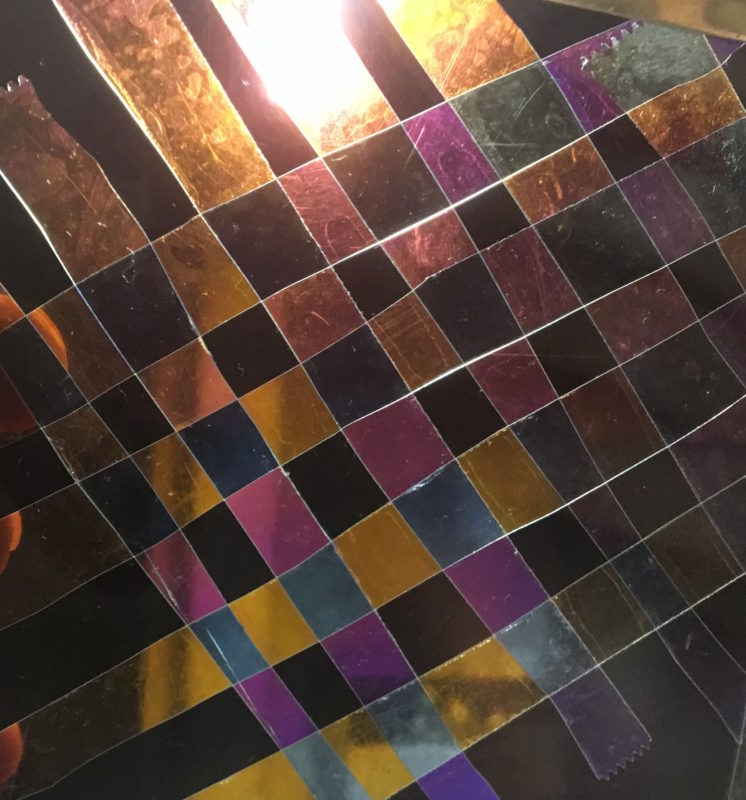
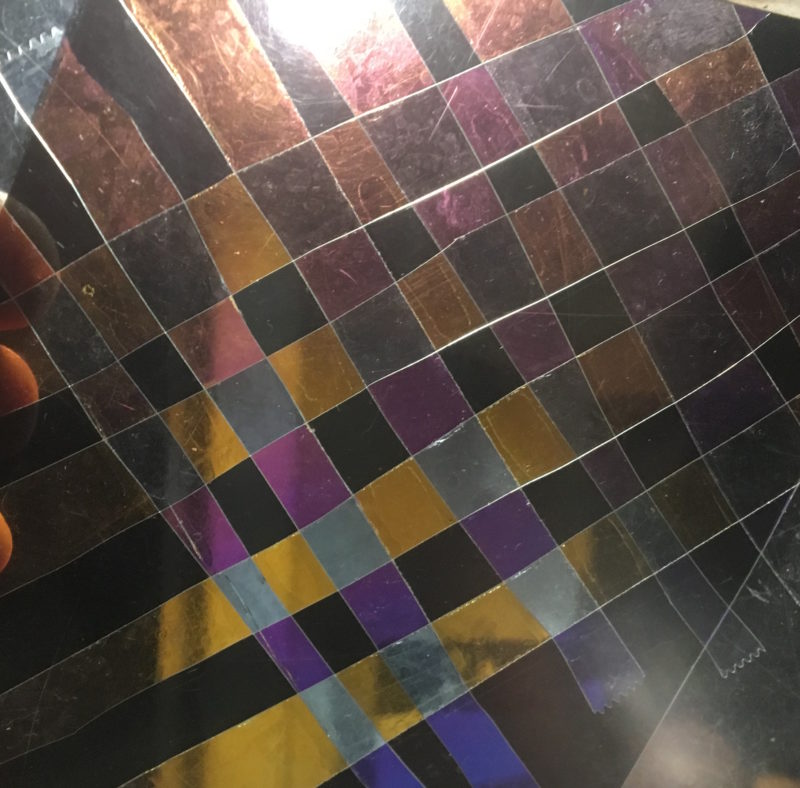
Here you can see the different colors produced just by crossing layers and changing the angle between the polarized light and the tape. The colors drastically change from clear, and pale blues/greens, to deep yellows pinks and purples. I really like how this turned out and believe it is a strong proof of concept for my intended art piece. My materials are Scotch Packing tape, and either glass or acrylic which I will source from either the scrap bin in Washburn shops, or the local hardware/office supply store. Beyond Tape and Glass, I may need larger polarizing filters, which I haven’t been able to find at a reasonable price online yet.
TIMELINE OF PROJECT
My intended timeline for this project is as follows.
9/20- Acquire tape and clear media (glass or acrylic)
9/22- Start assembly of test model, for testing angles/overlap effect on light
9/24- Document recalibration/tested relationship and figure out what colors can be used in the final piece
9/30- Design final artwork
10/1- Make sure everything works- Begin constructing all hardware (frames, lightbox, stands, borders)
10/5- Finish final artwork, Present in Class
10/6- Assemble all components, and document
10/8- Publish final documentation (video/pictures)
10/11- Submit Final Documentation