Overview
The long-exposure-panoramic-display (or LEPDIS) was a fun project for the light art practicum. LEPDIS utilizes a similar technique to Persistence of Vision displays, however instead of trying to display an image as fast as possible to make it visible to the human eye, the goal was to make the display look like nothing special to the human eye but when a long exposure picture or panorama is taken, an image would magically appear. LEPDIS was setup with a collection of 24 images to cycle through with image taking about 15 seconds, for a total cycle time of 6 minutes before any image would be shown twice. A diagram of how the concept works is shown below.
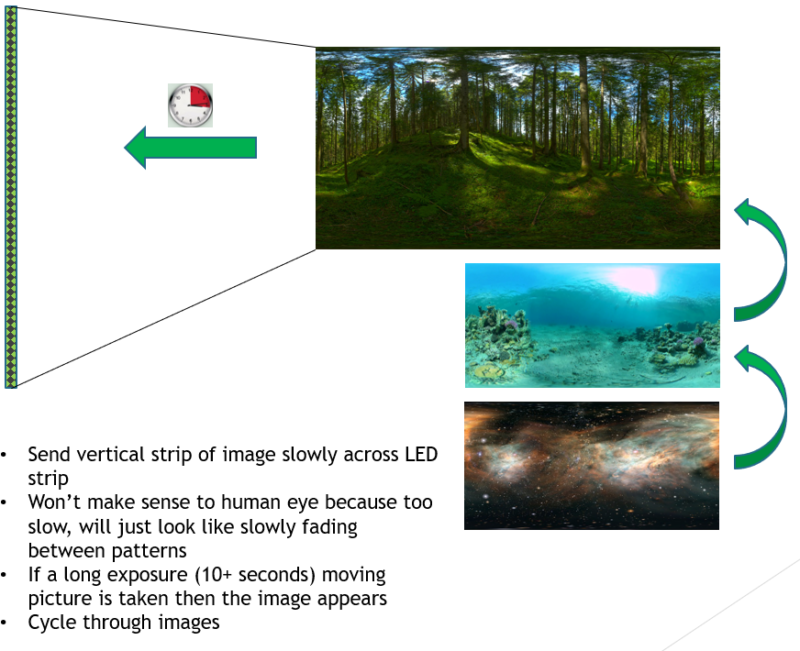
The images chosen to display on LEPDIS were broken into three general categories listed below. The images in the categories were chosen to work well with the ethereal and mysterious nature of the art.
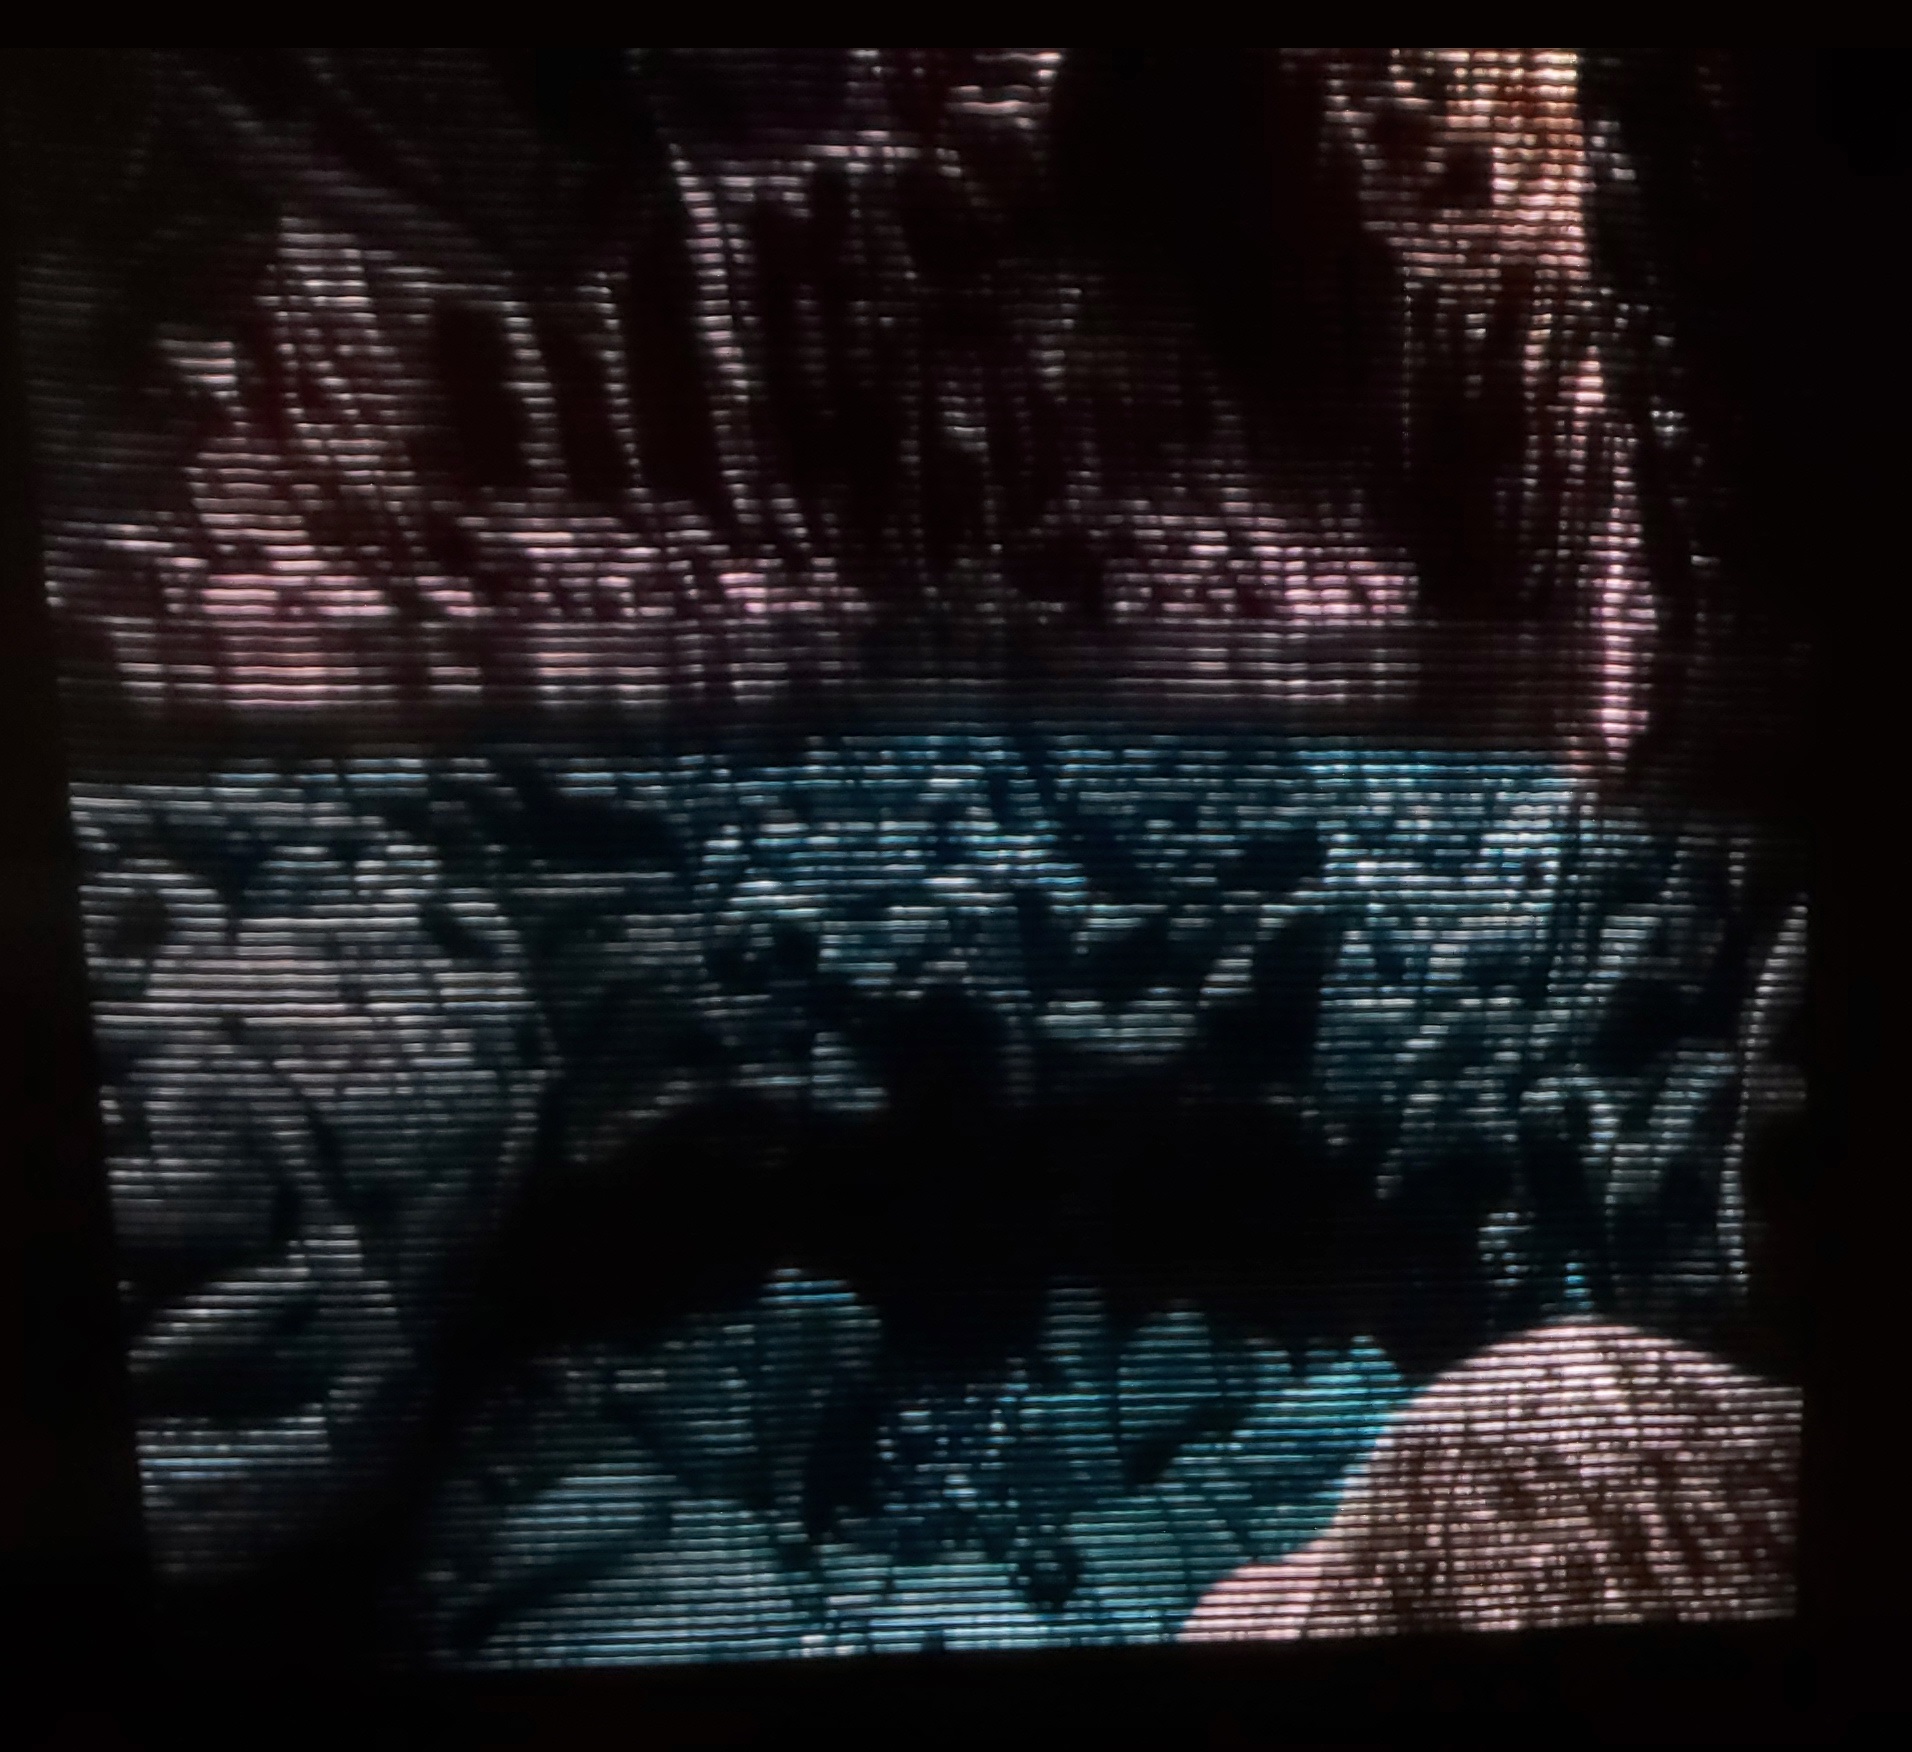
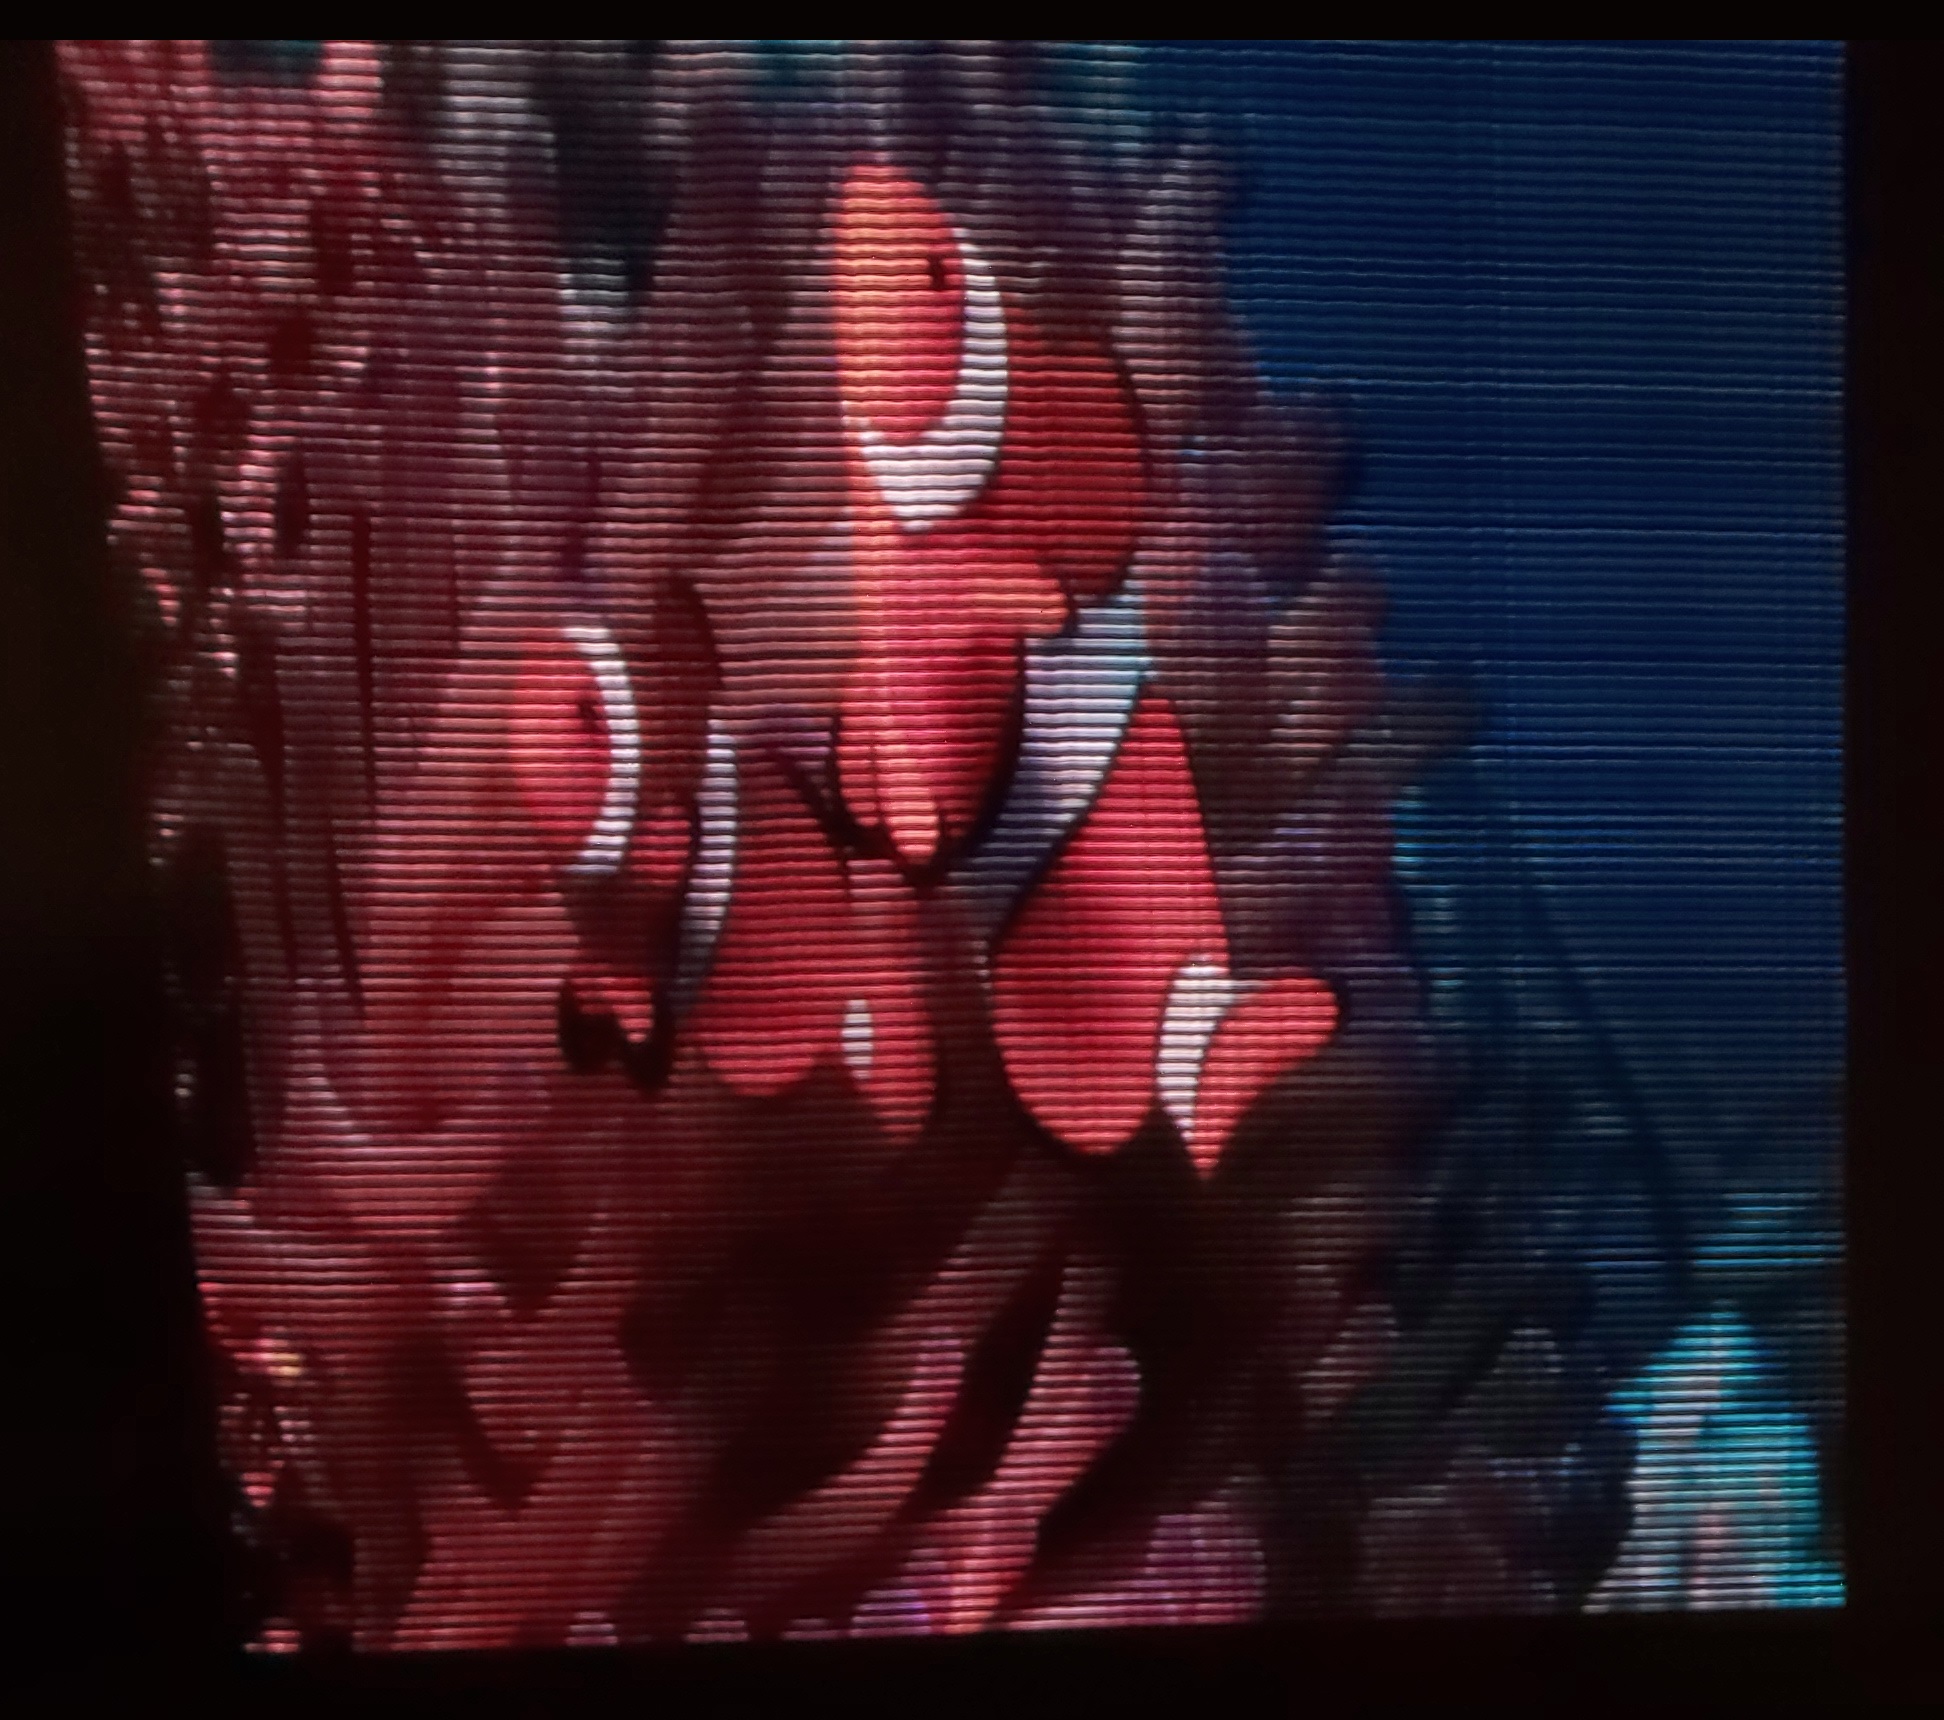
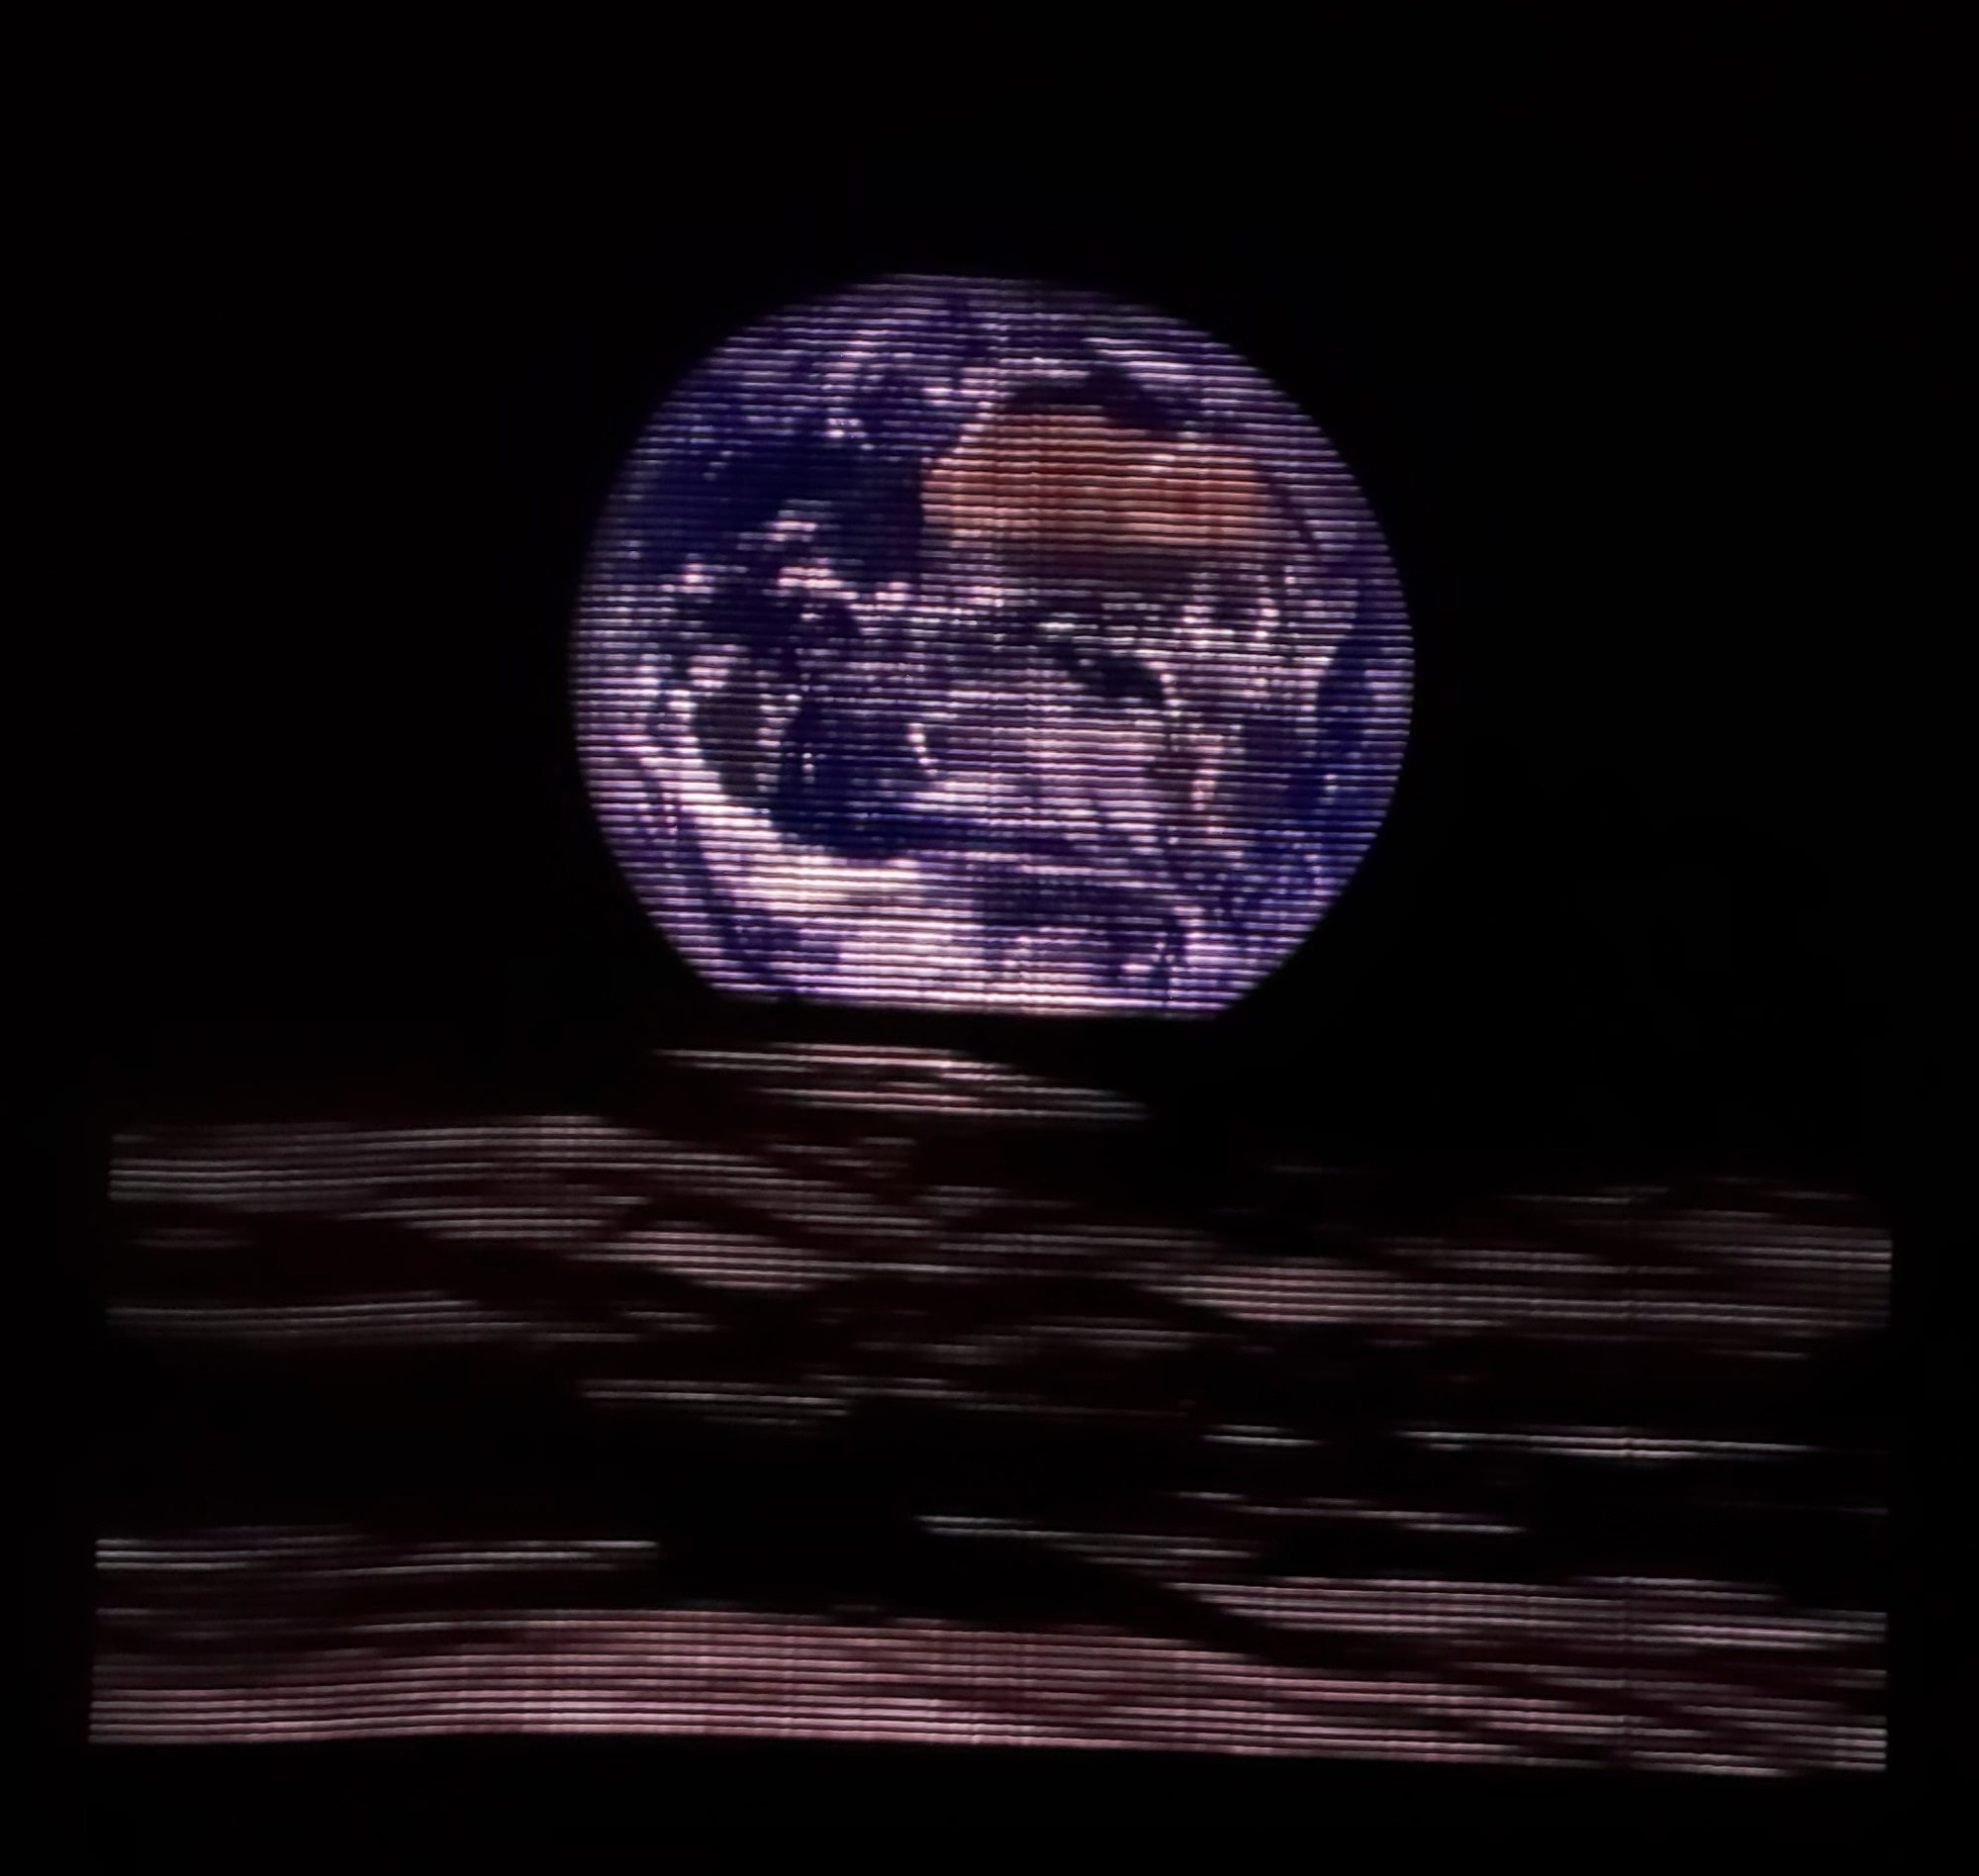
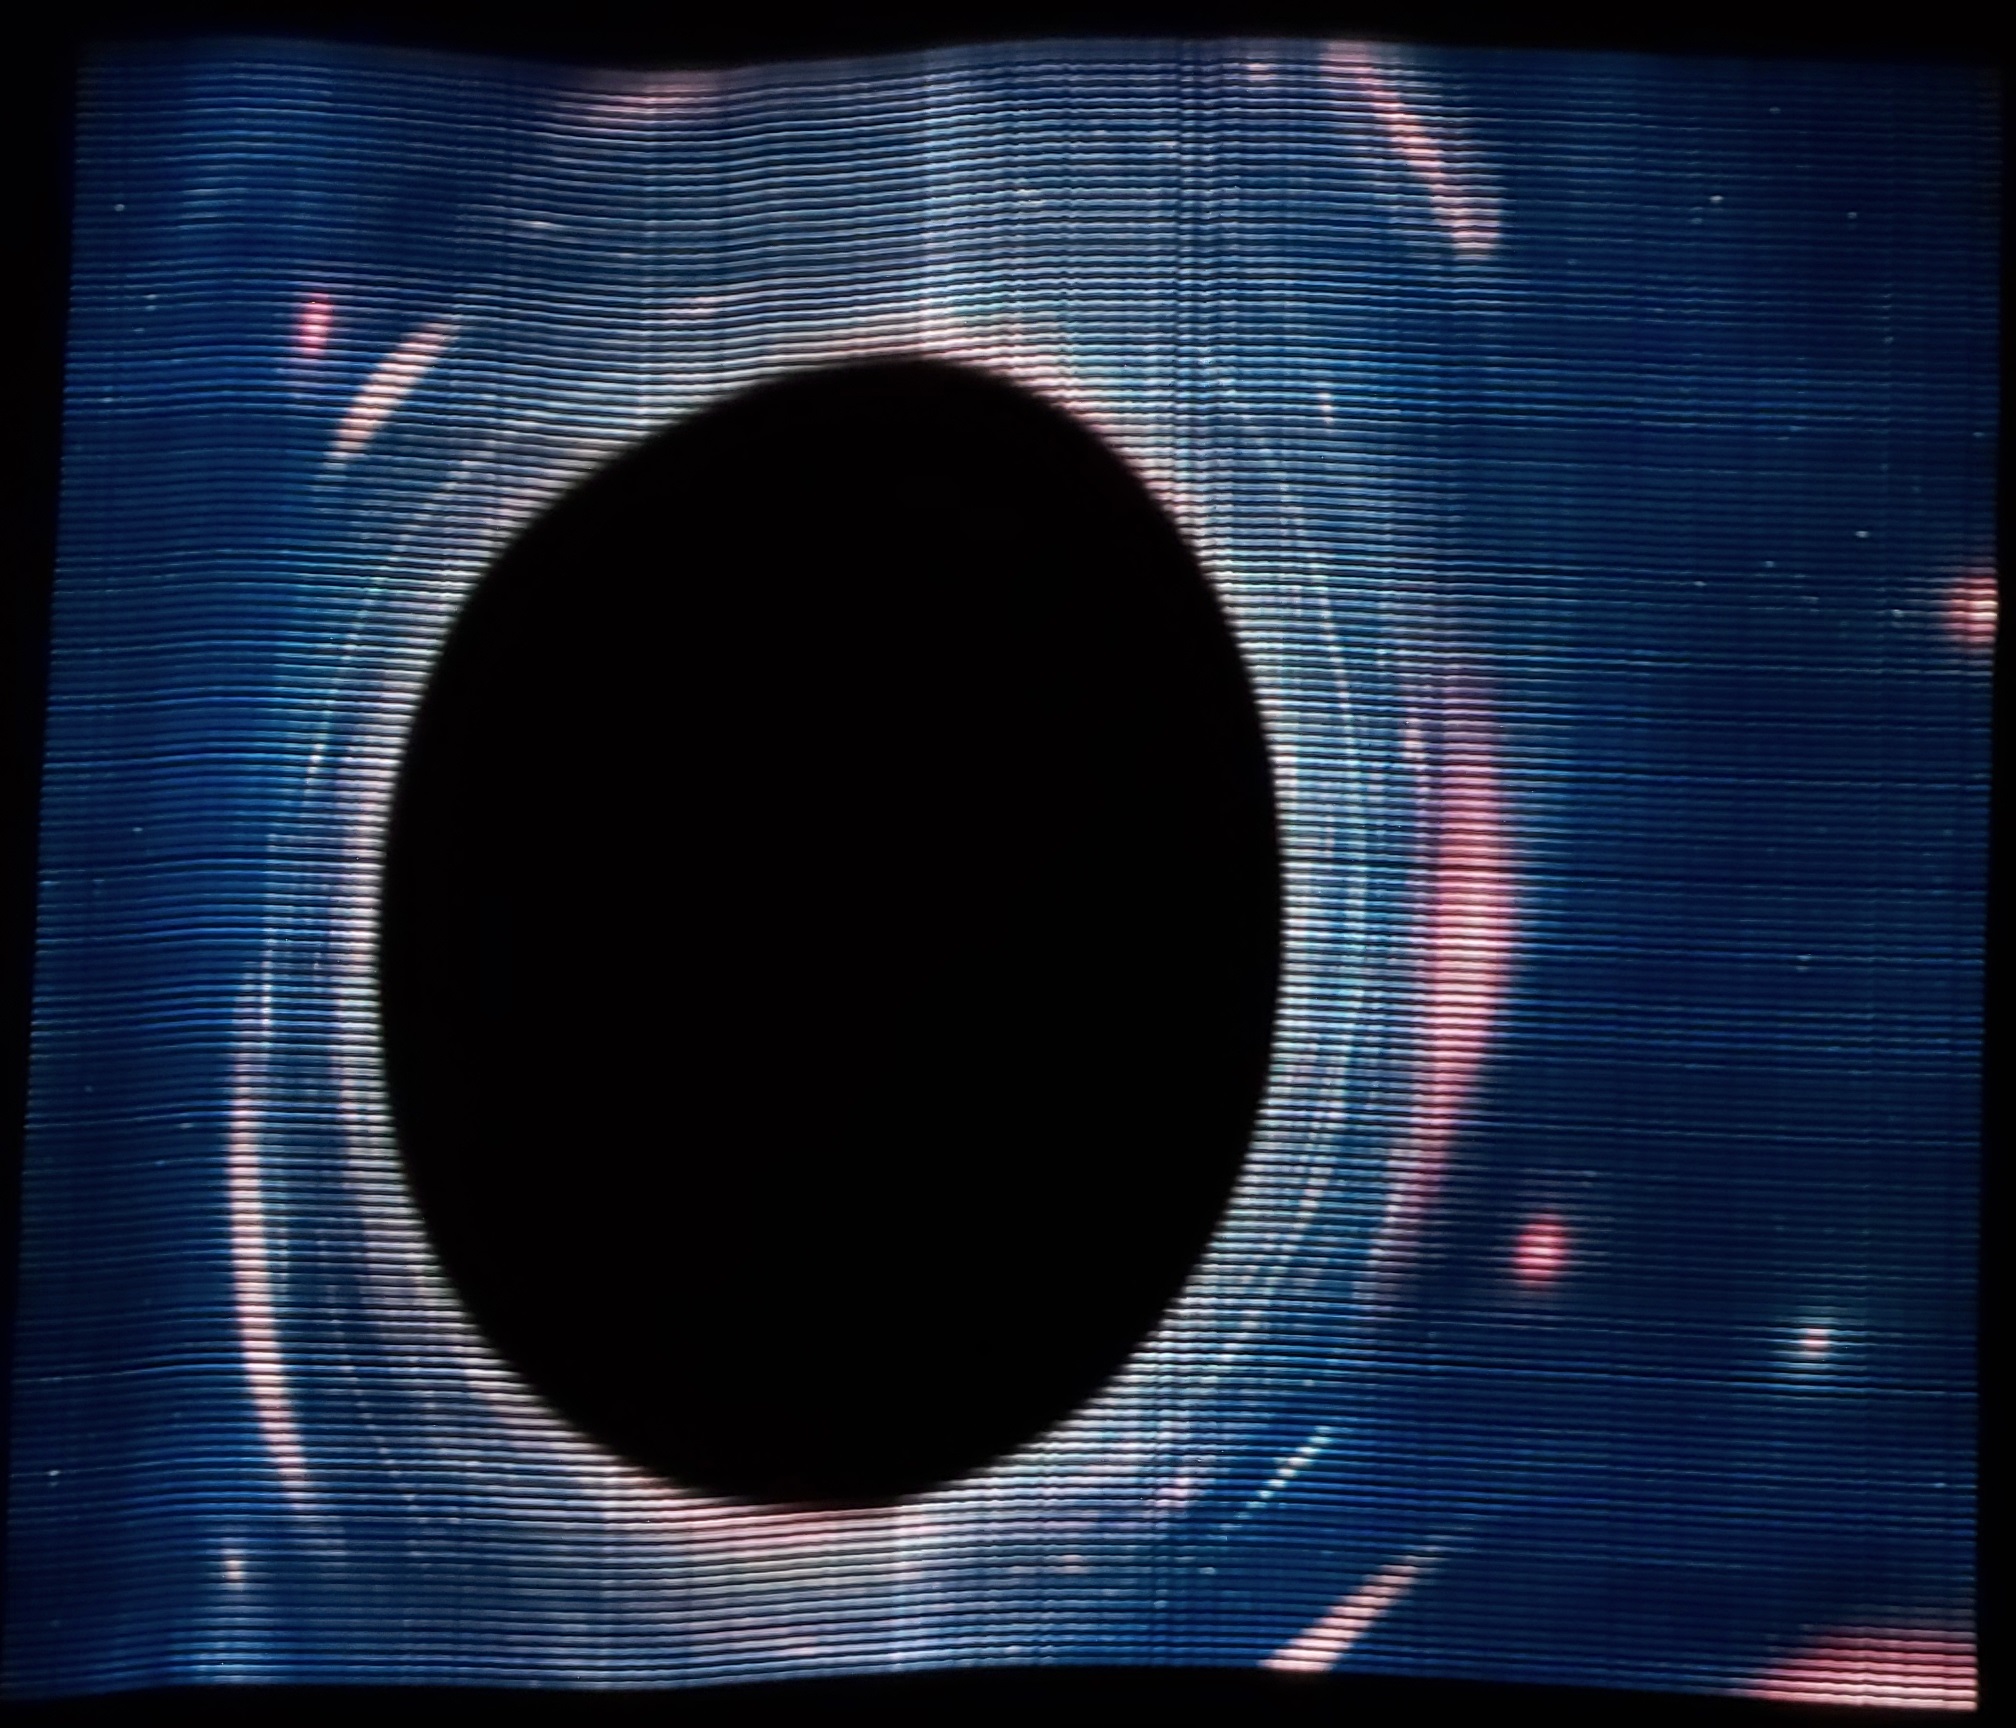
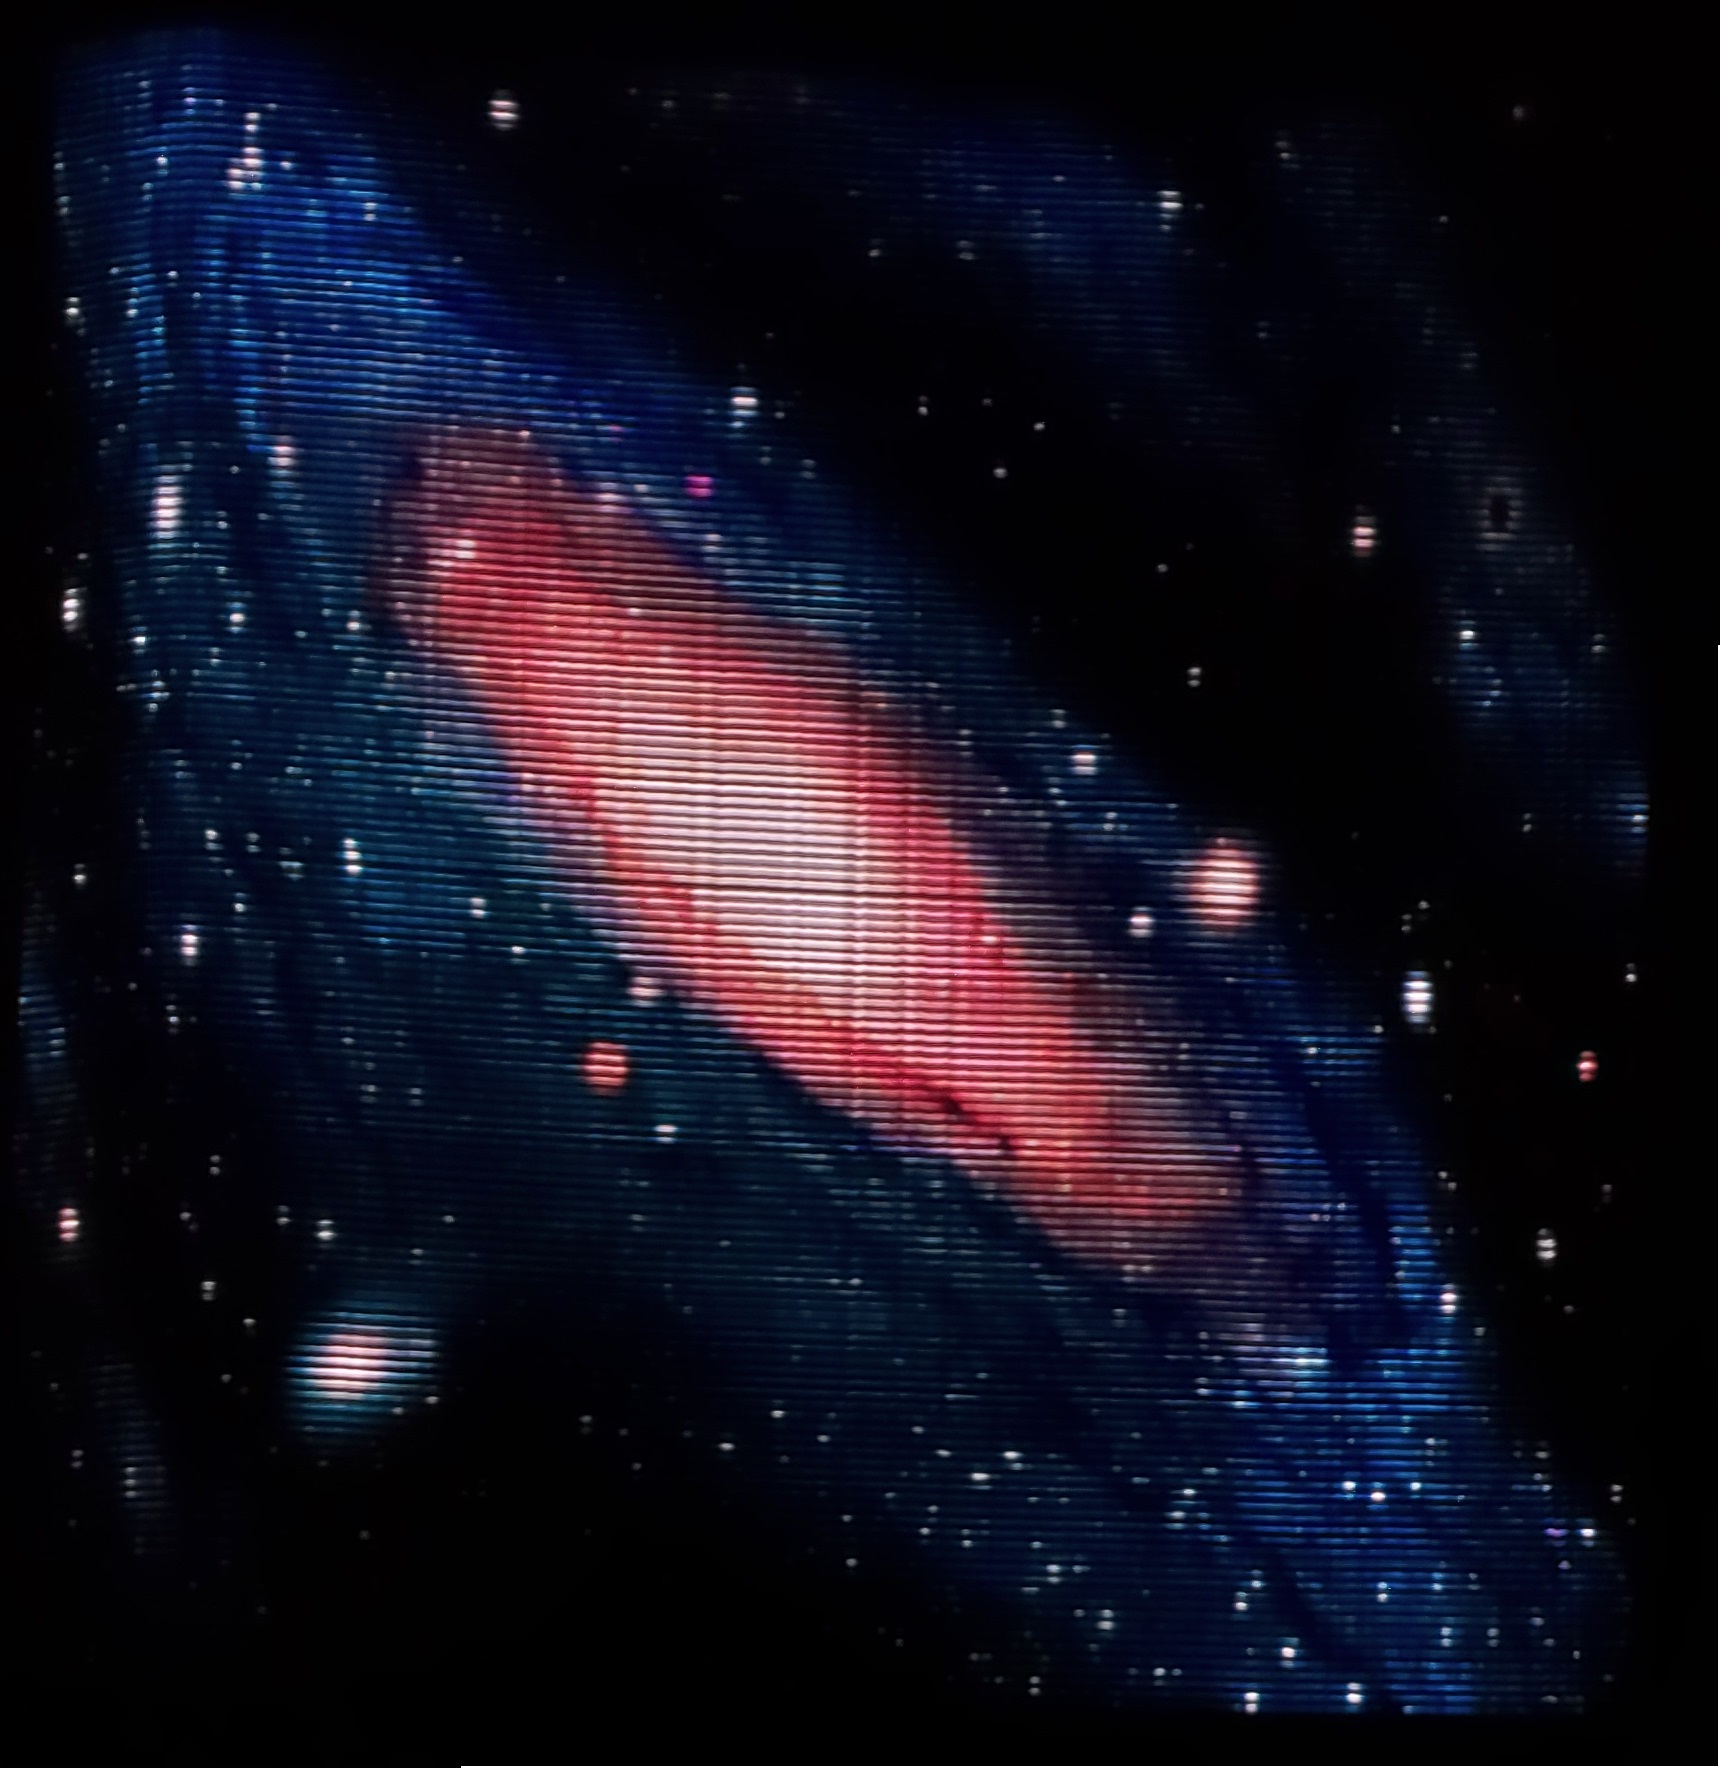
- Out of this world images. These are images that are taken in/of space. These images were chosen for their great contrast between light and dark as well as for some vibrant colors. The aspect of having images in/of space float into existence in an otherwise blurry background fits well with the medium and lets the final result capture the nature of the original objects of the images, (relatively) small distinct items in a vast emptiness.
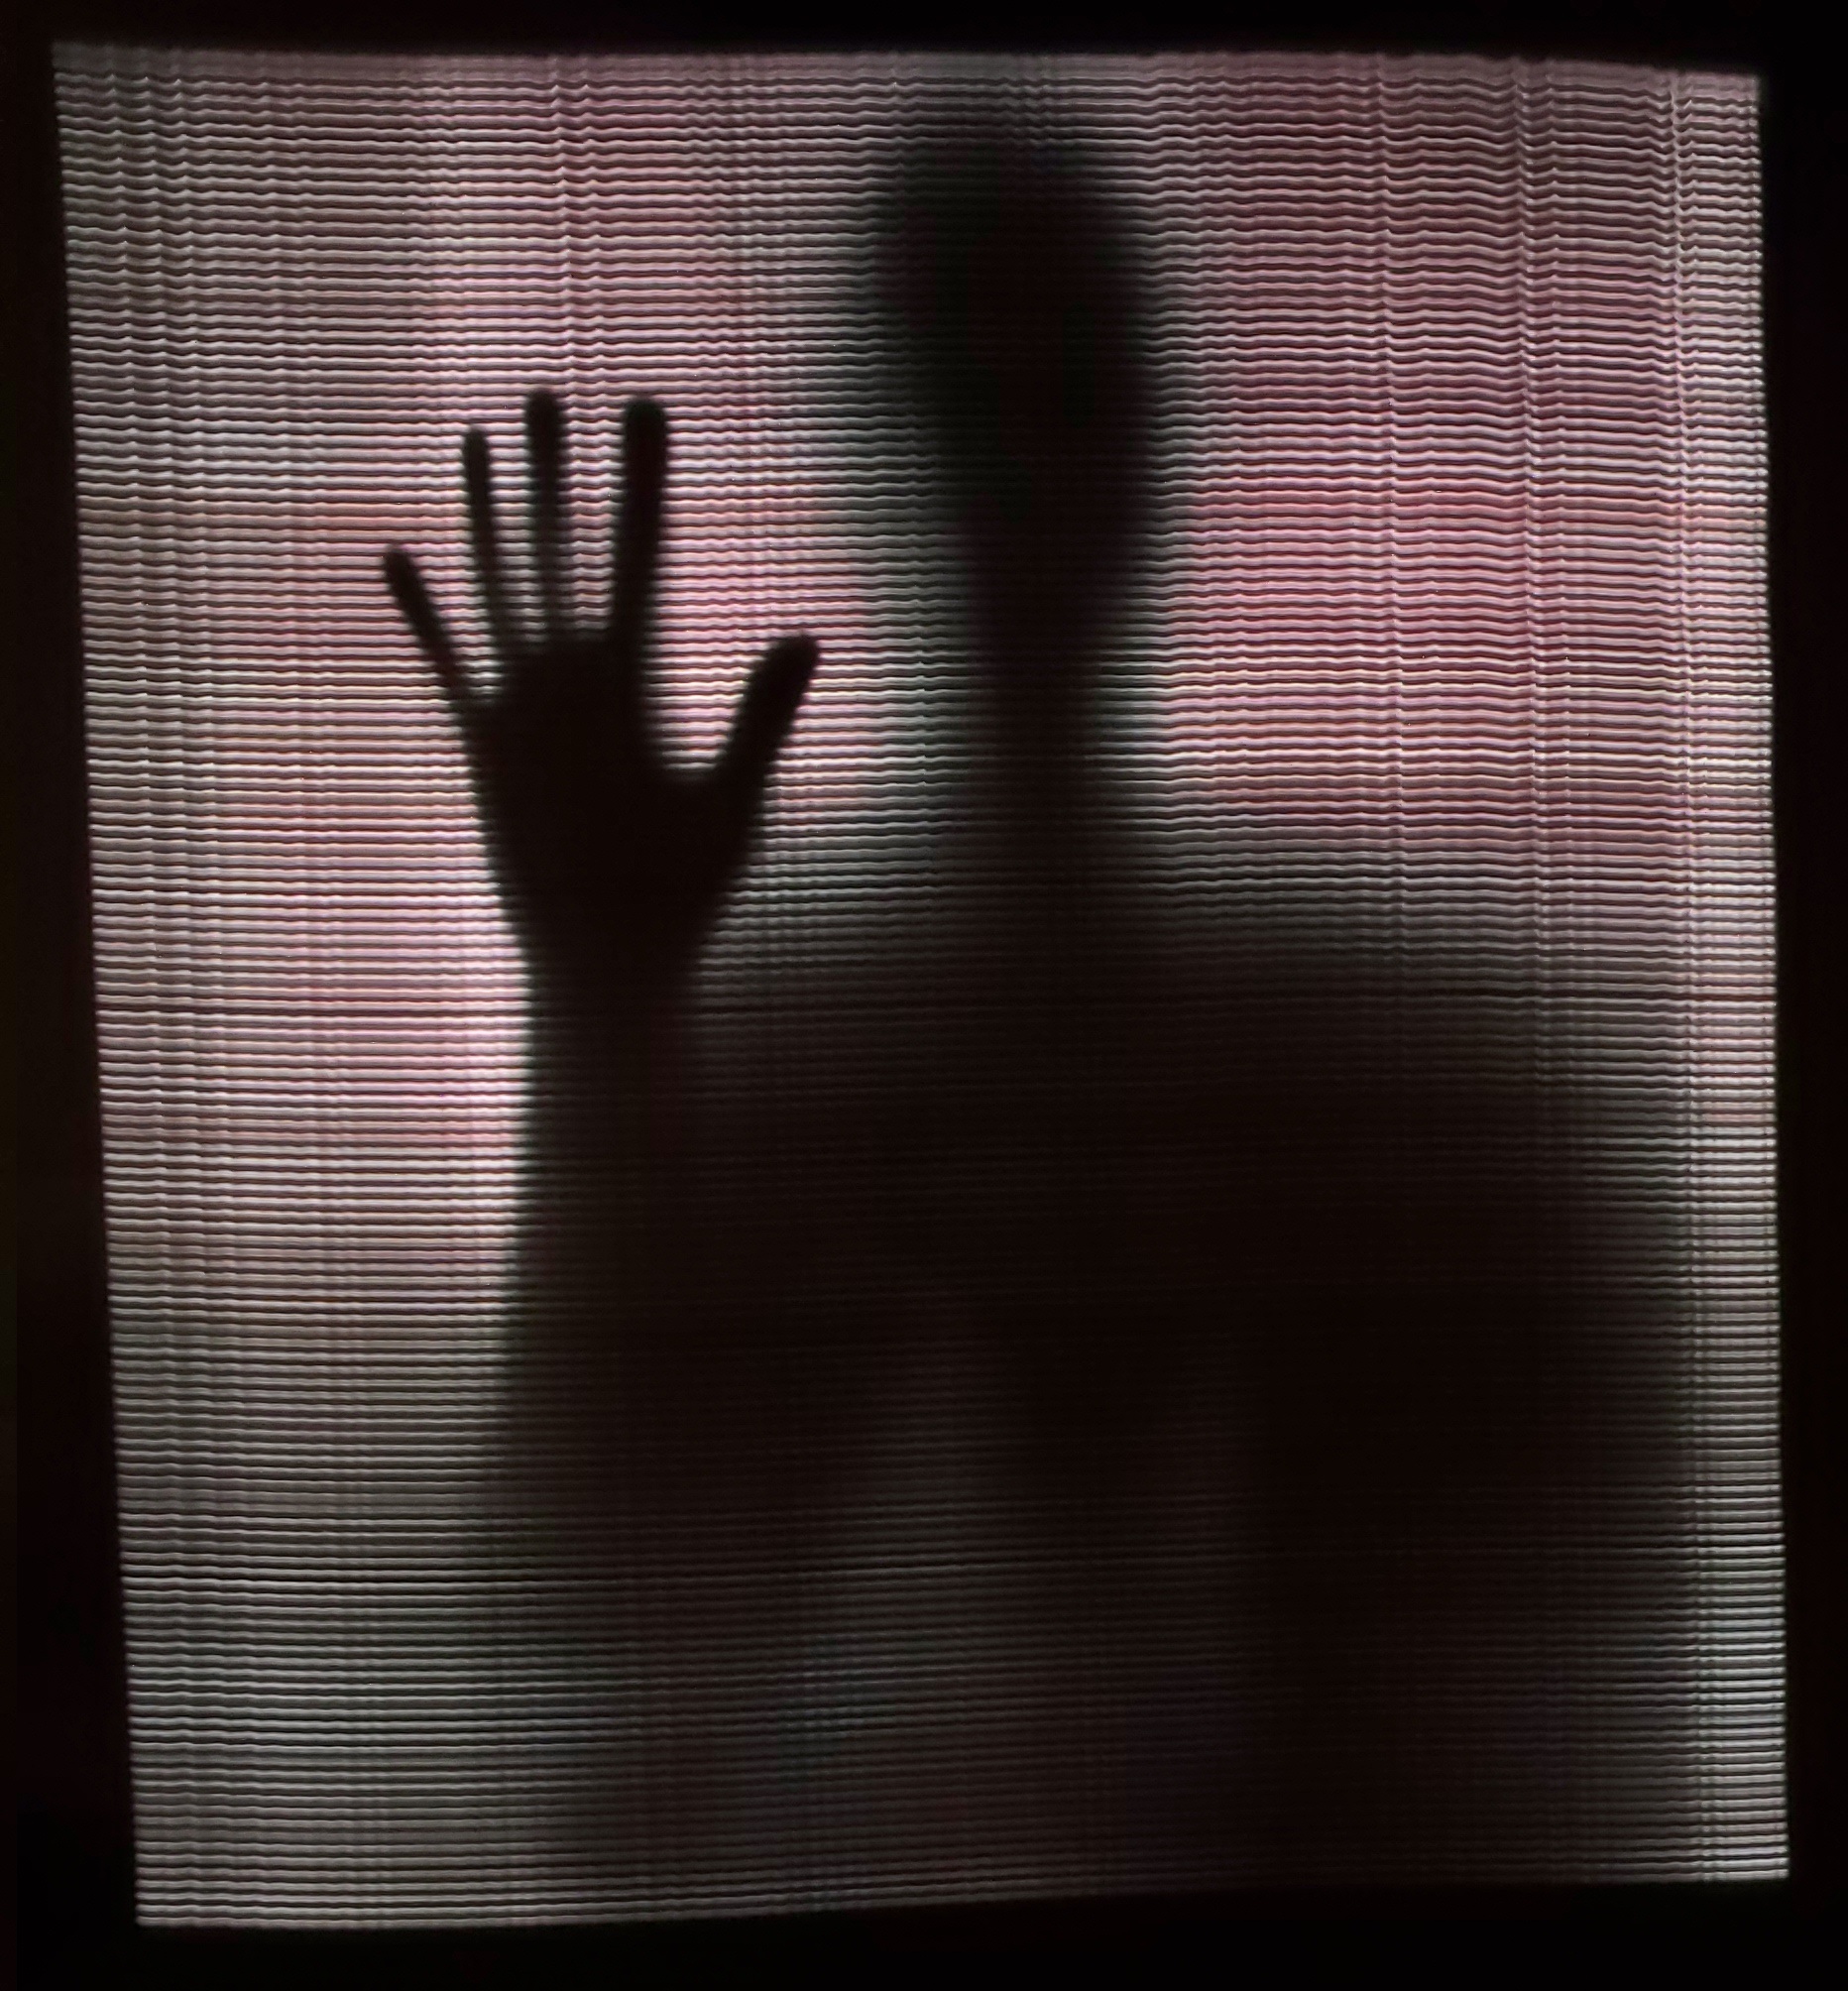
- Ethereal or spooky images. Ghostly and shadowy images work well with the ethereal nature as the subject appears to float in nothing before the photographer. It also is very good for scary/spooky images since the image slowly is displayed in front of people, but is contents are unknown unless it is photographed.
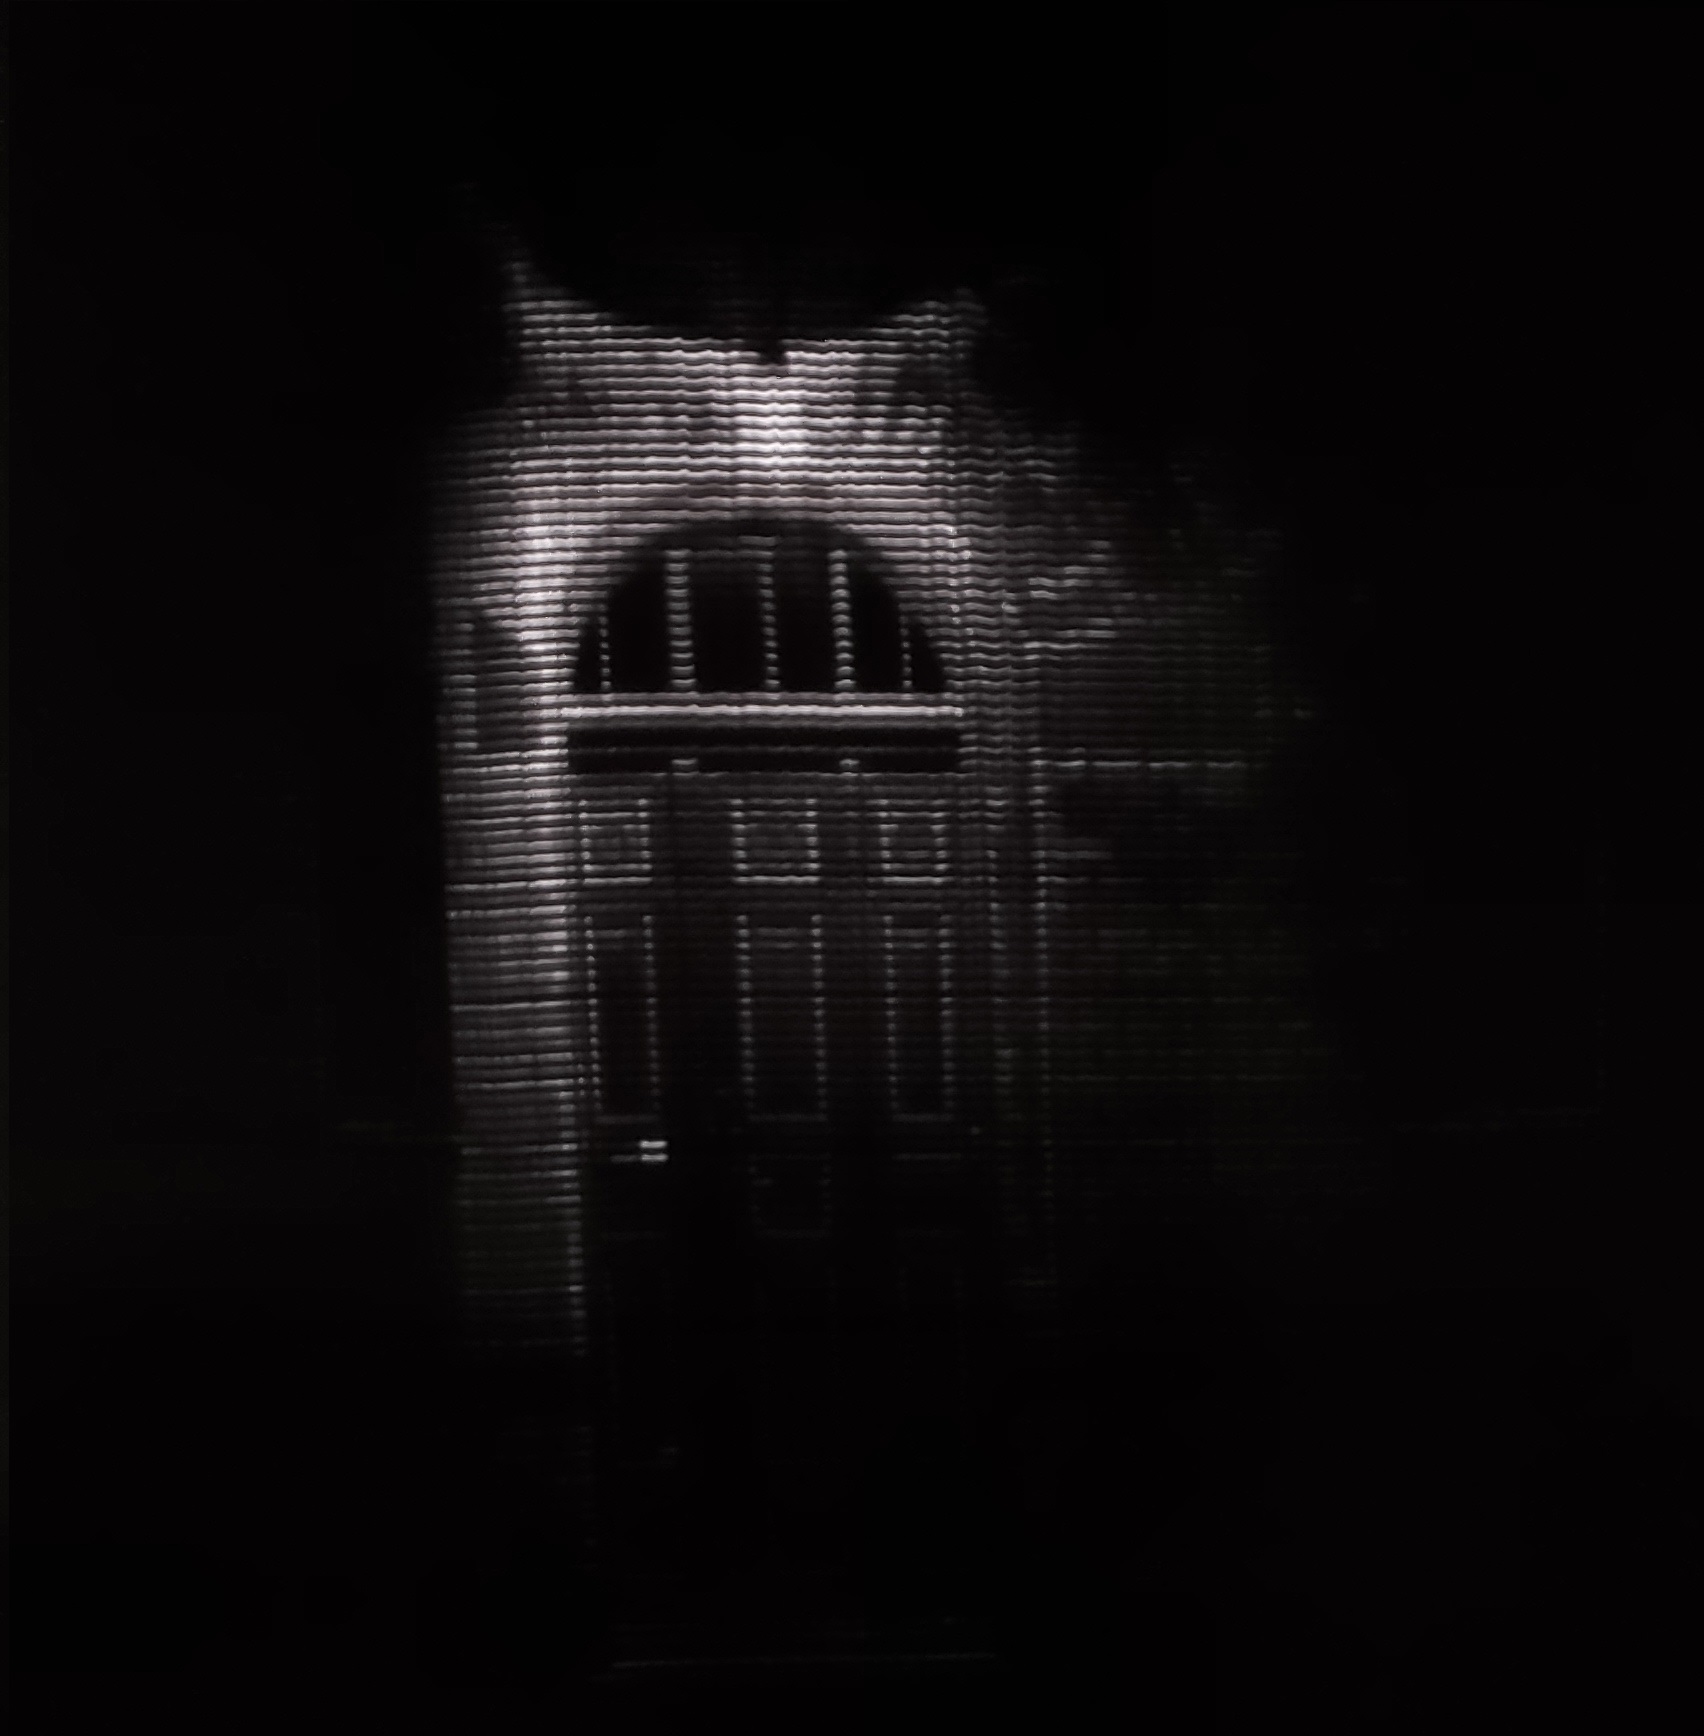
- Images people might not see otherwise. This is sort of a final category that includes images of places and things that people might not get to see with their own eyes. These are just a final collection of images that produce nice vibrant patterns without a camera, yet still produce good final images.
Results
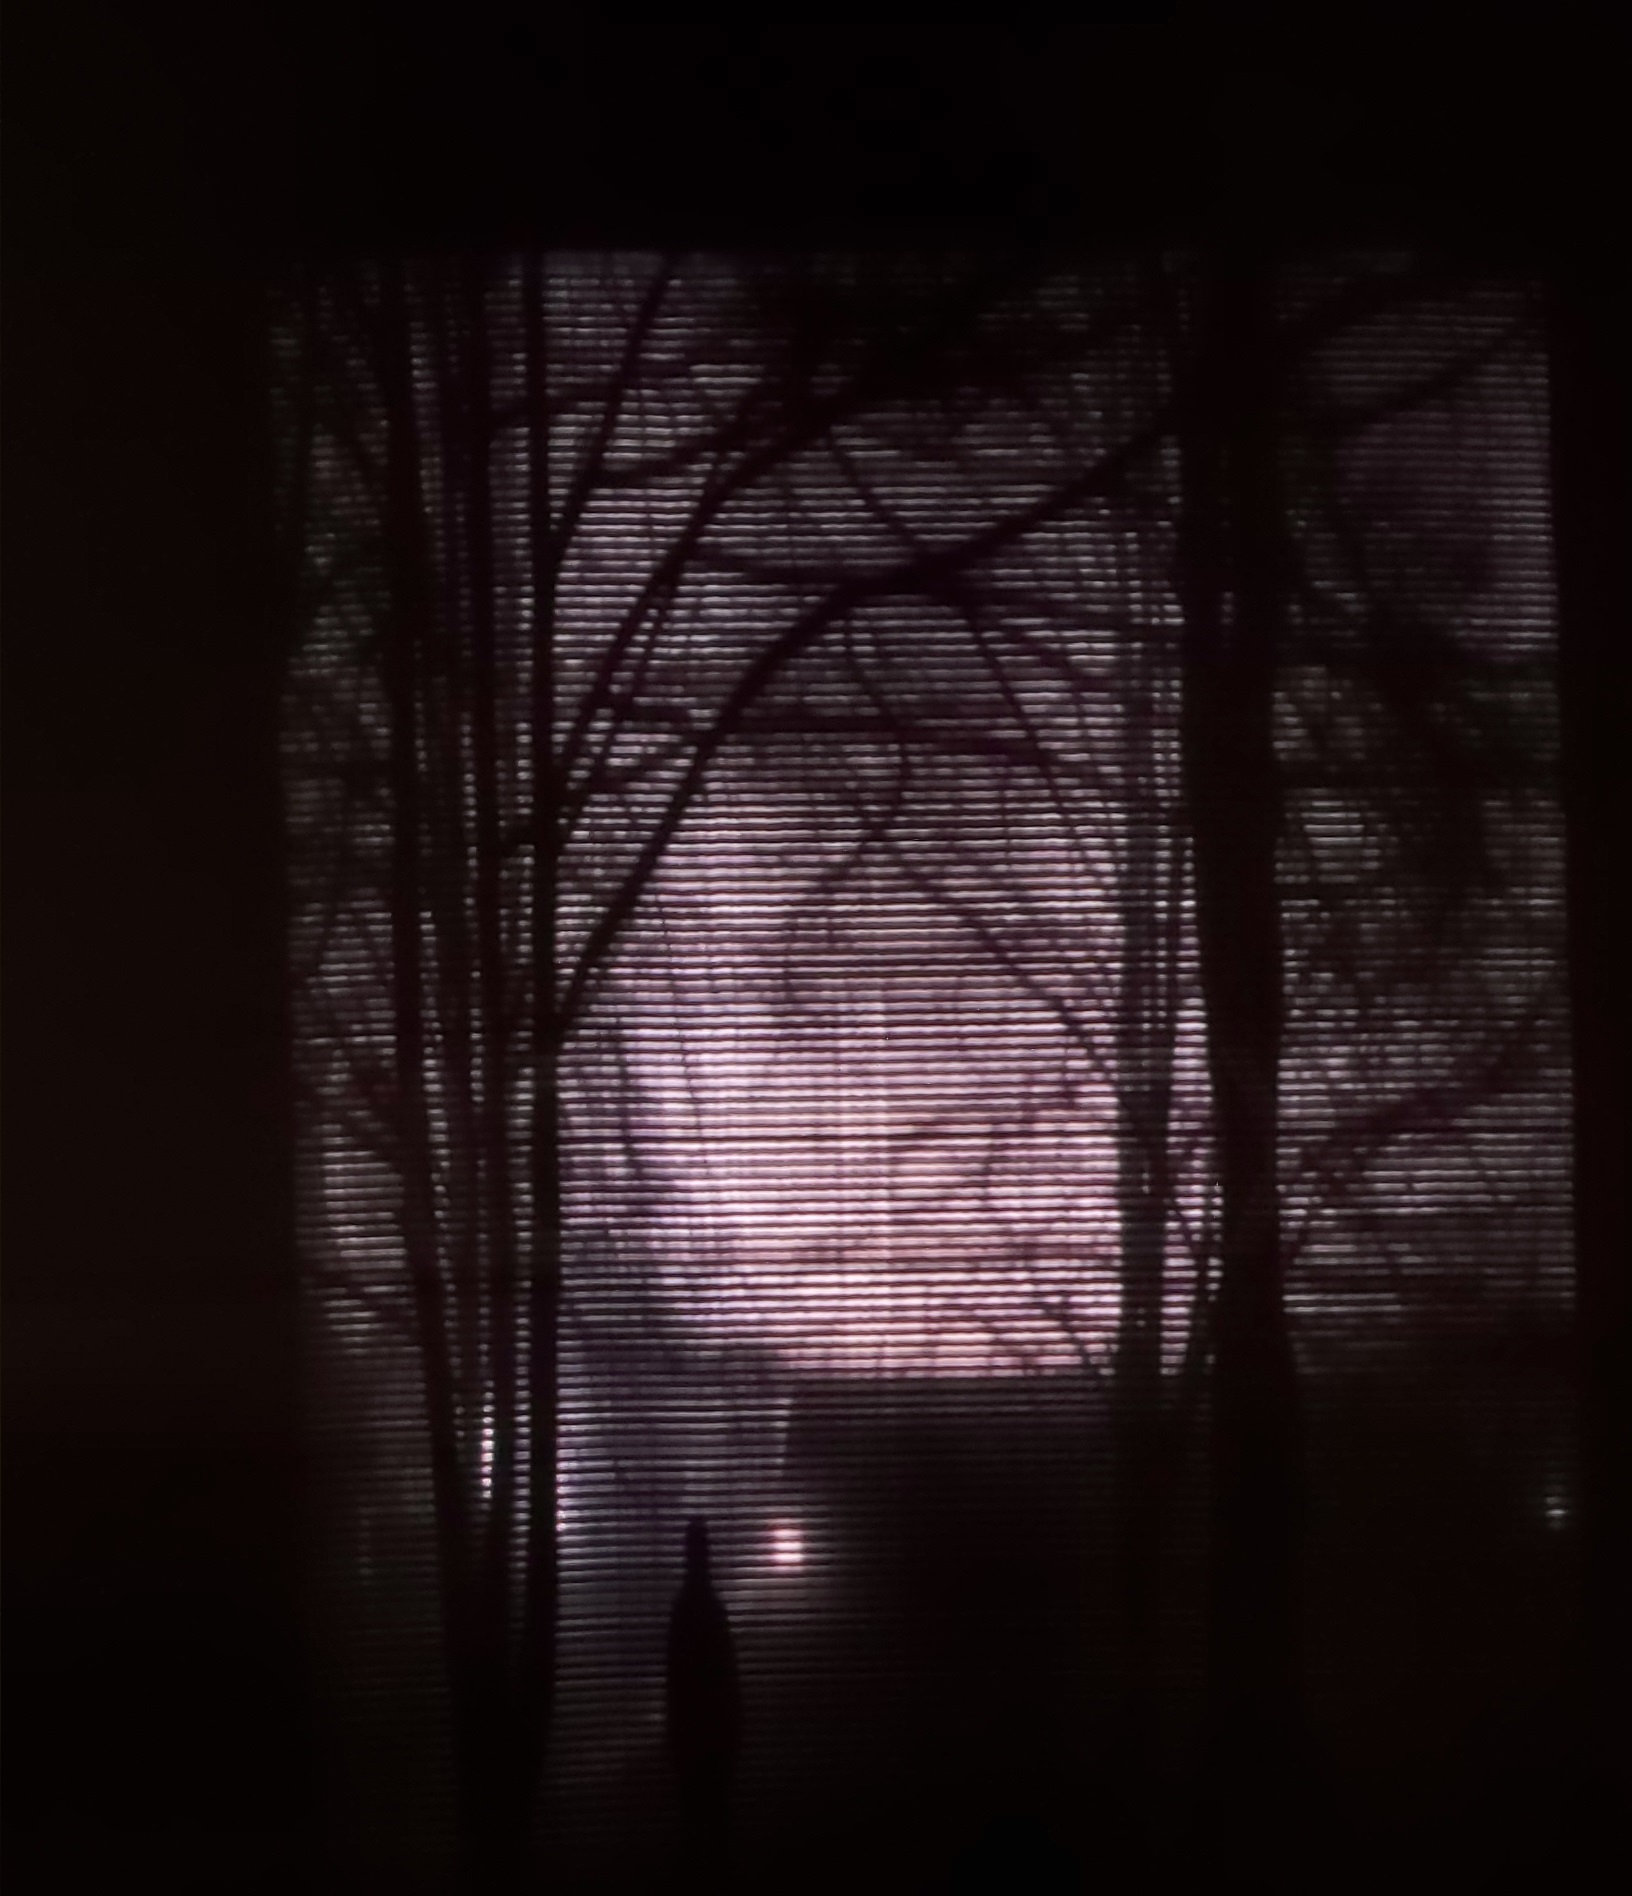
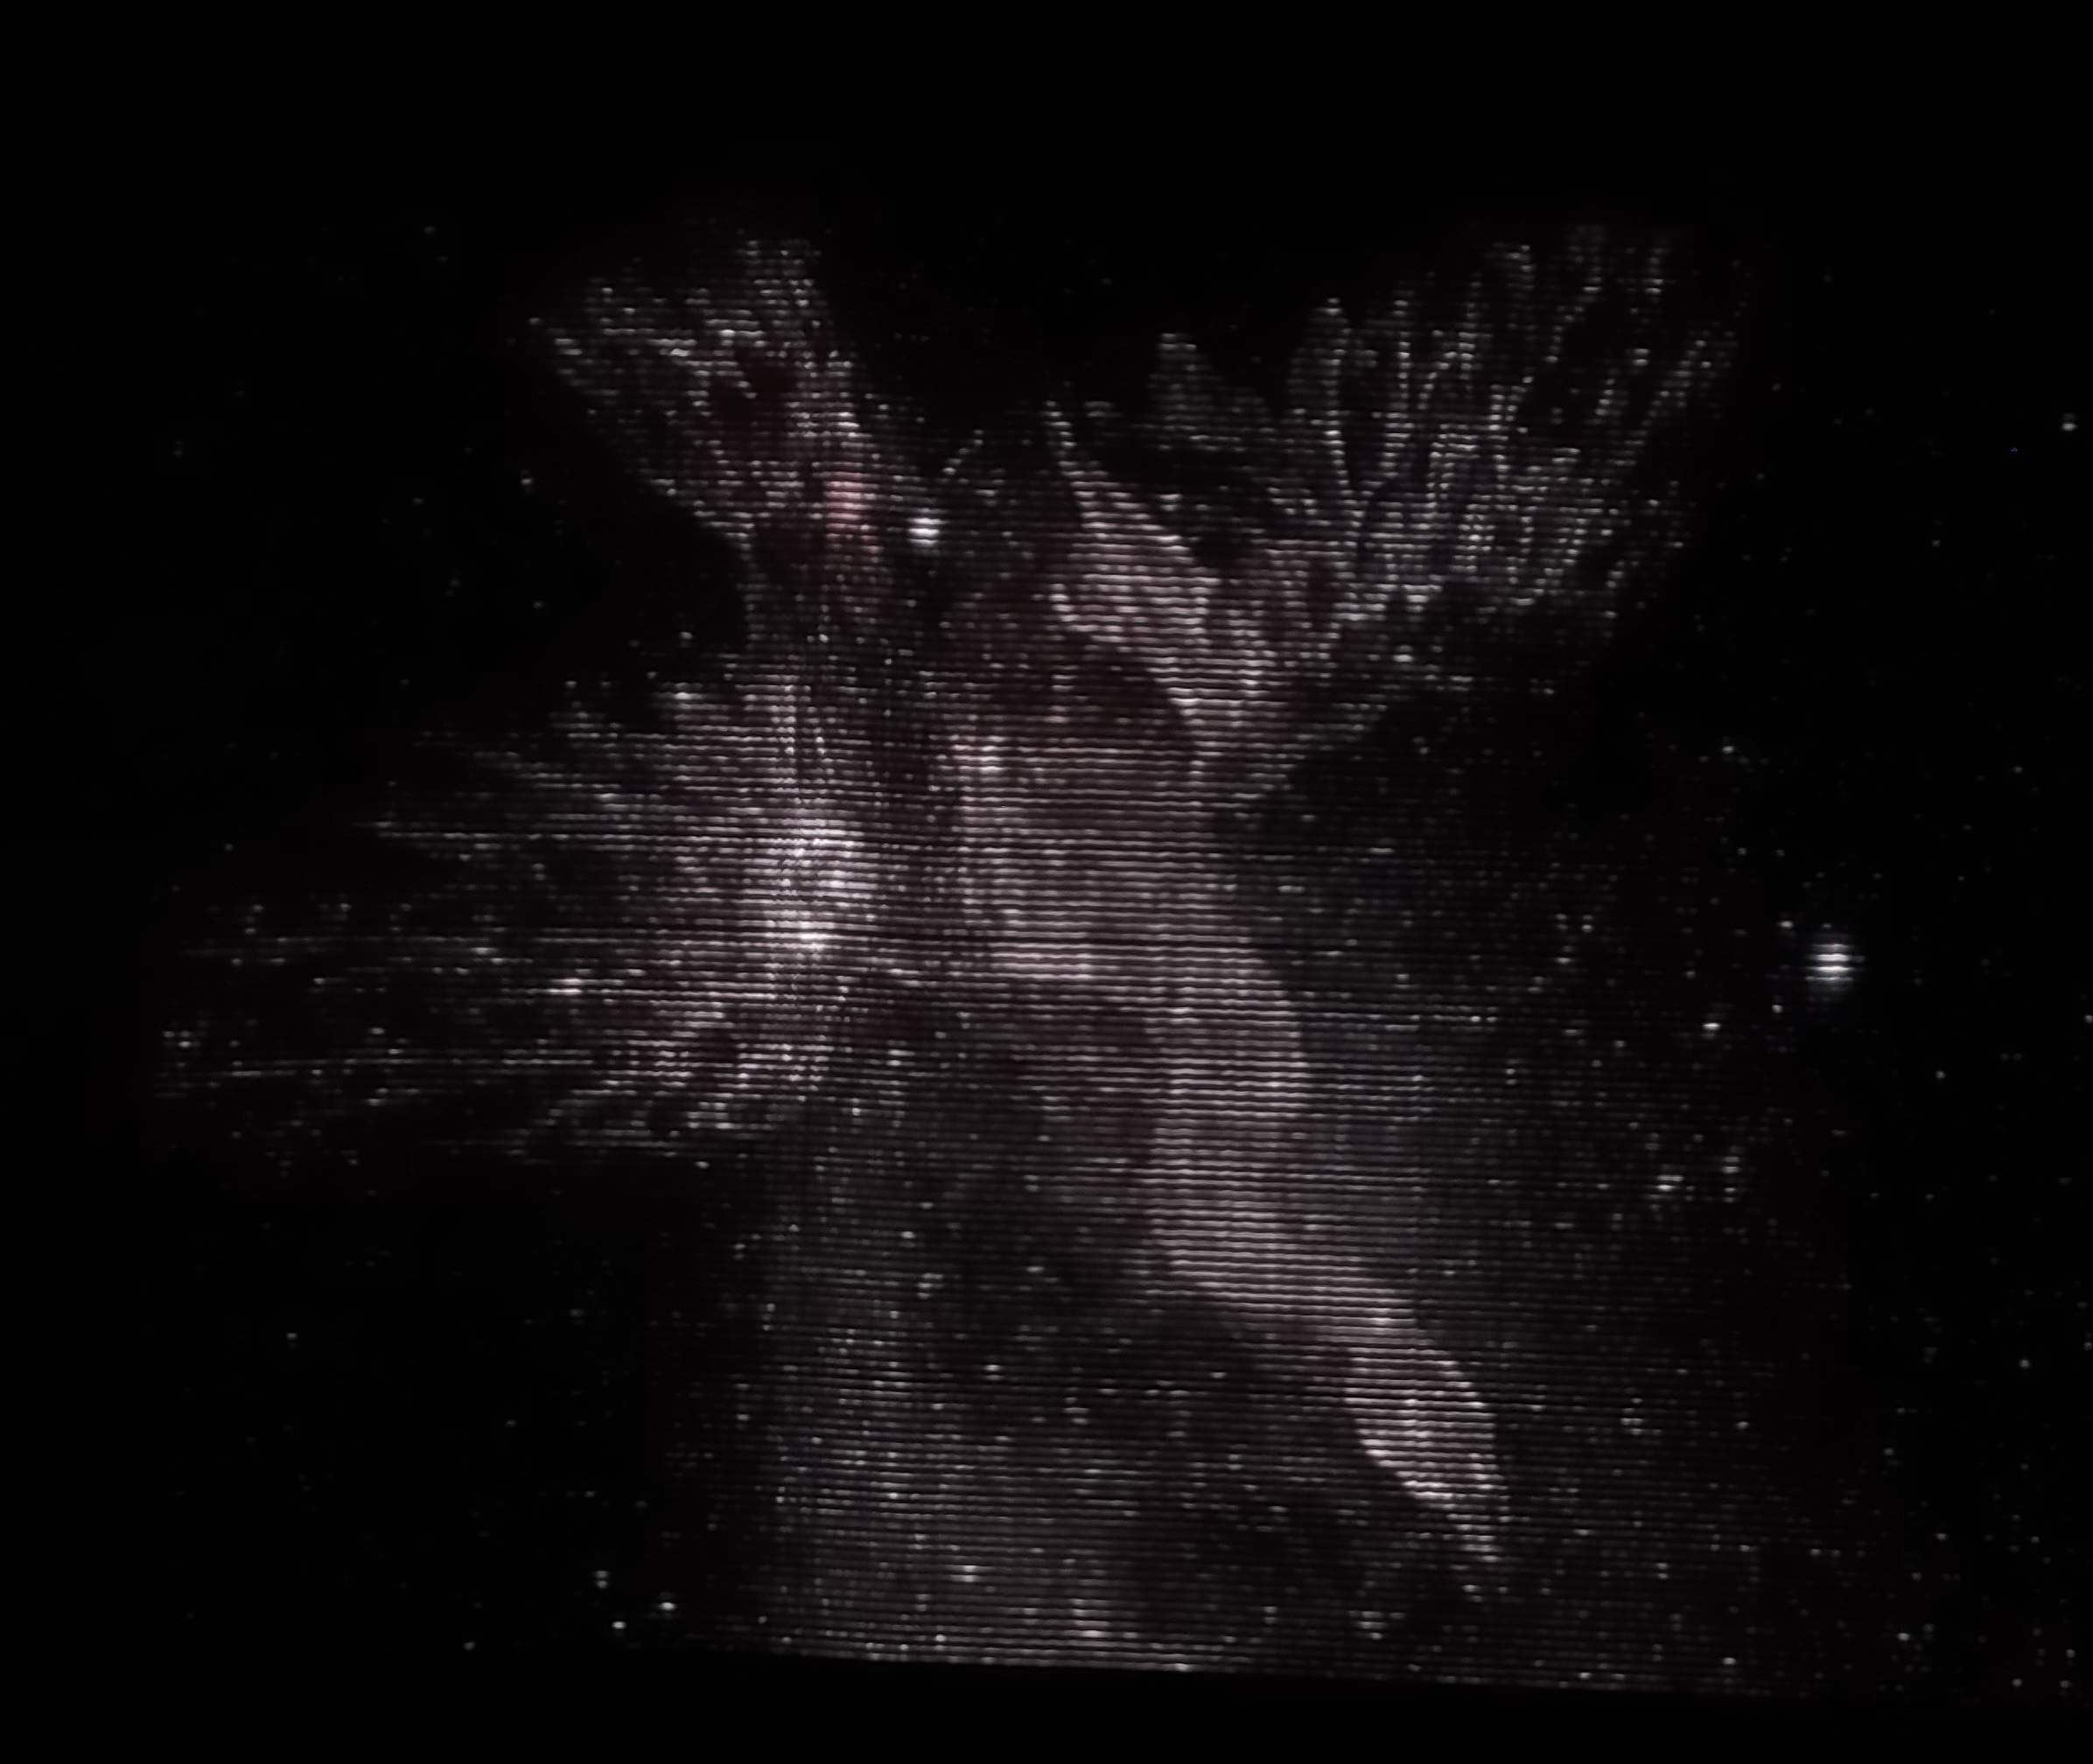
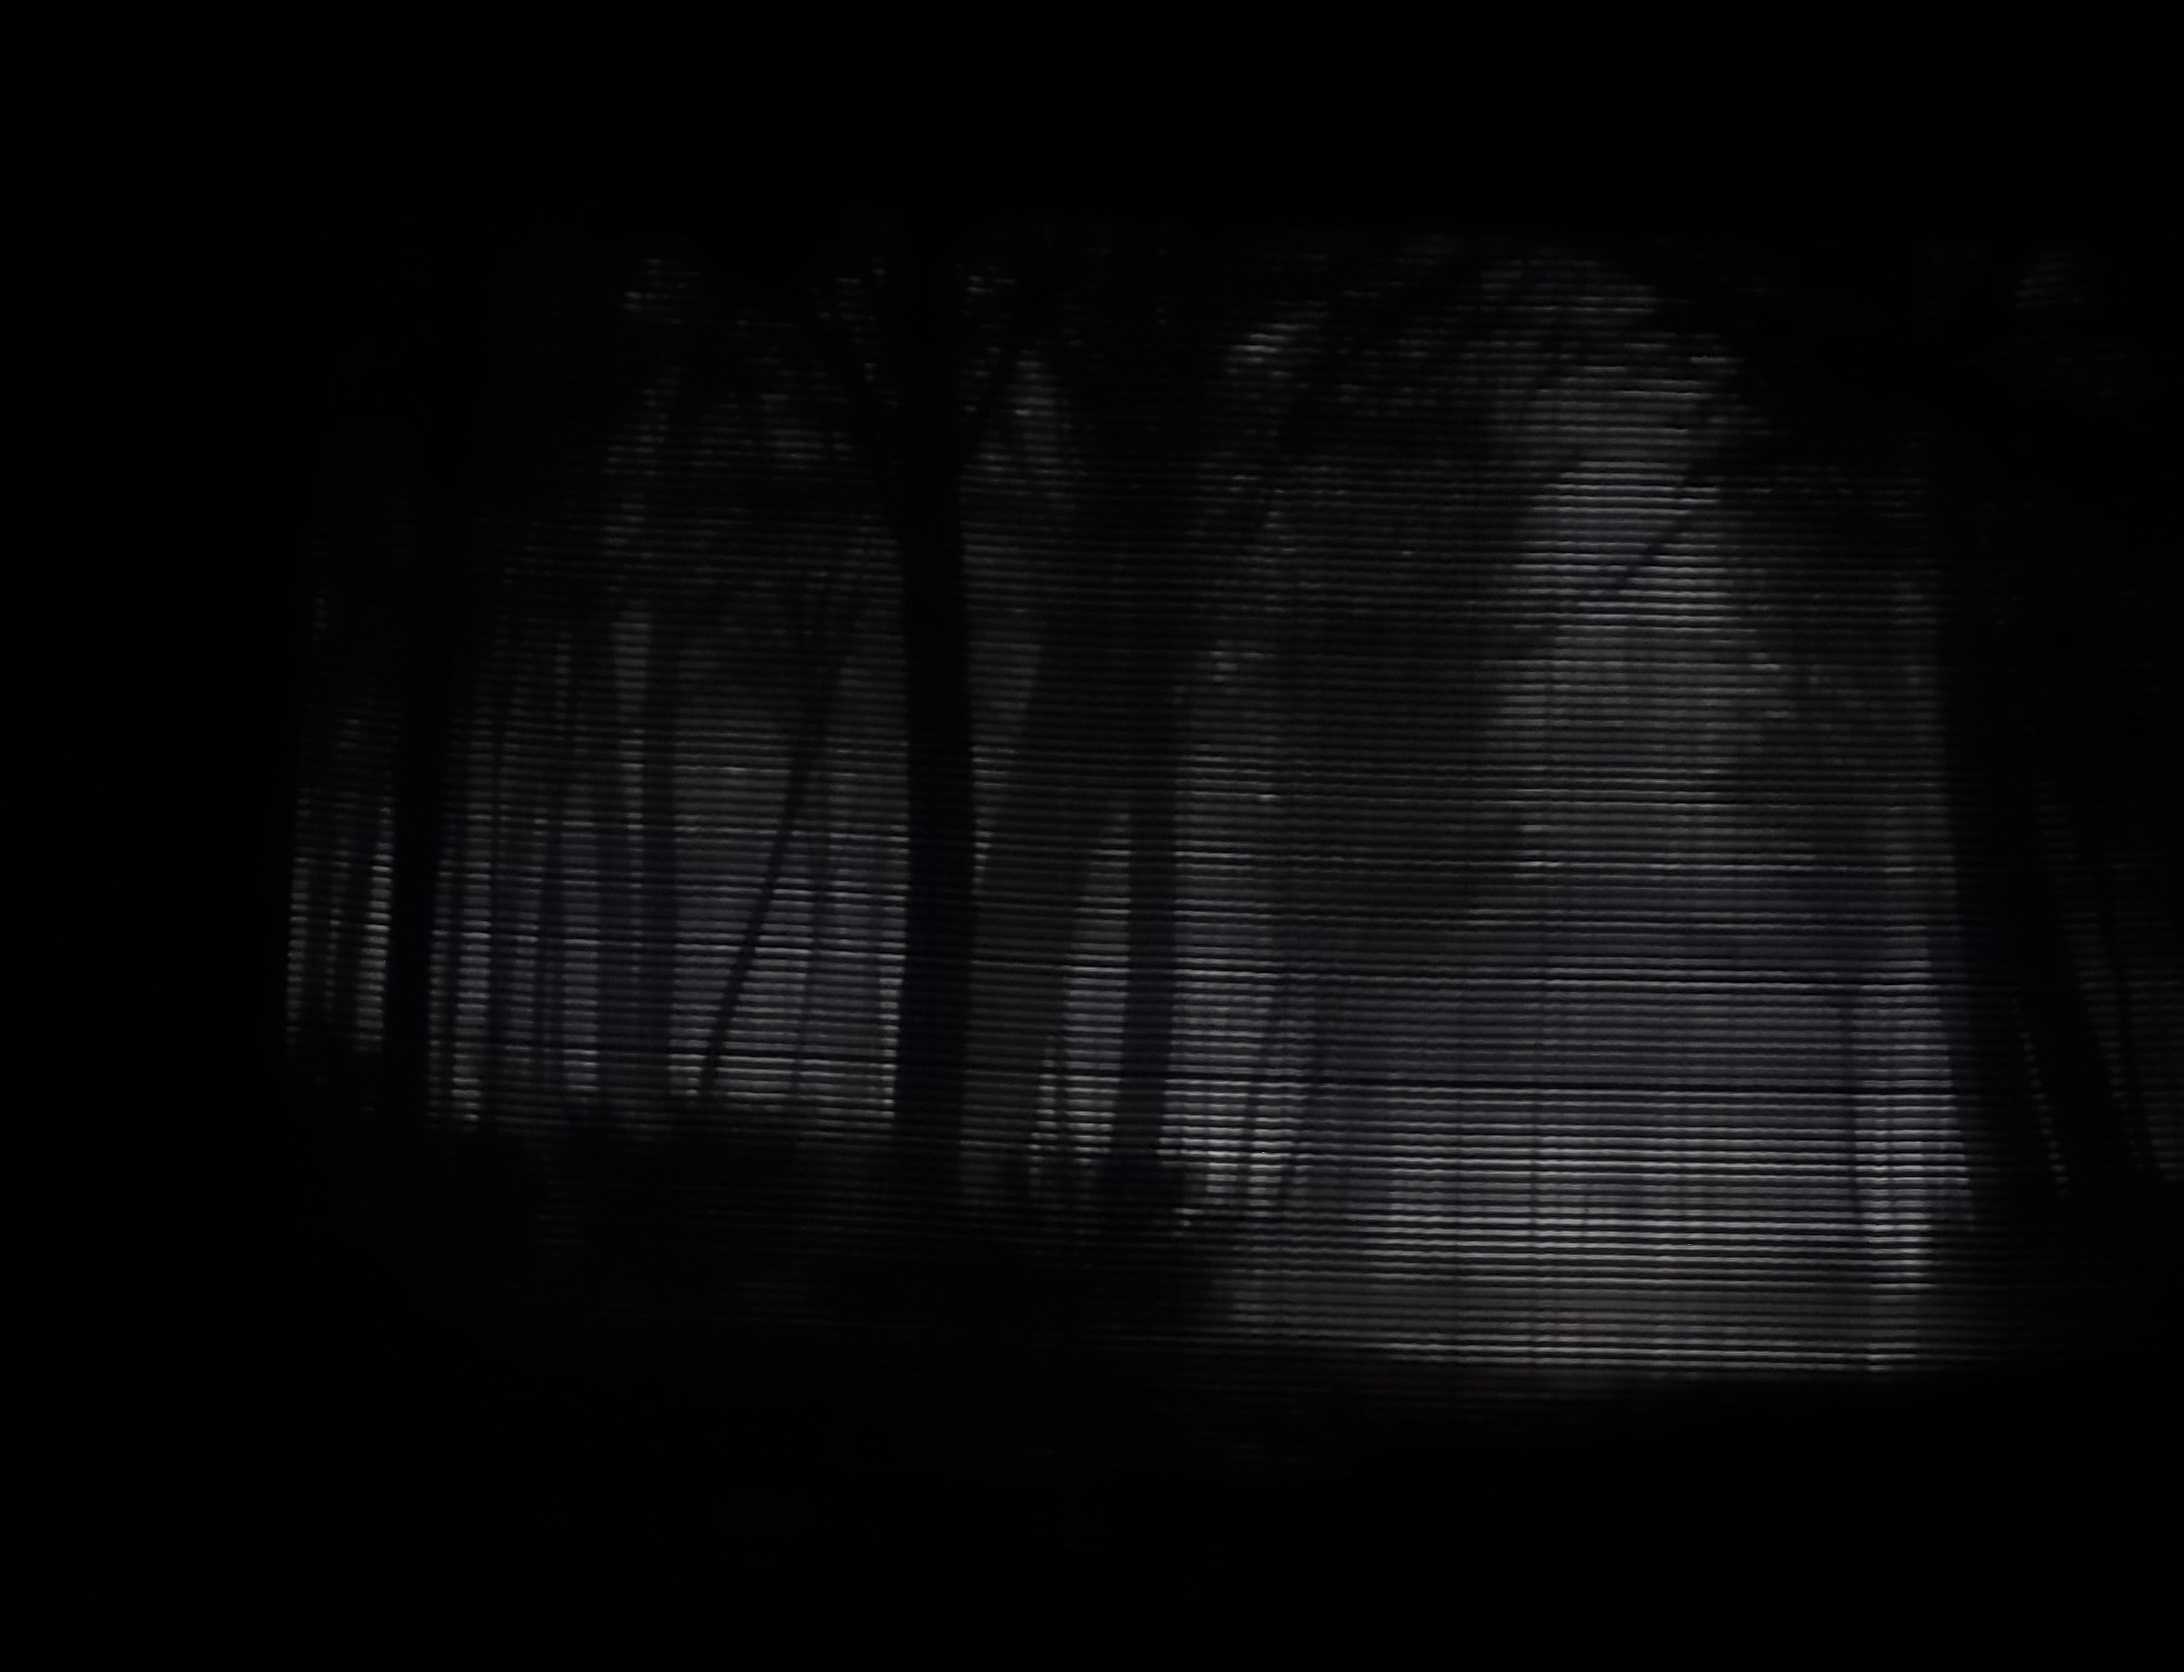
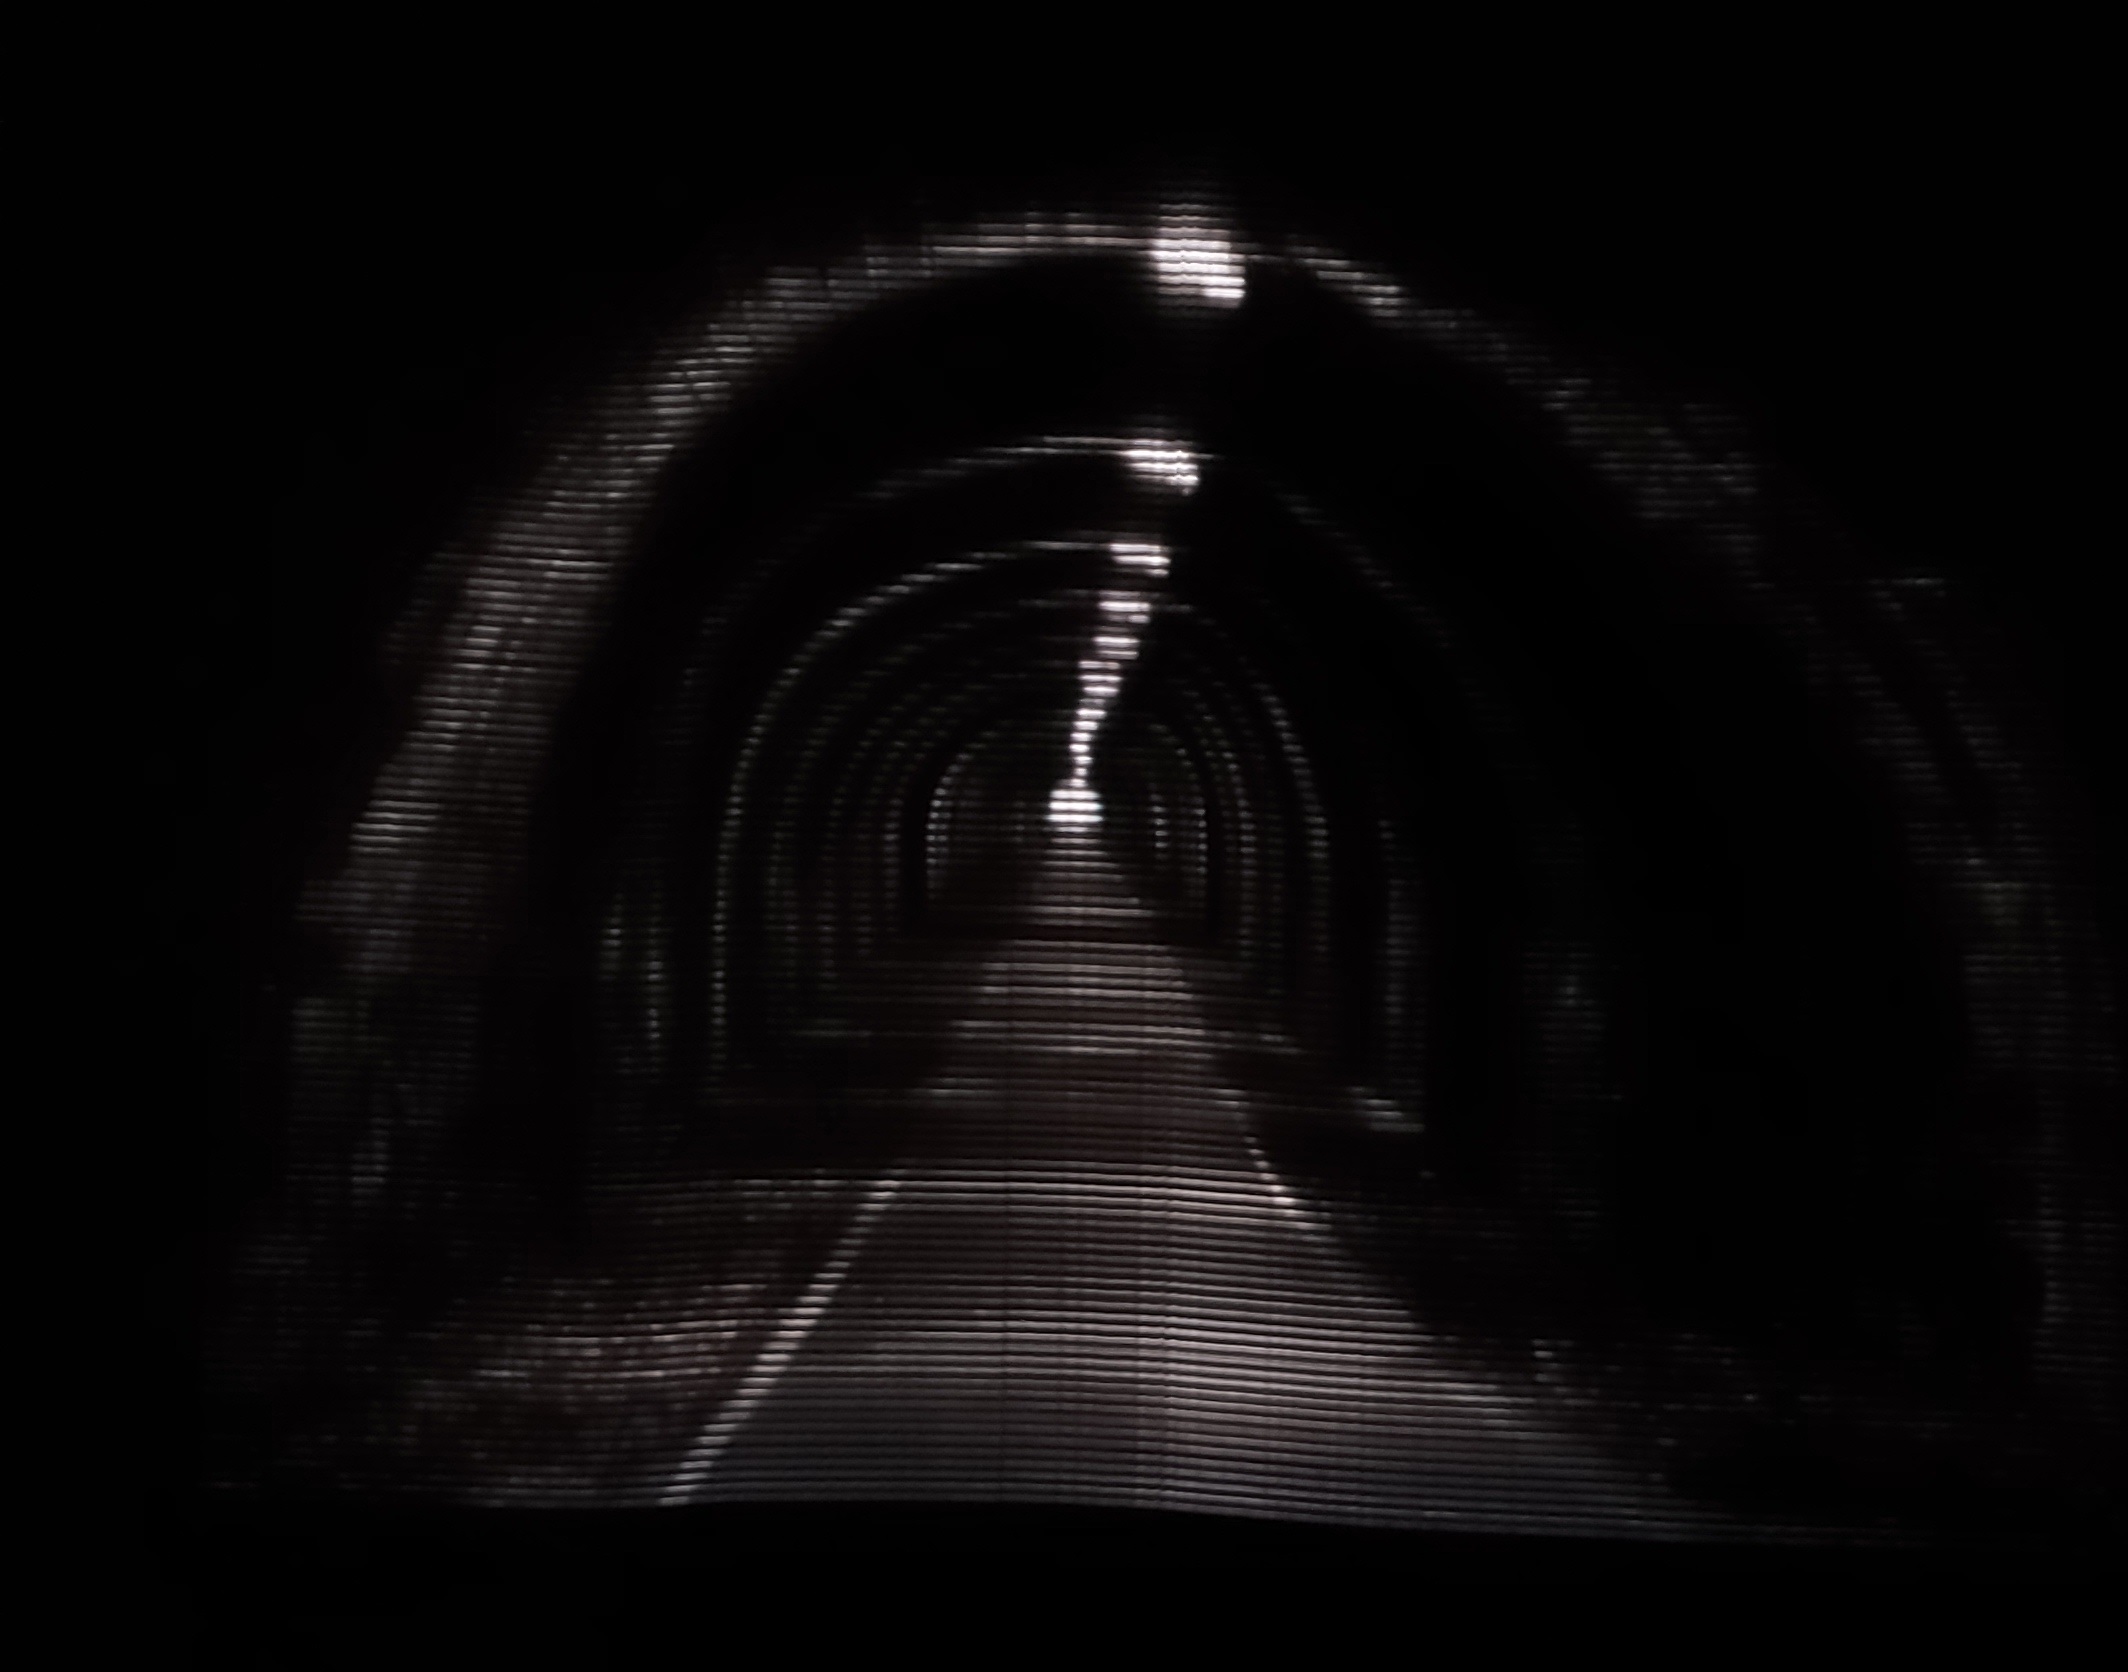
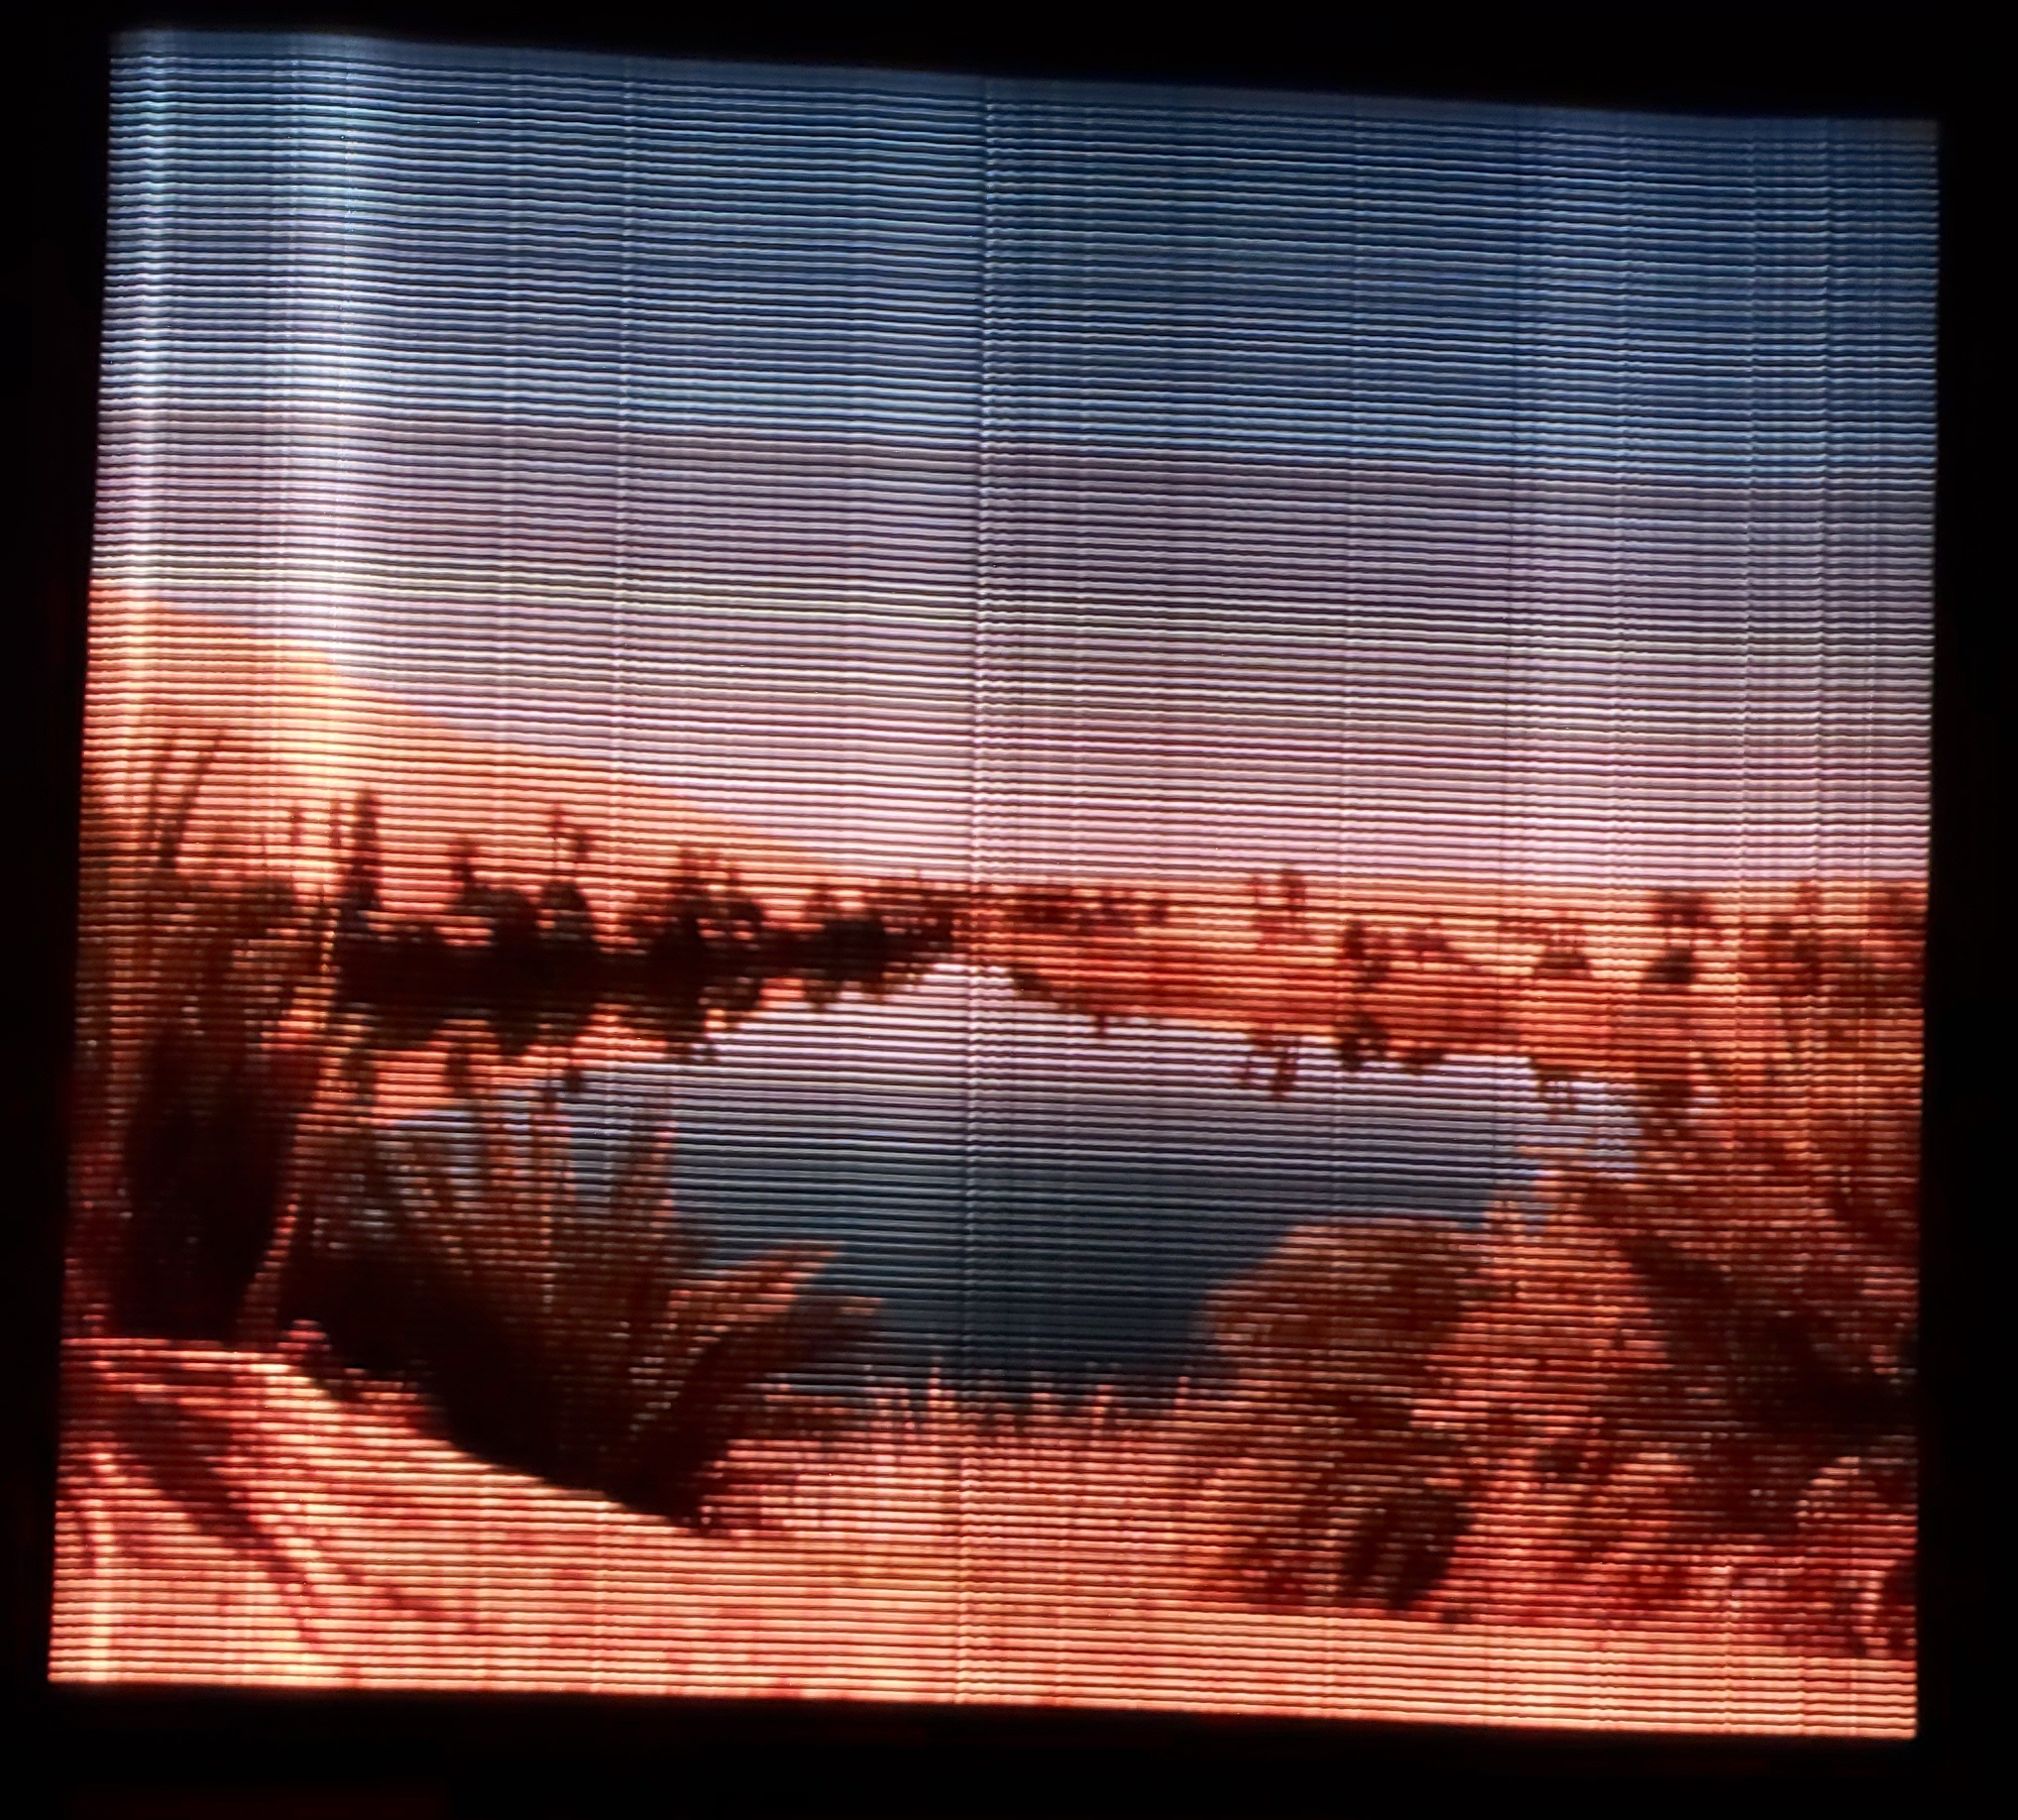
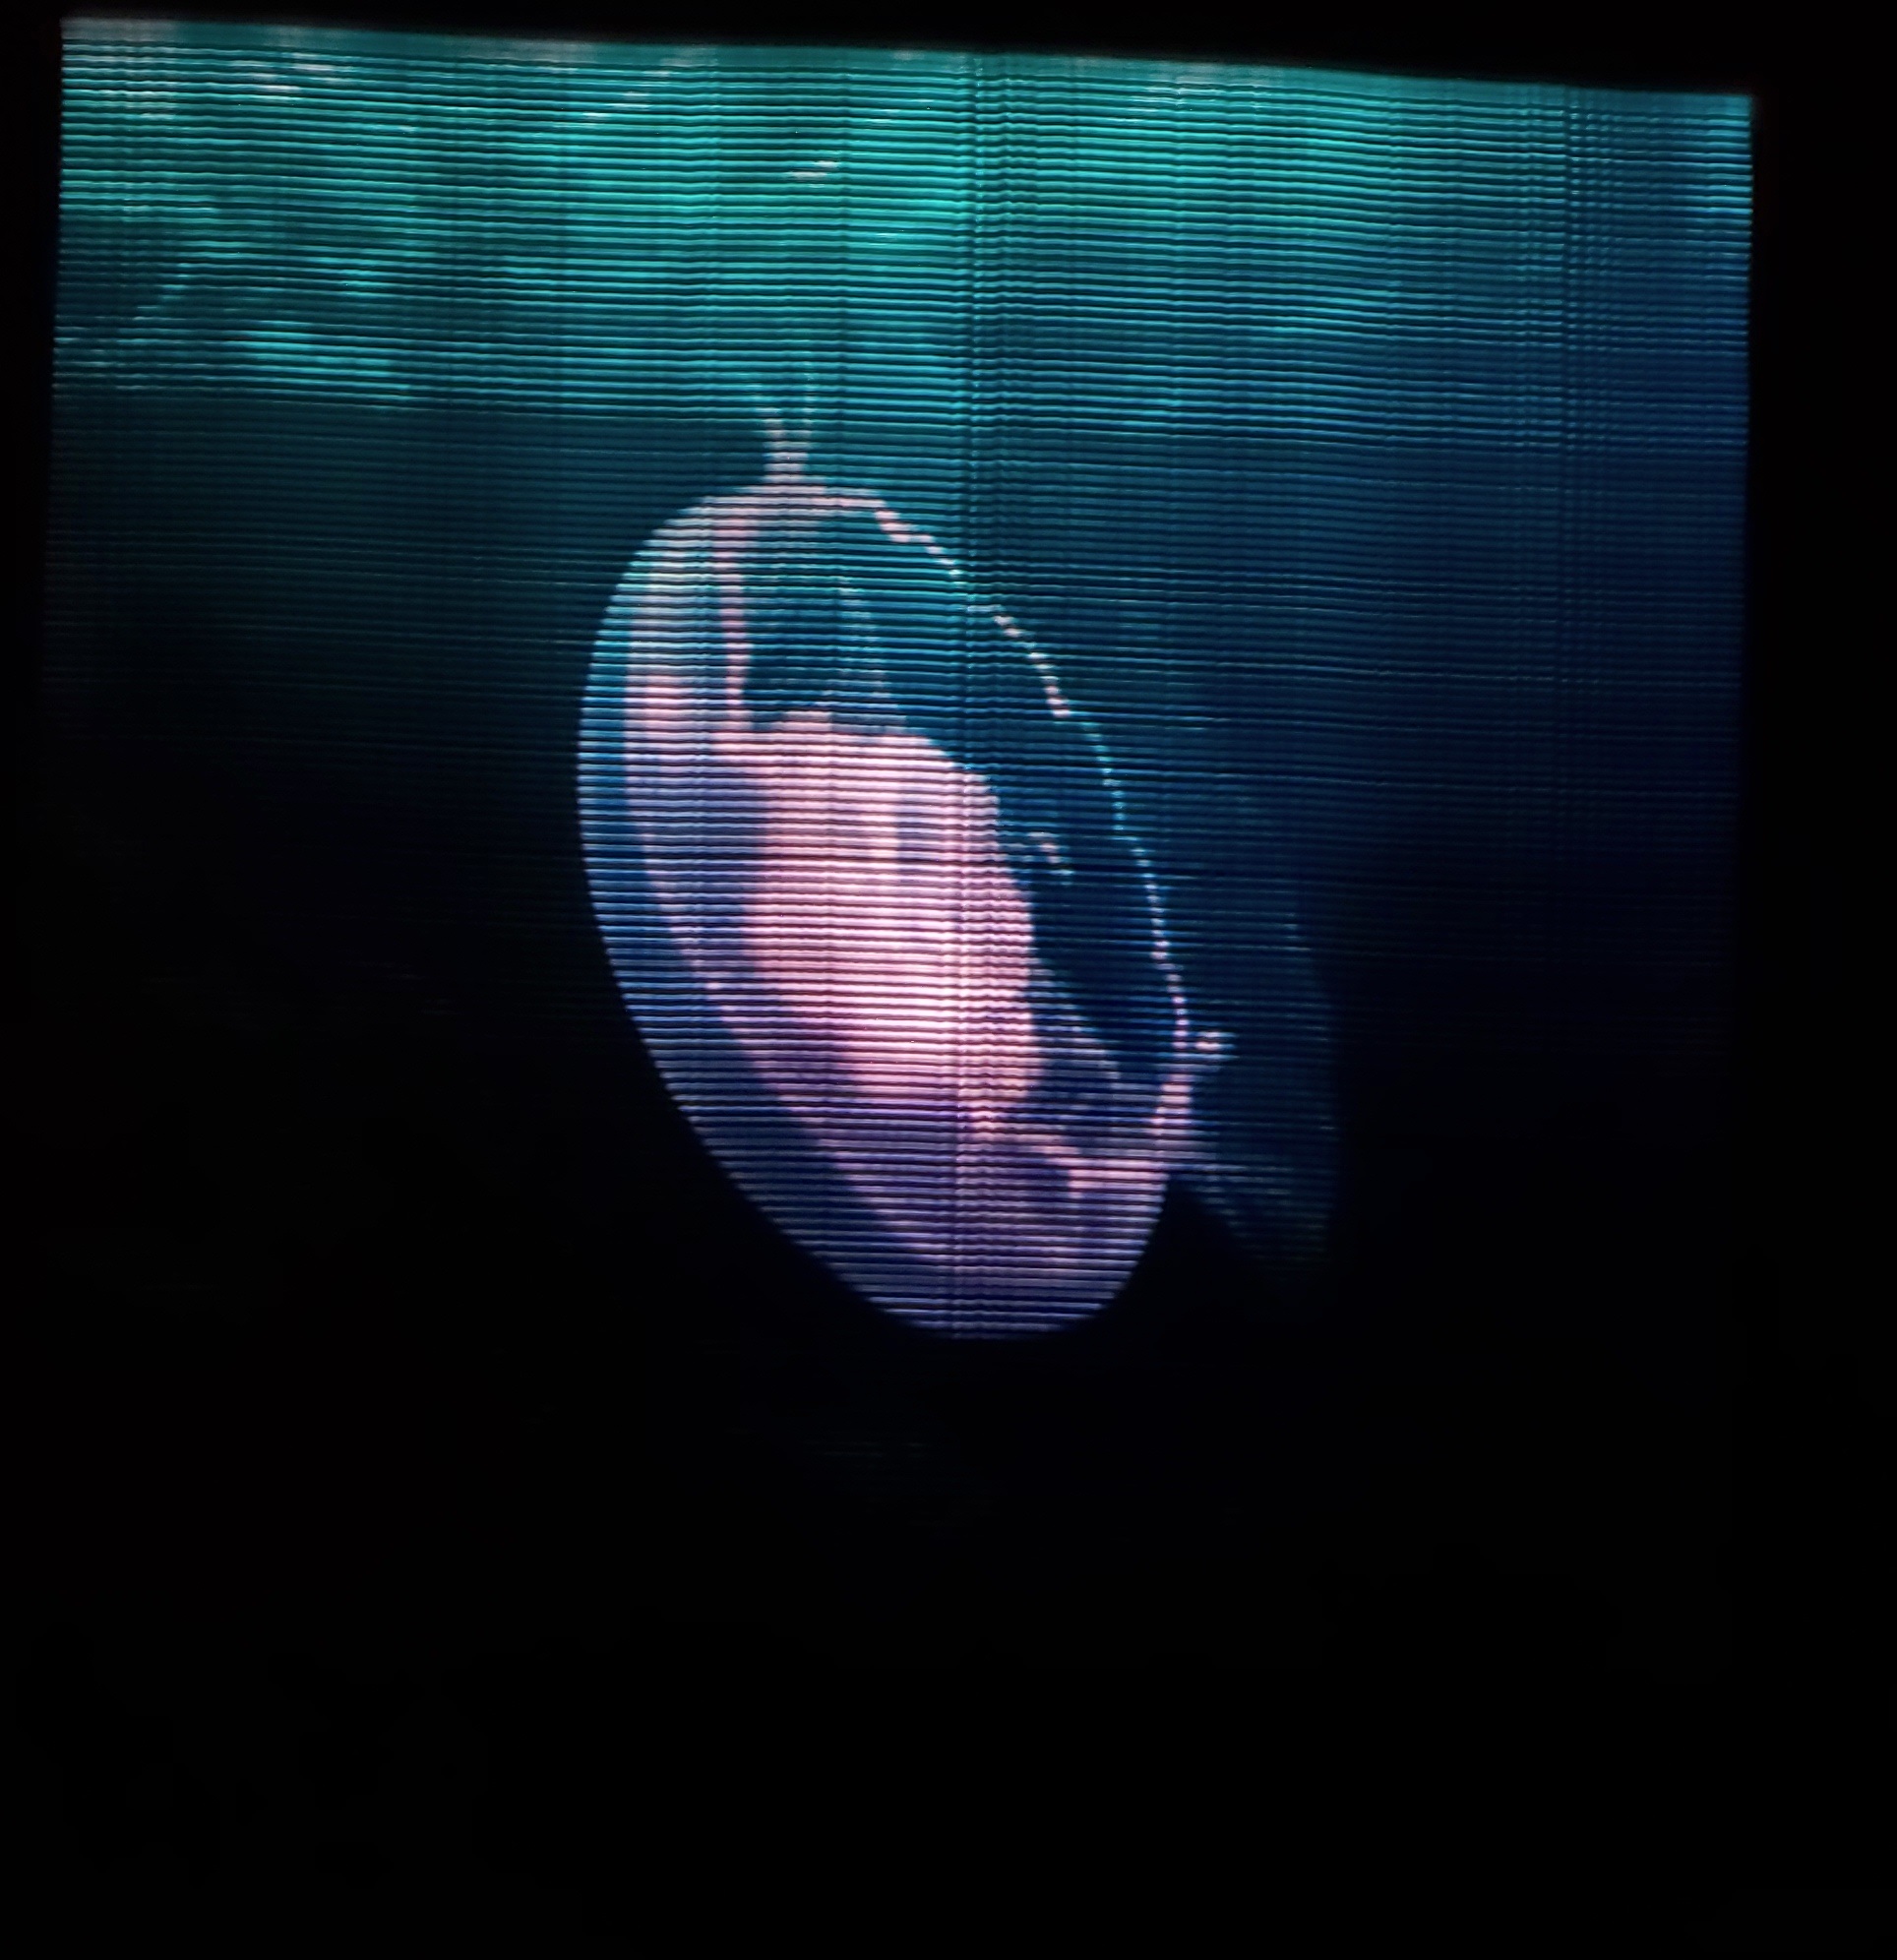
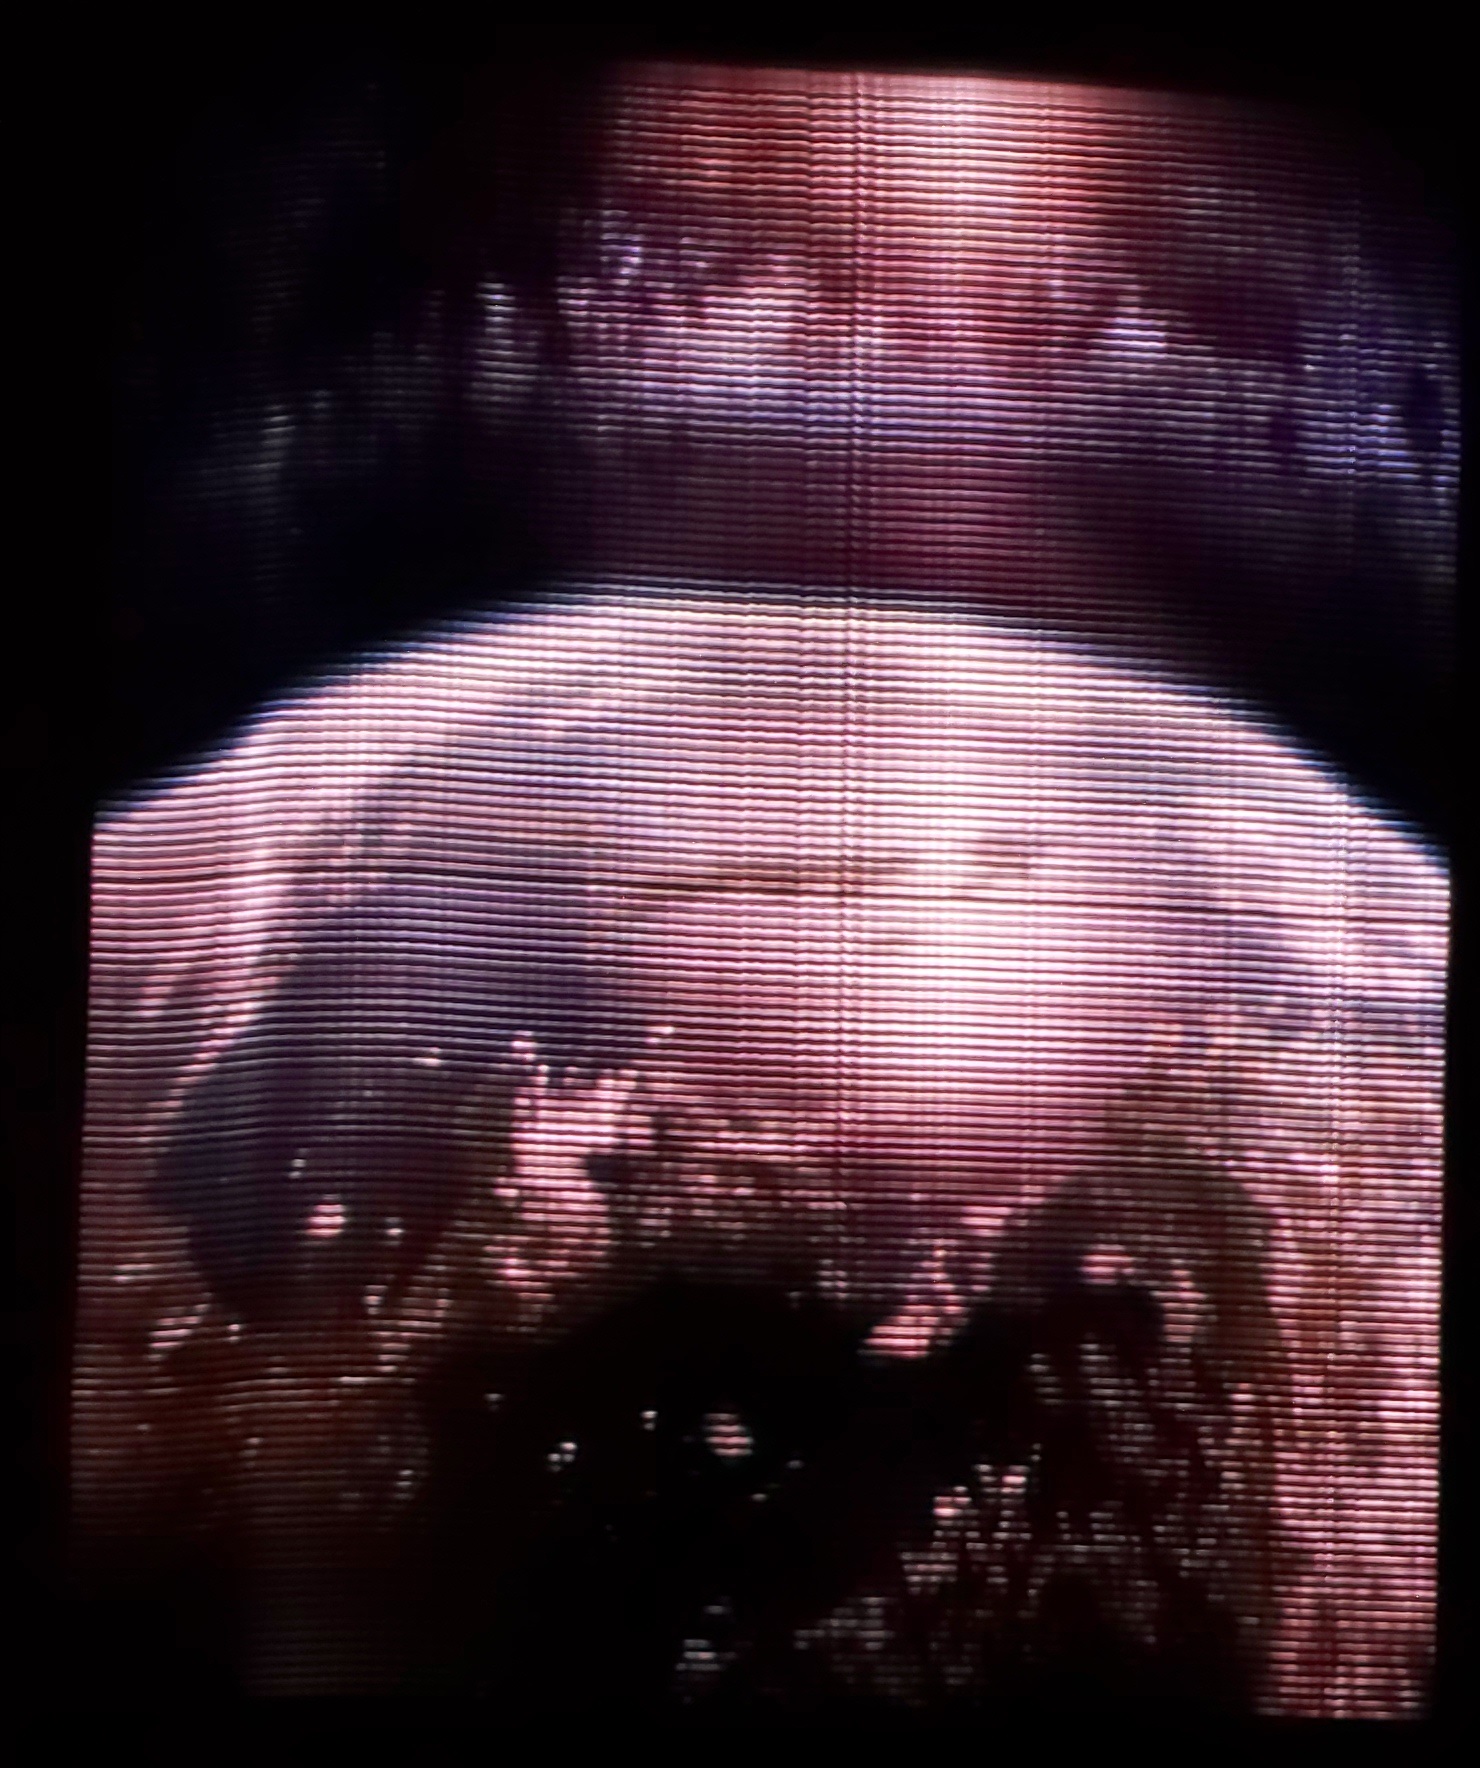
Shown below are the images taken of the final image set. Lines are present in the final image because of the small separation between LEDs in the 144 RGB LED strip used. The difficulty of acquiring an image is not difficult and as demonstrated in class, most people could get decent results after seeing it done once. The most difficult part of capturing images is that the initial images had varying widths, and so when panning across the strip, some images would look a little squished. Additionally, images that contain spheres or perfect circles are harder to collect perfect images of as small variations of speed in the camera when capturing the image show up more drastically on circles than say a waving line; even so, with a few attempts, a good result can be achieved.
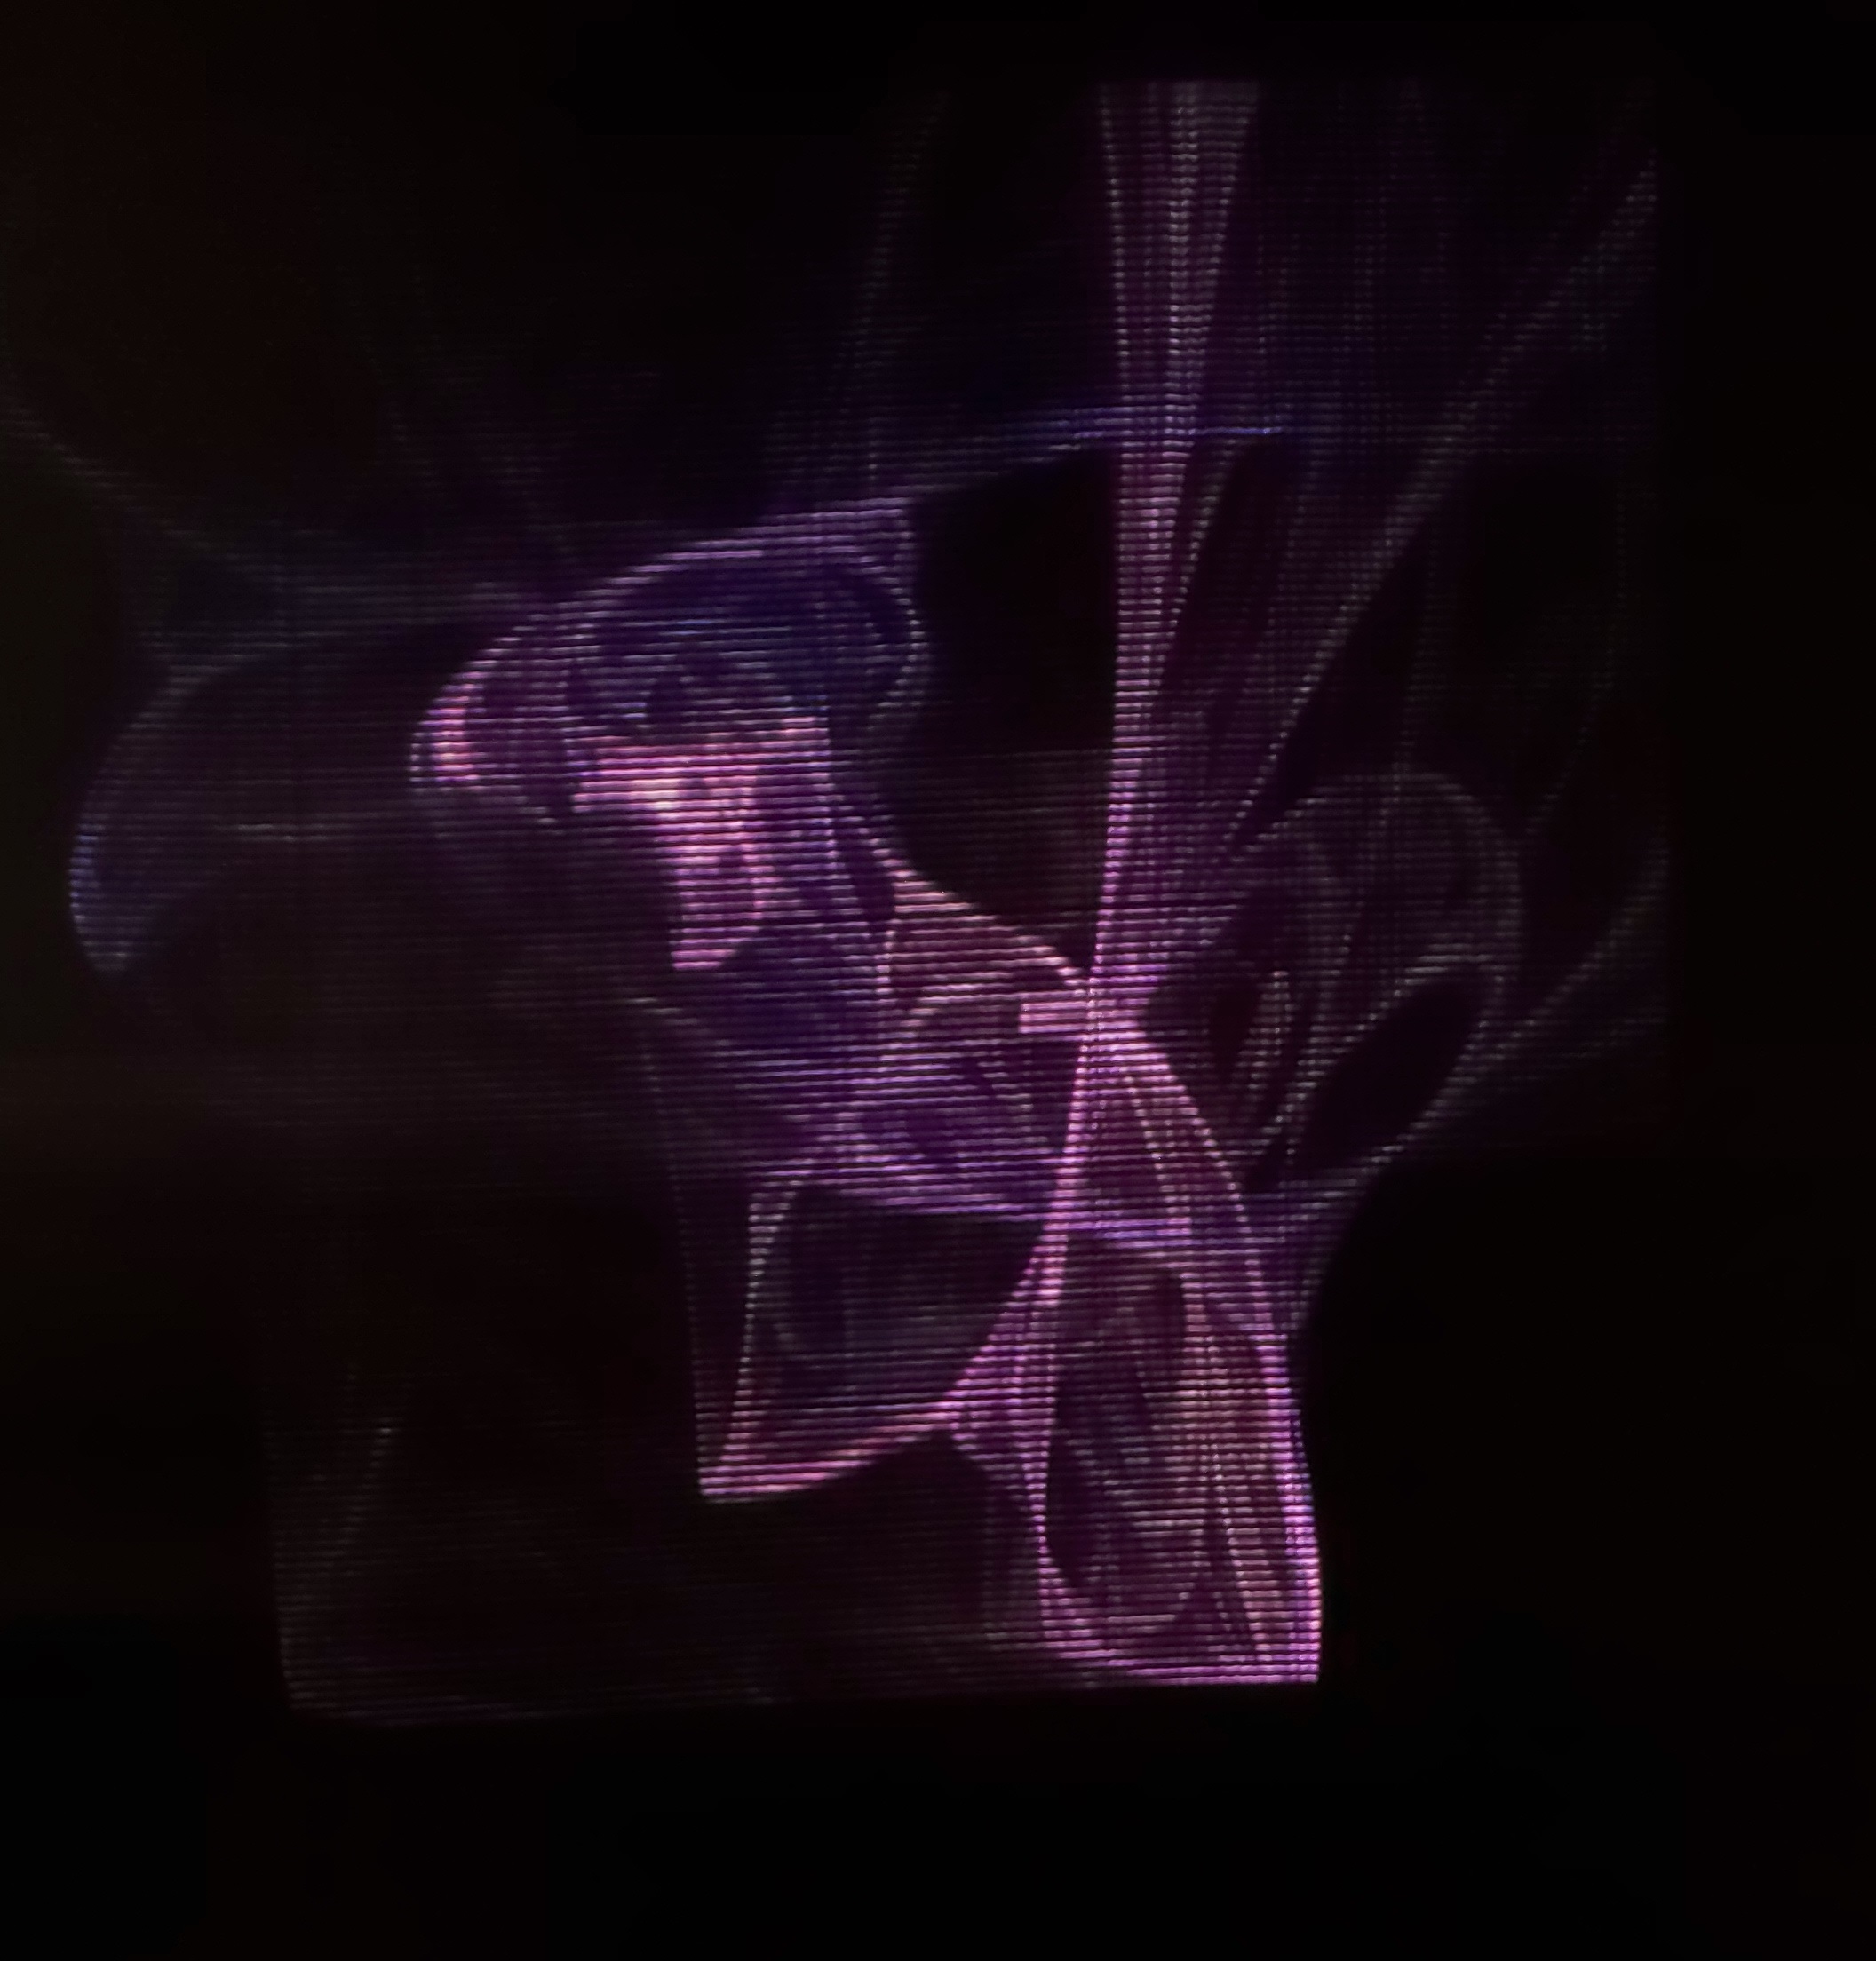
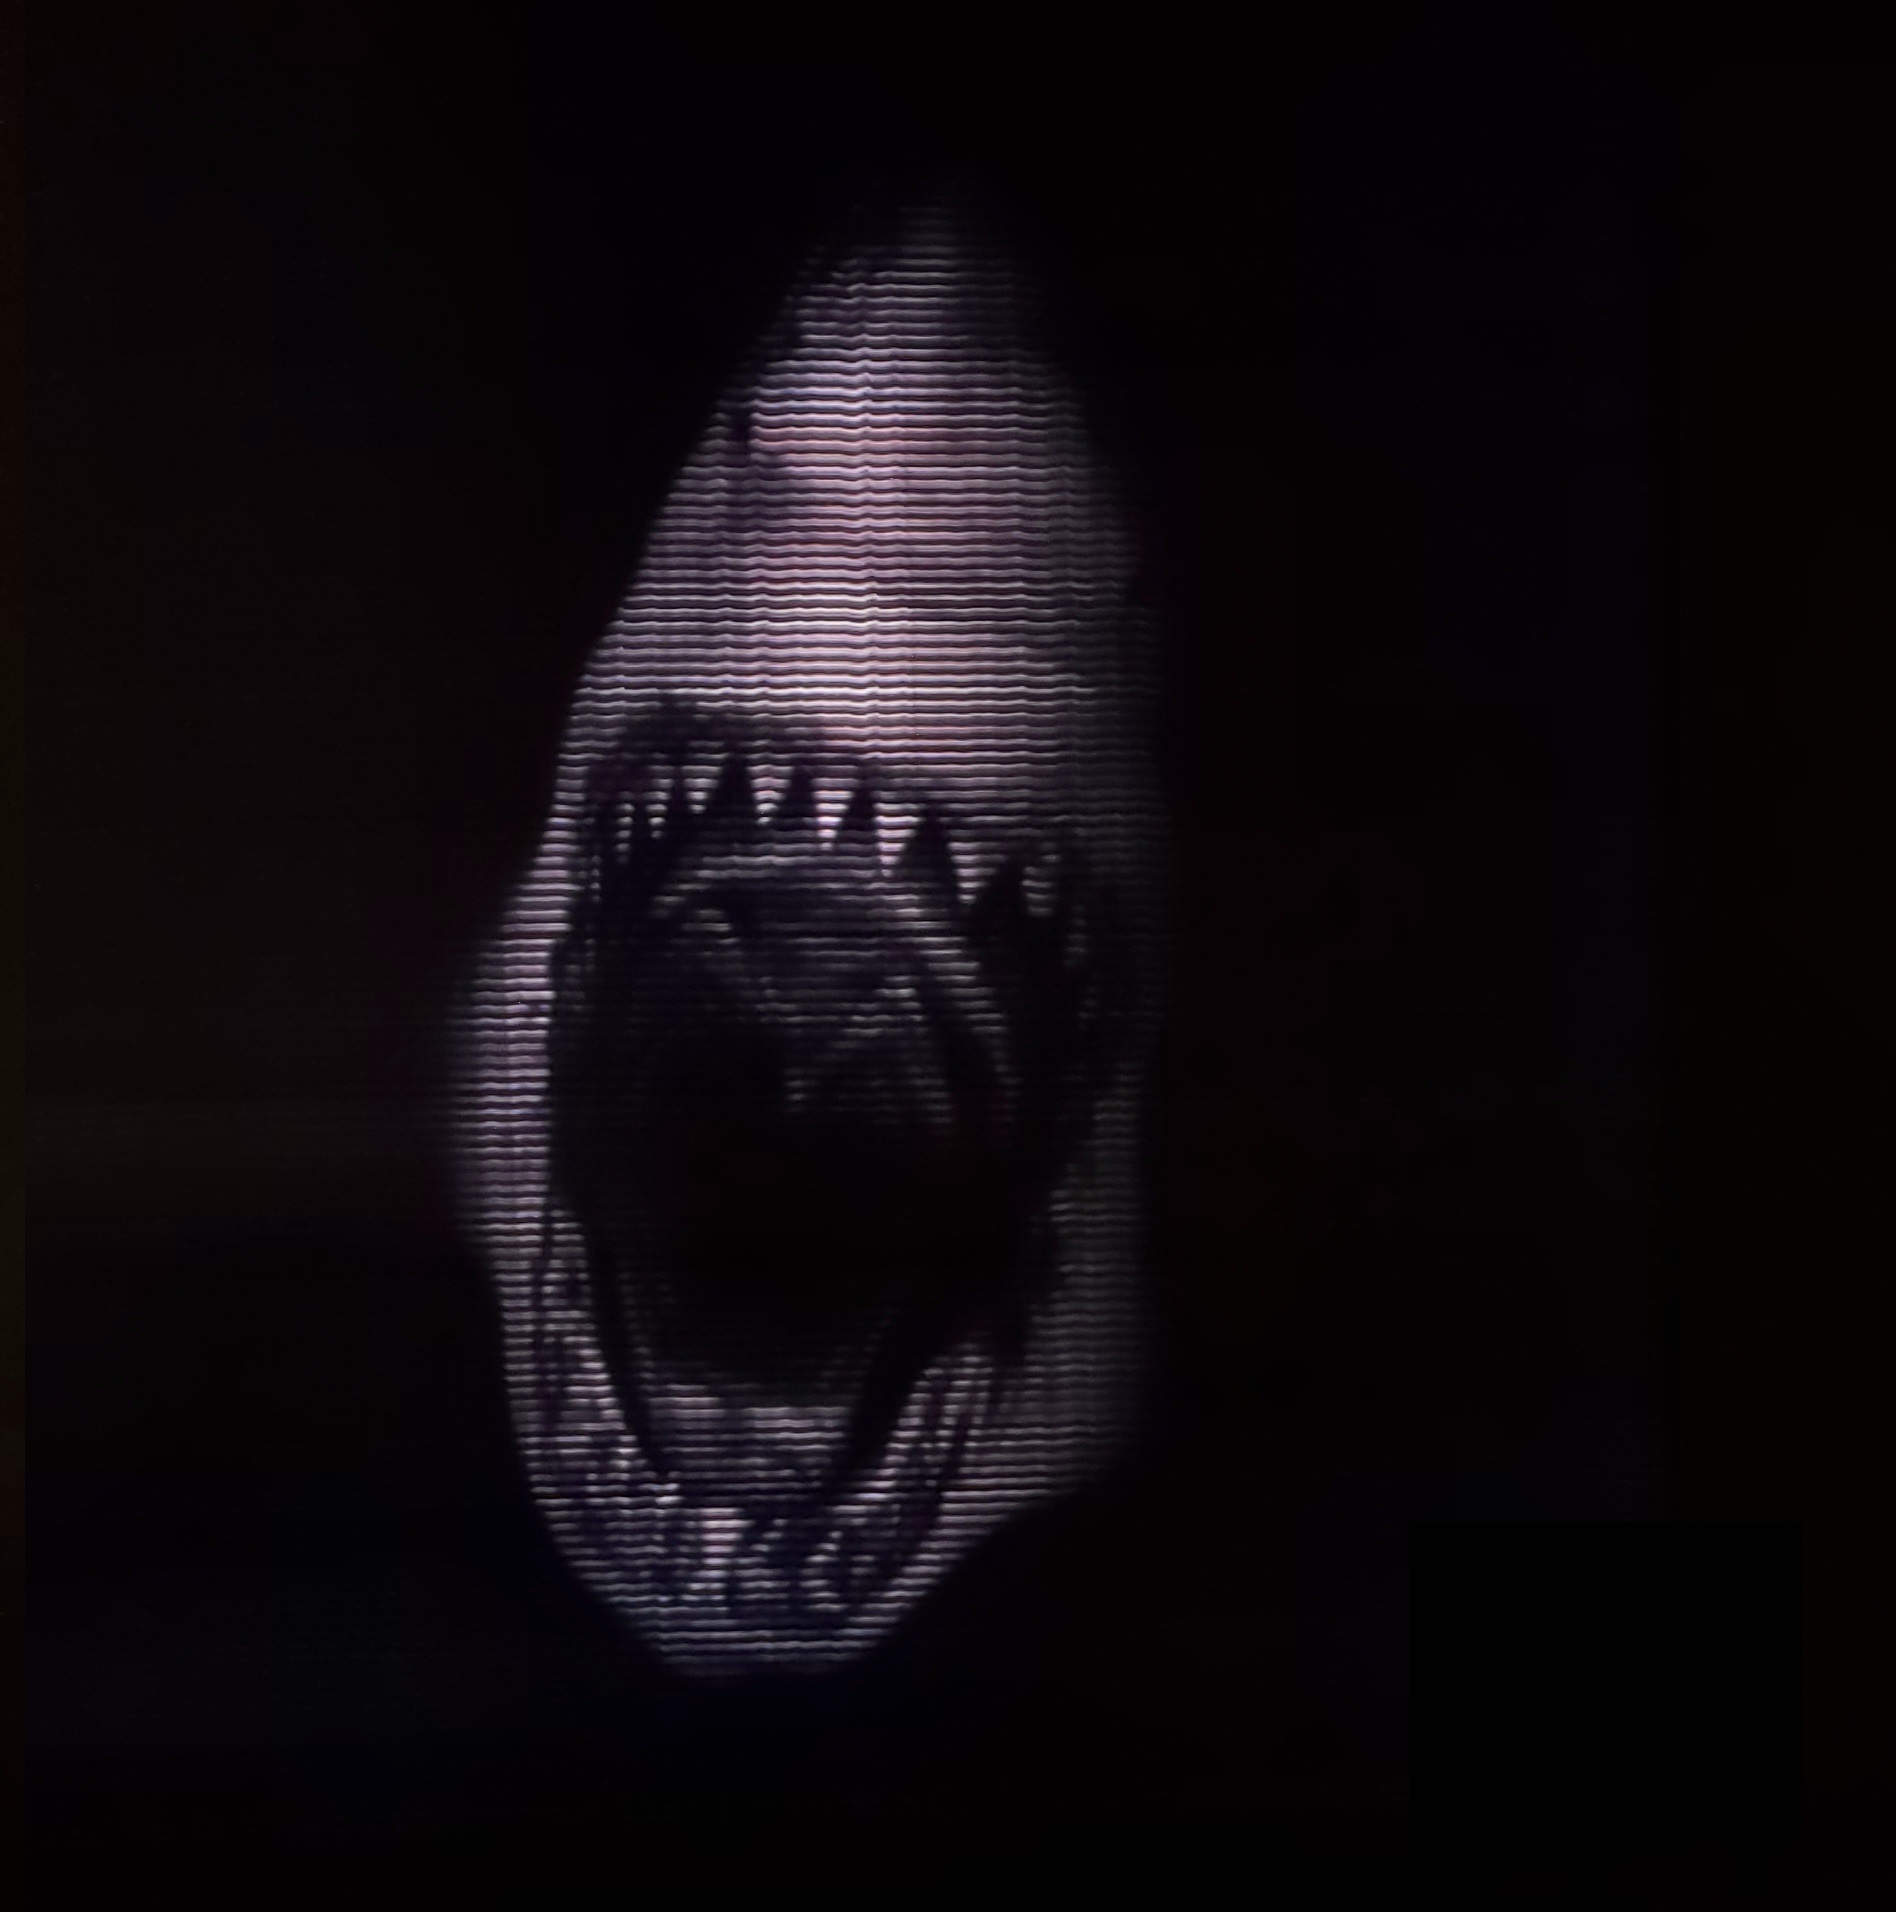
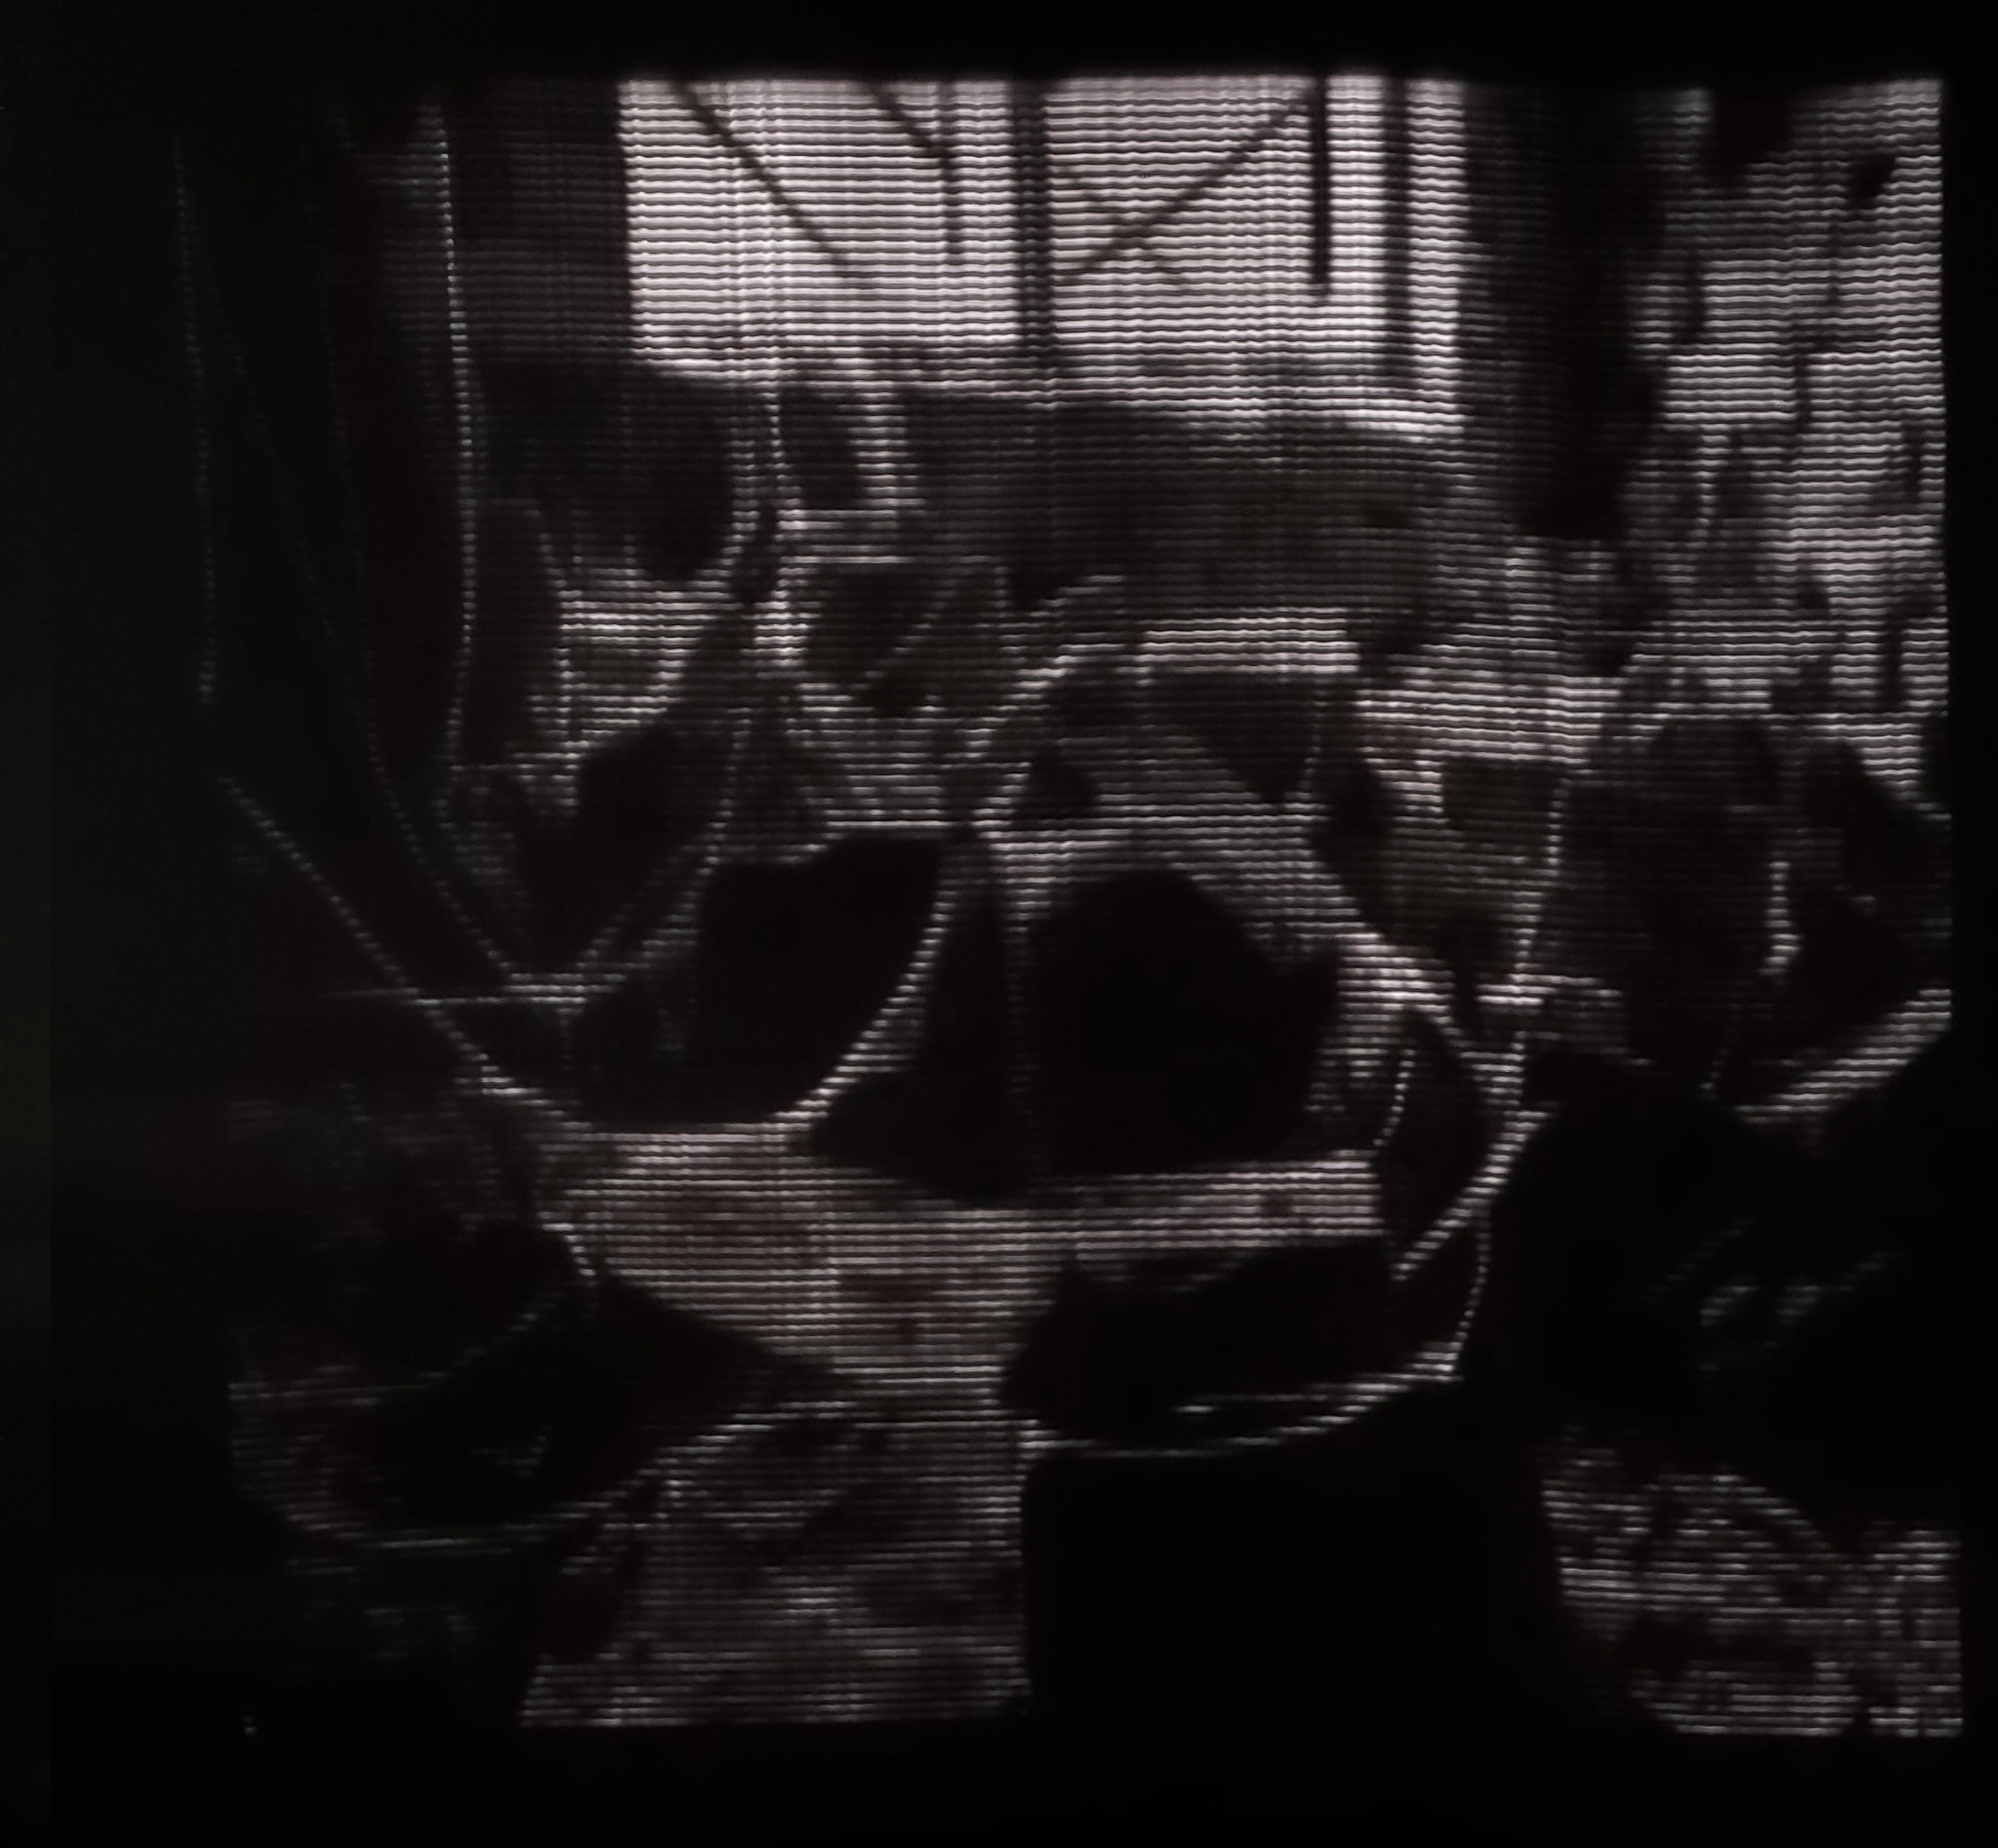
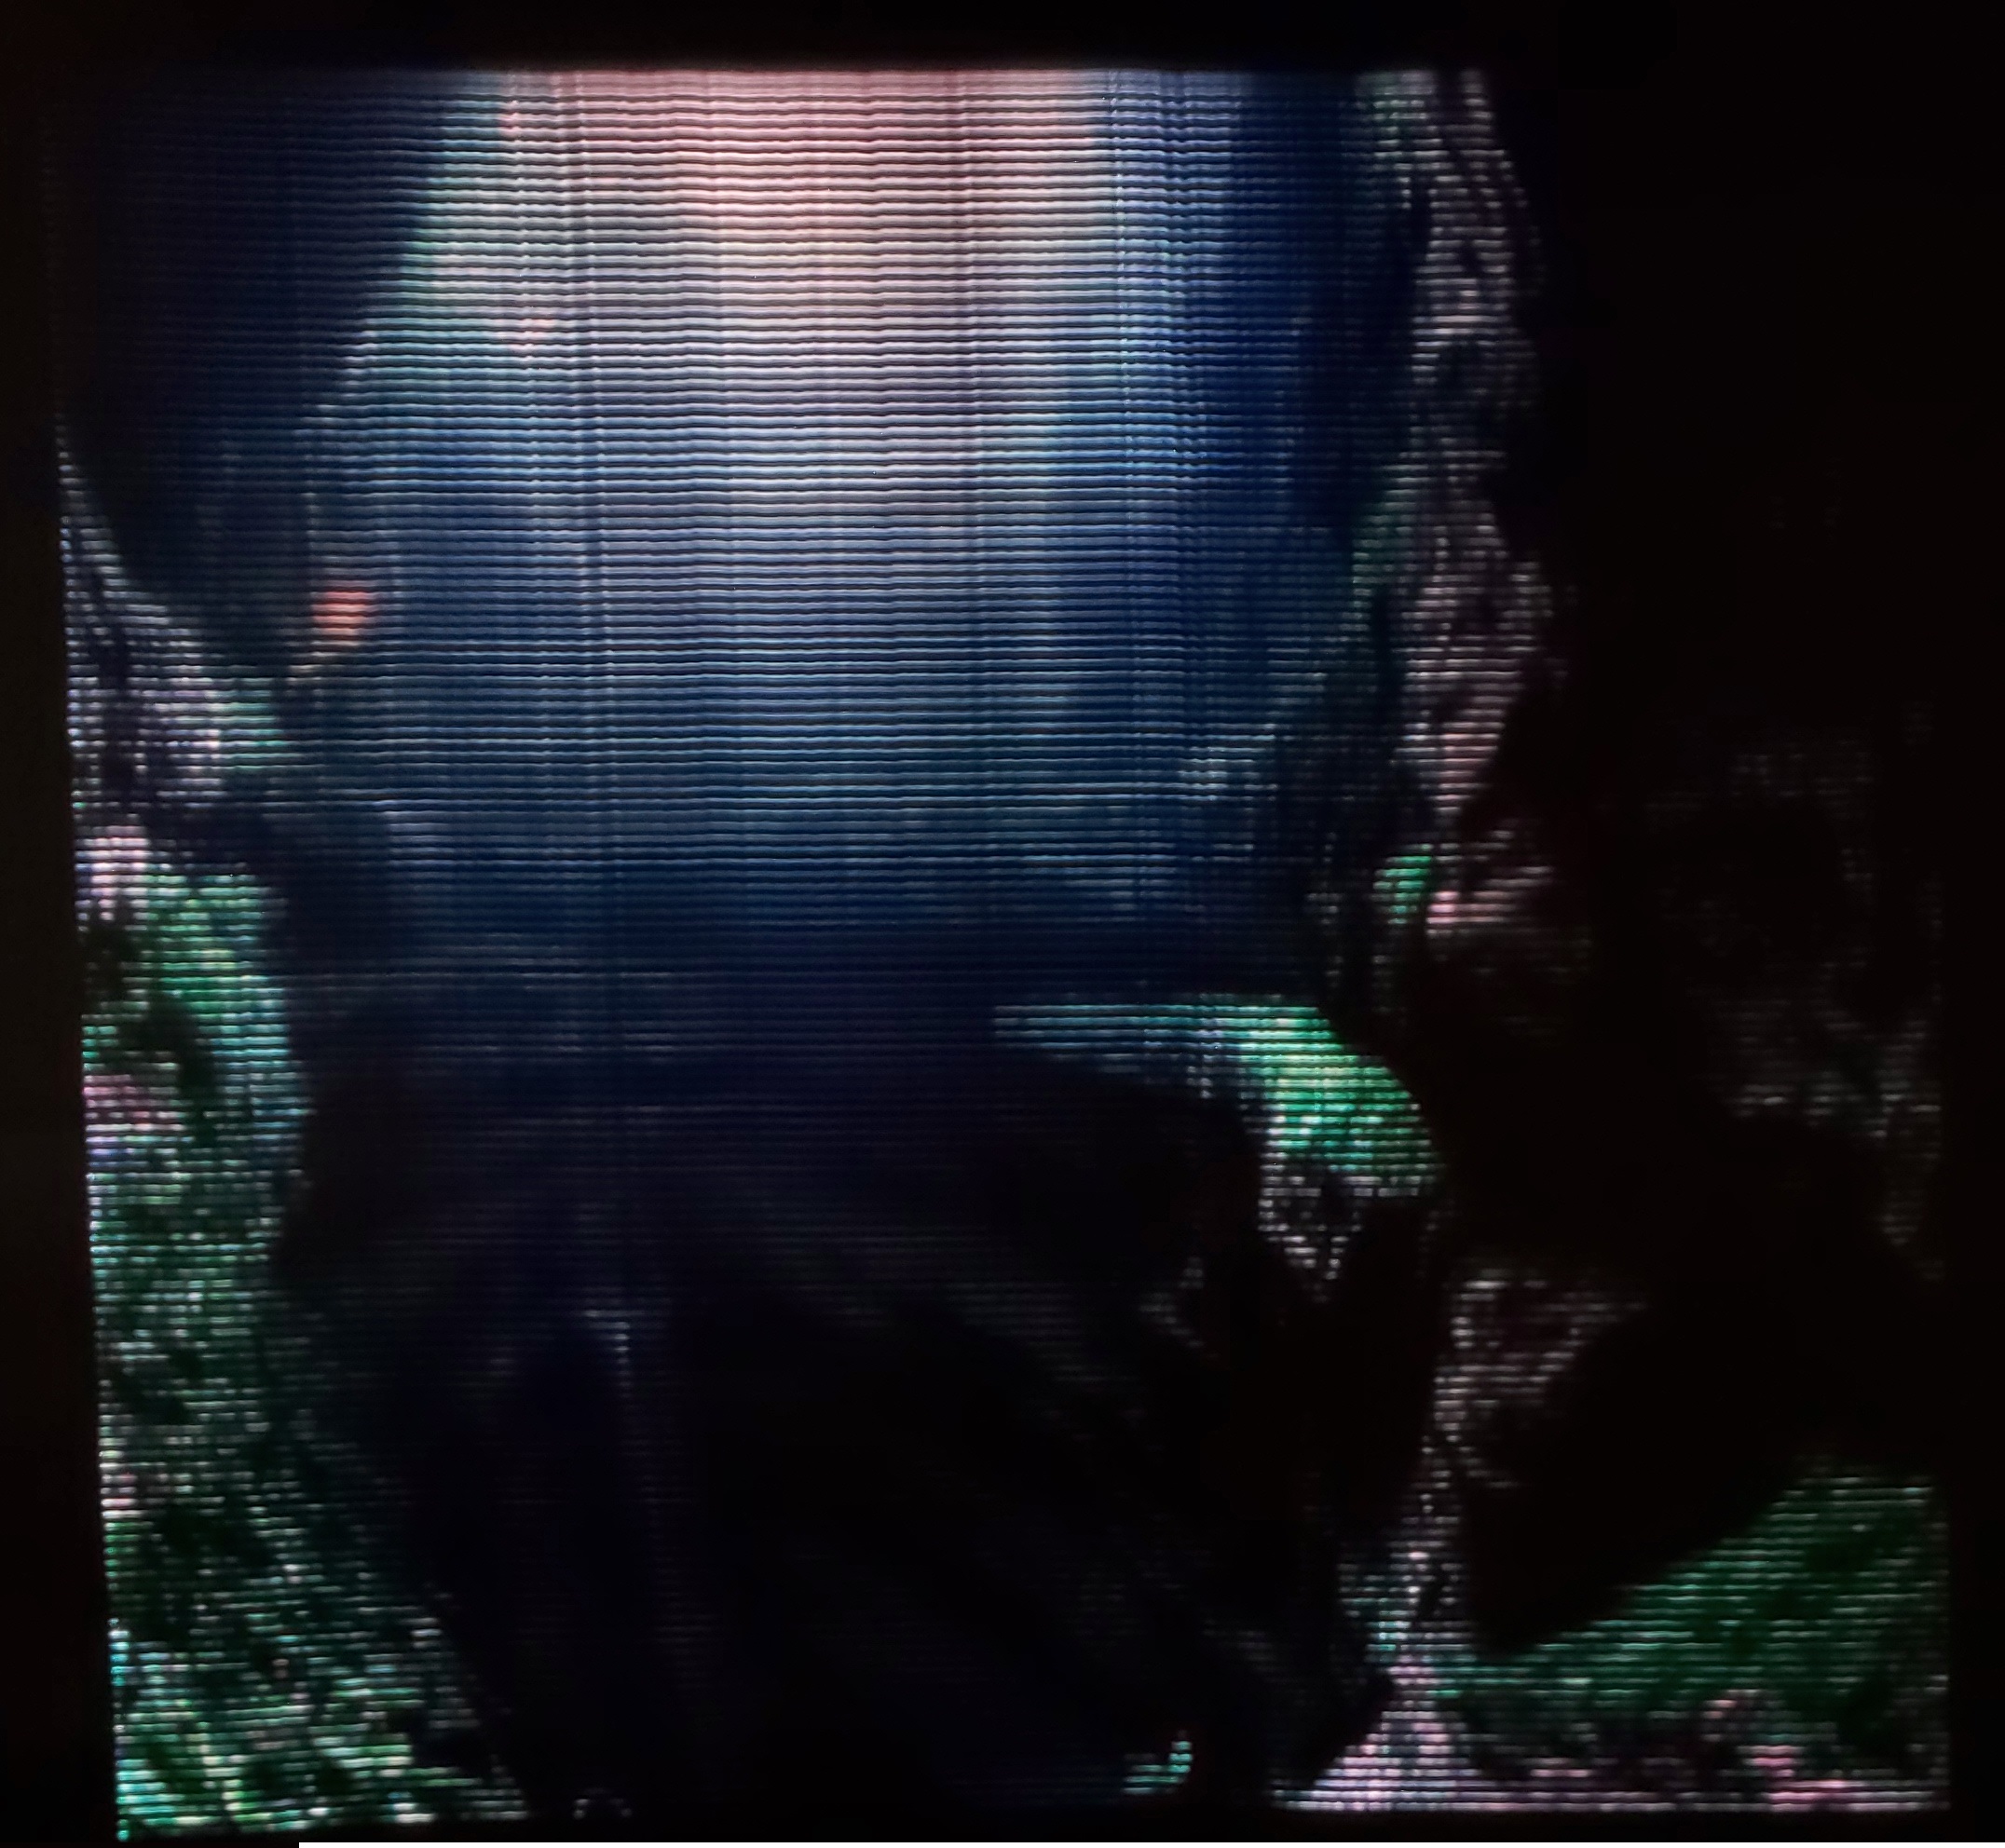
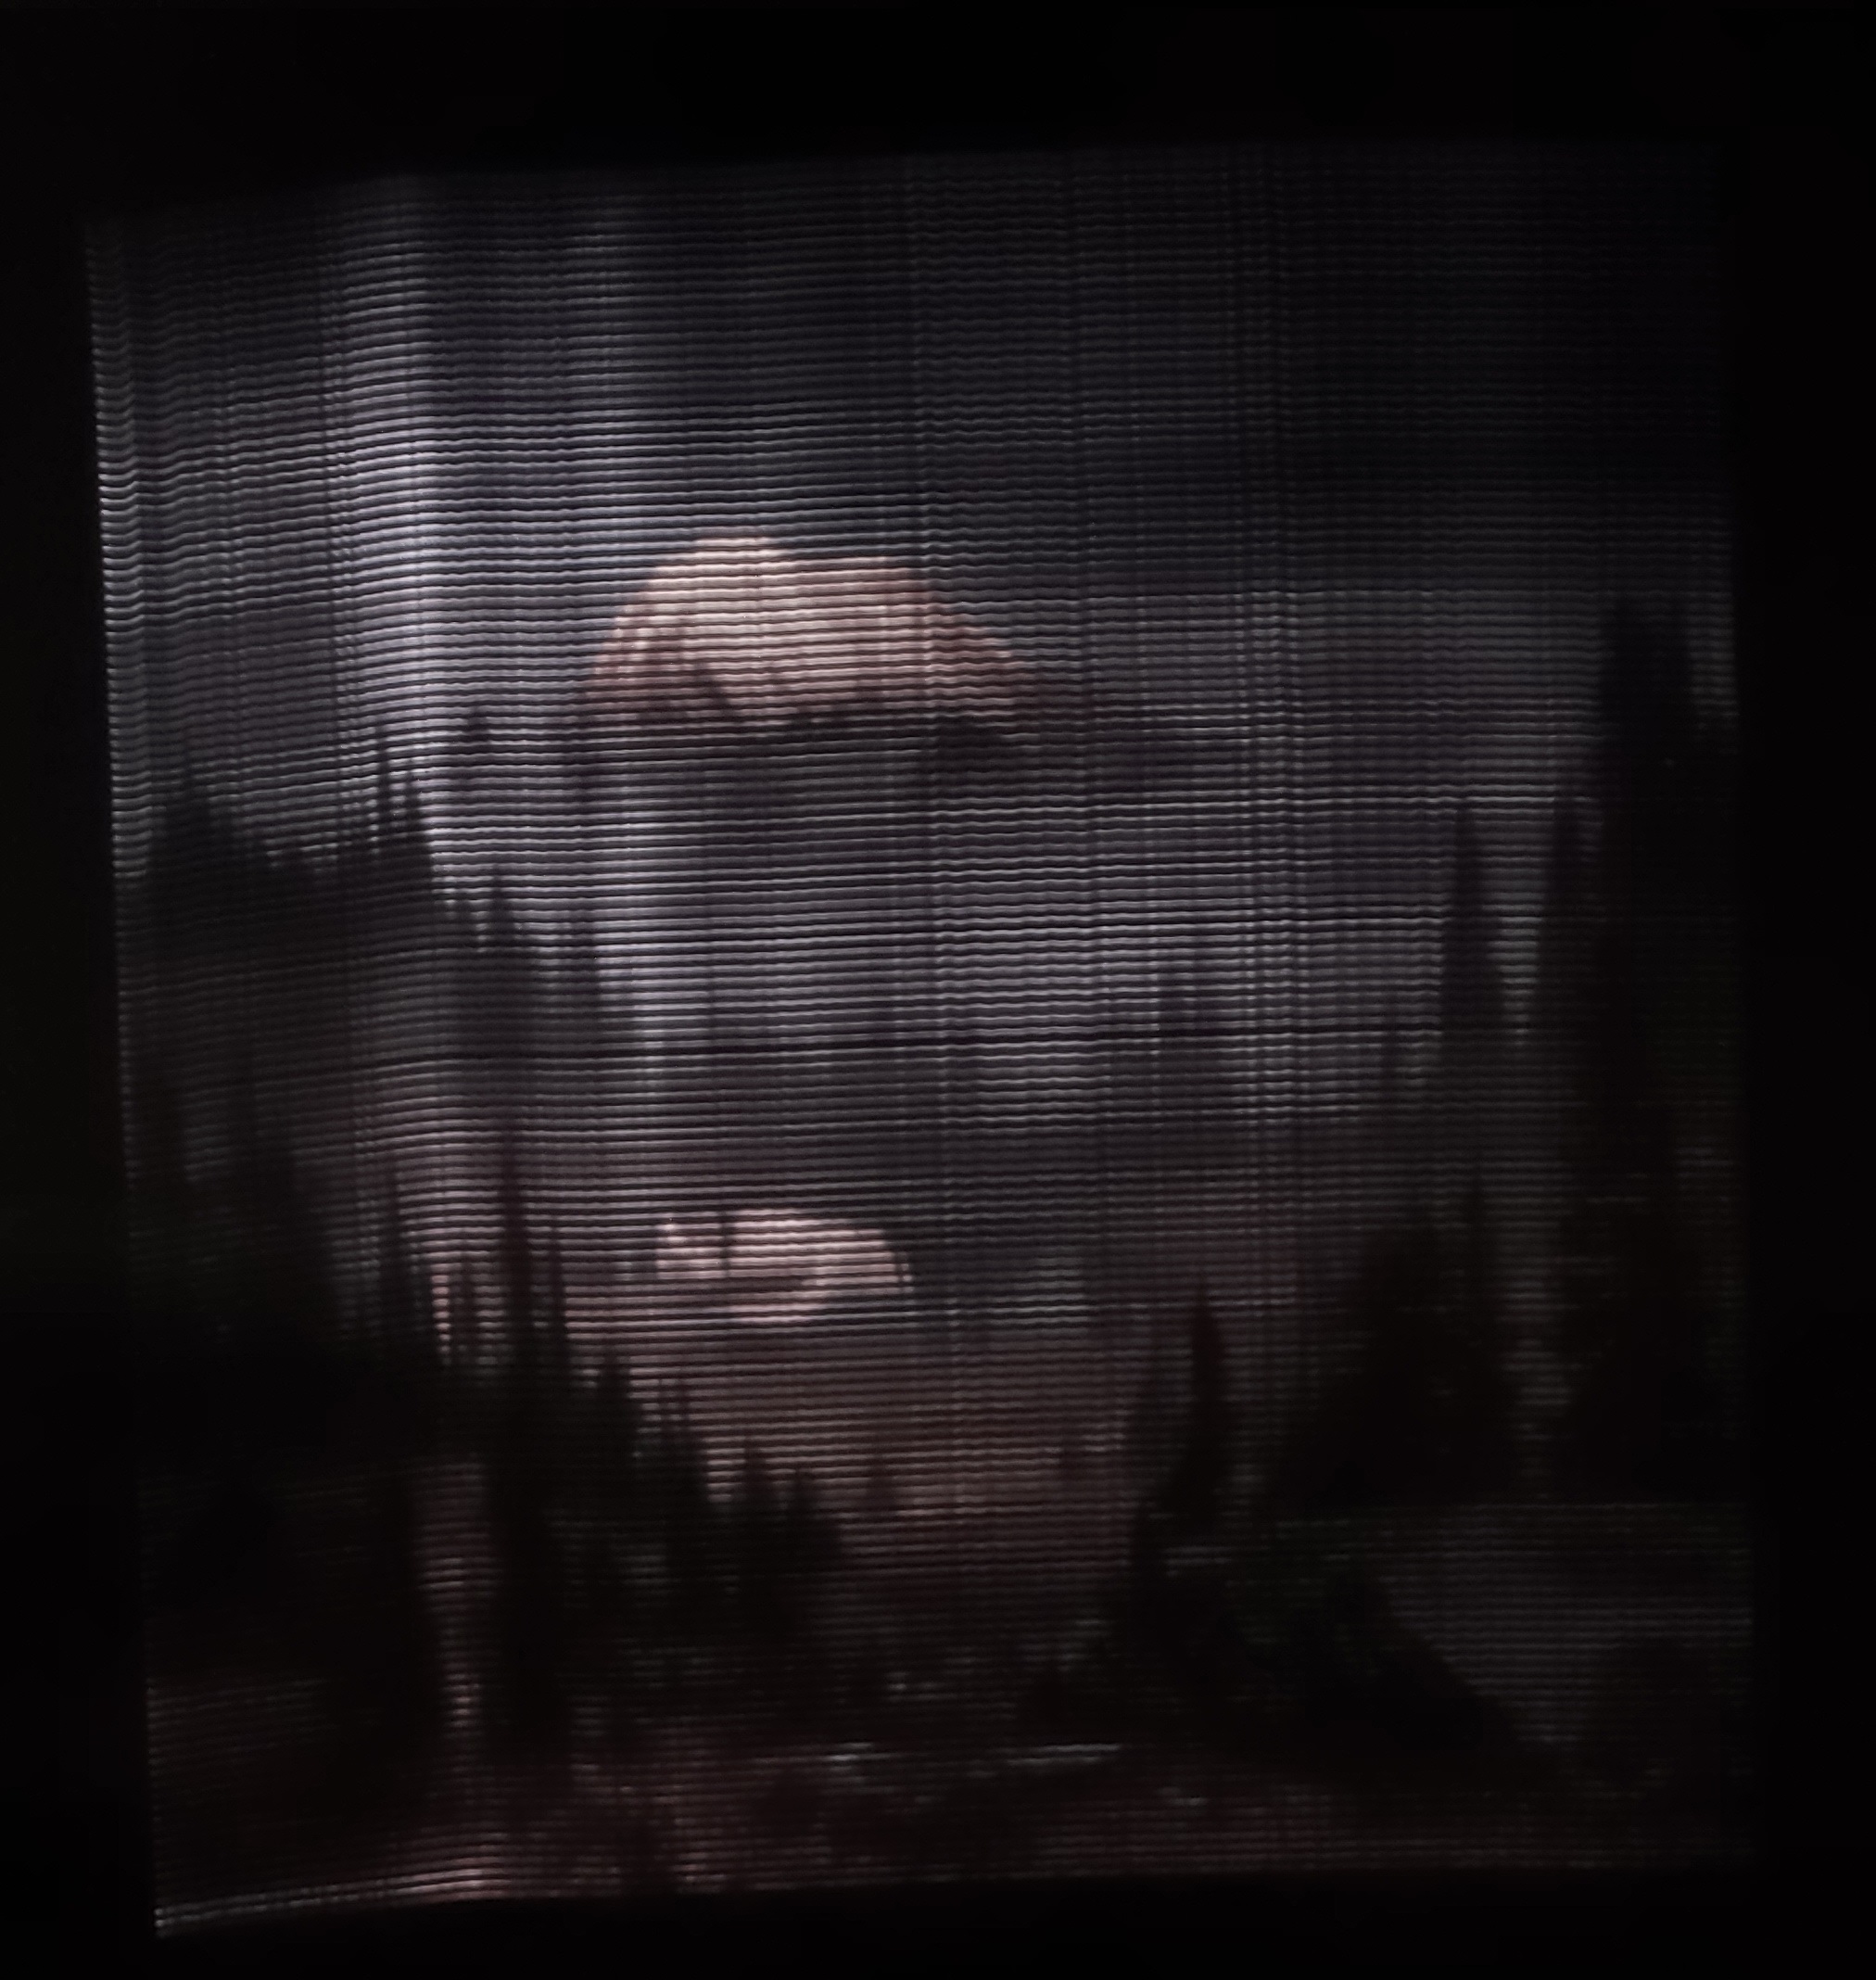
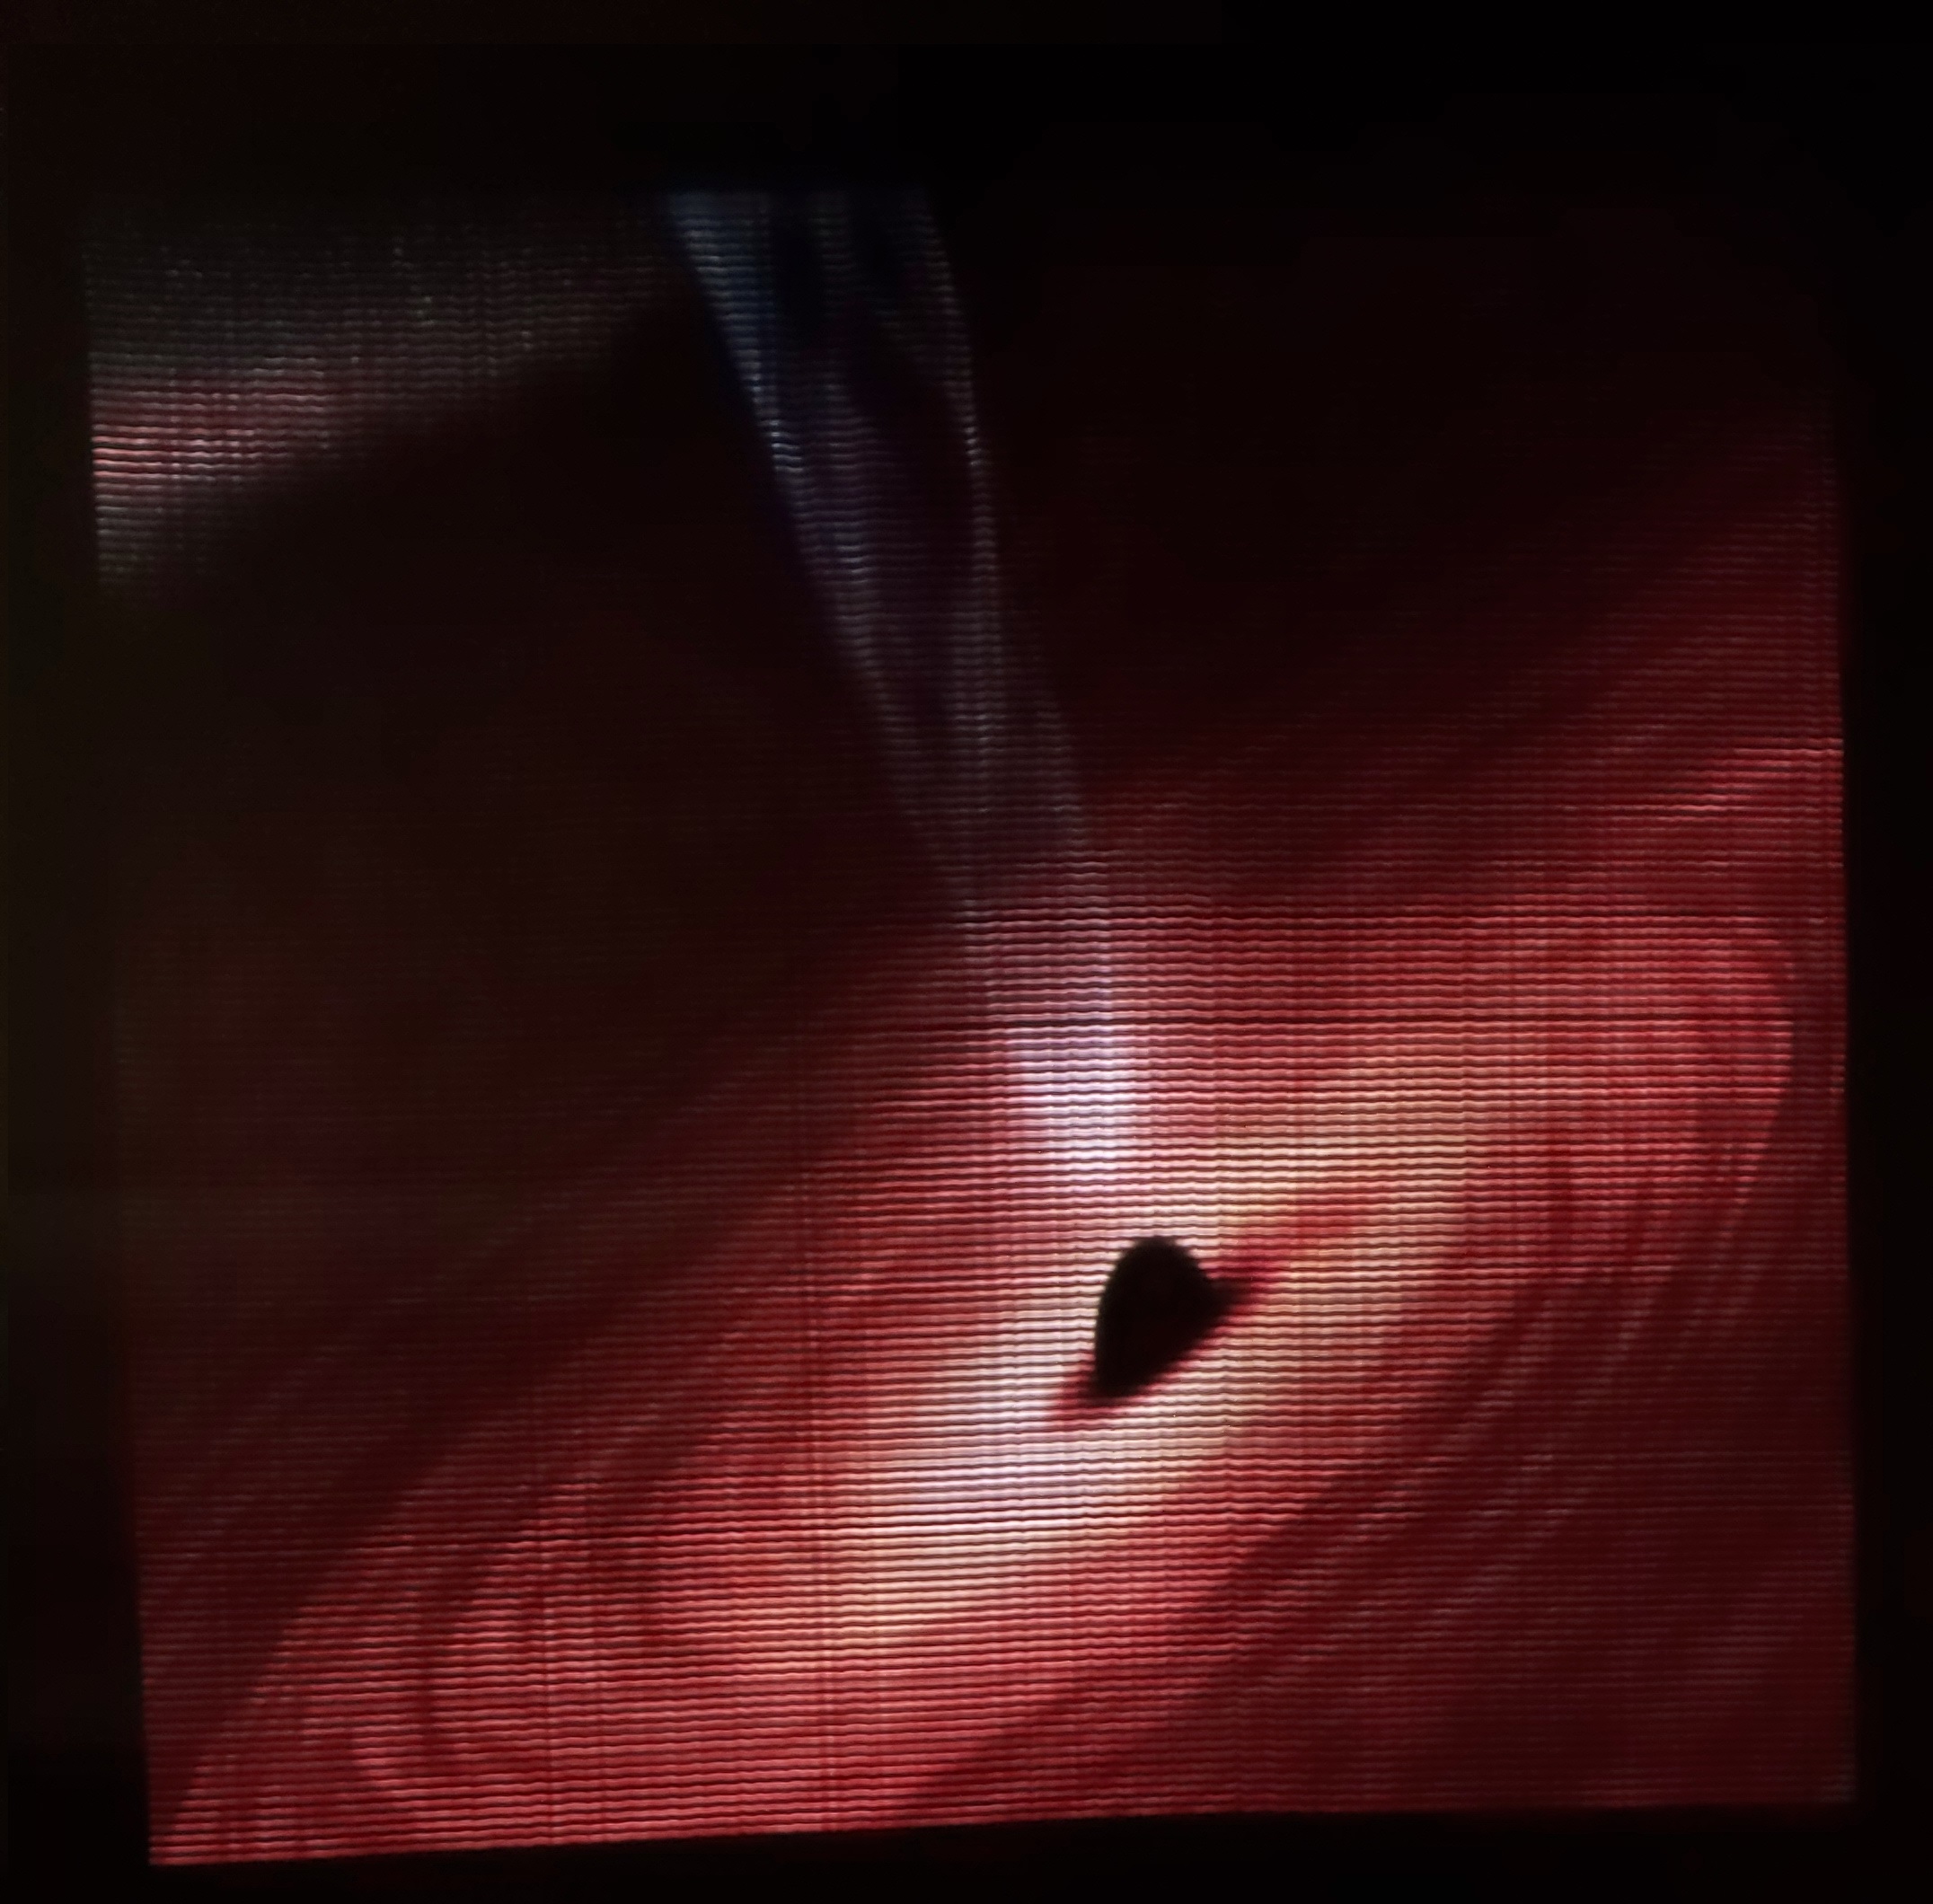
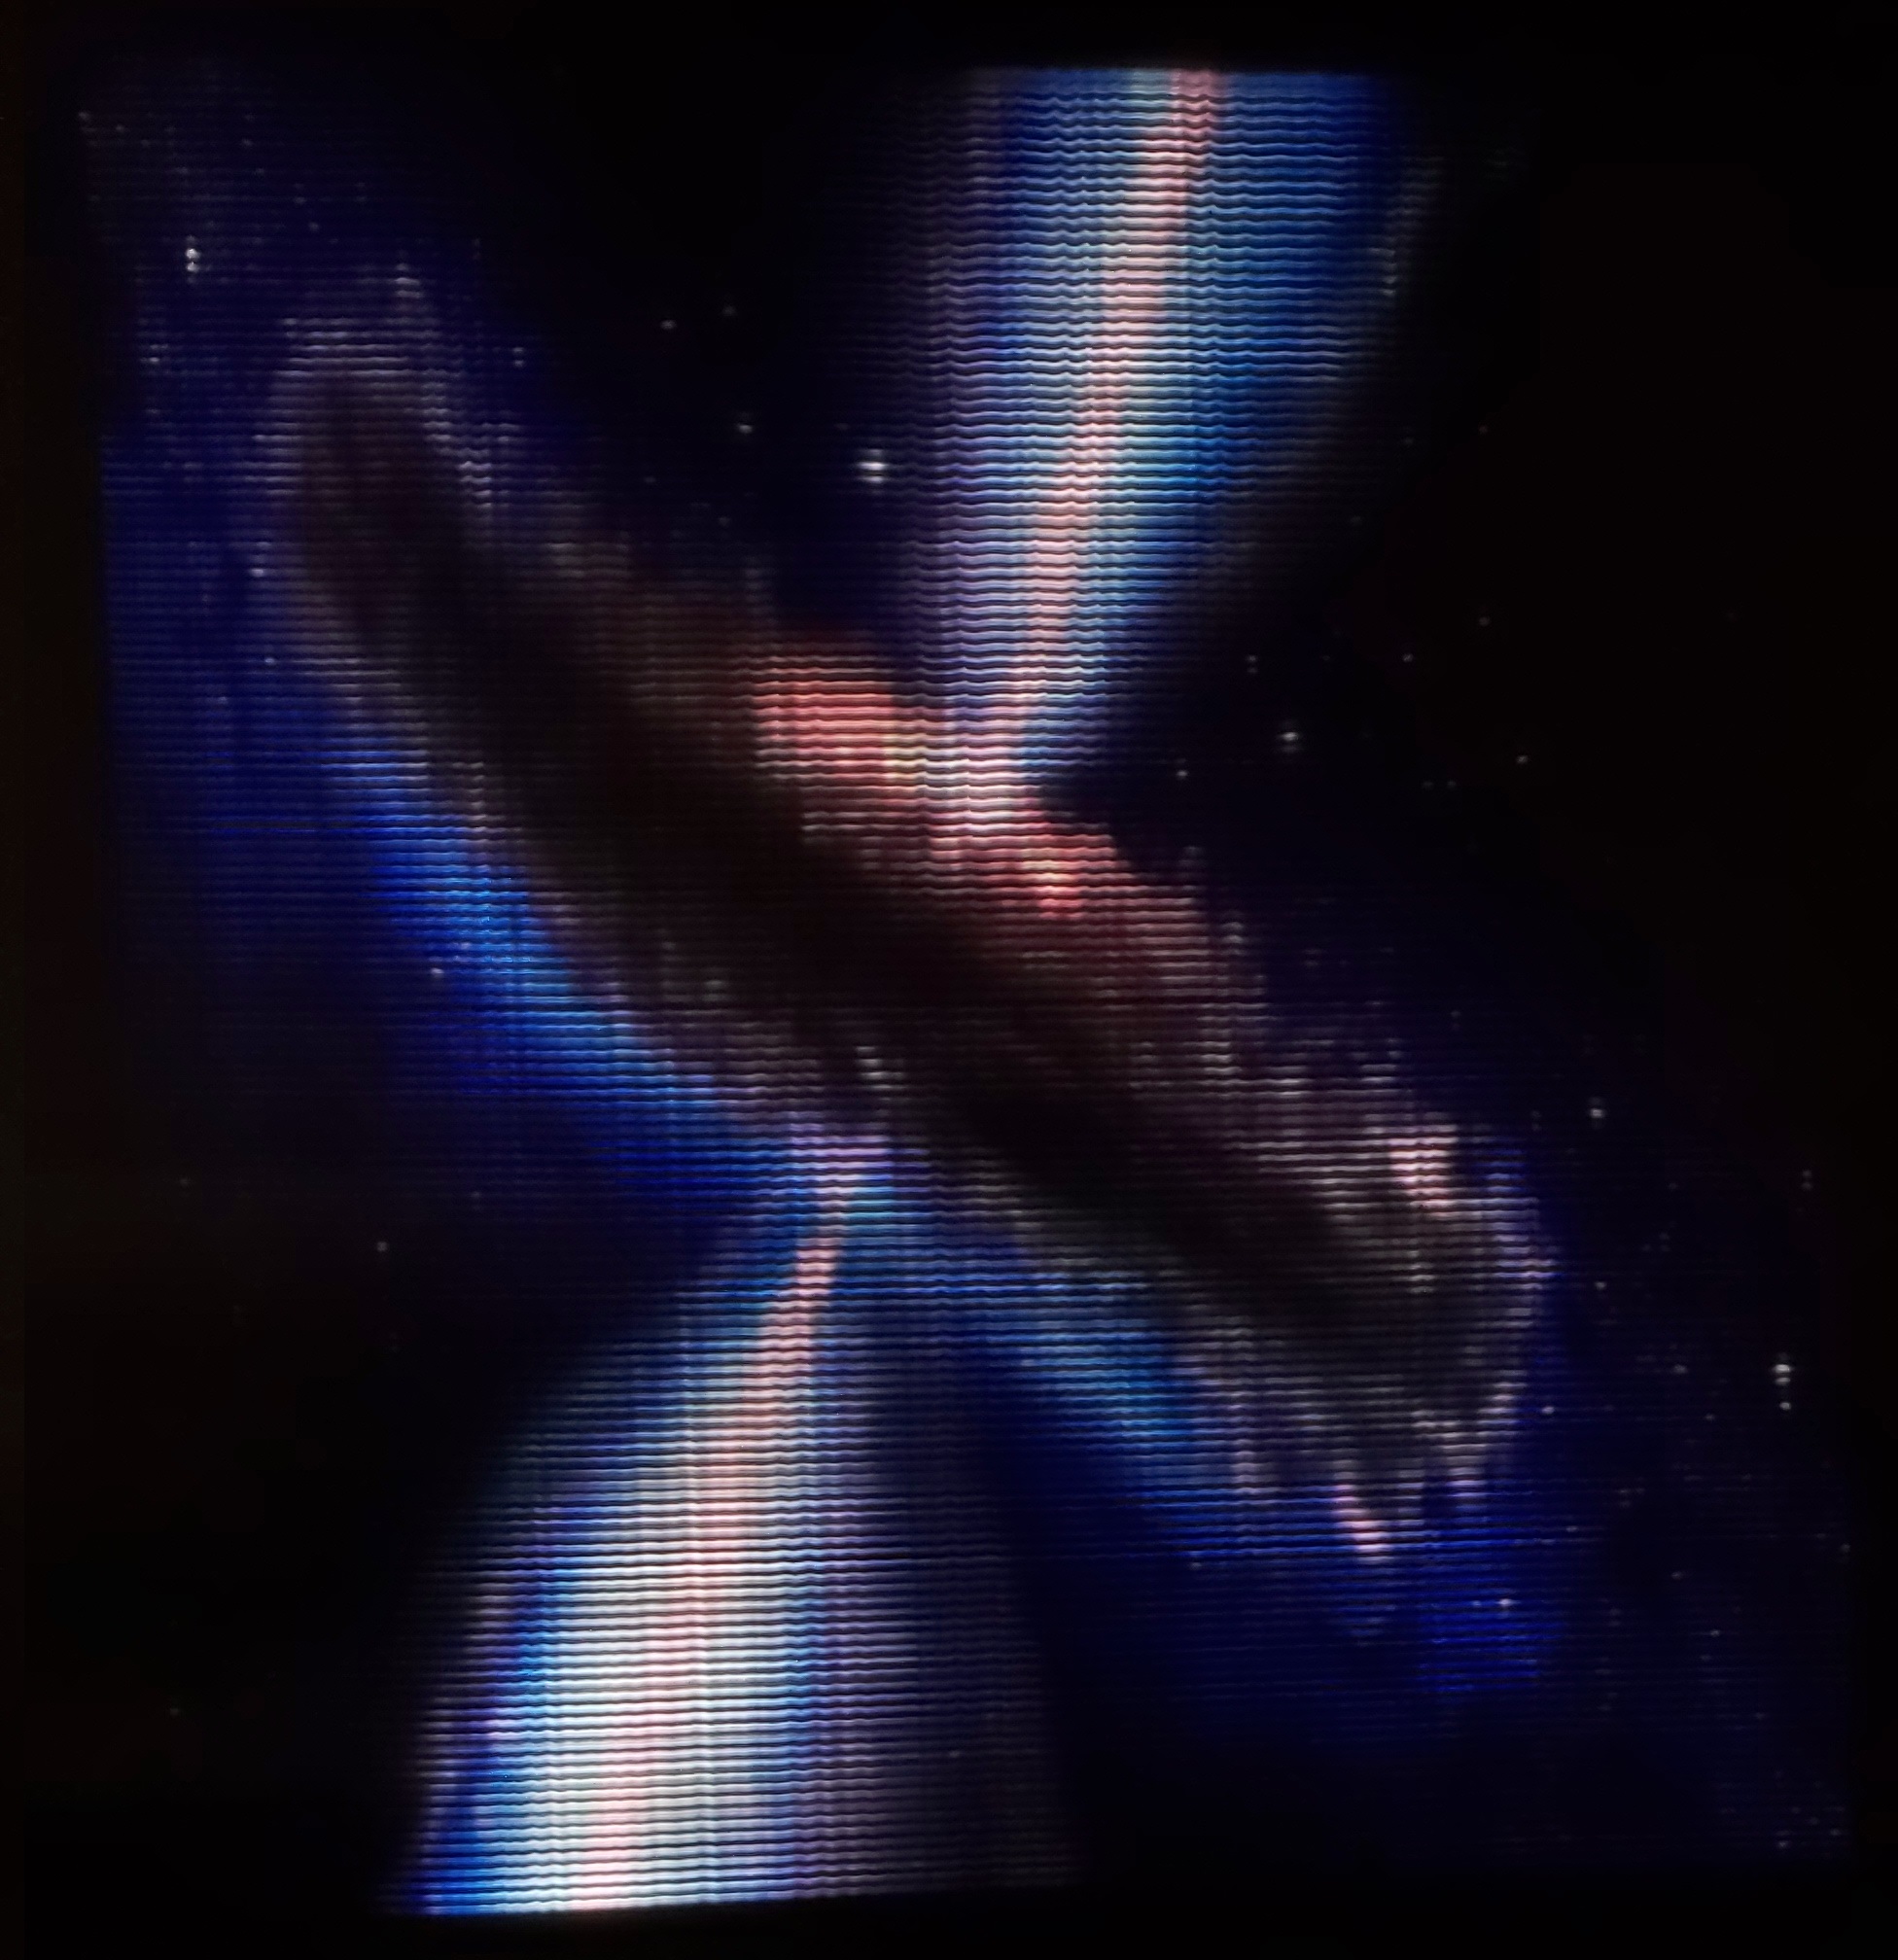


Shown here are 3 short videos of how moving across the strip creates an image. This is not how the final images shown above were taken, it is just for a demonstration to show the strip in the background along with the progressive image on the screen.
Technical Information
The strip used is a DotStar 144 LED strip from Adafruit. It uses 4 lines for the LED data (V+, Gnd, CLK, DAT) rather than the 3 common for Neopixels (V+, Gnd, DAT). The addition of a clock line allows the DotStar strip to be updated at variable frequency rather than at the fixed 400kHz frequency of Neopixels. This enables a faster refresh rate of the strip to create a smoother final image. The strip was mounted inside 0.75″ x 0.75″ x 4′ 90 degree aluminum angle stock from HomeDepot. The strip was then covered with black duct tape to diffuse and soften the brightness of the LEDs. Without the black duct tape, the final images would always be washed out and the strip would not be comfortable to look at without sunglasses. To hold the strip up and to house the electronics, an enclosure from HomeDepot was used and was drilled to incorporate the wire for the LED strip, the power cable, and the bolts to hold the PVC holder for the strip. Although the aluminum angle could have been mounted directly to the box, using a friction fit coupling with the PVC holder allowed the strip and holder to be taken off for transport, yet mounted securely for display.

To make the software part project work, a Raspberry Pi model 3 was used as the main processor. This enabled simpler and more reliable image scanning than trying to fit images into the limited ram capabilities of an Arduino style processor. (Could be done on Cortex-M4, but would require complicated code as the entire image could not be loaded into ram). A custom voltage converter board was made so that the 3.3V Raspberry Pi signals would reliably drive the 5V DotStar strip. Images are stored in a folder on a flash drive. To change the image list, the only requirement is to just load new images (PNG, JPG, or GIF) into the folder.

Bill of Materials
- Raspberry Pi 3
- 5V 4A power supply
- Raspberry Pi Protoboard hat
- 74AHCT125 – Quad Level-Shifter
- 4700uF capacitor
- 144 LED Dotstar Strip
- 2GB Flash Drive
- 0.75″x0.75″x4′ aluminum angle stock
- 6″x6″x4″ enclosure
- 6″ x 1″ PVC
- Black Duct Tape
Credits