This week I spent my time continuing the planning of the transparent acrylic base. Based off last week’s laser cutting test results, I made a new Adobe Illustrator file with more accurate dimensions. This included adding an extra 1 mm (or 0.04″) to the width of the LED strip channels, and an extra 0.4″ to the length in order to accommodate for silicon caps that will hide the wire connections. I have also rounded off the edge of these channels to match the roundness of the silicon caps. I am being especially careful with this final cut to make sure that everything fits perfectly. The acrylic is not cheap at this size and I would prefer not to make any mistakes.
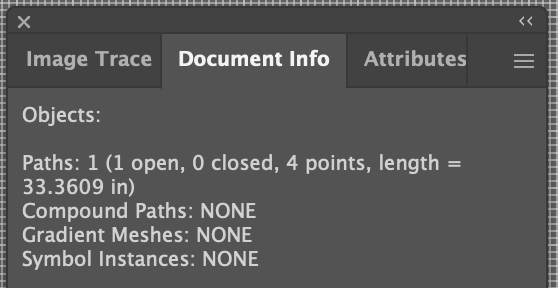
Using the Document Info tool in Illustrator, as shown above, I was able to measure the lengths of my cuts. This helps make sure that the LEDs will fit the way I intend them to. It also gives me an idea of how many LED strips I will need to buy for my final piece.
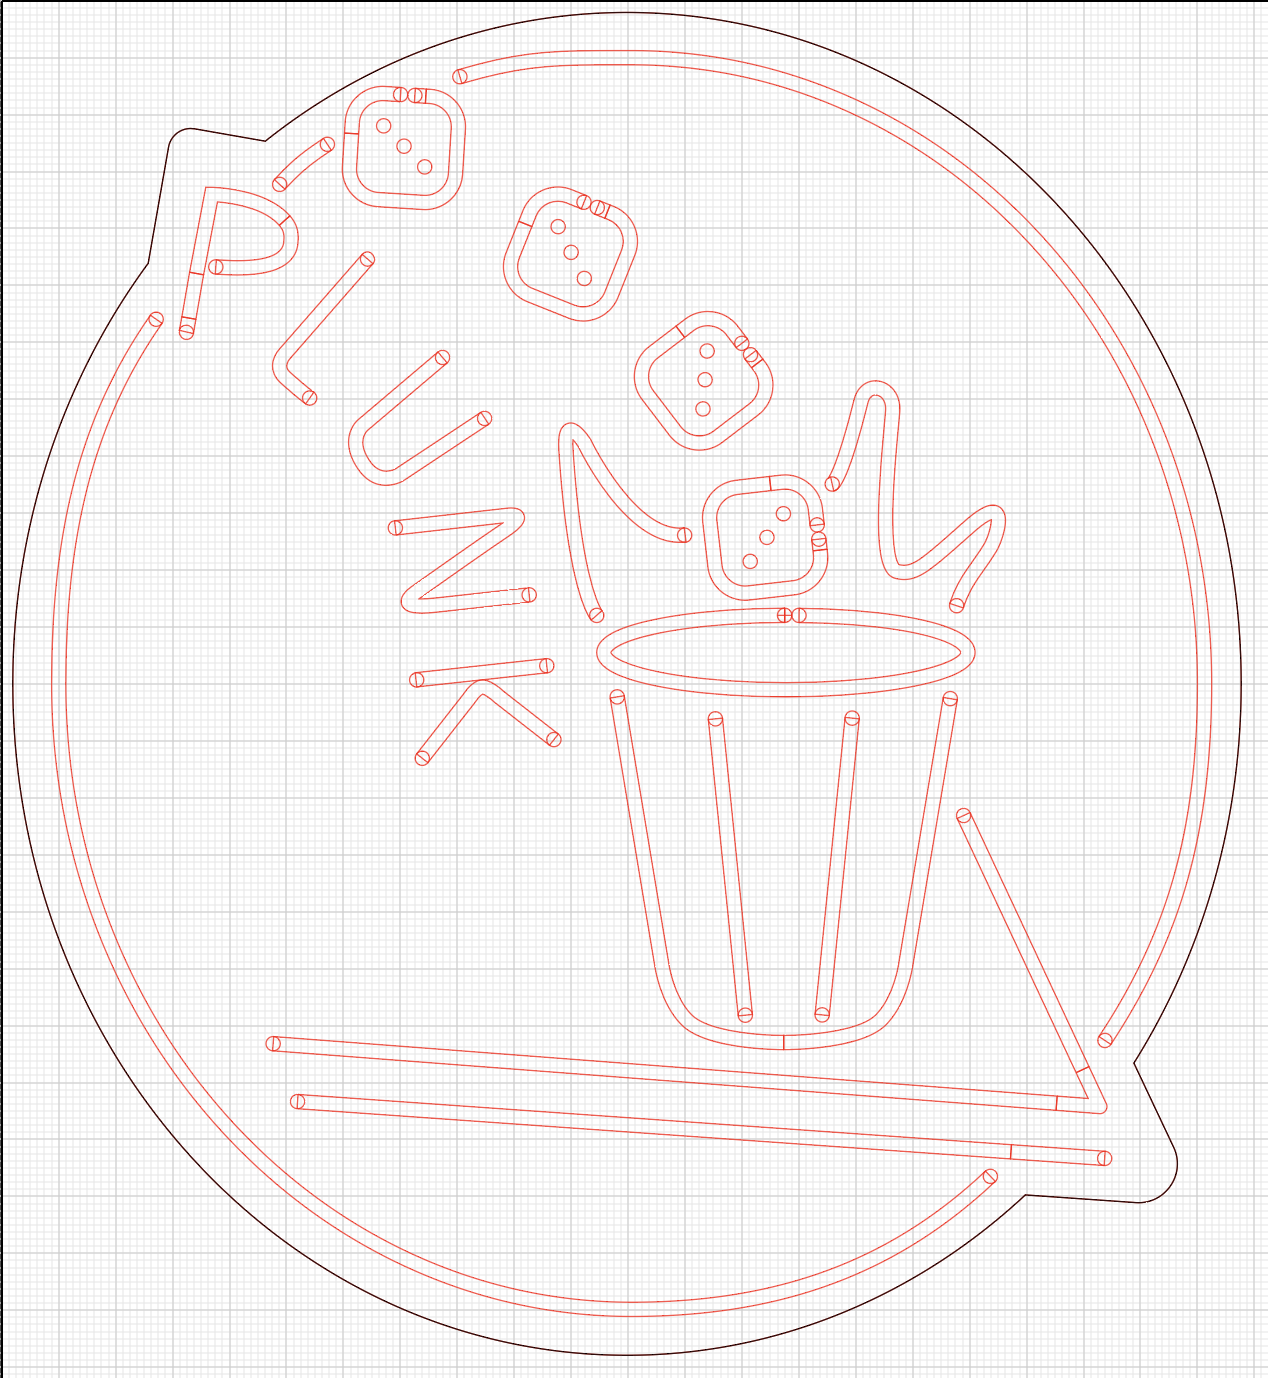

I will be cutting two sheets of 1/8″ acrylic now, rather than my original plan to cut one 1/4″ piece, in order to make the indented channels for the LEDs strips. The images above show these two cuts. The left will include the channels for the LEDs, and the right will just act as a base for the smaller pieces to be glued down to. Since I am now cutting two sheets, I also scaled down the final cut to fit on a 2′ x 2′ piece of acrylic in order to lower my costs. Unfortunately, I was unable to get a spot on the laser cutting machine before class, but have one scheduled for the end of the week. I also ordered the rest of the LED strip colors that will be needed.