This is an overview of all the bumps in the road.
Patrice Dying 3 Times – Voron 2.4
Most of the project was printed on my Voron 2.4, a DIY Open Source 3D printer. (I call them Patrice) Patrice had some issues with cooling the cold side of the extruder. Image holding a hot glue gun and instead of just the end getting hot it heated up the handle. The handle is like the cold side. The cold side got hot and melted the mounts which were 3d printed. I thought this was just a fluke, so I reprinted the parts and replaced the melted ones. Then it happened again. I did some light reading and consulted some people with more experience than me. What ended up happening is the cooling solution I had was not good enough. Although the fan had enough flow to cool the cold side, the channels for the air were meant for a different cold side. So the air went around the cold side and did not cool it.
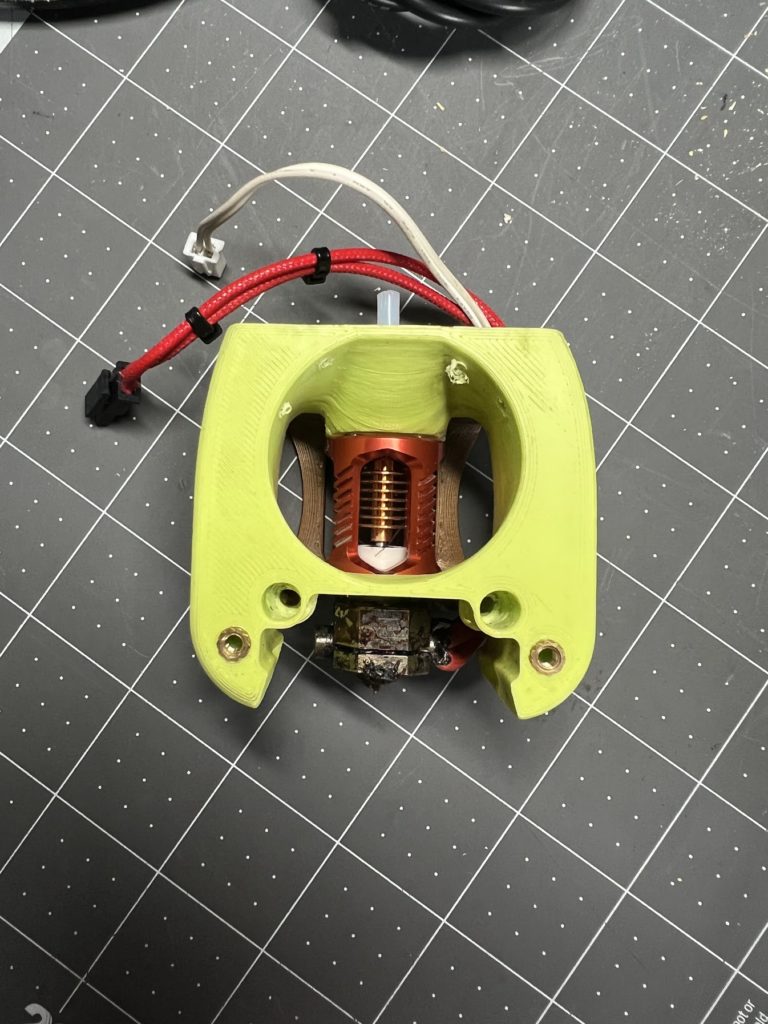
First Extruder with problems
I switched to a lower flow extruder. Which I use in my Prusa mk3 i3, the E3D V6. However, when I was setting up the extruder, I put in a 12v heater core and not a 24v heater core. So the heater core’s over-current fuse blew mid-way through the next print. No problem, I replaced it.

The printer board firmware errored out and I had not saved the configuration file for the printer. So I re-uploaded the firmware and started from scratch setting up my printer. This took 3 days to get working semi consistently. I still have an error. Whenever I power cycle the printer, the printer forgets the nozzle bed offset and prints 5mm above the bed. My solution is don’t power cycle the printer.
Under Tolerancing
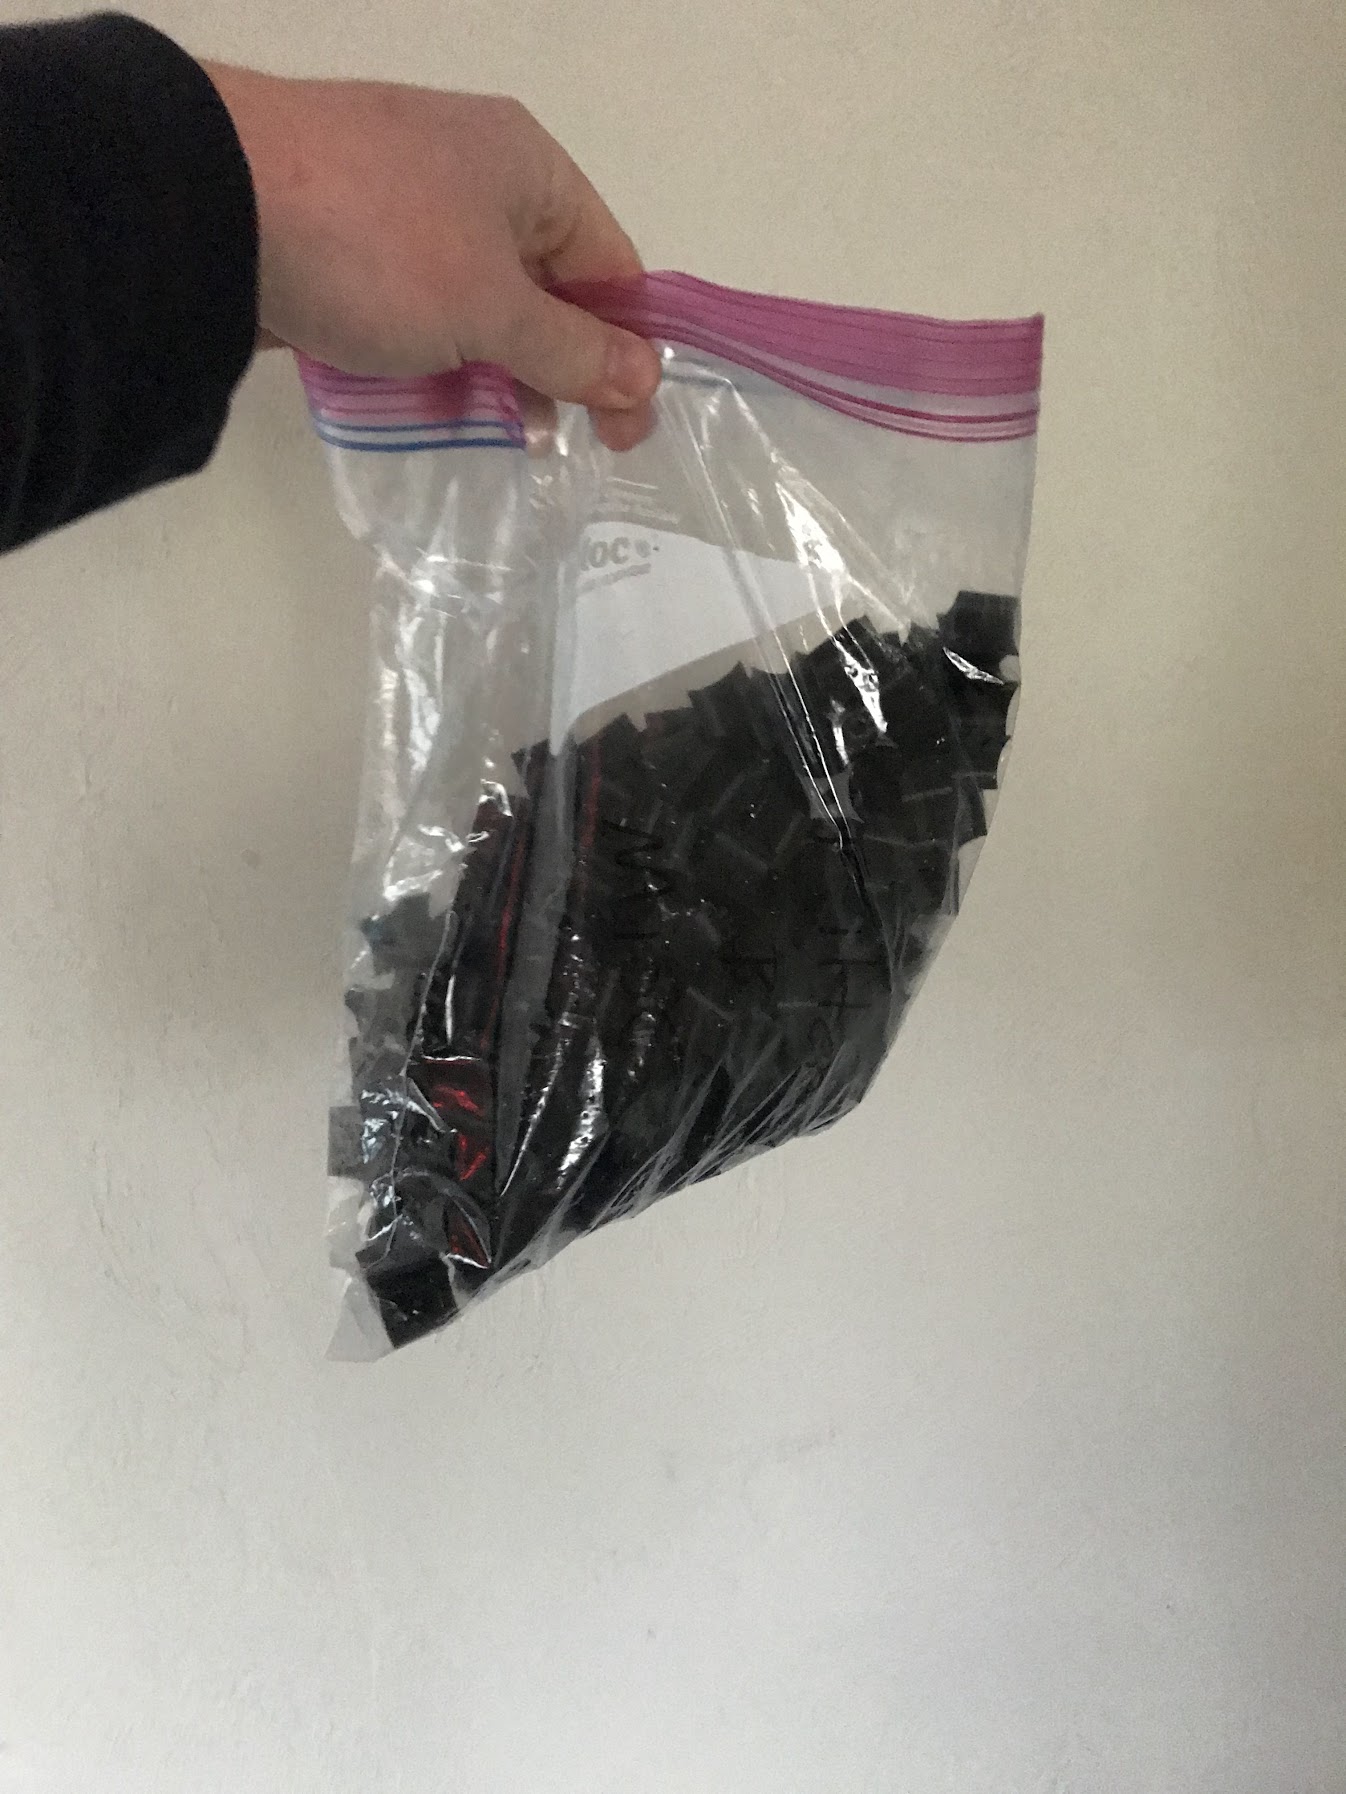
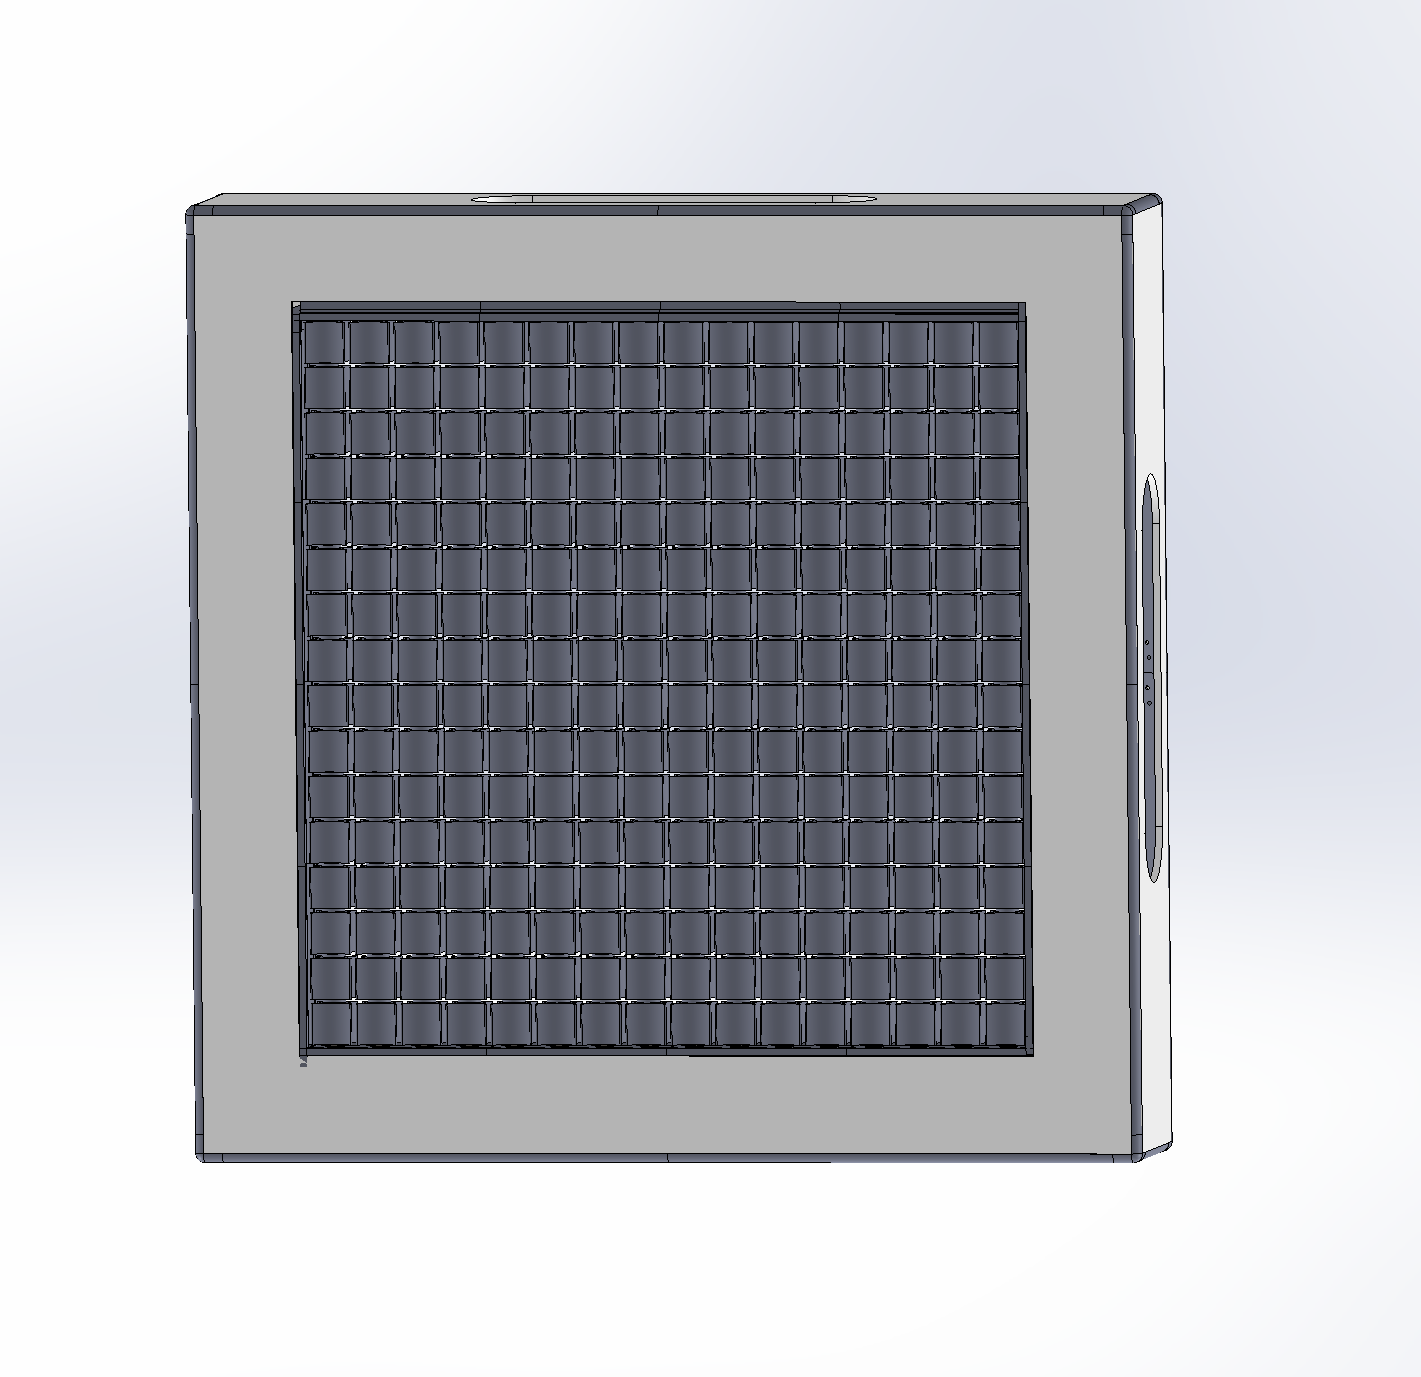
The cubes that go in the display I printed and I was overoptimistic about what spacing I needed between the cubes when they were in the display. The larger display means longer axles that are much more susceptible to bending and causing adjacent pixels to hit one another. Ideally, the space between pixels would be ~0.02″, but that was not realistic.
This necessitated a massive reprint, this is also when I changed from glossy to matte PLA.
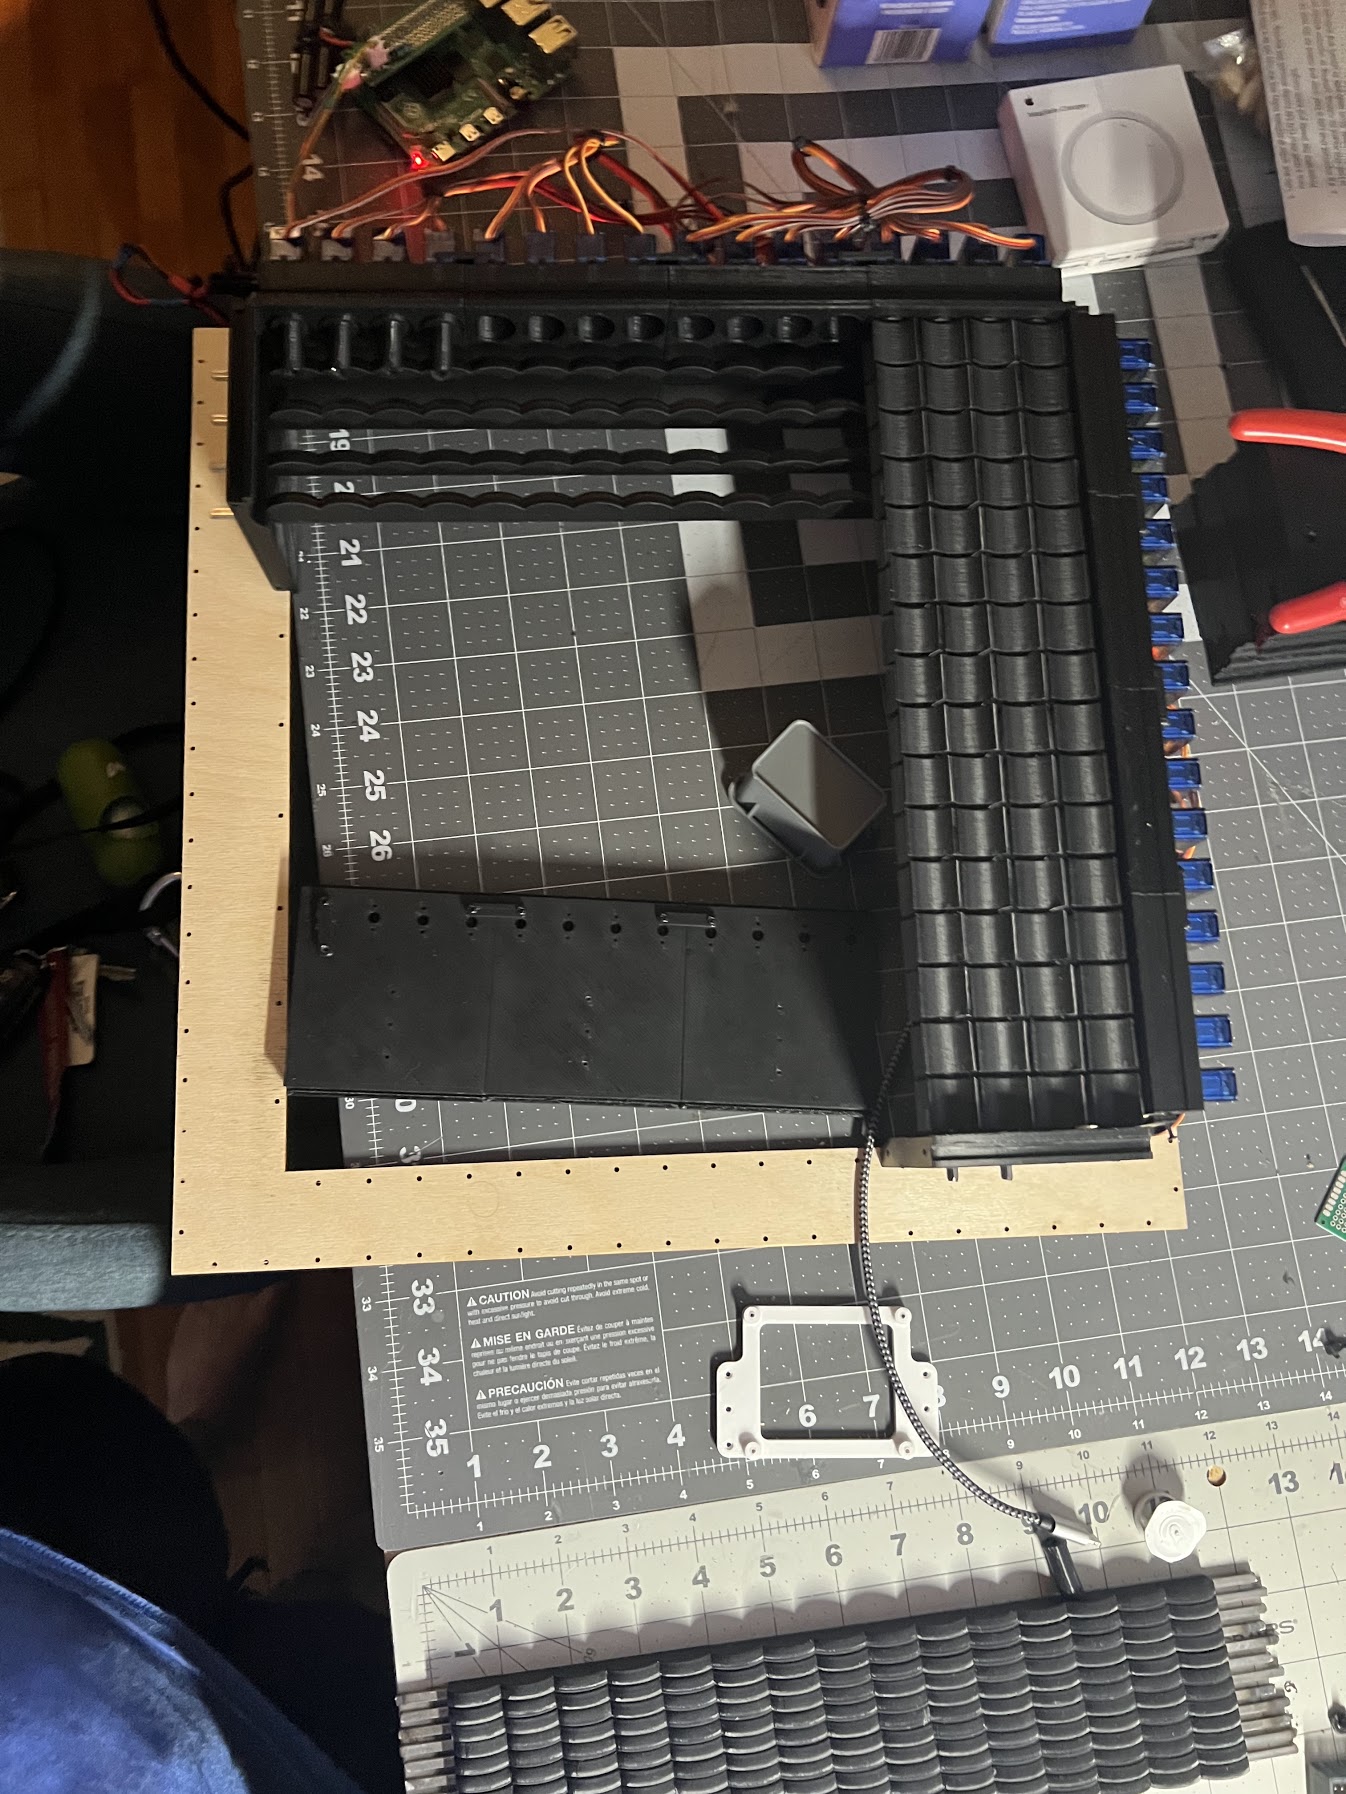
Final Assembly
Nothing fits. Once I went to stack 16 of the sheaths on top of one another they did not fit within the frame of the final display. The width of the display was fine and the locks fit fine. The sheaths were more than 1/8″ too long. After attempting to sand the prints down to make them fit, it was clear I could not sand them consistently. It was not super plausible to reprint them because of the reliability of my printing setup. So, I re-cut the frame base plate and front panel to accommodate the extra space I needed.

This solution took a day to implement and allowed me to start getting the display together