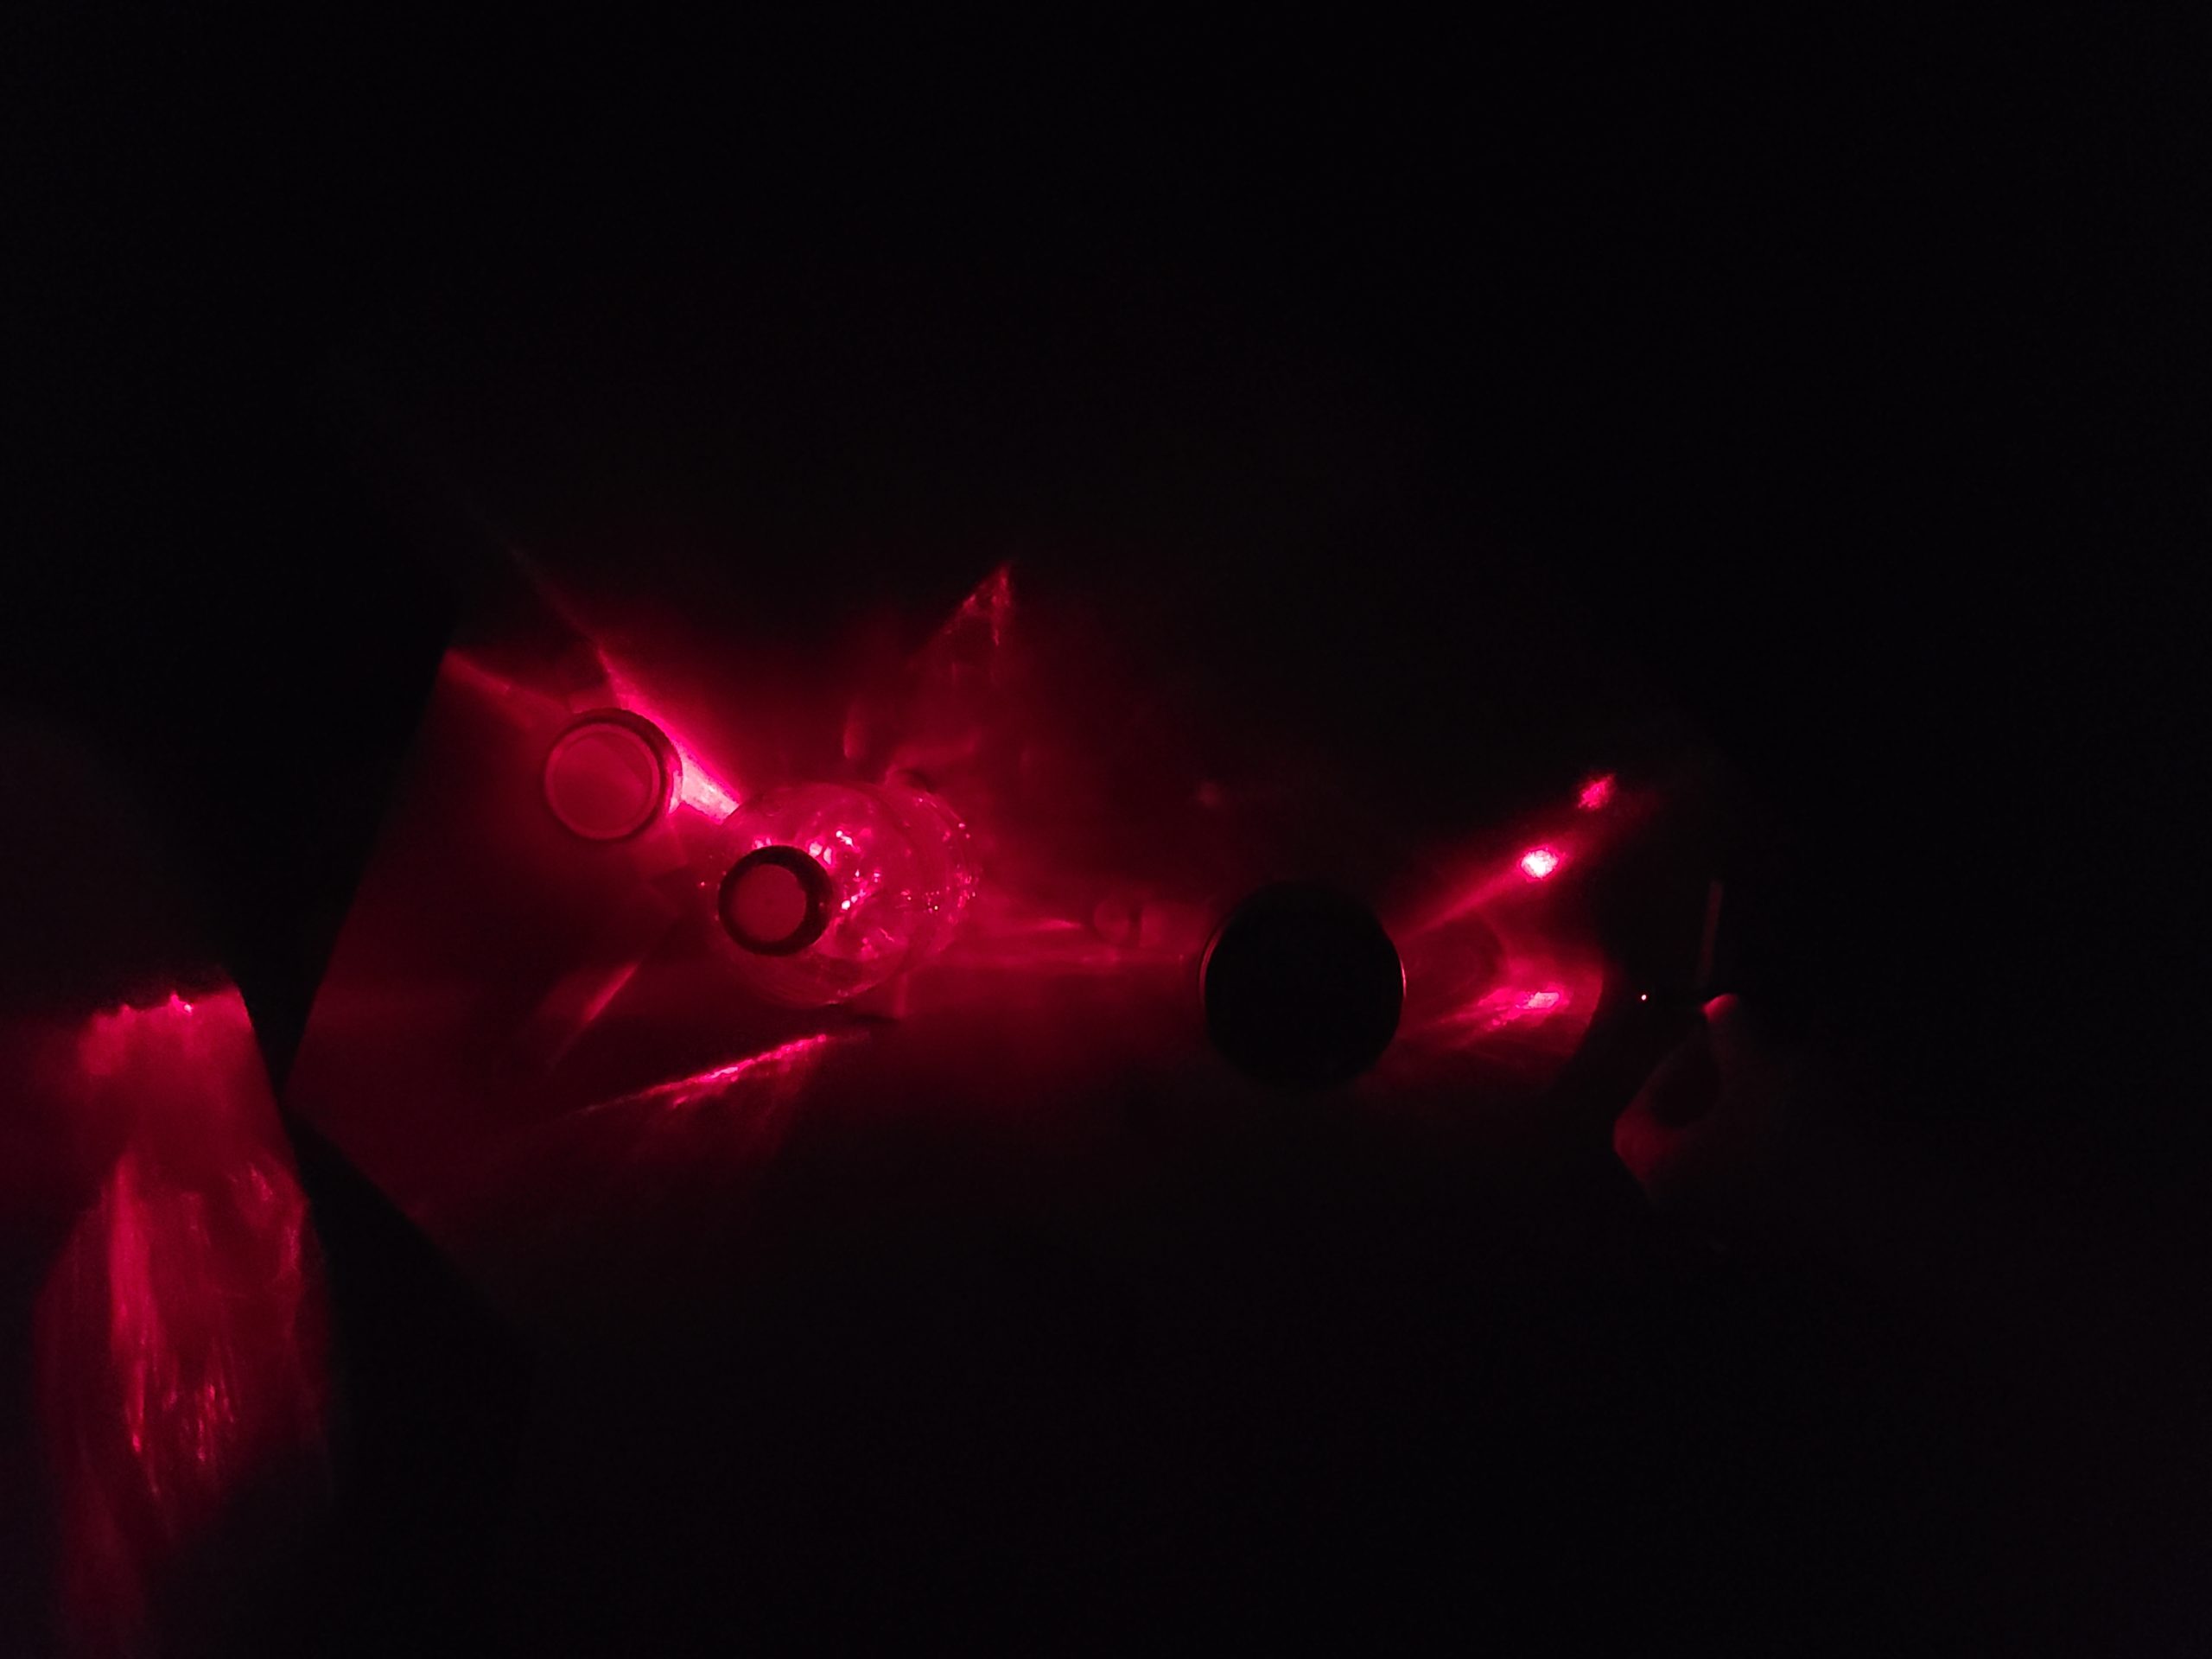
My maquette is comprised of a plywood base, a laser module and 3 “prism” modules. The modules attach to the base using Velcro strips allowing for some level of manipulation.

The laser module is made up of a toy laser which has been strapped to a small piece of plywood with Velcro on the bottom. This gives the laser a solid base and elevates it above the surface of the overall base. The “prism” modules consist of 3 containers I had in my apartment which I filled with water and stuck Velcro to the bottom of. Both the laser and the “prism” modules can be manipulated by detaching and reattaching the Velcro on the bottom. The effect of this maquette is somewhat diffuse due to the low quality of the laser and due to the inconsistencies in the prisms.
The primary differences between this maquette and the final version are:
- Velcro replaced with magnets and a steel base
- Laser will be significantly upgraded and there will be more than one
- Prisms will be glass and have smooth surfaces
- Lasers will require a power strip and wire management
Here is a list of items required for the final design:
- Steel Sheet (Look through options at Lowes)
- Optical Glass Lens and Prism Set 7 Piece (On its way)
- 2X 10 mW Green Dot Laser (On its way)
- 2X 5 mW Red Dot Laser (On its way)
- Magnets (Find at Lowes)
- Power Strip with Surge Protector (Find at Lowes)
- 12mm Pipe Straps (Received)
- 16mm Pipe Straps (Received)
- Small Wood Screws (Purchased at Lowes)
- Black Paint (Find at Lowes)
- Super Glue (Find at Lowes)
- Plywood or similar (Find at Lowes)
Next Steps:
- Acquire the rest of the supplies from Lowes (by 4/10)
- Paint all necessary components (by 4/12)
- Attach magnets to prisms (by 4/14)
- Cut circles from plywood for laser modules (by 4/15)
- Build the Laser modules (by 4/16)
- Attach power strip and cable management systems to the sheet metal (by 4/18)
If I am able to complete these steps in time, I will be left with extra time to create a custom prism. The original idea for my design had a set of prisms which would spin with interaction. I would still like to create on of these as an additional prism module for the project. It would utilize magnets just like the other modules and it will include an array of prisms. For now I want to hold off on this portion of the project to focus on finishing the other components.
Questions/Guidance
- Is there a particular type of pain or finish that is good for allowing magnets to slide around?
- What’s the easiest way to cut plywood circles?
The easiest way to cut plywood circles is the laser cutter in the makerspace for sure. Just might take a little long if plywood is a little thick. I forget the thickest the makerspace one can cut. For having each prism on steel base and magnets on other side of plywood, you could probably put a piece of cloth or something in between both the steel and magnet so they can slide along the wood. I don’t know what types of paint or finish to recommend.