As of last week, I was still unsure of the artistic direction of the project but had created a tech proof-of-concept. This week I have refined the direction of the piece and made a couple of maquettes to show examples of the aesthetics of the finished piece.
Artistic Inspirations
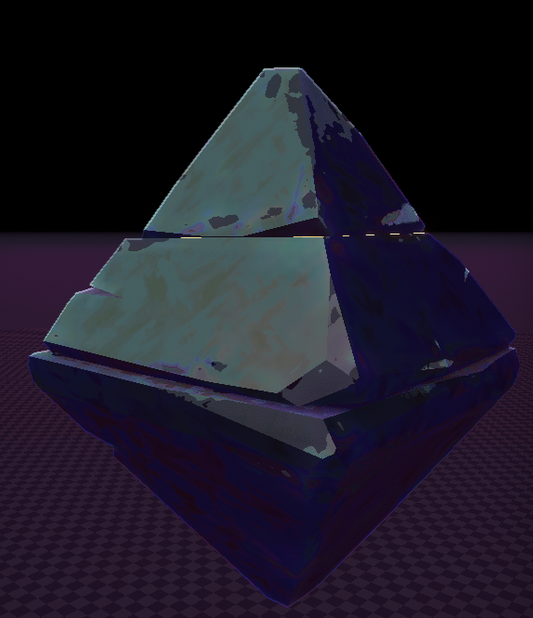
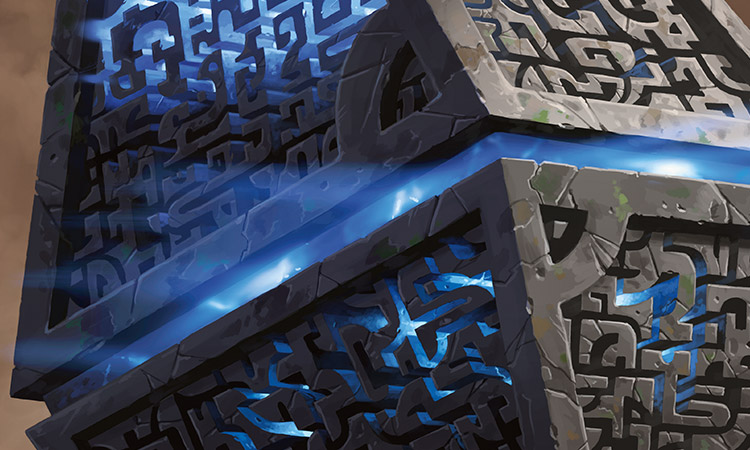
I have drawn inspiration from the art style of stone artifacts in the video game Risk of Rain 2 (especially the Alpha Construct, shown below) as well as the Hedrons, stone monoliths from the Magic: The Gathering card game. I really like the cracked and earthy, almost alien finish to the Alpha Constructs, but in order to incorporate holes I found that I would need some sort of design on the faces (more on that below).
Maquettes
Next, I made a small-scale maquette. I made a cubic interior armature (as the sculpture needs to be hollow) out of cardboard and then wrapped it in Sculpey oven-bake clay. After baking, I removed the armature and began to drill holes. I also chose to remove the top cap as I was planning on making it glow in a different way, but that did not end up looking as I wanted it to. Next, I painted it with acrylic paints to a similar finish to the Alpha Constructs:
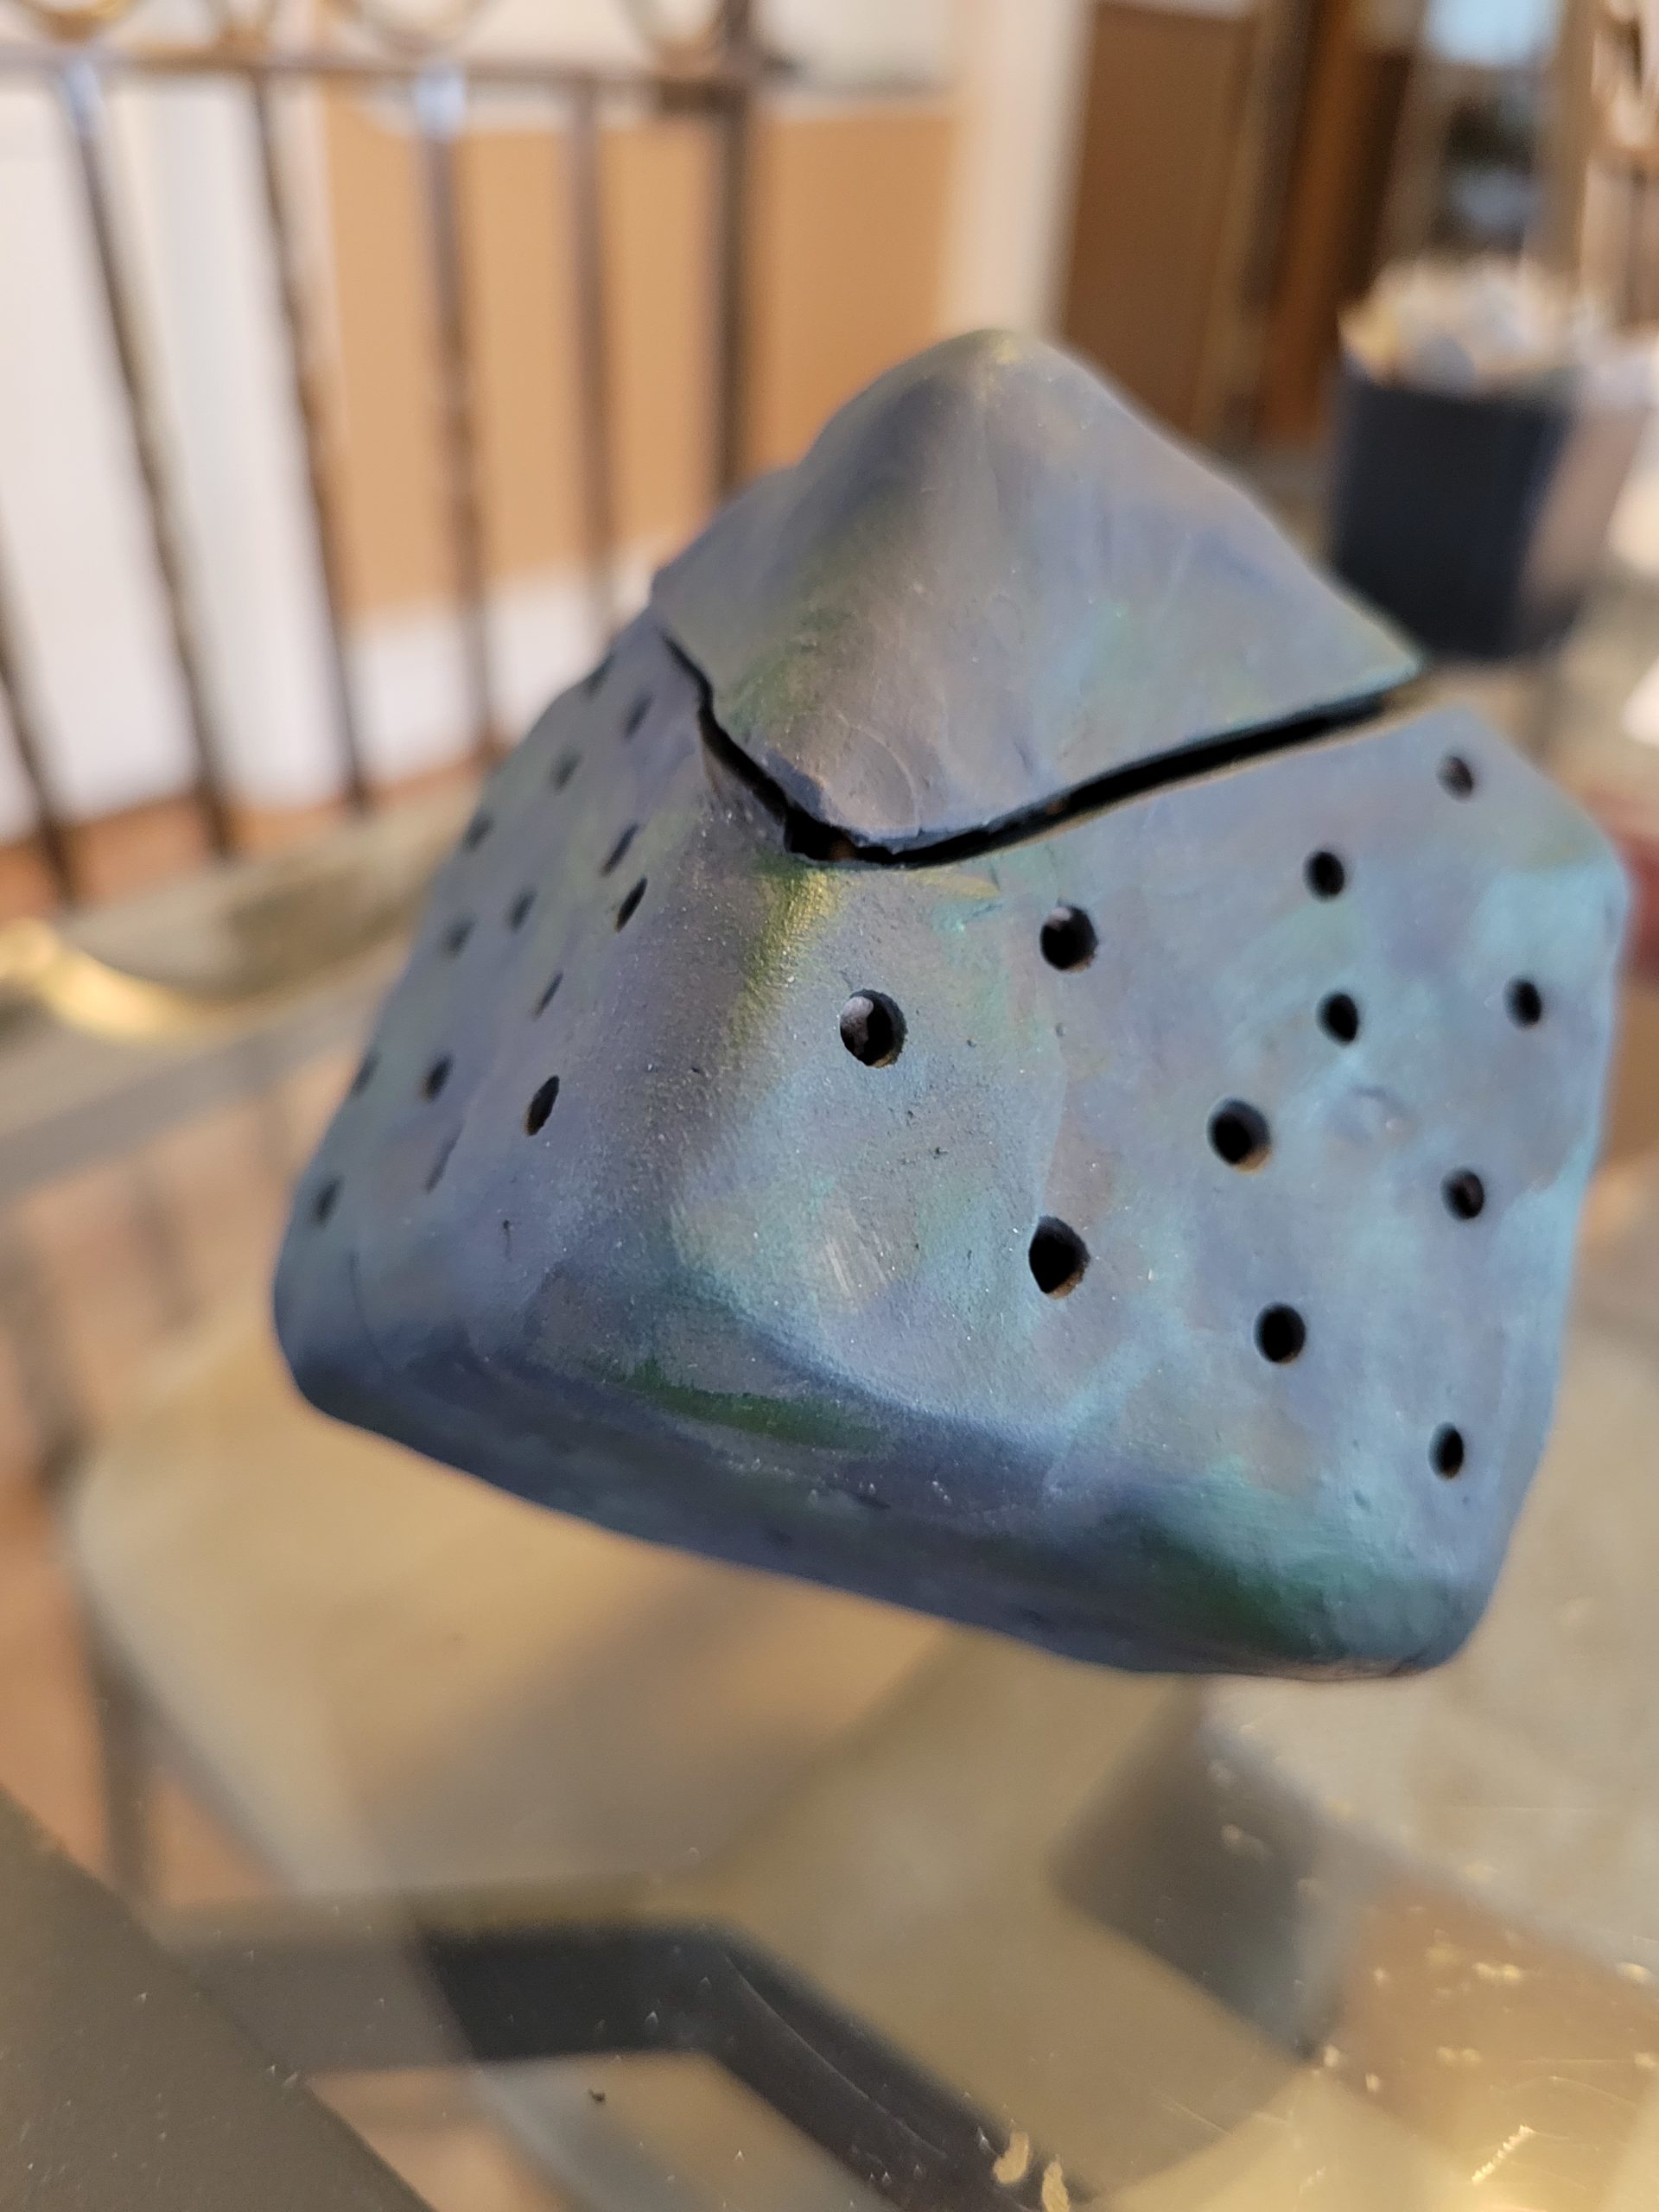
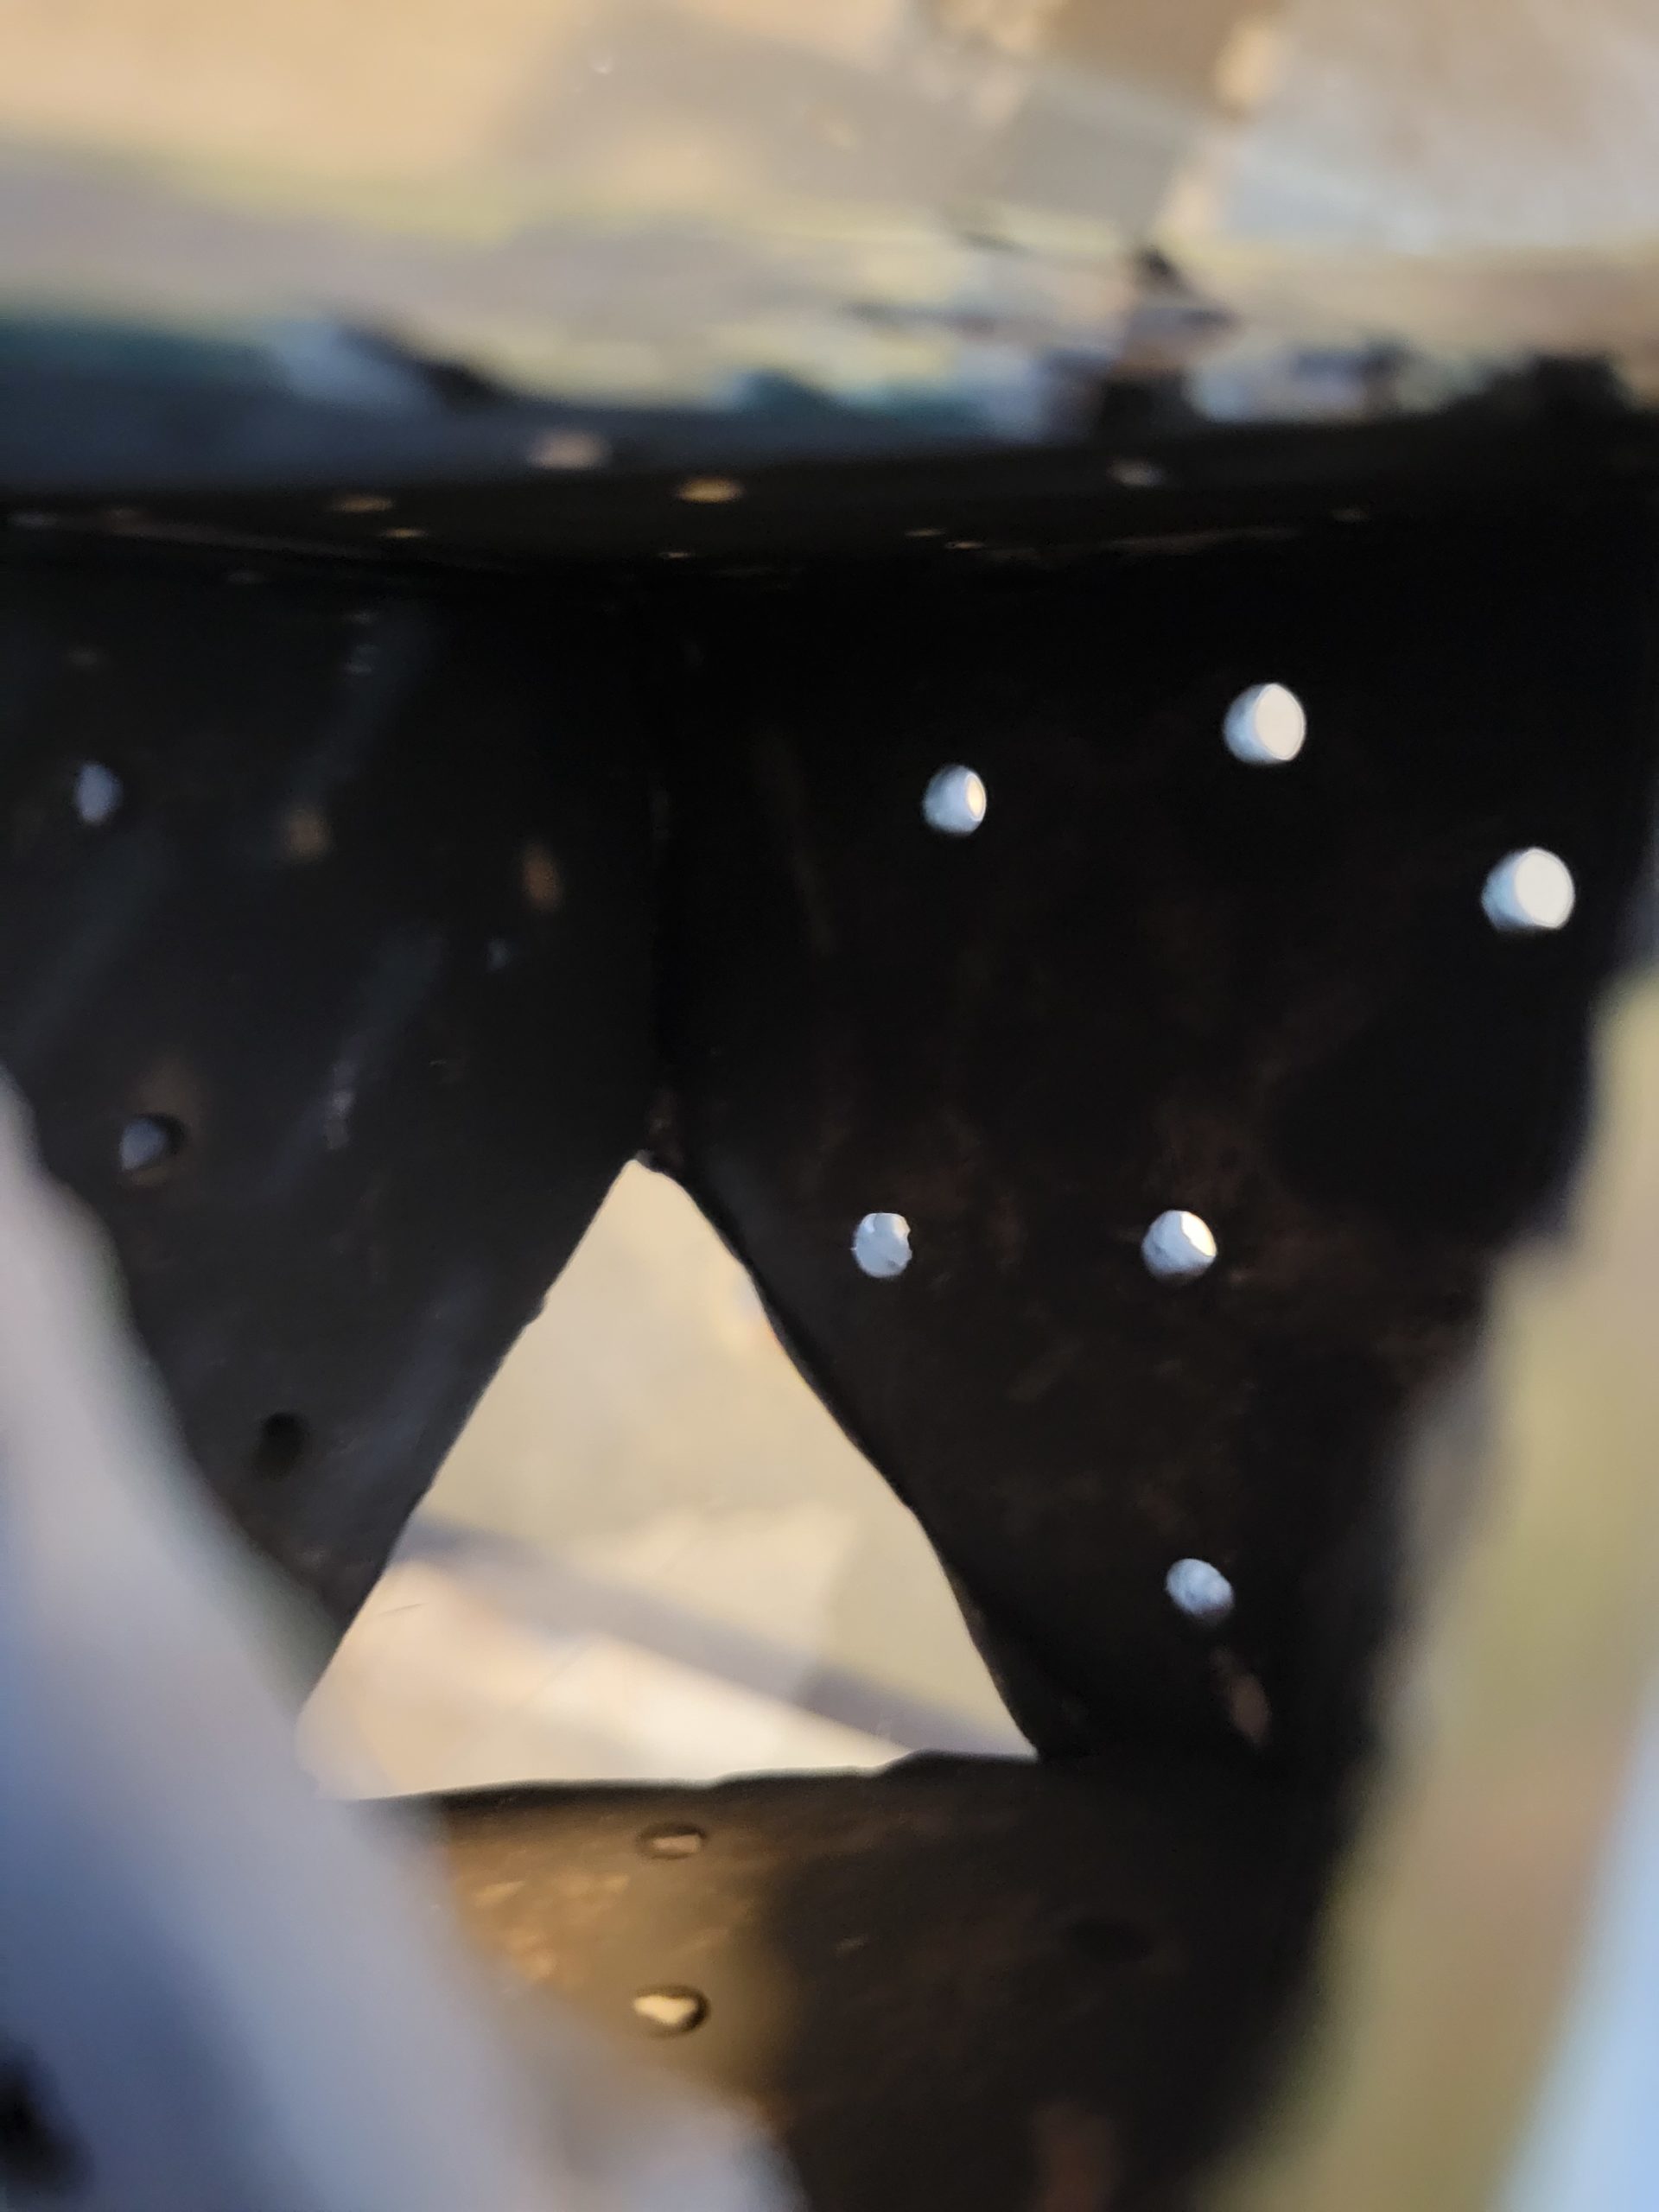
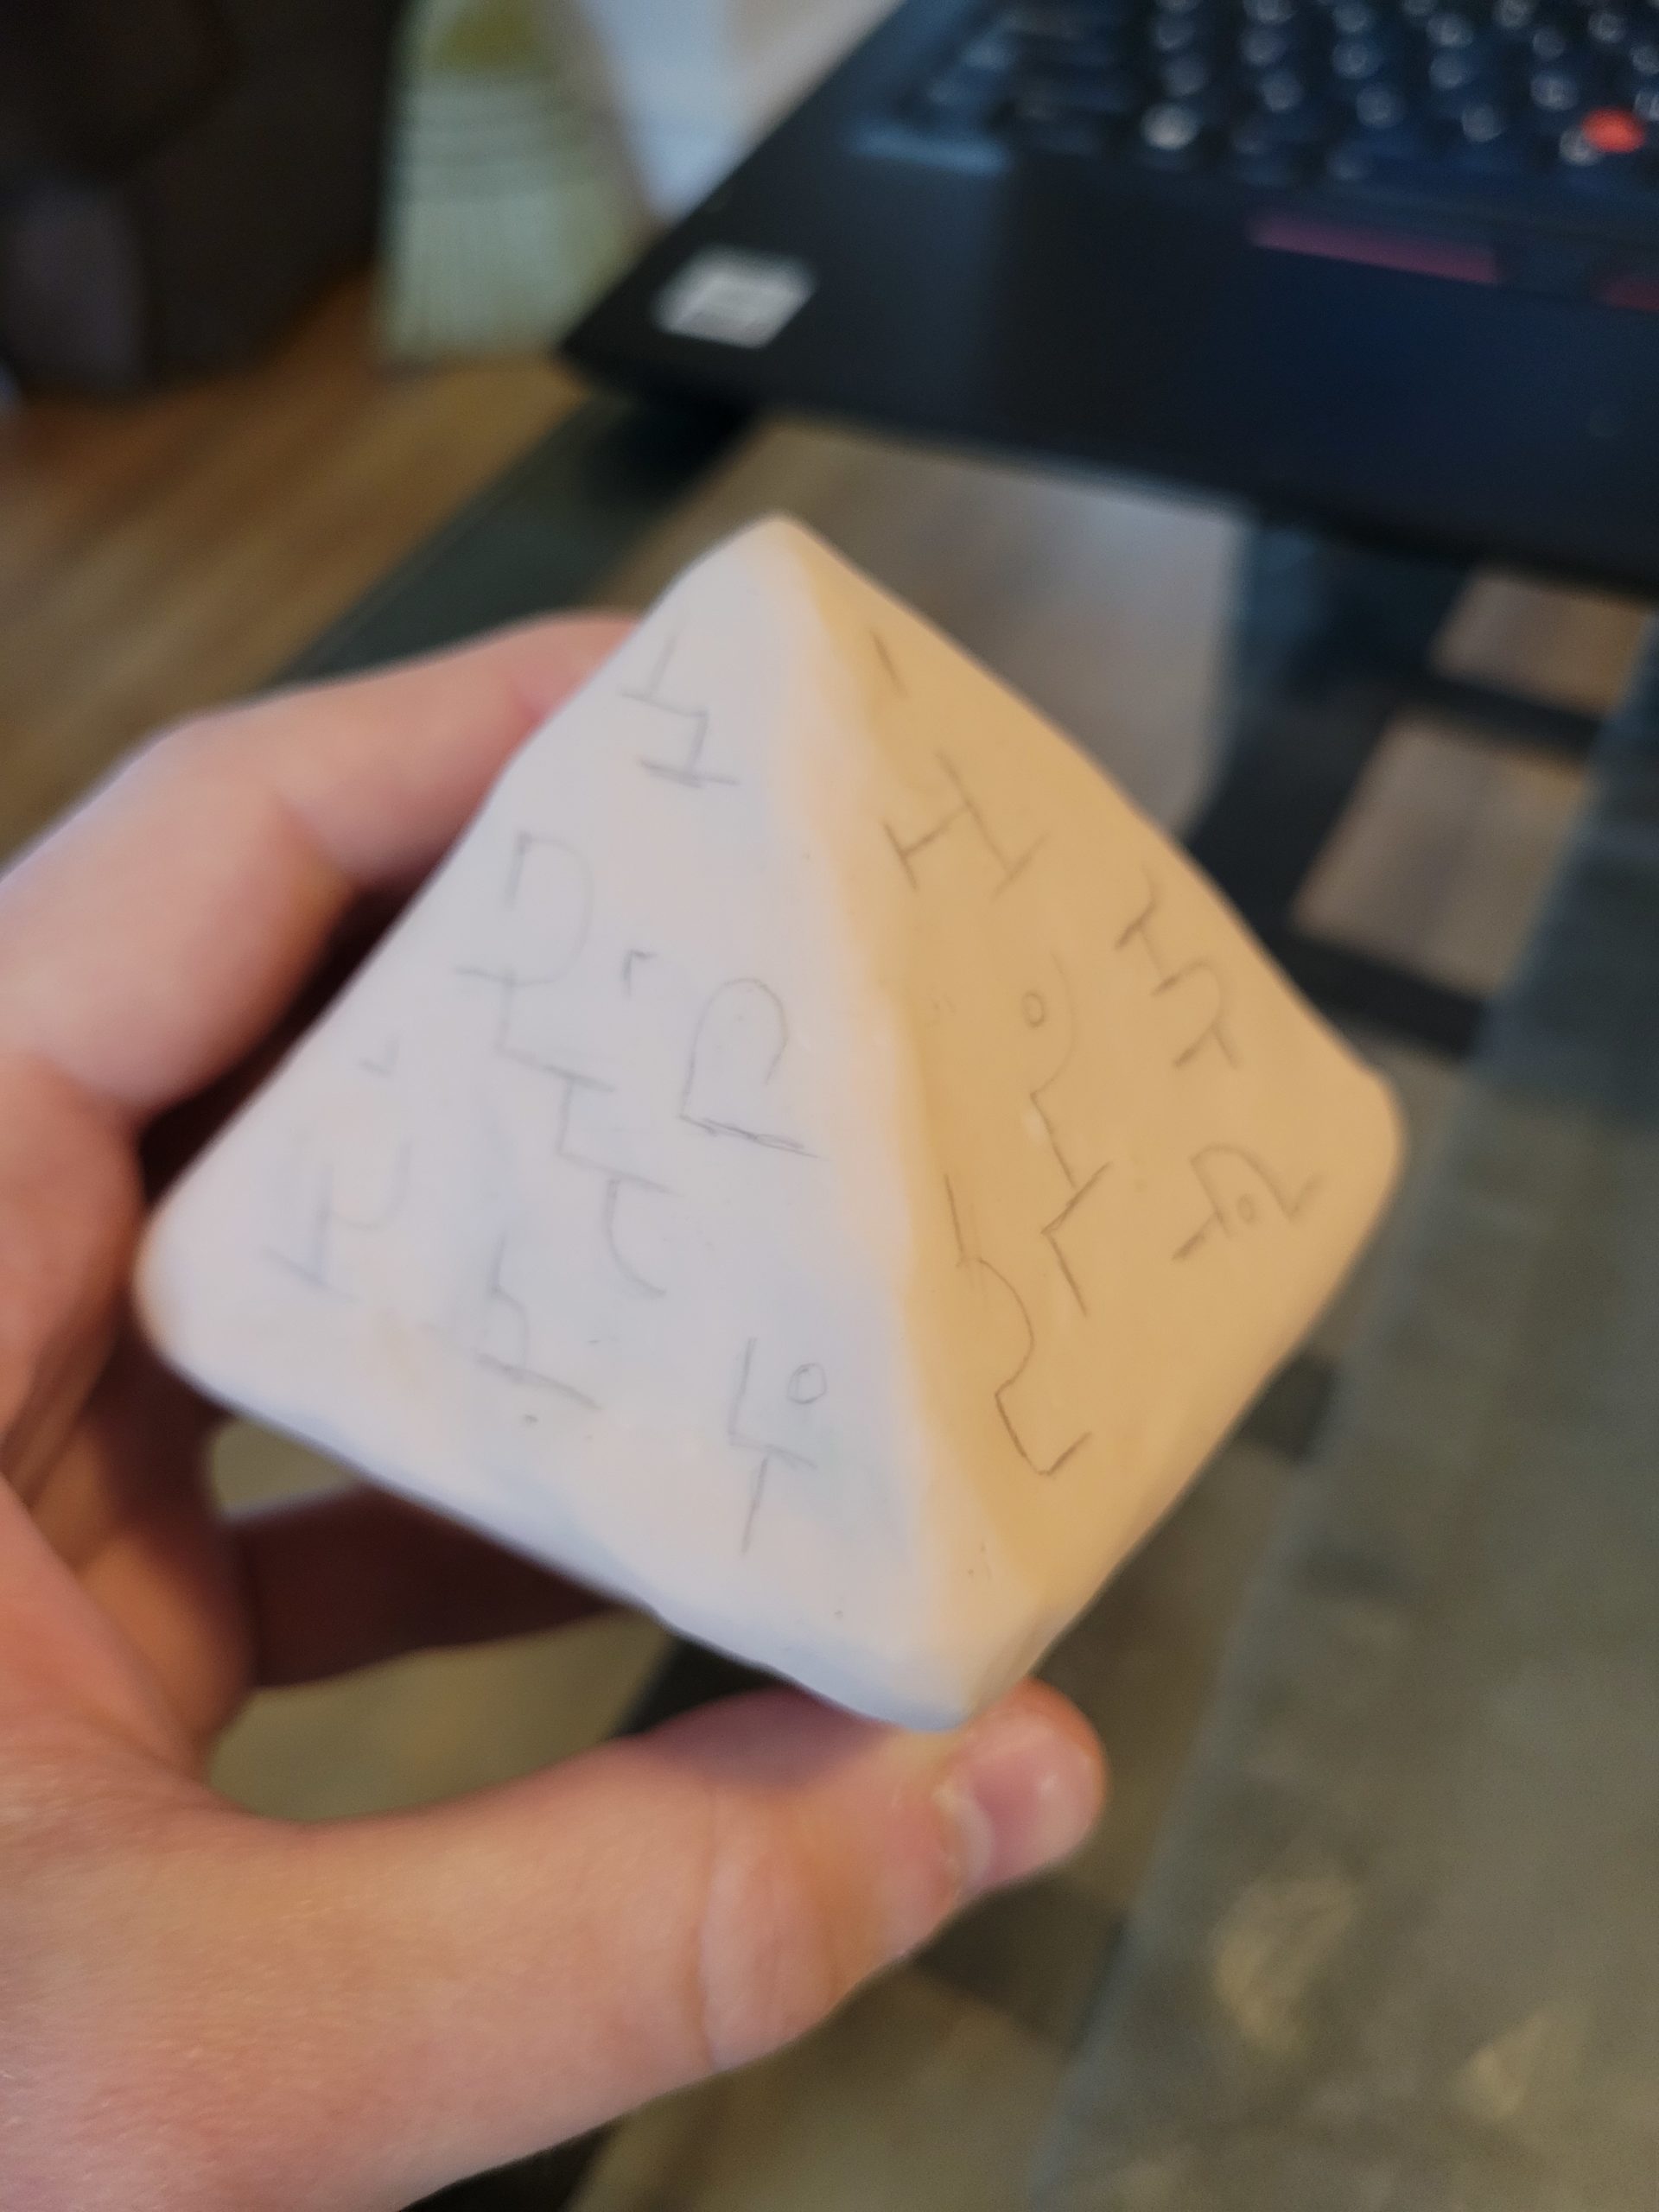
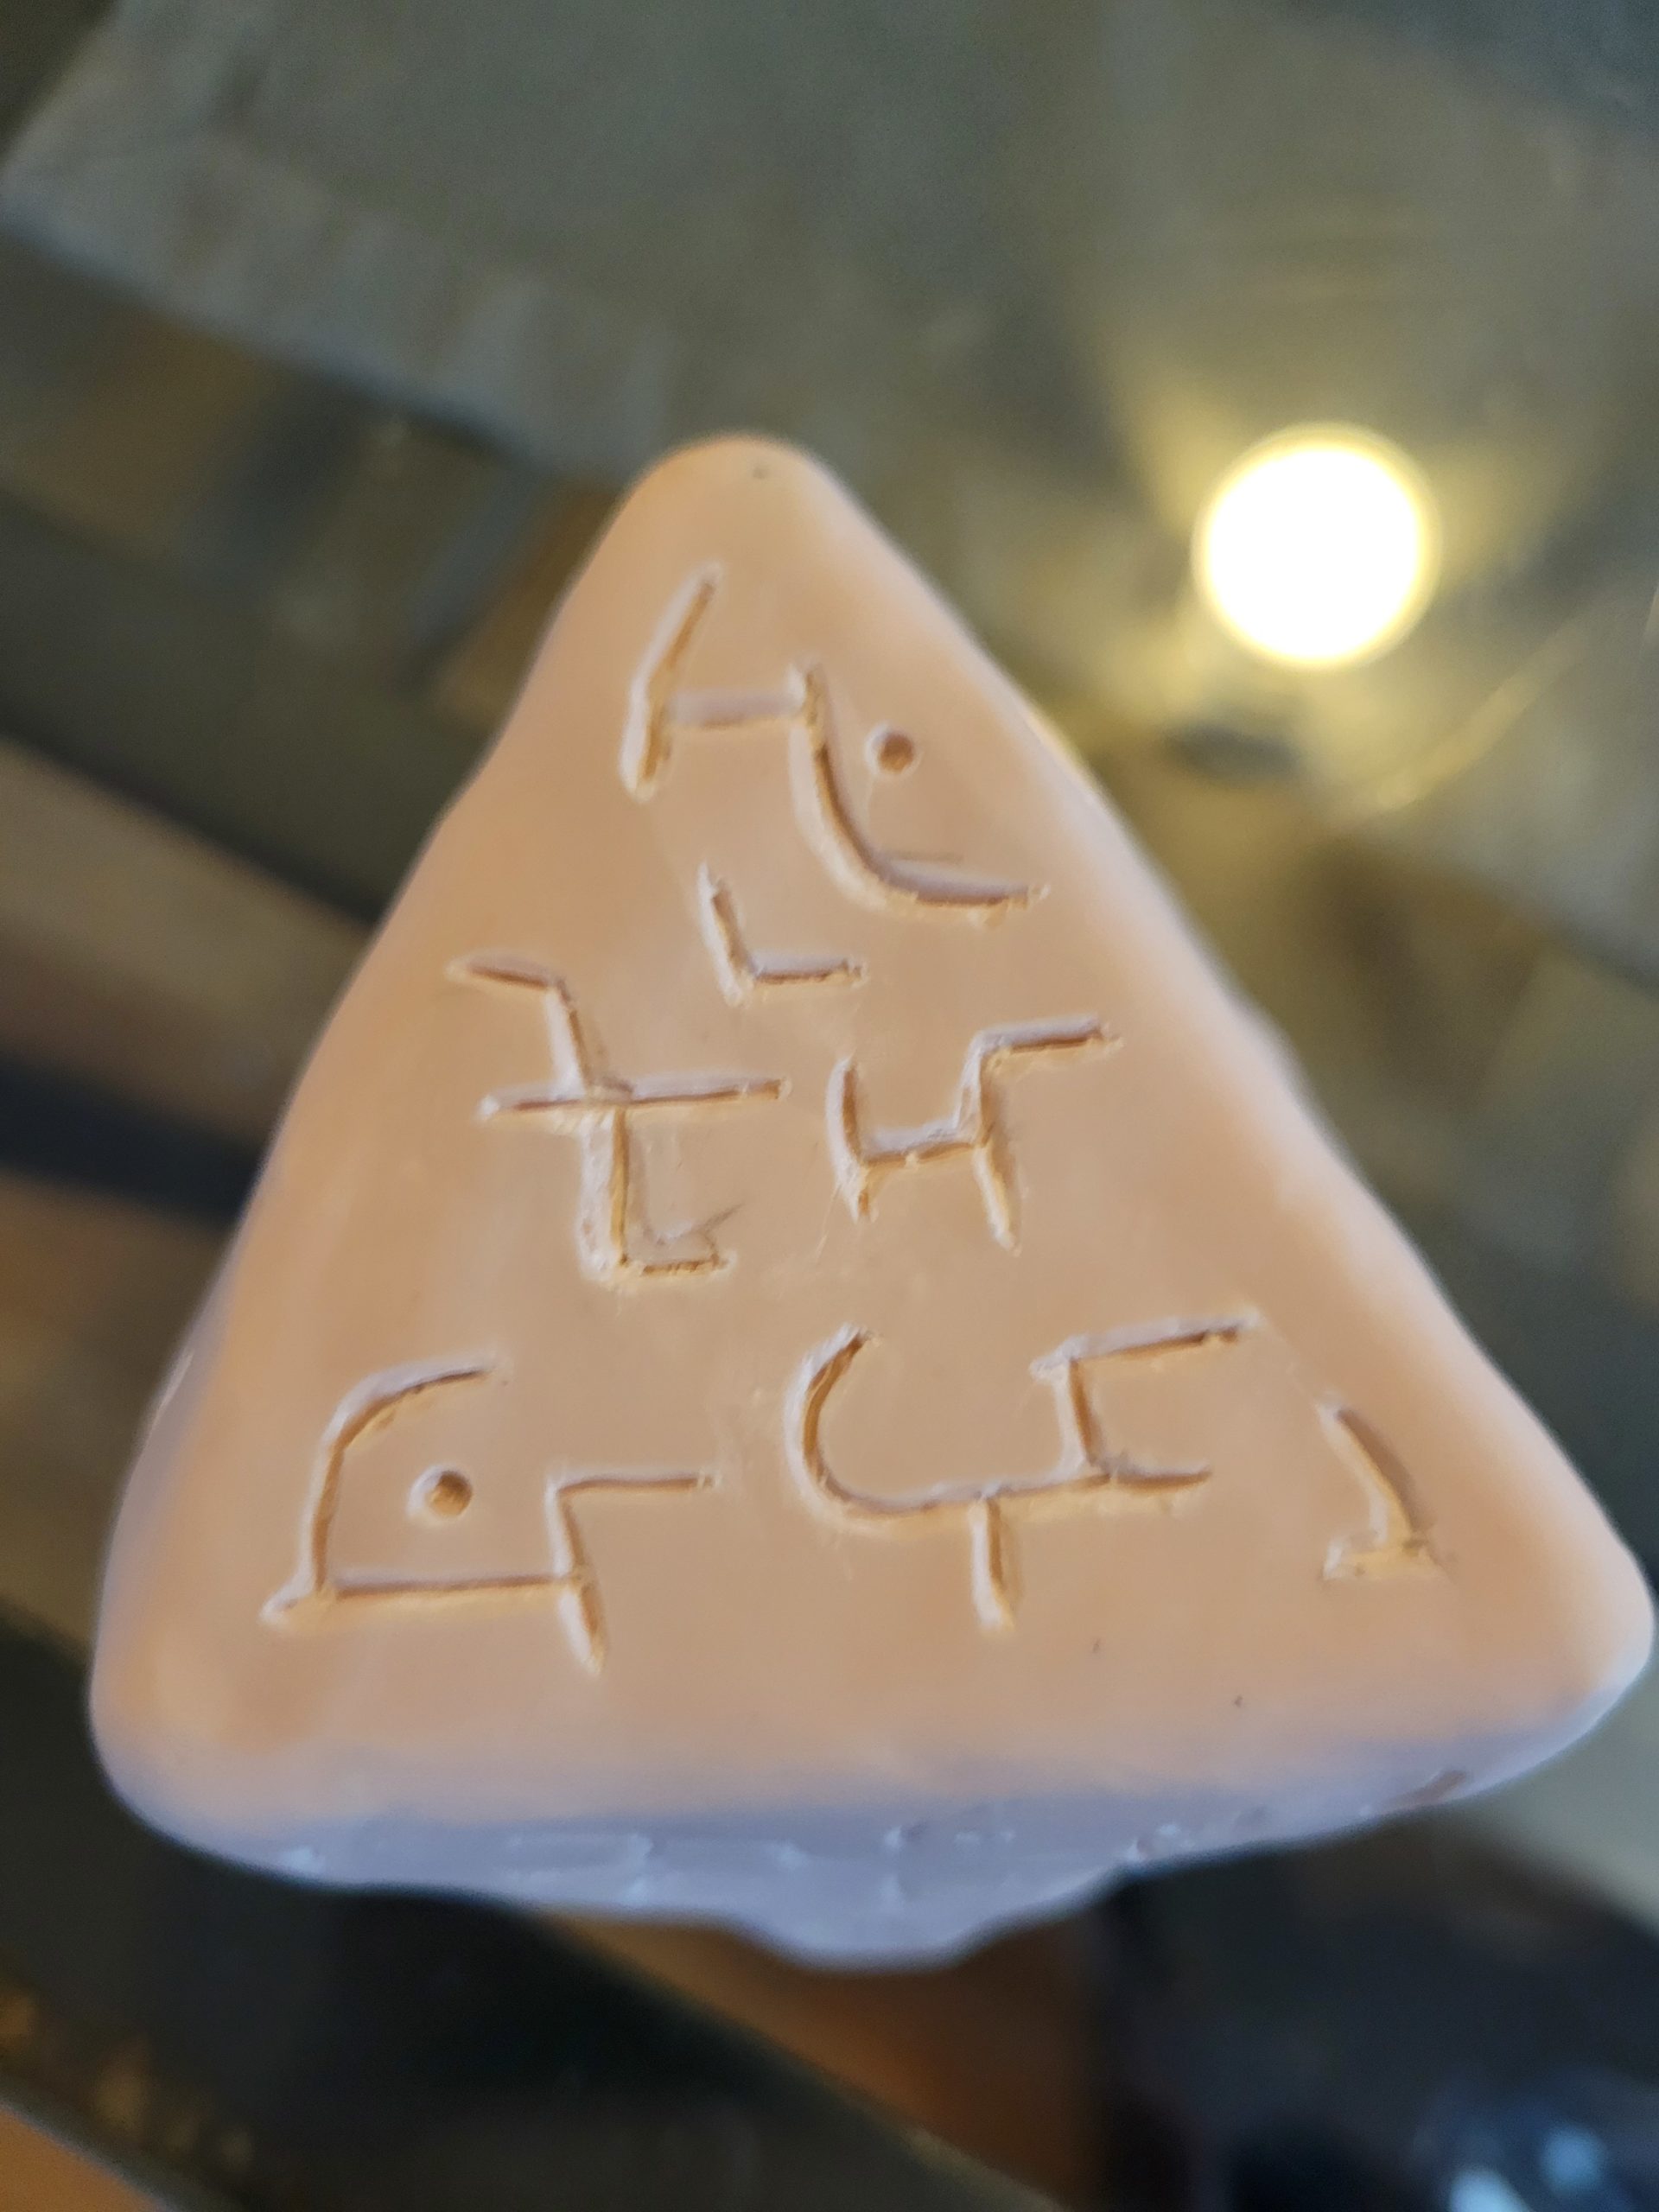
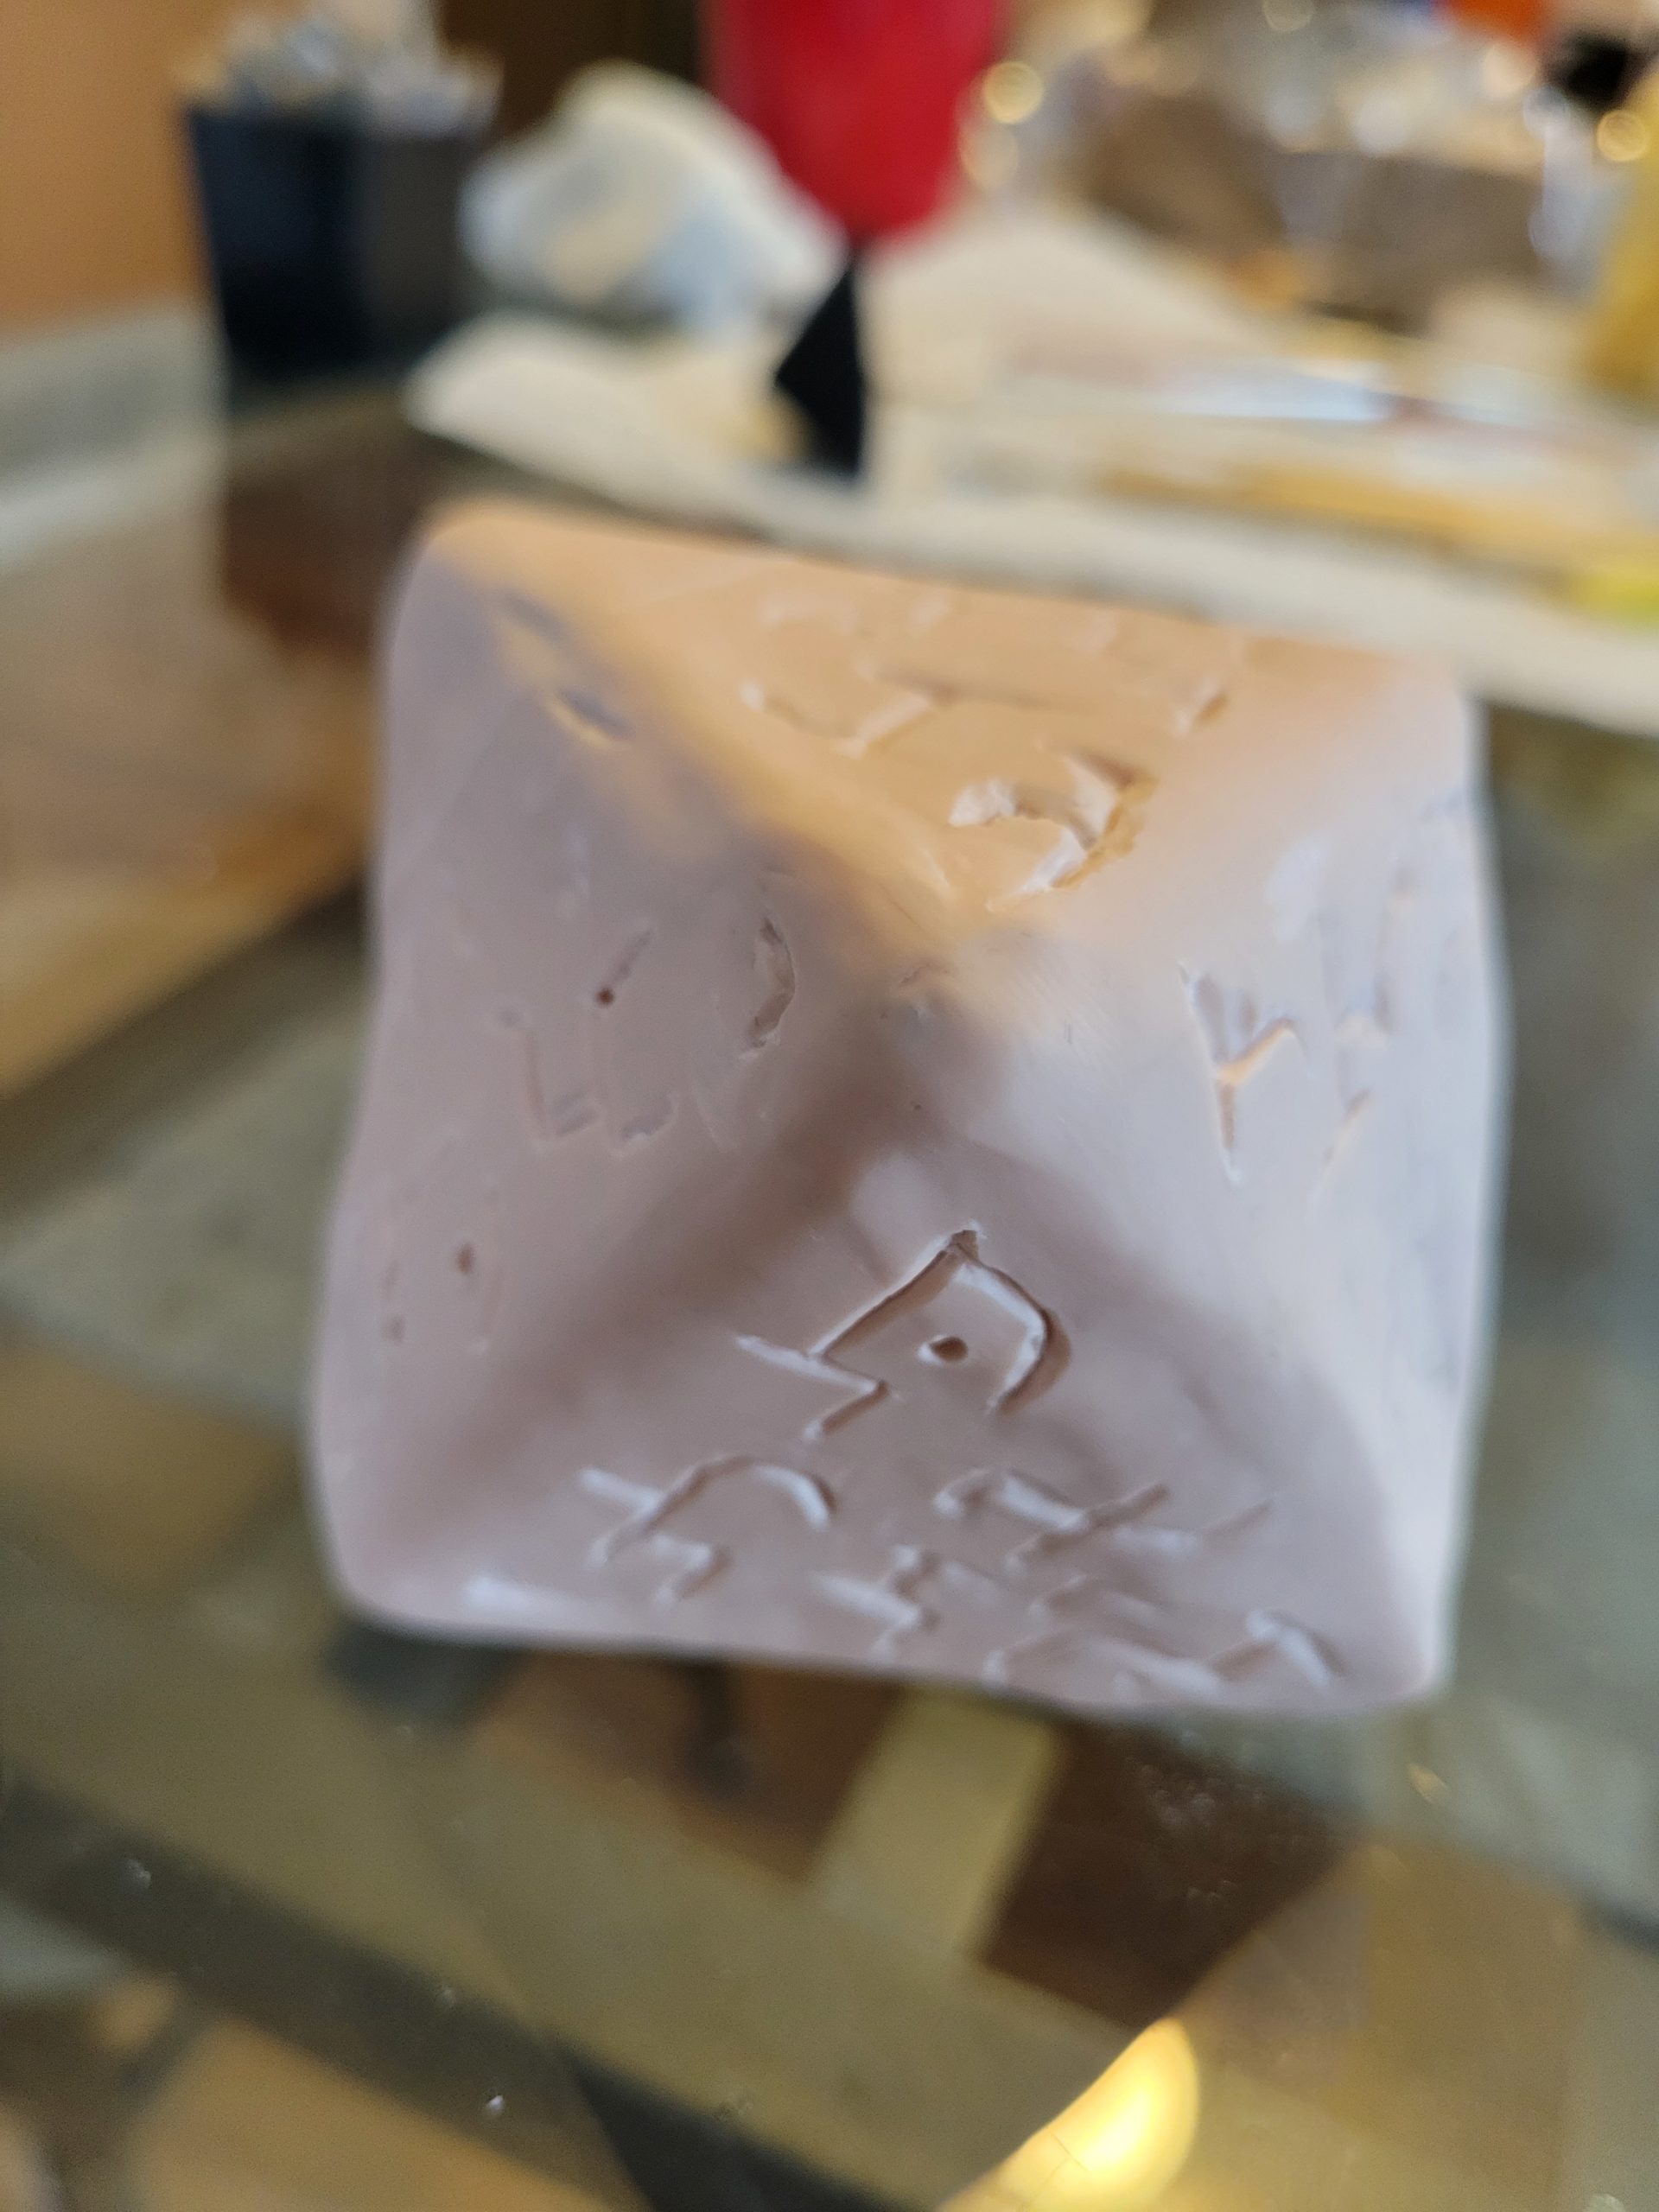
After finishing, I realized that I did not like the way that the circular holes looked on the otherwise smooth surface of the “stone”. It made it look like a cartoon asteroid and not the monolith I was hoping for. I decided to make another armature (octahedral this time) and carve designs into it in the style of the Hedrons. I was planning on drilling small holes in the channels made by the carvings, to hide them a bit more and also allow for some more detail on the faces.
However, after baking and carving, I found the the Sculpey was too brittle when completely dry, and would chip very easily. I was not able to complete the carving. I have learned from this that I should find a way to make the carvings (and probably drill the holes as well) while the clay is still wet or partially dry.
Electronics and Shopping List
After doing some research, I narrowed down the list of possible light sources to either a car headlight or a high-powered LED. Either option would cost about the same, so the decision will likely be based on which is easier to wire up. For power, I plan to use a driver that can connect to mains power and be set to whatever voltage I need to supply to the light and motor (a normal DC motor) with a resistor if needed to maintain proper brightness / motor spin speed.
| Material | Source | Apprx. Price |
| Sculpey clay | Have already (or Michael’s) | $0 – $10 |
| Dowel for stand | Have already | – |
| Acrylic paint | Have already | – |
| High power LED (~1000lm) | Unsure, most sources require a quote (ebay?) | $10 |
| LED Driver | Amazon or similar | $20 |
| DC Motor | Amazon or RBE friends | $5 |
| Resistor | Amazon or RBE friends | $1 |
| Thin clear plastic | Amazon or similar | $5 |
I had a 25W single die LED and that thing is insane! You can definitely get away it with a smaller power LED, even 15W is more than enough.
Not really a constructive comment but I was really surprised at how light those were when I had them in my hands in class today. I thought it looked like stone, or at least the darker one does.
Just an idea. I think to make the script engravings the laser cutter in makerspace seems like perfect way to do it. It is very good at small details and cutting through wood. You could make the octahedral one with engravings that are full cut through wood and then layer the clay on top of the wood and bake.