SO! After playing around with how the sun moves (and how sundials work), I have once again been confronted with the fact that what I’m currently doing will not work! 😀
So, basically, after trying a couple of models and reading several online documents about sundials, I realized that there is no physical way that I can take the shape that I currently have and use the shadows to create different shapes depending on the sun’s position.
So yeah. Since the sun moves in a VERTICAL circle instead of a HORIZONTAL circle (which is a revelation I made last week), the number of shapes I have to work with to achieve my result have been drastically lessened.
So I dug a little bit, and I decided to look into that 3D printed digital sundial to see how that works.
The simple answer: A lot of math that I probably don’t have time for.
Which gave me another idea. What if instead of trying to create the figures through the idea of using their silhouettes as POSITIVE space, what if I created holes in the figure in order to use the silhouettes as the NEGATIVE space of the image.
Here’s a brief example of my thought process
Basically, I want to have the entry points of the holes be towards the top to catch some of the rays there, but have those holes go through the whole figure. This will cause the light to create a shape WITHIN the shadow.
So I think this is a cool direction to move in with this project, I’m just not sure how I should go about making models that I could iterate upon. I could use Maya. I’m not sure if that’s the best way to go about this, but it’s definitely an option. Modeling a shape like this out of clay would be very difficult, so I probably won’t use modelling clay from here out. If you have any route suggestions please let me know.
The concept of my project is the same, “Something can be made from nothing.” However, the materials involved in my project now are very different.
So I actually have come up with a new idea for my light art project. I came up with this new idea when I was machining a mold for my MQP project. My MQP is to design an RC aircraft from scratch and we are making the entire aircraft out of composites this year so we have been doing a lot of mold machining. While I was in the lab I noticed the other machining tools that were being used and what they were making with them and thought it would be really cool if I could make something using those tools. I can now work in the shop and beginning with my new project.
I will be experimenting with the various types of metals and plastics, along with their sizing to see how the light reacts with them. I think that I am aiming to put together a single object with a single light source. I will also be playing around with the light source and how the object is oriented. Whether I will be using a small led or a larger light and how the object will be mounted and if it will spin/rotate. I want to make something naturally pretty.
I am very excited for this new idea. Below is a sample of an aluminum piece that I made (one of many).
Last week I got all the parts I needed to test out my force sensor and learned how to get it to work with a colored LED light. It is setup so that the more force that one puts on the sensor the more bright the light gets (these lights I had on me were just basic colored ones, so I couldn’t play with changing colors yet). Here are some images and a video:
light on with force
no force no light (for my project, I will likely have some default light color/brightness however).
link to short video, since pictures make it hard to show the brightness changing: https://youtu.be/EgSDkfKE3JI
For this week, I will try to focus on what lights I will be getting (such that I can change their color and could be placed under the lego platforms) and working on changing colors based on weights. If I complete this early I will try “testing” the lights with my prototype from last week to see how I can attach said lights to the platform in the best/most interesting looking way.
I welcome any suggestions in regards to the type of light(s) that would work best for this project.
My goal for this project is to create a light art piece that uses a single light source. And when the switch is off it is a very plain piece and then when the switch is on it is something entirely new. I wish to make a piece that captures the heart with unique emotion and the eyes with its beauty and strength.
Technique
Light Projection
Tools (Shopping List)
Mirrors
Glass (colored)
Light source
Clay
Cardboard/Styrofoam
Popsicle stick
Concept
The idea that nothing can be made into something. And even if you don’t see it at first a simple “switch” might change that.
Inspiration
My inspiration comes from my own curiosity with light projection.
I started by ordering a package of glowsticks of assorted colours, which arrived on Monday. I cut one open with a utility knife, and was able to extract the interior glass tube containing the fluorescent dye without breaking it.
I made a quick drawing in magic marker and charcoal of a campfire. Then I broke the glass tube, and added hydrogen peroxide to the dye. At first, it didn’t glow very brightly, which was kind of disappointing.
Campfire Sketch
I realized there were a few problems – the first was that the chemical that causes the dye to fluoresce didn’t mix very well with the red dye itself, so I had to work hard to keep them from separating. I found when I started painting that the pigment of the market had a much stronger effect on the appearance of the colour of the light than the dye from the glowstick. The other one was that the hydrogen peroxide I was using was a topical solution, which is not nearly as strong as the chemicals that come in the glowstick itself. (The next time I tried it, I used both chemicals from the glowstick, which worked better.)
Medium Lighting Campfire
I painted the glowing dye over the top of the campfire drawing, moved it into a darker environment, and pretty pleased with the effects. Then I moved it into an area of almost total darkness. The mix of orange showing through from the market and the greenish glow from the dye that hadn’t combined well with the glowstick pigment looked especially interesting in total darkness. I also found that areas that were completely filled in with a darker color of magic marker didn’t show the glowing pigment as well as I expected in any light.
Campfire in Darkness
Now that I had experimented with the logistics of painting with glowsticks a little bit, I decided to try something that required a little more precision. Since the hydogen peroxide also tended to make the markers bleed and I usually use gouche paint, which is water soluble, I also wanted to make sure that I wasn’t going to accidentally destroy the under-painting of whatever I end up working on.
I came up with the concept at about half past one in the morning, and I must have been feeling artsy at the time. I started with an inspirational phase and a related picture. I kept it relatively simple, since as I said, I wasn’t sure whether or not the chemicals would destroy the paint. I used blue glowsticks for the second picture I experimented with, and those had far fewer dye separation issues than the red glowstick had.
The goal was to paint a globe on the face of the watch, and cause only the words ‘too late’ to appear when the painting was in the darkness. Unfortunately, it was a bit difficult to get the glowstick dye to create a globe with any degree of precision – the chemcals are even thinner and more inclined to bleed than watercolours, so if I want to do anything with detail I will need to find a way to use a binder to thicken it without losing the glow. I also noticed that it’s difficult to paint over areas that have already been painted – for example, the most I could do was shadow the words in glow, not paint over them as an exact duplicate.
While I’m not necessarily unhappy with how the glowstick trials went (actually, I think the resulting pictures look kind of cool), I do want to look into getting phosphorescent pigments that I can mix with something like acrylic paint, because I want to try working with something that is thicker and has a permanent glow. Alternatively, I may experiment with glowstick paintings that use no underpainting at all and are somewhat indistinct or abstract, which would solve the bleeding and the not appearing over pigment issues.
Shopping List
Phosphorescent pigments (much cheaper)/paint (easier but more expensive) – Glowminex sells an assortment of glowing pigments for ~$7 an oz.
Acrylic paint/some other kind of pigment binder (if using pigments)
Larger canvas for final project.
If not using permanent pigments, rent a better camera – my cell phone does not do these pictures justice at all.
My maquette is a full size mock up on the guitar I’d like to use for this project. I’d like to incorporate a combination of ELWire, LED strips, and maybe some type of LED panel. I’m also planning to replace the pickguard with a clear plastic piece and illuminate it from behind.
Honestly, in the scope of 7 weeks (4 weeks now), I think I’d be content just to throw lights on it and call it a day, but if I have the time, I’d like to have some small programmed aspect to it. I’m also willing to simply mount any power supply and/or programming interface right on the front face of the body.
Since the guitar is currently annoying to play, I’m also using this project as an excuse to upgrade some of the hardware.
I decided to order my materials ahead of time but only some of them have arrived and others need additional prep work to be able to prototype with. Bolded are the ones that have arrived.
Shopping List:
Adafruit FLORA – Smaller version of the Arduino Uno, used for wearble tech. Easy to integrate if I decide to make my web more thread-y.
Raspberry Pi Zero – Needed a small form factor Linux that can communicate with the FLORA.
Raspberry Pi case & accessories so I can power it and keep it safe.
Wardriving USB Wifi dongle– Has additional scanning capabilities compared to a standard USB Wifi dongle (Can only see Routers/Access Points).
100pc ALITOVE Smart Pixel LEDs – Cheaper versions of NeoPixels. Hopefully will make this project easier to program. They require some soldering before I can use them for prototyping.
Fiber Optic Threads – Could be cool to integrate into the web.
More LEDs – The standard 2-pin ones in various colors. Just in case!
On the maquette itself, I started making what I would imagine the form would be for my Web of Things.
Didn’t have any sturdy rope so I used several loops of sewing thread instead.
The middle (currently the plastic lid of this morning’s Dunkin’ Donuts coffee cup) would be where the spider and all the electronics would be residing on top of. Keeps the threads in the center distributed.
The upside to this configuration is that it is very lightweight. I can easily knot more strands to the ends and expand upon it. On the downside, it’s pretty flimsy. The web tangles easily and the shape/form of the web doesn’t stay well. I will probably use lightweight wire as the base in future iterations. That way it can still be malleable and still have a “hangy-hangy” look to it.
Also really itching to use the FLORA I just bought, but I haven’t been able to prepare the NeoPixels. Luckily, the FLORA board has one already built-in. Booted it up with the sample sketch Adafruit provides, which flashes the primary colors for half a second, and then runs a color wheel.
REAL BRIGHT.
That’s ok though. There’s a library function that turns the brightness down!
Next, I played around with fiber optic cables with the current configuration. Strapped one side to the board’s light with a tie clip & an alligator clip and fed the other through the plastic lid. The fiber optic cables really wanted to keep their curled up form so it was very hard to get it to stay in the places I wanted them to.
Bad quality photo. Sorta works? You can see 2 dots, which are the ends of the cable.
Next week I’m hoping the Pi comes in so I can hook it up to the FLORA and get some cross-board communication working. That and making a more malleable web.
Here is a really rough design for the sculpture. For the actual project I want to use drift wood that will curve a little more than the twigs and branches that I used here. It will also be more dense at the base so there won’t be as much empty space and the wiring for the lights can be hidden.
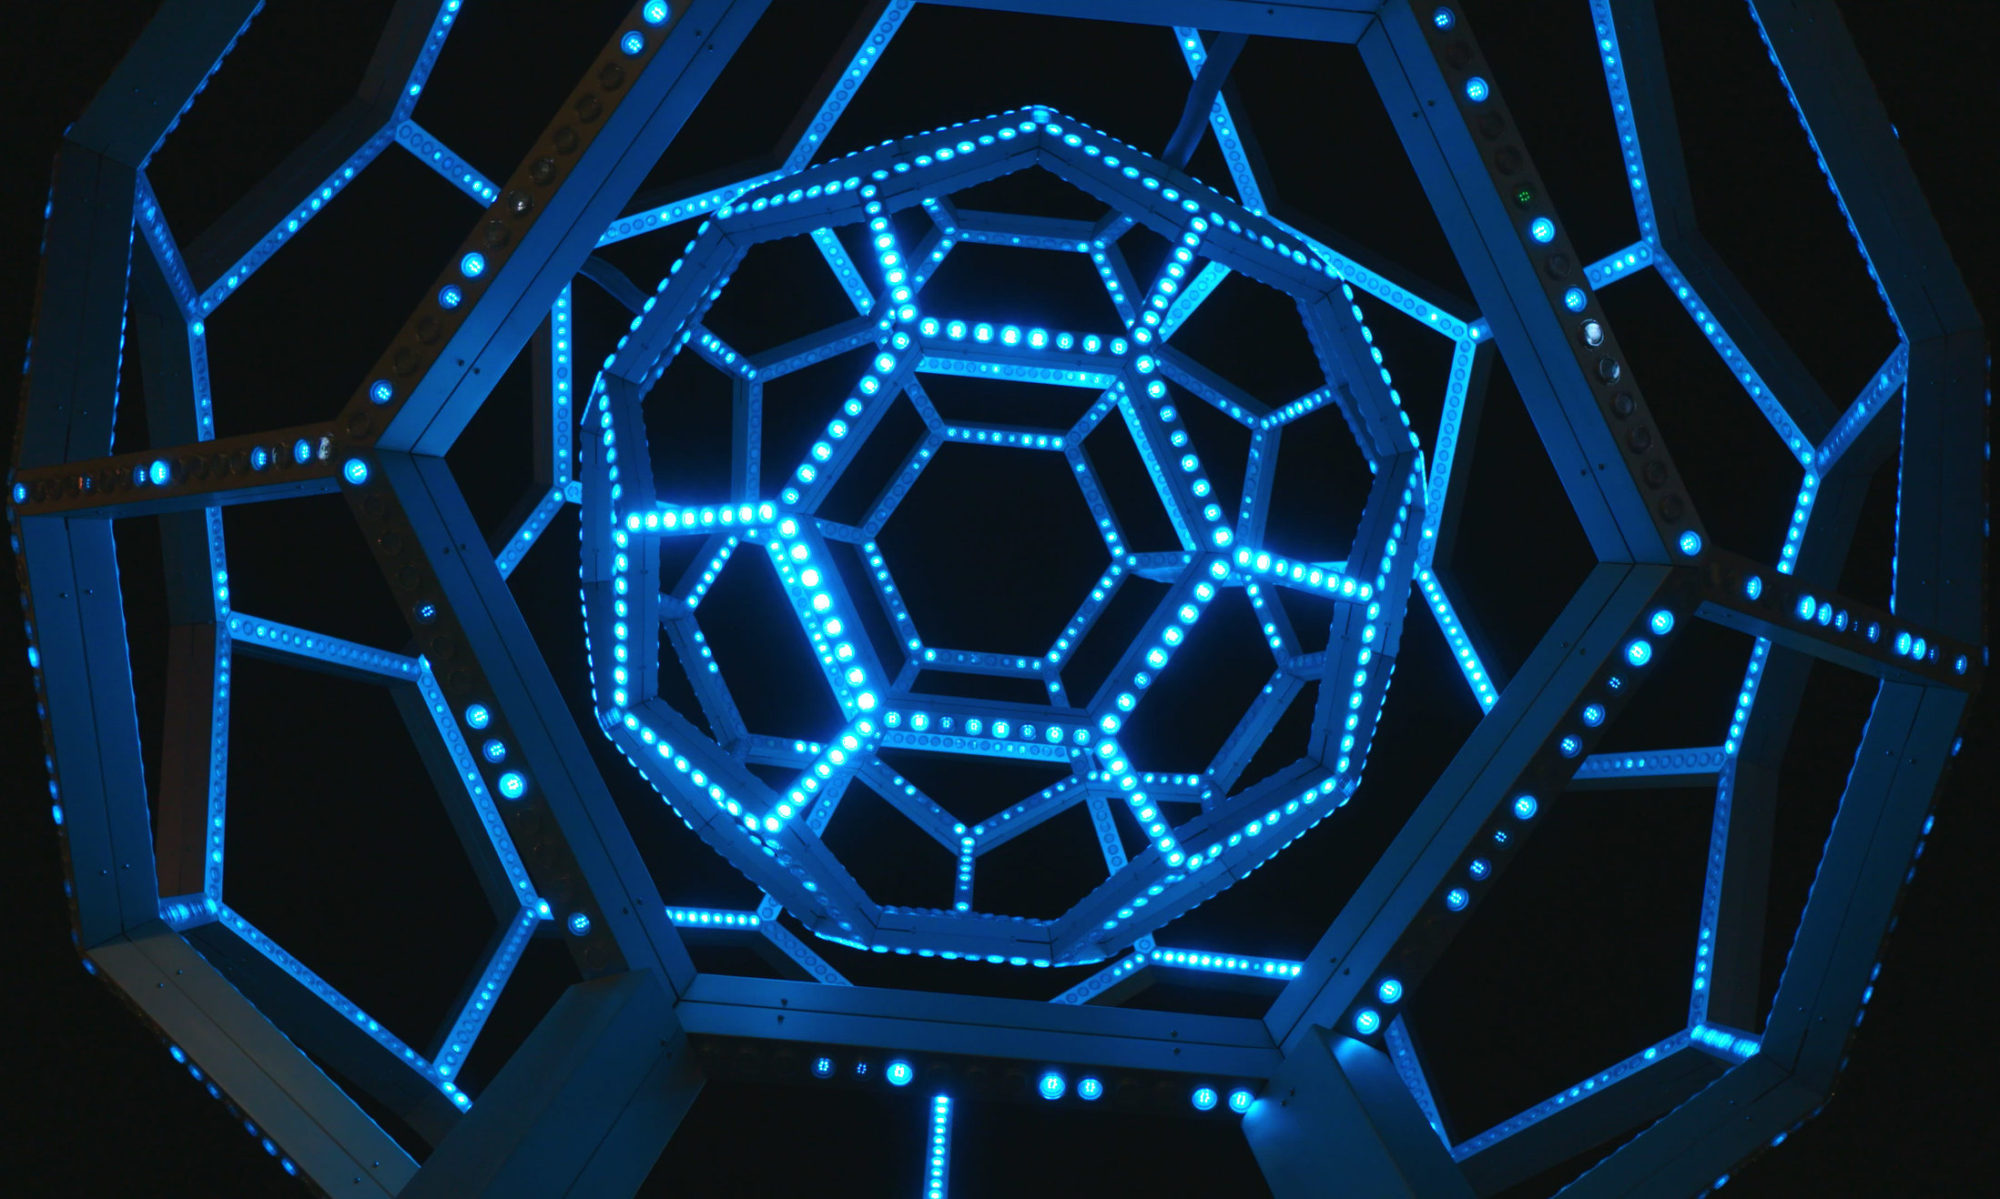
Hey everyone, this week I built a miniature model of my piece out of legos and did some looking into the type of parts I might need.
Here is a picture of said model, I tried using only transparent pieces.
If I commit to using legos for this as someone suggested I hope to get many clear pieces, like the platforms in the above picture, to build the structure out of. Instead of the dark semi-clear pieces you see here.
Here is my rough shopping list, I hope to get some suggestions from everyone in our next meeting as my search results have overloaded my with options and I am not sure what exact part or material is right for me.
Shopping List:
Force-sensitive resistor (or a few based on how many platforms I have for my piece which will probably be 2-6) https://www.adafruit.com/products/1075
The led lights that can have color changed
Any circuits/circuitboards/whatever I will need for the lights/resistor to function (very unfamiliar here)
Arduino software or something similar to create my program that will change the lights colors/brightness based on force
The building material used for the piece itself. I am leaning towards continuing with transparent legos and getting more of those so I can make my actual structure (which I am planning to be about the size of a desk lamp, nothing too large but large enough to hold more than what you see in my pictures)
I will probably add more to this list after the upcoming meeting as I hear our suggestions/discussions and as I do more research on these parts.
I decided to settle on my Sundial idea. With a couple of people already doing cool projects with Tech and LEDs, I thought it would be fun to try my hand at something slightly more interesting to me, which is the use of Shadows.
So, just as a sort of brief test of how the shadows would work with the shapes I wanted to make, I made some cutouts and used the flashlight from my phone to make shadows. In future tests, I’d need to use like a nice desk lamp, but I don’t have one, so I’m planning on grabbing one next time I’m out.
The cutouts:
So I tried to layer them all together in a triangle style like this:
Which didn’t really produce the effect that I wanted. So I’m gonna have to go back to the drawing board a bit. I’ll probably use more of a Y formation for the final version, but I need to find a nice way of combining the three silhouettes to make that work.
Also, the final version will likely be 3D printed, so I need to look into how I can go about using WPI’s 3D printing services (I tried asking some friends, but they’ve never used it, ha.) Worse comes to worst I’ll hit up Shapeways with some 3D models I make. The only issue is it would be harder to play with the actual shape between trials.
Shopping list/Useful Components:
– An actual light source.
– Potentially an Arduino setup that will allow me to rotate that lightsource around the piece.
– An Exacto-knife (for more cardboard trials)
– A pedestal for the piece to go on.
I’ll probably need more things, but that’s all I can think of at the moment.