LED Music Visualizer Final

EDIT: Fixed the images, sorry about that.

Here is a video of my final project result in action:

All the code for running the visualization can be found on GitHub.

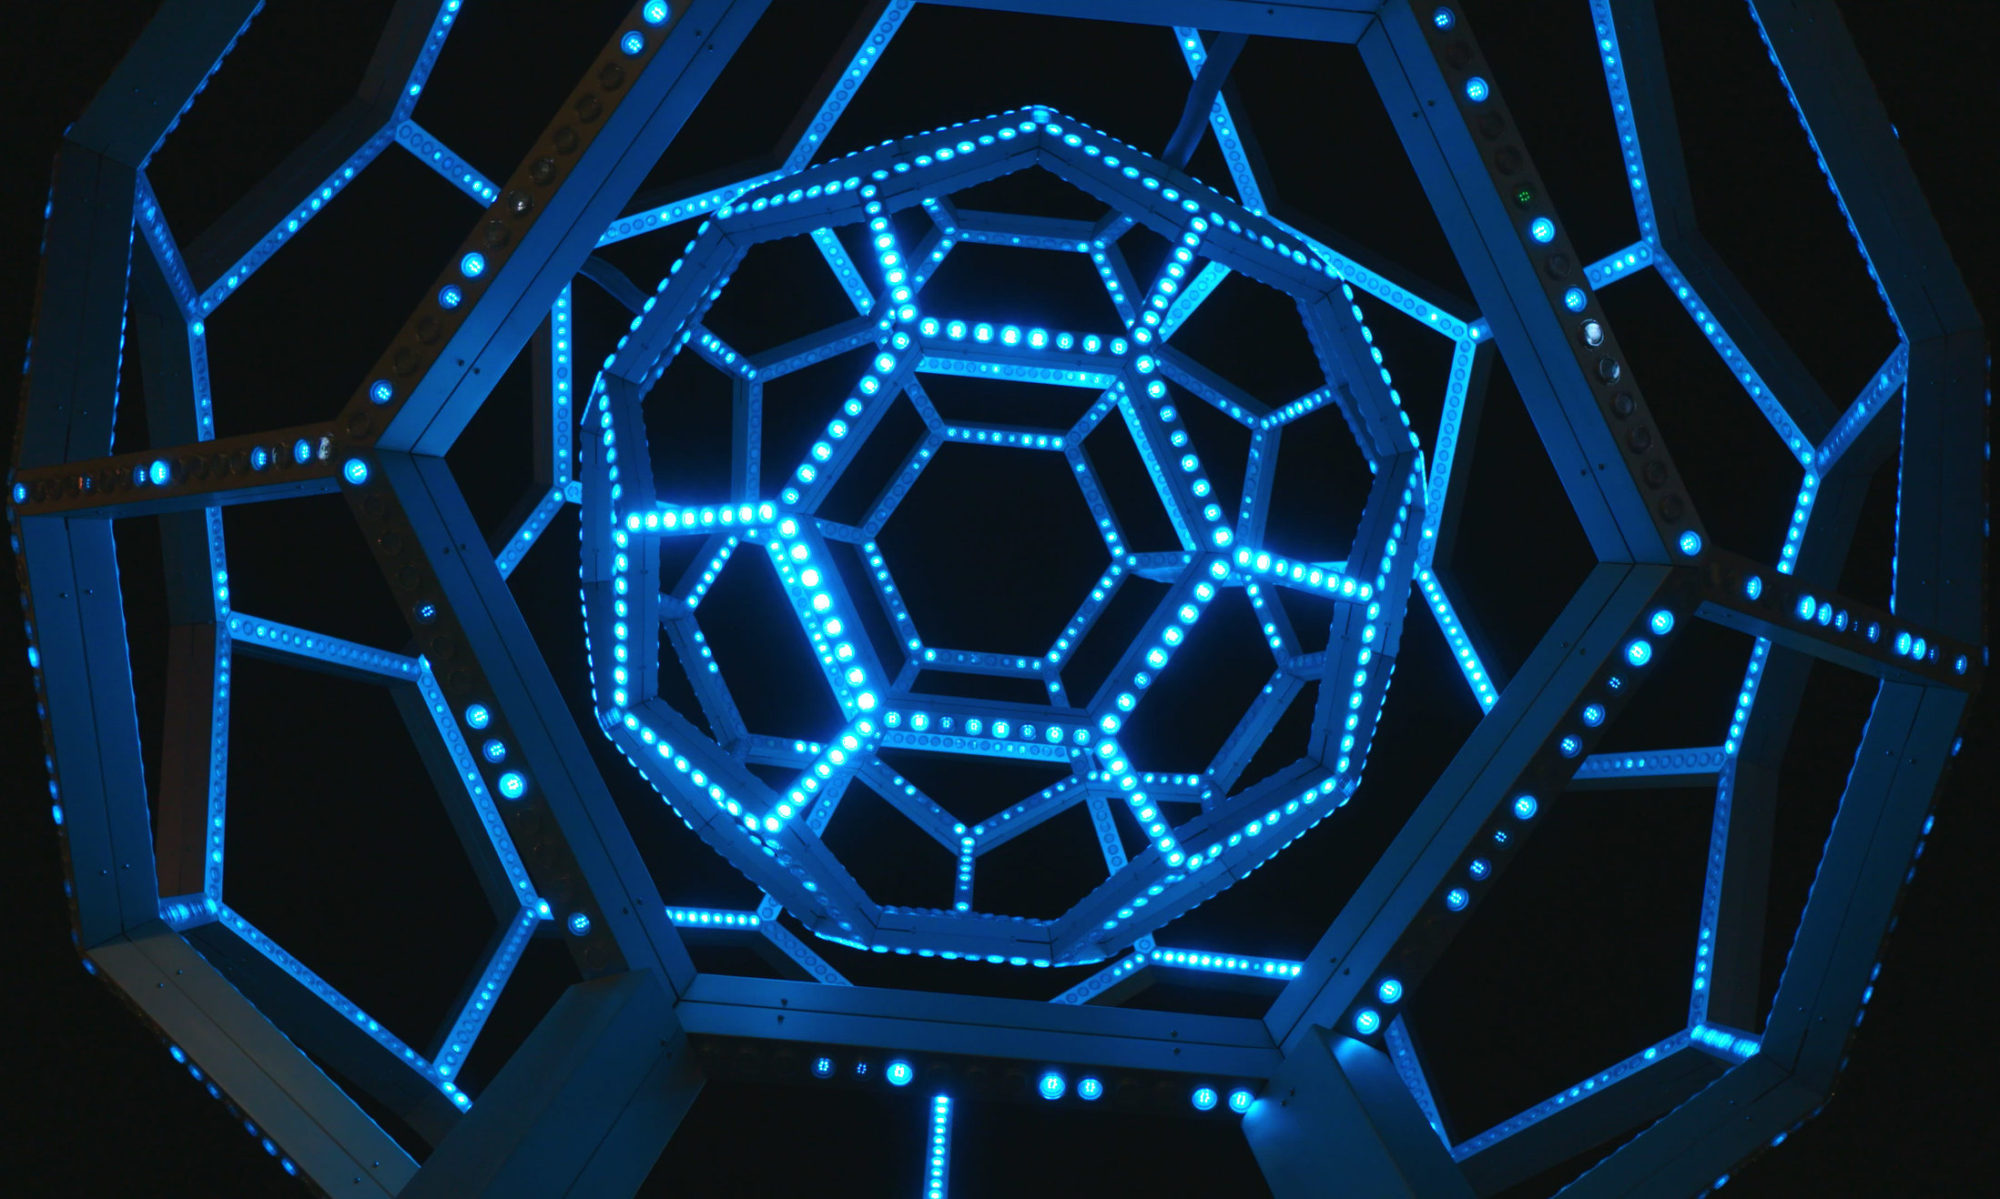
It’s definitely hard to capture the full range and intensity of the light with digital photography (and I’m not an expert photographer at all), so just trust me when I say it looks much better and smoother in person.

I’m very pleased with my result though. I think the white acrylic enclosure had pretty much exactly the effect I wanted of diffusing the light and making it more into light blobs instead of piercing light points. The effect is much softer and more pleasing.

The acrylic enclosure turned out well.
My crappy cardboard stand for the display.

The animation, too, turned out pretty well. In the end I had to time some of the blips to the notes by hand, since I wasn’t able to use the spectrogram to directly map them to the blip intensities. The only ones I had to this for were the keyboard parts during the lyrics that show in the corners, and the guitar solo. I think it turned out looking much better having done it by hand though. I also like that some parts of it have that hand-choreographed feel, but others still have that jumpy behavior of being associated directly with the audio.

Trusty Fadecandy.

I’m proud of the result! I had a lot of fun learning about audio processing and visualization and some refreshers on electronics which I hadn’t done in a long time. This project is also opening my eyes to all the cool potential future projects I could do with Fadecandy and other Adafruit products. I think I’ll definitely want to play around more with LEDs and light art in the future.

Progress

I’ve made some good progress since last week. I’ve mostly developed two areas of my project.

The first area is that I’ve improved the precision of the light blips a bit to more accurately correspond with the actual notes or sounds they’re supposed to. Before I had some issues with noise causing some of the blips to light up when they shouldn’t, so I’ve made the spectrogram a bit smoother and I’m able to track certain notes now a bit better.

The other area is that I’ve finally come up with a plan for the enclosure for the LED matrix. I’ve ordered some translucent acrylic plastic sheets, and the idea is to cut them and glue them together to make a nice flat diffuse surface for the light to come through. A sheet of acrylic will be mounted over the LEDs so that the glare you get should be reduced significantly. I tried diffusing the light using just some paper napkins, and it looks a lot better. You can’t even make out the individual LEDs any more, they blend together into really nice looking blobs of light. Hopefully the acrylic will provide the same effect, but be more permanent.

Sorry I don’t have any images or videos or anything for this week, but there isn’t much visual difference from last week, and I’m getting fed up using my phone camera. Next week once I have the final product done, I’m going to use some actual good camera equipment in a nice dark room to record the display, and I’ll use some actual video editing software to put the audio on it. Looking forward to seeing how it turns out!

Project Update

My project has come a long way in only a couple weeks. For starters, I’ve switched from using the LED strip to an LED matrix:

This has opened up so many more possibilities in terms of how I can display the visualization. My current design uses circular “blips” that increase and decrease in intensity to the beat and move around the matrix. It works pretty well. I’ve also managed to get the signal processing to be much more accurate, so now I can pick out individual notes and instruments with some degree of accuracy. This means that certain properties of the visualization, like the intensity of a blip or the rotation of the image can be easily mapped to the current volume of a note or the energy of an instrument. This mapping is manual, so I’ve decided to only make my visualization work for a specific song.

Here’s my very poorly recorded demo of what I have so far. Again, you can’t actually hear the song in the video, so I had to use YouTube Doubler again. You might have to refresh a few times to get the videos to sync up. I really need to get some kind of video editor…

Right now the visualization only runs for the first part of the song, but extending it to map to other parts of the song shouldn’t be too much work. I guess my to-do list right now includes:

  • Deciding whether I want a bigger display or not
  • Finding some material to create a cover for the LEDs (still too damn bright)
  • Finishing the visualization for the rest of the song

LED Music Visualizer Maquette

I’ve made significant progress on my project so far this week. Visually it doesn’t look like much at the moment since much of what I’ve been doing is getting the technical aspects of my project worked out. I’ve written all of the code that reads an MP3 file, processes it to create the spectrogram for the visualization, and then plays the audio while sending colors to the LEDs. It took a while to figure out how to properly process the audio so that you could see different frequencies at least somewhat clearly in the colors of the LEDs. Fadecandy definitely made controlling and wiring the LEDs a lot easier though (I was using Arduino initially and it was slow and difficult).

Here’s a quick demo of what I have so far (sorry you can’t hear the audio so I had to play it alongside a video of the song). In the video you can see I just covered the LEDs with some white paper napkins to diffuse the light a bit. I think I definitely want to have some kind of covering on them like this in the end, but obviously something a little more permanent. The bare LEDs are almost painfully bright and piercing, so diffusing the light they give off is definitely necessary.

And here’s a screenshot of the program running, showing some graphs that I’ve been using for debugging (click to enlarge):

I’m proud of what I have so far, but I think there’s a lot that can be improved. Right now the signal is much too noisy, I’d like for it to be easier to pick out individual sounds in the colors. For example, sounds like lyrics or piano tend to get drowned out by bass and drum instruments, I’d like for them to be more separate.

This demo also only uses a single LED strip. Next I’d like to try using an LED grid, and then after that maybe try and build my own custom LED setup. The software is pretty much done except for some tweaking of the signal processing parts, I just have to figure out how I want the hardware setup to look.

In terms of parts I still need to purchase, I already have the Fadecandy controller and power supply, so if I were going to change the LED setup to something more complicated I would need:

  • LEDs from AdaFruit (probably a few):
  • Some kind of material for covering the LEDS. I’m not too sure about this, but maybe just some kind of sheet of white plastic would work.

LED Music Visualizer

My project idea is inspired primarily from a project I found by Scott Lawson, where he outlines all the steps needed to make a simple LED strip that lights up in response to audio input. He also has a demo of the working product:

I’d like to at least partially emulate his project, although I’d like to modify the physical construction of the LEDs a bit. One idea I had was to change the layout of the LEDs to some two-dimensional shape:

The idea here is that each ring expanding outwards could be mapped to a specific band of the quality I’m trying to visualize. For example, the inner rings could represent higher frequencies or higher energies and the outer rings lower values.

Besides the shape I might also want to modify the look of the individual LEDs. I could leave them bare, which allows for the light generated to be more direct and impactful. I could also cover them in some kind of translucent enclosure, allowing neighboring LEDs to blend together and create an overall smoother image.

An alternative to the concentric rings of LEDs is to have a simple LED grid that displays any kind of image. If I did this, I would probably display something like what Micah Scott did for her Mixcandy project. She used an LED grid to show a simulated particle system that reacted to the music. This is a much less direct way of showing qualities of the music, but certainly just as interesting.

https://vimeo.com/96148909

I’ve always been intrigued by the idea of music visualizers because they try to take something like music, which is so ephemeral and hard to describe in other ways, and convert it into another form like images or light. I think using LEDs is a good approach to this problem of trying to describe music with light, because they can exhibit some similar qualities to music. I think it will be an interesting challenge trying to map qualities of music like energy, rhythm, tone, and mood to qualities of light like hue, brightness, and rate of change. Ultimately, I hope my project captures the feelings evoked by music in my visualization.

Micah Elizabeth Scott

Micah Elizabeth Scott is a light artist living in San Francisco who uses technology and everyday electronics to make works of light-based and interactive art. Many of her works use common objects and “hacking” otherwise inaccessible technology. She calls this “improvisational engineering”. One great example of this is her project Coastermelt, which follows her process of reverse engineering a Blu-ray player in order to manipulate the data on it to create images.

Forest” is a piece she worked on in 2015 in collaboration with the Toronto International Film Festival’s Kids digiPlaySpace. It consists of a large wall with holes and handles all lit from behind by constantly-changing lights. The idea behind the piece is that kids could play with the handles, modifying the light in interesting, natural motions in order to encourage play, curiosity, and collaboration.

Scott was also a key part in the creation of FadeCandy, an interface for easily controlling LEDs for light art. The project arose out of her own experience using LEDs for art. She developed the microcontroller as a way to make LED art more accessible to people. It is now sold by Adafruit.

Another major accomplishment of hers was two related works: “Zen Photon Garden” and “High Quality Zen“. Both are software simulations of light using a technique called raytracing. They allow the user to explore interesting geometry and patterns through their interactions with light.

I really enjoyed research Scott’s art, because I find the idea of using light and technology as an interactive art medium really interesting and exciting.

About Me

I’ve had a personal interest in making digital art ever since I started using computers. Back in middle school I used to love making geometric paintings in a program called Paint.NET:

I also used a program called Simply 3D to make cool 3D abstract scenes:

After that I started learning how to use photoshop to do simple photomanipulation and make space-themed paintings, which I’m probably most proud of:

After middle school I started learning programming, and my art turned to be more simulation- and interactivity-based. I started using Processing to make neat little simulations of fractals or physics or math concepts I was learning in school:

Followers

My dad was a math teacher at my high school, and ever since he was little he would pass his passion for the beauty of math to me. Programming (especially in Processing) was my way of exploring the concepts he told me about on my own. Processing was a great way to learn how to make these kinds of programs, since it was so easy and simple. Ever since then I’ve loved making neat little explorations of mathematical concepts in various programming languages, like this one on iterated functions. Often whenever I was learning a new language or platform I would make a Conway’s Game of Life simulation as a first project in it.

In terms of consuming art, I love music probably most of all. I listen to music all the time when I’m working or playing games or out walking. I like lots of different kinds of modern rock and electronic music. In the past when I did more digital painting I also followed a lot of artists who did similar things on DeviantArt, such as chriscold and Tobias Roetsch.

I’ve always been fascinated with properties of light, both as an artistic medium and a physical and mathematical concept. I took a 3D graphics course last year where we learning a lot about light physics and light simulation, and that definitely piqued my interest. Often even the most simple 3D scenes can be given so much life and beauty simply by adding a good light simulation. I learned a lot about a 3D rendering technique called path tracing from this post, and was inspired by the beautifully-lit images of fractals they produced.

In this practicum I think I’d like to combine my interest in light with my love of music to make some sort of light-based music visualizer that tries to capture the mood and tone of the music that’s playing. I think this will work well because like music, light has a innate ability to evoke emotion.