Final Update: Guitar

EDIT: If anyone looks back at this, here’s the entire photo album of the guitar project. It has some more test videos I didn’t show in class, and it’ll be updated as I continue working on it, I promise.

https://goo.gl/photos/n8DbF3Jr94vK7cAm6

Unfortunately, I also need to laser cut a new pickguard. After cutting the final cutouts for the hardware, I realized the holes were too large and I wouldn’t be able to use them for mounting.


I wish I could’ve gotten to everything I originally intended to, but I found myself too busy over the past two weeks, along with a couple unfortunate events. After missing my time slot on the laser cutter, I was unable to meet up with my brother so we could rewire all the hardware onto the new pickguard. This means the guitar is still currently unplayable, but it’s not far off from so.

The guitar itself still has the potential to be finished once I have the time, and it looks pretty good at the moment.

I was trying to capture some test recordings of the lights performing with music in the background, and I just happened to line up one of the codes with one of the songs by complete accident…. so I did it again a few more times.


If I had more time to work on this, the guitar would be playable, and I would have more permanent and more concealed way of attaching the strips to the guitar. On the lights aspect, I’d like to have code that’s specifically programmed to individual tracks to more accurately depict the tone and atmosphere of each song (I’d also like to have the rings wired up, but I fell short on wiring supplies). I think I’d also want to fabricate a small hard enclosure so I can mount the Arduino on one of the guitar’s faces while keeping it safe.
Guitar Update 2/16

Since last week, I’ve finalized the positions of where I want to place the LEDs. I’ve also decided against El Wire for the time being and I’m going to focus on Neopixel strips and rings.

Tape on the body shows lining of LED strips. I might also place strip along the top of the fretboard to make it continuous. The smaller pieces show the position of LEDs under the pickguard. I had to make sure they wouldn’t be obscured by the hardware above them.

I’ve also gotten more guitar parts than I have LED parts so far. Note the black tuning pegs and bridge.

Tomorrow I’ll be laser cutting the new pickguard out of clear acrylic. I have an outline traced in CAD already, so fitment after the cutting should be the only obstacle. A friend also suggested I can etch/sand a pattern into the acrylic to make an image, which I’ll be testing as well.

As soon as I get the Arduino, I have a lot of setup and programming to experiment with, so hopefully I’ll have a decent rig by next class.


Guitar Update 2/9

Most of my time has been spent on researching items to order. For the most part, most of my visions haven’t changed, so my plans for the guitar include a single LED strip running the length of the guitar and around the body, an acrylic panel to replace the pickguard, and a small number of LEDs beneath the panel.

The one aspect I may not implement is EL Wire outlines. I’m hesitant to place wire that’s going to be placed along features that may be adjusted in the future.

A quick mockup of El Wire on the pickguard. Note the proximity to screws that I’d want to avoid

On the other hand, since my brother and I had already done some research, I have some new guitar parts ordered, most of them colored black.

Over the next week, I’ll be figuring out how much LEDs I should be ordering and mapping out the pickguard shape so I can laser-cut a new one out of acrylic. I’ll also be spray painting one or two parts that aren’t changing on the guitar.


Maquette: LED Guitar

My maquette is a full size mock up on the guitar I’d like to use for this project. I’d like to incorporate a combination of ELWire, LED strips, and maybe some type of LED panel.  I’m also planning to replace the pickguard with a clear plastic piece and illuminate it from behind.

Honestly, in the scope of 7 weeks (4 weeks now), I think I’d be content just to throw lights on it and call it a day, but if I have the time, I’d like to have some small programmed aspect to it. I’m also willing to simply mount any power supply and/or programming interface right on the front face of the body.

Since the guitar is currently annoying to play, I’m also using this project as an excuse to upgrade some of the hardware.

Link to image slideshow: https://docs.google.com/presentation/d/1jW91ZdOs5rgZfO9O-DzWNBFbzvHfRYy7SBoAD2k5j74/edit?usp=sharing

**The string is a crude mockup of likely EL Wire locations, while the tape around the body and headstock are likely LED strip locations

Quick shopping list:

  • EL Wire
  • LED Strips
  • power supplies
  • Acrylic sheet(s?)
  • adhesive strips
  • Guitar parts

Project Ideas (Collin)

At the moment, I’m struggling between several ideas, debating feasibility, logistics, and overall end product.

The first is more about a design/simulation. I’d like to design the lighting show for a music performance, focusing on a single song or two. There are softwares that exist for this task, and I believe the final product would be a 3d rendering of the show.

A screenshot of such a software

The second involves adding lighting elements to something in my apartment. I might try running lights throughout my bedroom to create the TRON-esque atmosphere and then program the lights to a set pattern alongside music or to react to music.

The follow up to this would be to add lighting on one or more of my guitars. This would fit better than an entire room if I were to have the same programming intentions

Along the lines of this, but a lil’ less awesome

My third idea involves clear plastic/acrylic sheets. It’s very simple to light these from the side with LEDs and I could try different shapes to create a 2D image. I can also play around with different color plastic and different color LEDs for various effects.

Maybe a combination of these and Steven Knapp’s work

Artist Overview: Dale Chihuly

Not directly a light artist, Dale Chihuly specializes in glass art. Most of the pieces are created by glass blowing techniques. However, there is one collection of his work, titled “Chandeliers” that more fits the bill.

Being translucent, glass is incredibly easy to turn into a light source. Just a few light sources arranged properly can allow one of Chihuly’s pieces to radiate color and light in any direction.

Since Chihuly has countless individual pieces with basic names (e.g. “Scarlet Icicle Chandelier” or “Blue Icicle Tower”) that are all meant to fit together in an environment, I needed to focus on entire exhibitions of his work.

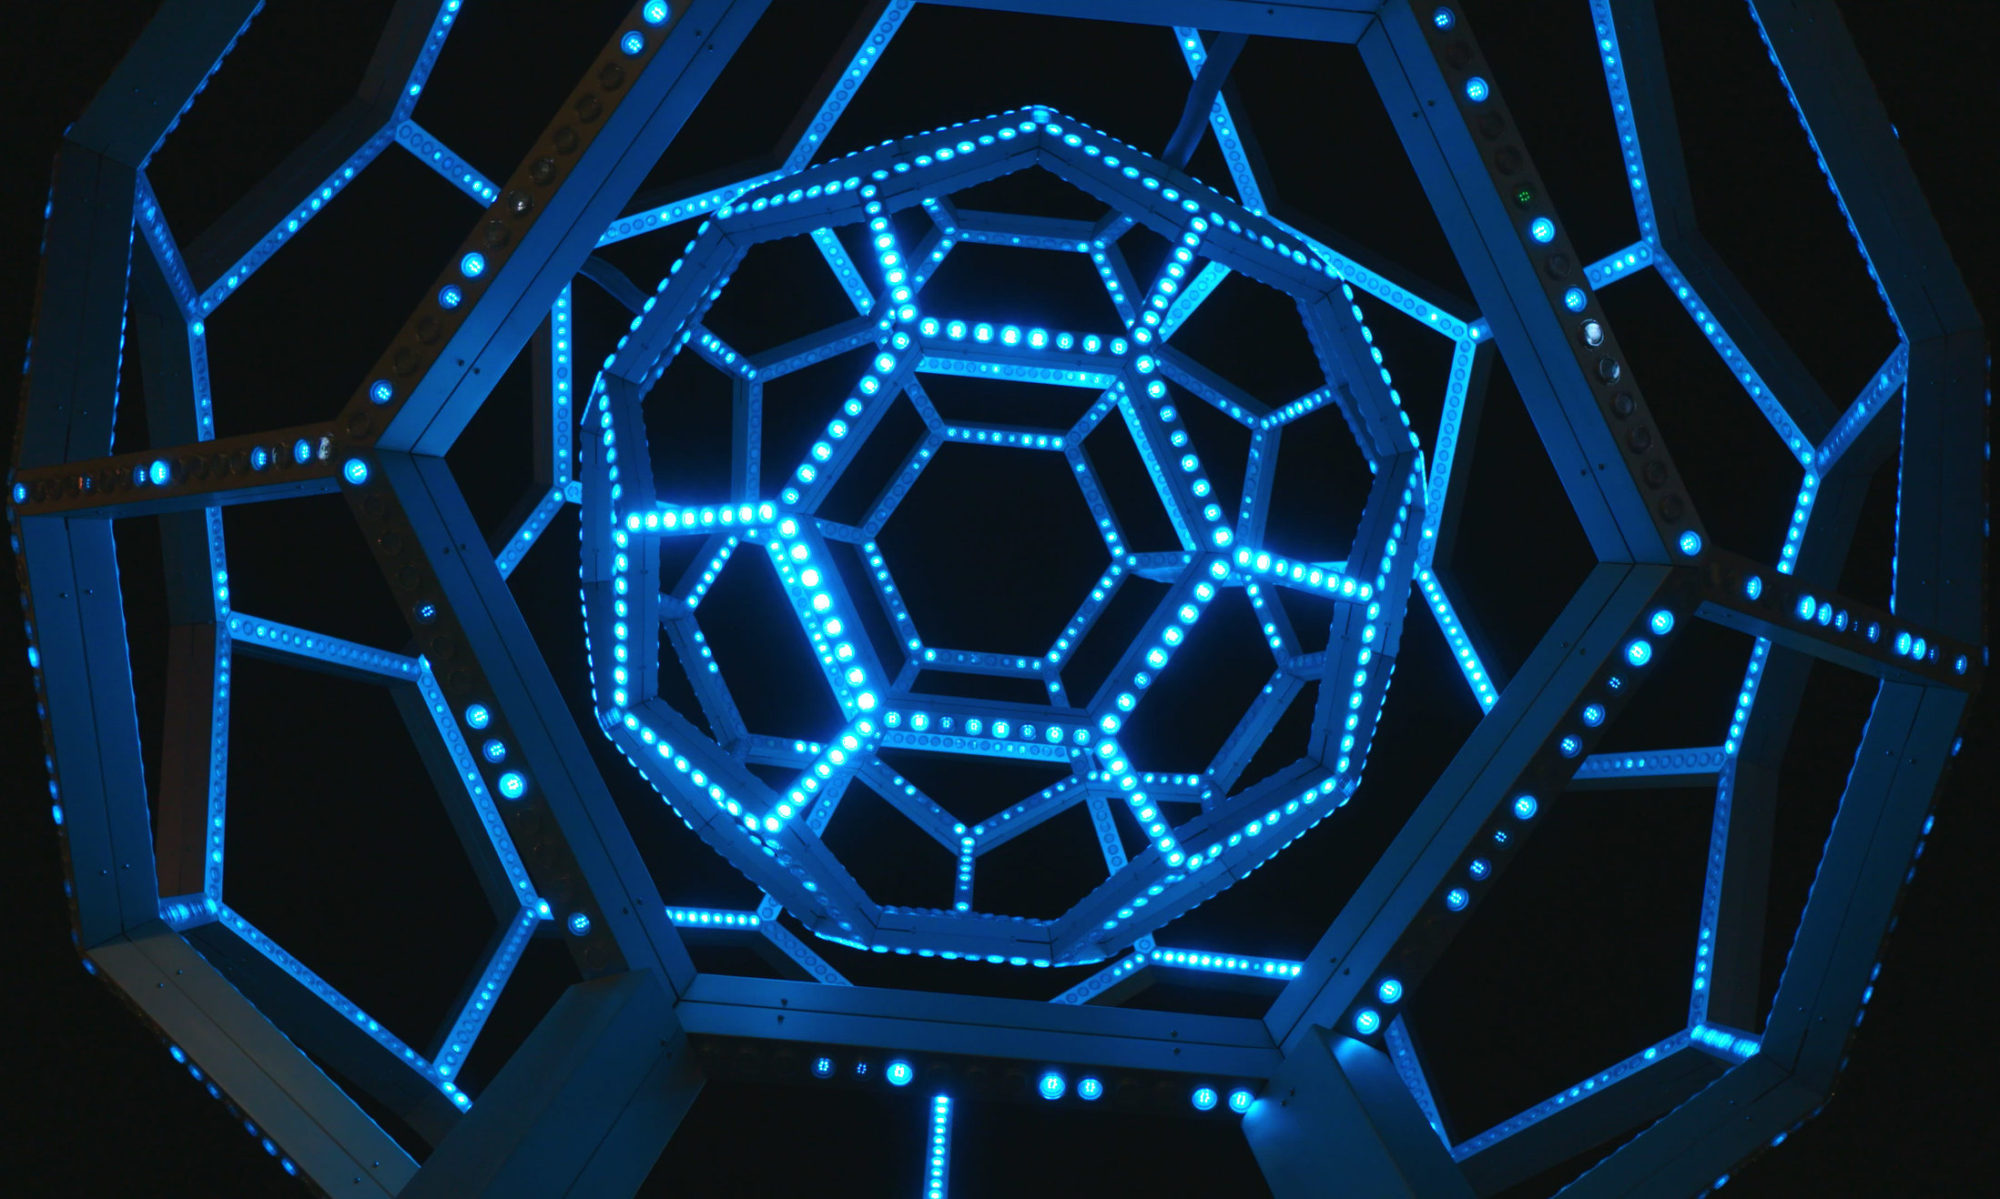
From his Chandelier’s (and later Chihuly over Venice) collection, a more experimental collection to test the interaction of Chihuly’s new glass forms with our known world.


From Through the Looking Glass, Chihuly’s idea of creating a new world for people to step into.

From Garden and Glass, a collection that encompasses a variety of Chihuly’s work which is placed among a natural environment.


From his beginnings, Chihuly has always wanted to create new and exciting pieces that look unique. He is constantly testing the limits of glass forming processes, and thus his works tend to take more organic or sharp shapes. When placing his work in exhibits, this tends to create surreal environments that can feel like entire new worlds.


Collin Chen Bio

Hi everyone, my name is Collin!

I’ve been called a car guy, I’ve been called a gaming nerd. I also love to play soccer and toss a disc around whenever the opportunity arises. With the wide variety of interests and hobbies I have, it’s difficult to settle on a single path. I feel that I am above average with most of these hobbies but can’t hold a candle to the respective professionals or experts.

Starting in middle school continuing on throughout high school, I drew cars in my free time, first from a direct side profile then from more proper angles. This is a brief history of my work:

My first completed drawing, heavily influenced by the Need for Speed games I was playing at the time

From here, I began taking images of actual cars from the internet, printing them out, and ‘re-magnifying’ them.

This was completed about 2 years later, I believe this was put on display at a local art store for a month or two
First complete drawing at a new angle. Once I finished this, it opened the floodgates

My personal favorite
Two WIPs and the images they’re based on

As of lately (about 3 years or so), my artistical talent has been  mainly expressed through playing music. I am skilled at piano, guitar, and bass guitar. I also picked up a drum kit on a whim over this past summer. I’m a HUGE fan of Muse. They’ve been my favorite band of all time ever since I discovered them in 2011 and also inspired me into picking up the guitar a year later. I was extremely happy to be able to see them live twice for their past two albums. Over this past summer, my brother and I also began to record some Muse covers (none of which are out there on the net).

Not long after I began watching Muse’s live performances (a principle element of the band) on the internet, I started to take note of the light and laser shows they implemented. With their songs comprising a wide variety of moods and styles, the different atmospheres that the show designers create throughout the show are incredible. It was this that lead me to some AREN courses(hoping to pursue a minor, was originally a double major) and to take this humanities practicum.