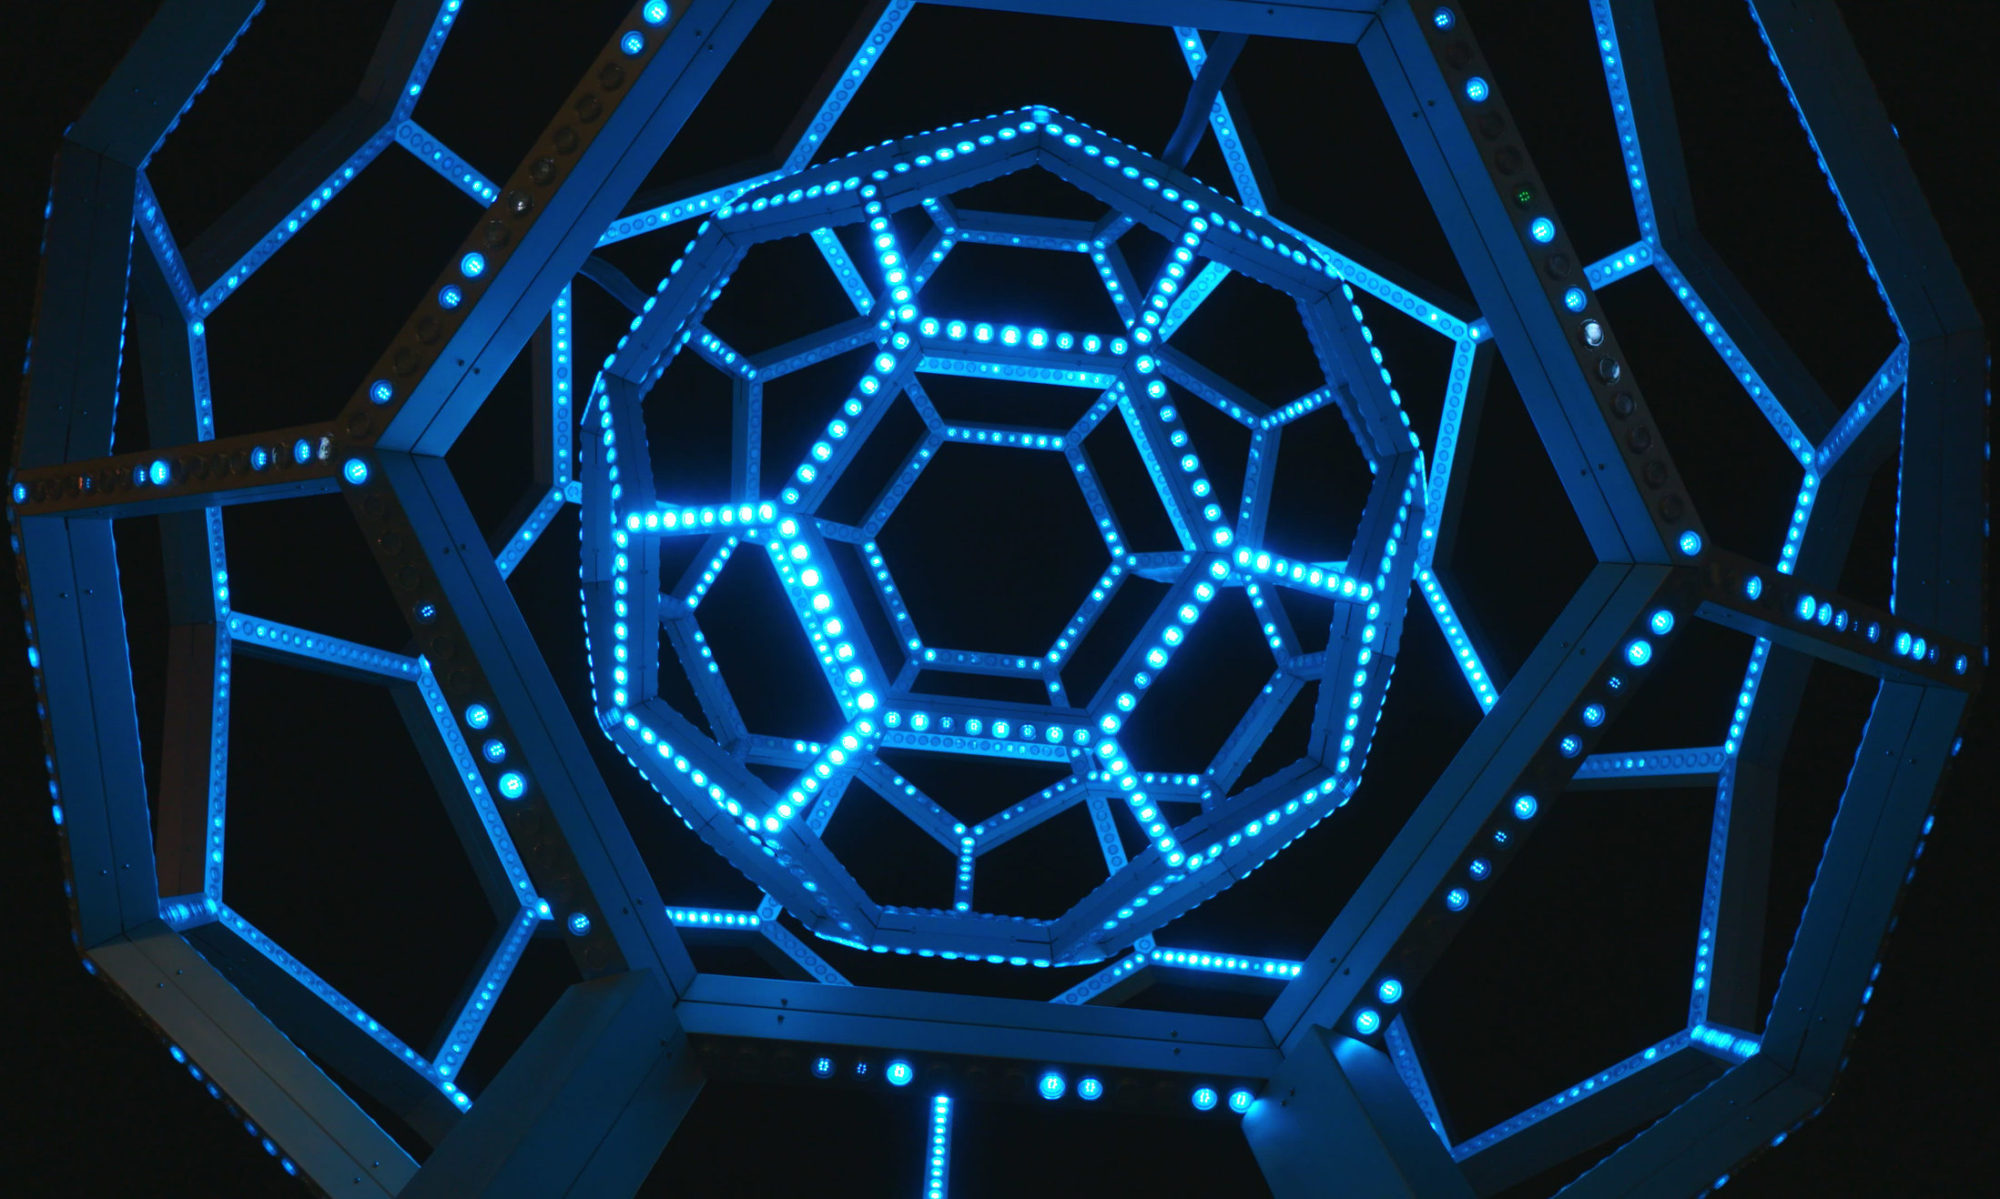
So, The Sphinx’s Sundial is a bust.
I got some acrylic and laser cut it into the shapes that I needed, and once I put everything together, nothing worked the way I wanted it to ‘-.-
Breakdown of why I think it failed:
Let’s start with how I went about doing this.
Materials:
– Opaque Red Acrylic .125″ thick
– Mirror Acrylic .125″ thick
– Hot Glue
So, I was initially going to 3D print the inside… BUT THEN I LEARNED ABOUT MIRROR ACRYLIC AND IT SOUNDED LIKE A MUCH FASTER SOLUTION THAT COULD HAVE BEEN SO MUCH BETTER (and I guess if I had worked with it enough it may have?)
I laser cut out the silhouettes as well as the holes for the sunlight to enter out of the red acrylic. That looked: Amazing. Like really clean. Laser cutting is really cool.


Like look at how clean those are. I’m really happy about them.
NOW. FOR THE THINGS THAT ARE IMPORTANT TO NOTE ABOUT LASER CUTTING. HEED MY WARNINGS:
– Laser cutting is very precise, yes. But make sure the shapes you cut are the proper dimensions! Acrylic is REALLY HARD TO BREAK. I messed up the measurements on some of my inner mirrors, and so I had to re-break them, since Washburn was closed at that point.
– Make sure that you label the pieces if you’re making a bunch of things that need to fit together like a puzzle. I did not do this. This was a grave error. I accidentally confused some of my pieces with other pieces.
So, that being said. I believe the reason I failed was the inner network of mirrors. It’s kind of a mess.

Now, what I did for this was laser cut a bunch of small 1″ x 1″ squares so that I could arrange them in a more versatile manner. This would have been fine if life was the same as Maya or some other 3D modeling software. Fun fact: It’s not. What wound up happening is that just enough gaps wound up happening in each tunnel for all of the light to escape before it reached the other side.
If I were to do this project again with infinite time and whatever resources I wanted, I would keep the laser cut exterior because that looks super clean. Not much to improve there. The inside however, I’d like to change it from laser cut acrylic to some sort of hollow, bendable, reflective tubing. I think that would be a nice, sealed, easily shaped material to use. I think that would have fixed a lot of my issues.
THAT BEING SAID: THE PROJECT ITSELF WAS NOT ENTIRELY FRUITLESS.
I’m really proud of this project simply because I went really far out of my comfort zone and I stuck with it. If I’d done something digital with some stuff I’d worked with before and just did whatever, I feel like I wouldn’t have done nearly as much experimentation and wouldn’t have learned nearly as much.
I knew that the project was going to be difficult as soon as I started working with it, and if I had the time and resources to go for one more iteration, I think I may have cracked it? But alas, this last iteration was pretty costly :/. Fun fact: Acrylic is expensive. I got really lucky that I got the price I got.
Anyway, if it weren’t for this project, I would never have tried 3D Printing. I would never have tried Laser Cutting. Both of these are things that I’ve always thought were cool, but super inaccessible to a non-hardware guy like myself. But it turns out they’re actually really easy and very effective if you do them properly.
Thank you for giving me the space to explore this design problem. Alas I couldn’t solve it in the time frame, but I appreciate the assistance I received along the way.


