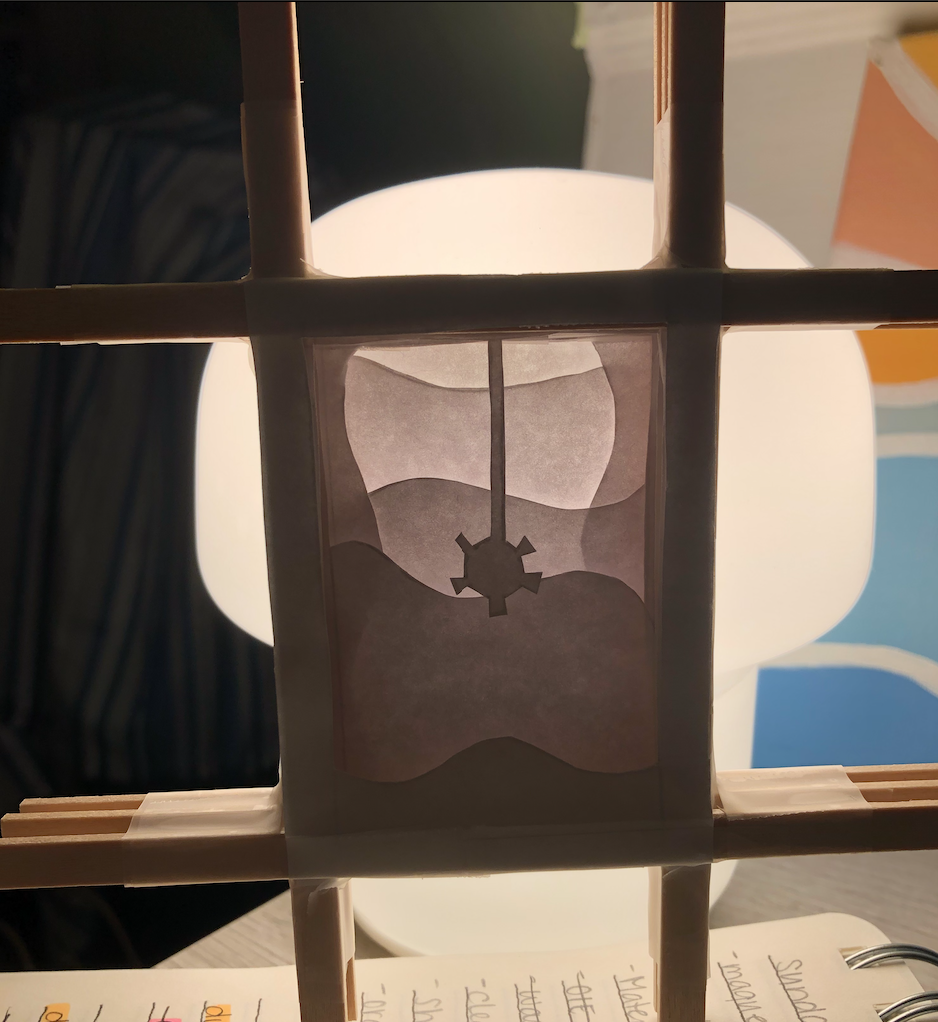
In order to get a good idea of how I would structure a cut paper light box, I started by drafting out a small scale version. The model is about 3″x2 and 1/4″, and is separated by the same wooden sticks i currently plan to use for the final version.
For this version, I didn’t have a particular design in mind, but rather was working on what I could do with layering. It has 7 layers, each with the wooden stick between it and the next layer. I ended up just using some scrap printer paper and scotch tape to assemble it, cutting out each layer with an x-acto knife.
Based on the sample, I have developed a list of things that would be useful for this project.
Supplies:
- Cardstock paper
- Multiple X-Acto blades
- Scissors
- Cutting mat
- Ruler
- Display frame
- Spacers for each layer
- Thin foam board
- Glue
- Tape
- Strip Lights
- Larger light bulb source
As for my plan for the rest of the term, I plan to keep practicing for a little bit longer. I need to get more comfortable with detail work, then I can move on to developing a plan for my theme and full work.
I think it is a really good idea to keep practicing before you move on to the final project, cutting small details out of the paper with an exacto knife is very challenging, but with some practice you’ll be able to do it!
Your initial work looks really good already! I think its cool that with just computer paper, there are different colors and it already looks three dimensional, so I am excited to see your final piece of work!!
This maquette looks great! It’ll be interesting to see how light placement and colors might affect the piece!
This is a nice maquette. I’m interested by the wooden support structure you’ve devised. It has a nice look to it.
As far as the paper cutting goes, you may also want to experiment a bit with different weights of paper/card stock to find the ideal combination of translucency, stiffness, and ease of cutting. You might also want to look into other related materials like vellum or mylar sheet.