Maquette: Proof of Concept & Visual Planning
Due to scheduling and my upcoming Army field training (April 10–13), I wasn’t able to visit any actual stained glass yet. Instead, I created a maquette using the dorm windows in my room to prototype my photo techniques and explore how different framing styles affect the perception of light and structure.
Project Concepts Recap
Concept 1: Stitched Window Composite
Photographing each stained glass panel individually and digitally stitching them together to form a complete image that would otherwise be impossible due to architectural obstructions. This technique aims to highlight detail and give viewers the scale and complexity of the full window system.
Concept 2: Isolated Window Illumination
Photographing the entire stained glass arrangement in one frame and editing the surrounding architecture into near-complete blackness. This makes the windows “float” in a dark void, drawing full attention to their light and color, much like Powell’s dramatic, atmospheric compositions.
Maquettes
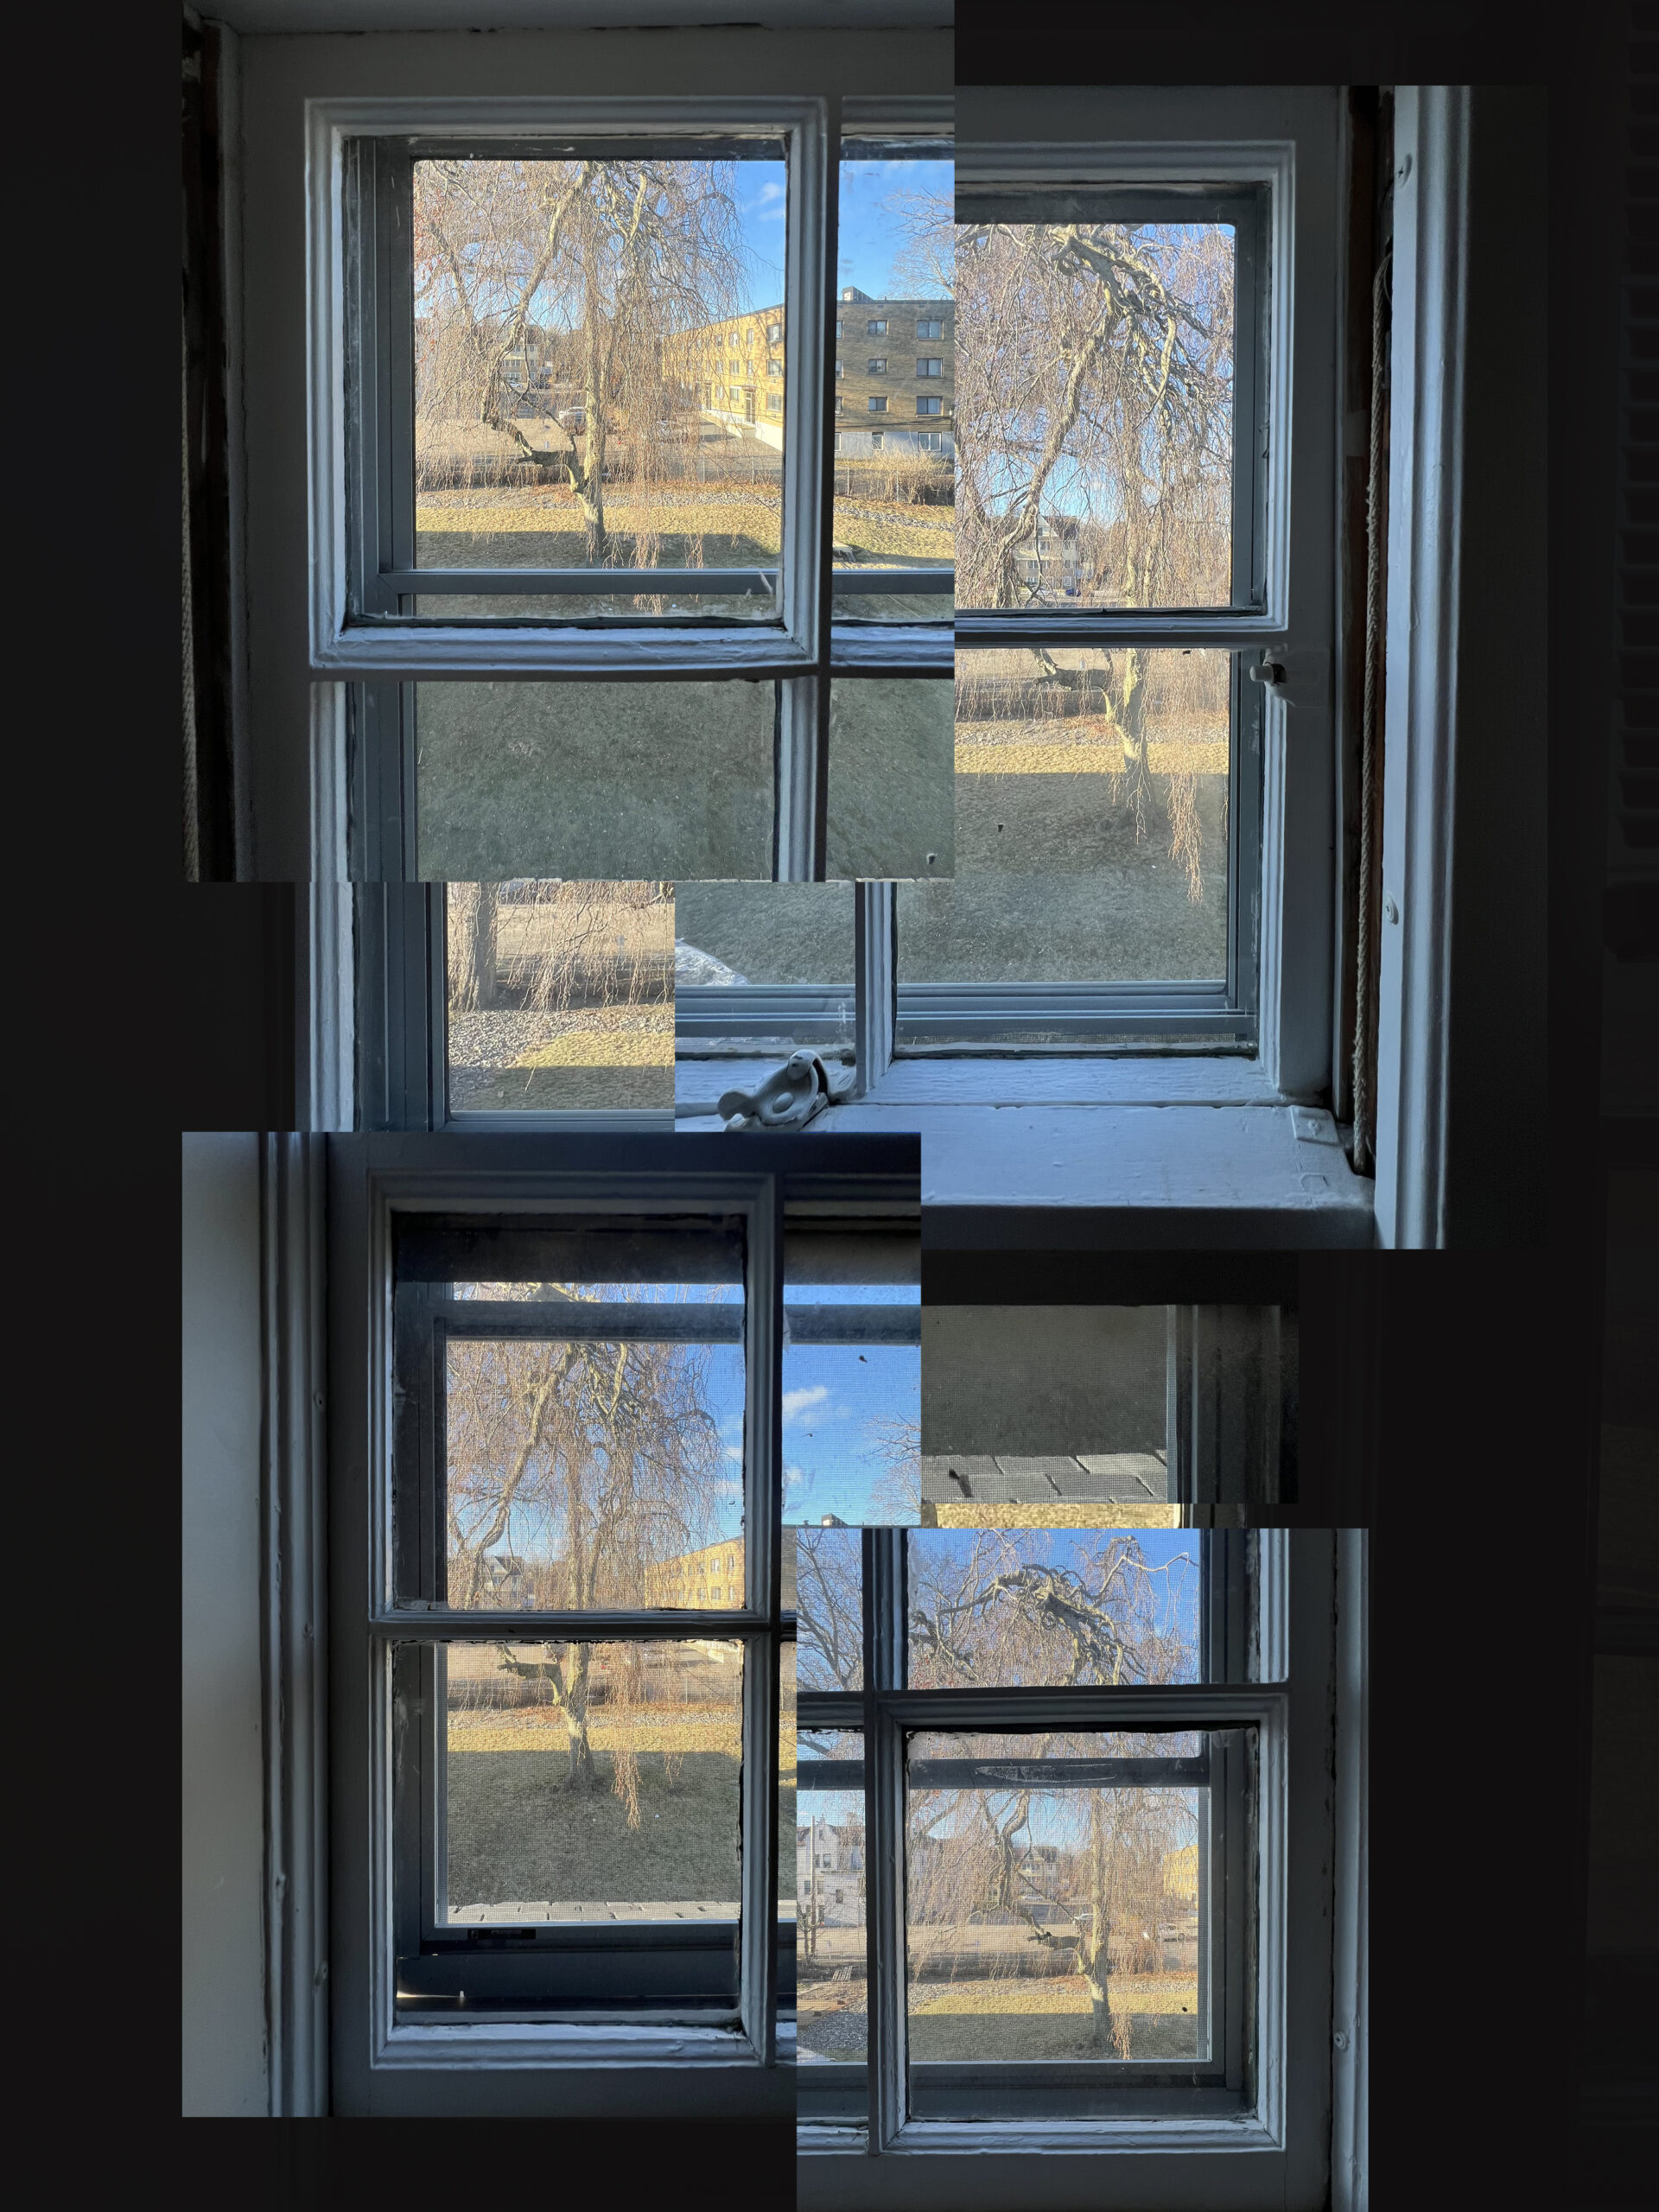
Maquette 1 is a layered collage made from multiple images taken of the same window from slightly different perspectives. This tests the potential of compositing images to create a more dynamic and large-scale effect, similar to my Concept 1: Stitched Window Composite idea. I am hesitant to pursue this style because I don’t want to lose any detail from the windows.
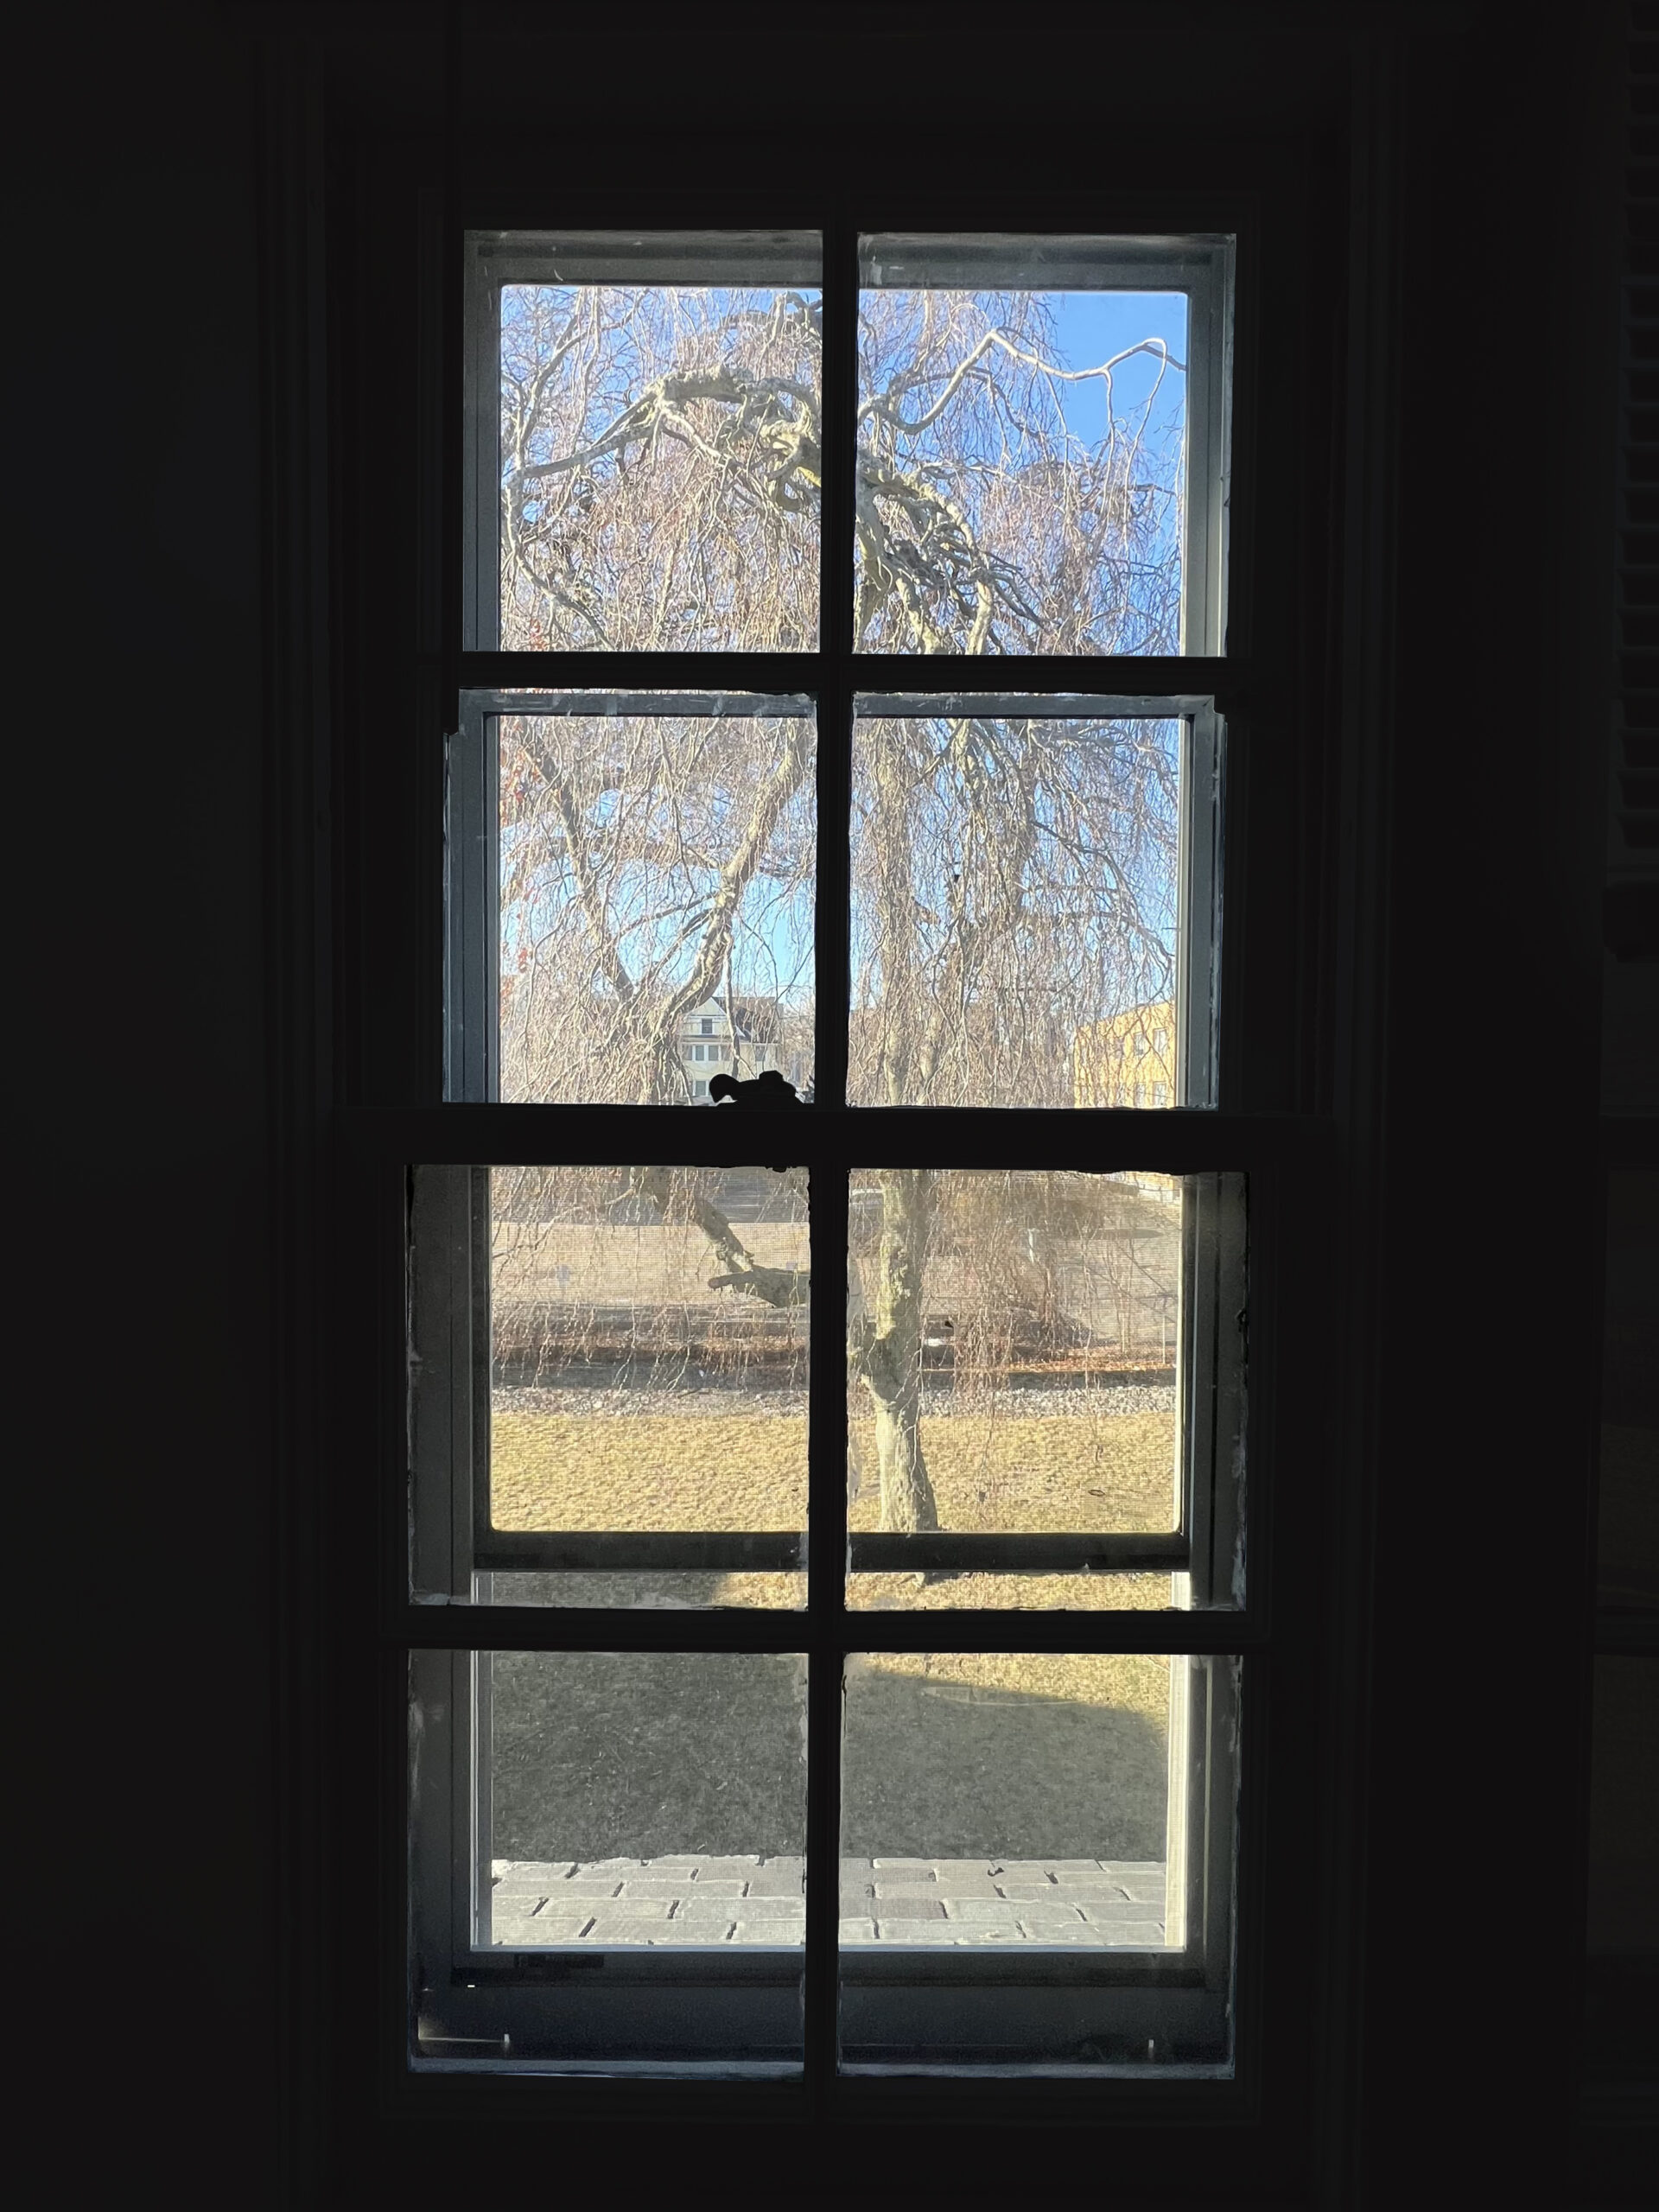
Maquette 2 is a single, head-on photo of the window. The only issue with pursuing this style is that, at the actual site, a staircase blocks the windows, so I would have to take close-ups and try to stitch the photos together the best I could. Still a viable option, though.
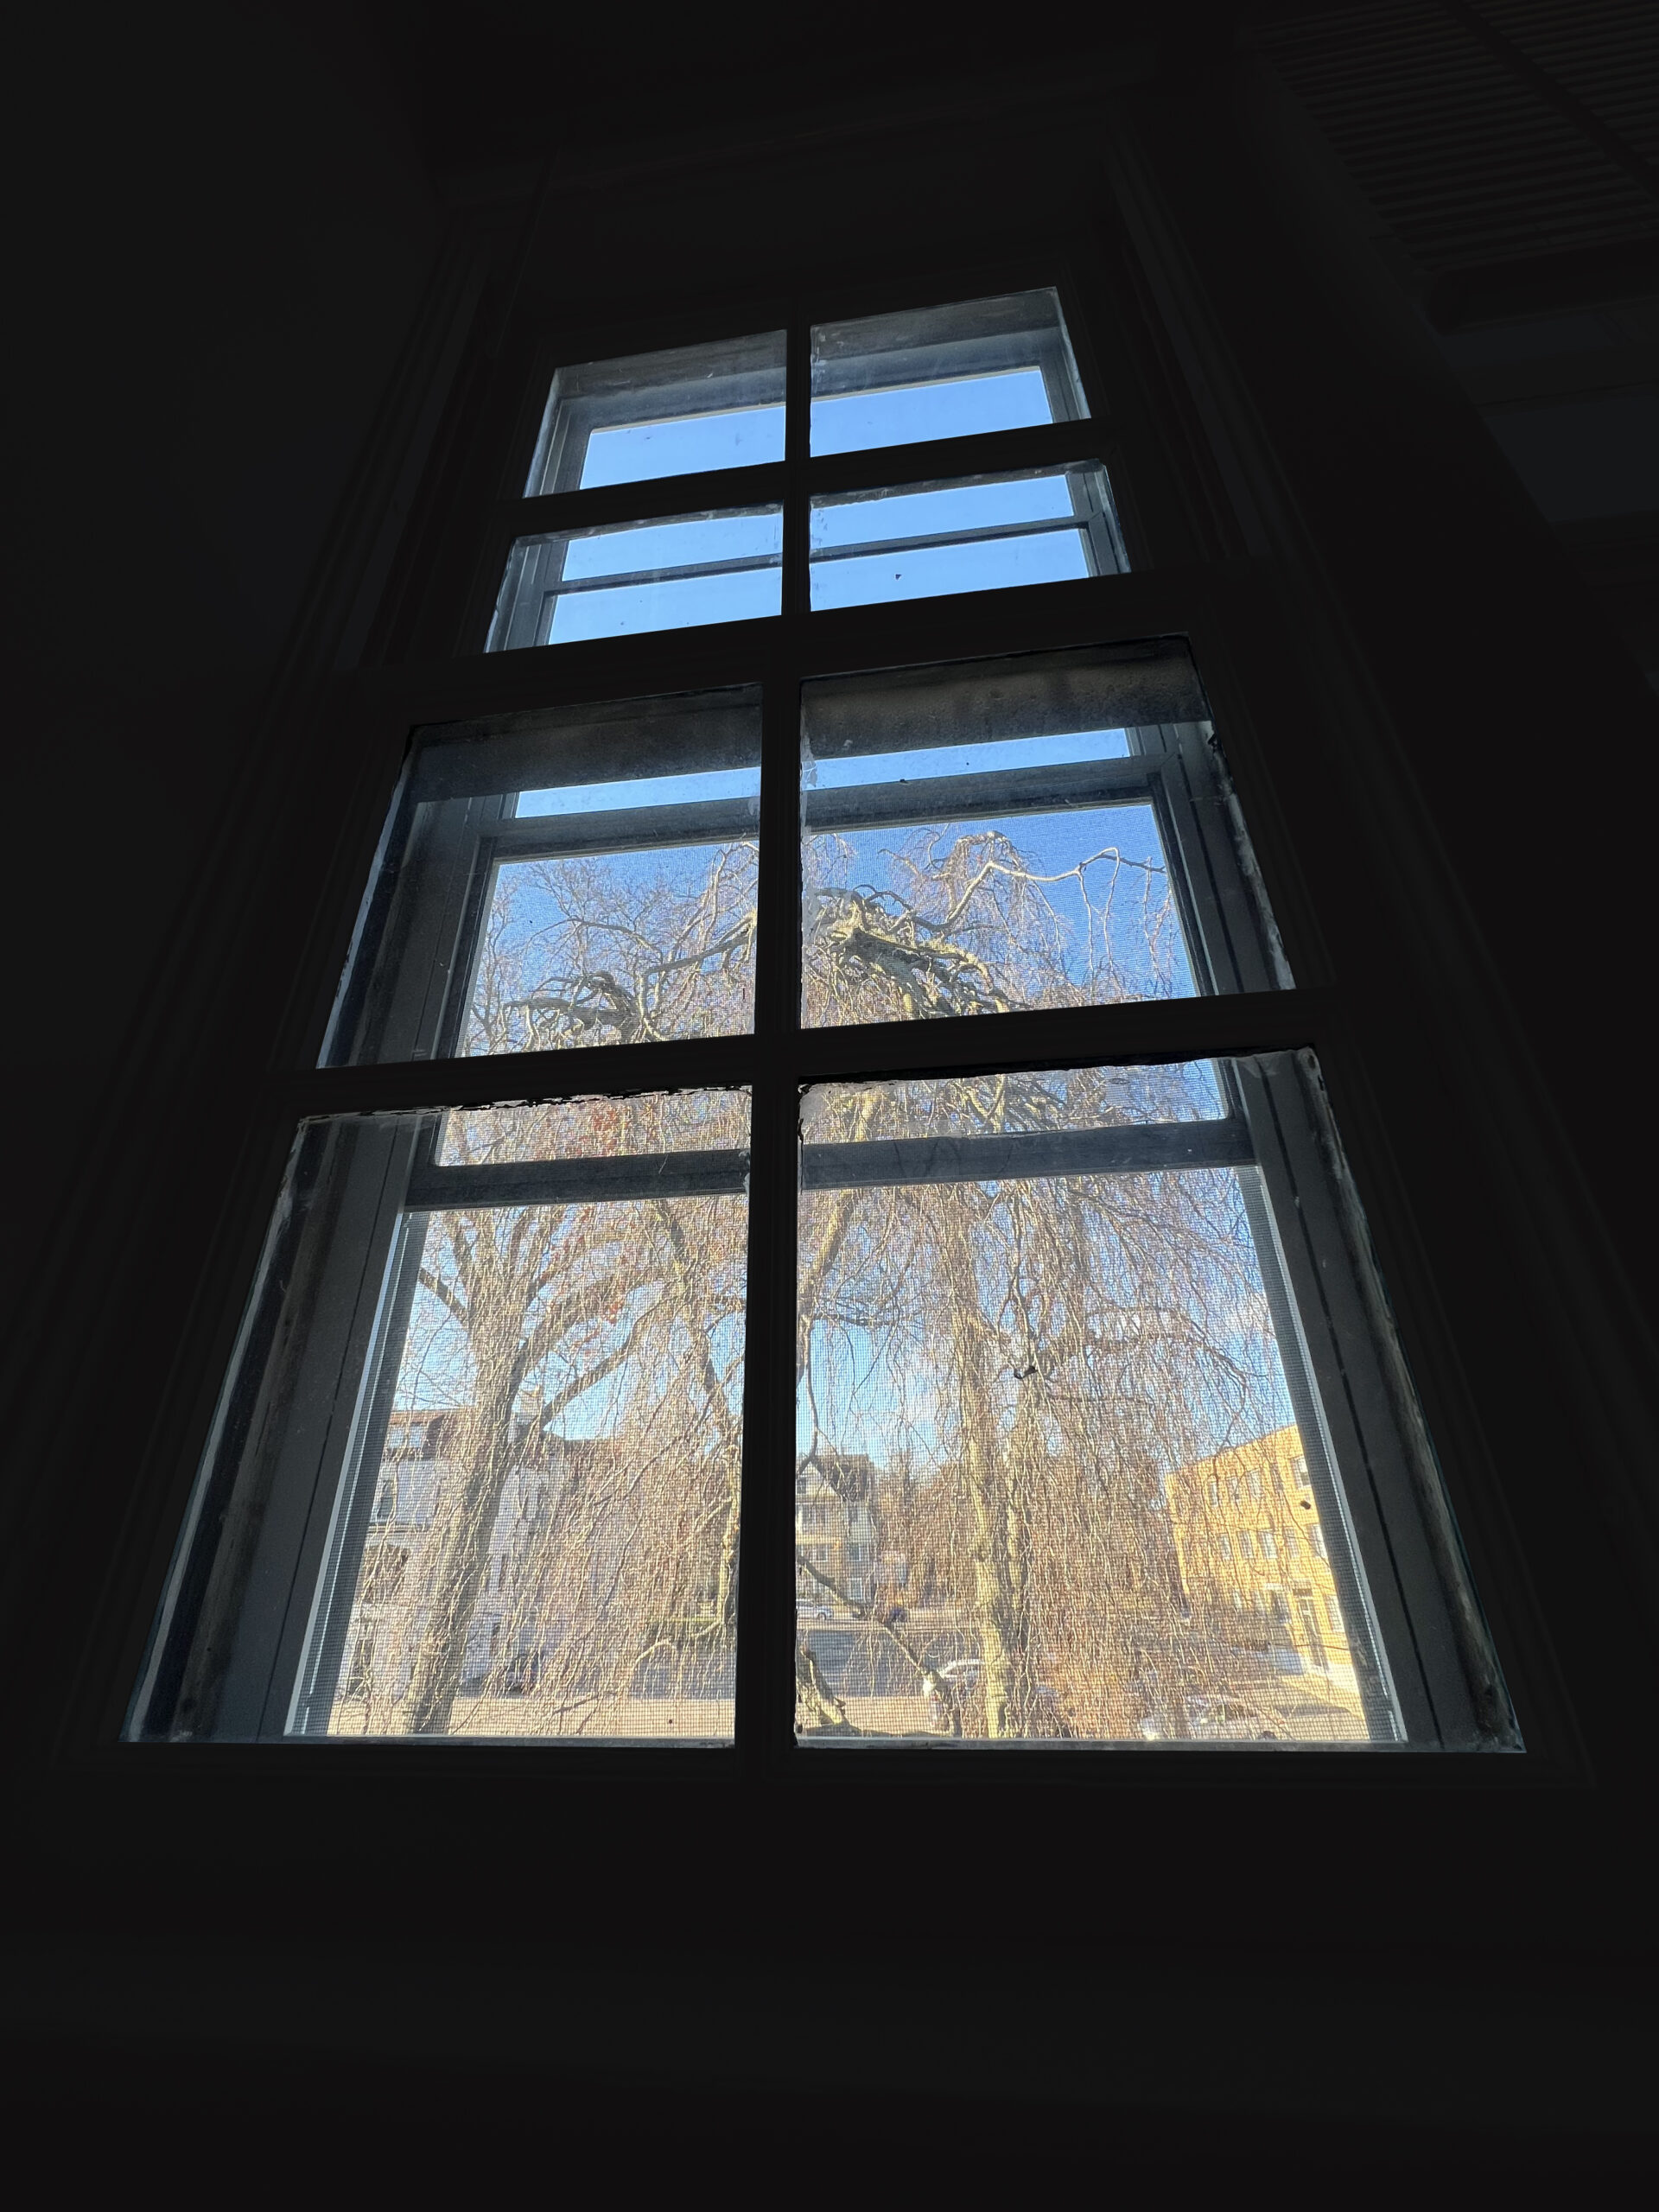
Maquette 3 was taken from a low angle near the windowsill, exaggerating verticality and grandeur—an approach I’m considering for final shots. This is my favorite of the maquettes I made.
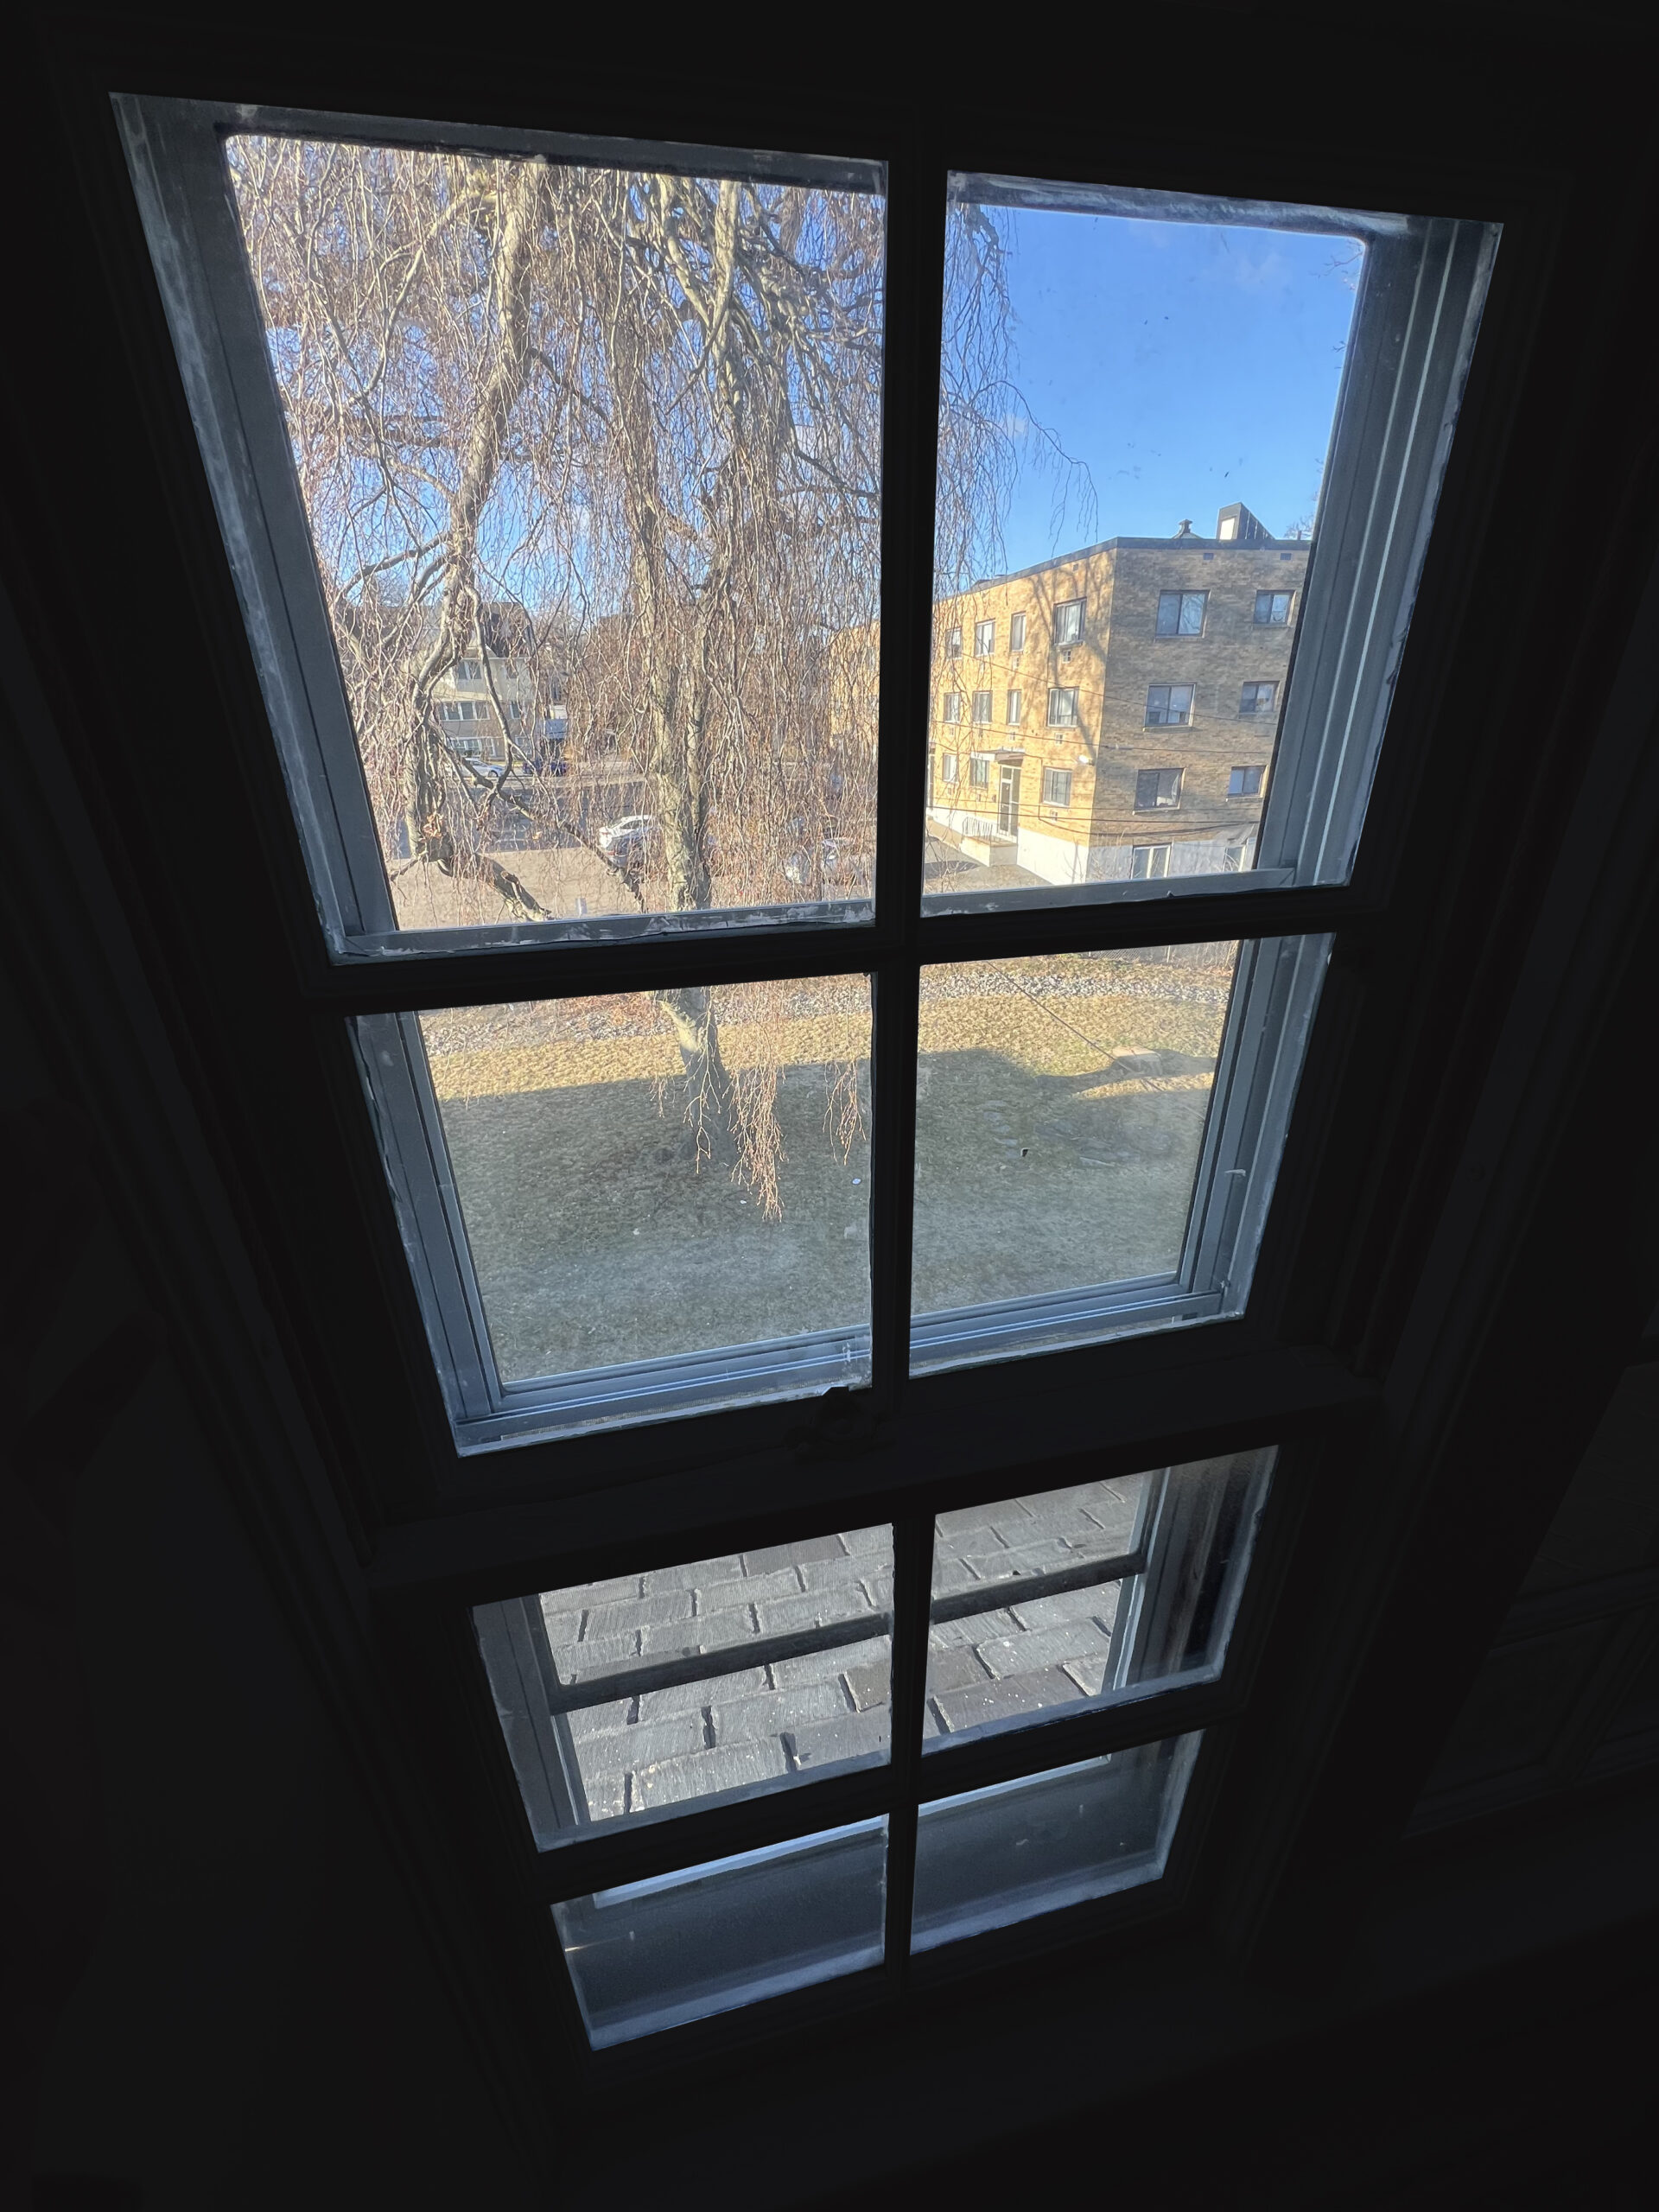
Maquette 4 mirrors Maquette 3, but from the top (window header), highlighting the downward stream of light.
Though these are plain windows, these tests still gave me insight into how I might manipulate the light levels during editing to replicate the vibrancy and glow of stained glass and have shown me that I prefer the style of taking photos from the window header and the windowsill compared to stitching individual photos together.
Final Execution Plan
Next week, I plan to travel to my high school to photograph the actual stained glass windows, using a high-resolution camera I have at home. I’ll take the shots at different times of the day to test natural light conditions. Once I have the photos, I’ll use photo editing software I already subscribe to (likely Lightroom or Photoshop) to enhance brightness, saturation, and contrast, echoing the glow and majesty that Powell’s pieces exhibit.
I haven’t fully decided how I will present the final work yet, but I am considering the following:
Large Printed Composite – Stitching the individual photos into a single high-resolution print.
Backlit Display – Framing a printed version on plexiglass with LED backlighting to replicate the stained glass effect physically.
Digital Projection Slideshow – Depending how many photos I wind up with, I could present them from a projector and cycle through the images. I could have close ups and photos from different angles.
Interactive Web Piece – Creating a site that showcases all of the photos I took.
Shopping-ish List
High-res camera (from home)
Editing software (Lightroom/Photoshop) – already subscribed
Poster printing service – TBD, depending on final output choice
Optional: LED light strip (for possible backlit display)
This maquette process has been super helpful in building confidence with the tools and helping visualize the final form. I’m excited to bring the real stained glass into the frame next week and see how far I can push the interplay between light, photography, and storytelling—just like Powell did over a century ago.
Your maquettes give a good idea to the approach/process of your project. I agree that maquette 3 is the best as I appreciate the grandeur that it will demonstrate, but I worry about the stained-glass details near the top will be lost. Would you consider doing a couple different approaches? For example, presenting the picture taken from the low angle as well as the collage.