This week’s trial and error was figuring out how to get the forced perspective part of my model to actually fit inside the new shadow box I bought (10″x10″x3.3″). It wasn’t the hardest part of the project overall, I think dealing with the lighting and figuring out the LEDs is going to be a bit more complicated, but this part definitely tripped me up for a bit.
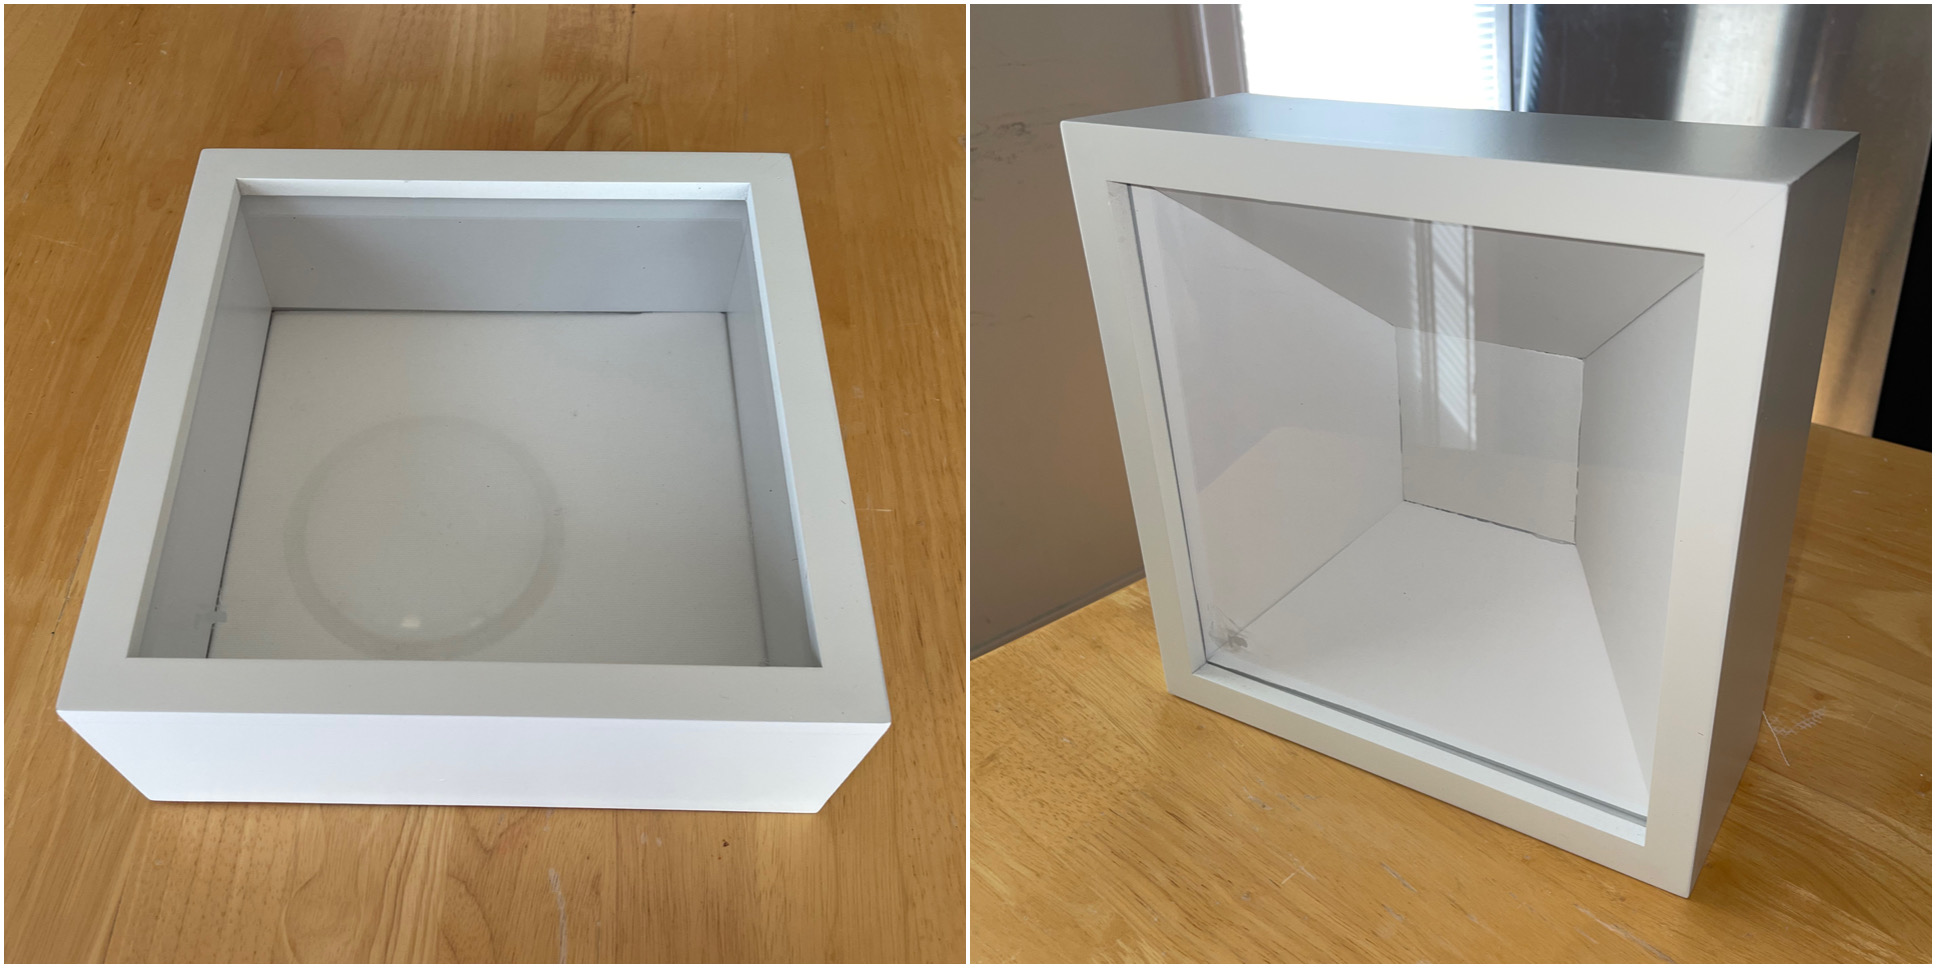
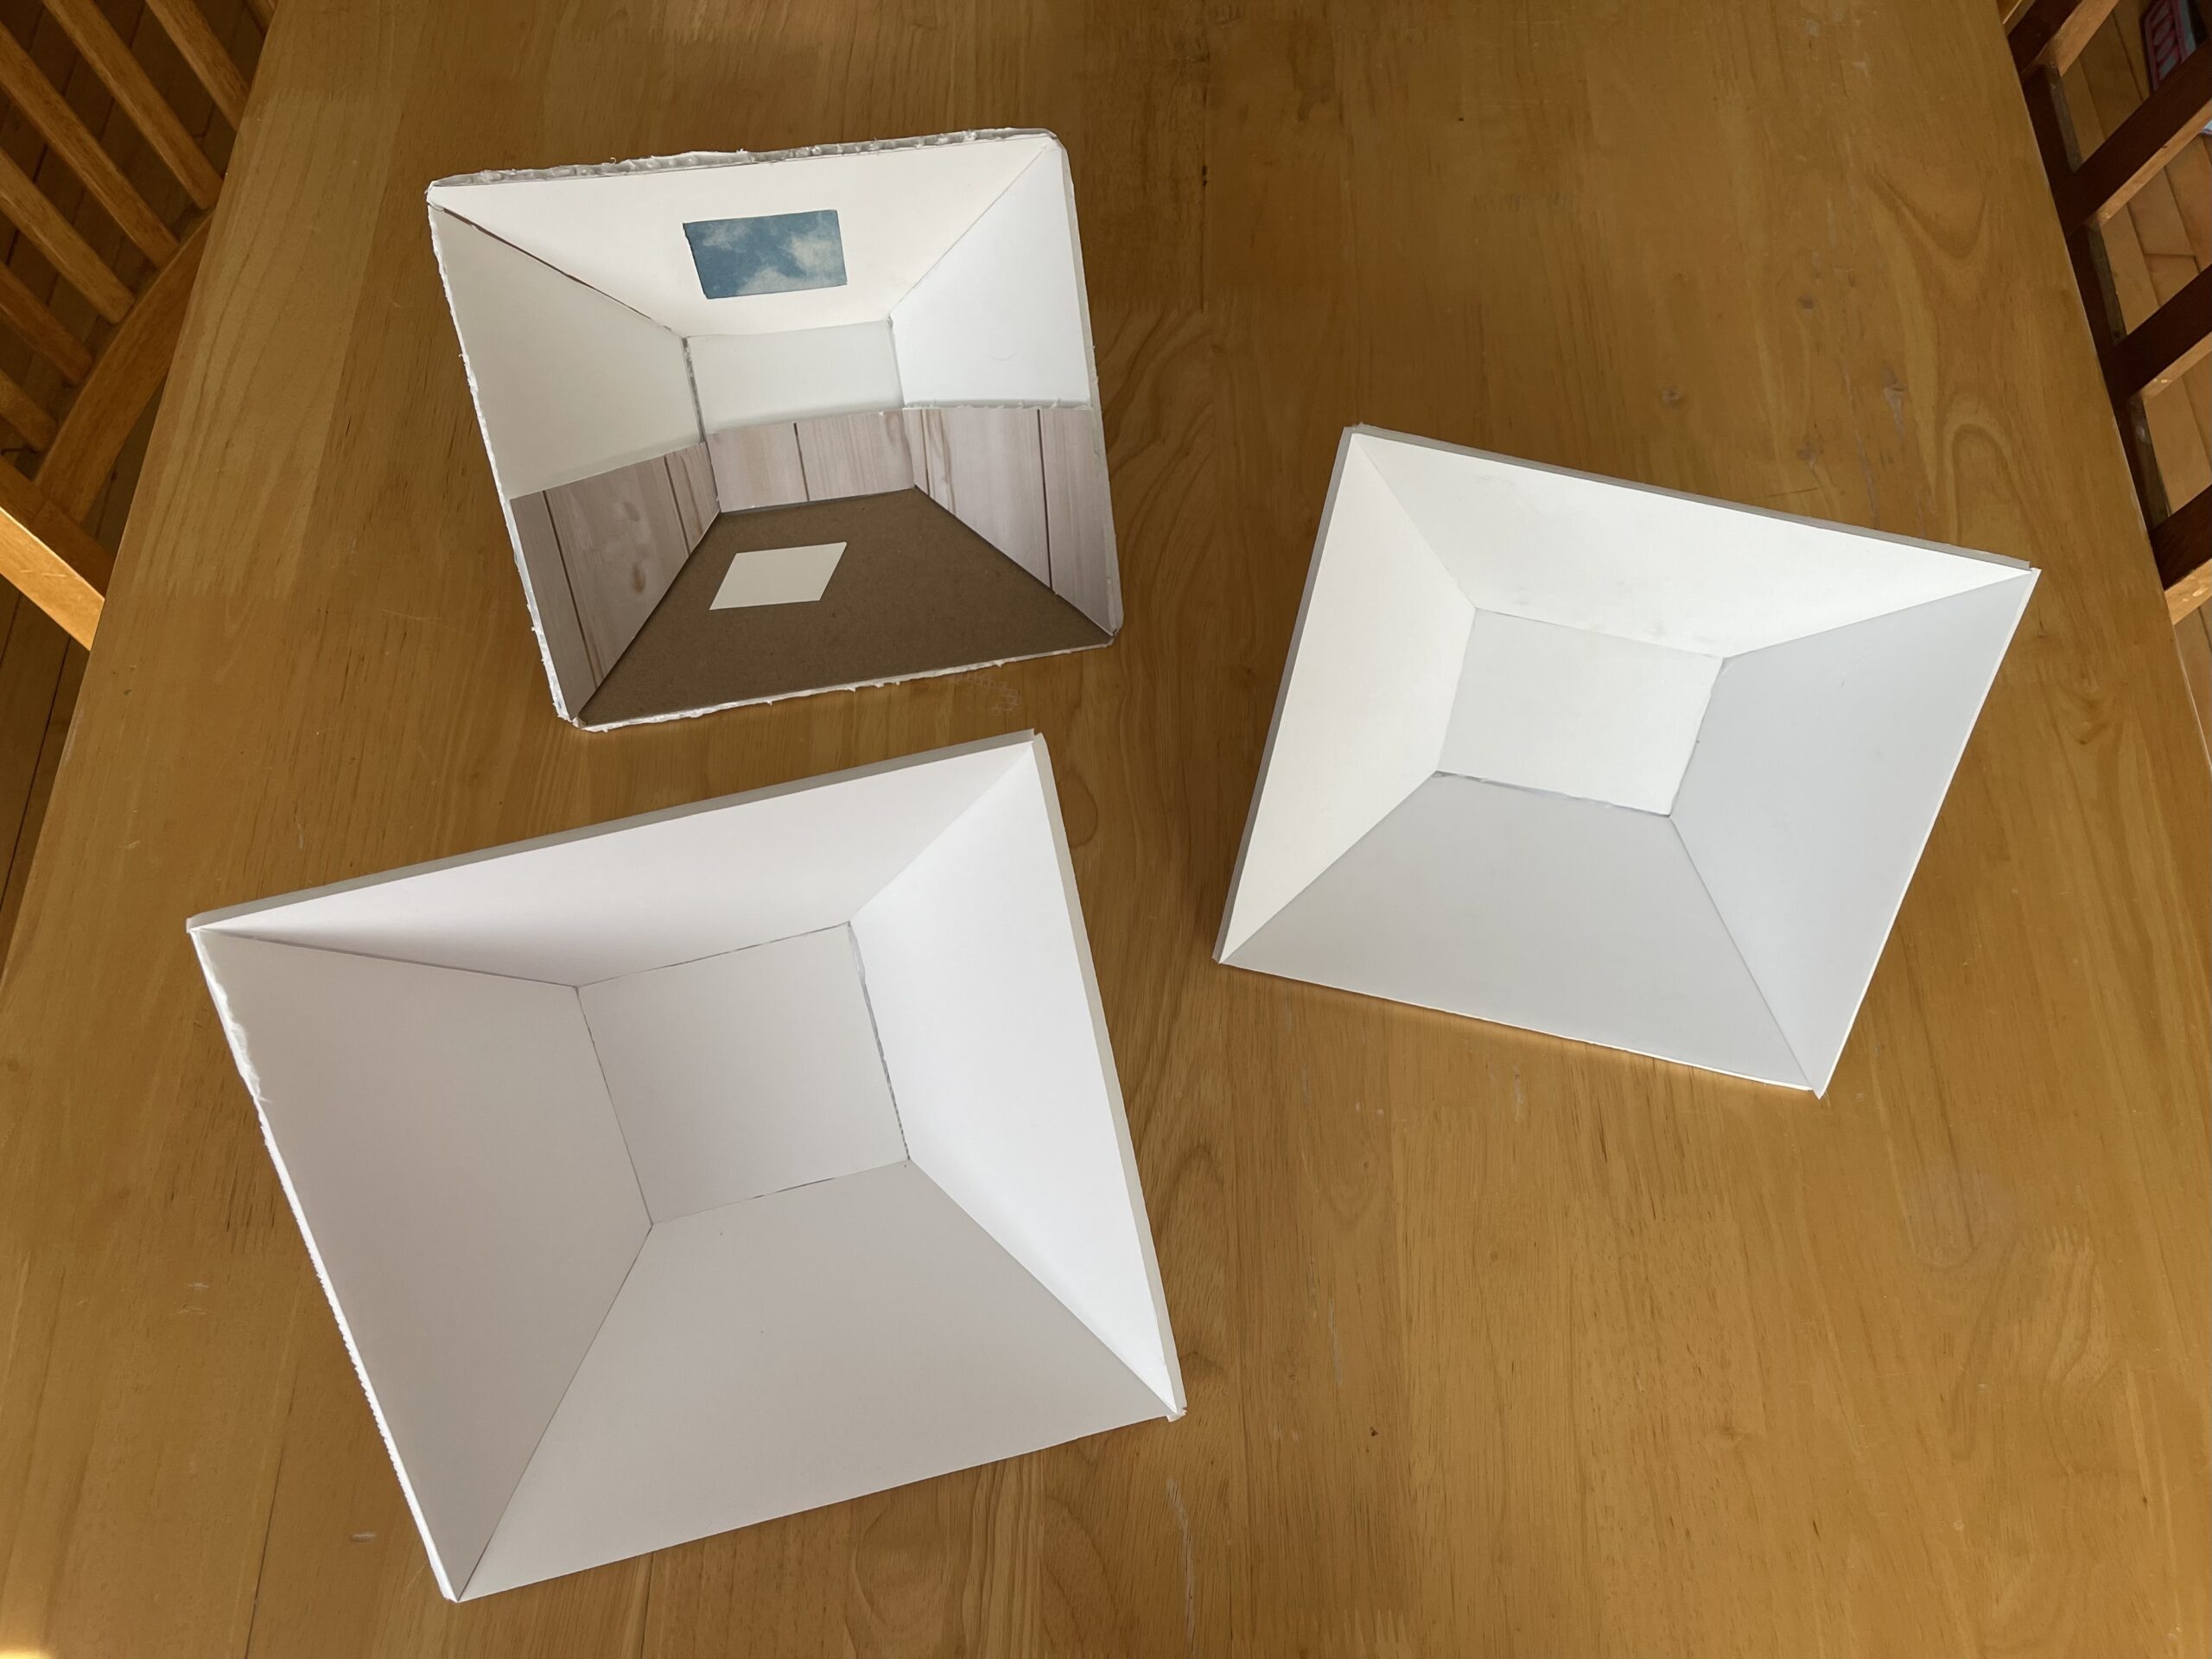
I tried a few different maquettes with slightly different sizes and angles to get the shape right, and finally landed on one that fits pretty well. I upgraded my tools at Marshalls and got a better X-Acto knife and a hot glue gun, which made a huge difference in efficiency. I’m also getting better at cutting the foam board at angles so the pieces fit together cleaner.
Overall, this was just a trial-and-error week — not perfect, but I’m feeling good about the direction. Next up: tackling the lighting while home this long weekend.
I’m impressed with how you translated the depth into the box! Its looking really good, I can’t wait to see the lighting. You could use some of your maquettes to practice setting up the lights and get a feel for the lighting before doing it on the real one.
This is super cool! I think for the lighting, you may be able to cut a divot into the sides of the box to hide the lights in. The other (probably easier) way could be increasing the lip on the top cover to conceal an LED strip. As for the concern of only using a small piece out of a really long segment, people on campus may have spares that you can ask around for, that way you wouldn’t have to buy anything
I’m super excited to see how this turns out! For the lighting on the walls I would maybe reccomend putting a thin wood paper on top of the light to help with continuity and have it look good if you ever turn it off. Up to you, though! And if you aren’t willing to do much wiring, I would highly reccomend batteries!