Update!
Now, I’m adding from my previous idea, as I think my original idea was too simple. I’ve had many design ideas (which I will show below), because I wanted to gauge how doable my project would be due to material, time, and tool restraints.
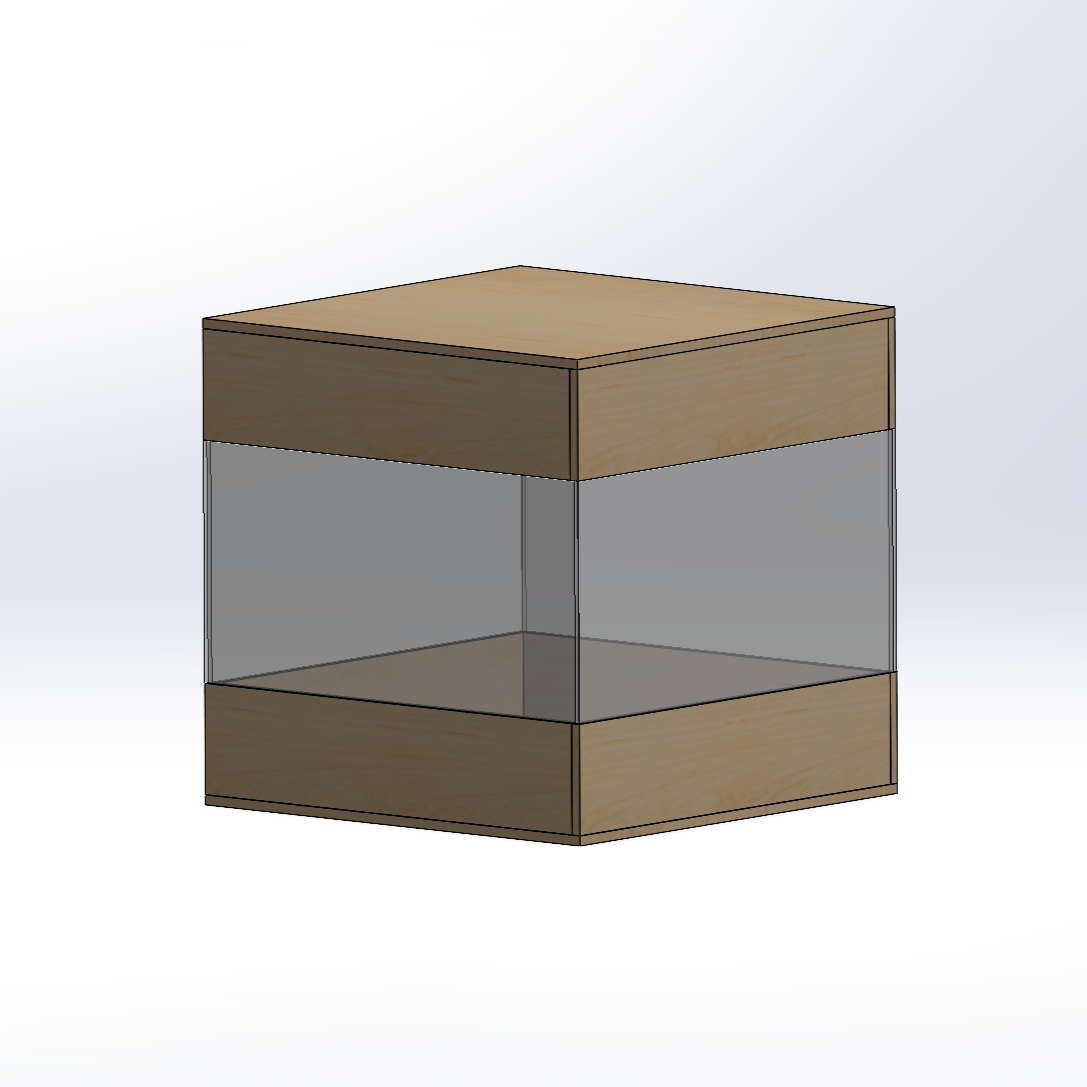
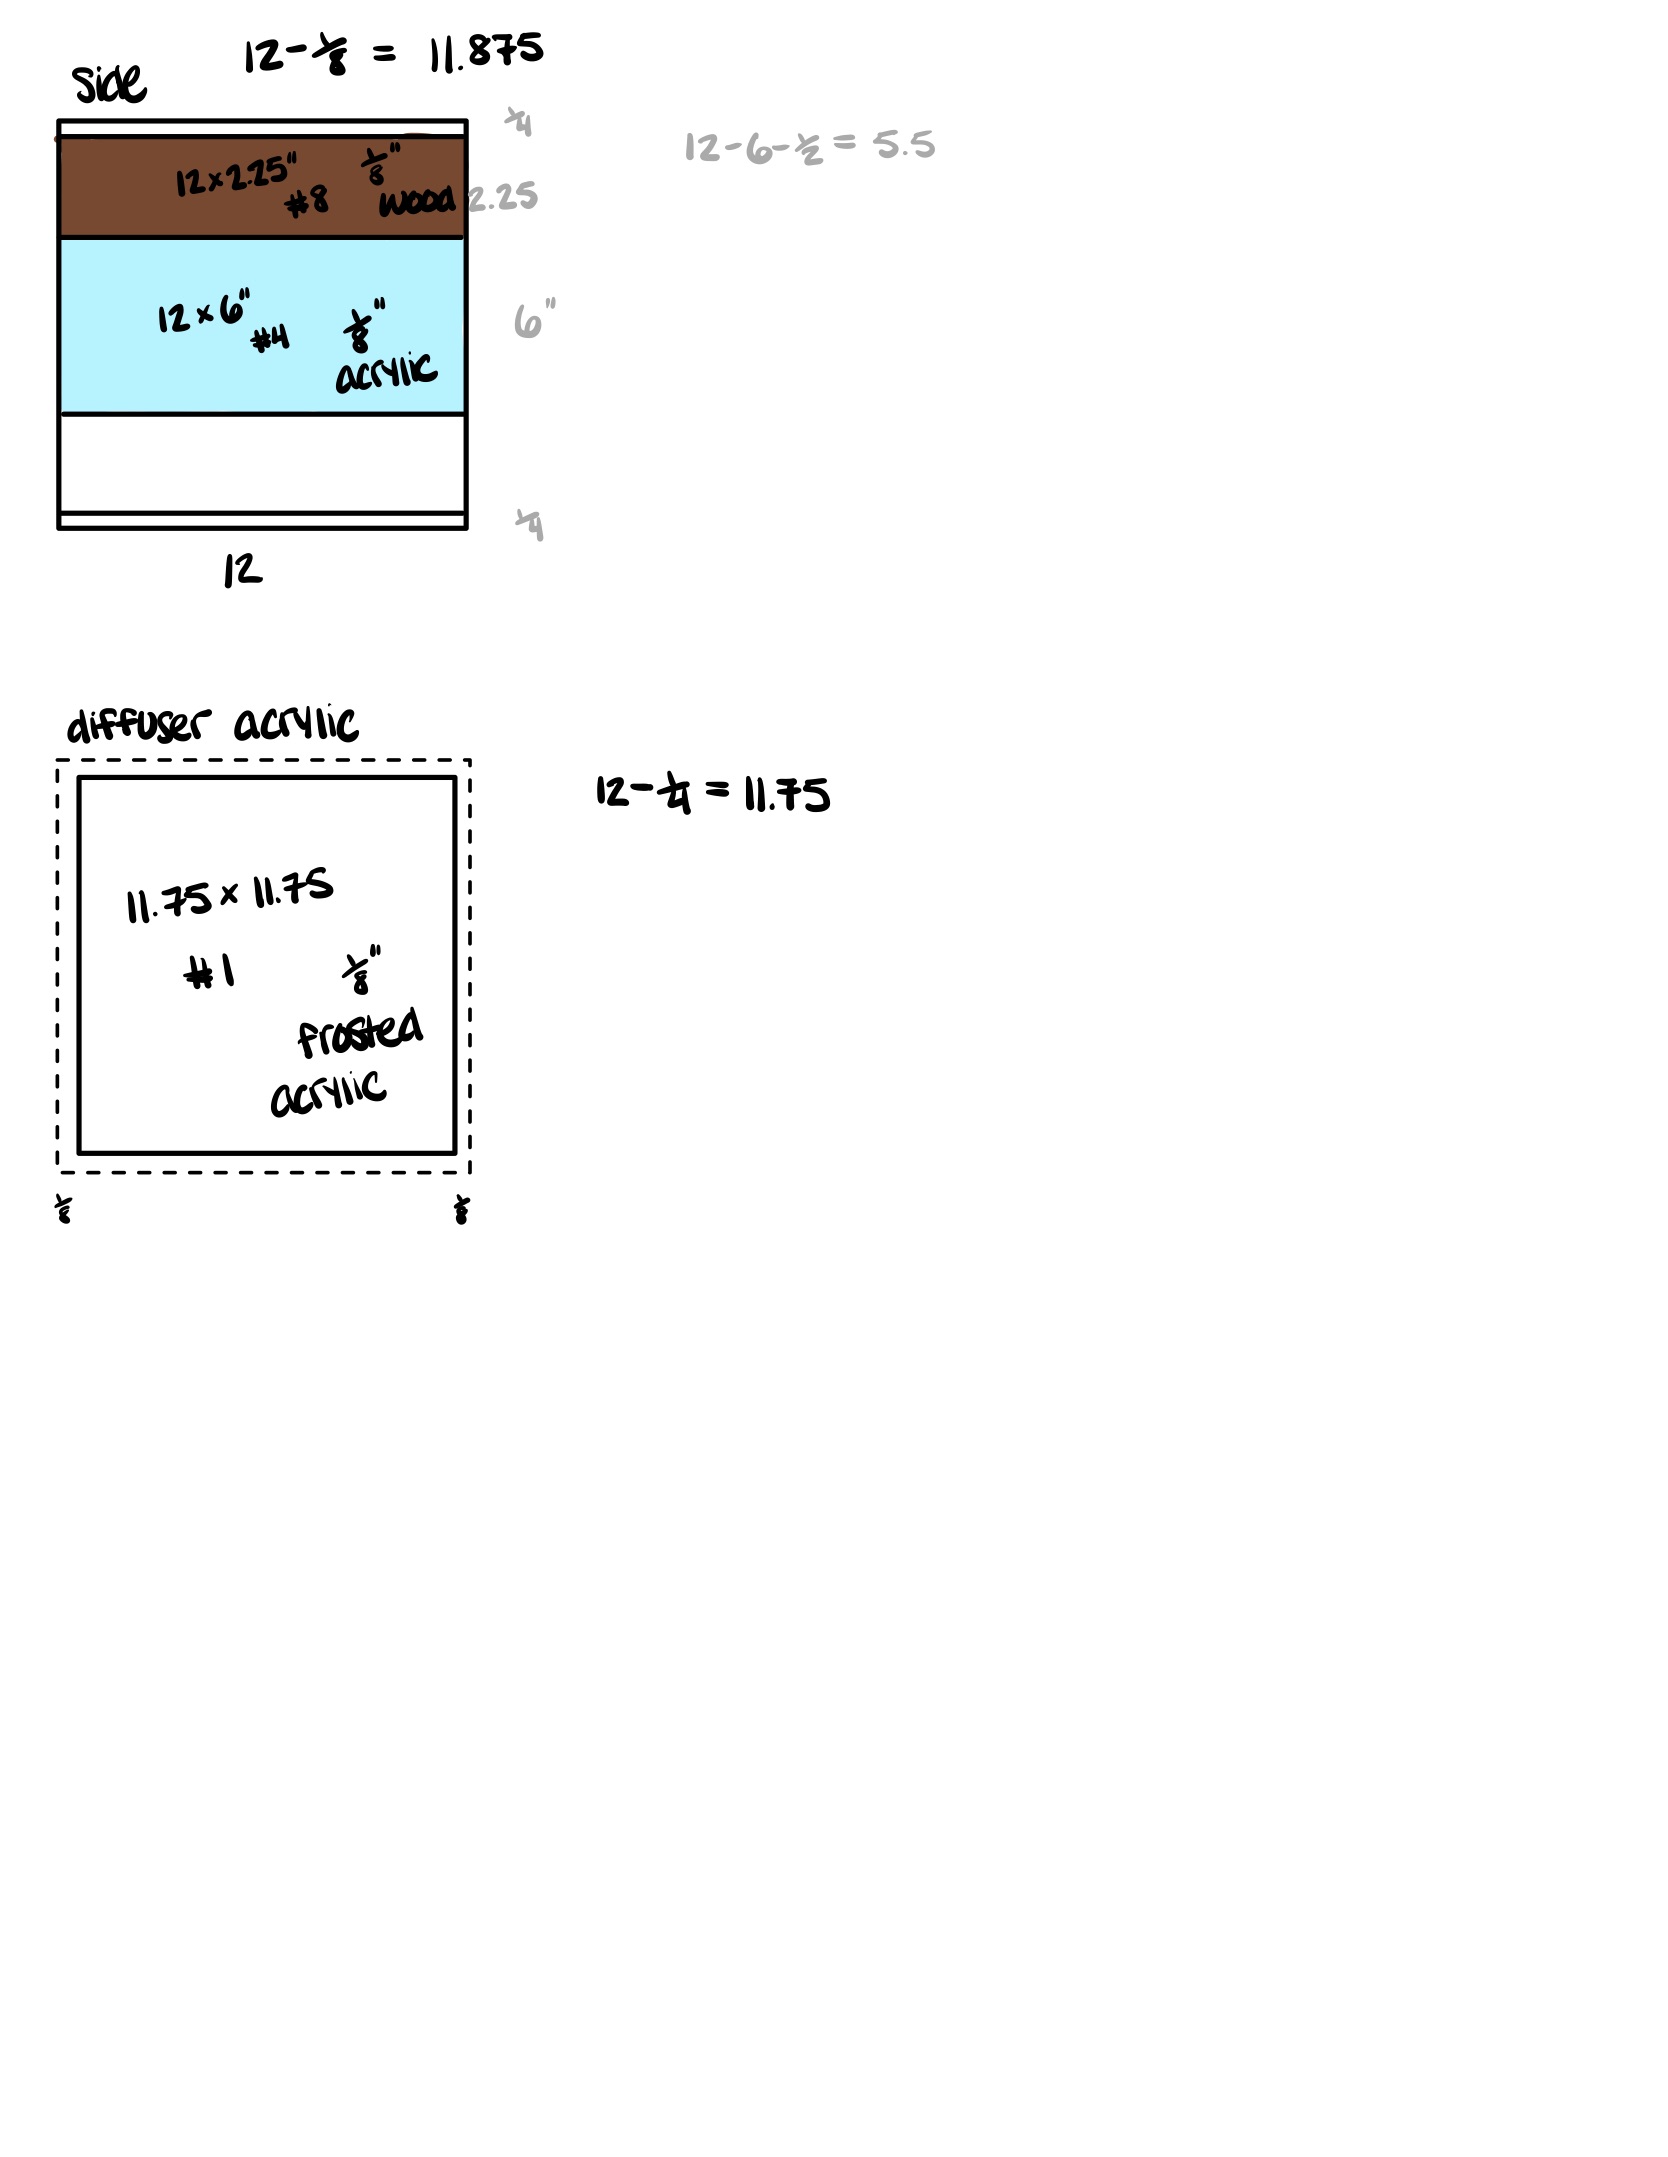
I want to capture the light in an enclosed space, so I will create a box to hold the LED and reflective object. This also solves my question of how I will shine light, I can get an LED bar that will attach to the underside of the lid. I created a CAD model with SOLIDWORKS to visualize the box well.
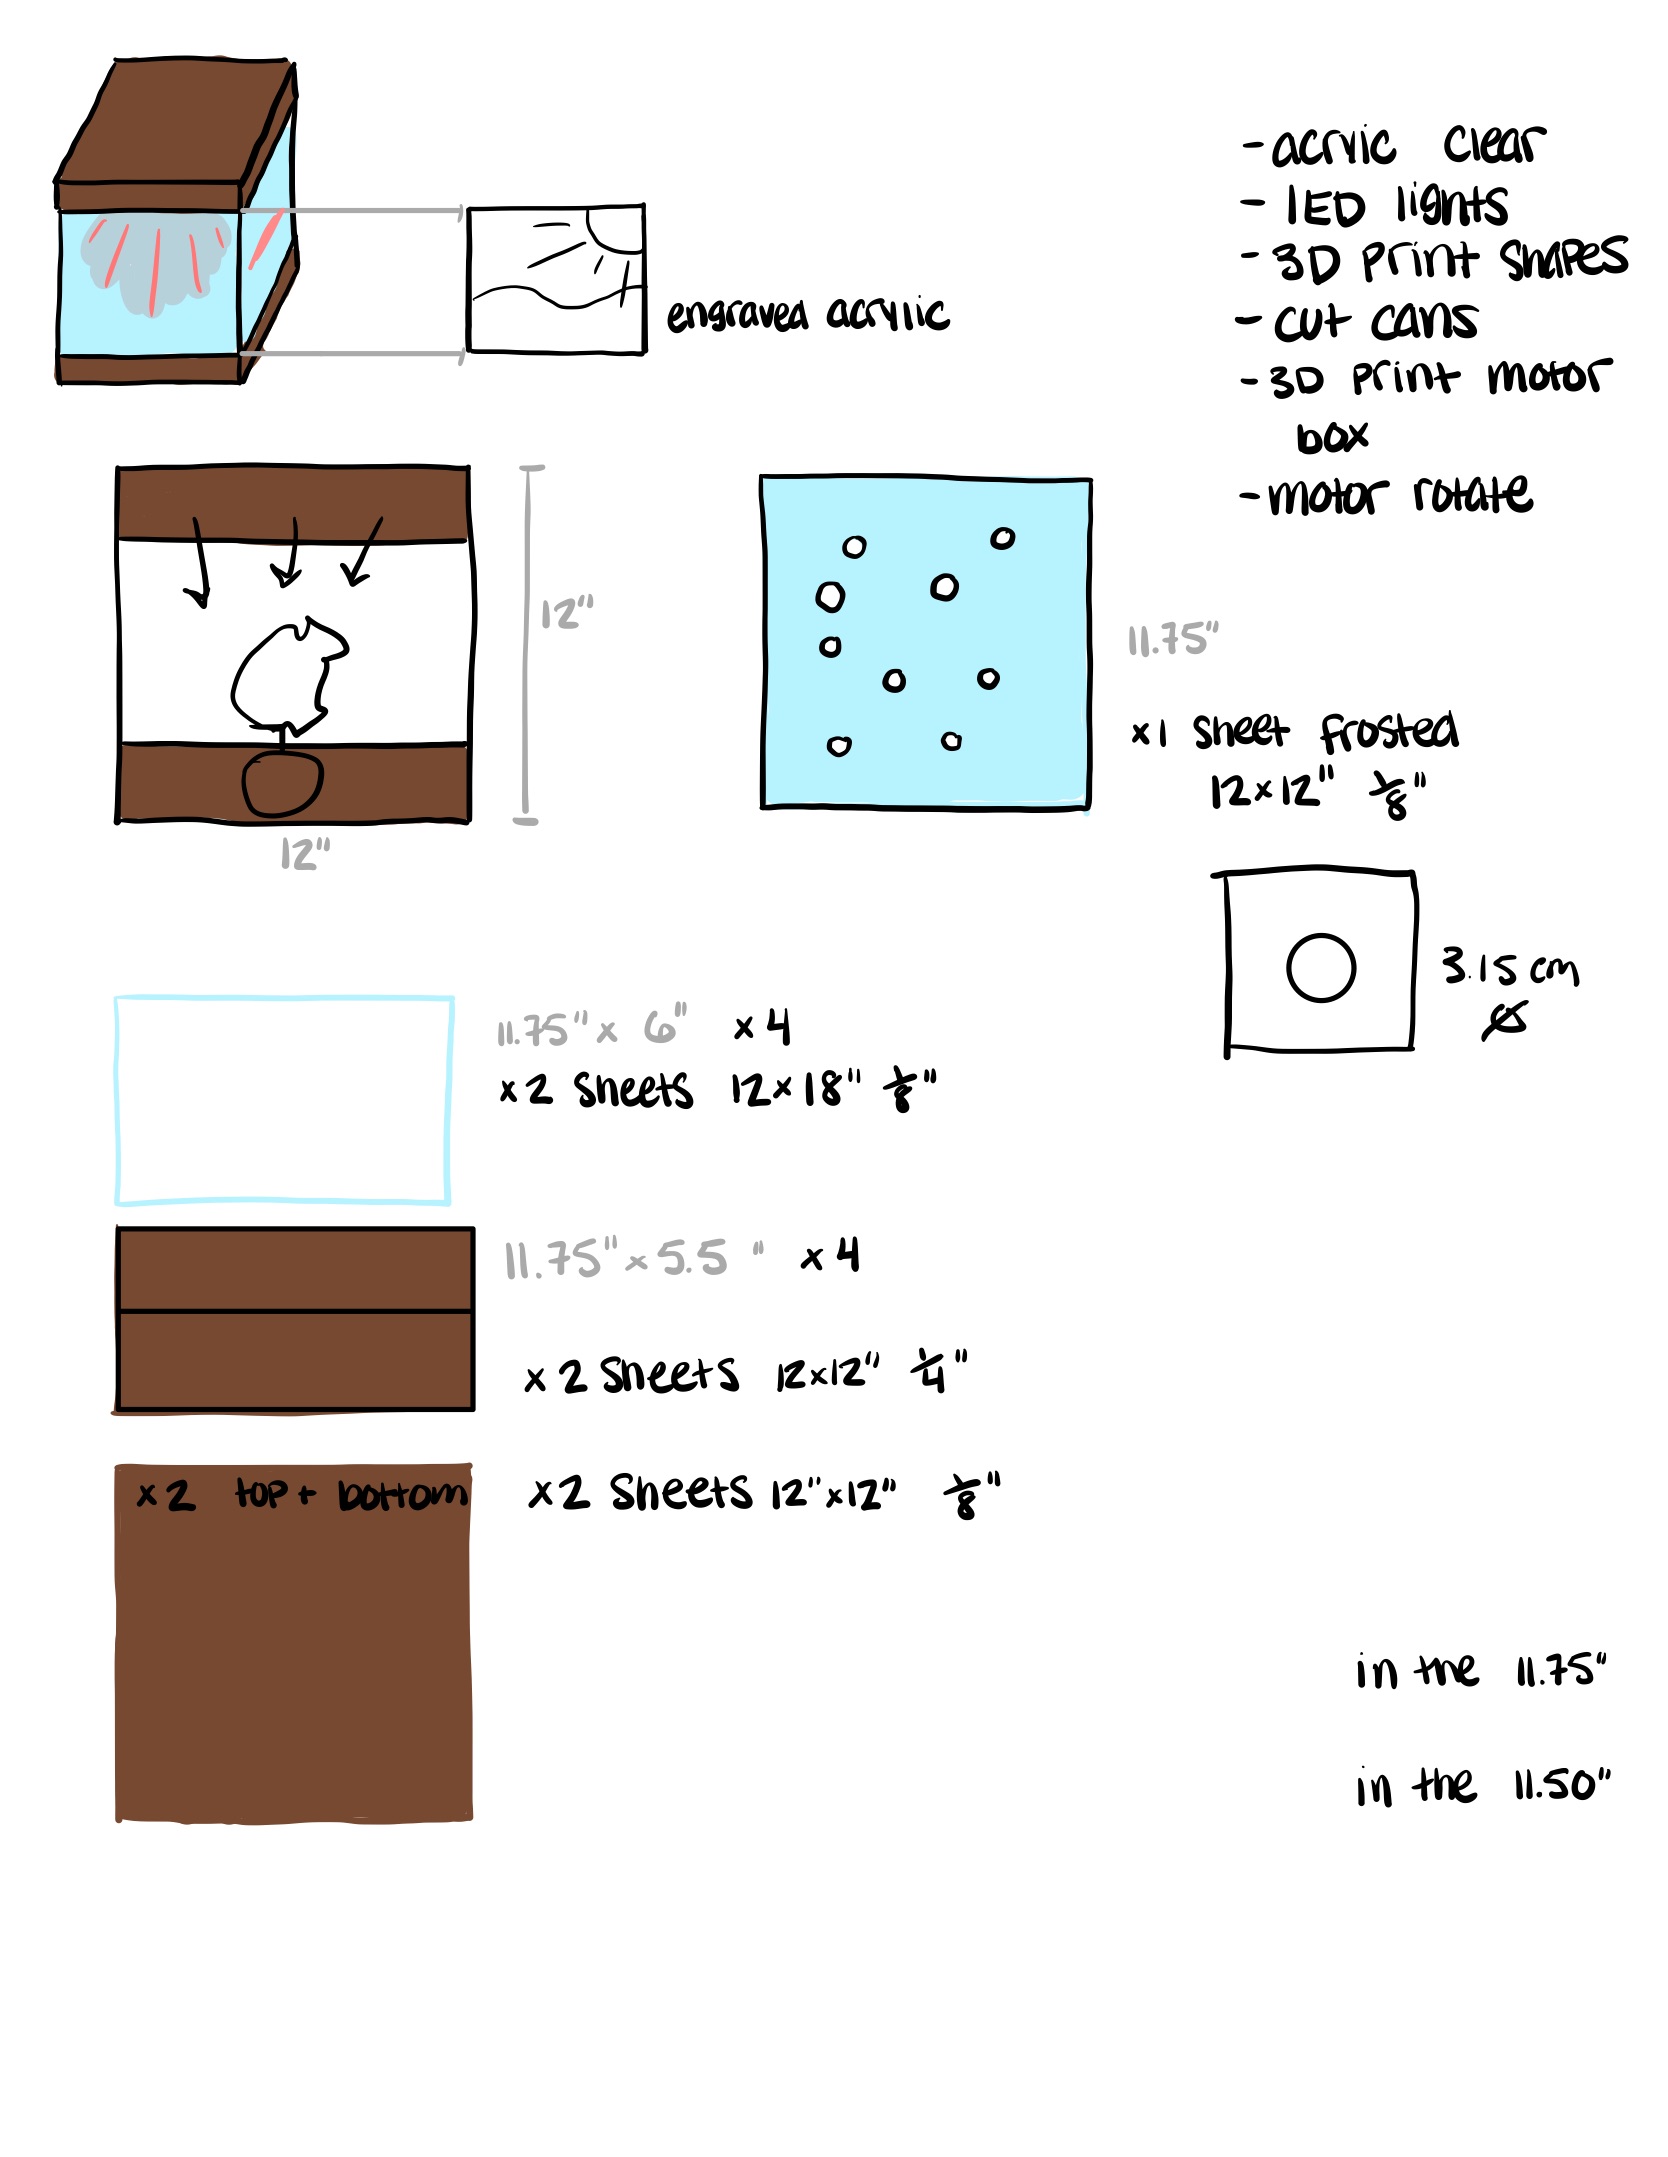
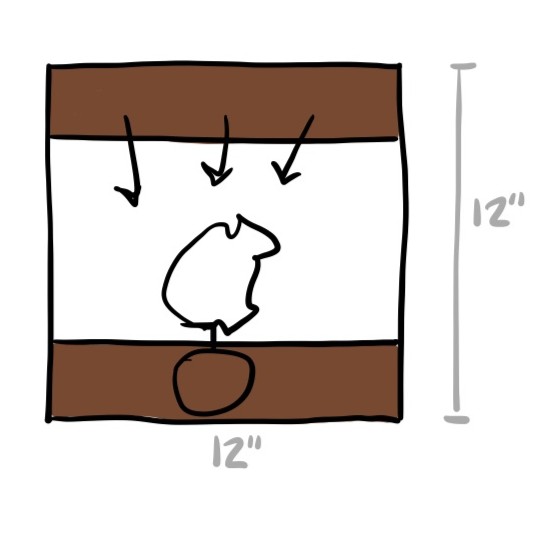
I have a second idea to add as well. I want to rotate the reflective object so that the light reflected on the object will be constantly changing. My friend recommended using a motor for that idea. They said I could change the rotation speed, and also include a button to start and stop rotation. (The blob below the reflective object is the visual representation of all the components to power the motor.
And now back to the original post!
Tolerencing
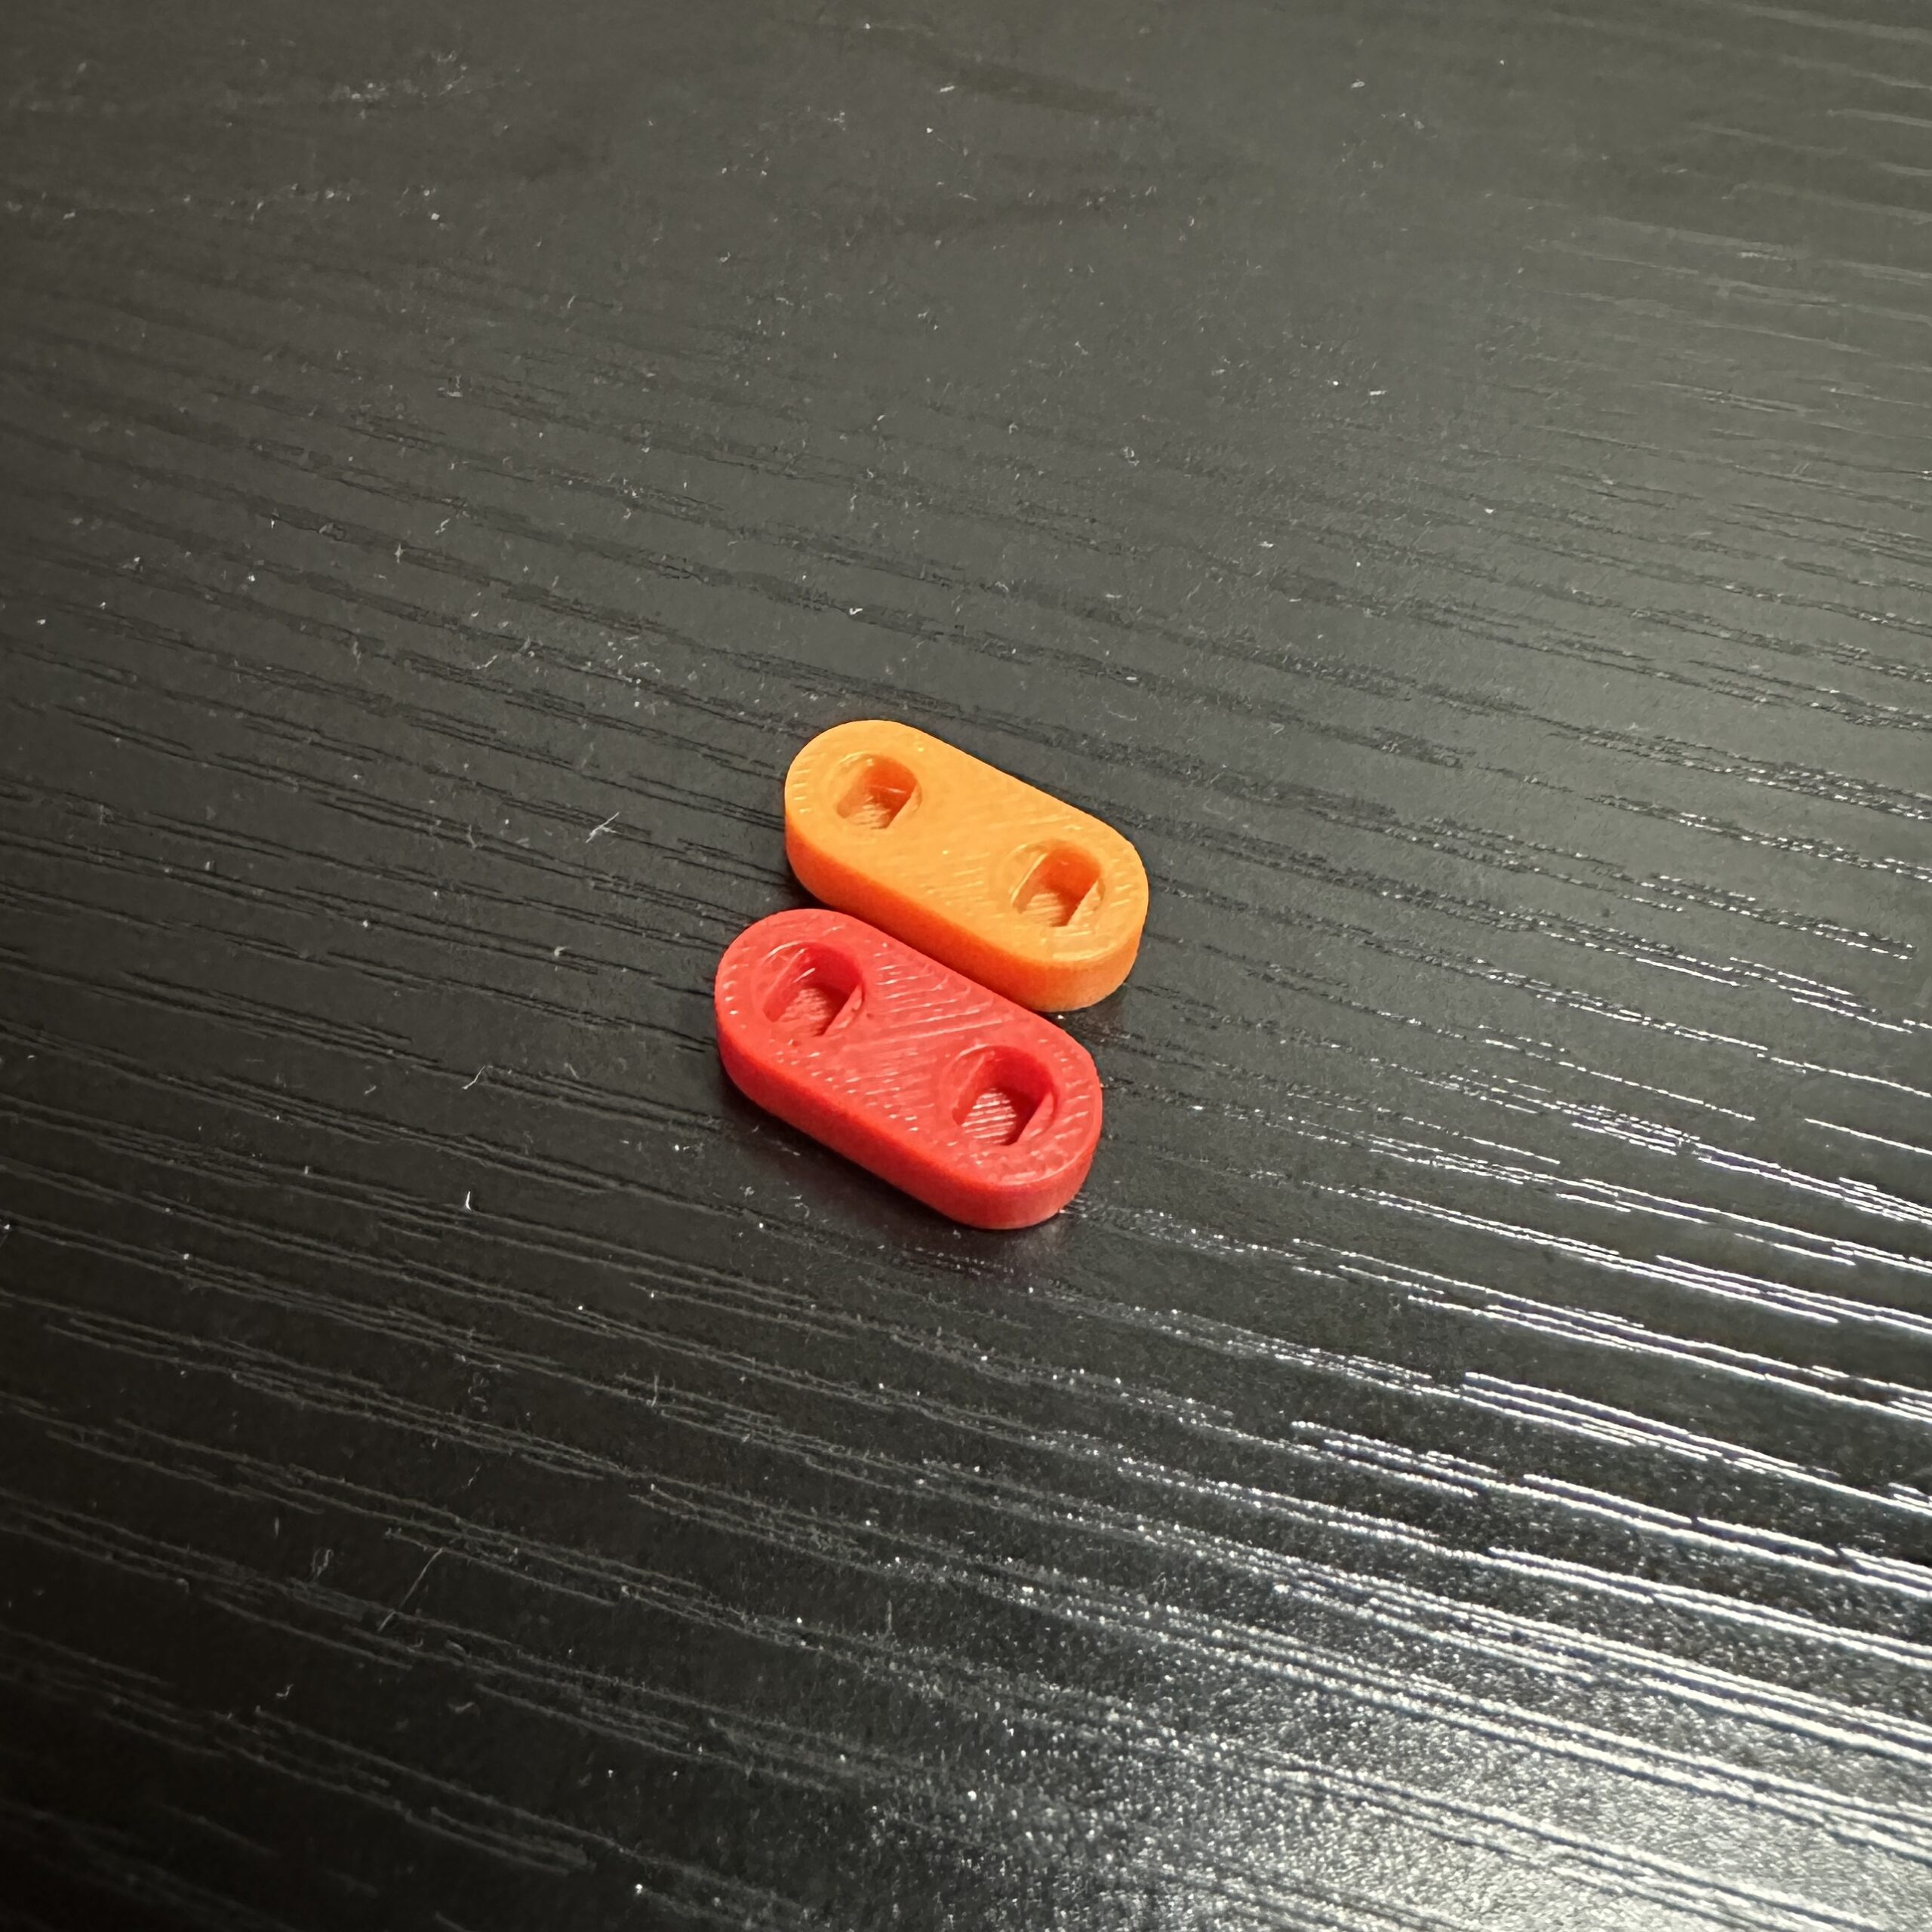
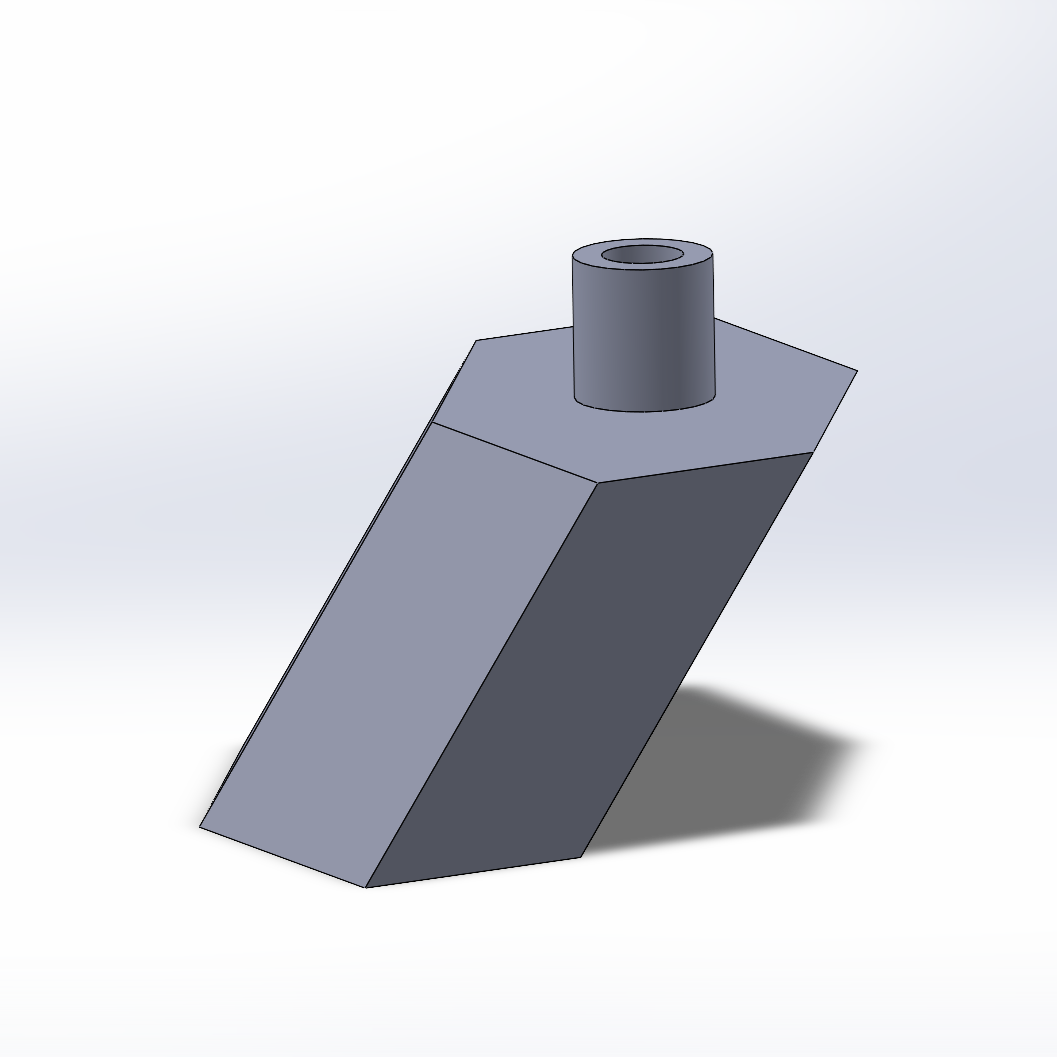
One of my failures and reiterations was the tolerancing. To rotate my deflective object, I must attach it to a motor spindle with an extruded cylindrical piece and a socket cut out from it. The tolerance for that piece must be tight enough to hold the object upright while spinning, but loose enough to fit onto the spindle. w
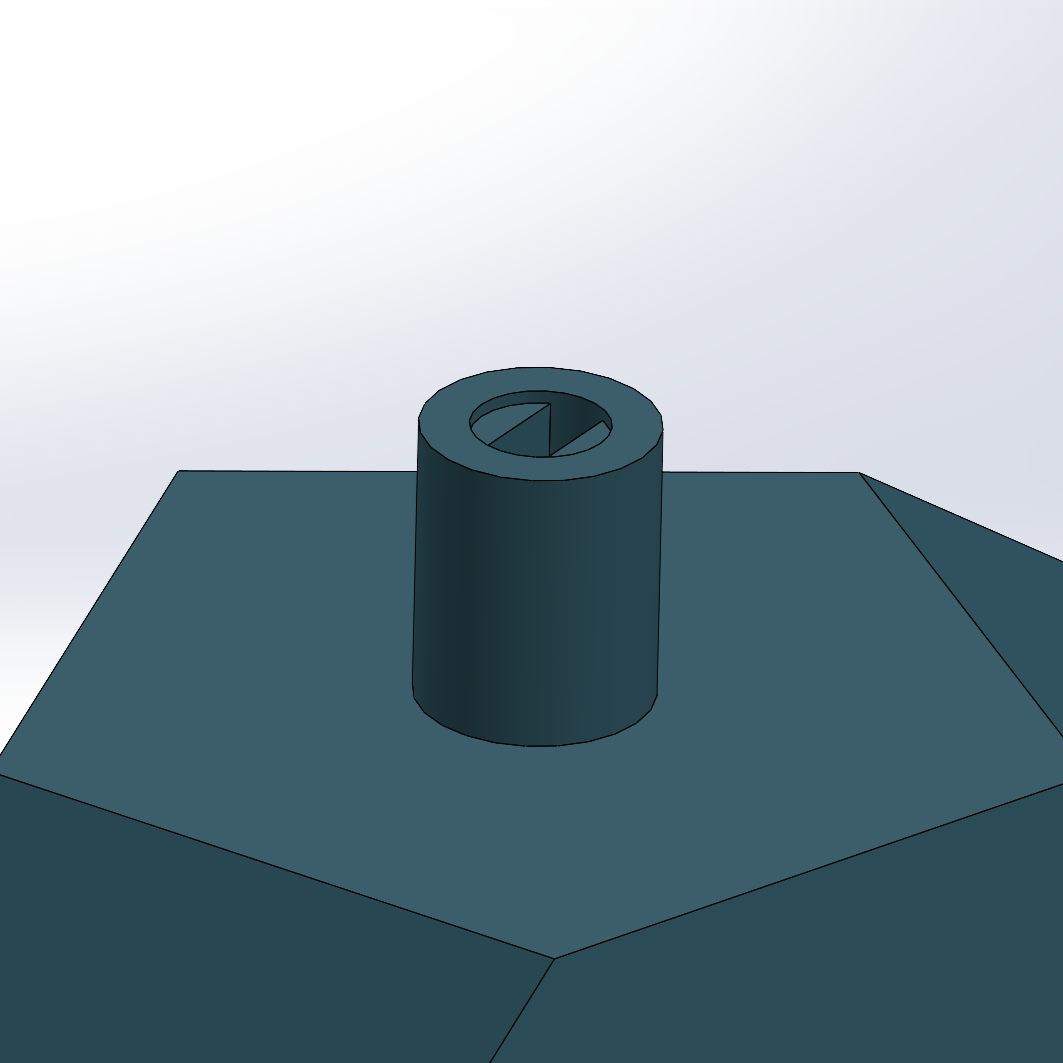
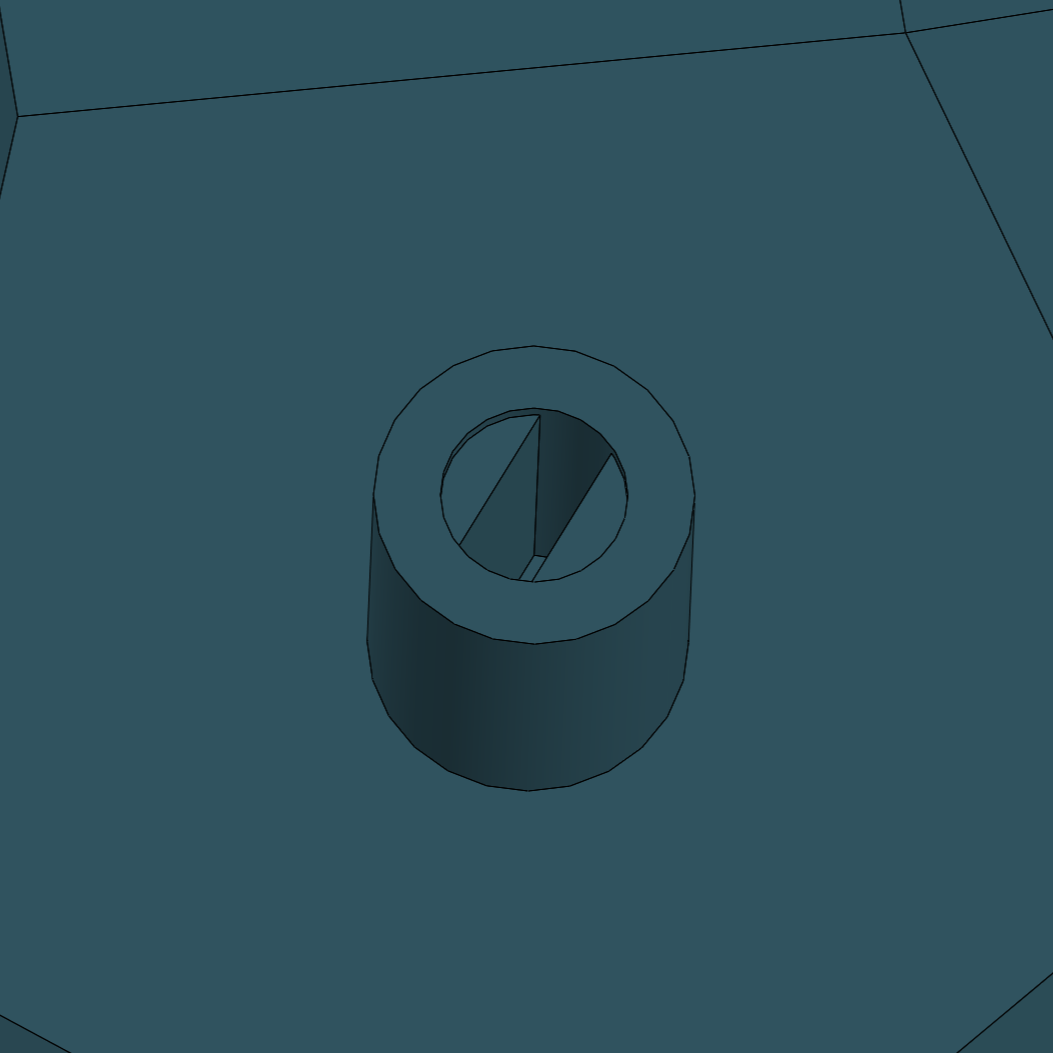
I made some test prints before 3D printing out the final piece (later, I realized I could’ve printed the slot above out separately from the reflective object to super glue rather than print them together, but oh well). These are my test prints and the final piece printed out.
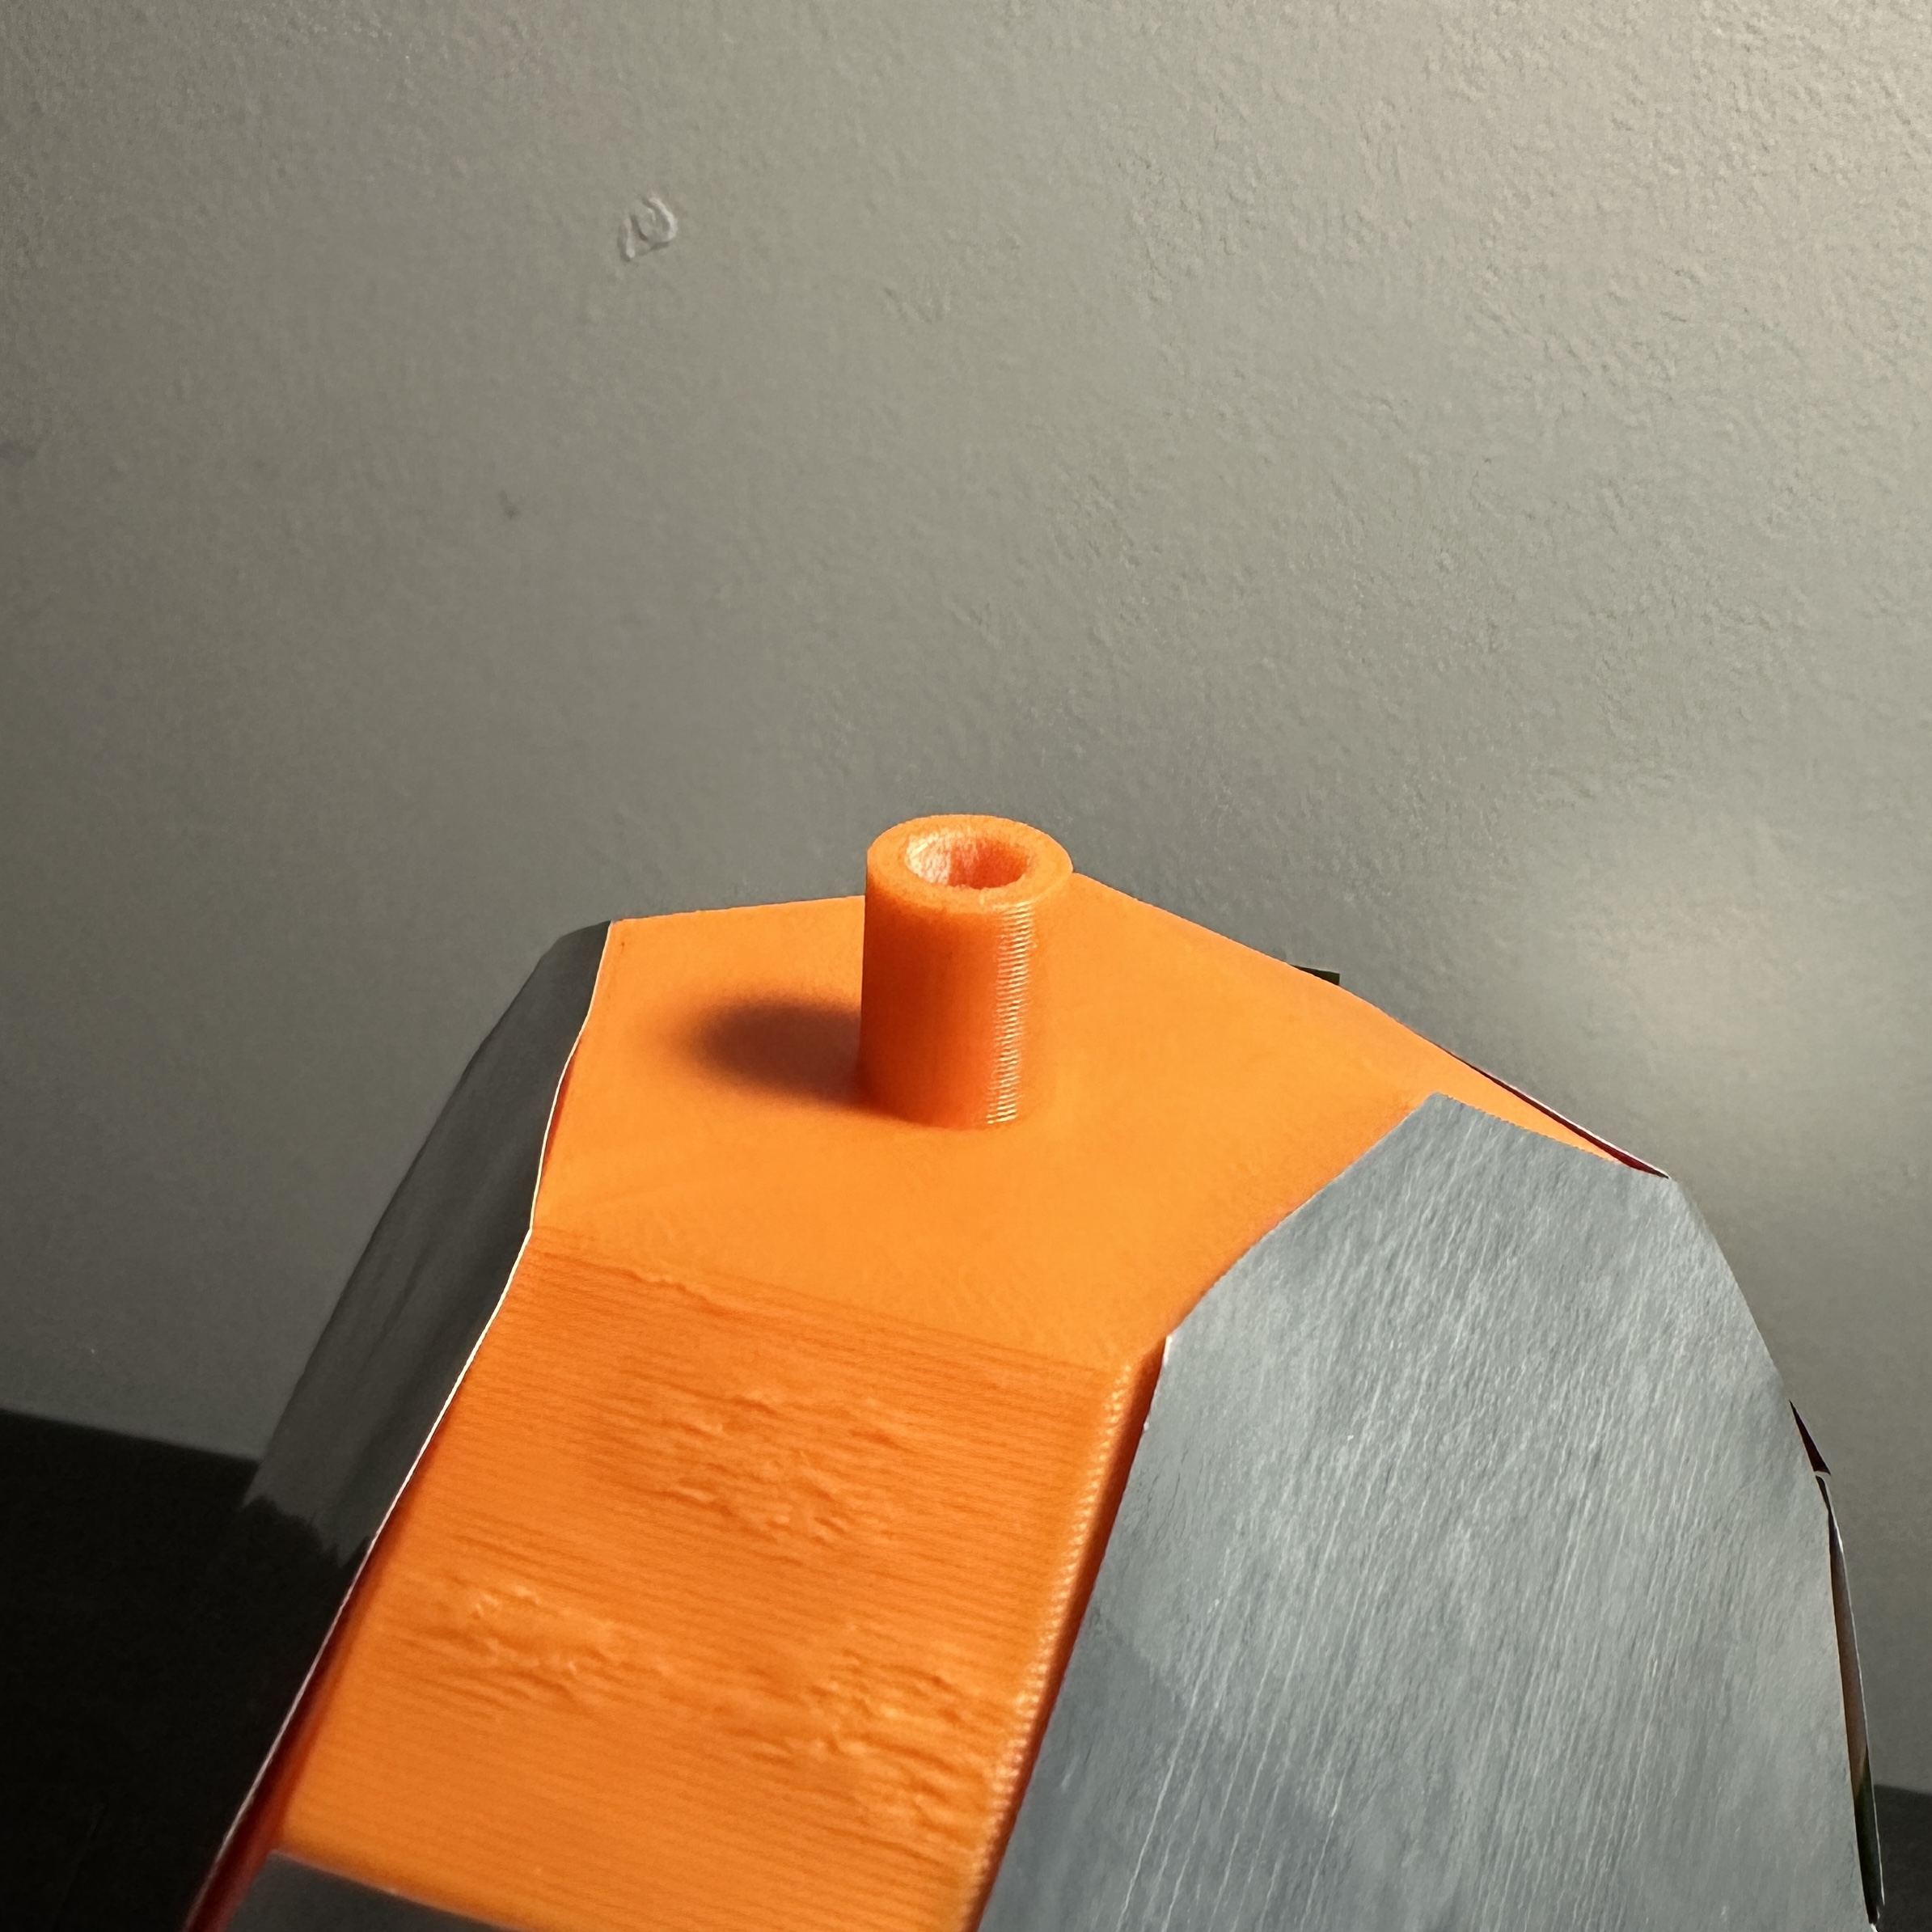
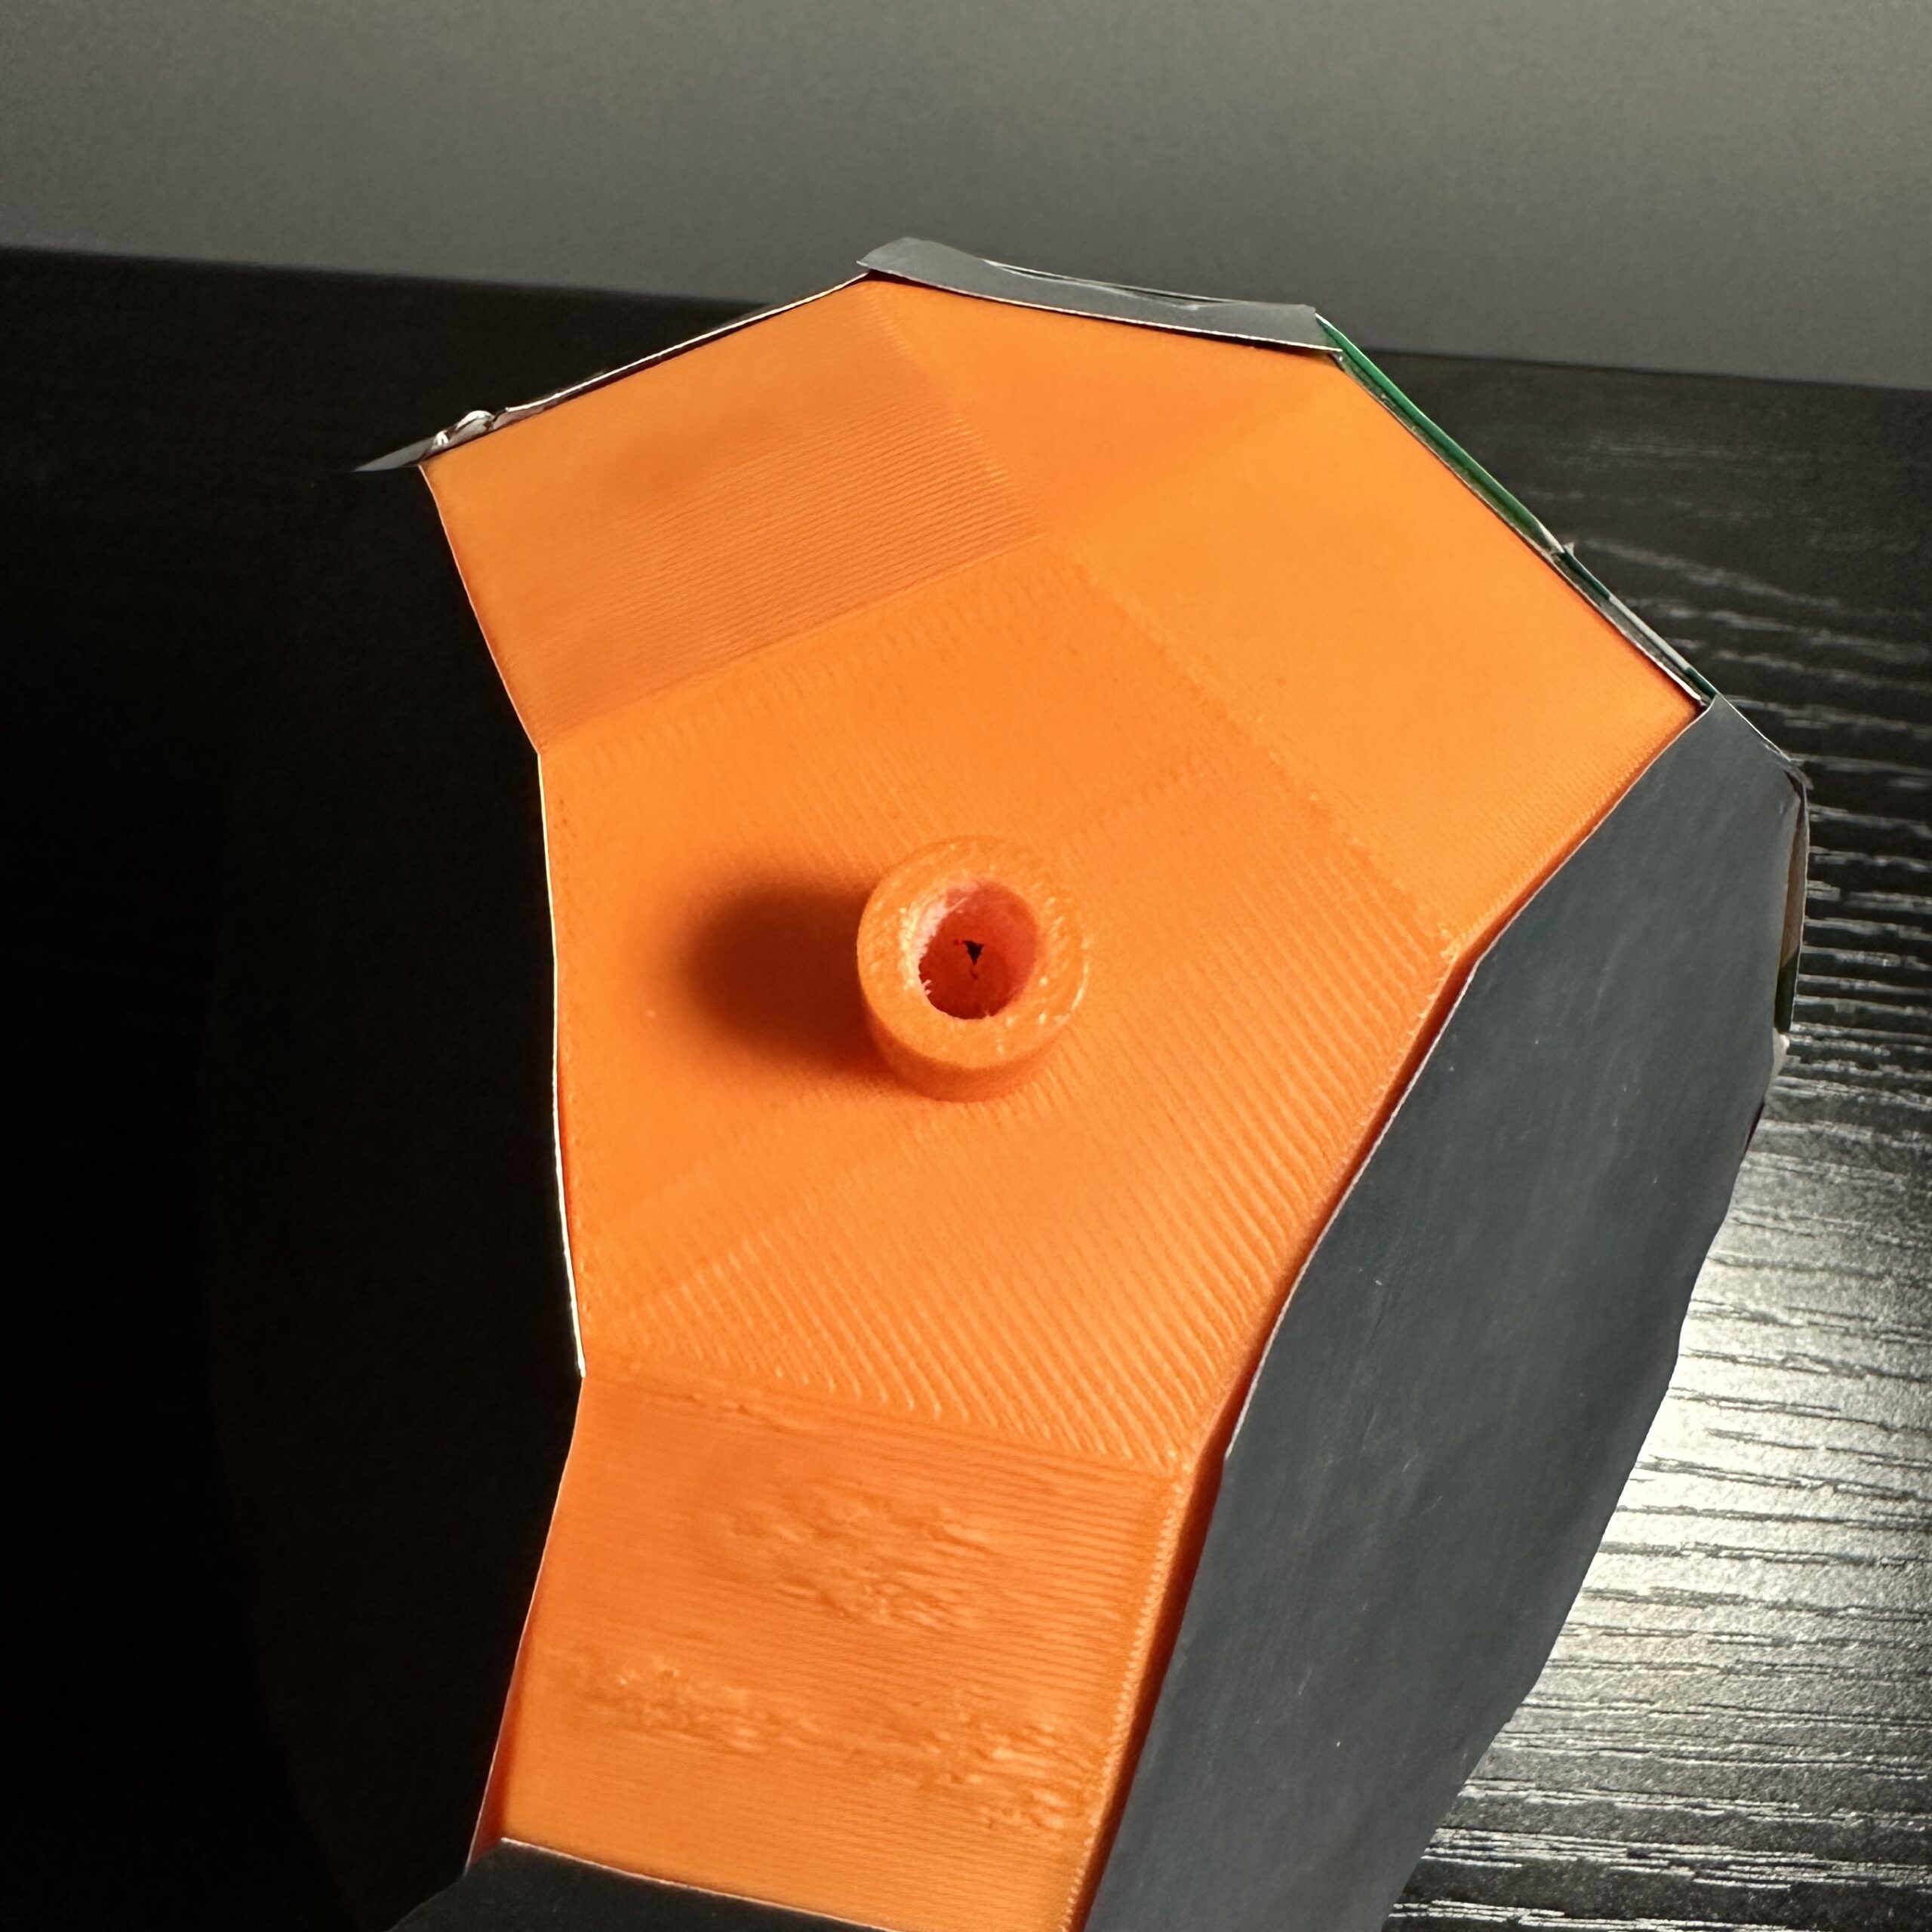
I had previously printed out this shape as the base to do a funky and strange shape, but I decided against it because it would be hard to attach other geometric shapes to it. And I have other geometric shapes printed out that I can add onto the base as well.
The shapes I ended up printing out are from Grab CAD:
– tridiminished rhombicosidodecahedron
– sphenocorona
– gyrobifastigium
Supergluing and constraining side panels
I don’t have any pictures to show for this one, but I can explain in text.
One of my roadblocks was figuring out how to keep the acrylic and the plywood attached (cause I can’t melt them together) and essentially stand atop one another. I first tried using hot glue, but I quickly found the glue hardened too fast, and it didn’t stick onto the plywood or acrylic at all. I was able to peel off the glue easily, so I chucked that idea out the window. My next options were wood glue, superglue, and epoxy. One thing I will say I have learned is that epoxy is very stinky. Although I heard it’s very effective at bonding pieces together once fully cured, I stopped using it as I felt the consistency was difficult to apply to the ends of the panels and overall challenging to work with.
The next thing I tried was the superglue. I liked how simple it was to apply, and it felt like the panels would stay leveled with each other, so I glued the whole box together. And then learned the box wasn’t a REAL cube, because manufactured plywood is not cut straight with 90 corners. I also felt like the box was so fragile, I was afraid it would fall apart as soon as I picked it up. So I took it apart, laser cutted straight pieces, bought braces and screws, and reassembled the box. The braces now sit on the inner corners of the box with scews (which were shortened as I am working with 1/8″ plywood here).