I’m extremely proud of what I’ve been able to make this term! I hope you enjoy learning about the journey that brought me here:
Early Ideas
Initially, I thought of two completely different concepts, neither of which were very feasible 😅. The first was a volumetric display that I had been introduced to by the YouTube algorithm. And, the second was to develop an open-source 3D design generation tool to lower the barrier of entry for people to make personal projects.
A New Spark
Luckily, I quickly snapped out of my initial rabbit holes when I was reacquainted with an art piece that I had previously seen while hanging out with a friend at Harvard:
All I could remember was how immersive the art piece was. Upon watching the video, I was instantly brought back to the ~30 minutes my friend and I spent messing around with the piece back at Harvard. And, all I could think about was making something that was similarly as immersive.
Early Wins
I then started doing some work producing a version of the project that I could do using a lot of what I already have on hand. I thought I could use my laptop’s webcam (as well as its compute for the ML model), send the information to an ESP32, and then display the corresponding commands to an LED panel. I did some looking into making my own flip dot panel or buying one, and turns out they are super expensive (~250 on eBay) and convoluted to build (multiple youtube channels have spent months making their own, without much real progress).
I started experimenting with different models to use and found the DepthAnythingV2, a family of models made for monocular depth estimation (i.e. estimating the depth map using a single camera). I used some code optimizations to get it all running pseudo real-time and was super happy with the early progress:
Necessary Setbacks
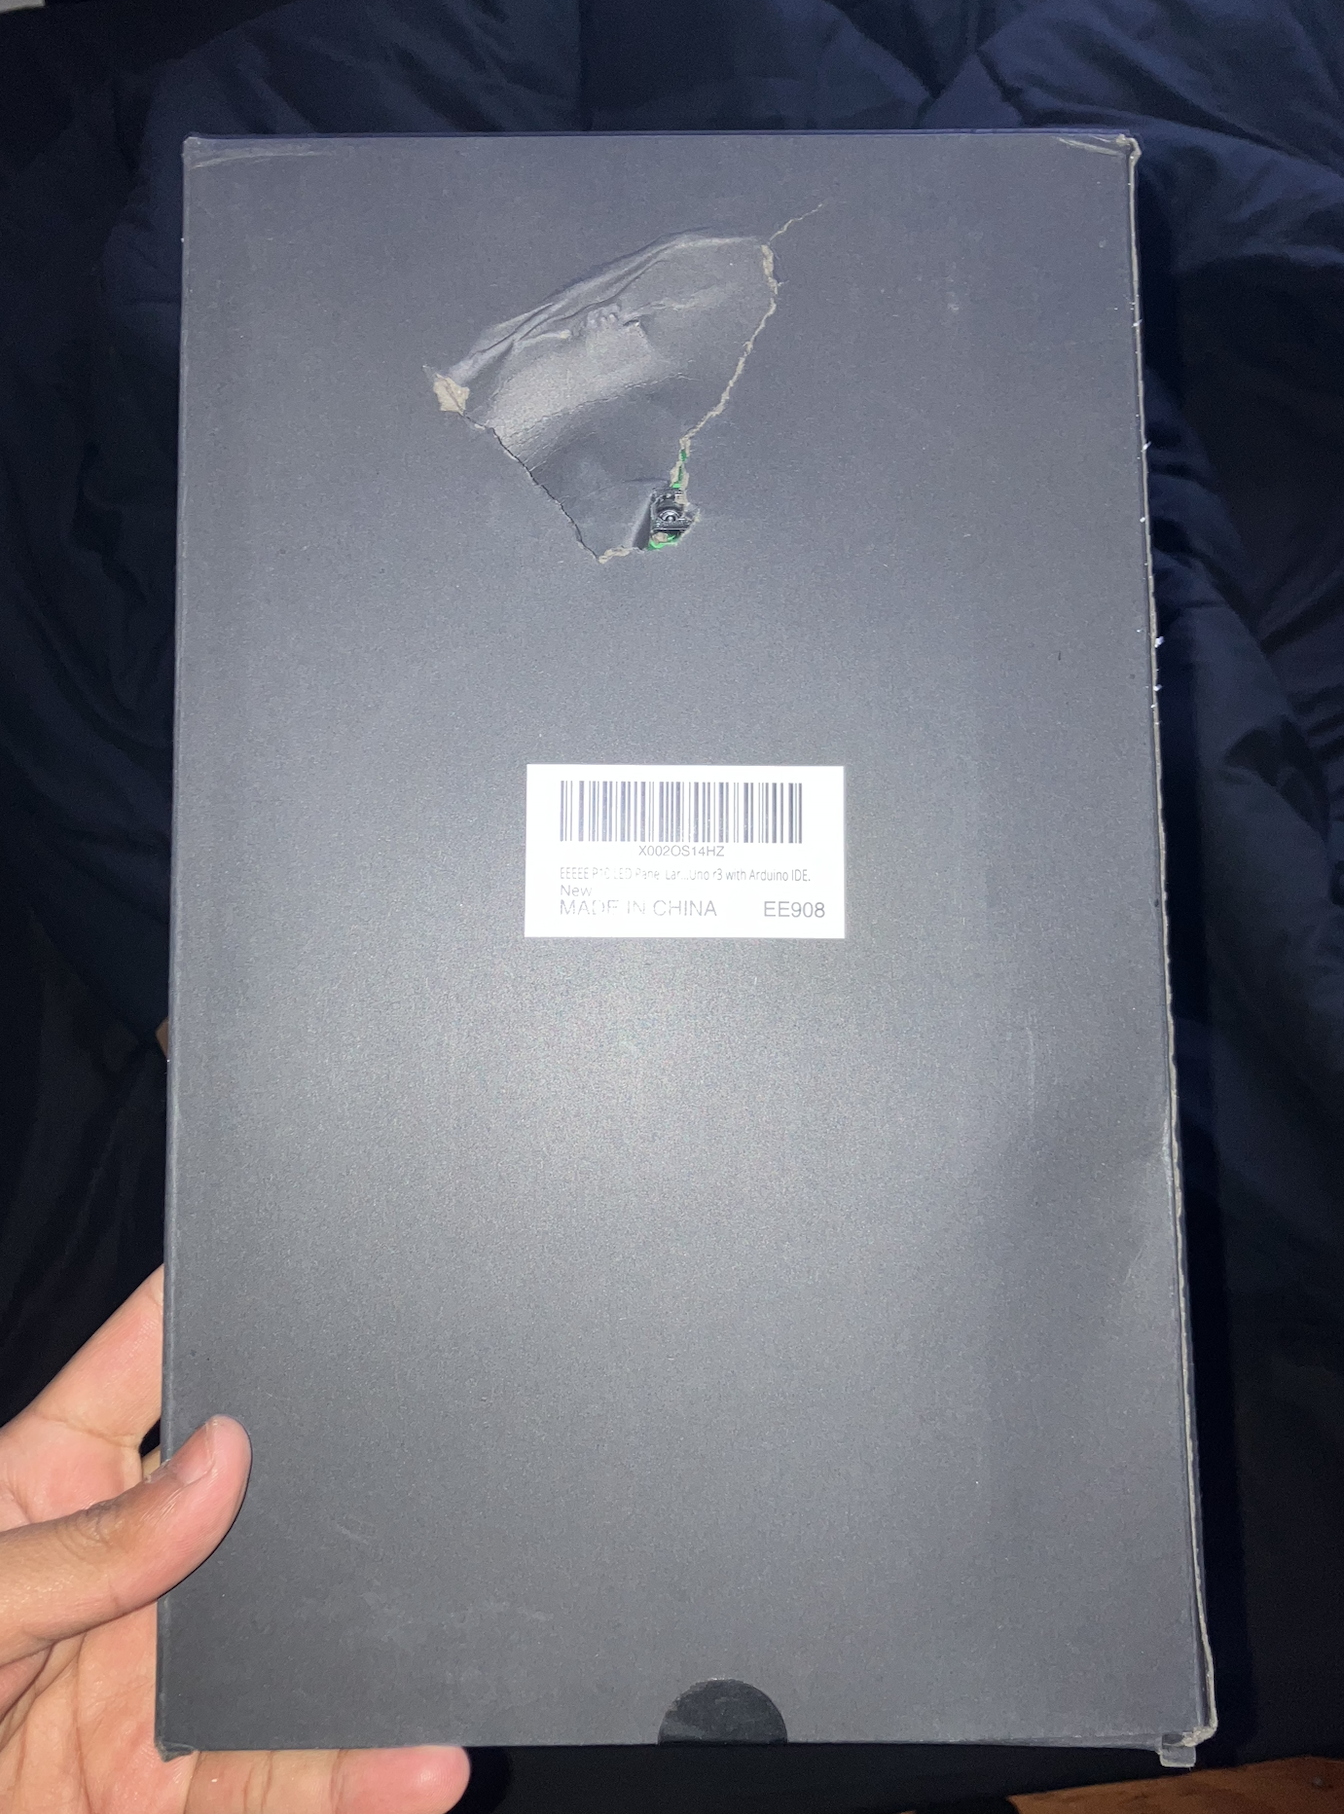
I then looked into acquiring an LED panel to display the depth map and found THIS. However, when I ordered it, I was unpleasantly surprised by a broken LED panel and went through the ordeal of getting a replacement:
While waiting for my replacement, I thought I’d get ahead on getting the Wifi functionality working; and, after a while of banging my head on my desk, finally got it all working:
I also had the chance to design an enclosure for what I thought the LED panel and accompanying electronics could be housed in:


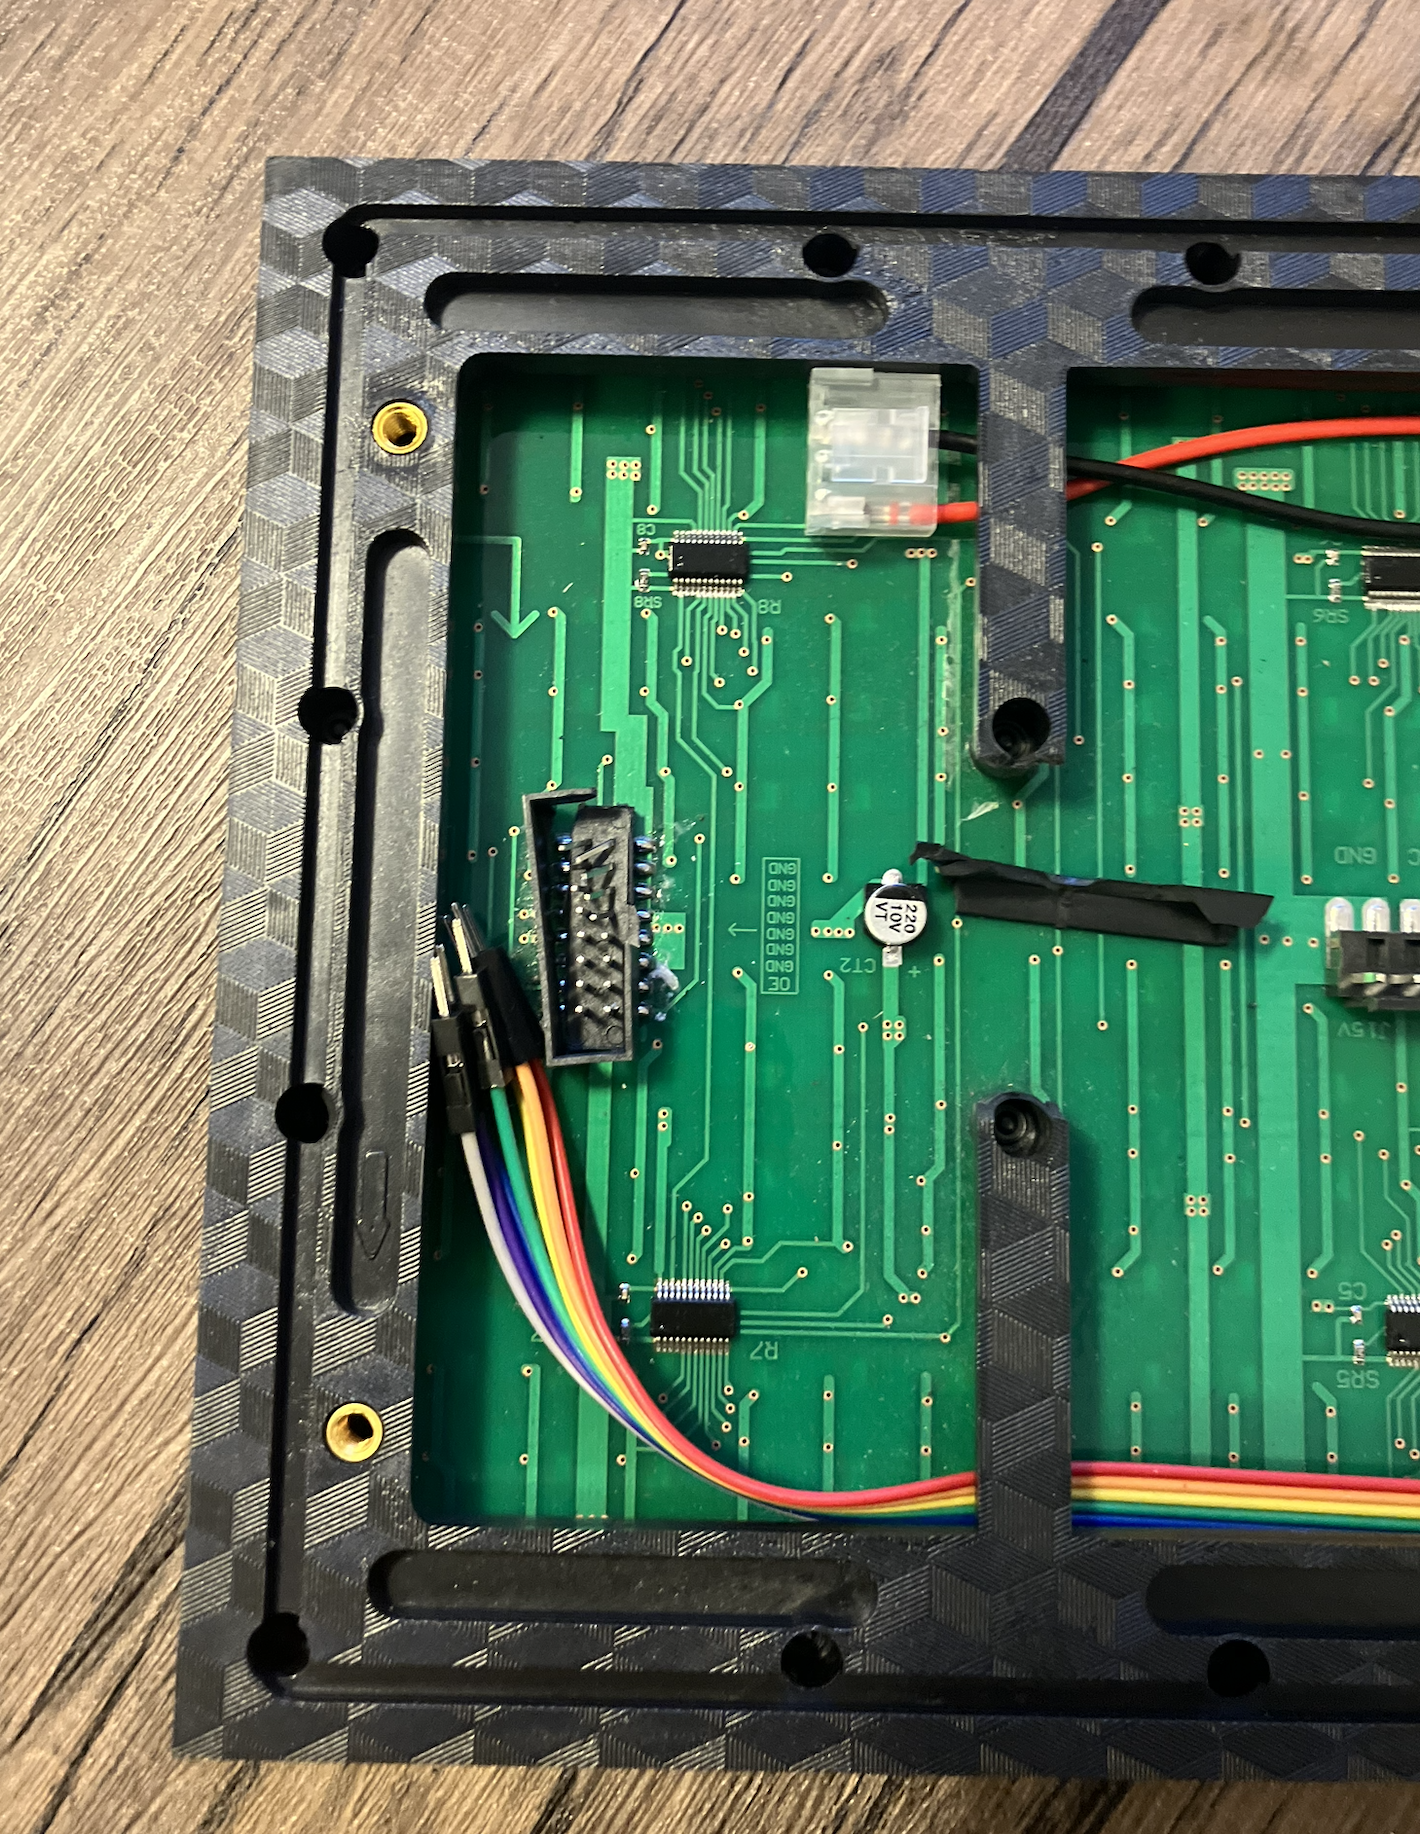
Despite this win, however, I couldn’t get the amazon LED panel to work even after a whole weekend’s worth of work 🥲.
Pivoting
The reason I called the previous section “necessary setbacks” is because they inspired a much better version of the project. The first upgrade was switching to using a Raspberry Pi instead of the ESP32. This opened the project to using a higher resolution screen which looked much better than the original plan. So, after some quick integration, I got a rough version of it all working:
Iterating to the Final Version
Also, the new electronics freed me to break away from the previously “angular” design. I’ve recently been infected with the retro-tech infection by my YouTube algorithm and thought this would be the perfect chance to design and enclose the electronics inside a case that looked like an older Macintosh. So, after some iterating, I got to something that I was really proud of:


The Final Reveal
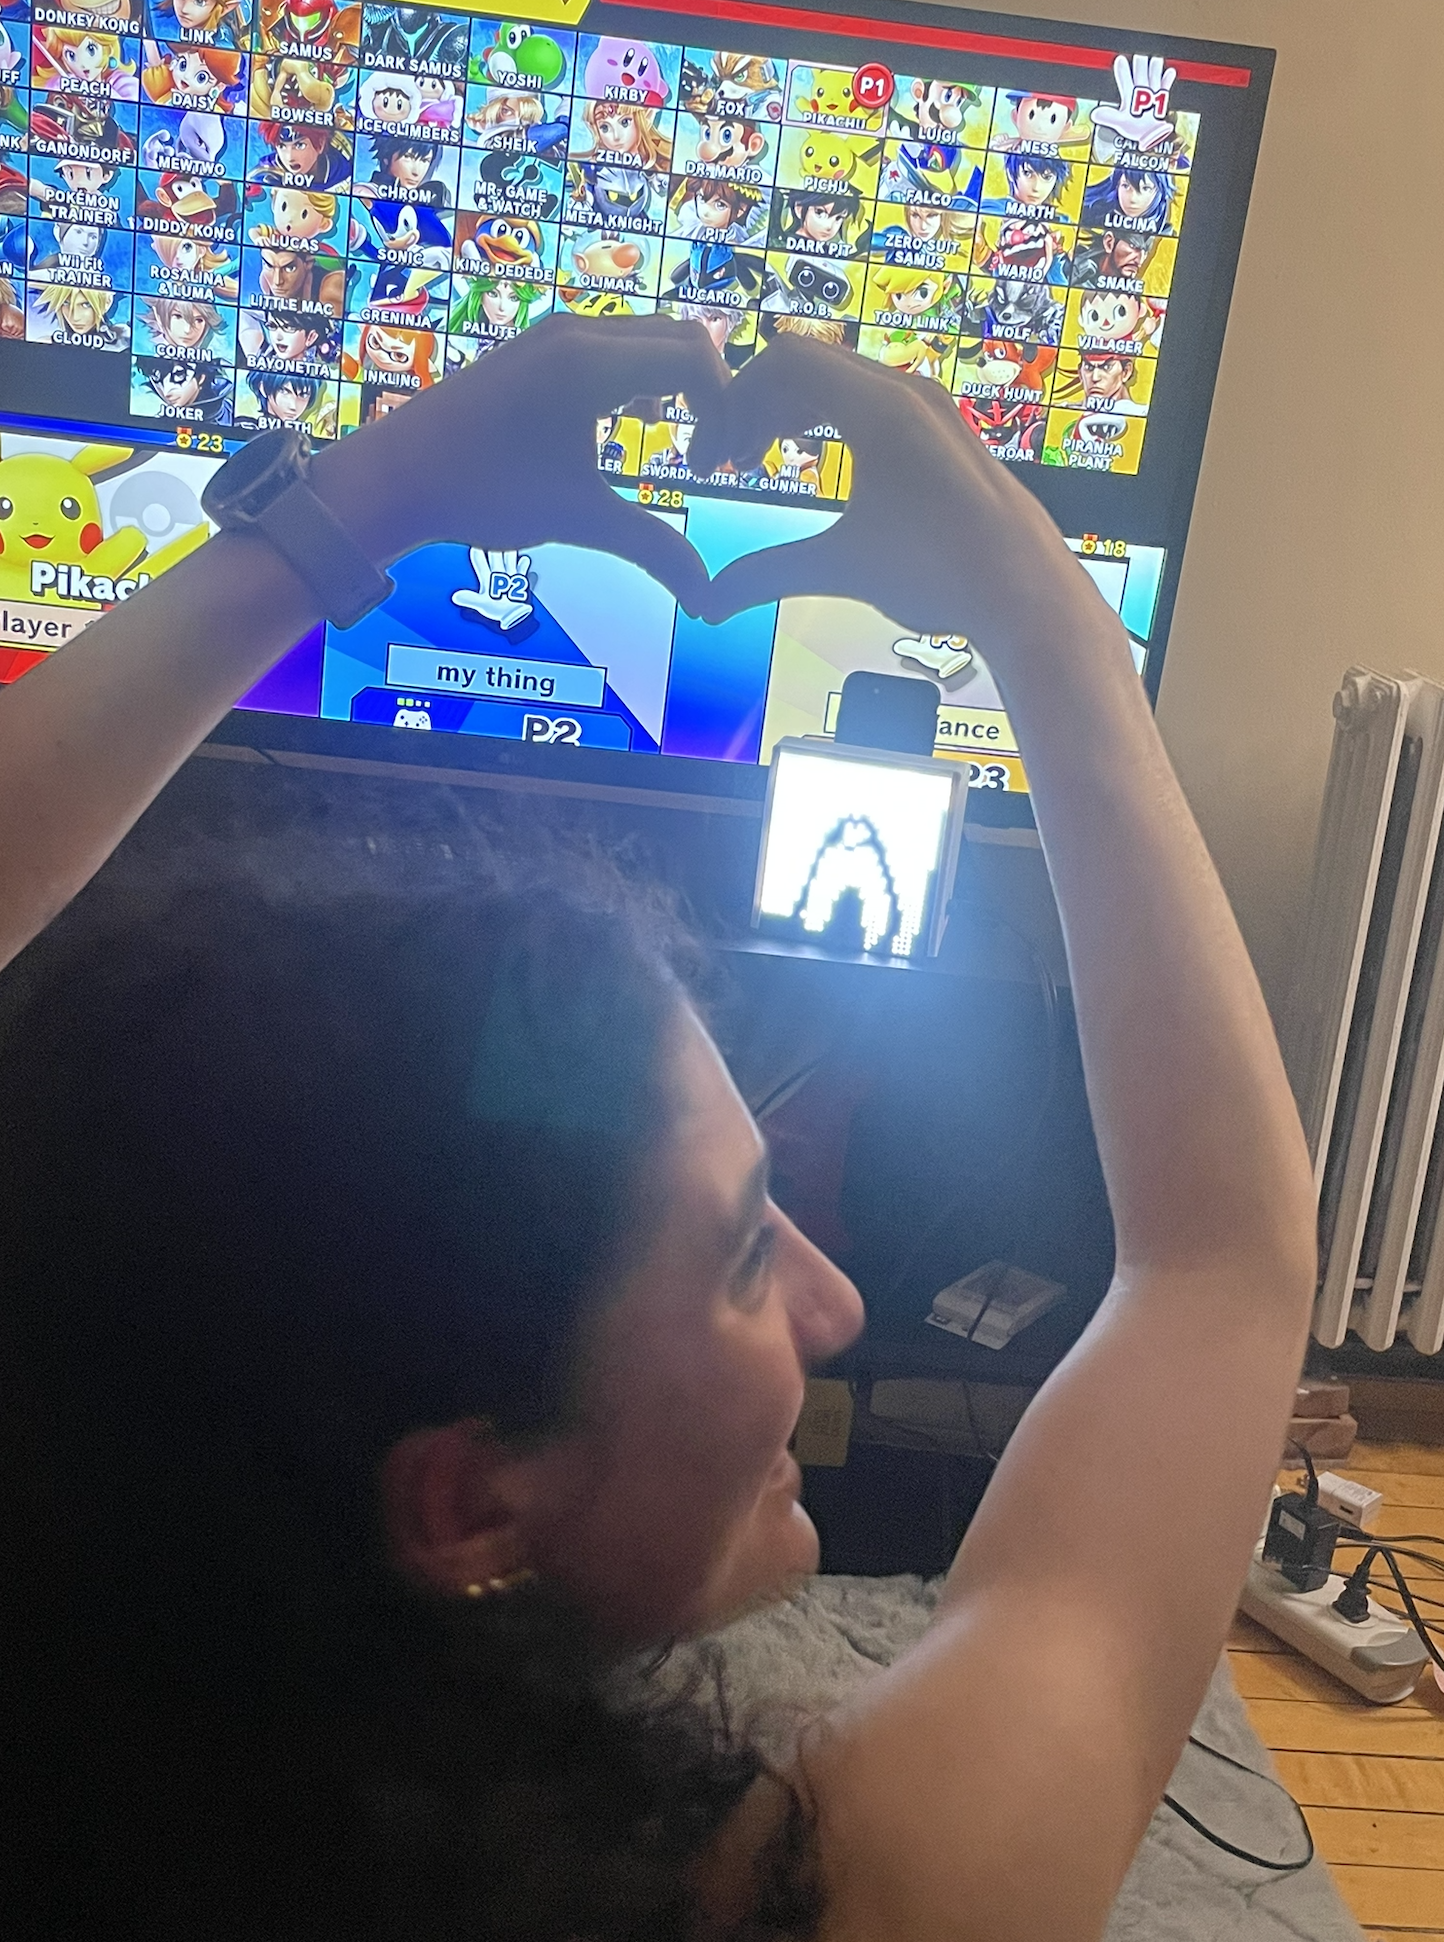
Through all of this, one of my friends had been super helpful and is even the person who lent me a Raspberry Pi when my amazon LED panel didn’t work. So, I wanted to surprise her with this project as a gift to show my gratitude. We have weekly game nights and I thought it’d be the perfect time to give her the gift. Here’s how it went:
What’s Next?
I’ve created THIS GitHub repository with the final shopping list, code and CAD files, as well as instructions with how to get your own version of the project up and running. Beyond inspiring people to build interactive LED matrices, I hope I inspire people to run after whatever weird ideas pop into their head!