Experimenting
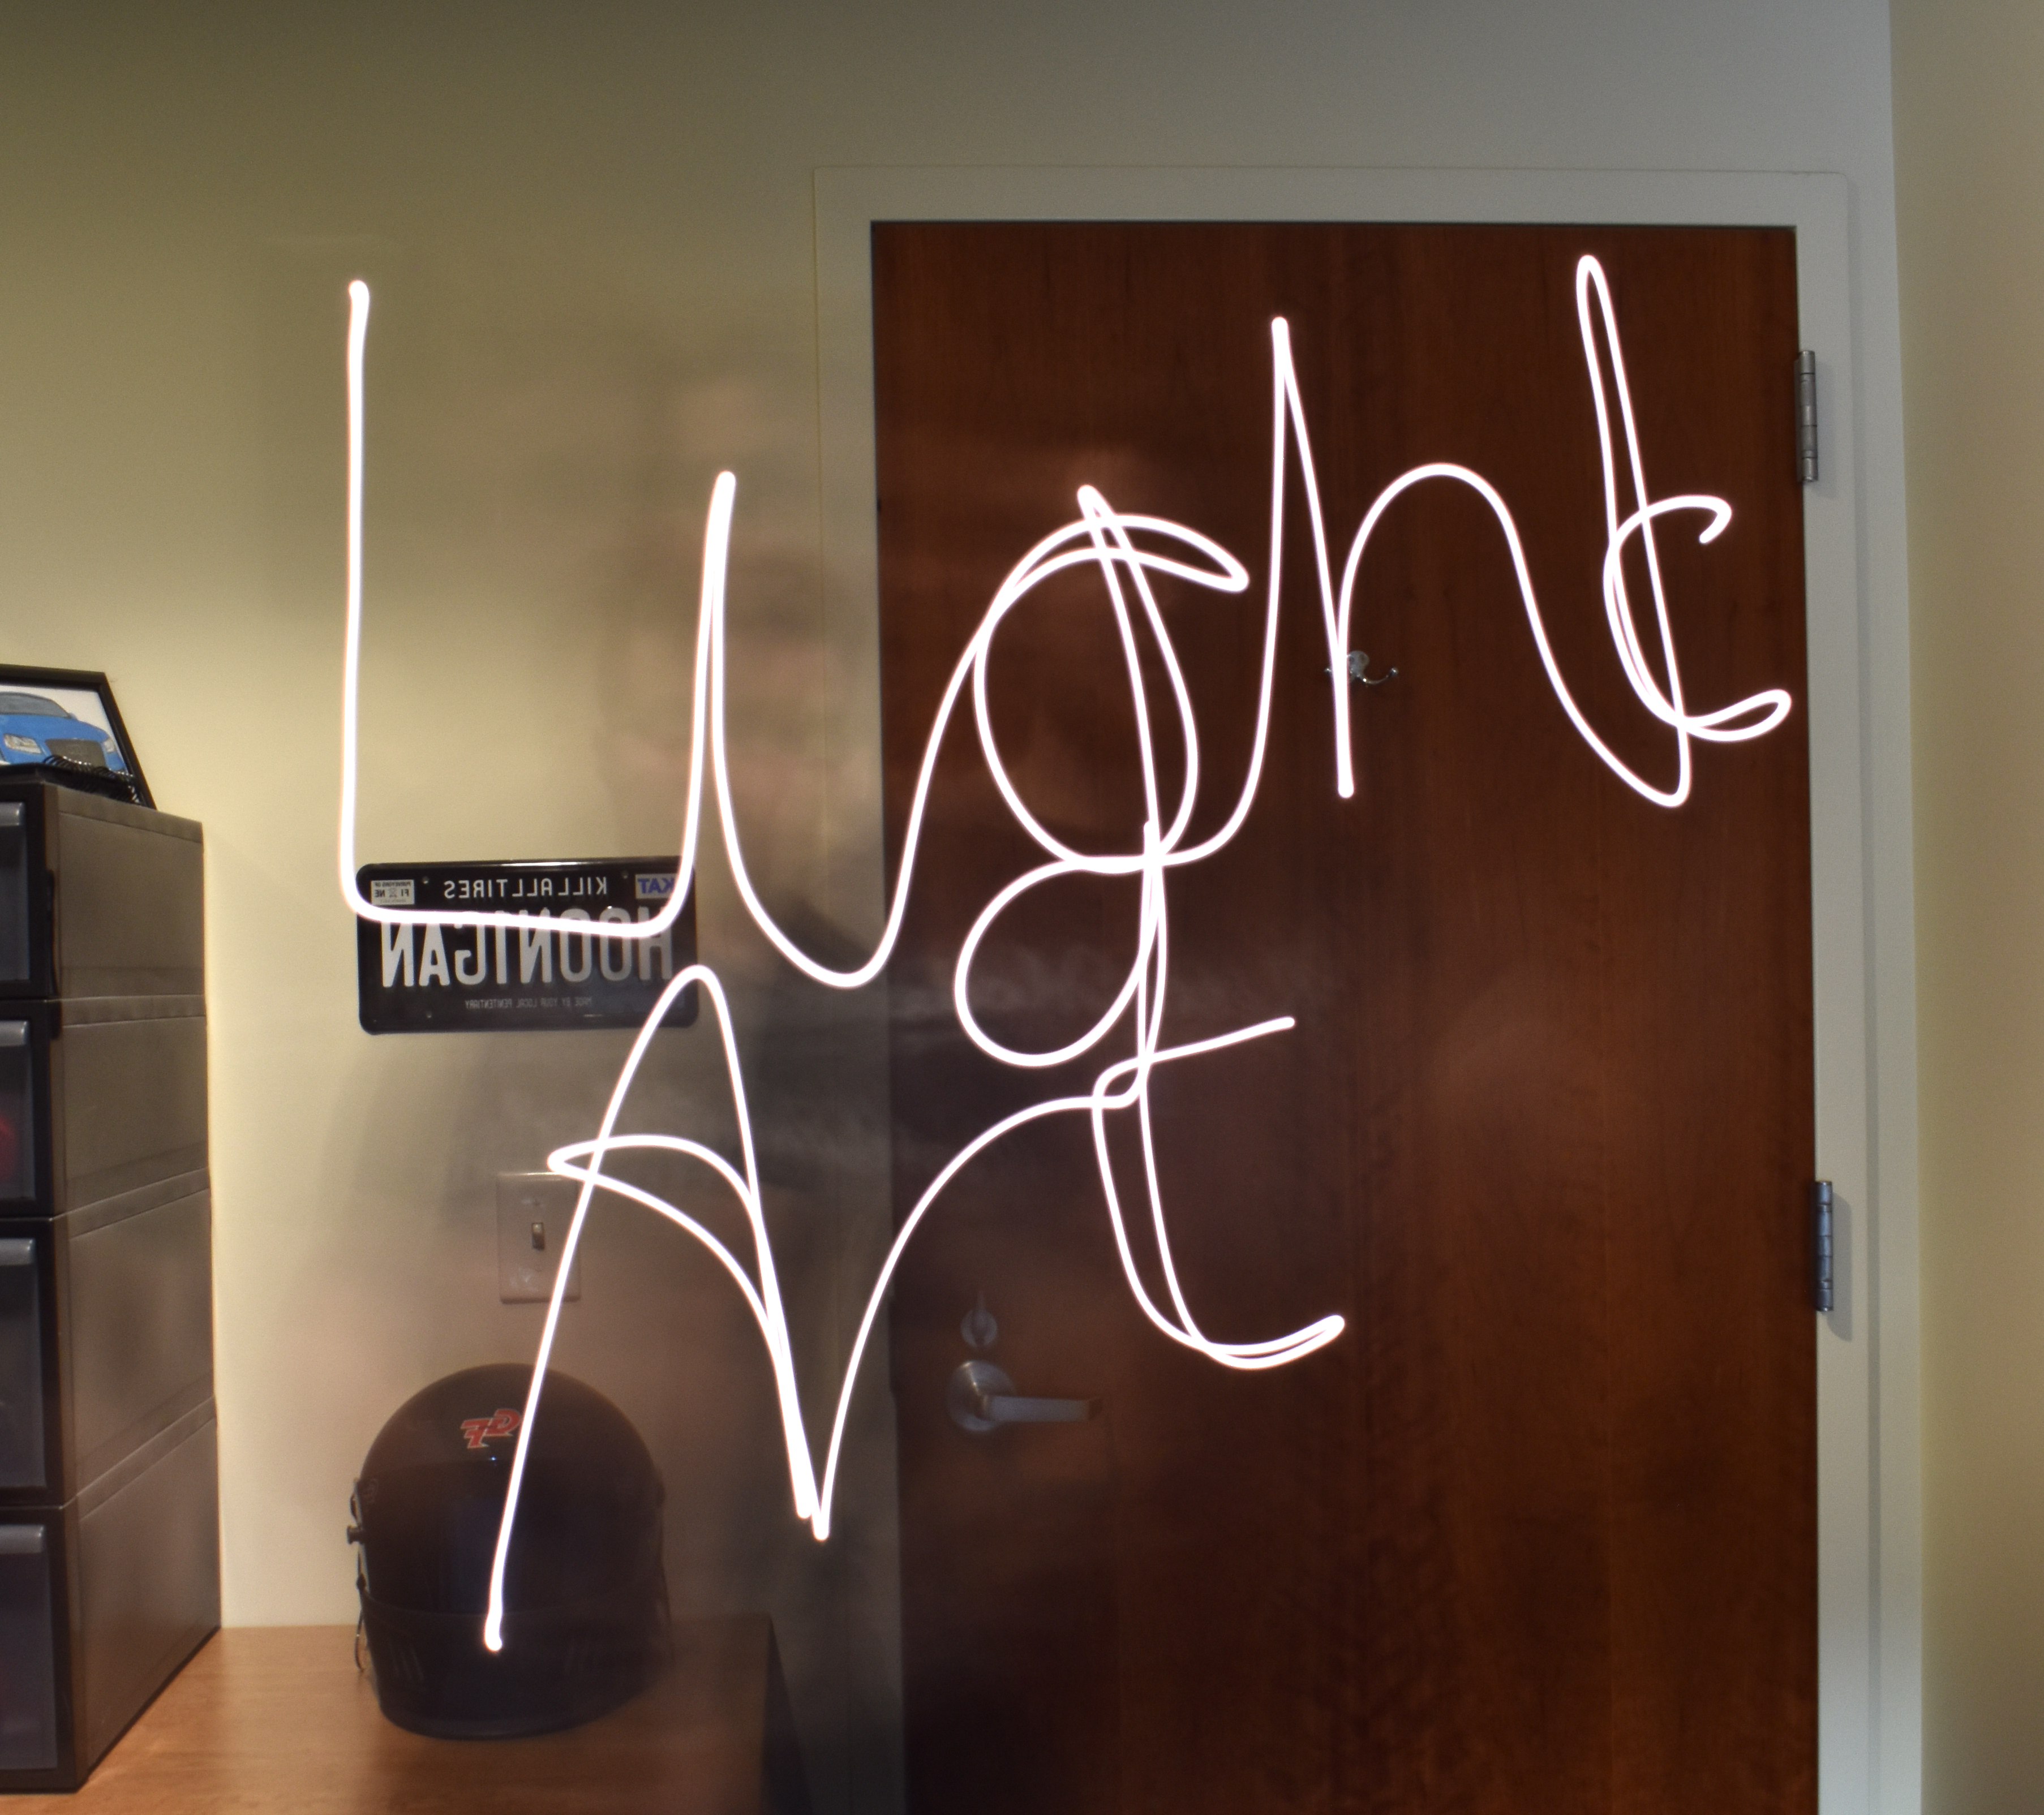
I took the maquette as an opportunity to test my new equipment which includes a tripod and a variable ND filter and to refamiliarize myself with my camera’s functionality. I set up my camera on the tripod and attached the filter to my 18-55mm lens and picked a corner of my room to test on. Although light painting will not be the sole focus of my project, I figured it would be a good starting point. Using the flashlight on my phone, I began to draw patterns and shapes while taking photographs with varying exposure length. I started with 2 seconds, then moved up to 5, 10 and eventually 15 seconds, which is the length of exposure for the photos included. Each time, I adjusted my aperture, ISO, my filter to find the perfect balance of light. After finding what I liked, I began trying to draw something. And it was way harder than I expected. It’s surprisingly difficult to keep track of your bearings, where your hand has already been and where it needs to go when you have absolutely zero feedback in the moment. I was eventually able to create this piece of “Light Art.” The photo is completely unedited, besides being cropped and flipped horizontally.
Planned Photoshoots
There are a lot of things and places I want to take photos of for this project. I likely won’t get through all of them but here is a list of those I’m interested in trying out:
- People walking across campus (day)
- Waterfall at the historic sawmill in Paxton (day)
- Waterfall at the Cascades trail in Worcester (day)
- Cars and lights moving at Boston seaport (night)
- Traffic moving around Union Station (night)
- Planes taking off and landing at Logan (night)
- Stars and Milky Way, looking for exact location (night)
- Water flowing on a river or a beach (night)
- Light painting inside Clinton tunnel (day)
Equipment
I believe I already have all the equipment I will need for this project, and there were only two relatively inexpensive things that I did not already have. If I decide to dive deep astrophotography with an exposure longer than 20-30 seconds, then I may reach out to the photo club to use their sky tracker.
- Tripod (needed to get)
- Variable ND Filter (needed to get)
- DSLR Camera + Lenses (already had)
- Photoshop + Lightroom (already had)
- Flashlight (already had)
- Sky Tracker (might need to borrow)
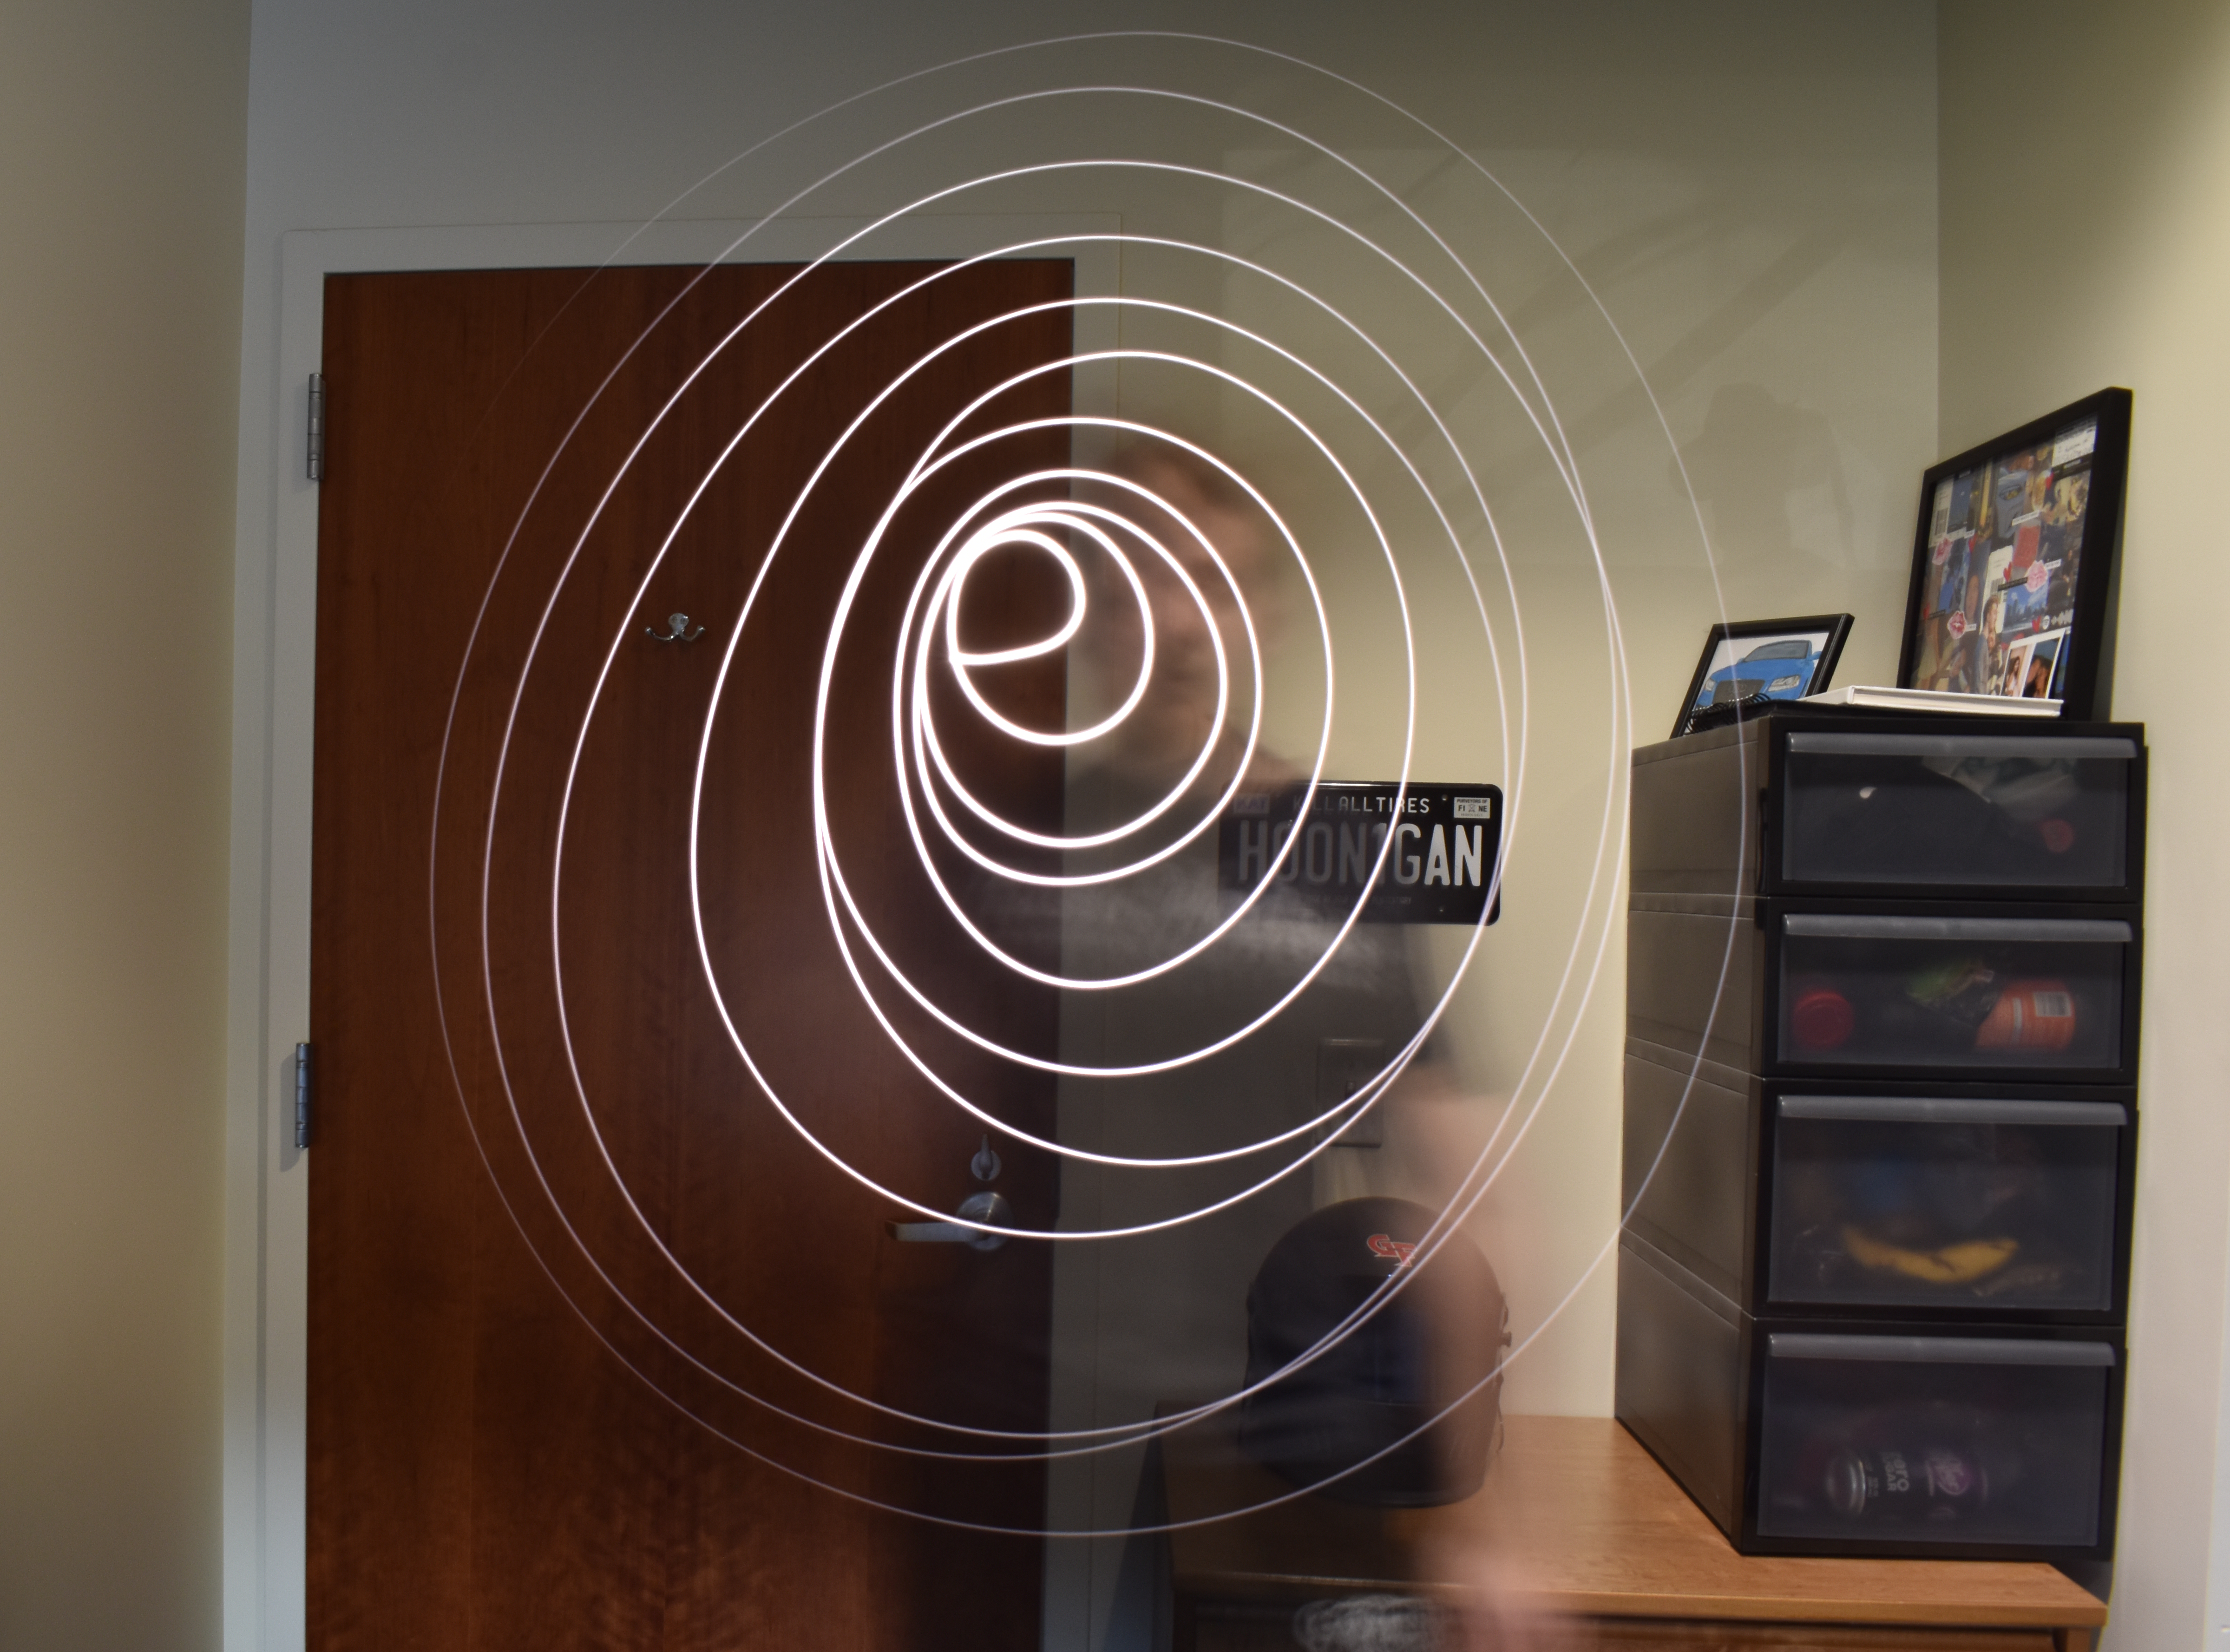
You are getting a lot of good practice! If you continue to play around with the light painting, I think you should try overlaying multiple photos to create an interesting art piece and/or collage.
It’s a small thing, but have you considered turning the light on and off part-way through the exposure? I don’t know if that would ruin anything but it seems like it could lead to some neat results. Also, it may be prudent to see what strategies might exist that could help you keep track of where the light is? Now certain what those would be, but it could be worth some consideration.
The detail you were able to get is so impressive! Also, I’m sure writing out “Light Art” took many tries, so I applaud you for the dedication. Jokes aside, I’m curious as to how you want to combine your learnings from your maquette with the photoshoots that you have planned. Either way, super excited to see how this turns out!