I made progress this week, but I still have a lot to do until I can remove the quotation marks from “everything” and “working”. The biggest items on my to-do list are:
- 3D print a holster for the battery and breadboard
- 3D print mounting hardware to attach paper mache diffuser to back board
- Add a lightswitch or button accessible from the outside
- Create some fun dangly bits out of the supplies I purchased
Electrical Progress
I purchased a 5V phone battery bank with a 15000 mAh capacity, which is much higher than I initially planned. Battery bank technology has advanced since the last time I purchased one (five years ago). I have sacrificed a micro-USB cable to connect the battery bank to my breadboard. I have not tested the LEDs running off of the battery bank, because I don’t have wire strippers and I keep forgetting to strip the cables when I’m on campus. However, I rewired my circuit so the LEDs and Arduino Nano can run off of an external power supply. I initially had the NeoPixels drawing 5V from the Nano, however I read that this can fry your microcontroller. I fixed my circuit so the LEDs are powered directly from the power supply.
The program is very simple, and I decided to simply modify one of the functions from the NeoPixel example to achieve some ambient color changes. It is very easy to change this program, so I may modify it once the mechanical aspects are complete. I am more concerned with the manufacturing process being completed on time than perfecting my LED sequence.
Mechanical Progress
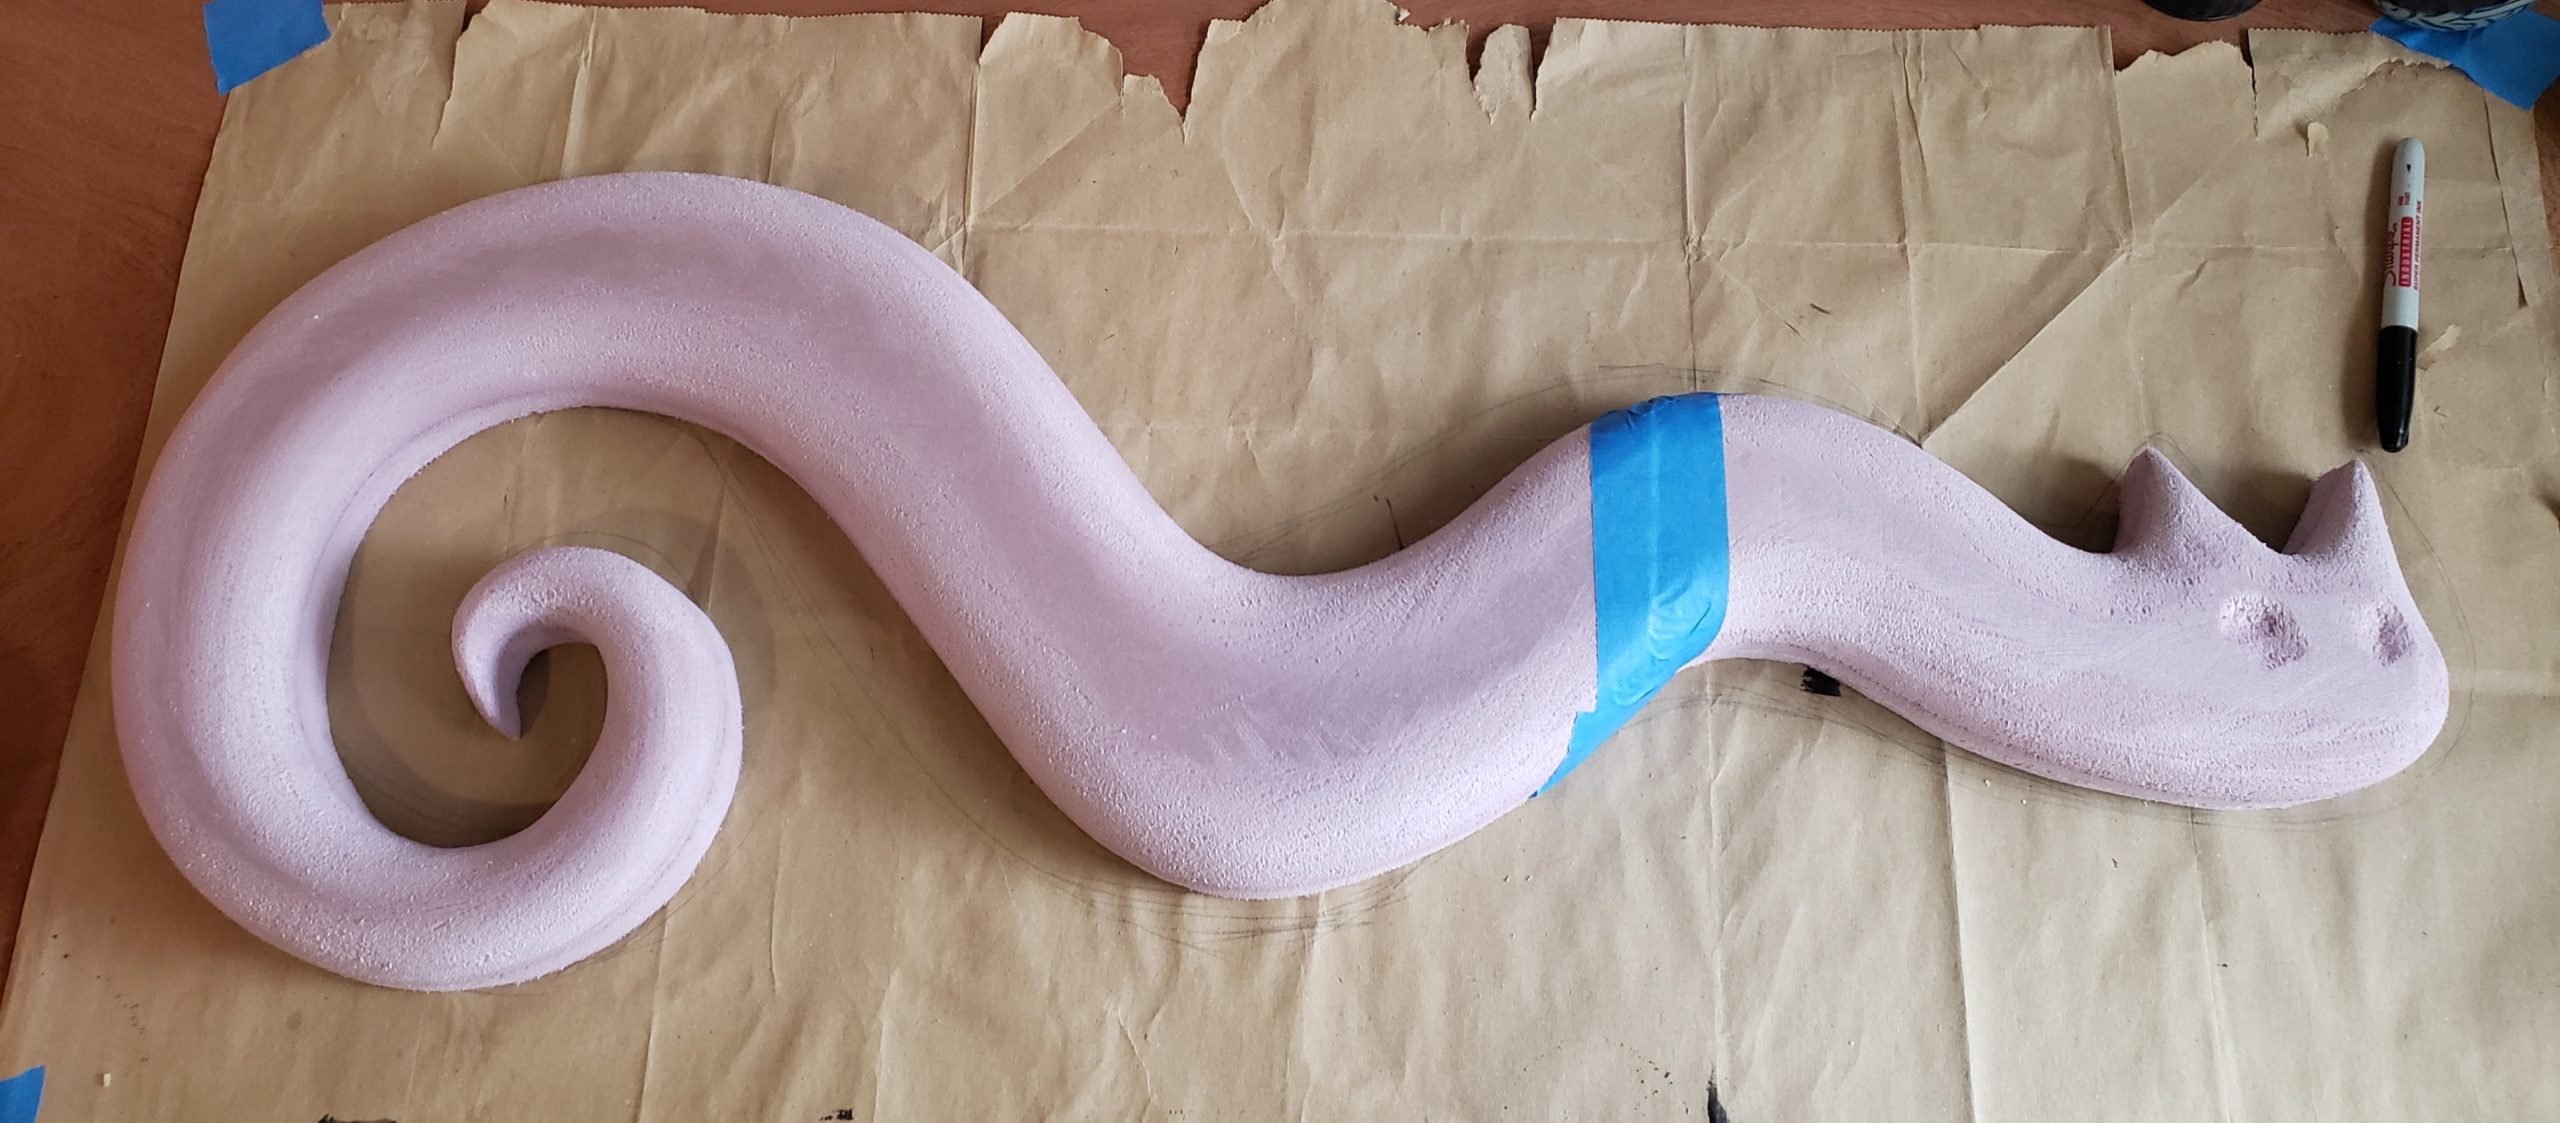
I started this week by sanding down the foam parts of the mold that I cut on the router. This process went smoother than I expected, as the foam was very easy to shape with a rasp and sandpaper. After I sculpted the contours I wanted, I connected the two pieces using wooden skewers and some painters tape.
I then wrapped the mold in plastic wrap so the paper mache would not stick to the mold or pick up bits of insulation. I covered the mold with tissue paper and glue, but it was difficult to keep track of how many layers I was putting down. I decided to err on the side of caution and stop gluing in case I was making the diffuser too opaque. However, once I removed the mold and tested with the NeoPixels, I found it was too transparent.

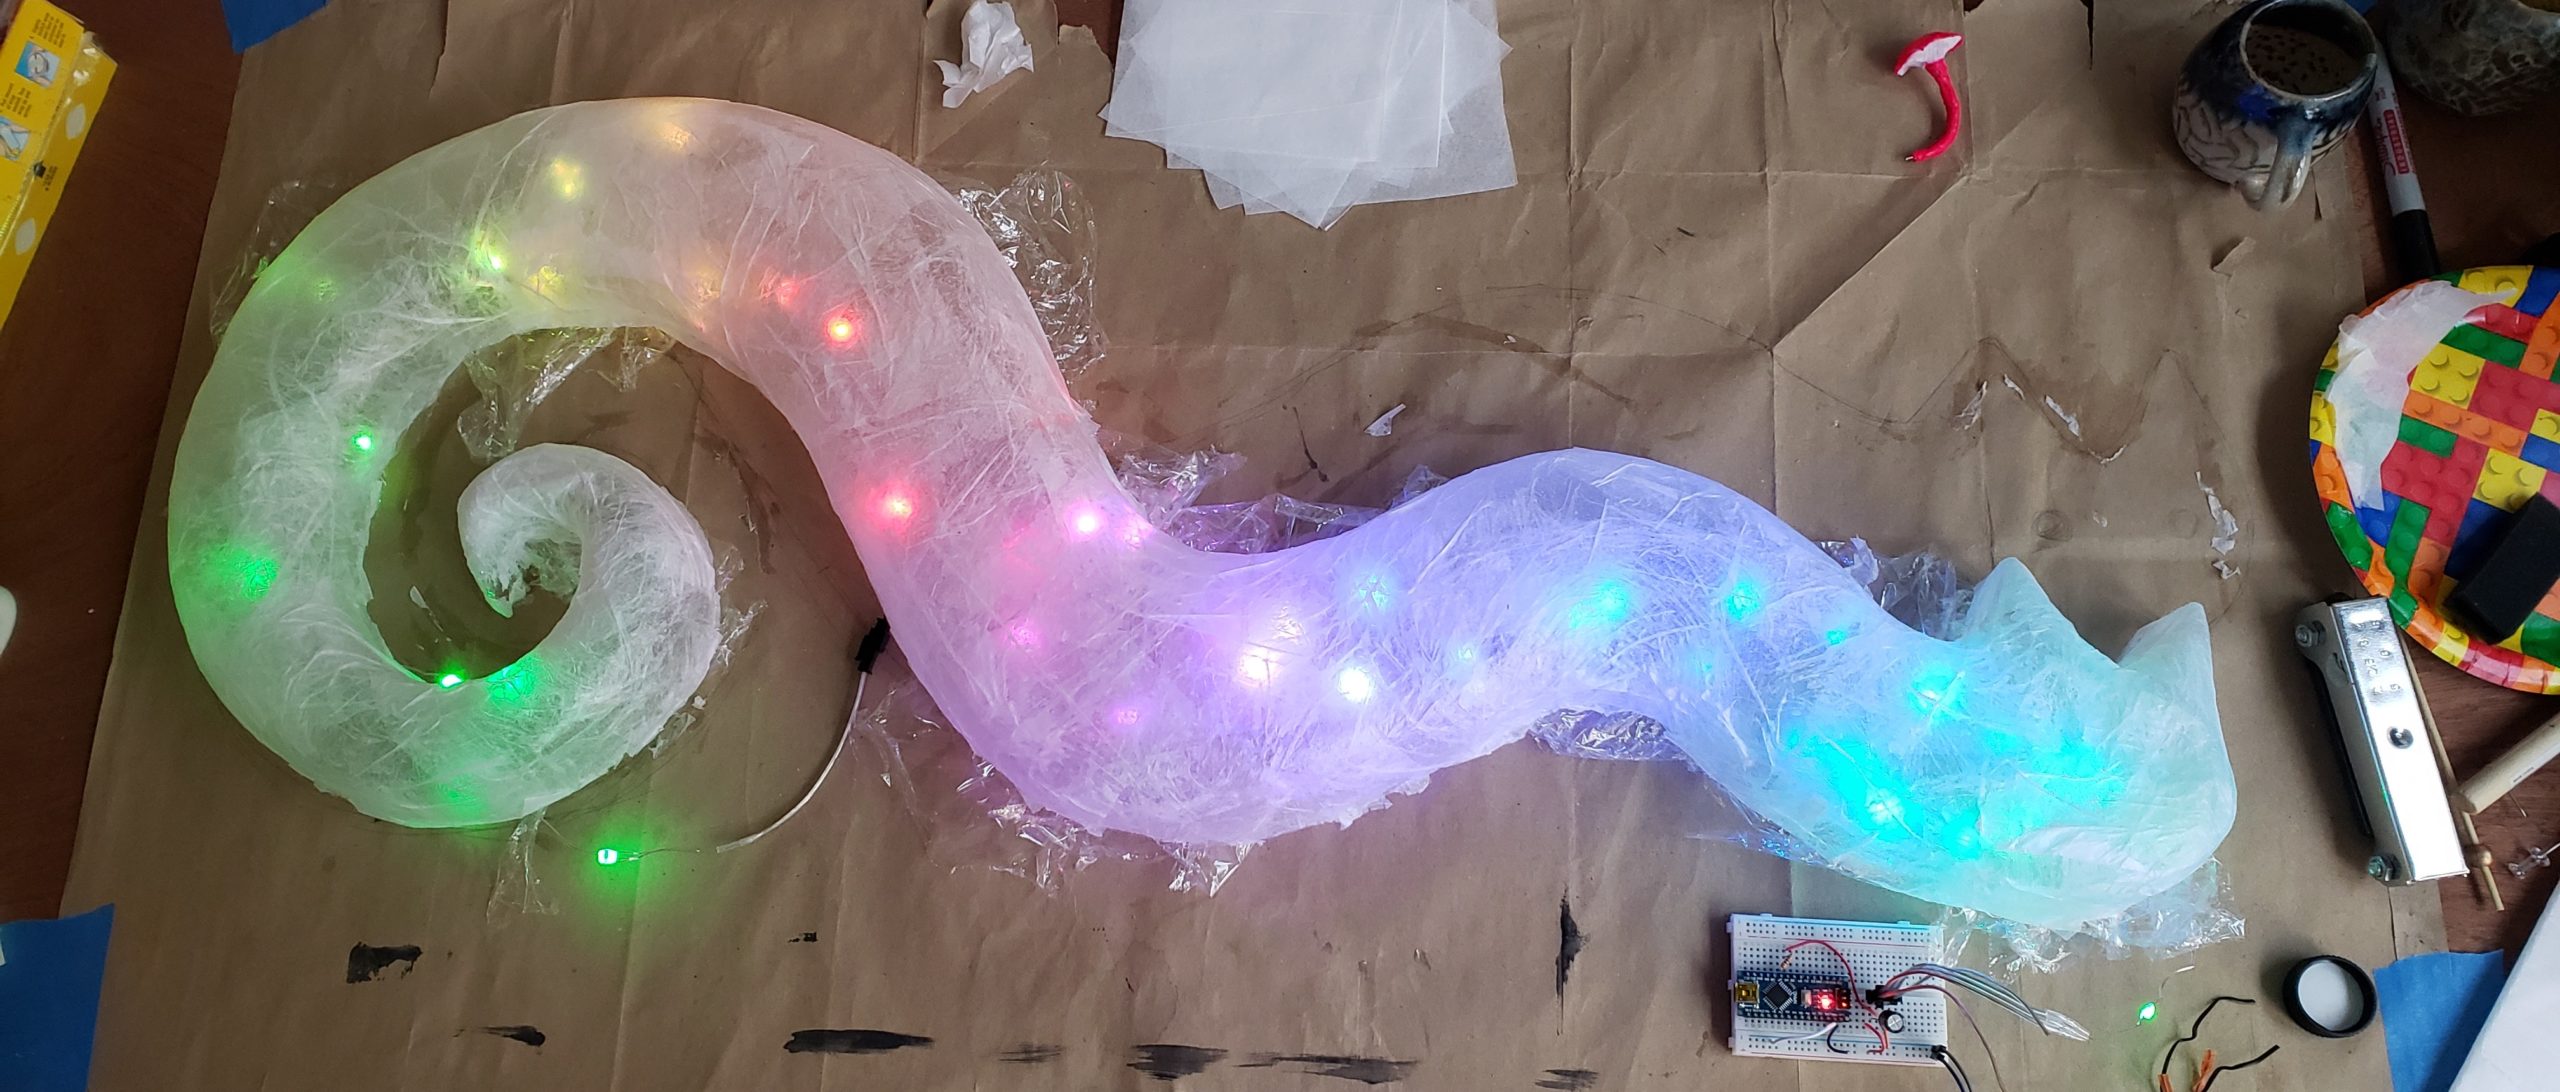
Aside from a few holes in the diffuser, this iteration might have been fine. It seemed too transparent, but I tested it without the white backing. My apartment gets a lot of natural light, which also effected the appearance. I decided to glue a few more tissue paper layers on the thinnest sections. This process was difficult because white glue is water soluble, so every layer softens when more glue is applied.
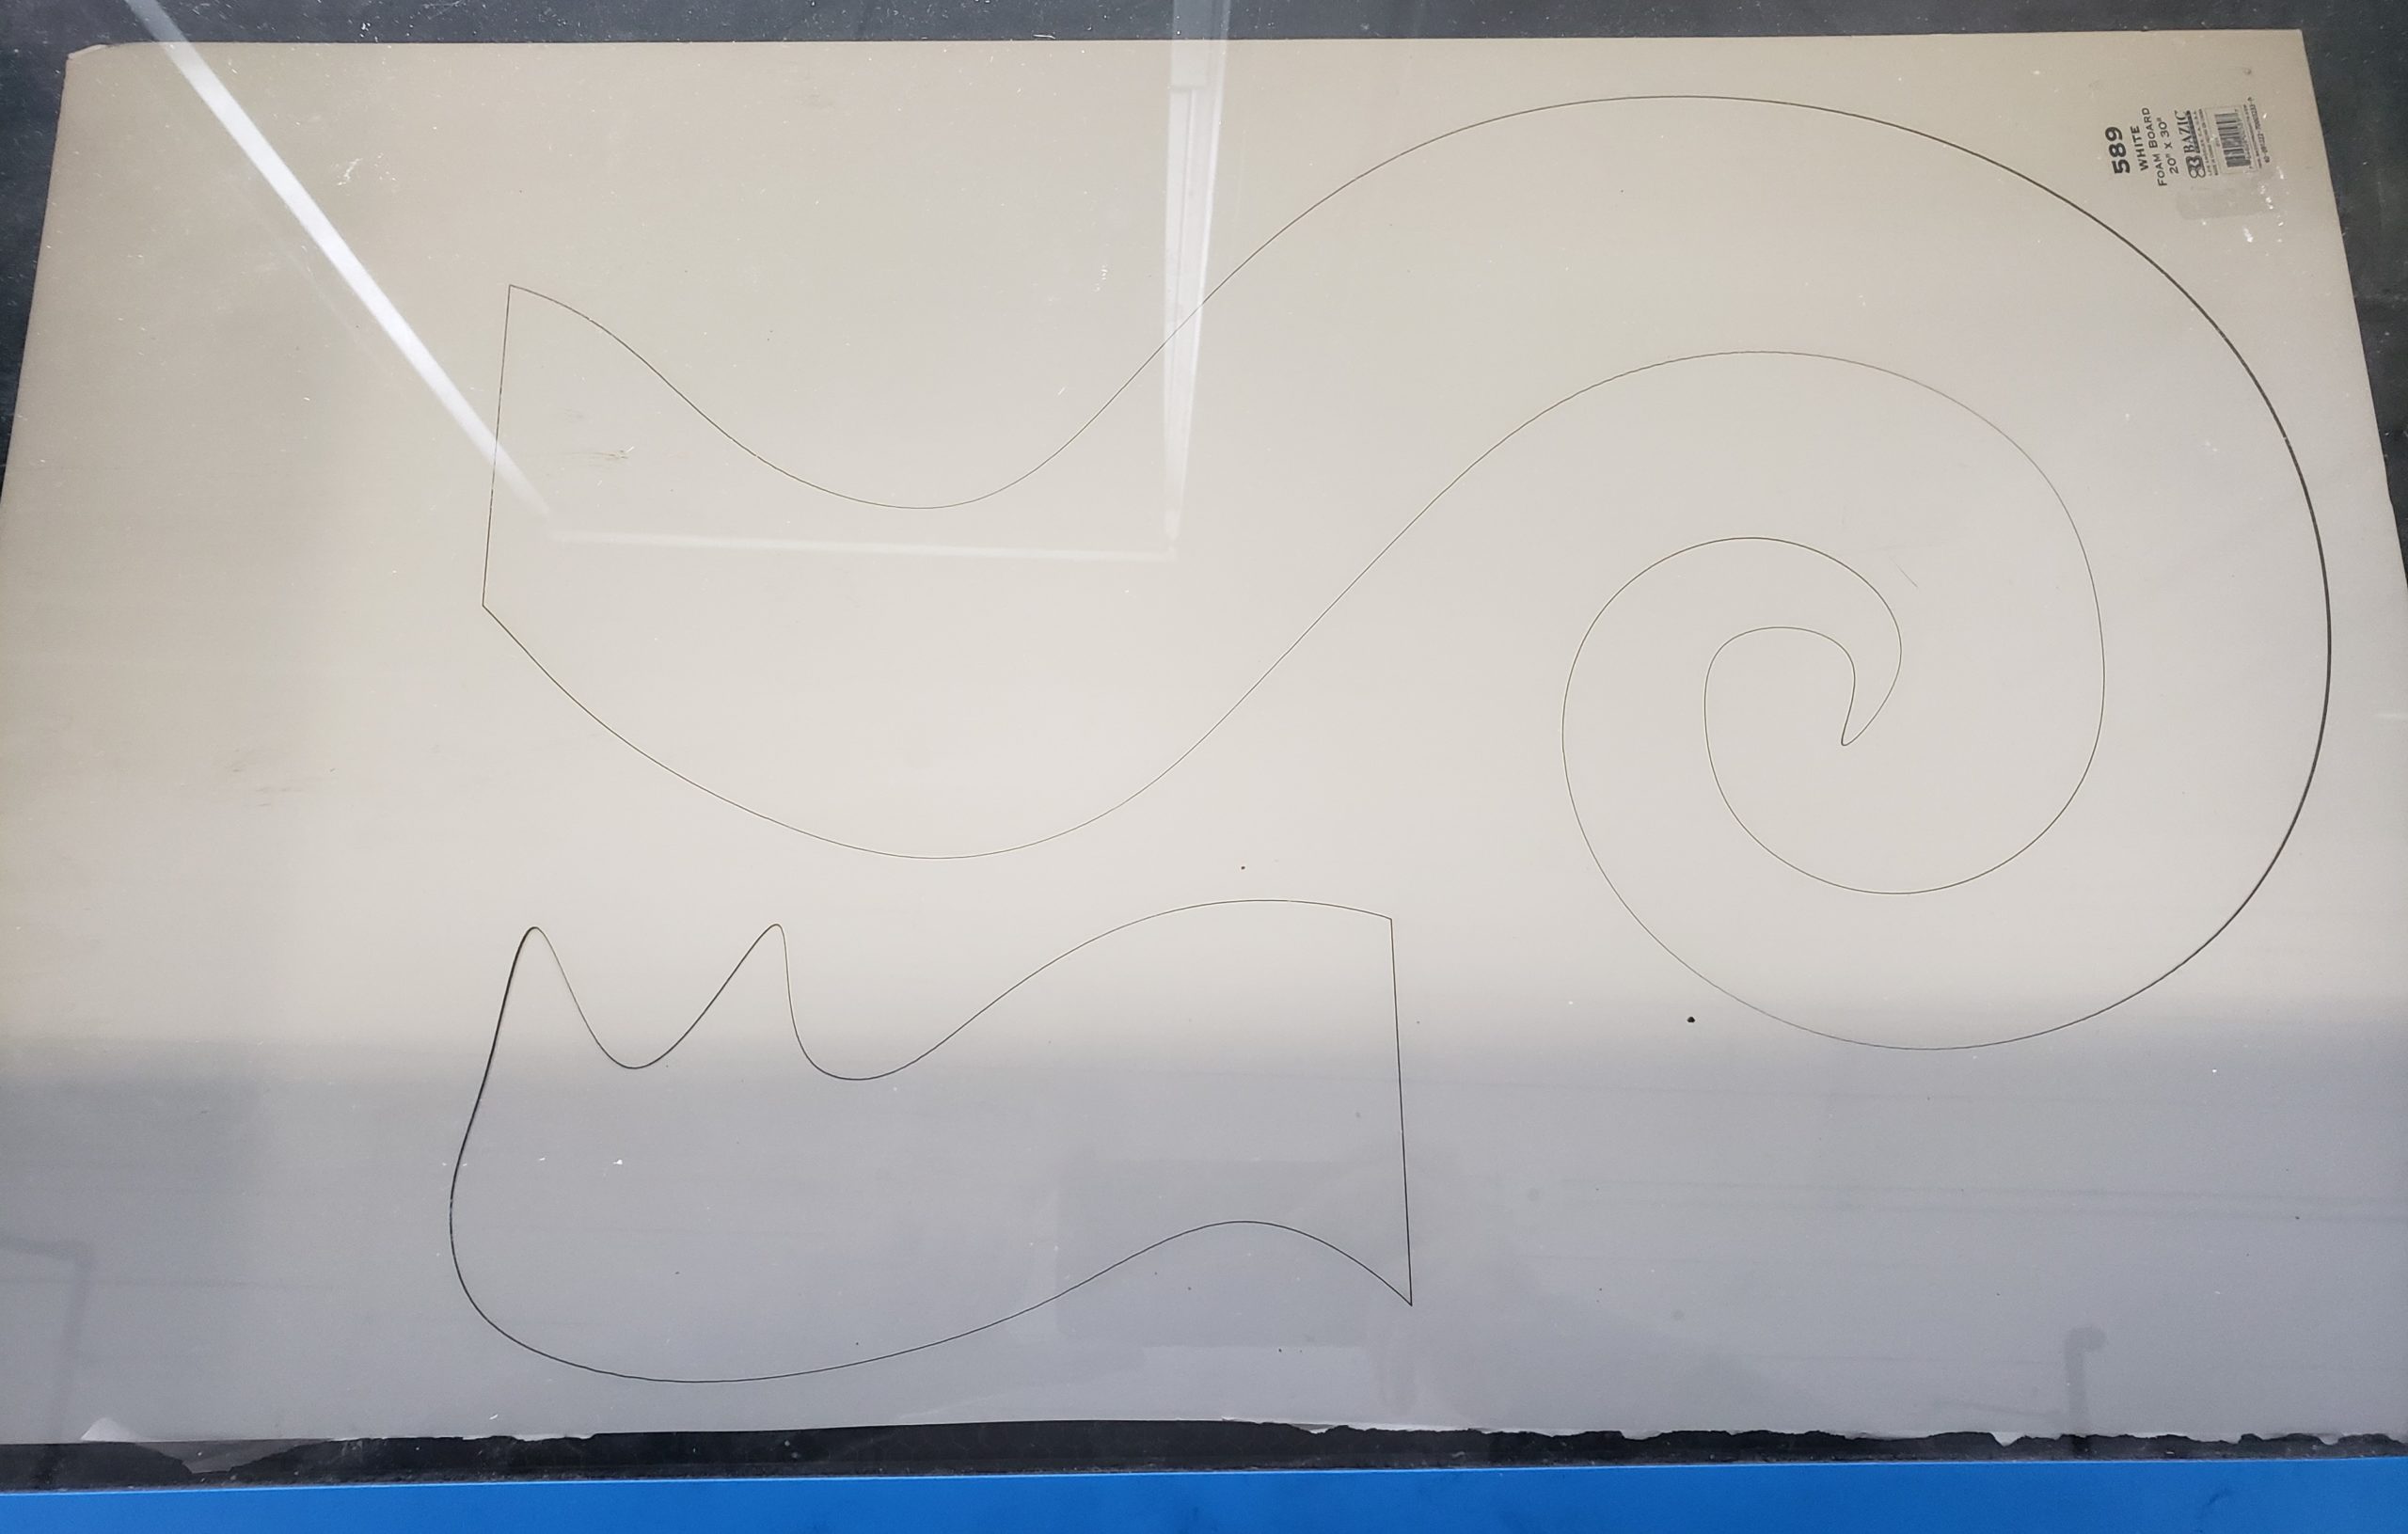
I laser cut foamcore board into the animal shape, so I have a hard surface on which to mount the diffuser. This backing also helps reflect the light from the LEDs and enhance the glowing effect. When I tested the patched up diffuser on top of the board the light looked much closer to what I want. It also helped that the sun had gone down and my apartment was fairly dark. I don’t envision having this lamp on while the sun is out.
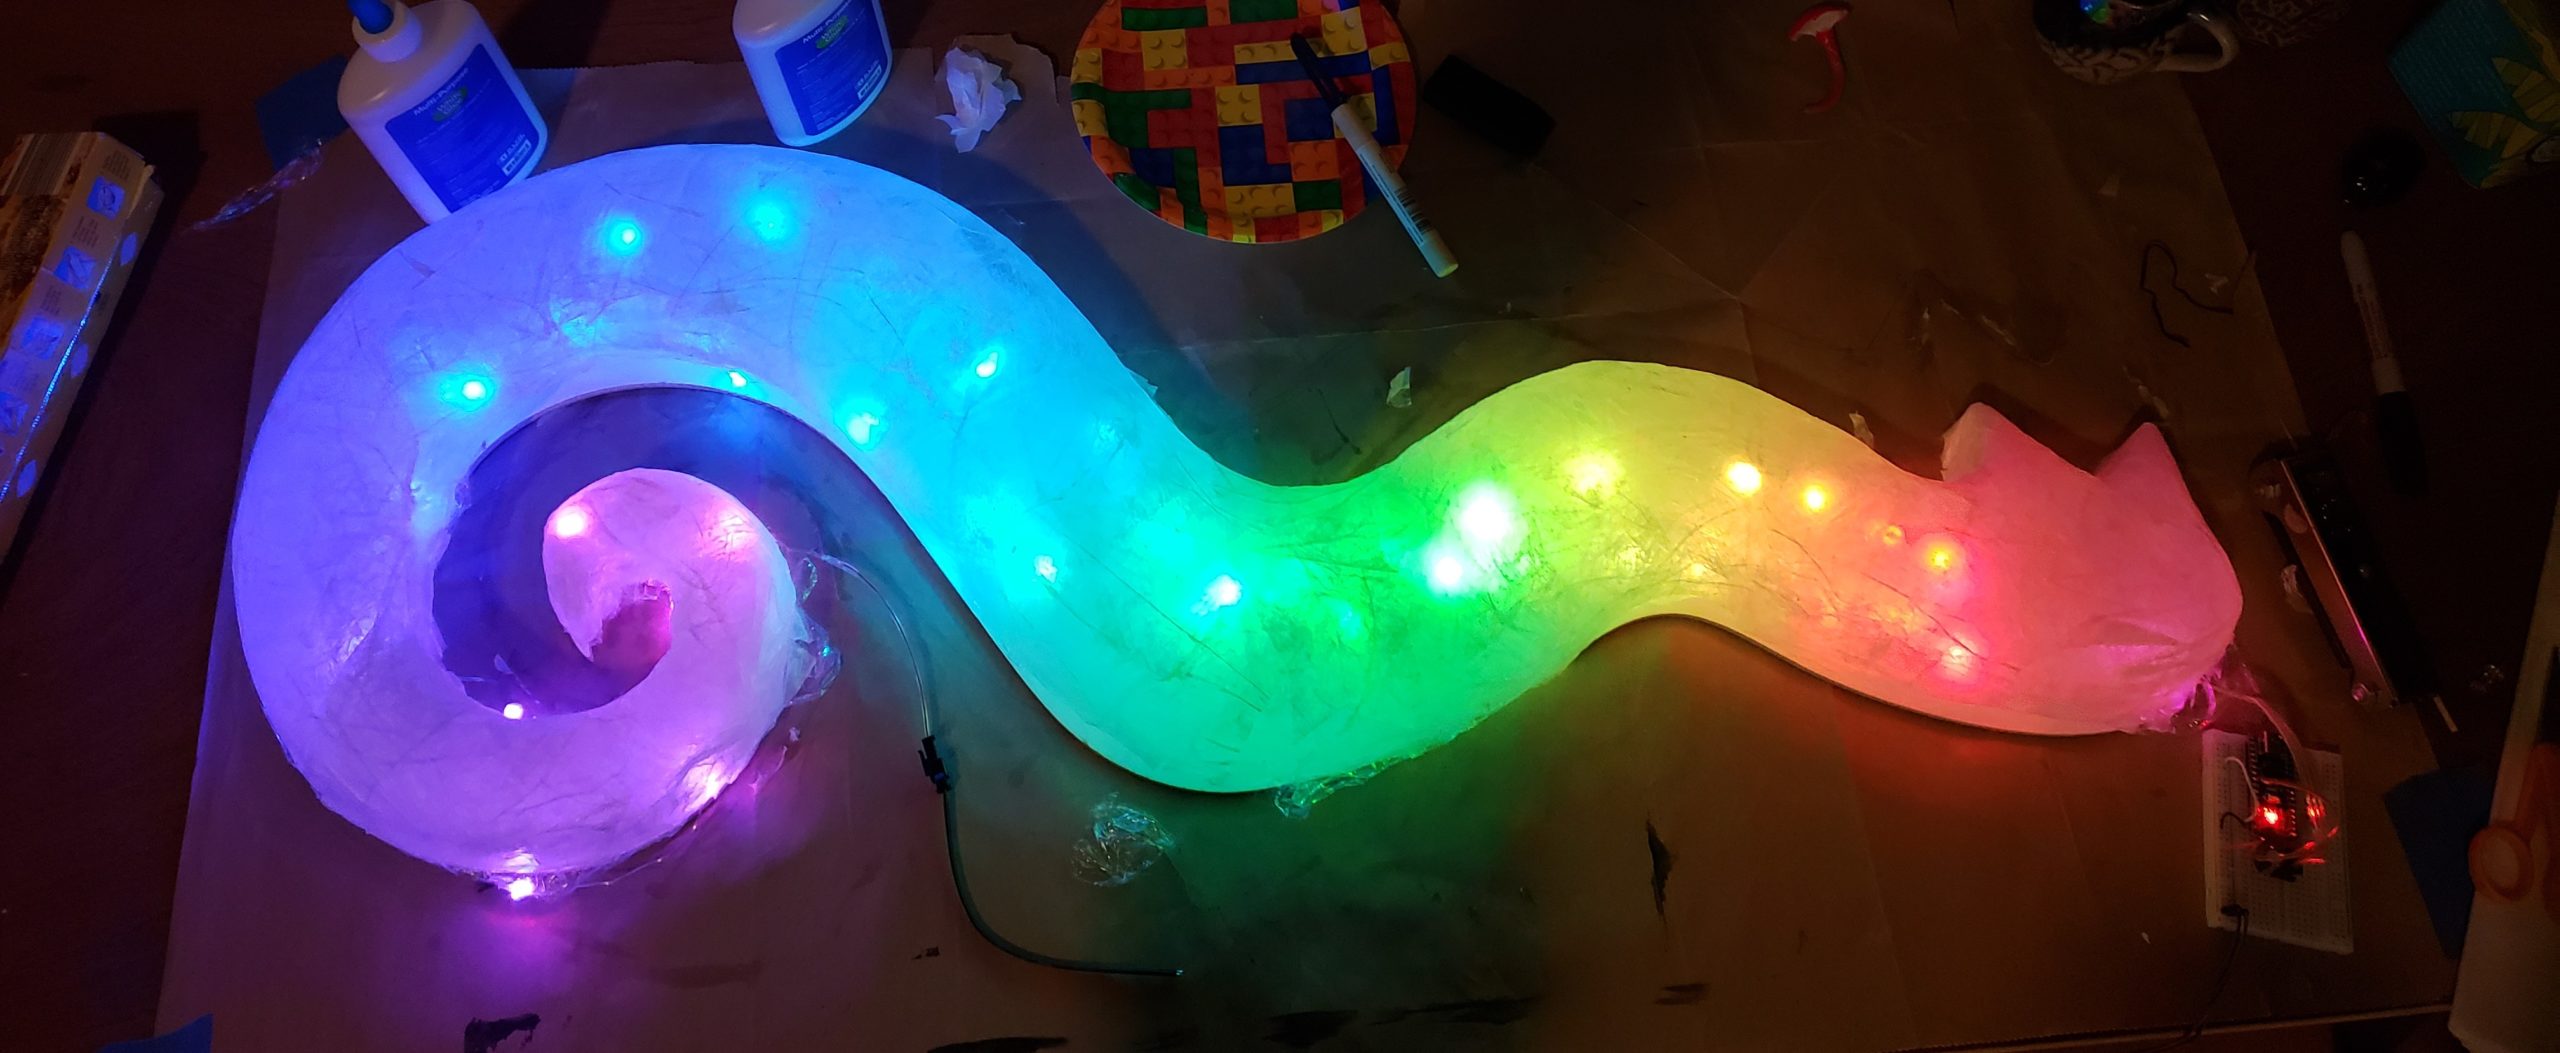
THIS LOOKS AMAZING!!
The project looks very impressive at night. If you are worried about the timing of manufacturing items, you could resort to printing little mounts to secure the battery and breadboard to the back of the panel. This would allow you to save on filament, while also being able to use screws to secure them down.
It looks so good! Will the eyes remain as is or be filled with LEDs or something else?
~ something else ~
It looks amazing in the exact way it seems like it was supposed to, if that makes sense.
What may make your process easier (and kill 2 fairy worms with one stone) is to get one of those battery boxes which have switches in them, and tape it outside the worm?
like one of these — https://www.amazon.com/dp/B07WY48TFC?_encoding=UTF8&psc=1&ref_=cm_sw_r_cp_ud_dp_XYSZPQ9C3YESKJW1ZD45
or even maybe get a 5v power supply that you plug in? that way you dont have to replace batteries and you can put it up for however long you want!
As per the lights, I’m not sure how you wanted to deal with them (they look great as is), but you could enforce a gradient between two colors by scaling between them
color1 * frac + color2 * (1-frac) is what I did. I’m sure this could be generalized to multiple colors (bezier polynomial, possibly) if you wanted to!
This is coming out great Elena! Will the fun dangly bits also be lit up or made of beads or something like that?
It’s coming together nicely and looking great!
I don’t know if you worked out another wall mounting system already, but if not you might consider some simple keyhole slots:
https://community.glowforge.com/t/keyhole-hangers/13013
This loooks so coool!!!I love the rainbow lights 🙂