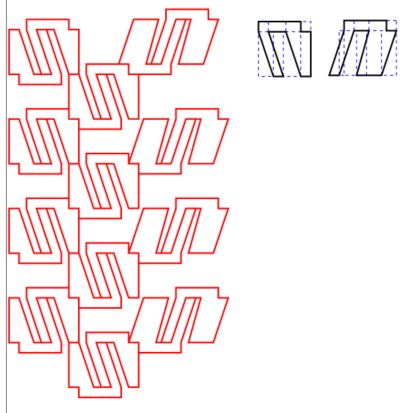
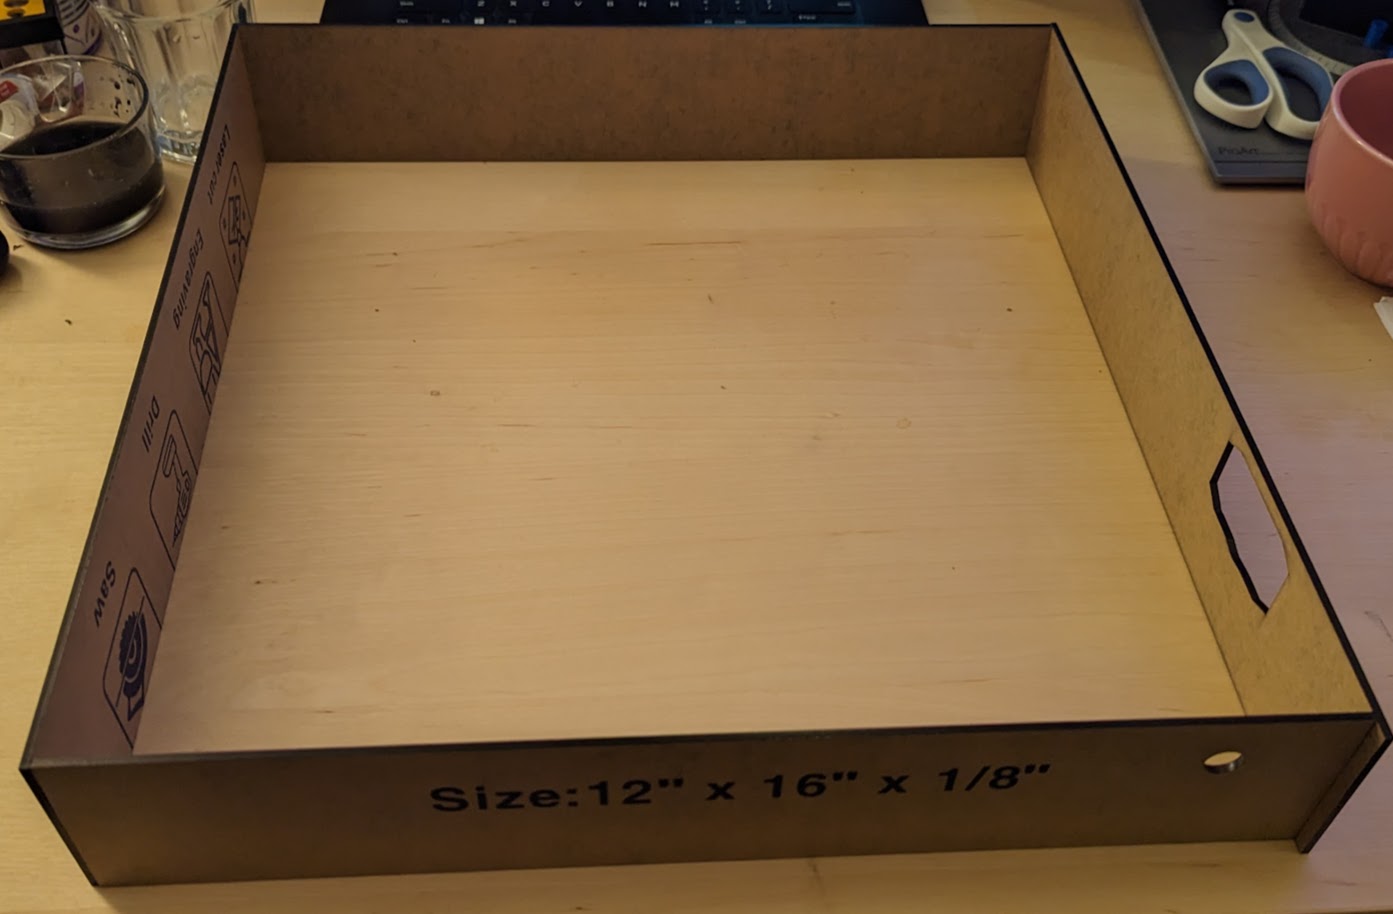
This week I fully worked out how everything will fit together securely while allowing me to easily access the inside to make any necessary changes. I ended up choosing to make the back panel removable via bolts and threaded inserts in wooden blocks in each corner. There are wooden laser-cut “clips” that are removable so I can try out different angles if needed while providing adequate support for the panels and interfacing easily with the removable back. I’m planning to line the inner tunnel area with black EVA foam to minimize light bouncing, which I’m hoping will help with the blurry projections. The clips are 1/4″ plywood, and everything else is 1/8″ plywood and acrylic.
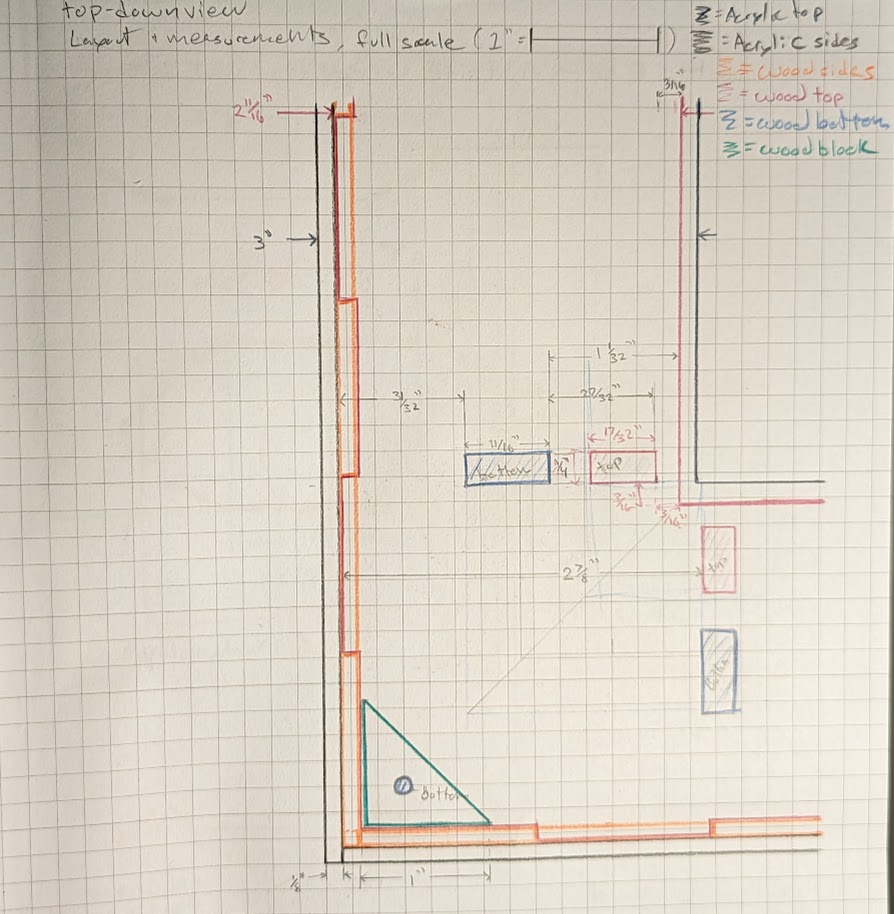
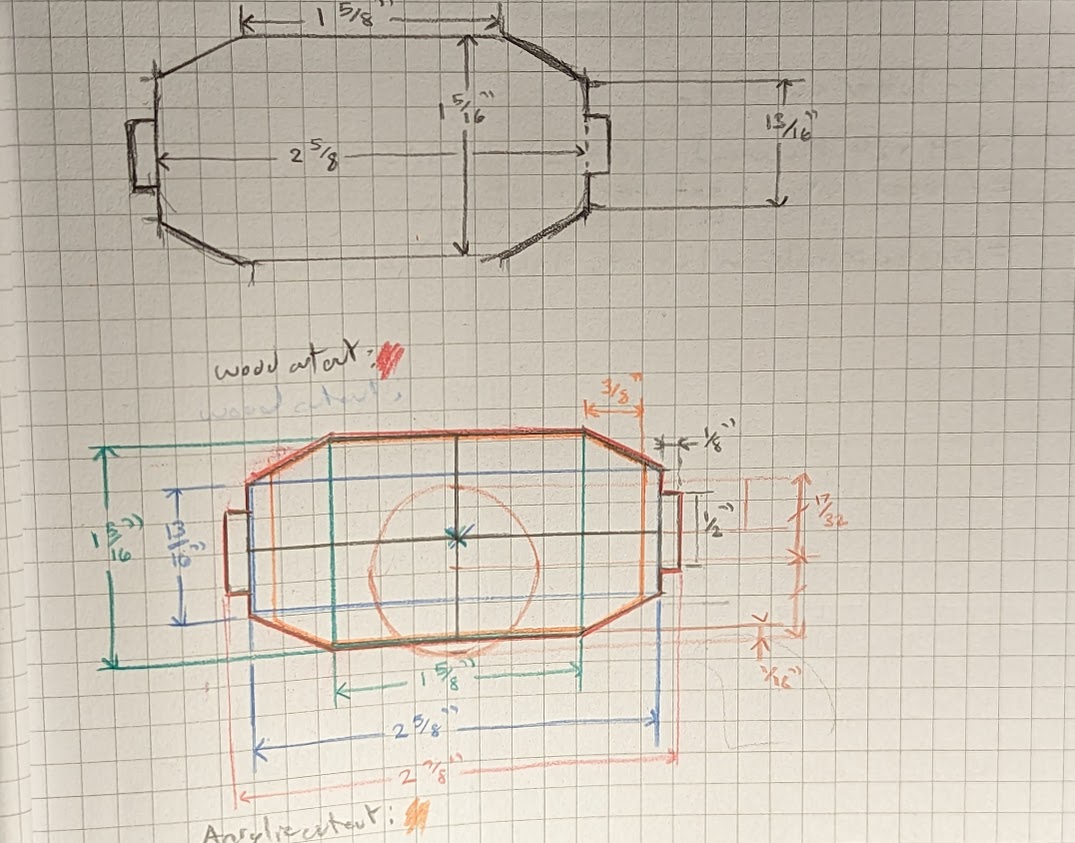
To the left and above are some of my sketches planning out all the measurements. Below are the vector drawings for the laser-cut parts.
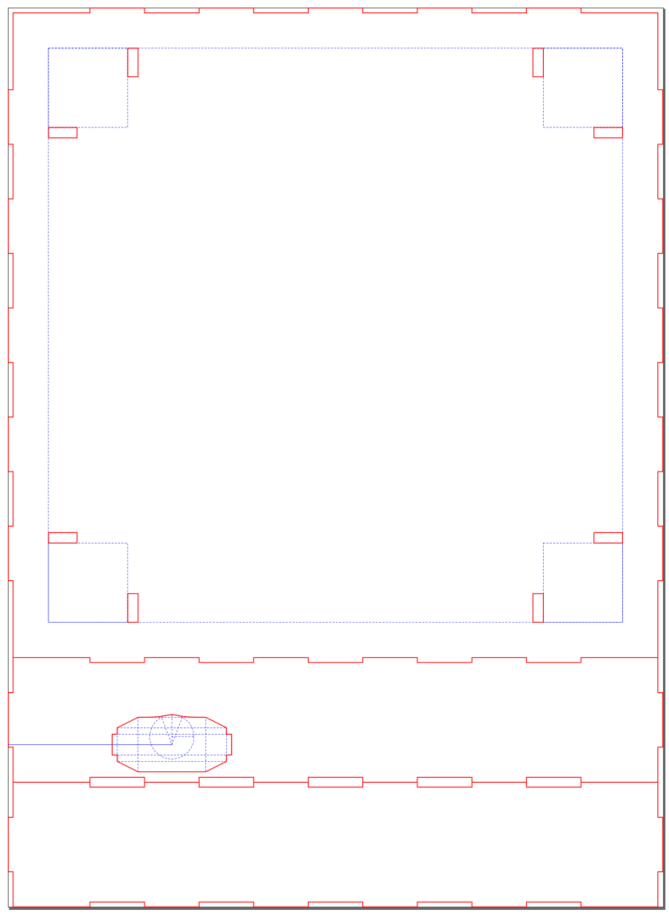
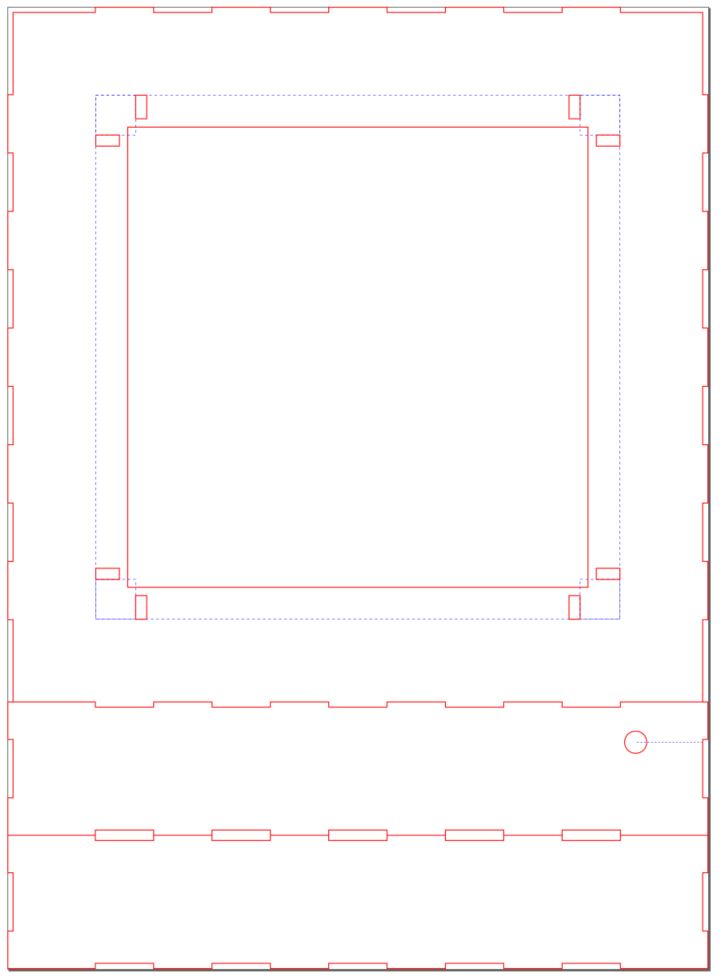
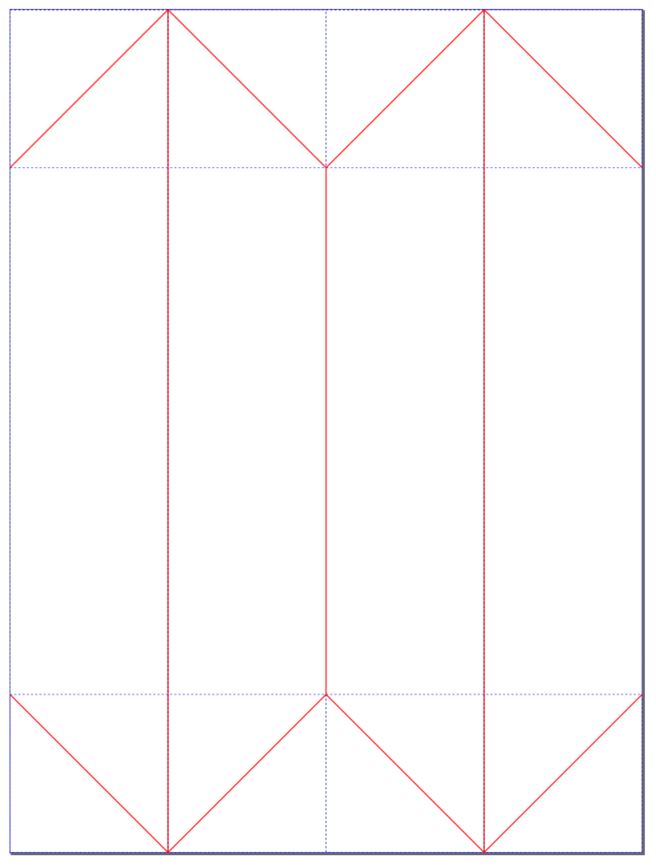
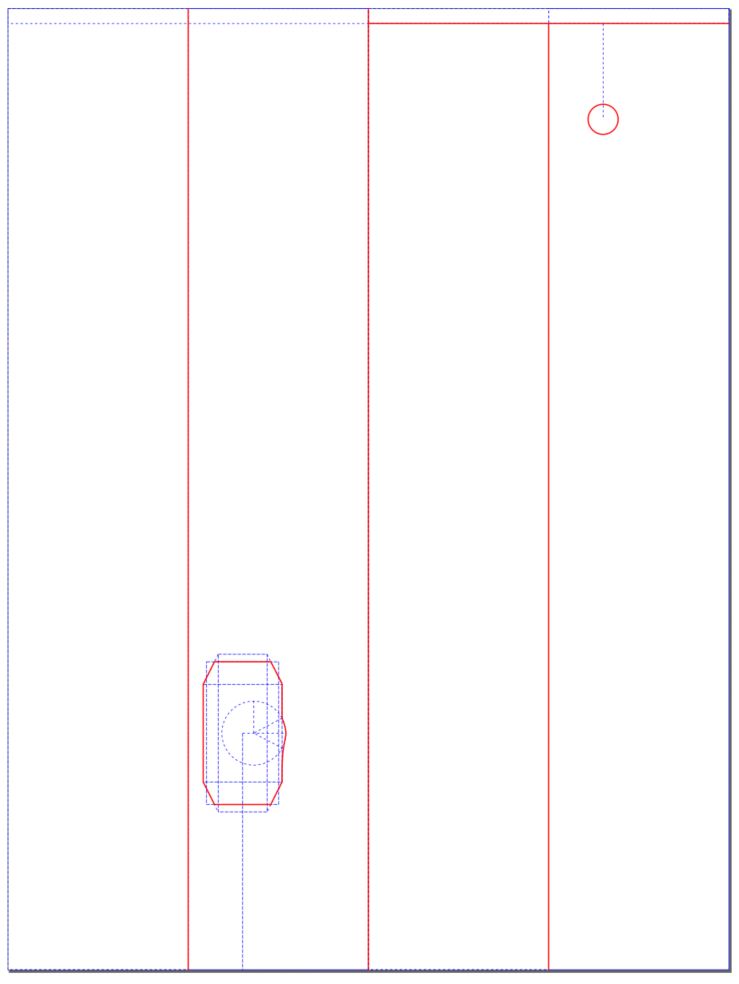
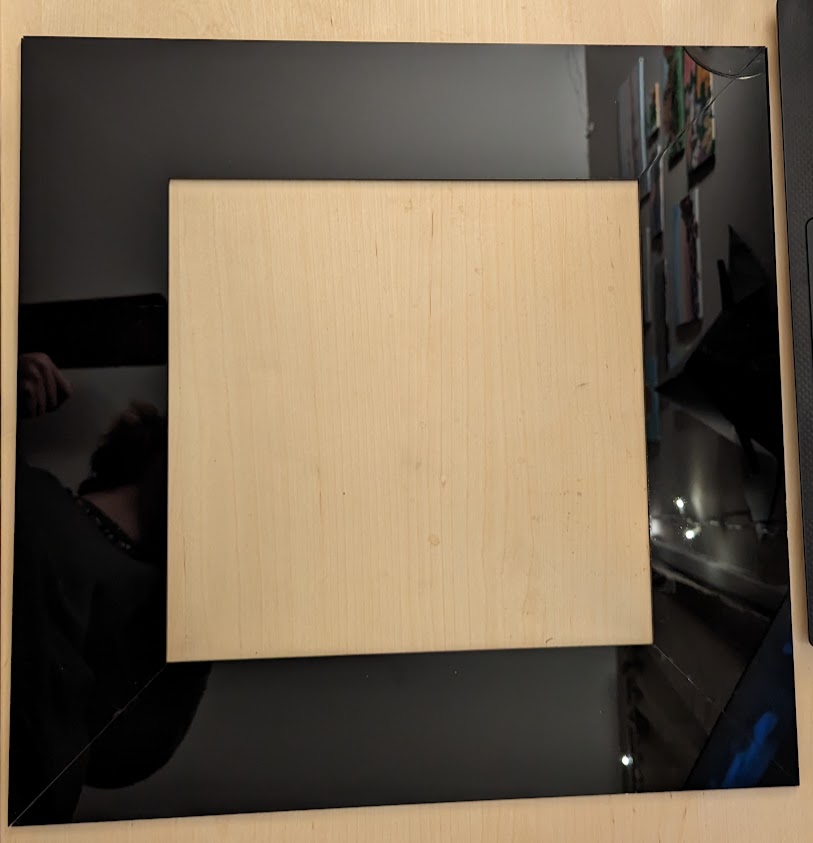
So far I’ve gotten the black acrylic outer case cut out and will be making the remaining pieces in the next few days.

Continued Search for a Background Material
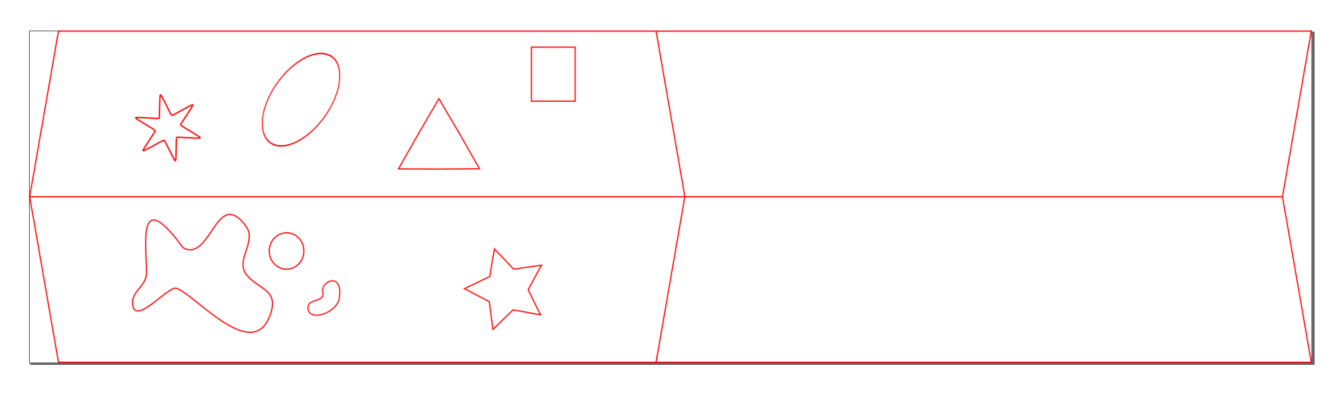
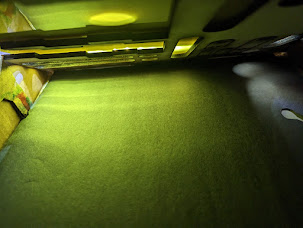
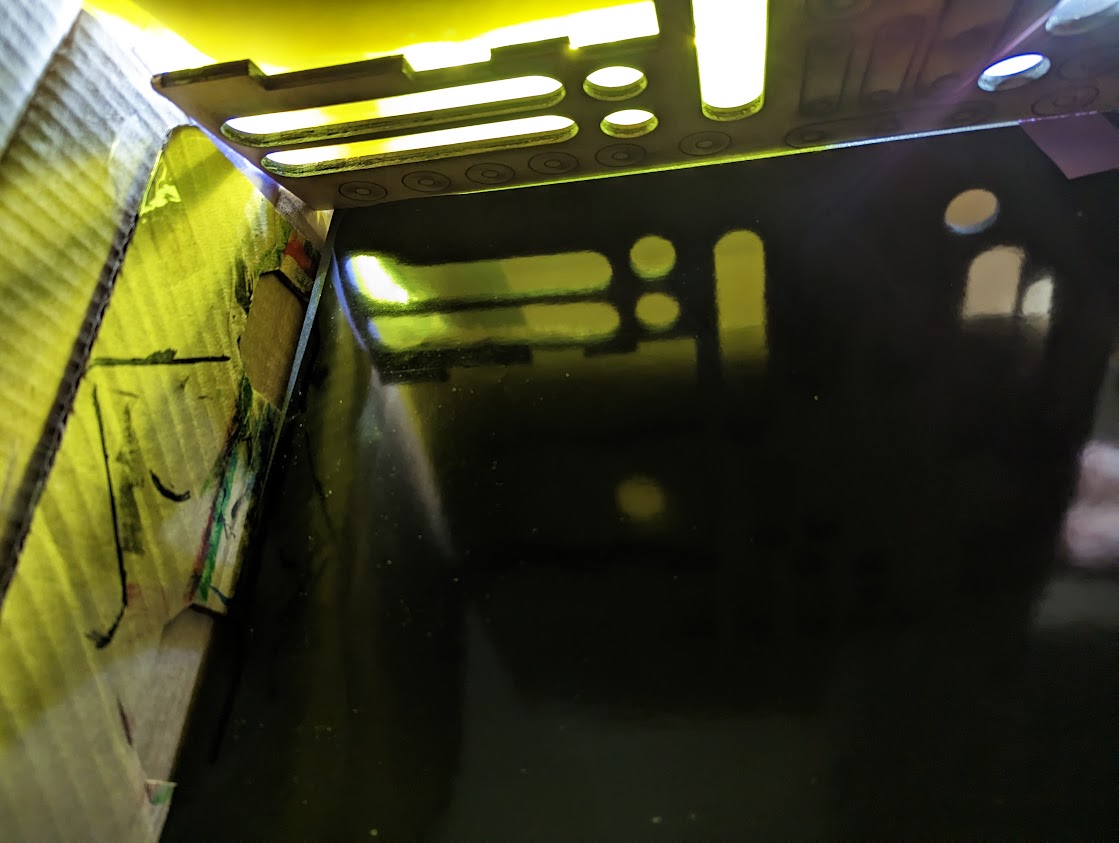
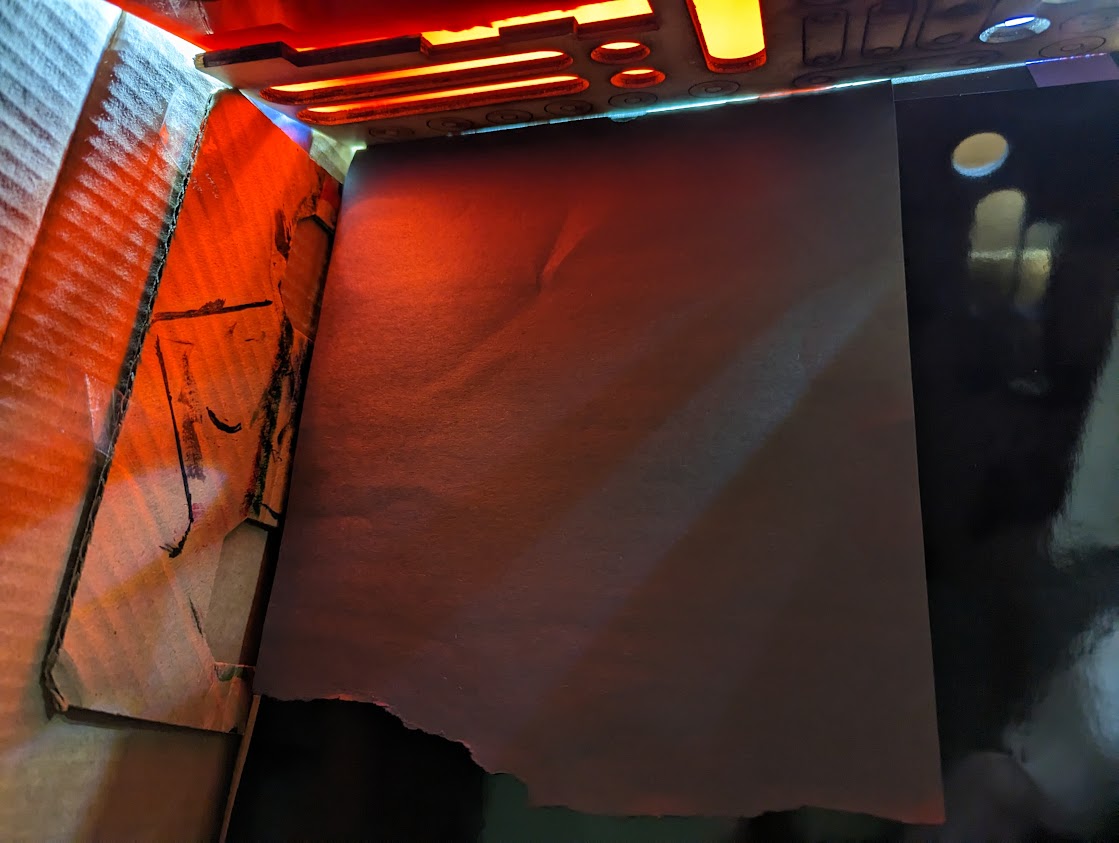
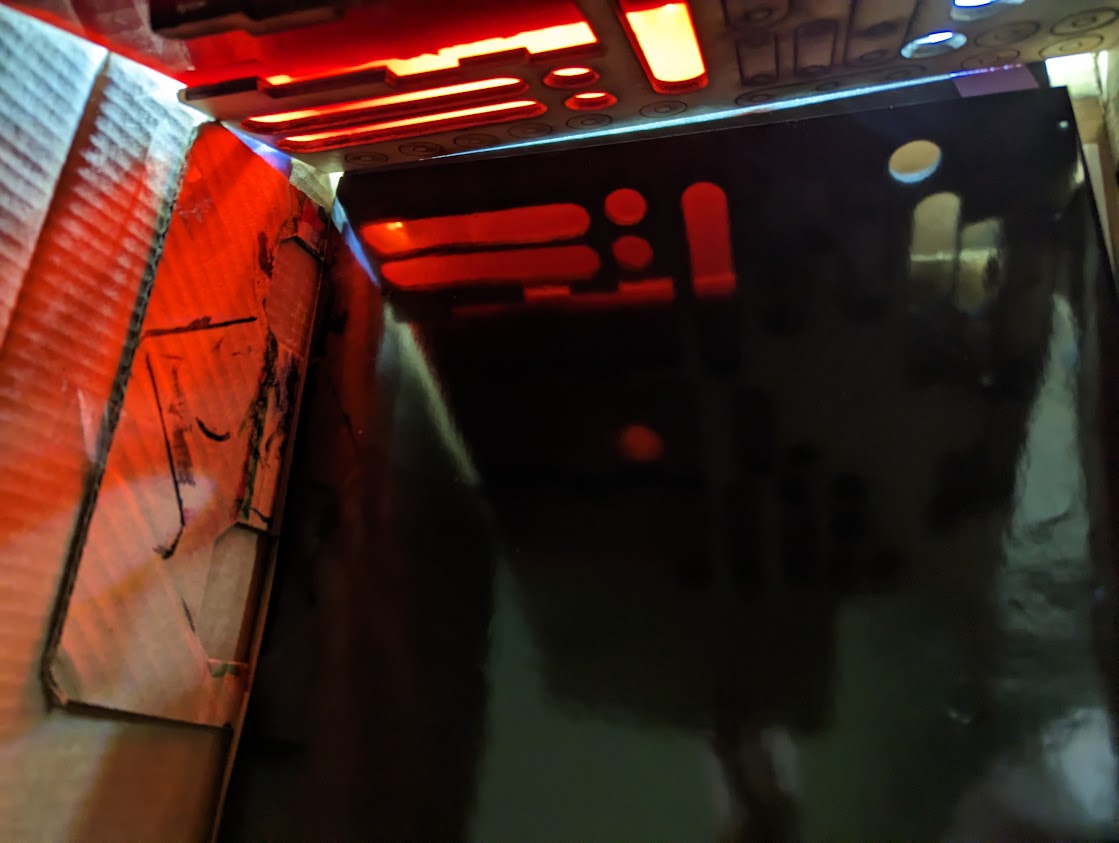
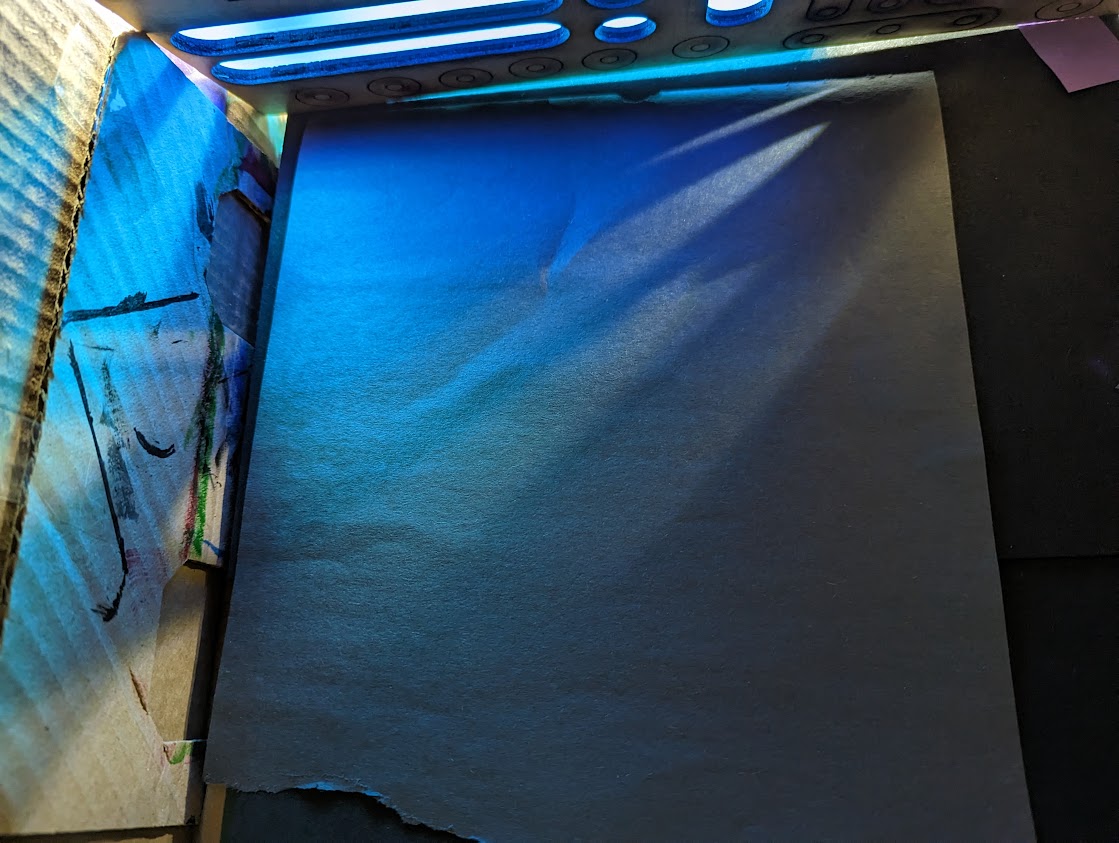
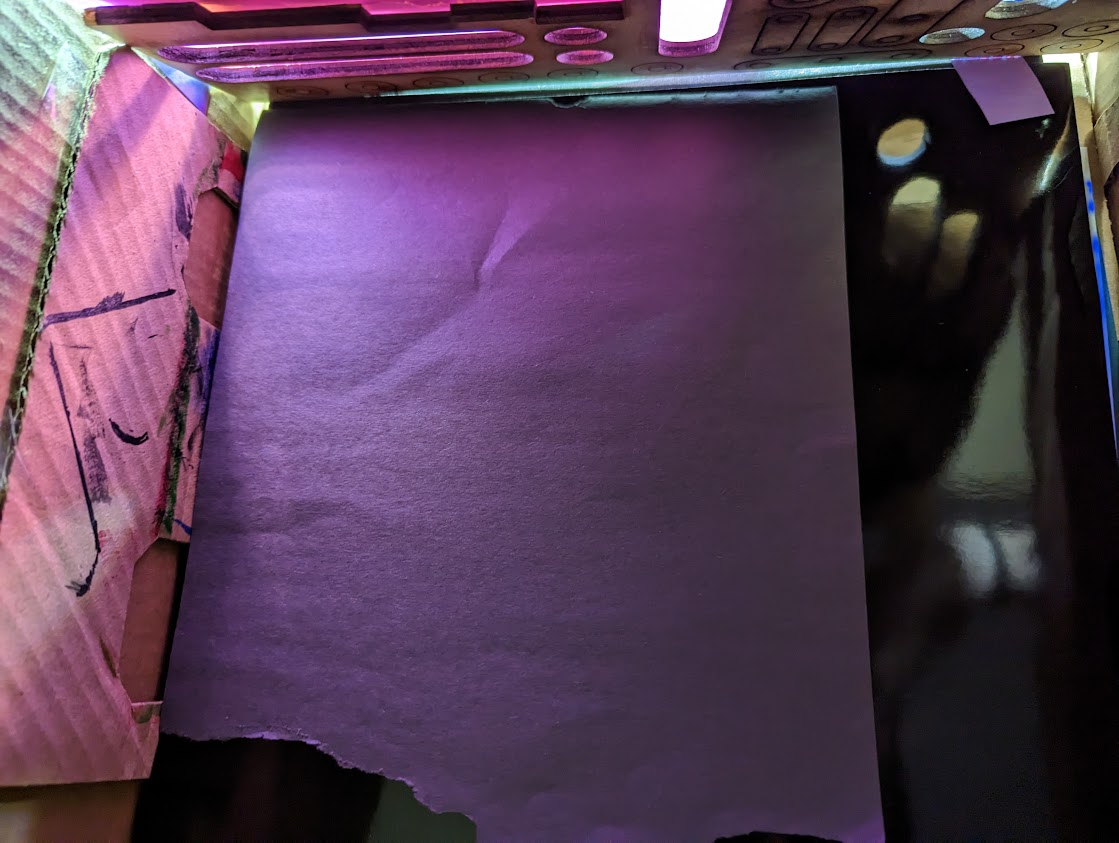
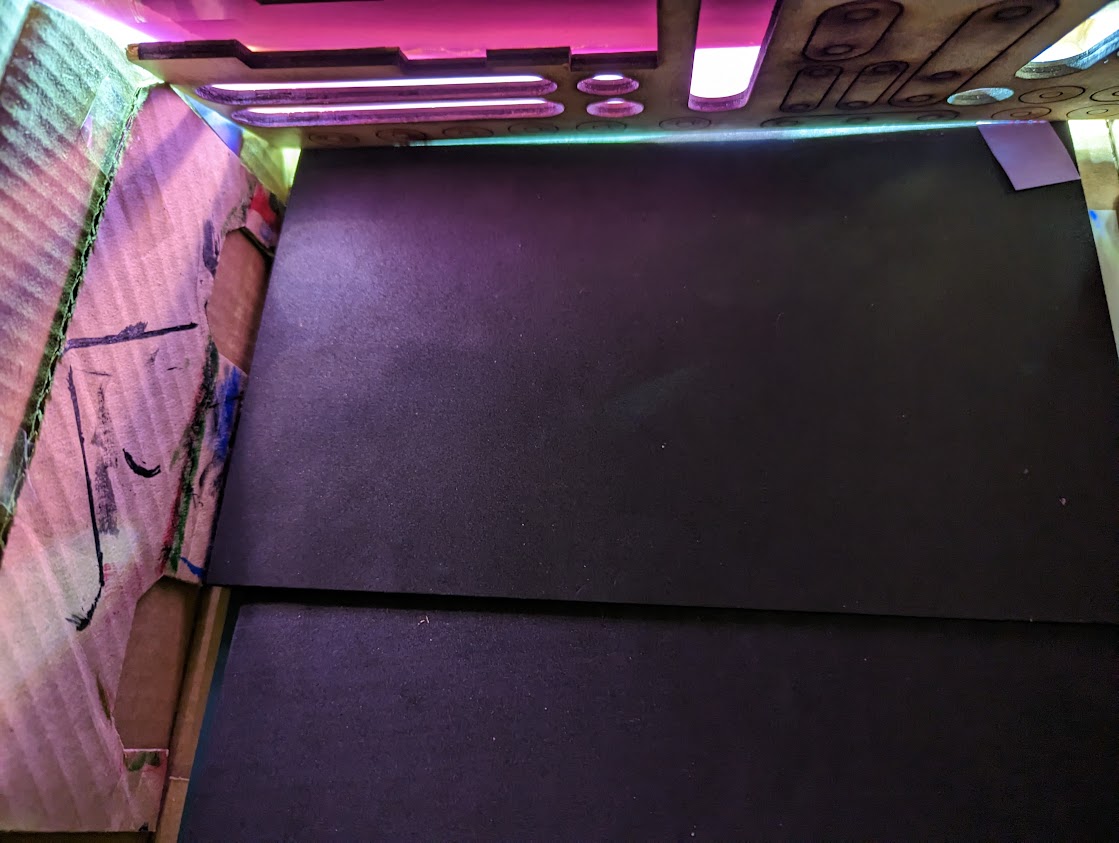
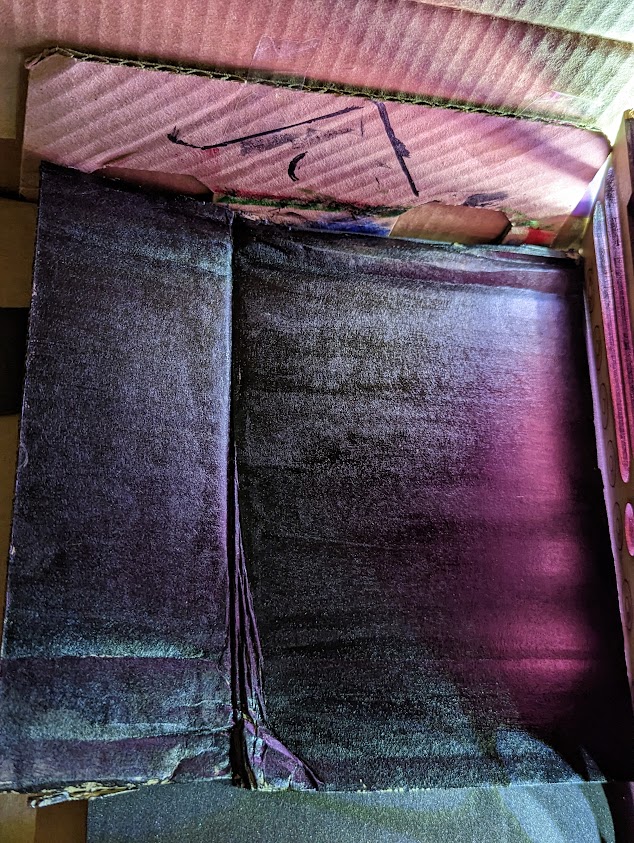
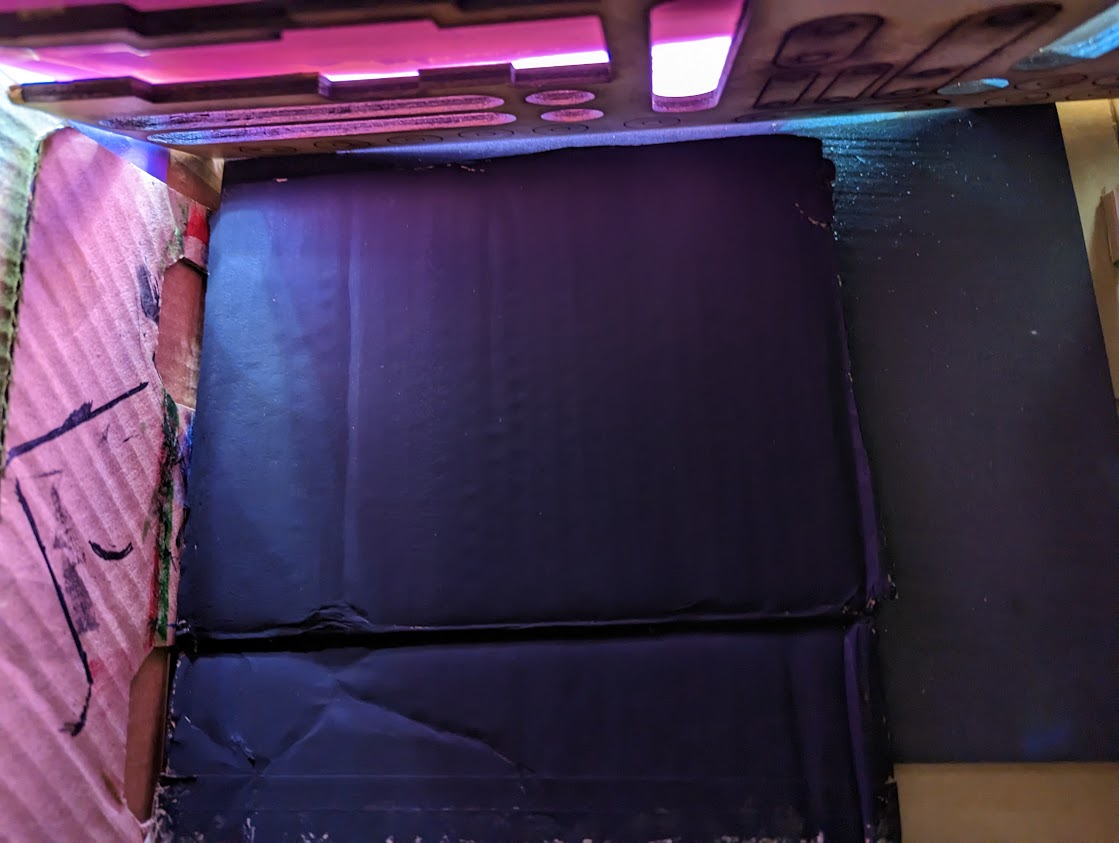
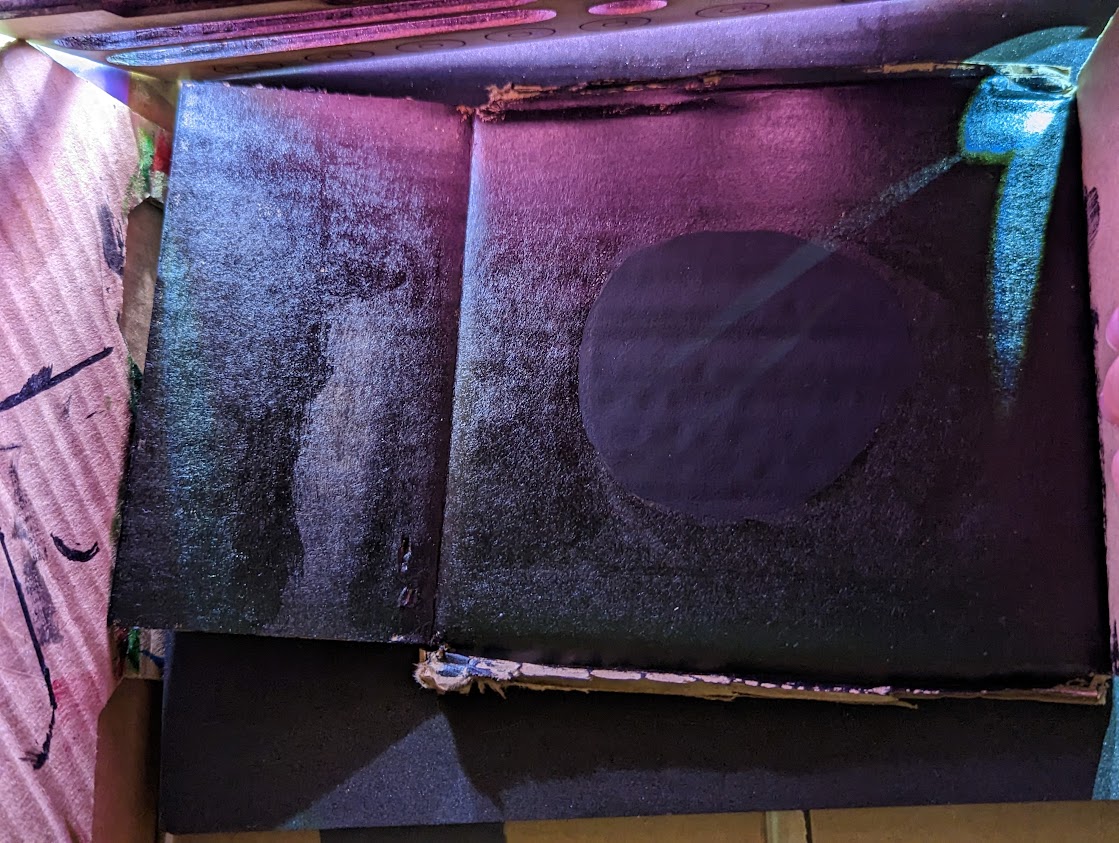
I also tested out some more materials I could use for the background, focusing on black colored materials since I liked how saturated the colors on black construction paper were in the initial tests. The test materials included vinyl, EVA foam, regular black acrylic paint on cardstock and cardboard, and the super matte Black 3.0 paint on cardboard.
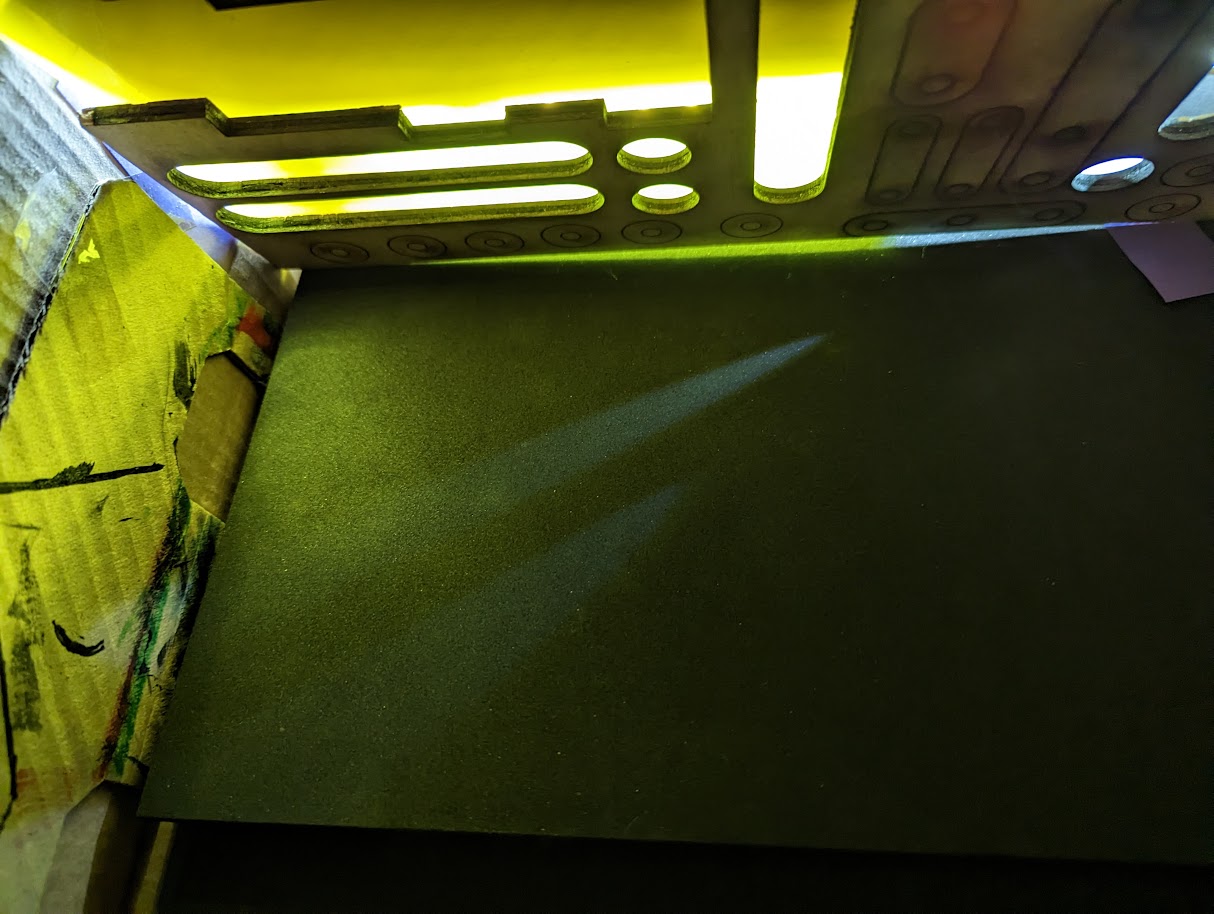

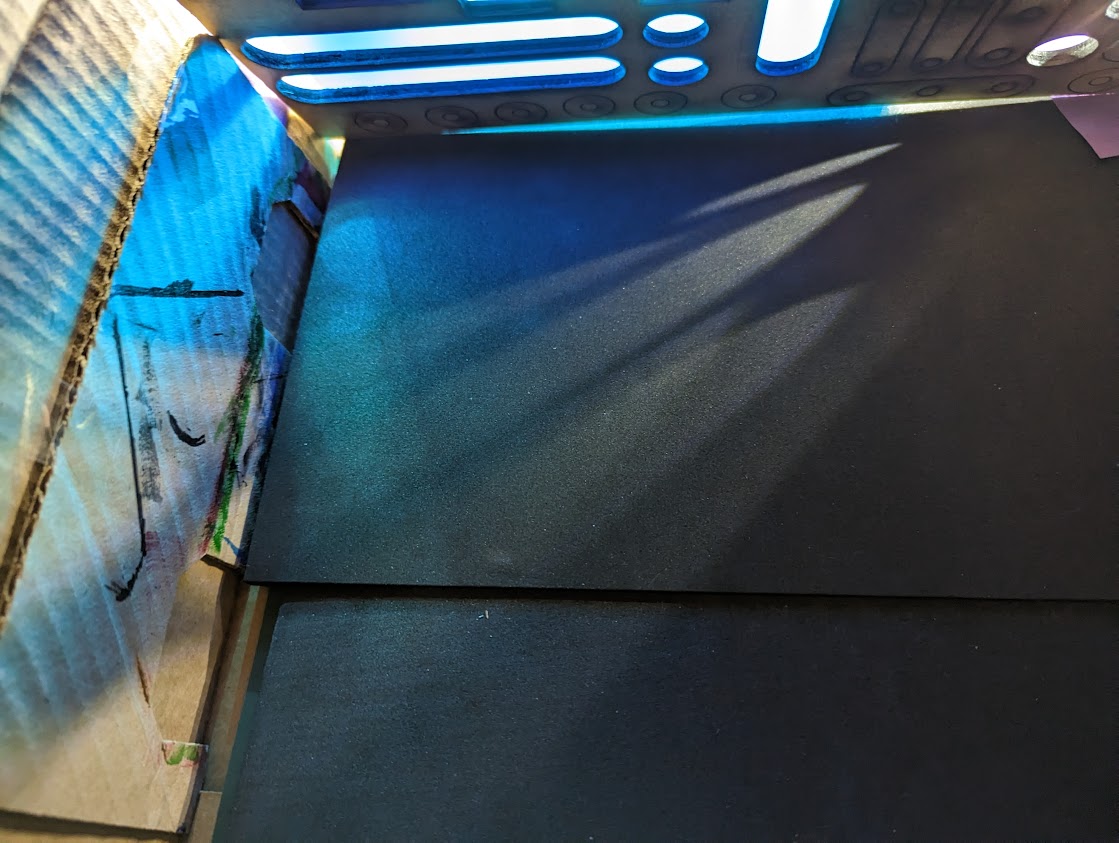
The EVA foam test was pretty underwhelming in terms of finding a good background material. However, it does make my plan of using EVA foam to make a sort of “light insulation” on the inside section of the box to minimize light bouncing seem promising.
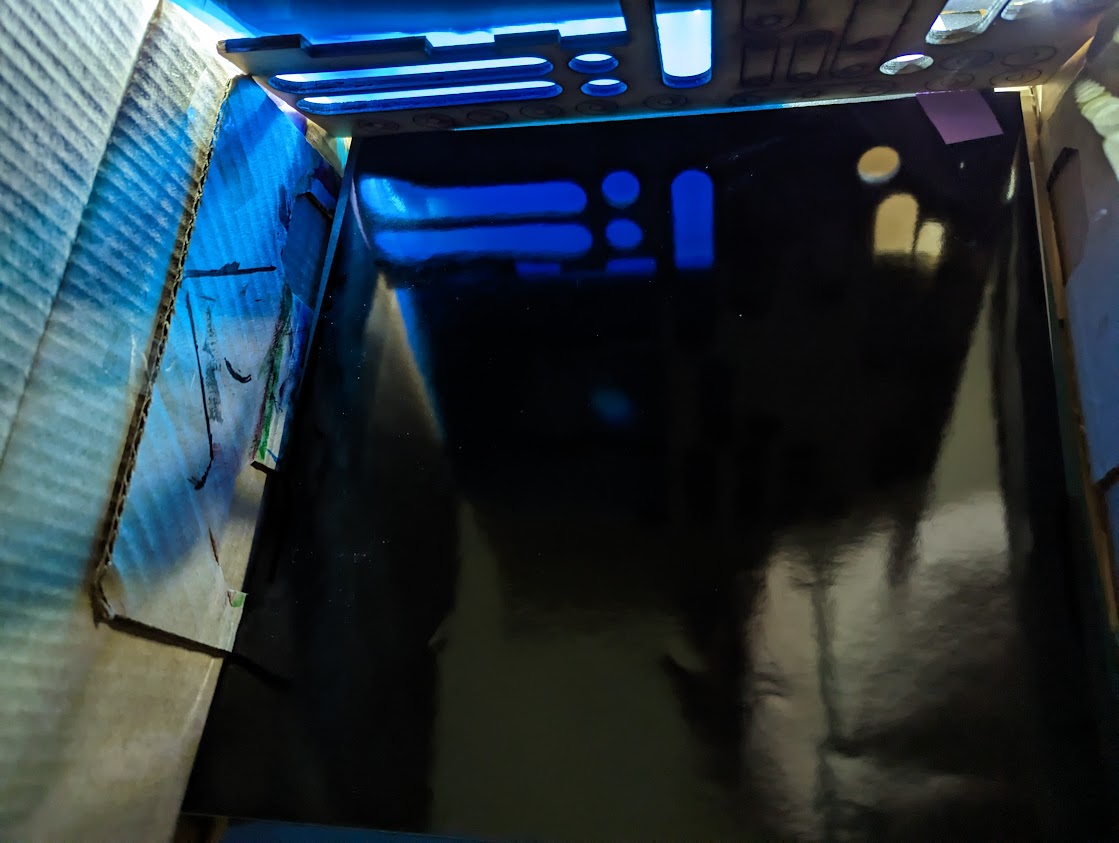
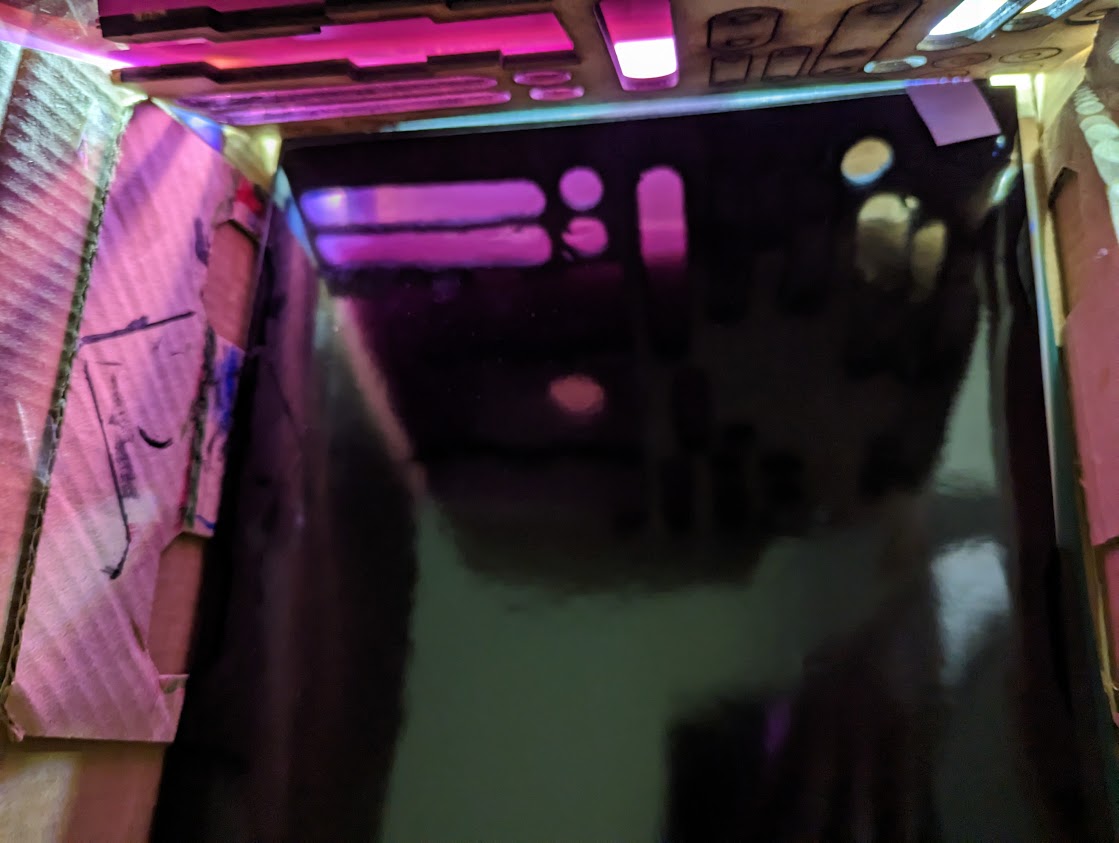
The Vinyl test produced really clear shapes, but only directly below the cutouts since it was more of a mirror-like reflection. Out of curiosity I tested the reflection on the Vinyl at different angles.
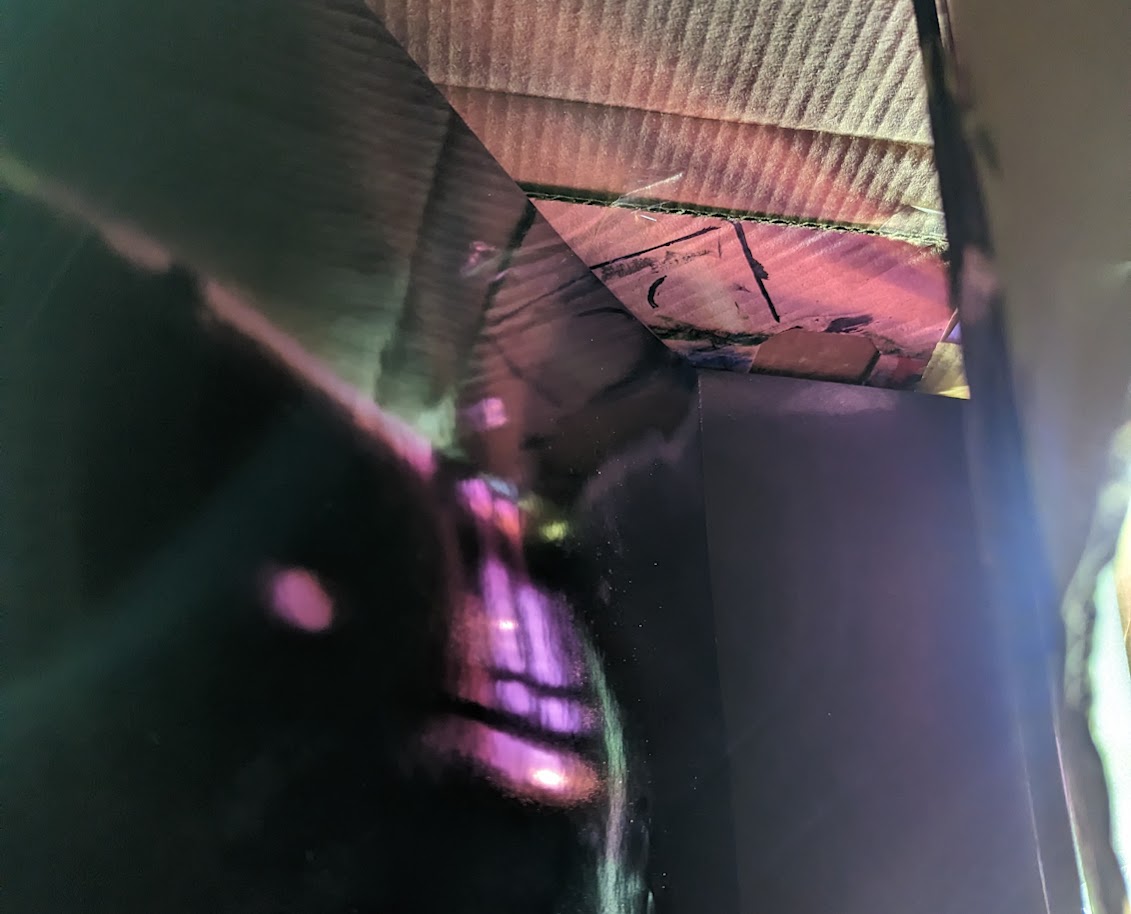
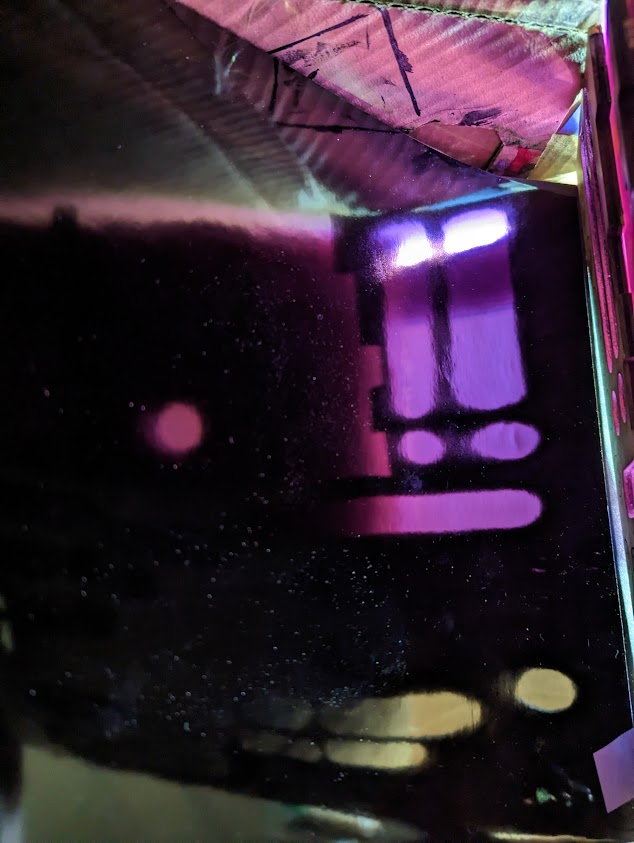
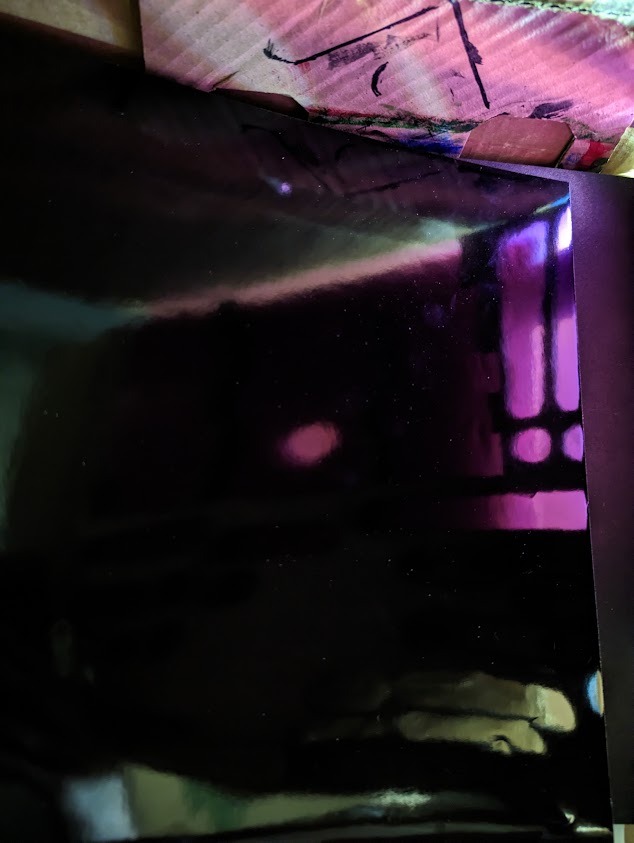
The Vinyl ad to be held at some relatively steep angles to get a projection further out, which would probably reduce the overlap of projections from the different sides. That’s not quite my goal but I like how clear the reflections are, so I might experiment next week with a shallow pyramid.
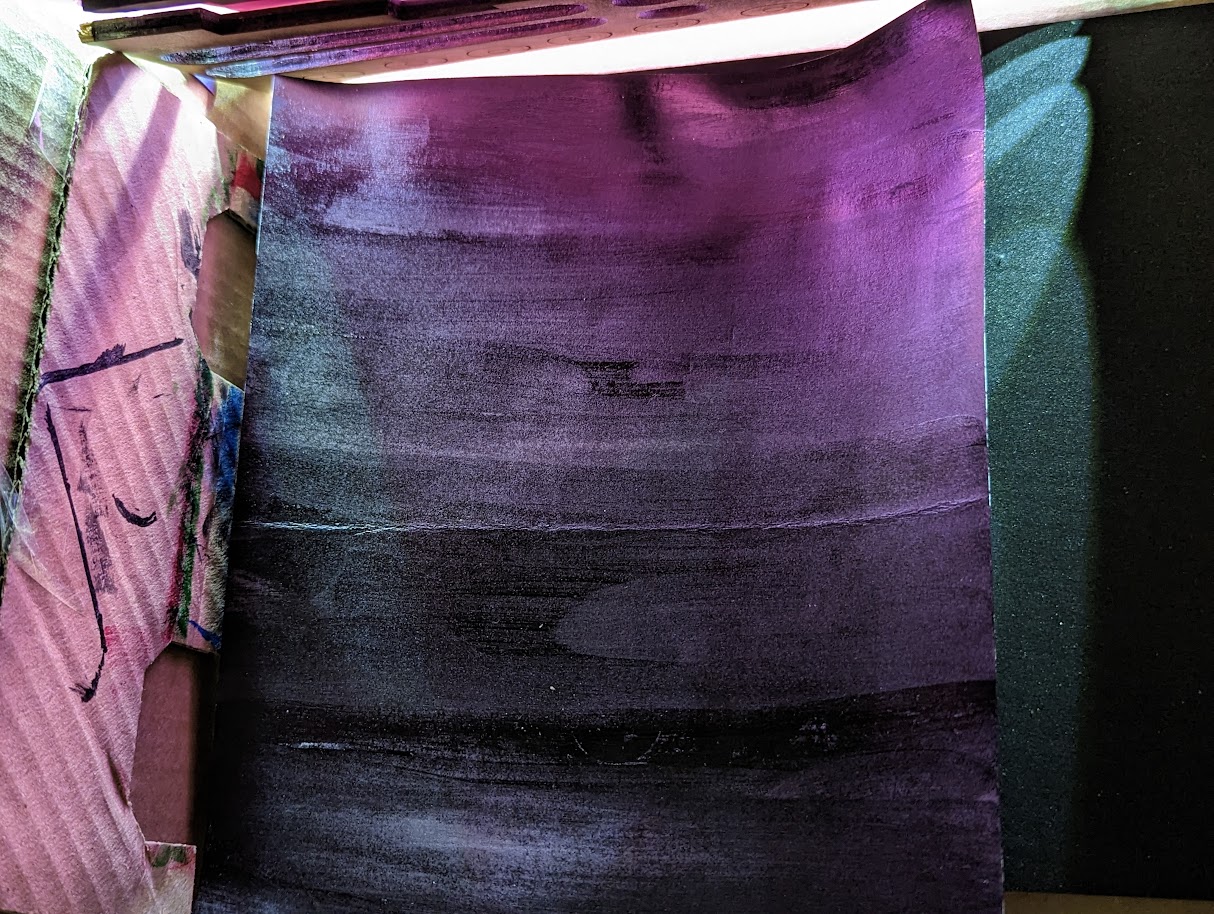
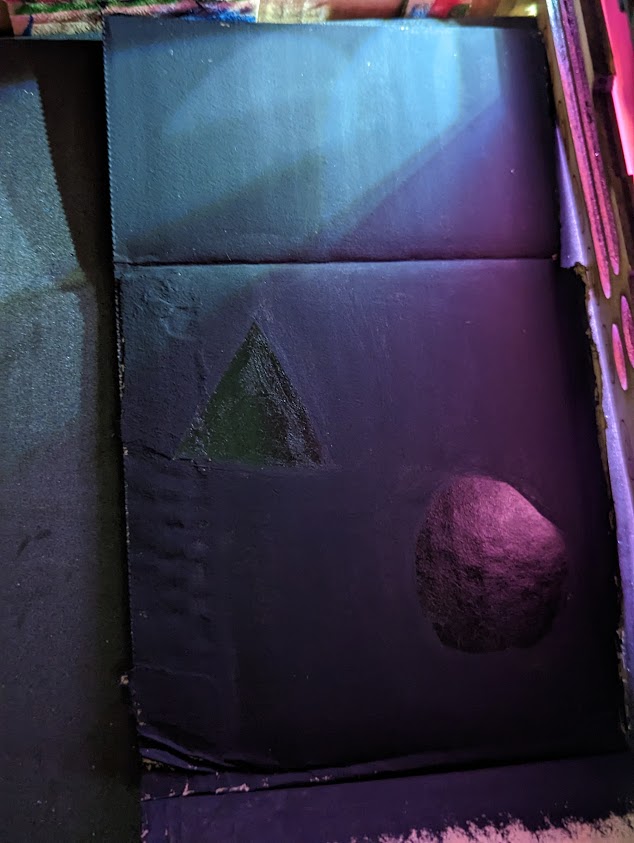
For the paints, I wanted to start exploring the possibility of combining different textures in the background to create interesting visuals. I like how it turned out and might try some different material pairings to see if I can extend the color further past the edge of the panels.
I love how the lighting is coming out! It looks like you are finding good results to get the kind of look you were aiming for. Can’t wait to see the fished Project-or!
I really like the way the light looks on black 3.0! I think the black acrylic in combination with black 3.0 is really cool and you should do more with it. Excited to see how it turns out!
Hi Erica, the sketches/drawings of the wood box and panels are really interesting and I like how the different color lights are looking! I’m excited to see how it all comes together!
Great to see this progressing and to follow your iterative journey to find the best visual effect. Looking forward to seeing your “magic box” in action.
Hi Erica! The lights look really cool on the black 3.0!! I am really excited to see how this turns out 🙂