The final version of my product is largely the same as it was for the polish and present post. I am overall very satisfied with the final product, it is almost exactly what I had envisioned when the concept first came to me, which in art pieces isn’t always the case. One of my biggest obstacles was diffusing the light that shown through the holes in the piece, so as not to see the individual bulbs of the LED strip in the design. I was successful in doing this by using a piece of acrylic, covered in two layers of trash bag, giving the piece a smooth look.
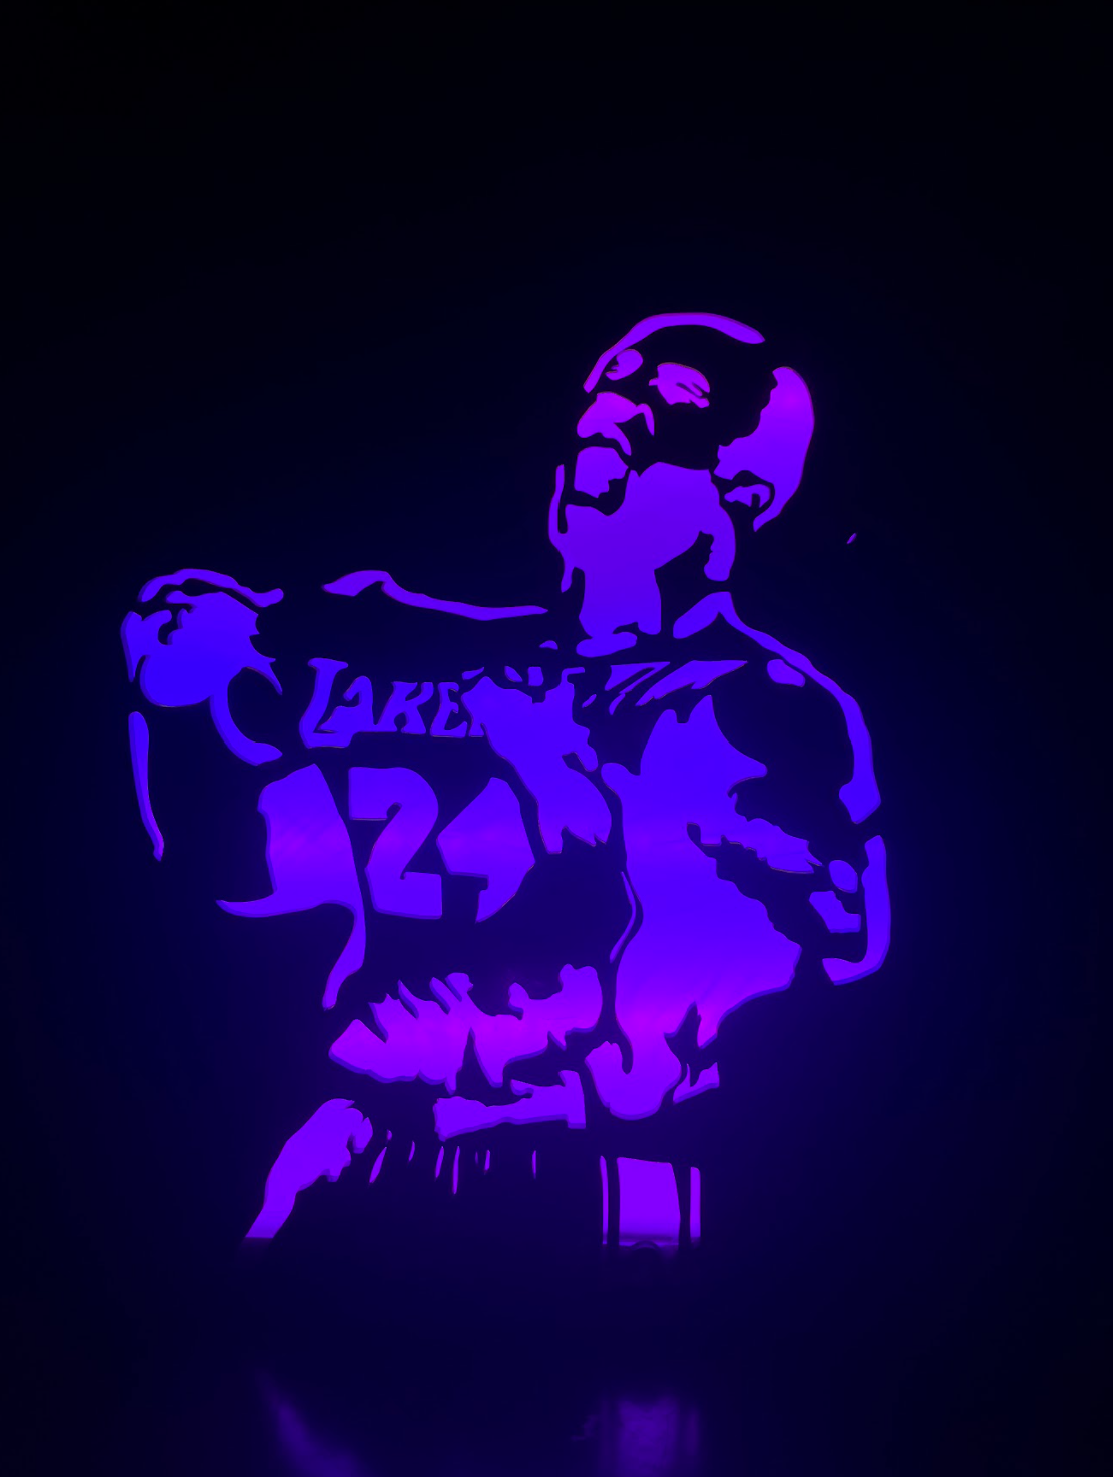
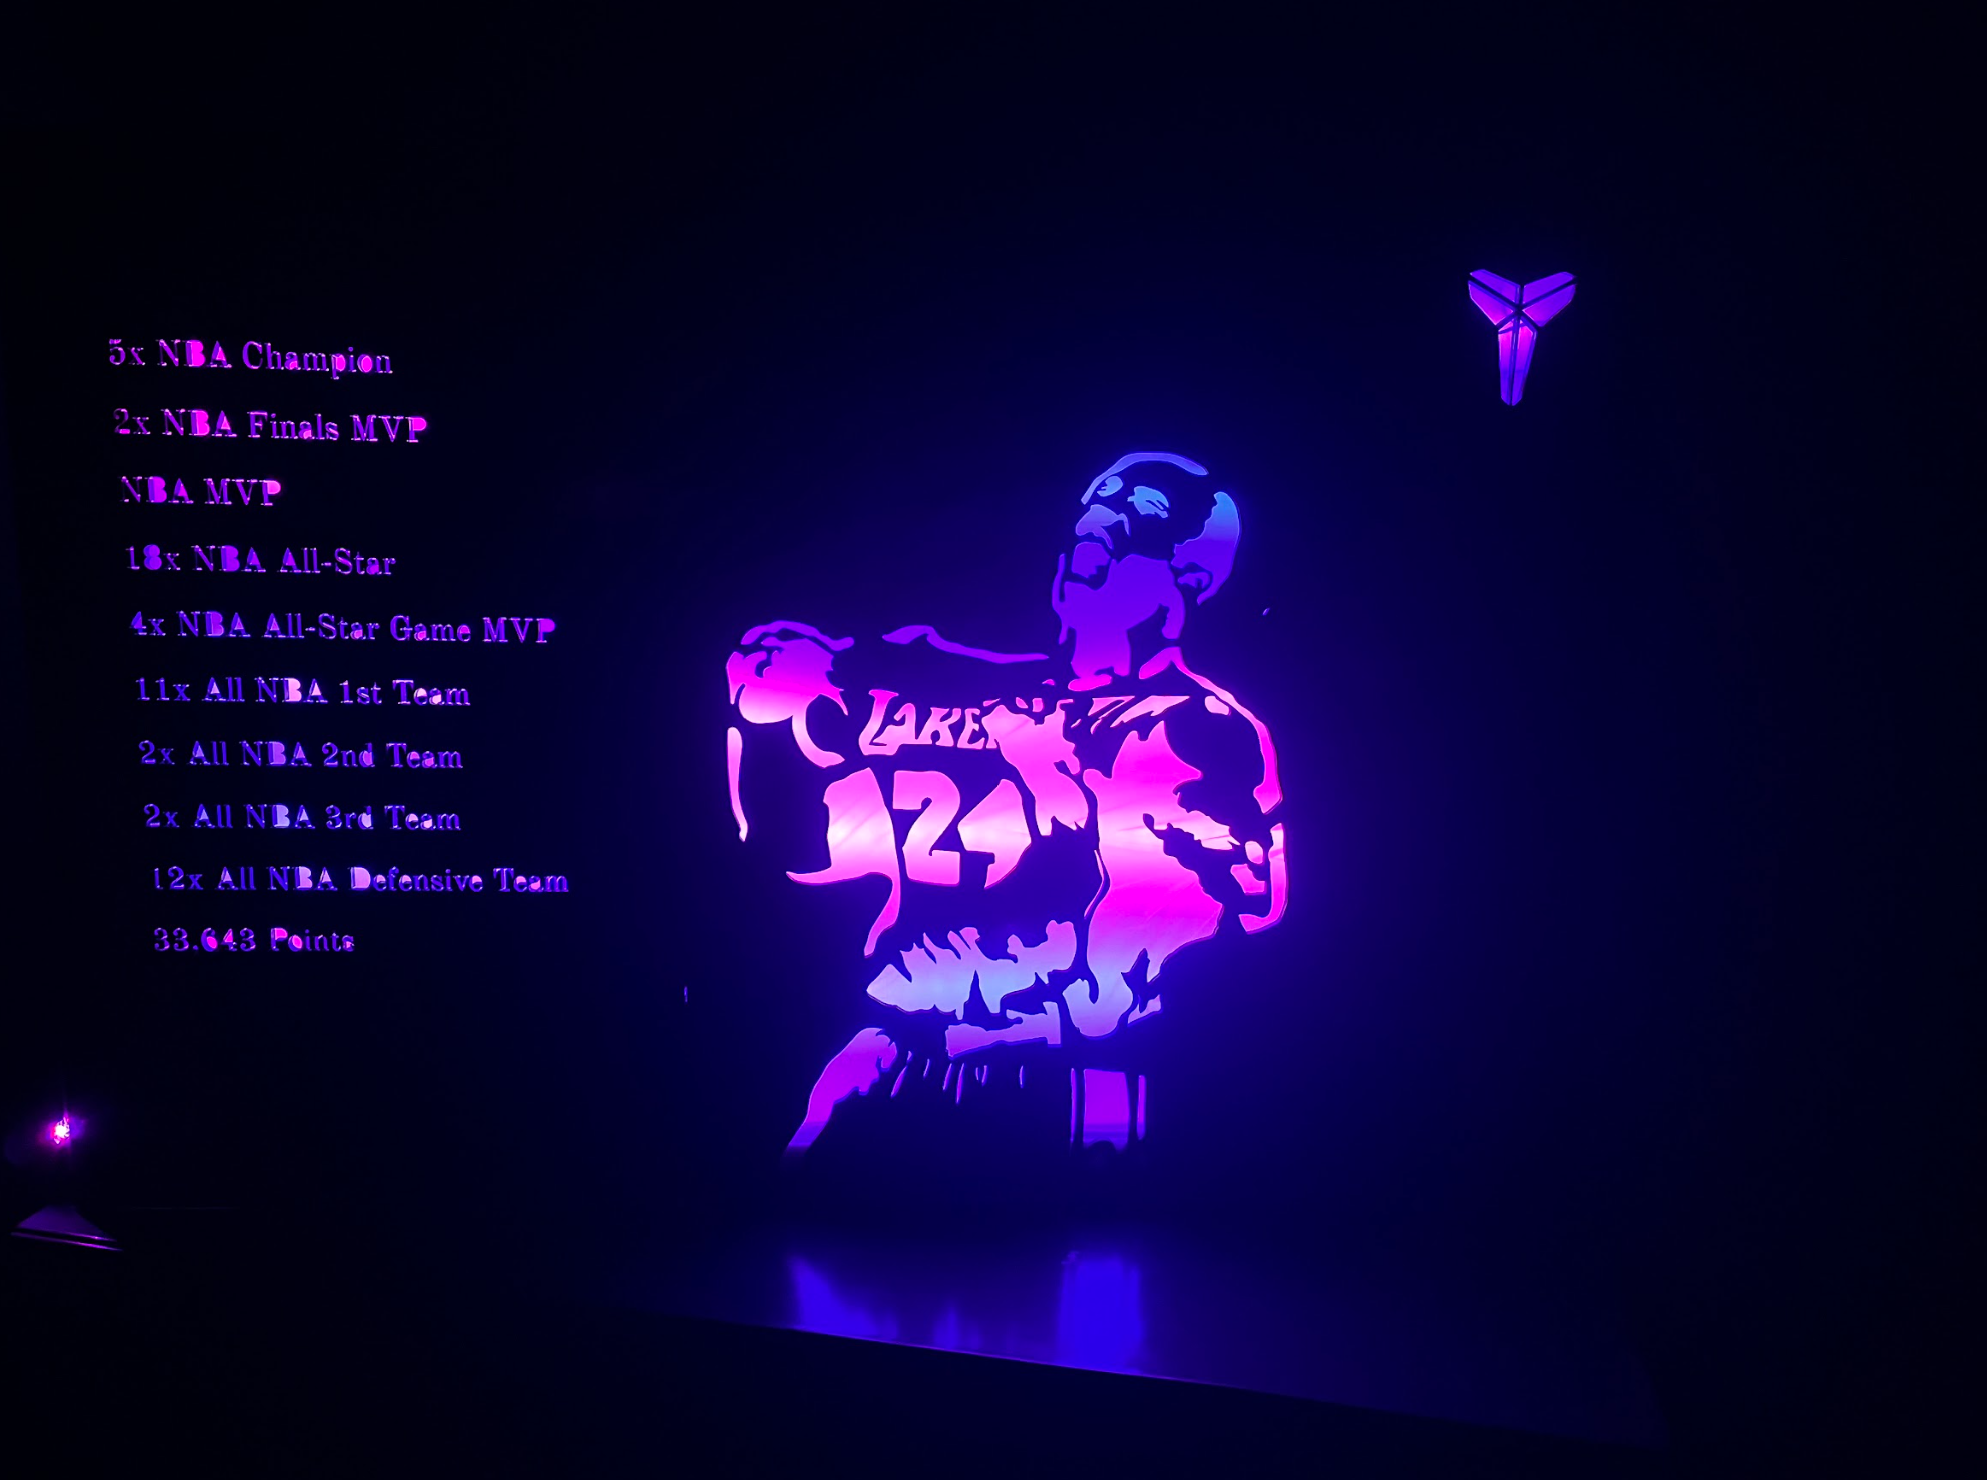
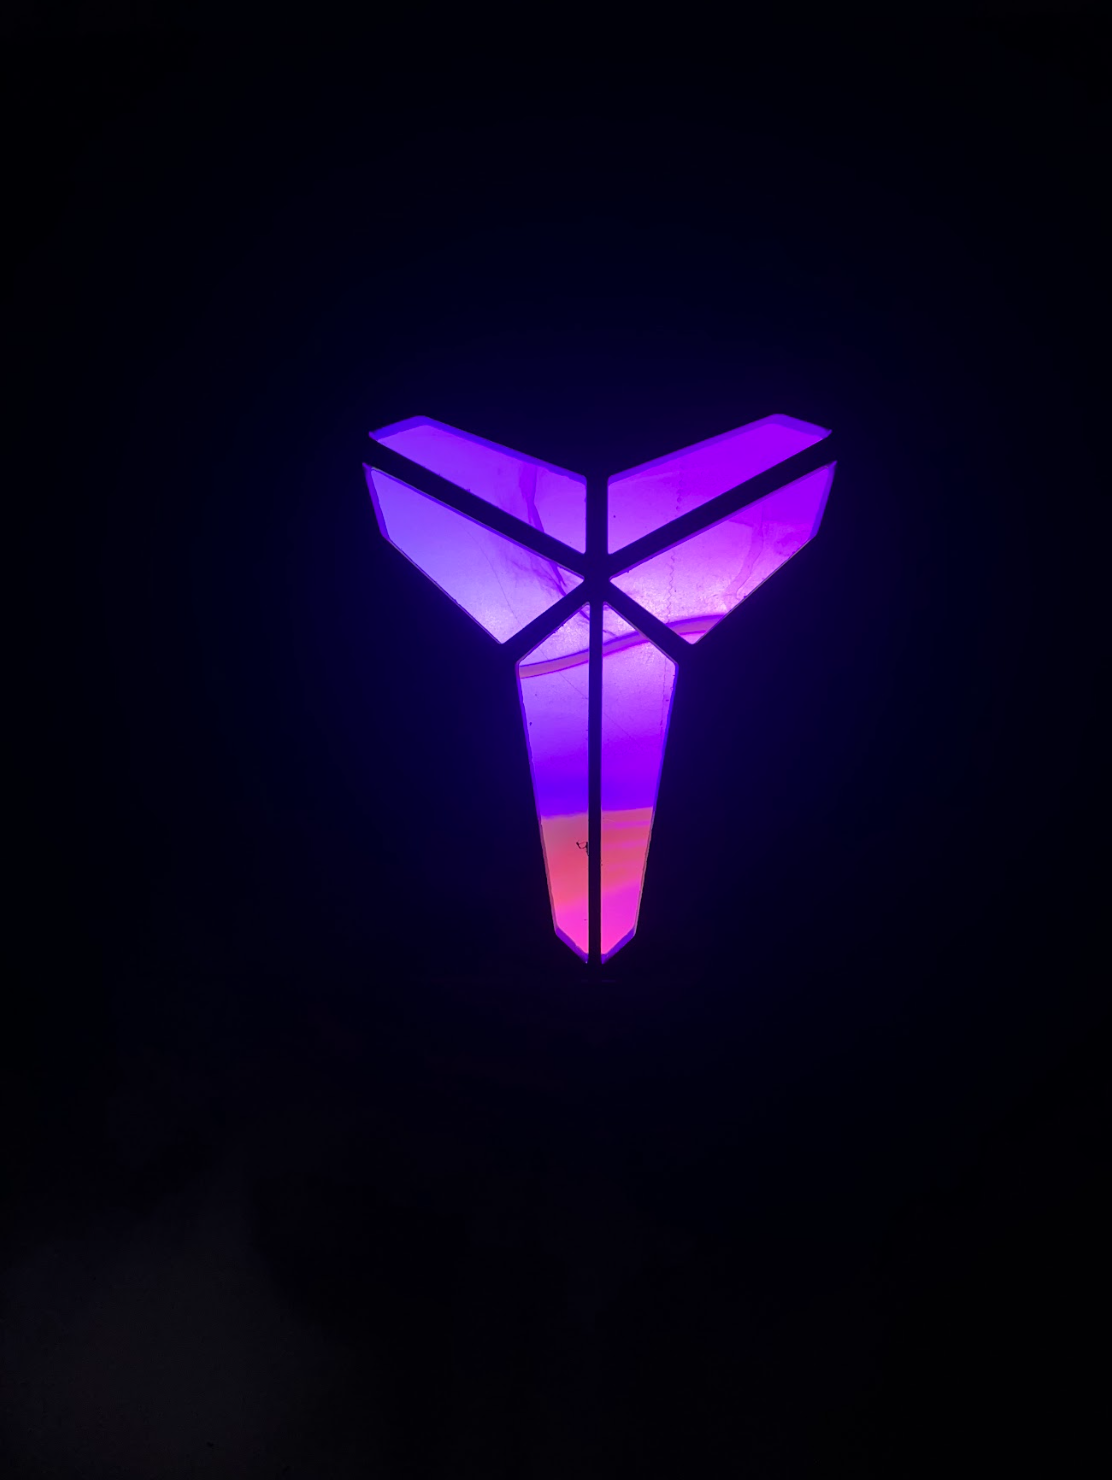
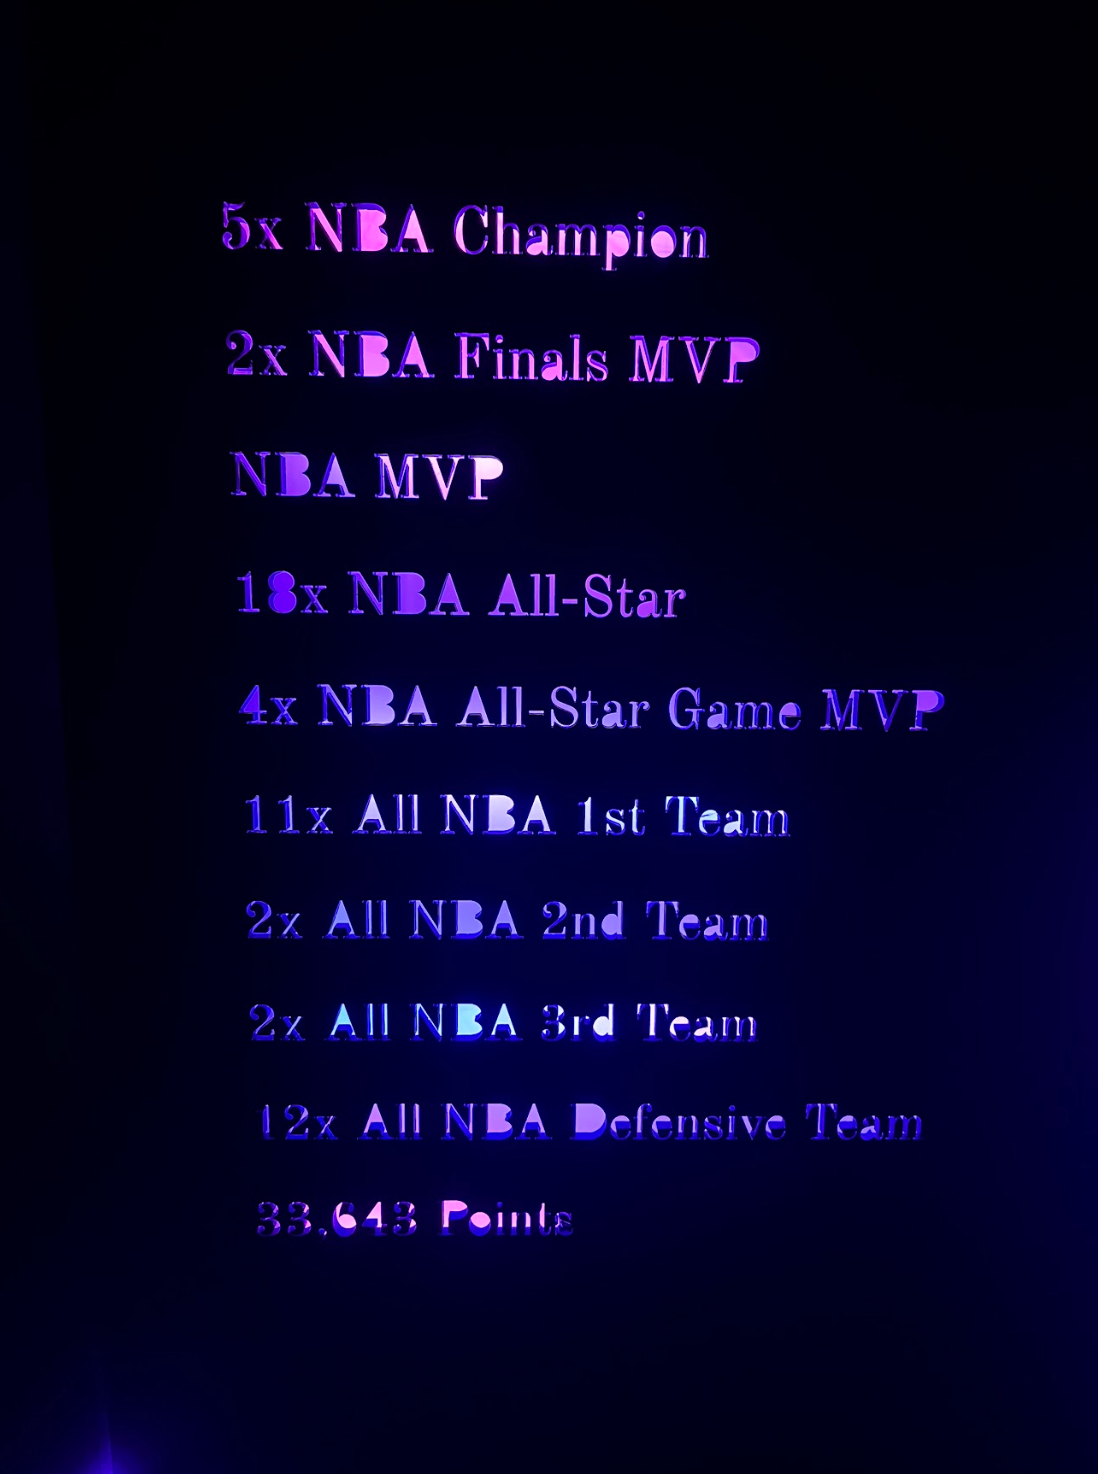
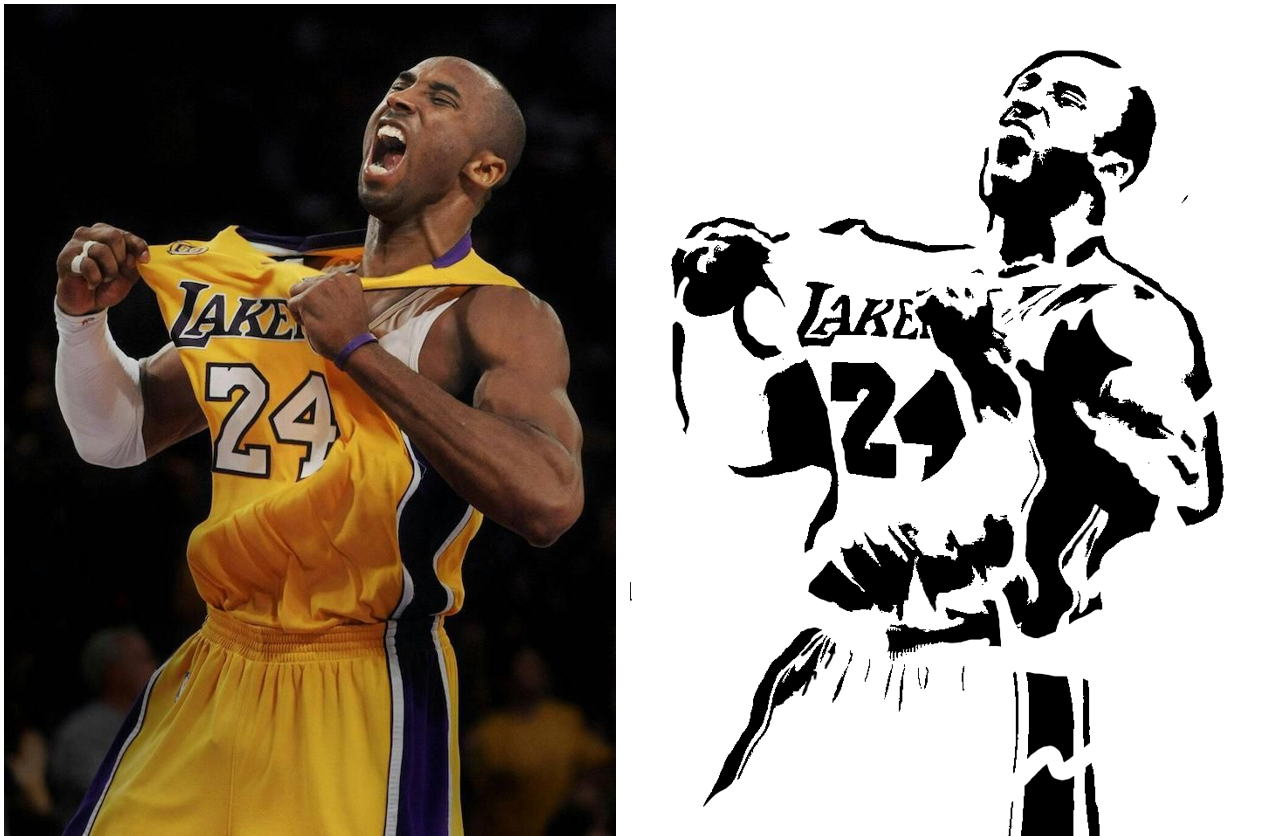
As I mentioned in class, I had an issue with the laser cutter, this issue being that the laser cutter in innovation was not working. However, I was able to get my design cut into my piece of acrylic in the laser cutter in Unity. I made the design in photoshop through the use of the threshold feature. This gave me a silhouette my image, I then used the brush tool to add extra lines, so the piece could be laser cut without major pieces falling out. The original photo as well as the design I made in photoshop are shown below. I typed the words directly in retina engrave before laser cutting them and used an image I found online of Kobe Bryant’s logo in the top right corner.
I anticipated having trouble with the setup of the LEDs, as using the fully addressable LEDs with a pixelblaze proved to be a bit harder to connect than I originally thought. I soldered a phoenix connector to the pixelblaze so the wires could be pinned directly into it them and held down with screws. I then cut the GND, DAT, and 5V wires, on the LED strip, as they had connectors, I then stripped the wires and placed them in the phoenix connector. I then stripped the two wires of the LED strips that can connect to an external power source and plugged them into the appropriate places of a power converter. The power converter was necessary because the LEDs required 5V, so just using an outlet wouldn’t work. I then cut an ac power cord so I could wire it to the power converter, which could then be plugged into the wall and supply power to the LEDs. After this long process, surprisingly the LEDs powered on without issue.

I originally intended for the words to the left of my design to fade on from left to right one line at a time to give the illusion that they were being written. However, after trying out a similar design that I found on the electromage website, it didn’t look quite like I wanted, so I abandoned the idea. Instead, I opted to use more solid colors and slow fades. I used files from the electromage website to help me get this effect. The files I used were called glowflow.exe and sunrise.exe. The designs include a slow fade that I used purple hues for, as well as one that flashes many different colors, both solid and multicolor.
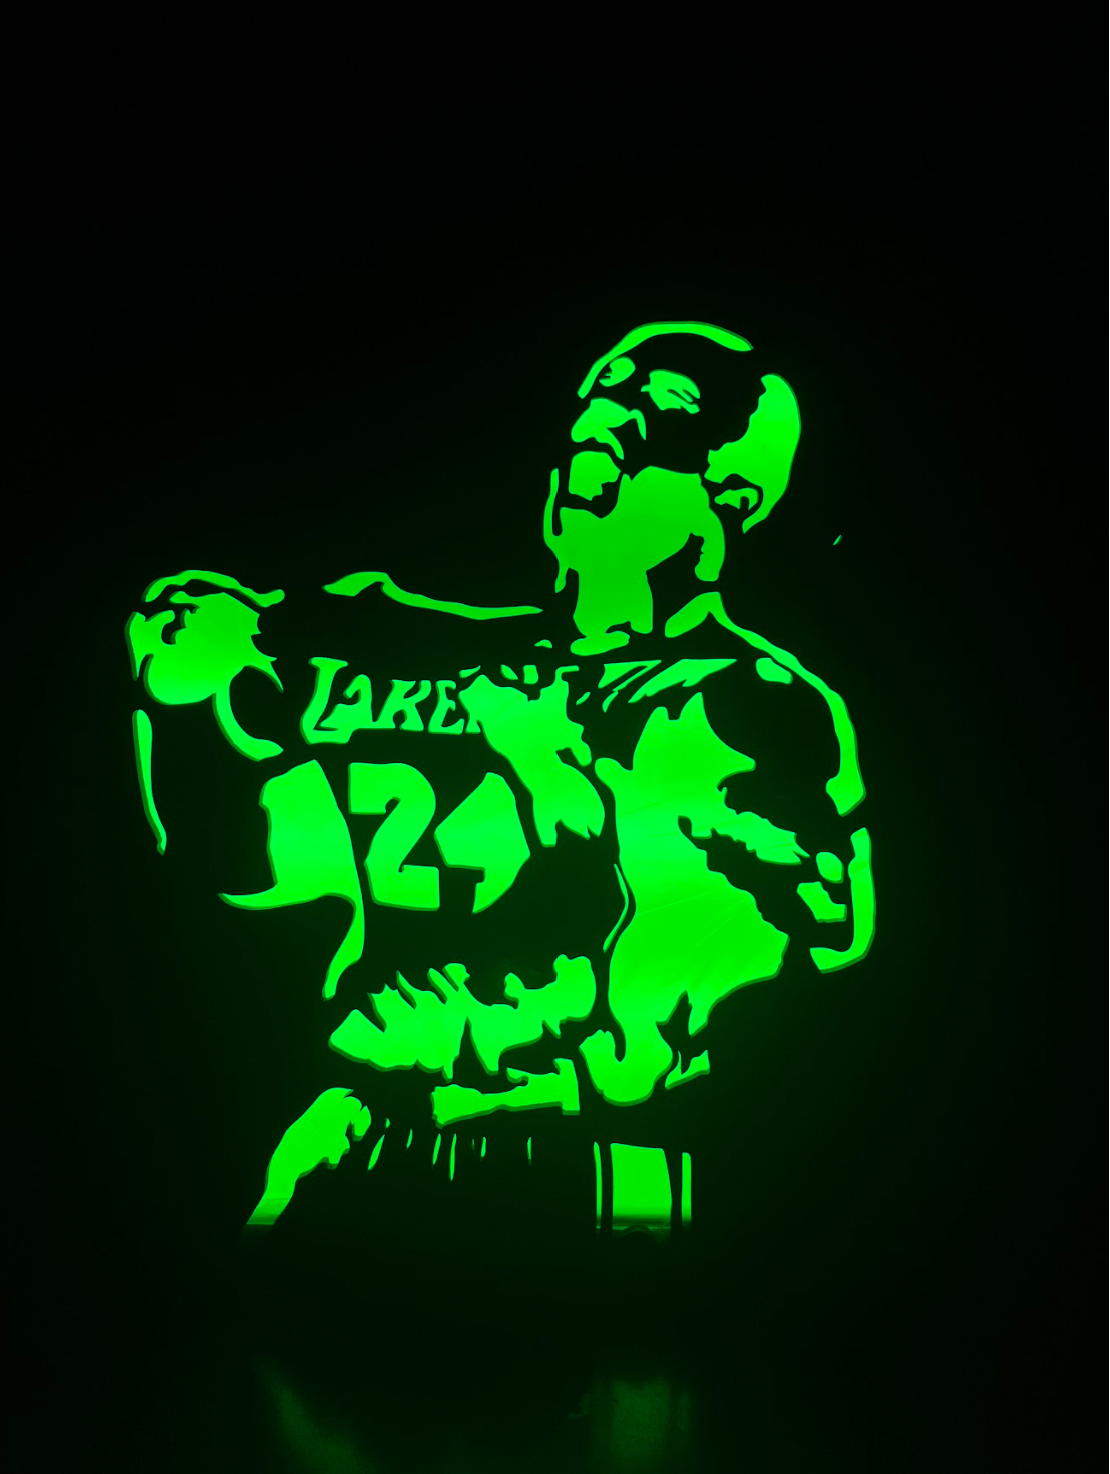
I really like the final product, it looks good in the light, but especially good in the dark, the really dark room in fuller made it look particularly good. I’ve attached pictures below of the piece lit up by various colors and a video of it flashing through different colors.