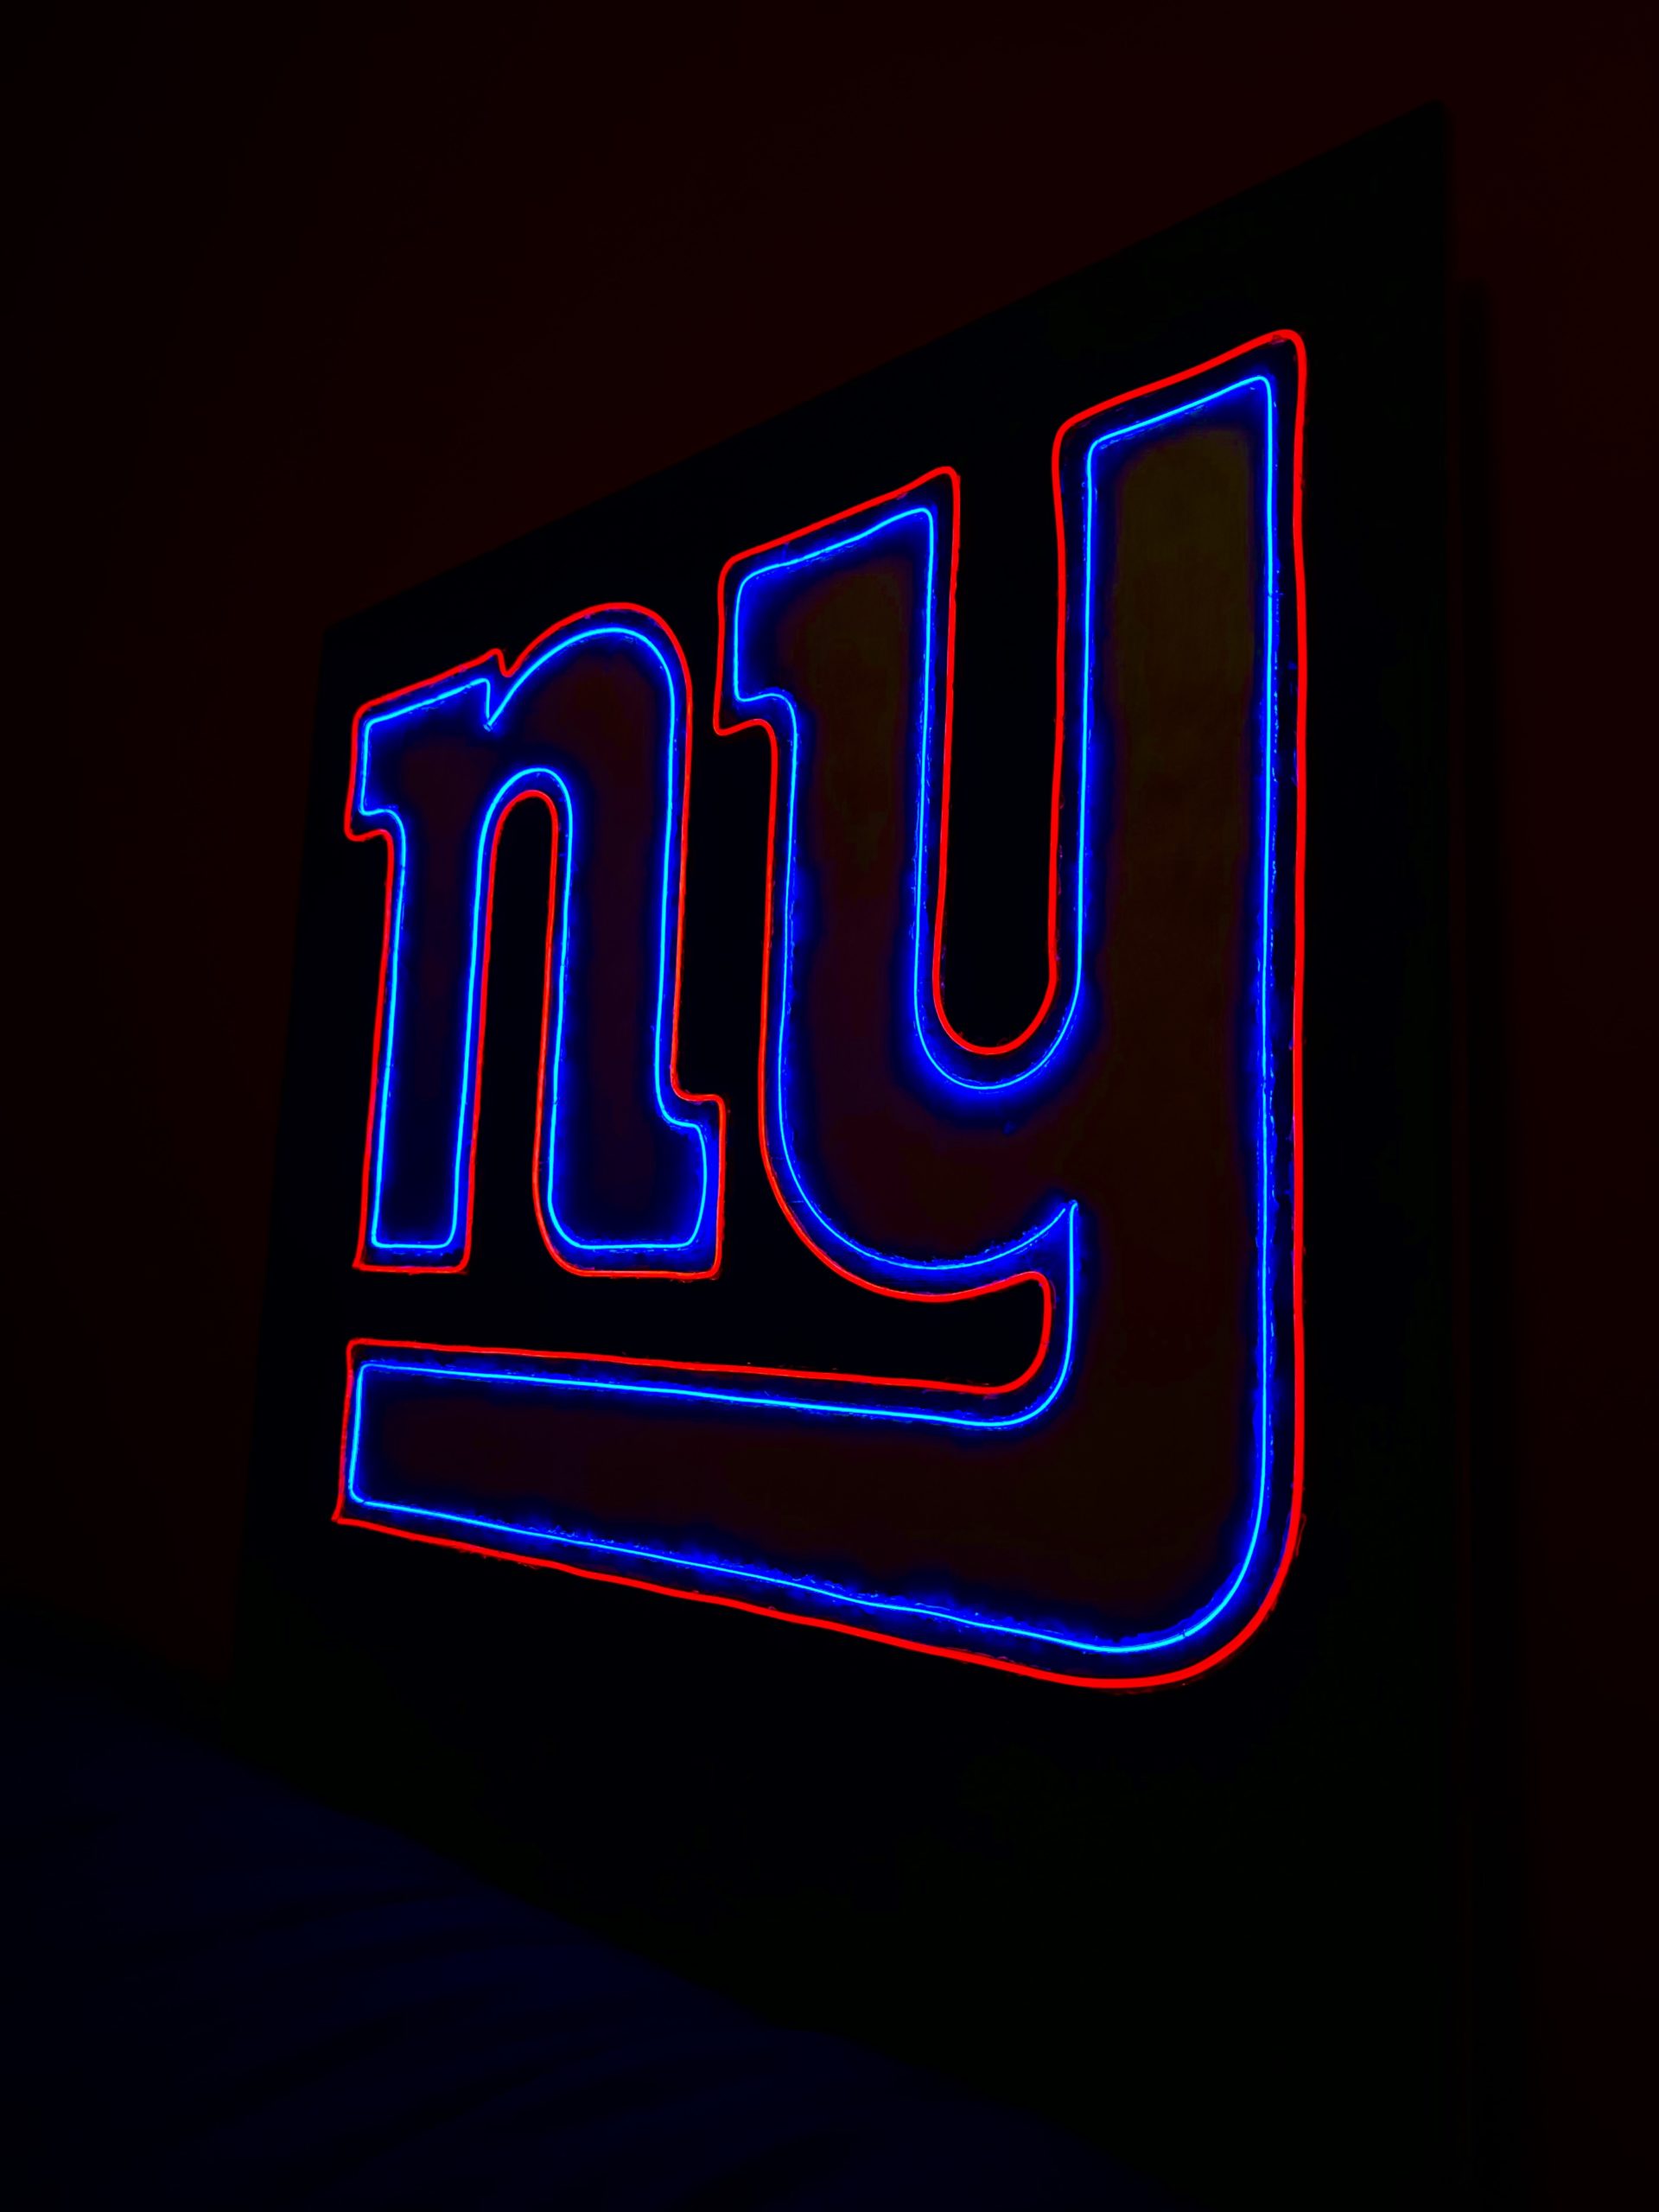
For my final project in the Light Art Practicum, I made a Laser Cut Neon Sign. I utilized Electro-Luminescent wire to create the New York Giants logo on a piece of birch wood painted black, to make the light illuminate more in a dark setting. I have a long love for the Giants, as I am an avid fan, and wanted to make a final product that I could hang in my house after it is completed.
How it was made?
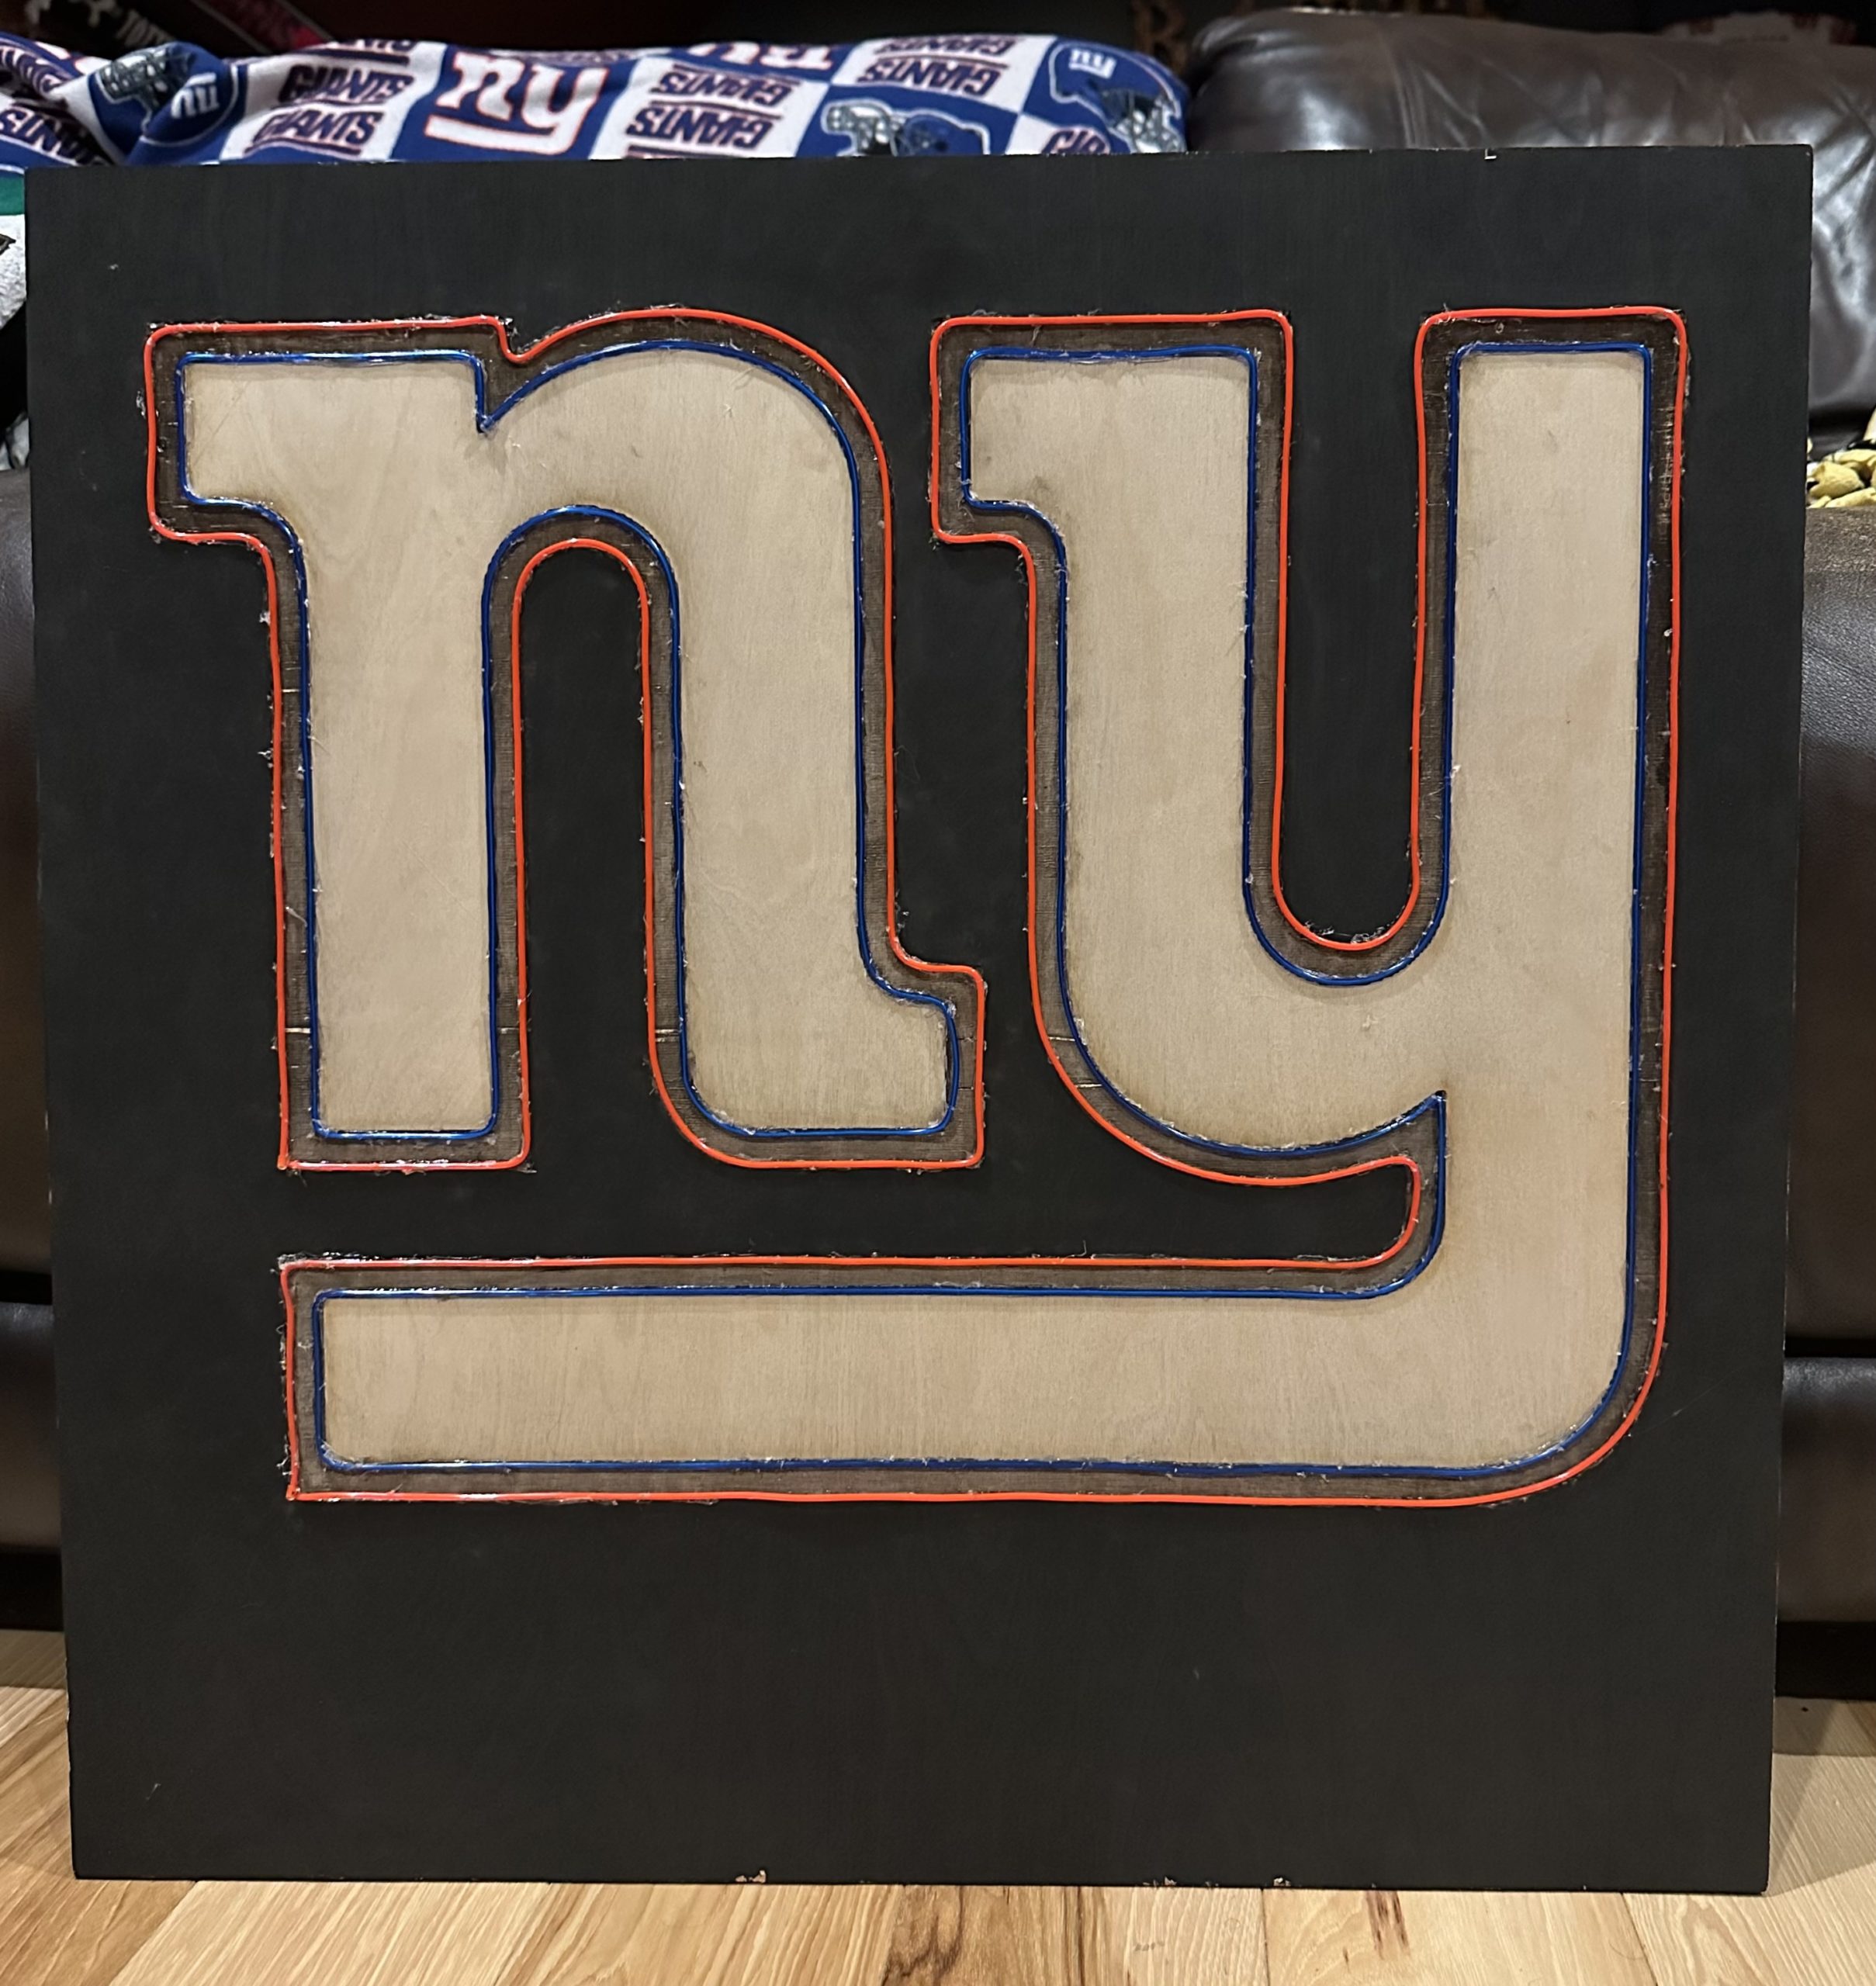
I engraved the logo using the laser cutter on a piece of 1/2″ birch wood. Before laser cutting, I took a PDF of the Giants logo and imported it into Retina Engrave. After using the measurement tools to center the design on the material, the engraving was started. After four hours of laser cutting, there was a rift in the wood in the shape of the logo. I then drilled four separate holes in the wood. These holes were an outlet for the wire to run through so that the battery packs powering the wire, would be unseen and behind the sign. After the holes were drilled, the EL wire was hot glued along the rifts that were laser cut. After this was completed, the four lines of EL wire were in the shape of the Giants logo and ready to be powered on in the dark. This is what it looks like when not turned on and not in the dark:
Overall, the project was a major success and came out even better than I could have imagined. I’m even more excited that I now have a finished product that I can hang on my wall. Throughout the project, I have gained many new skills including learning how to use the laser cutter. In the future, I think I am going to add more designs to the bottom of the sign. In addition, if I were to do this again, I would probably not use hot glue as a connection agent due to the mess it creates. I would also experiment with more complex designs since I know how to use the laser cutter now.