Minecraft Block Maquette
Liam Stearns and Kevin Doan
Progress
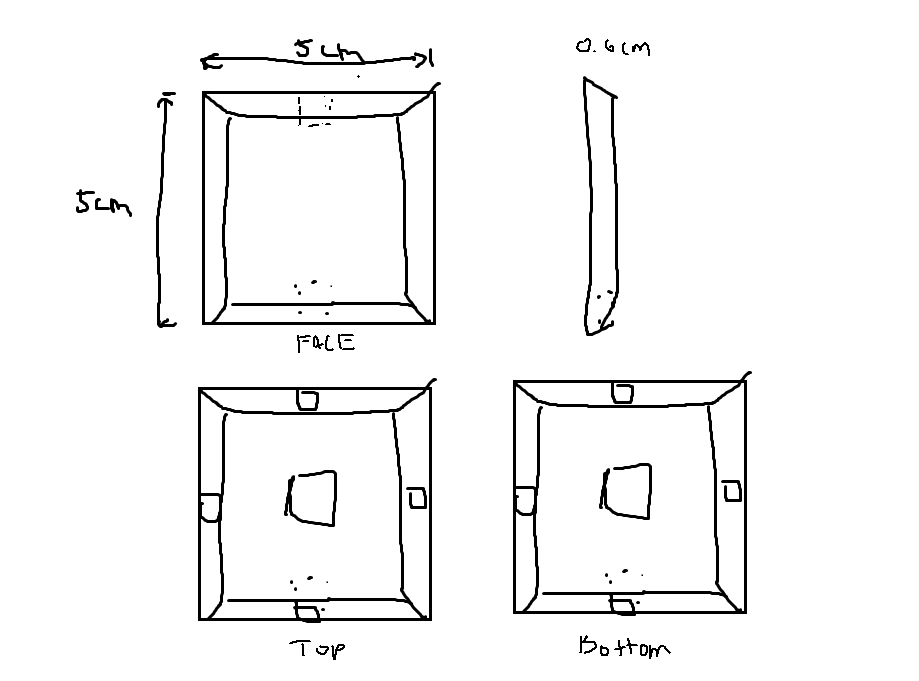
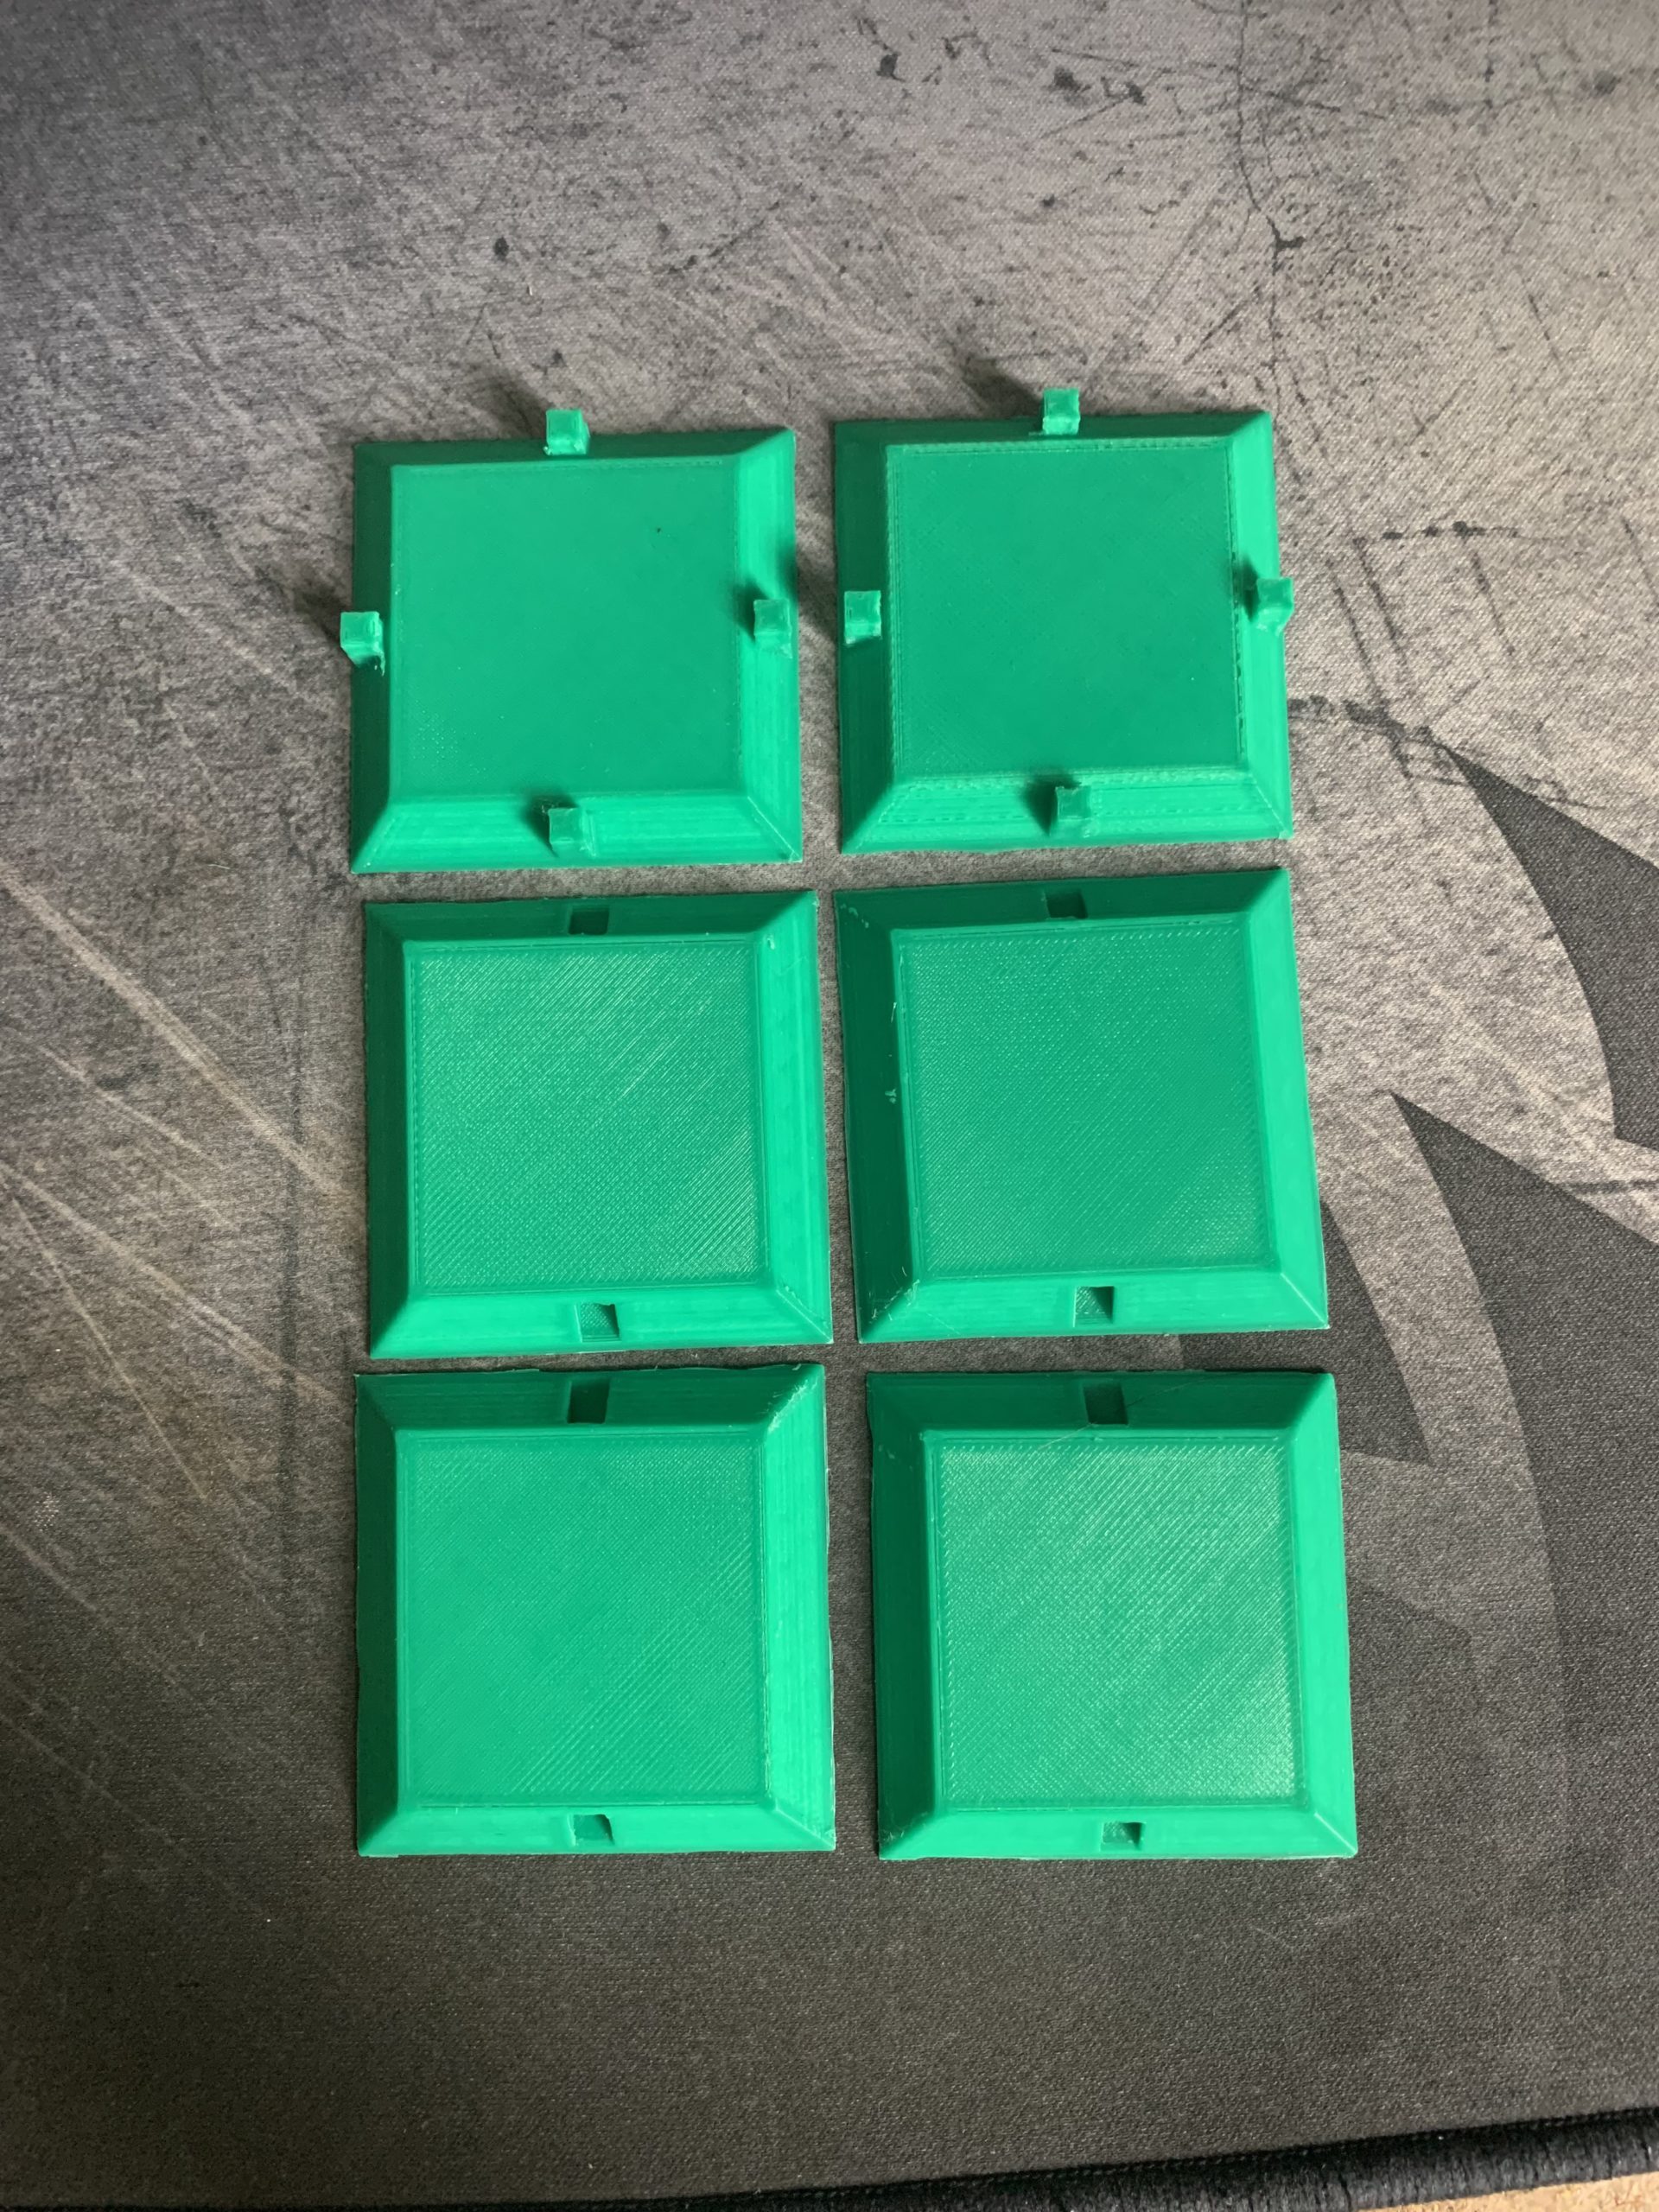
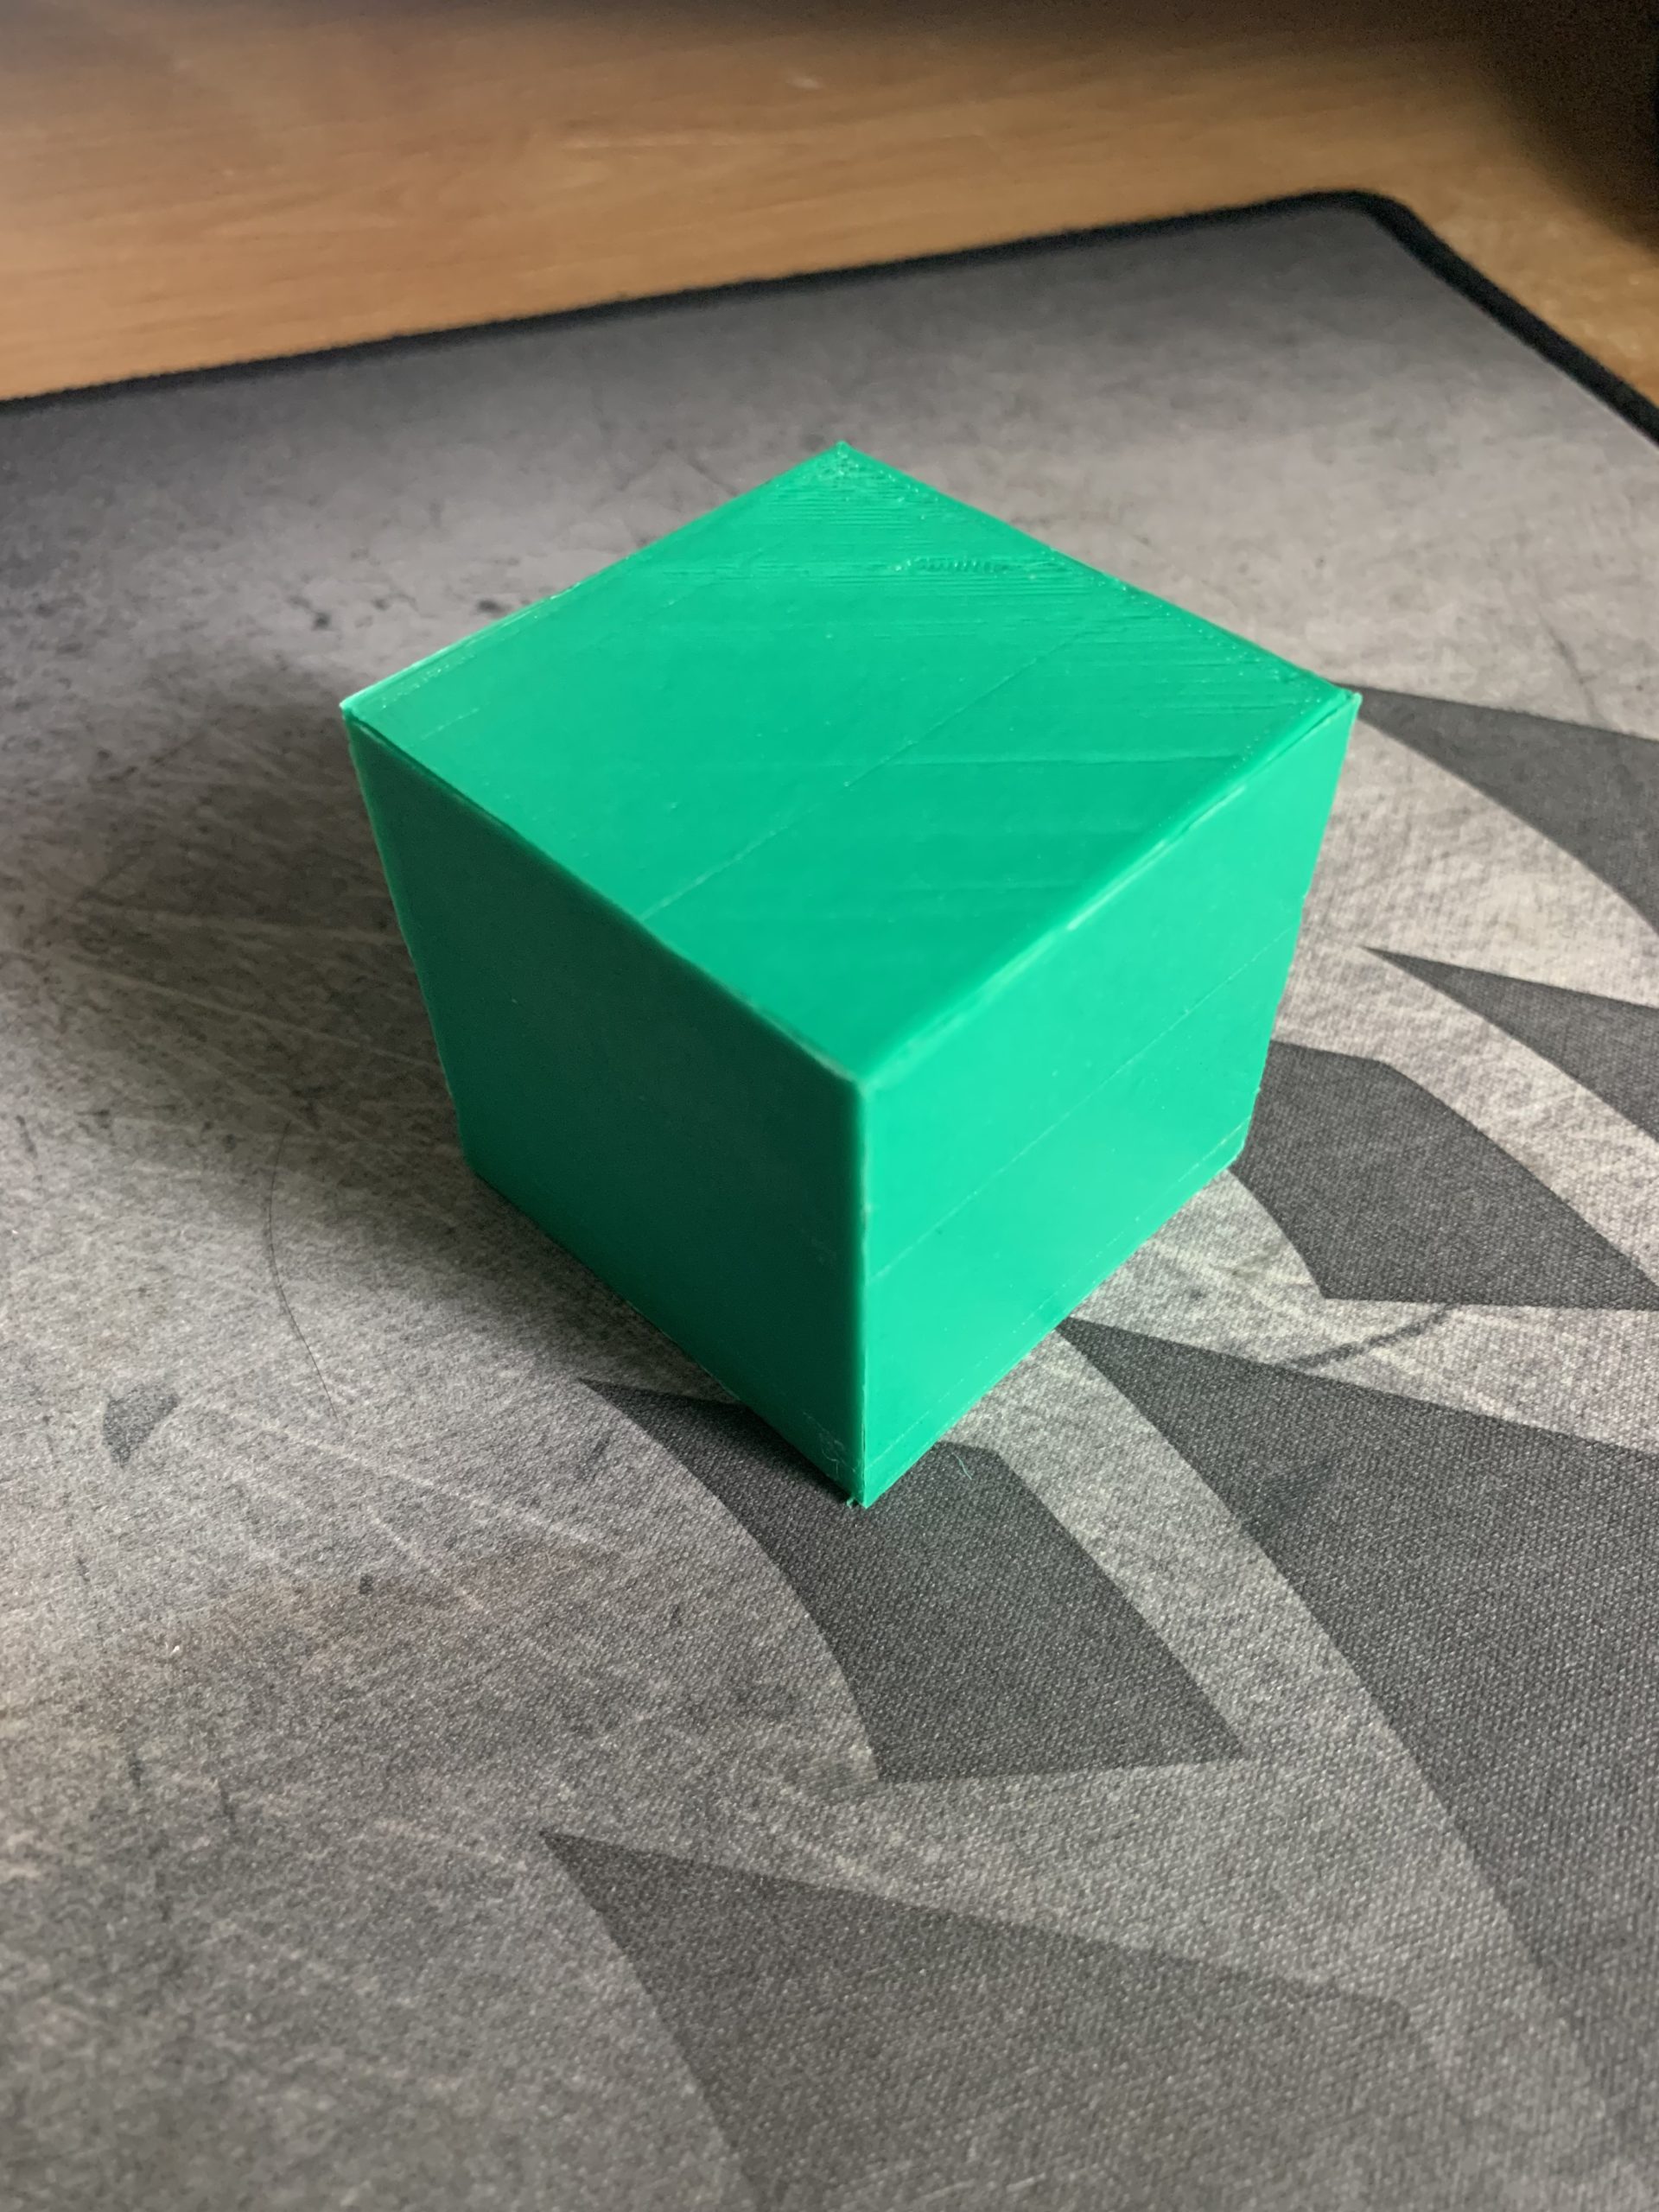
During the first week we started with a sketch of the block to check the general idea as of how the block faces will connect together. After agreeing on an idea, Kevin began to 3d model the block and print it, to check sizing and tolerances.
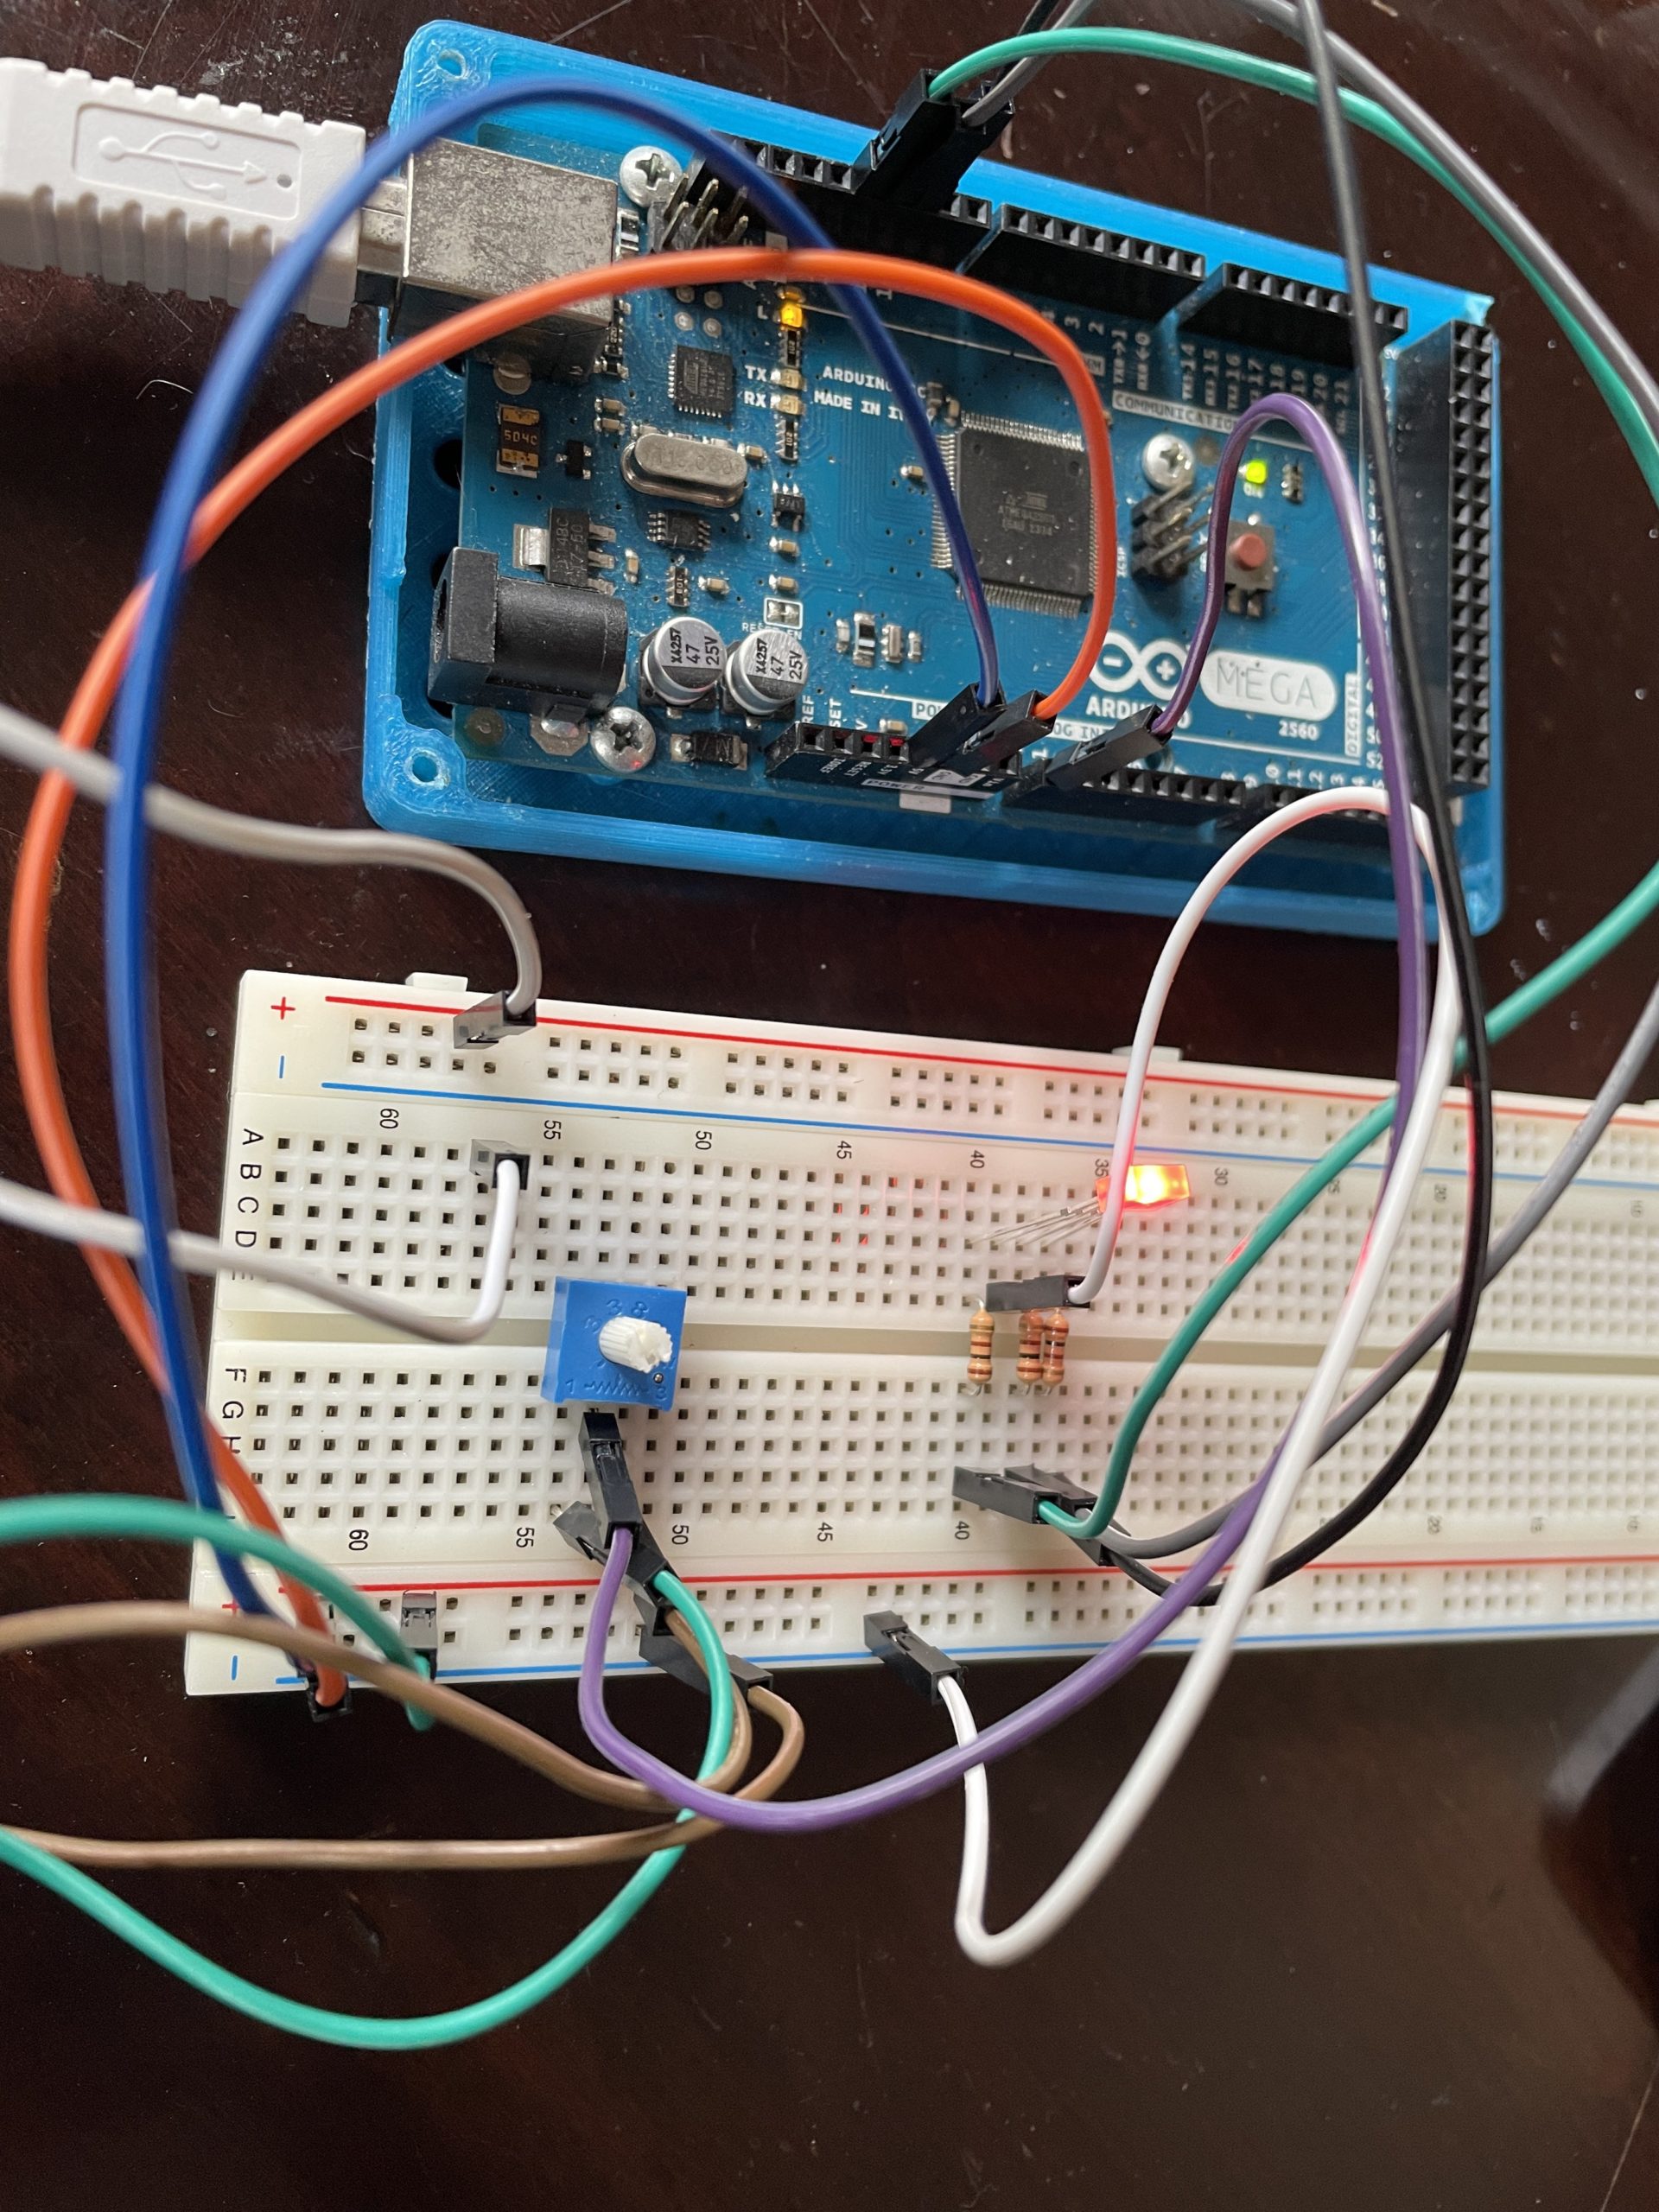
While Kevin was 3d modeling, Liam had worked on connecting and programming an LED to have multiple functionalities and modes of operation. The program allowed for the RGB LED to fade through multiple colors and for a potentiometer to change the speed of the fading. This is so we know that we can alter the functionality of the RGB strips in each cube once we have them.
Shopping List
- Transparent Filament
- 3 pin wire connector
- RGB led strip
- Potentiometer
- Clear Vinyl Sheets
The interior wiring was really impressive. I’m far from skilled with working with electronics, so seeing the even early evolution of the concept already was pretty cool. One thing that might come in handy would be to give a bit of a bigger tolerance between the pieces when they’re together so it’s not nearly as hard to take them apart… but them being that tight does save you on adhesives.
I’m excited to see how the cubes will look when they are printed from a clear material. I like how you added the potentiometer to control the fading because I think that it is a good addition to your project. I am interested to see if you can make the sound effects work when the blocks as added/removed.
I’m curious how you will connect the LED strips to the Arduino. I was thinking about using LEDs instead in my project because I’m thinking it would be a lot easier than EL wire. I’m also very excited to see how the light will diffuse through the block with the vinyl cover. Overall, very cool project and I’m excited to see what will come of it.