This week, at long last, the project came to a close.
It was a long week, with numerous steps of production. Earlier this week, I finished up the various modeling needed for the prints, and began the process of printing the parts. I modified some of the models to have larger tolerances than my original design, and in the end doing so worked out quite well, I honestly likely could have pushed it higher. The piece that was too complicated for me to have the time to go back and modify still mostly worked, but there was a few road bumps with it and all of the original wiring grooves didn’t get filled out.
For painting, I actually lucked out here as I got my hands on a custom order primer that was pretty much the exact color I needed the pieces to be, so that saved me a lot of time as I didn’t need to double paint. I also used another box I had to create the housing for the electrical power components and LED remote, which ended up being an extra feature I was quite proud of making.
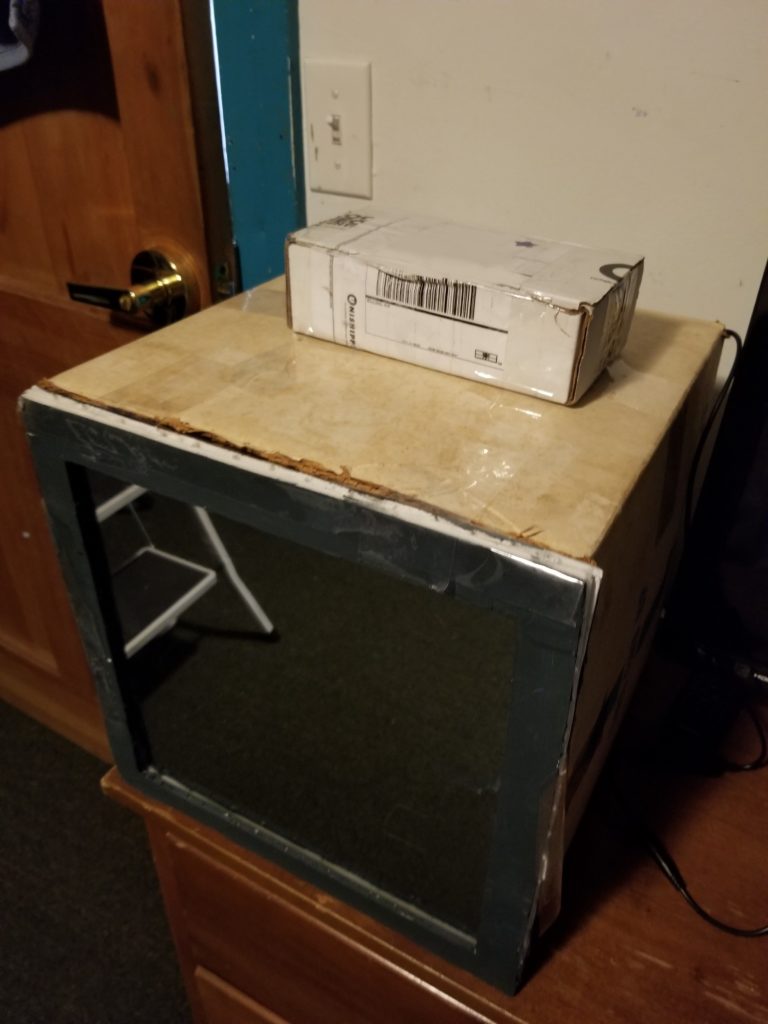
The final box with an extra container on the top for the accessible electrical components.
After I toughed out threading the El Wire through the parts, the glue process was fairly straight forward. Some pieces took an attempt or two due to either a strange shape, wires not cooperating, or just not sticking well to the glass the first time, as even though it looks pretty perfect, the glass in the box is not exactly a perfect square, almost certainly due to it being a cardboard box filled with glass and human error. But, in the end, I had just the right amount of glass glue to get everything in and stable!
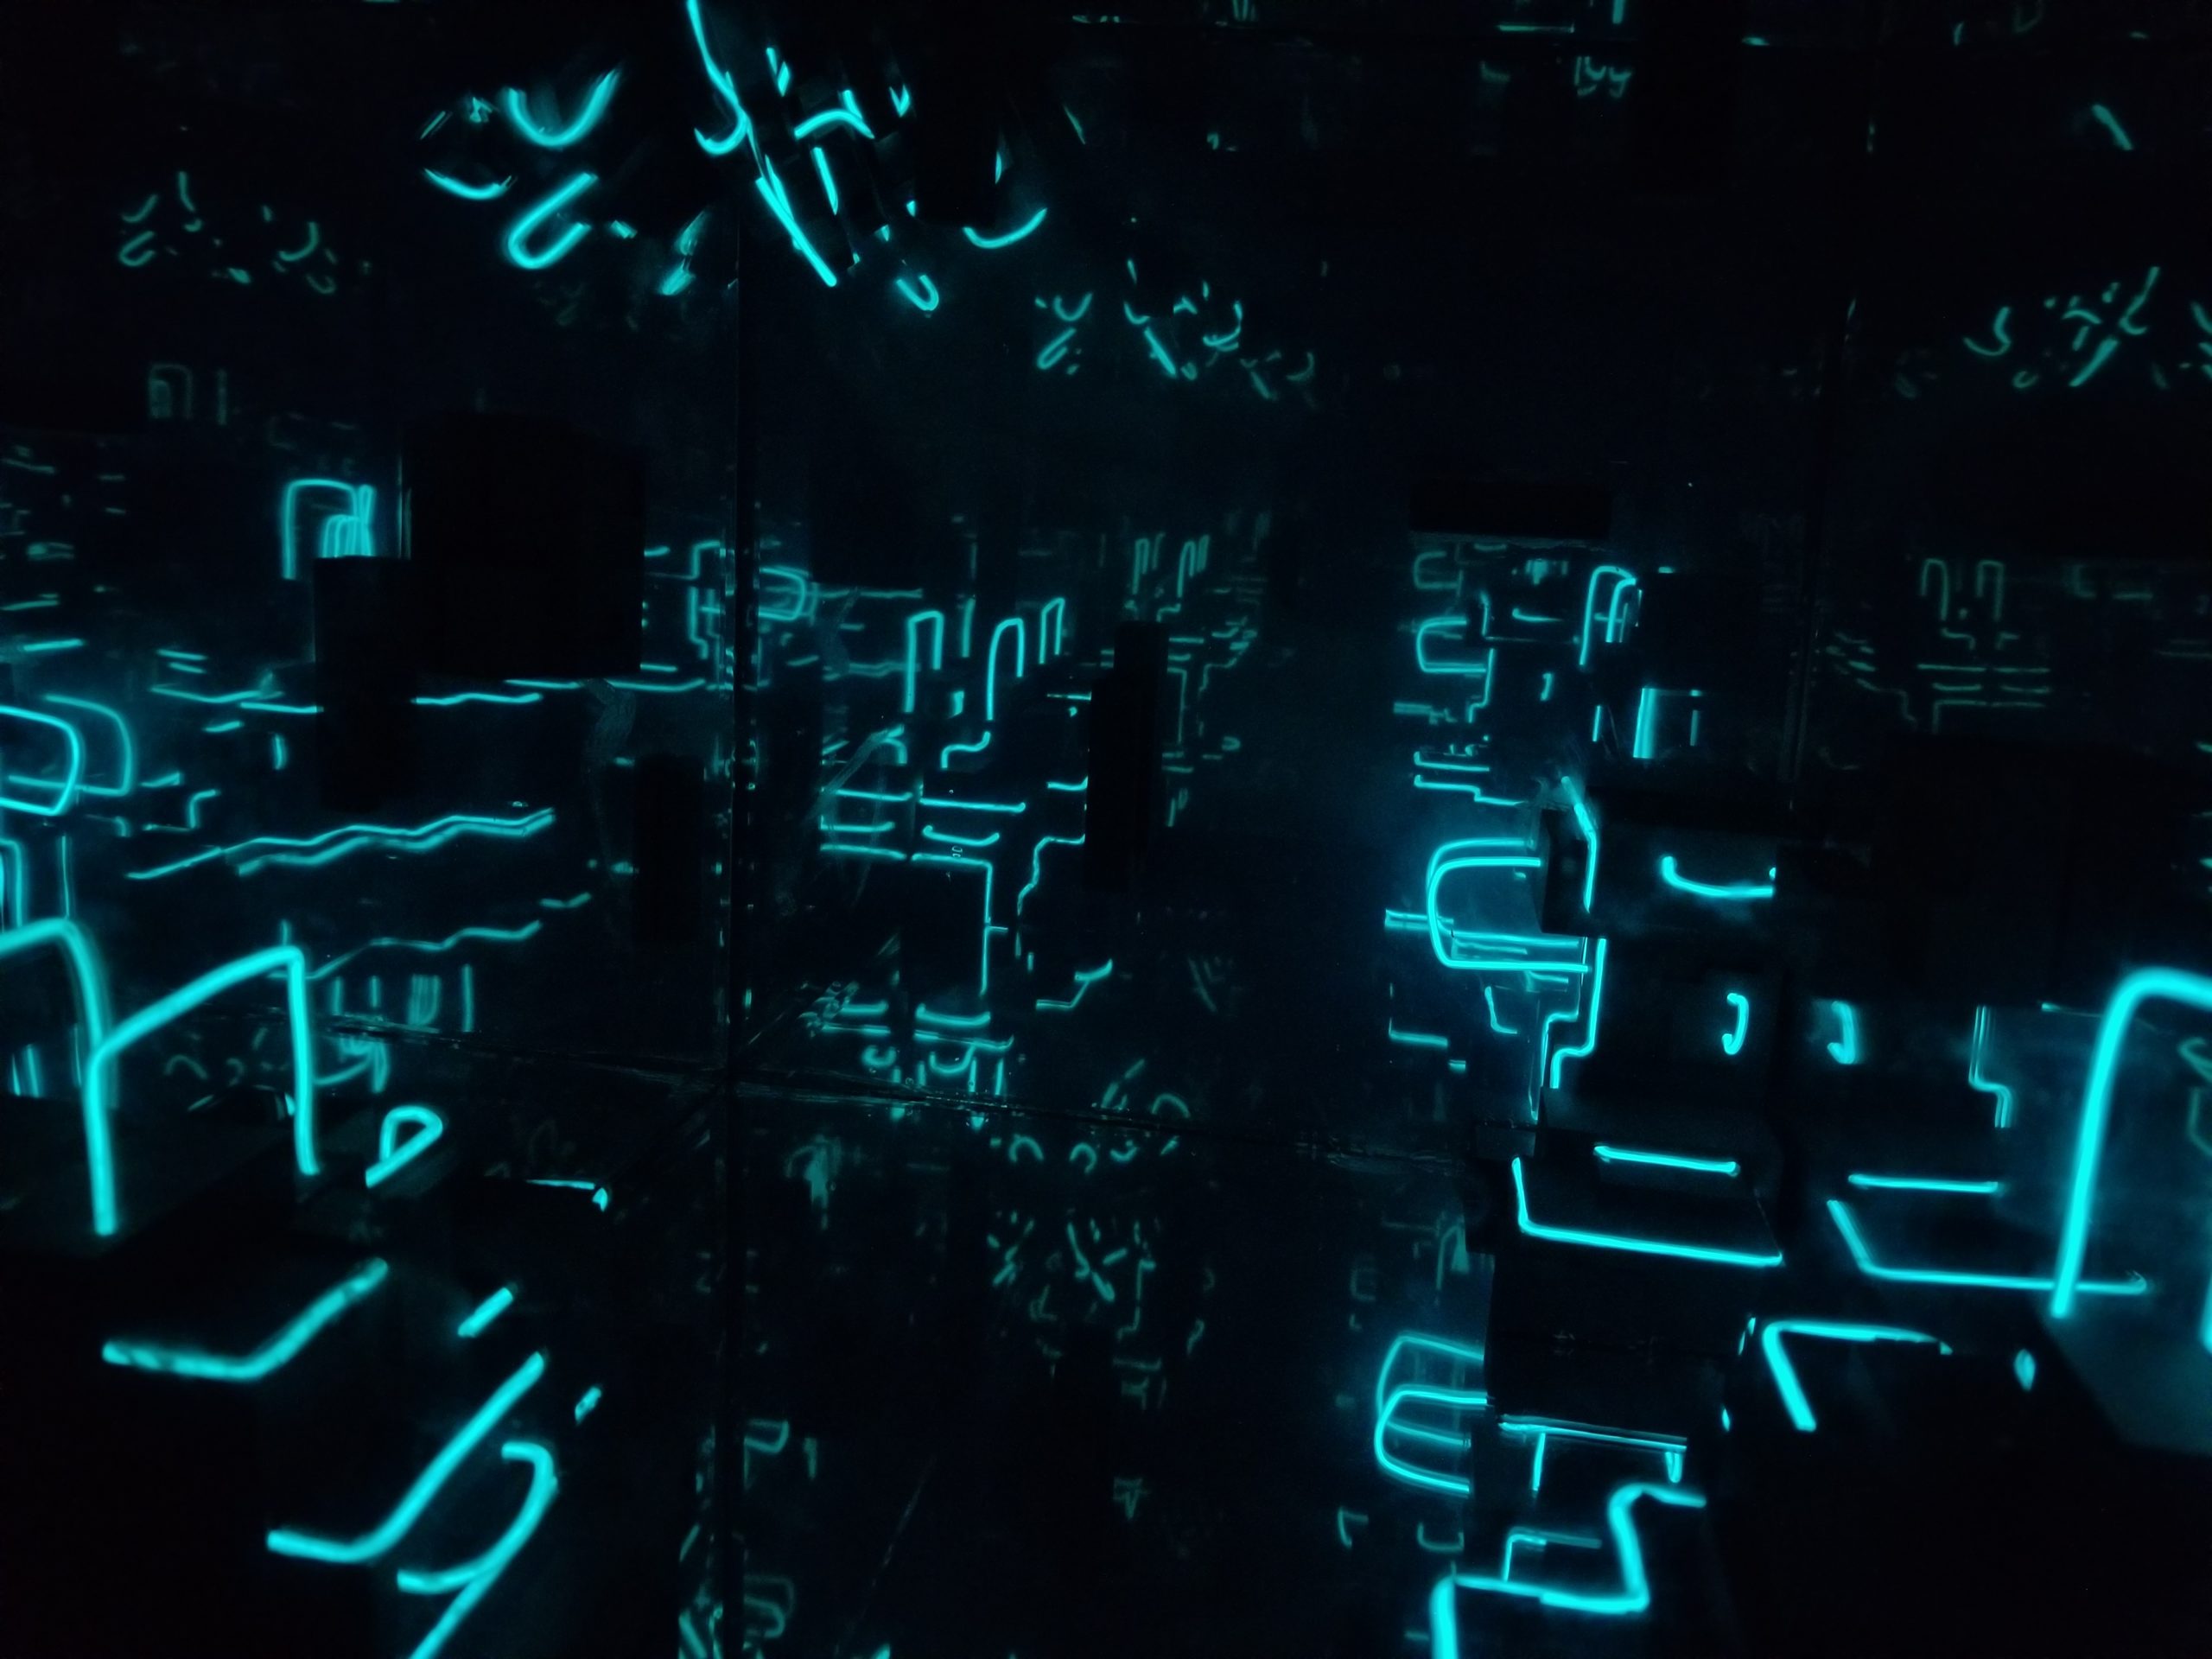
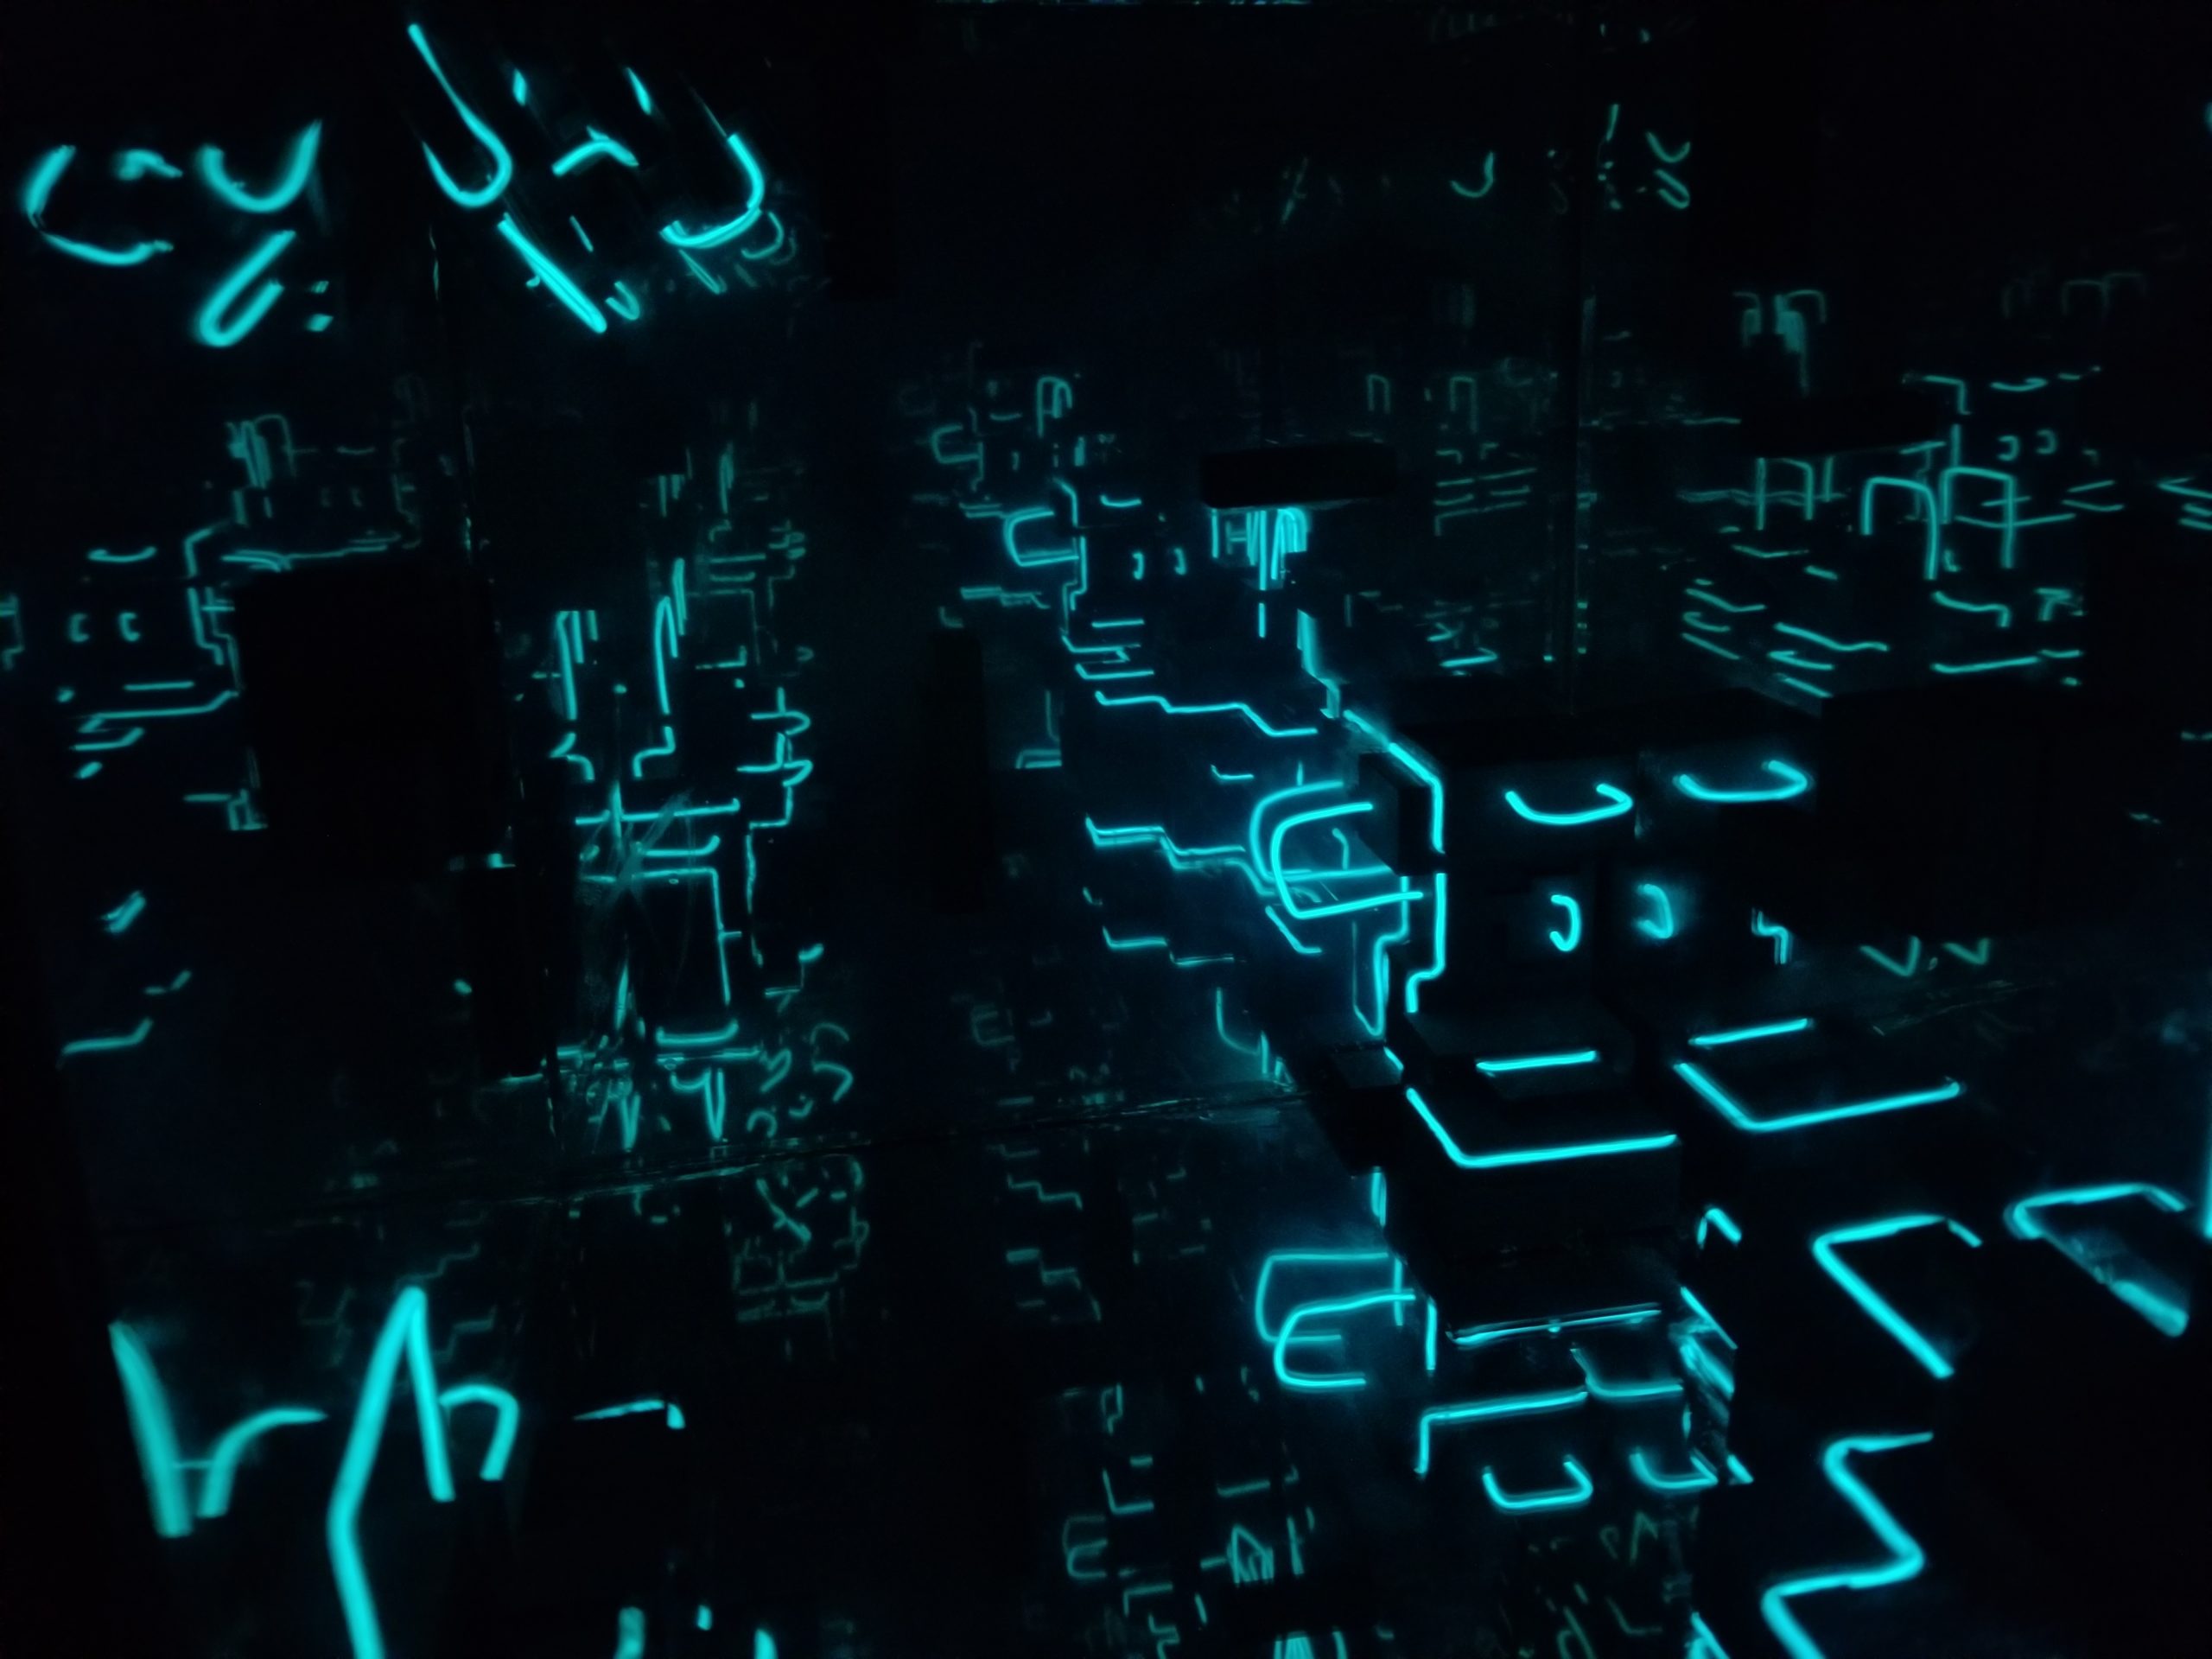
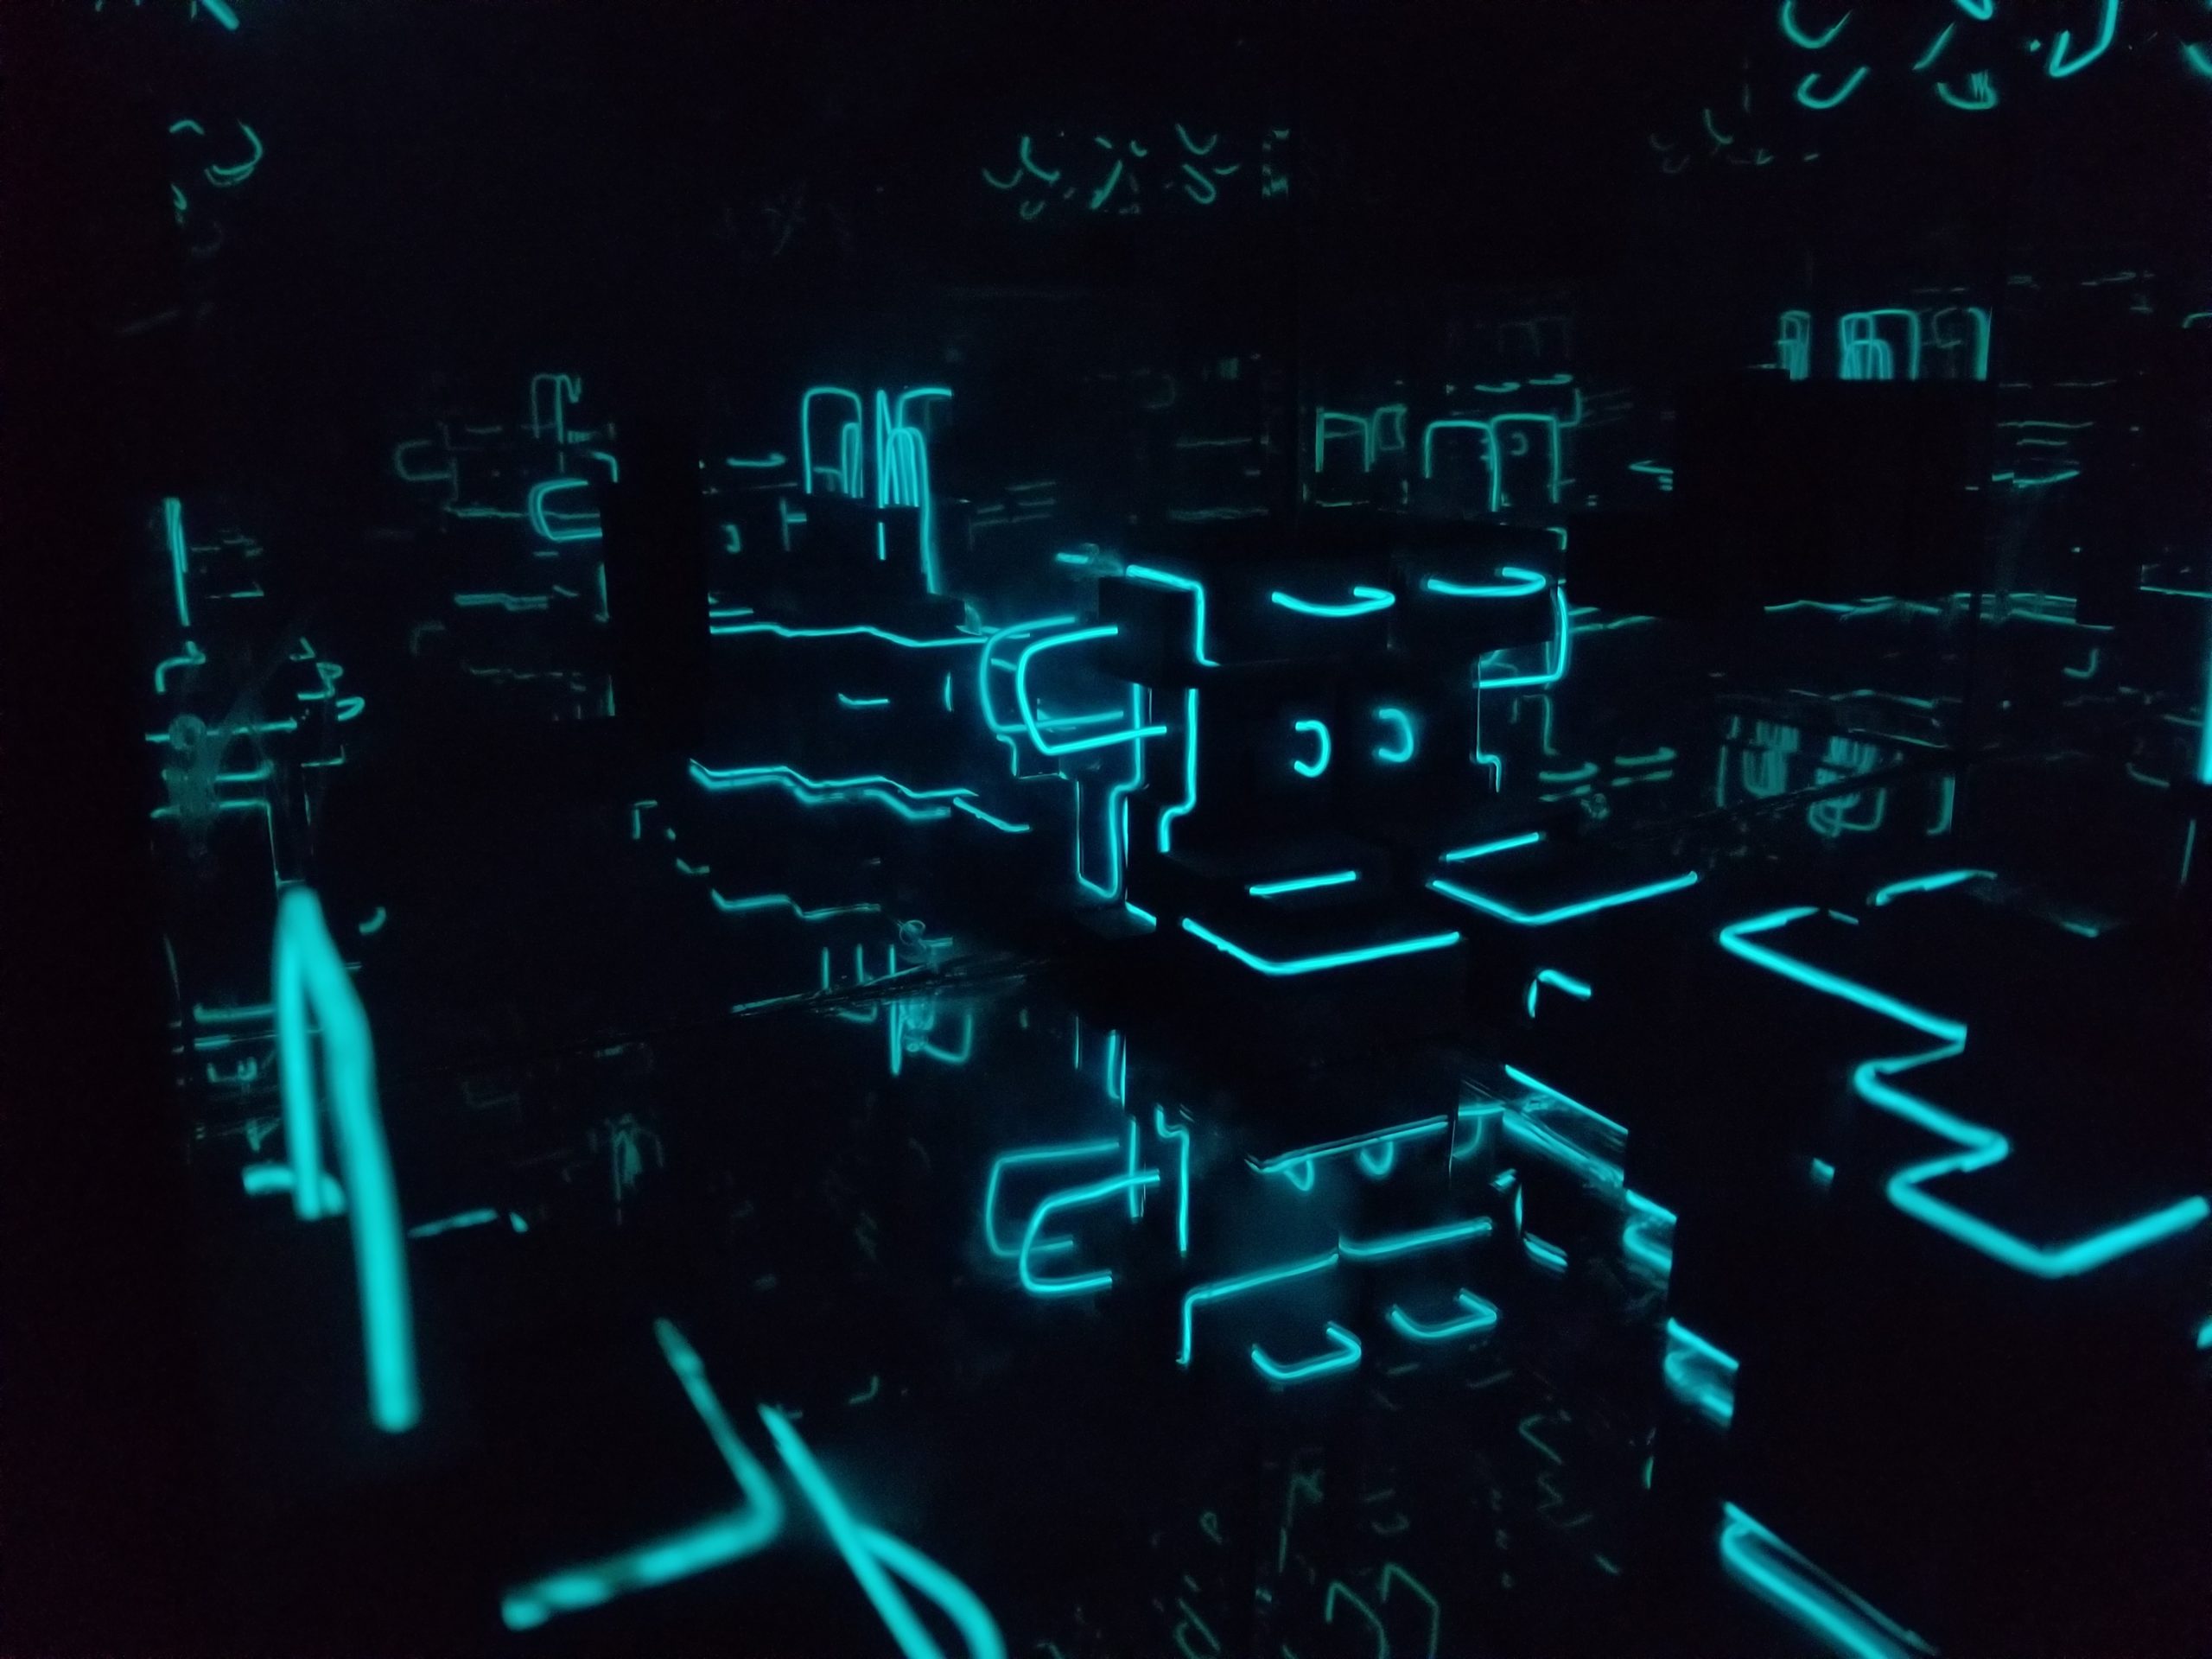
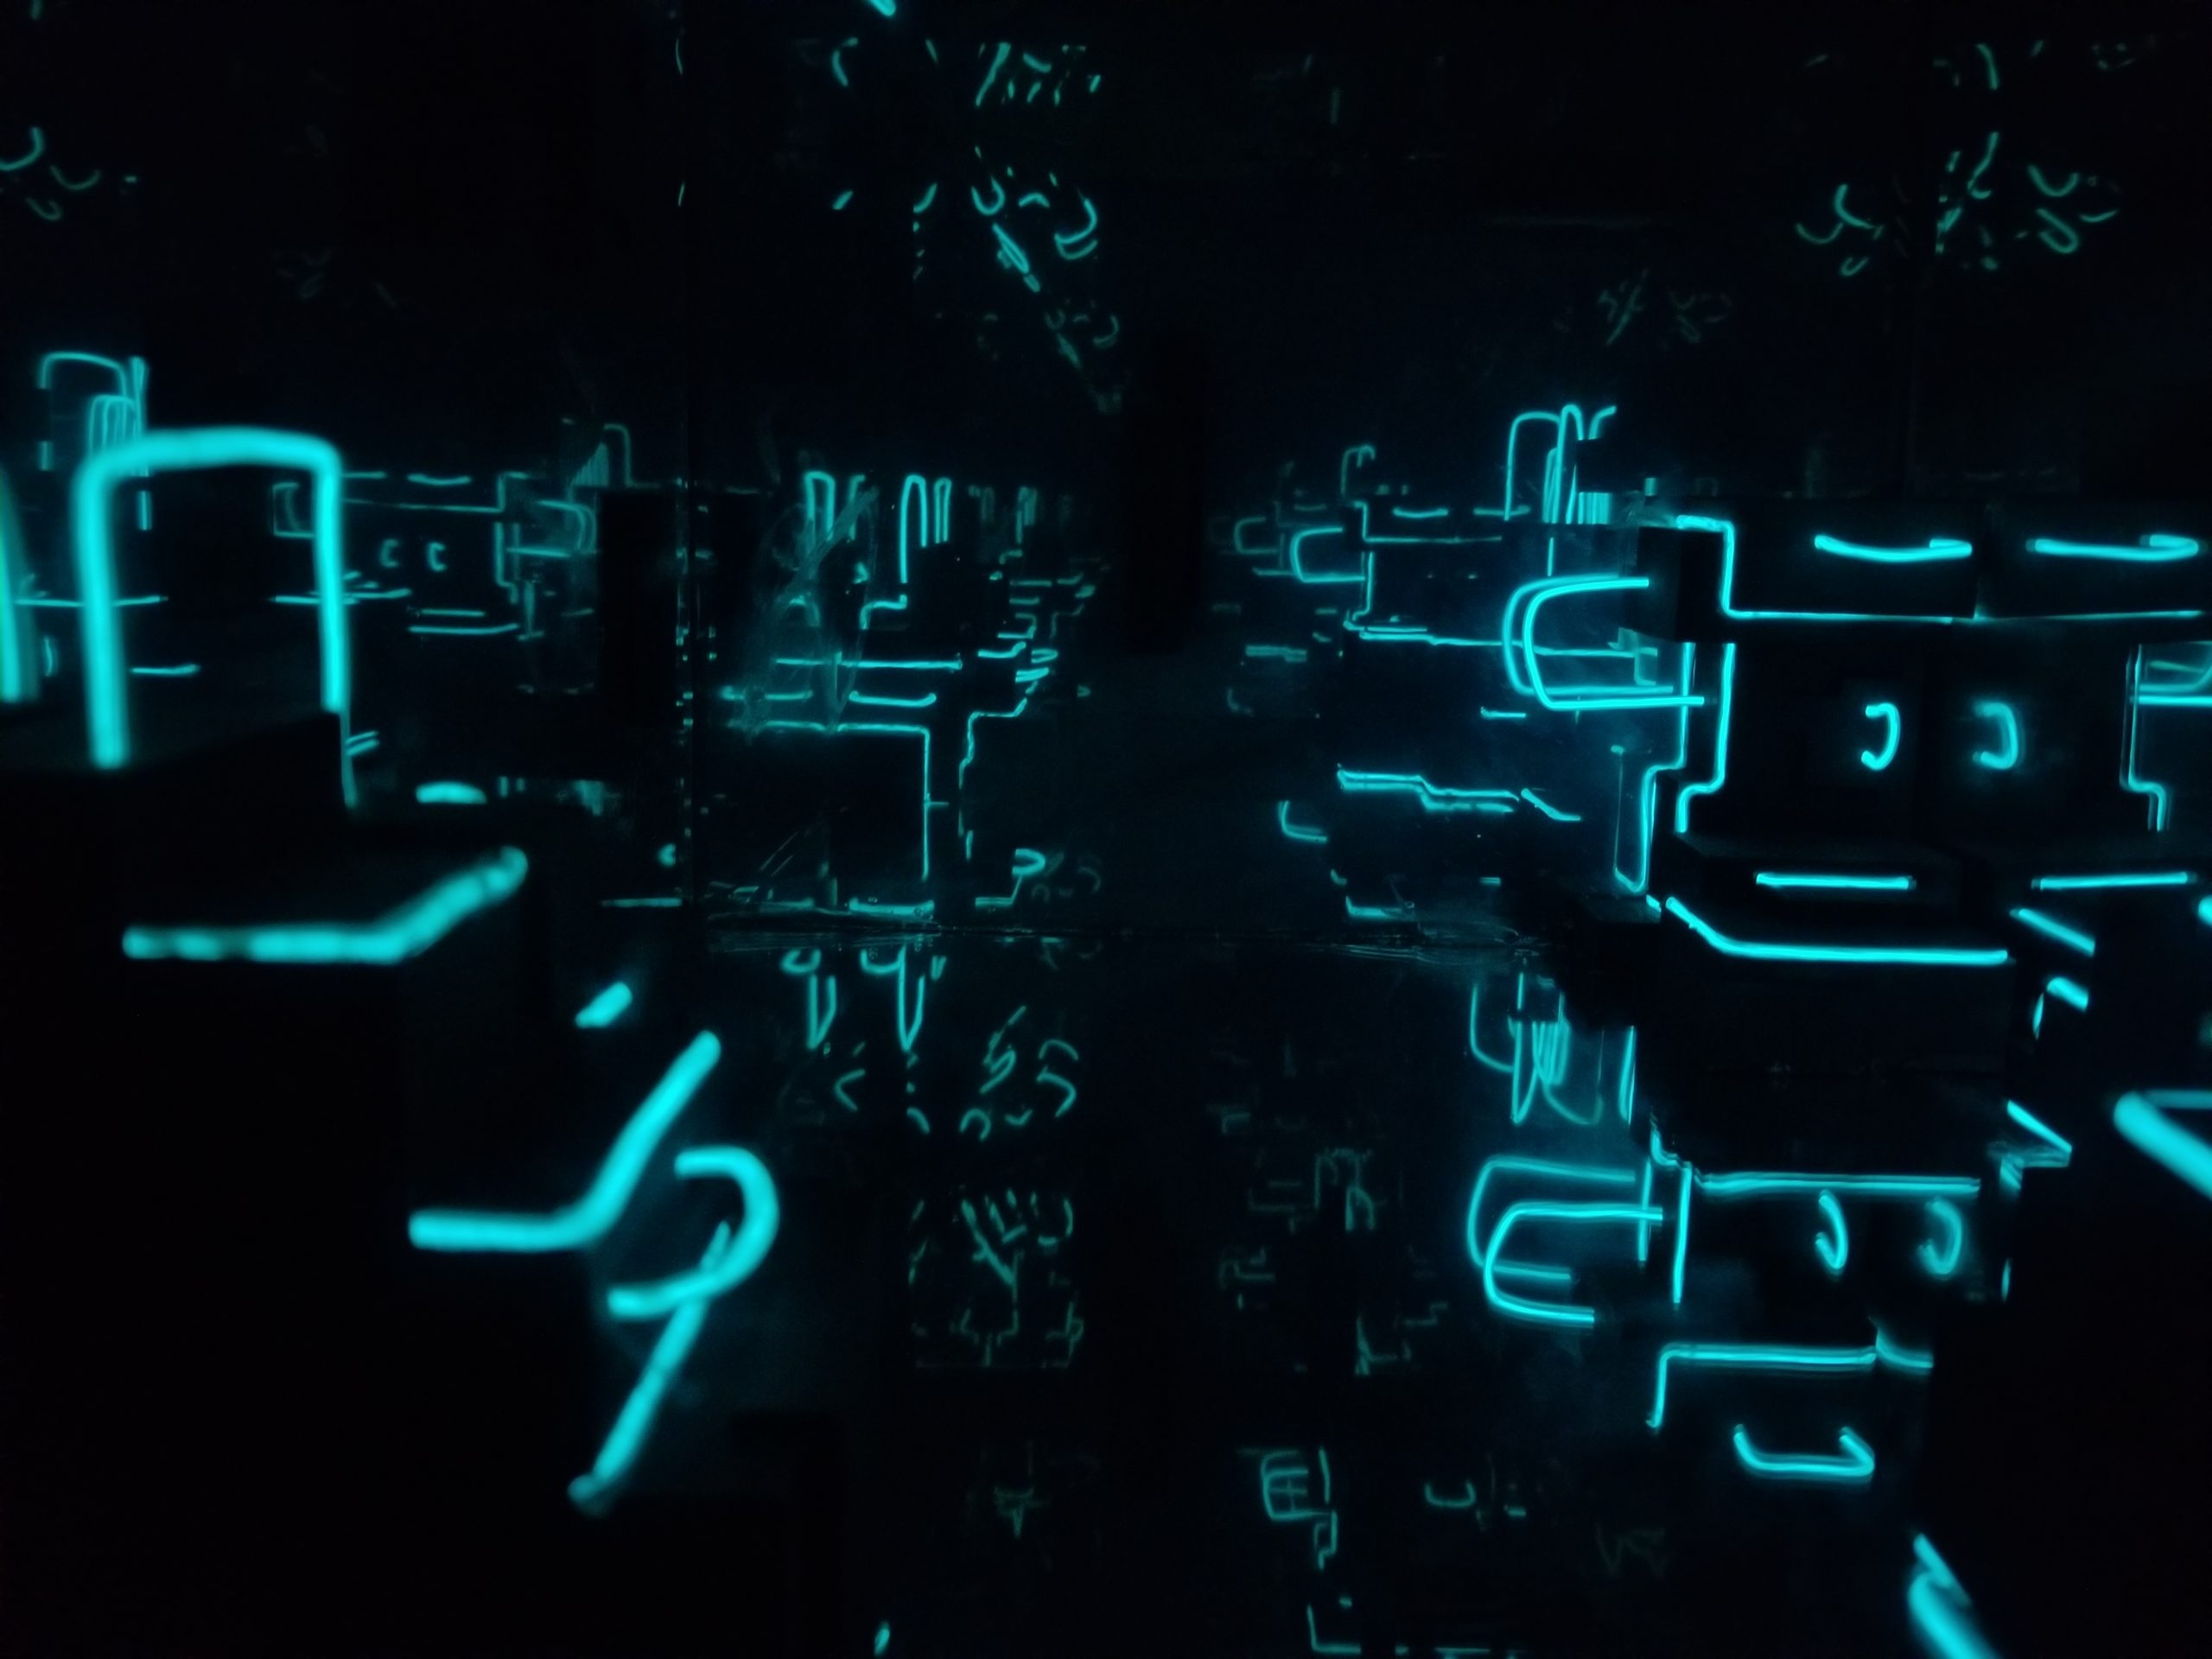
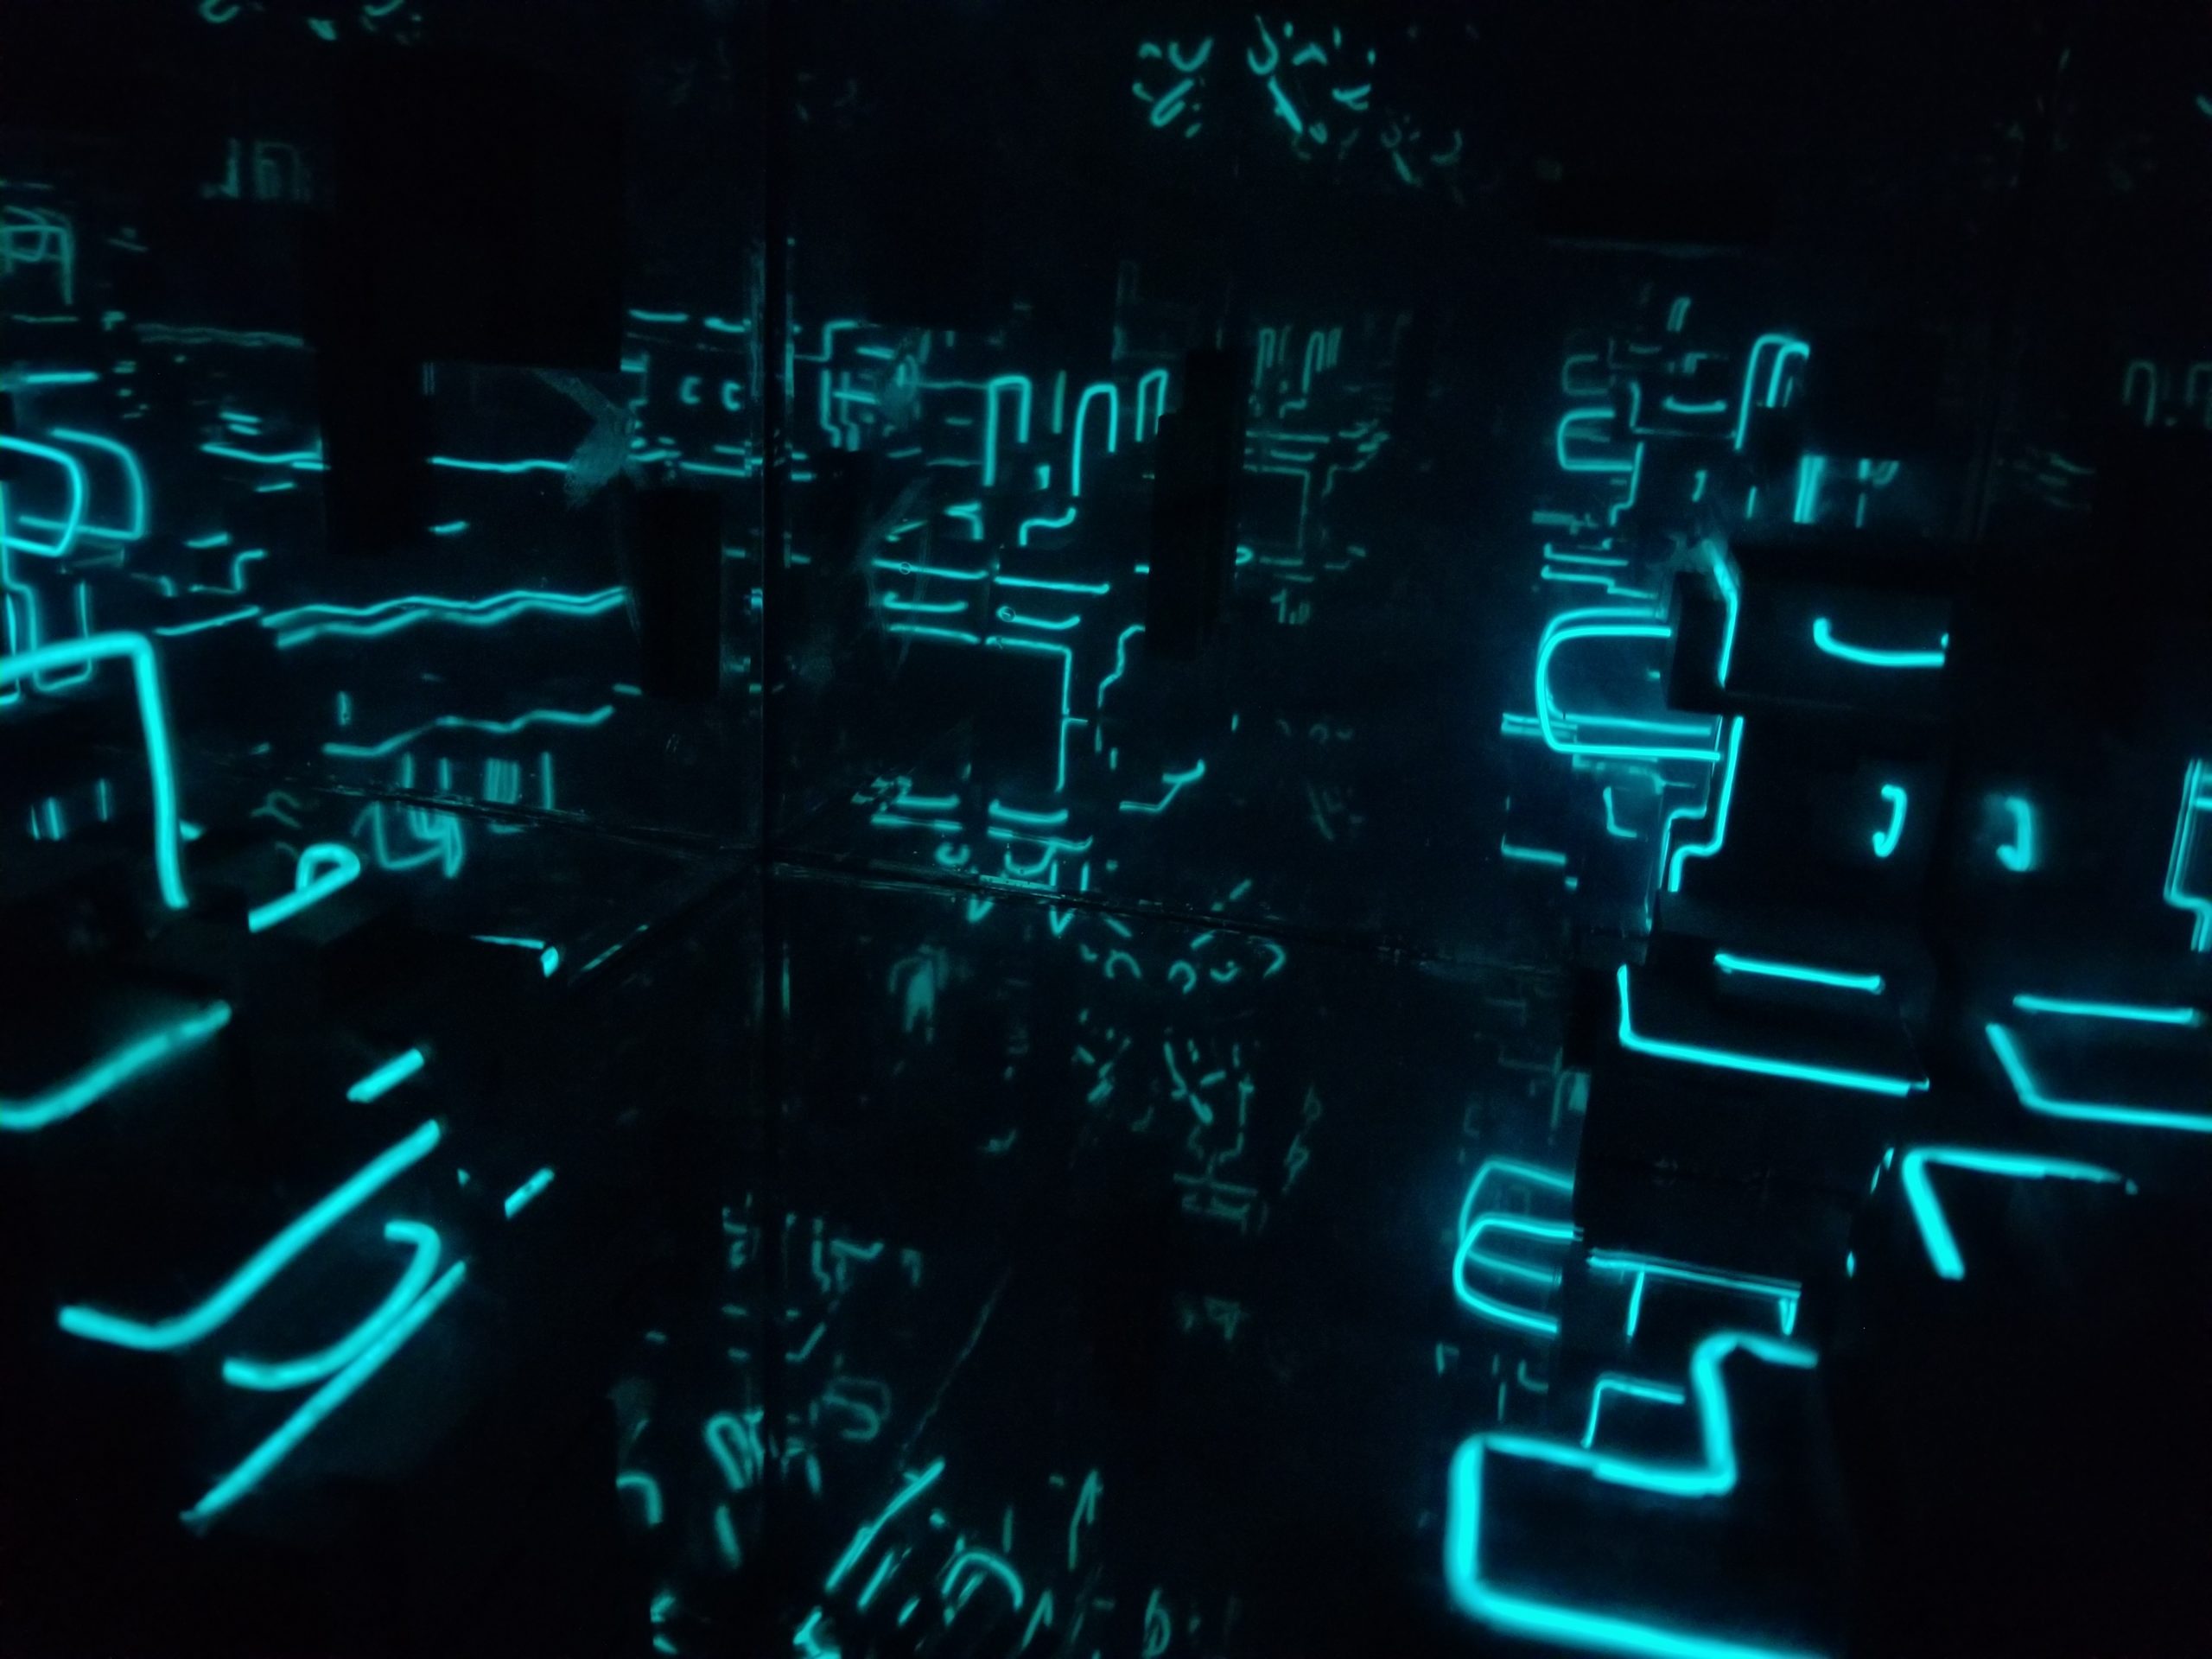
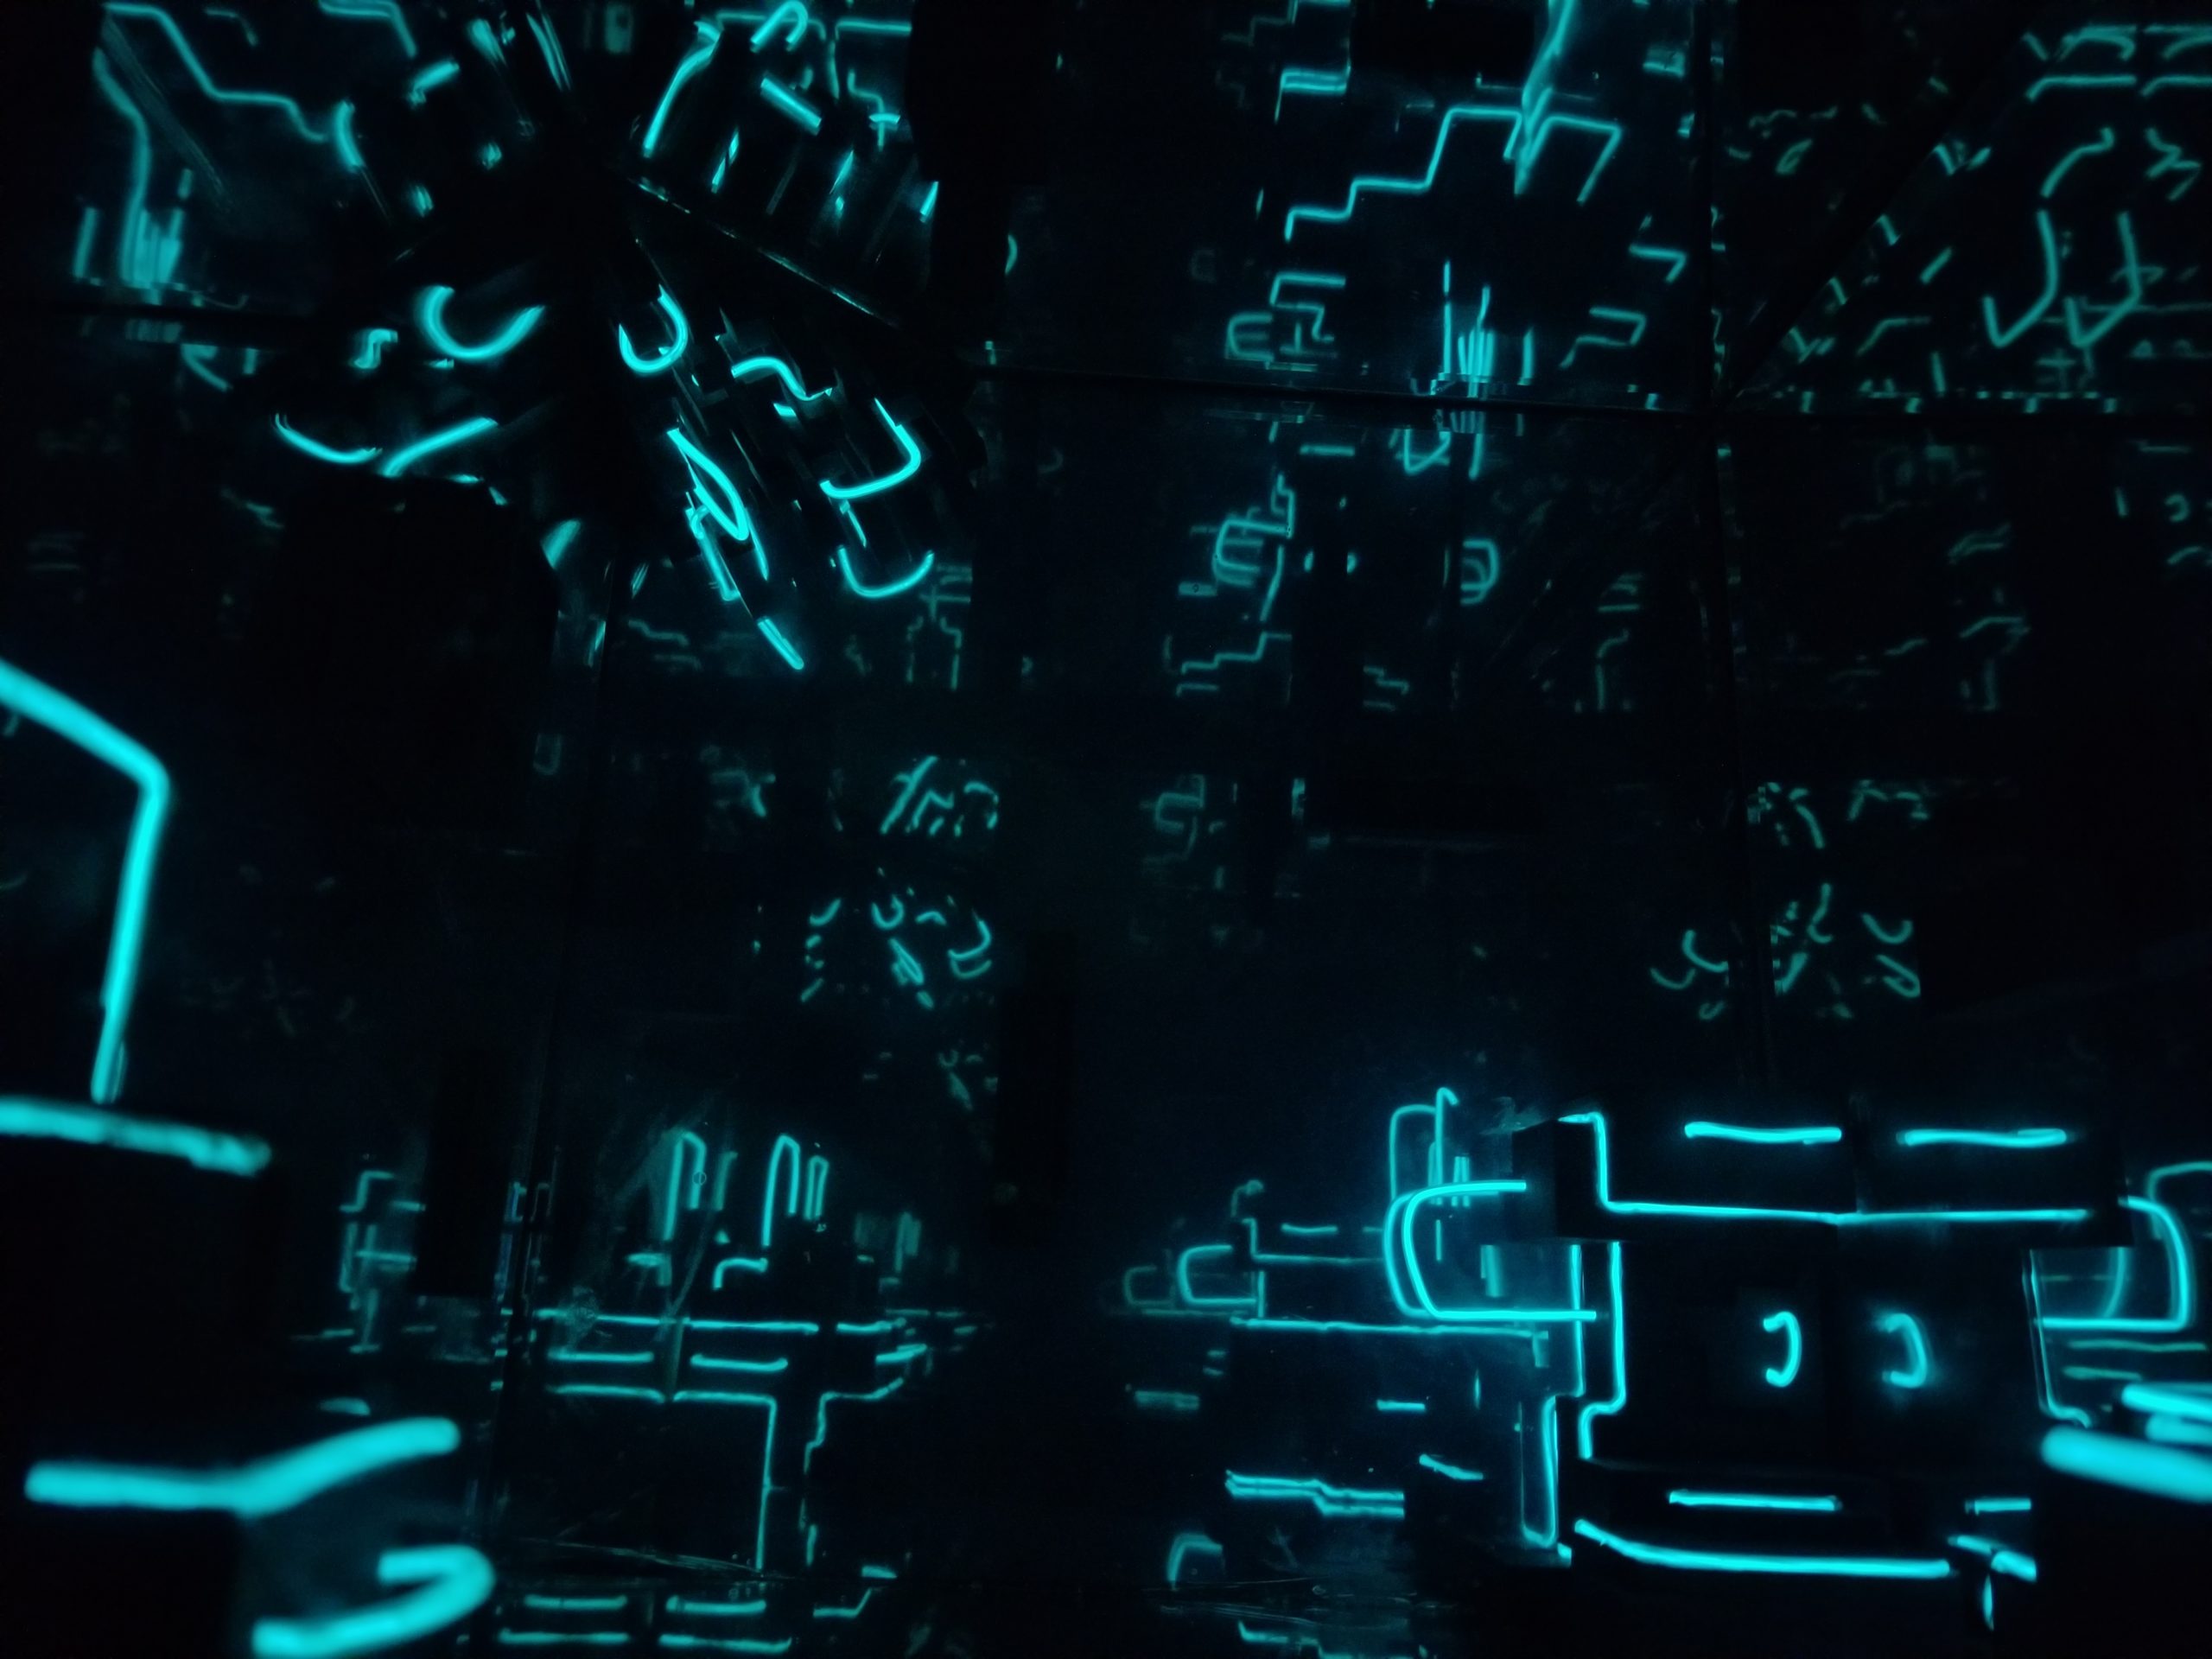
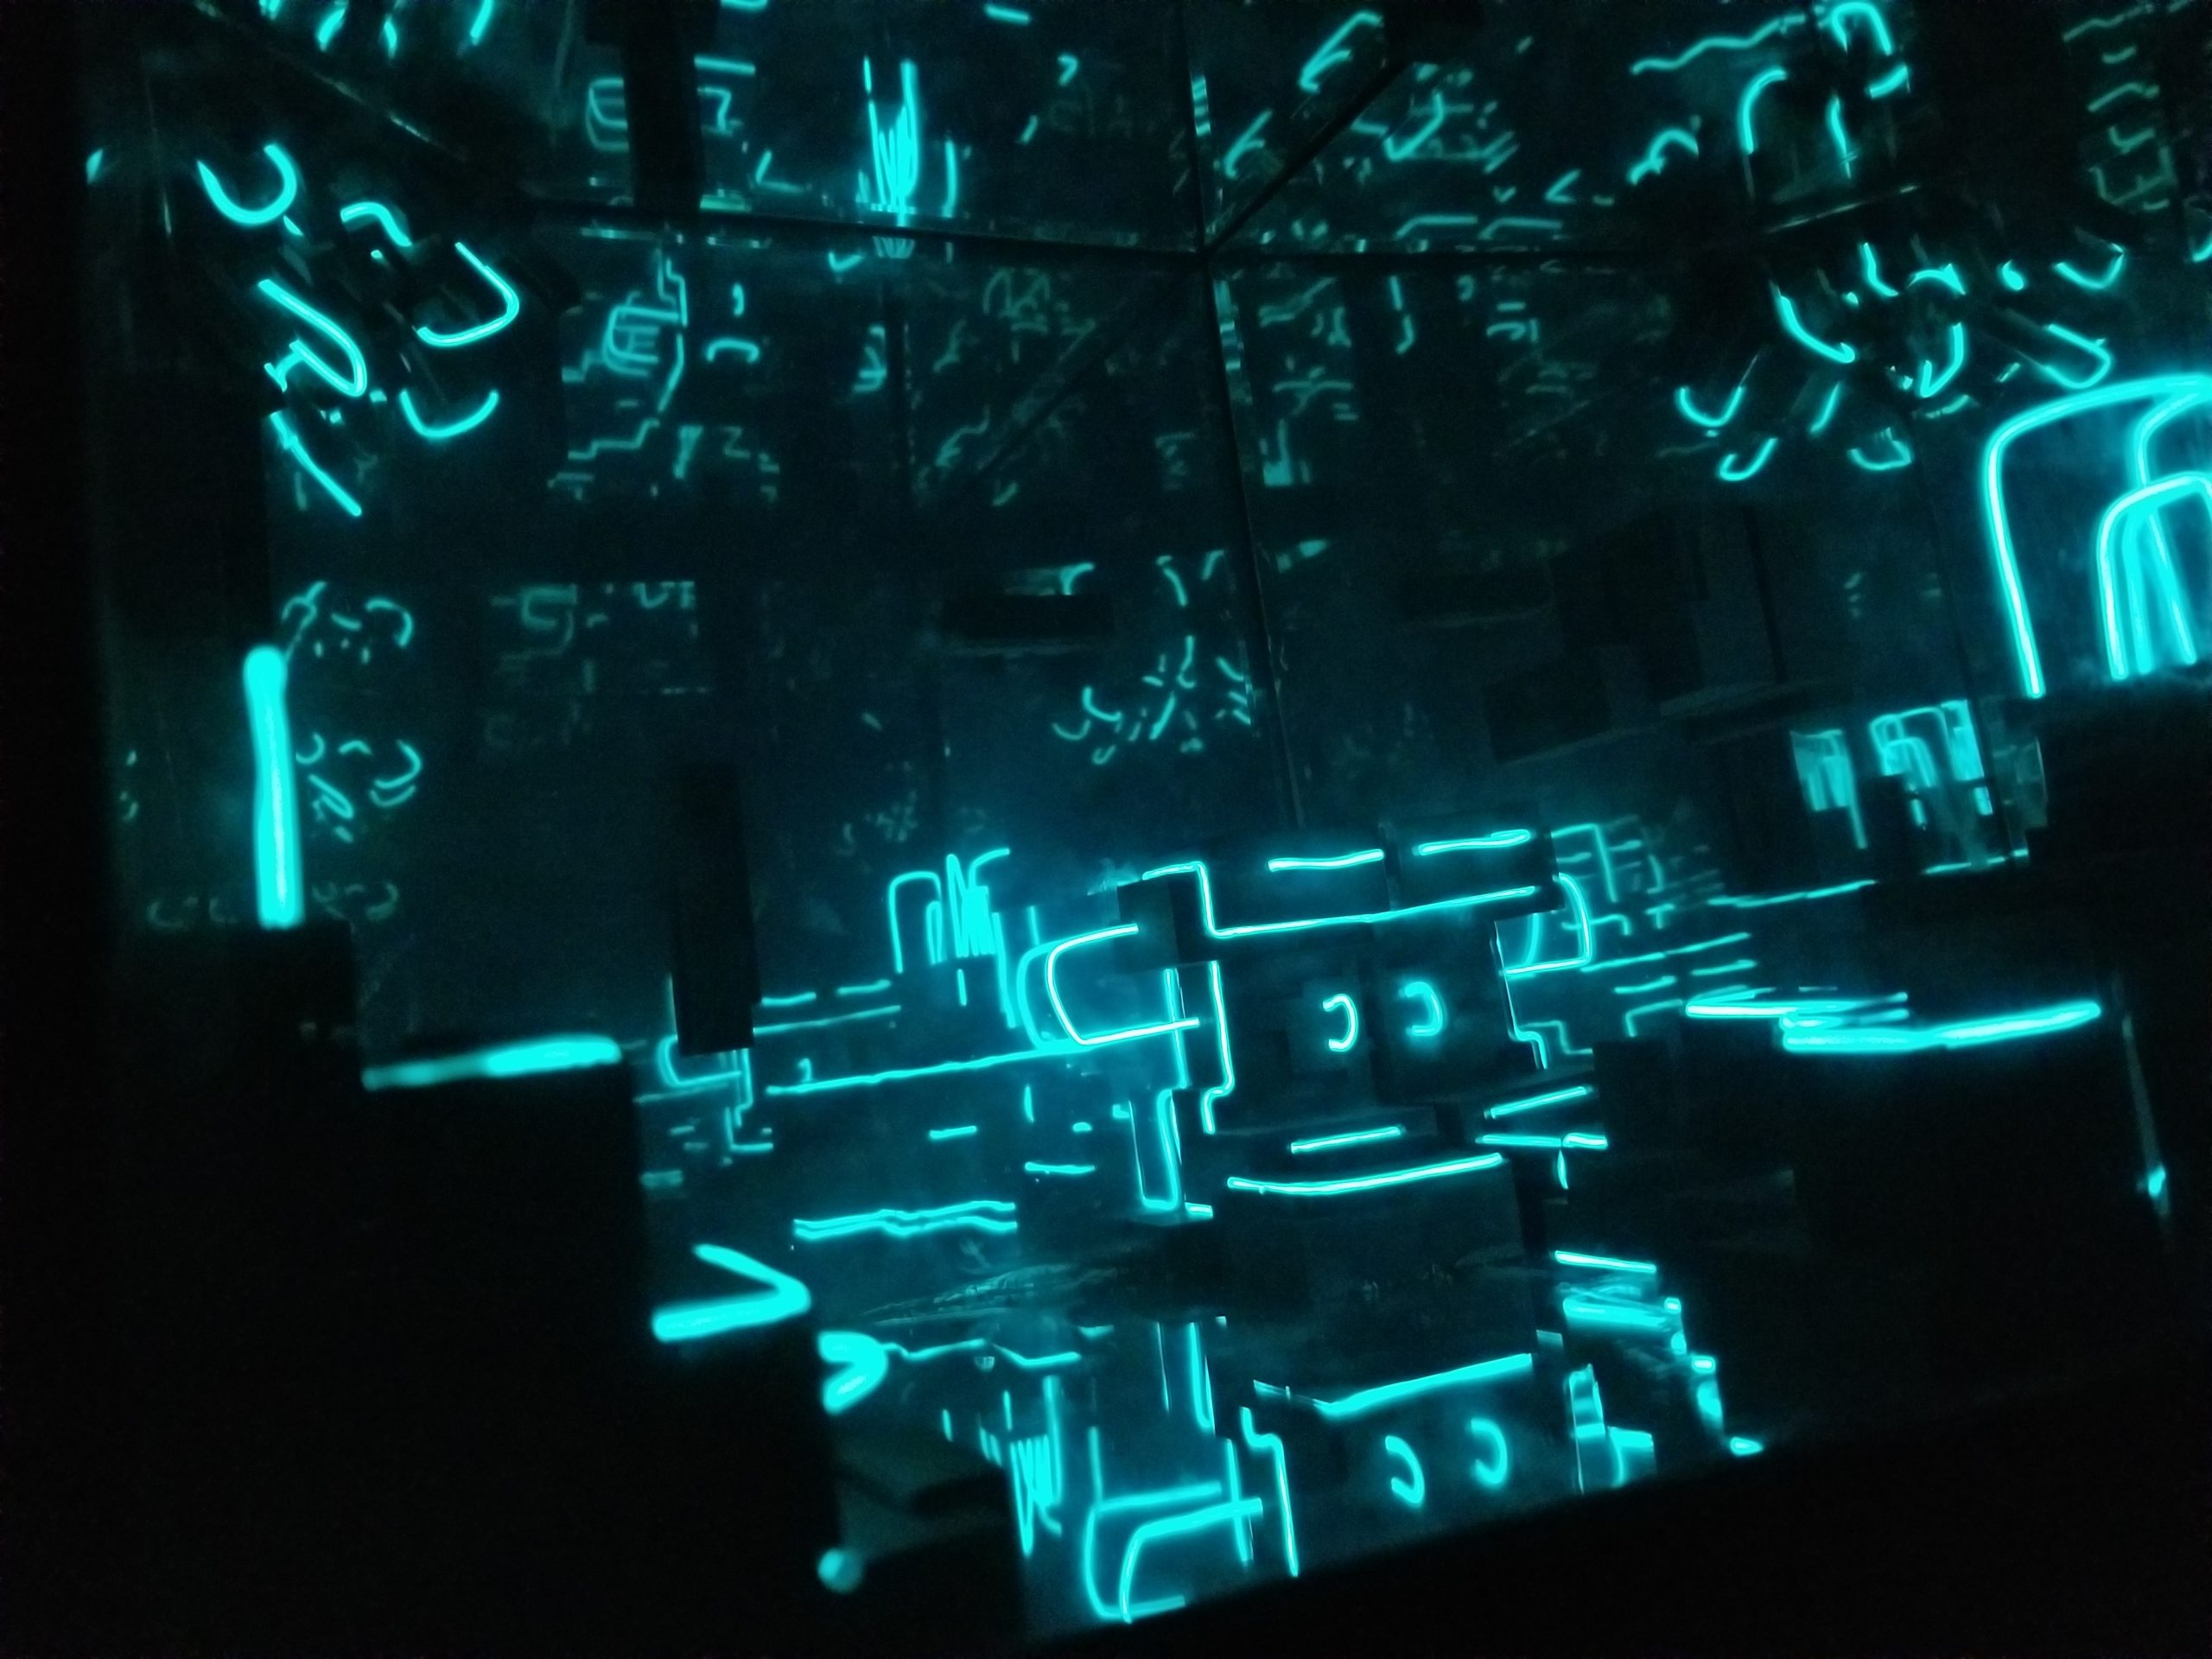
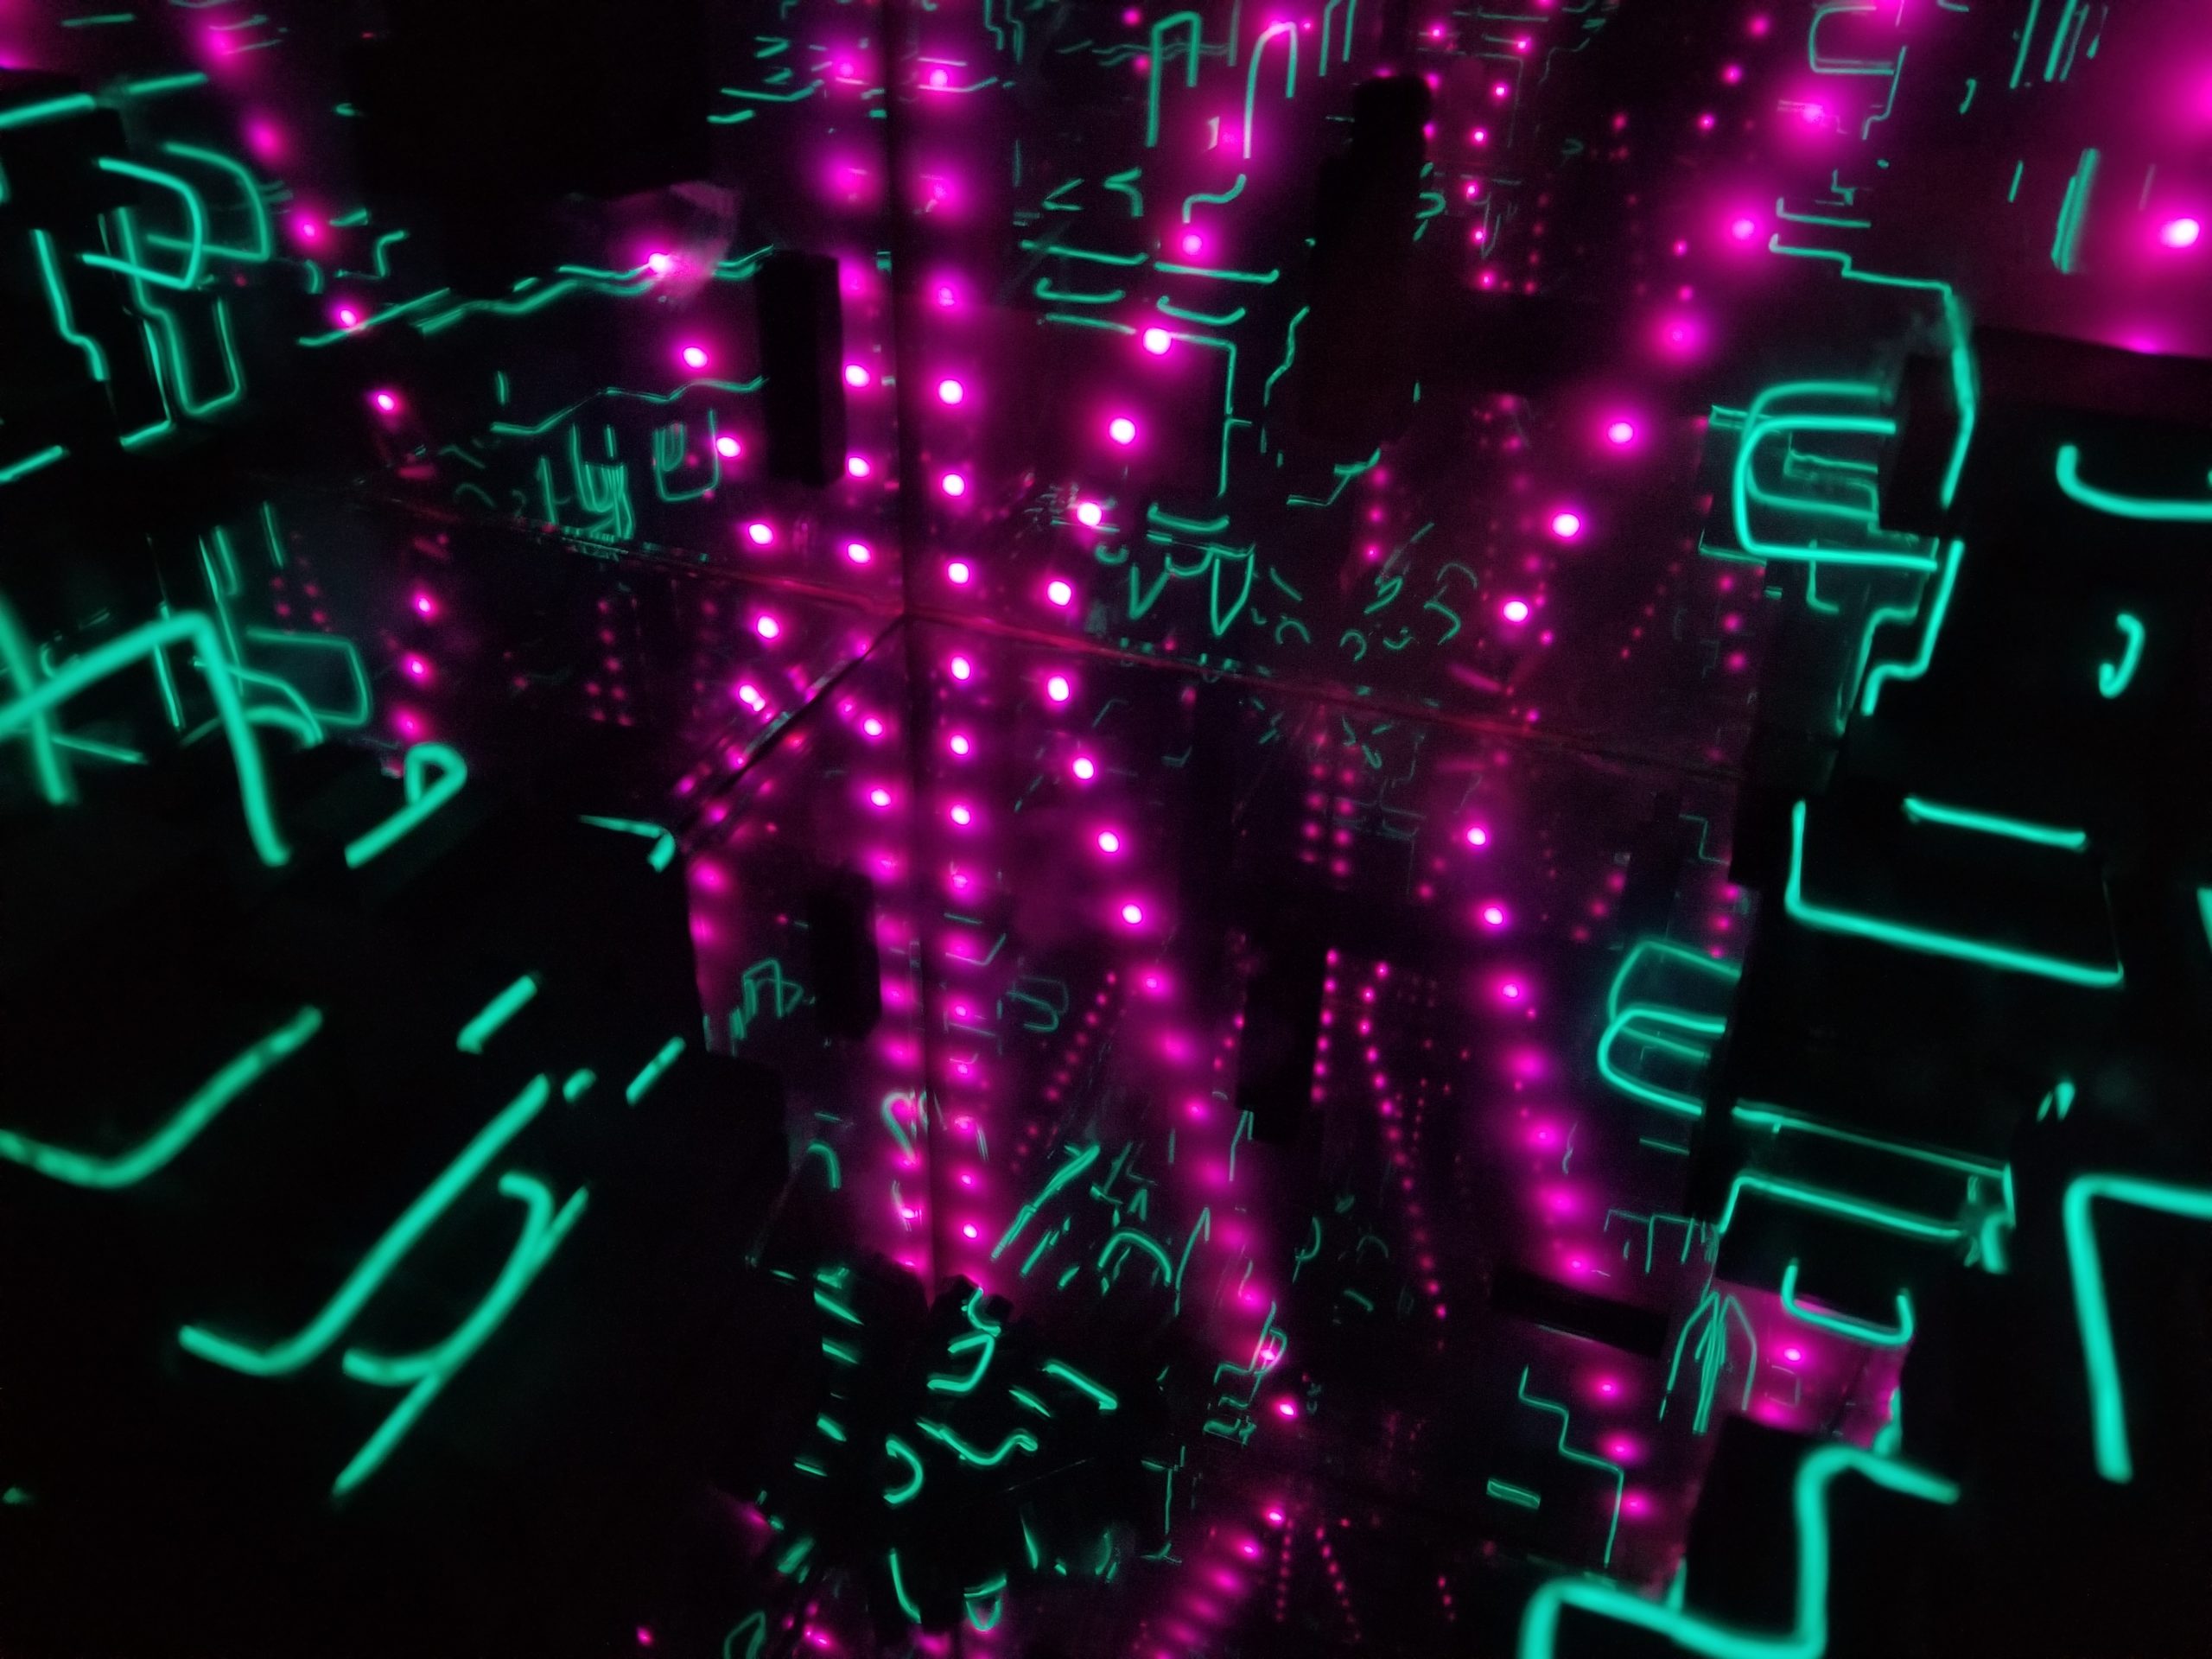
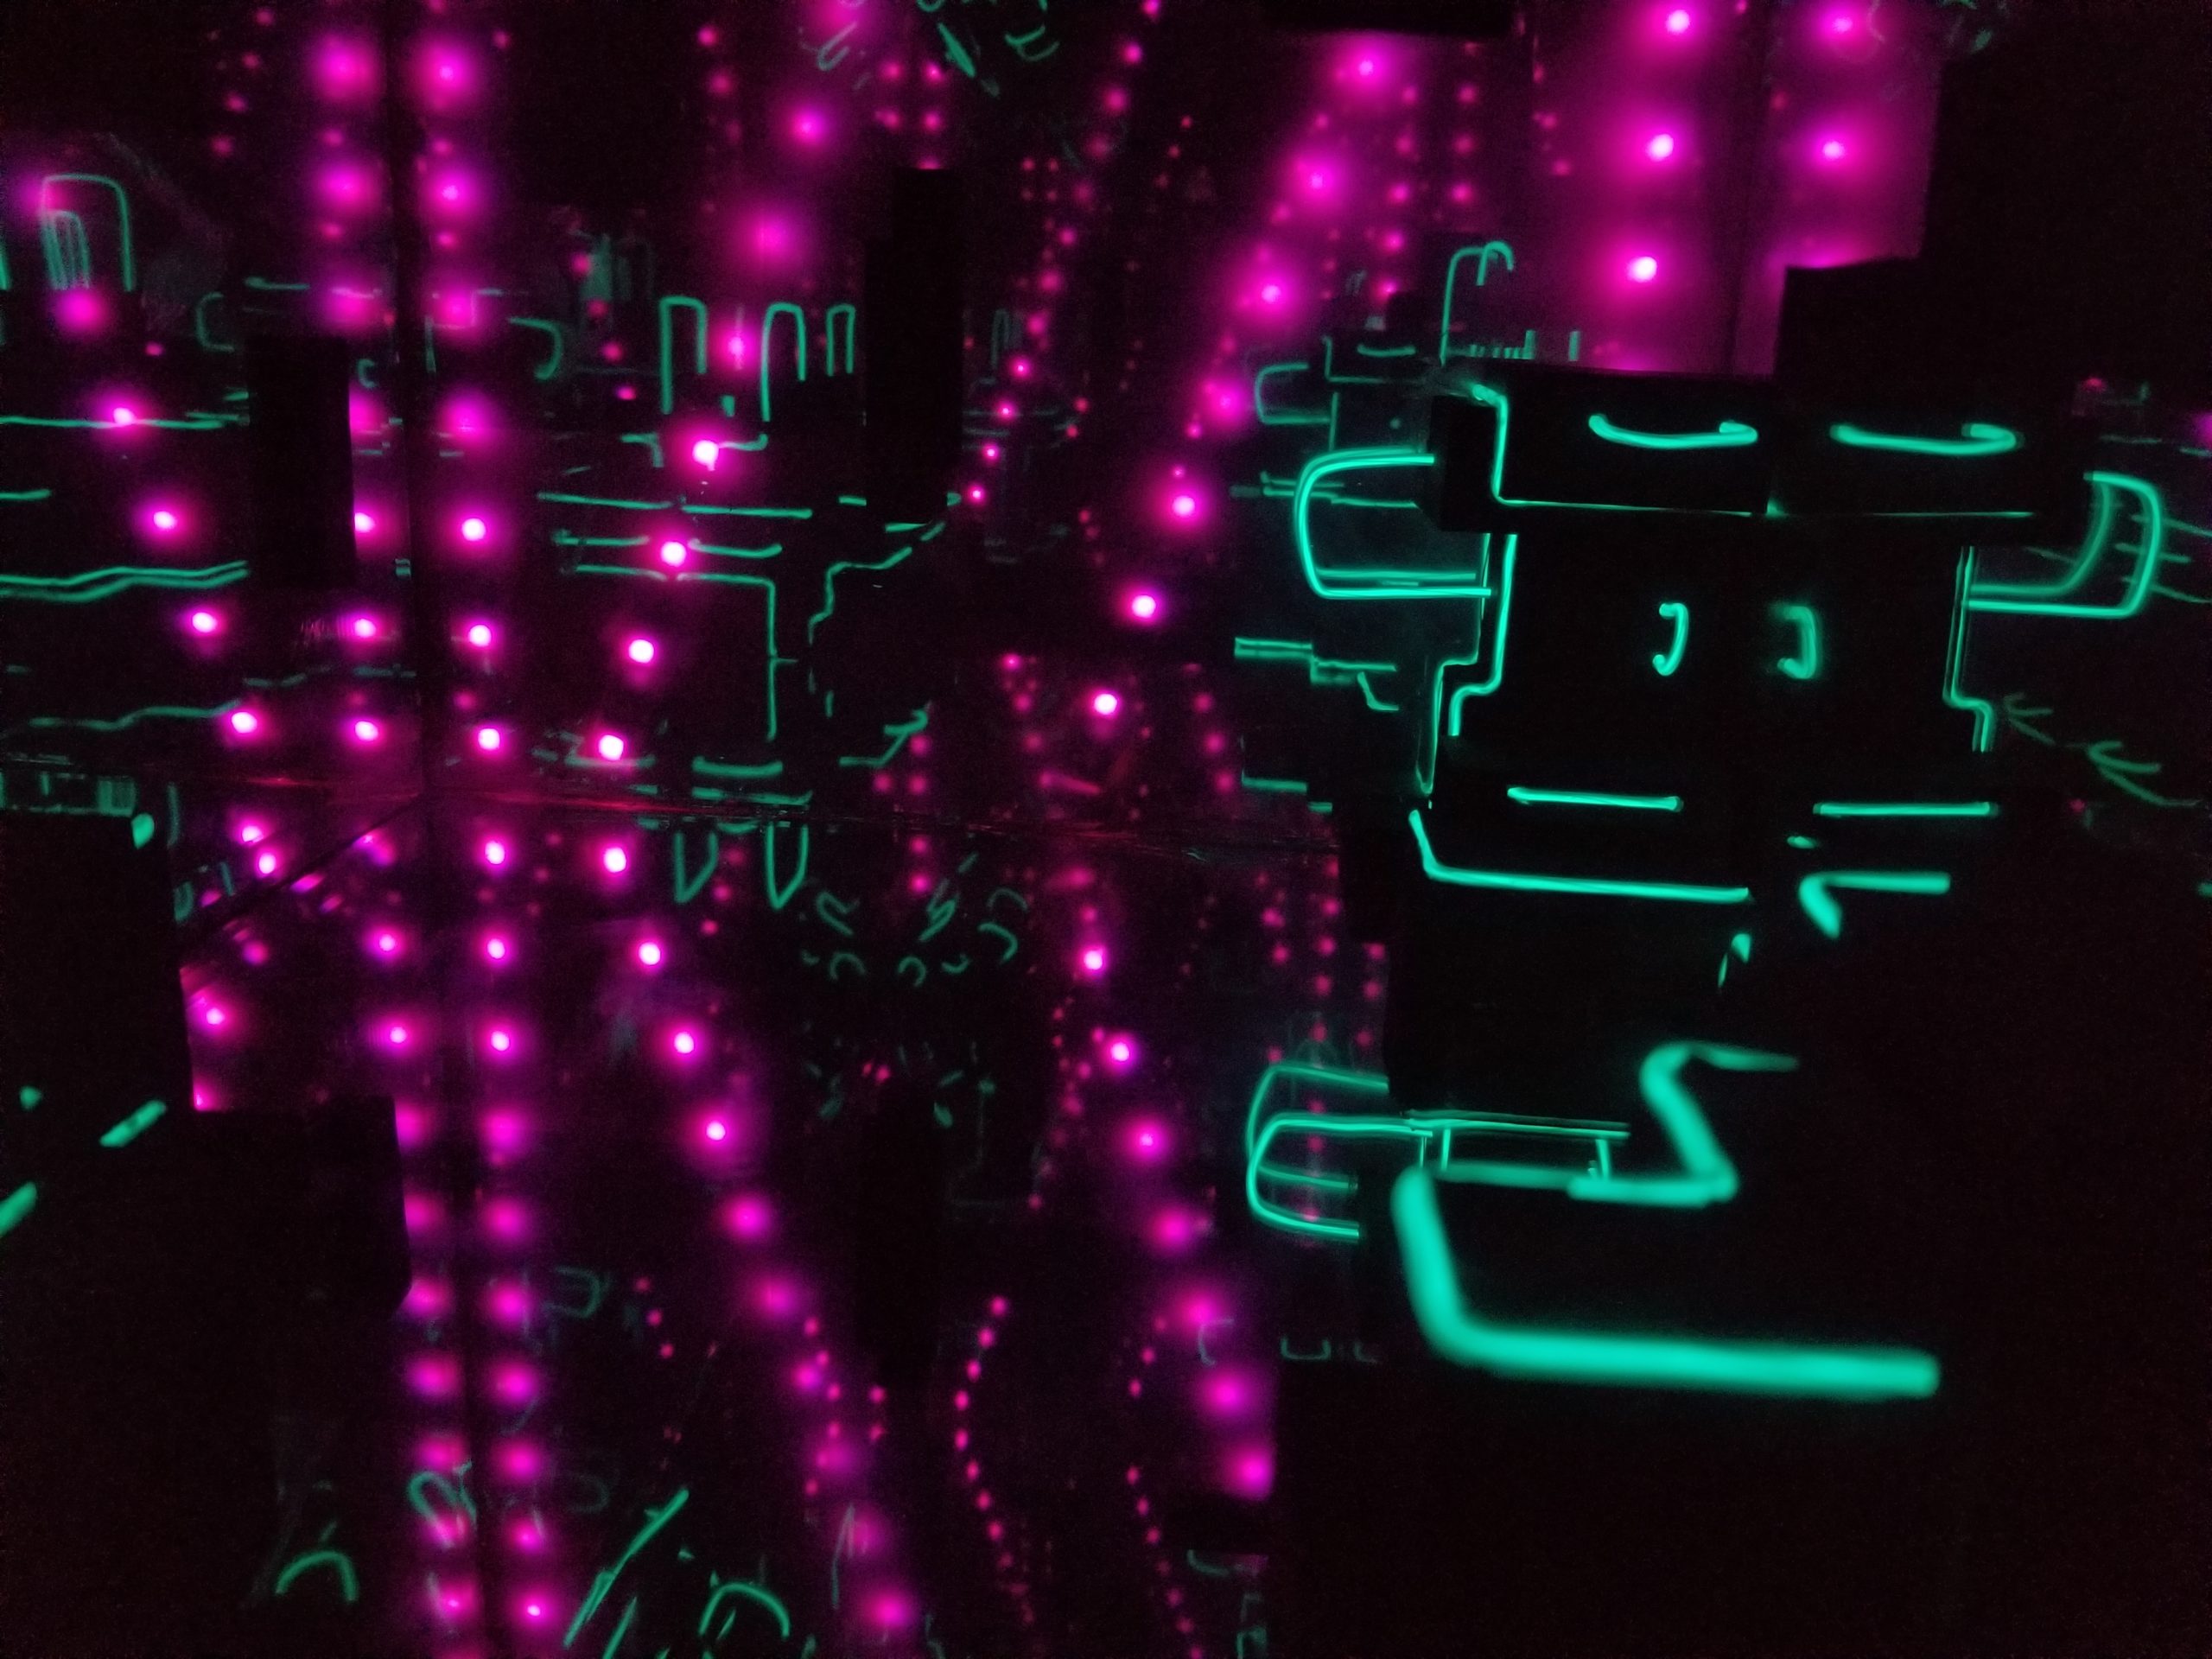
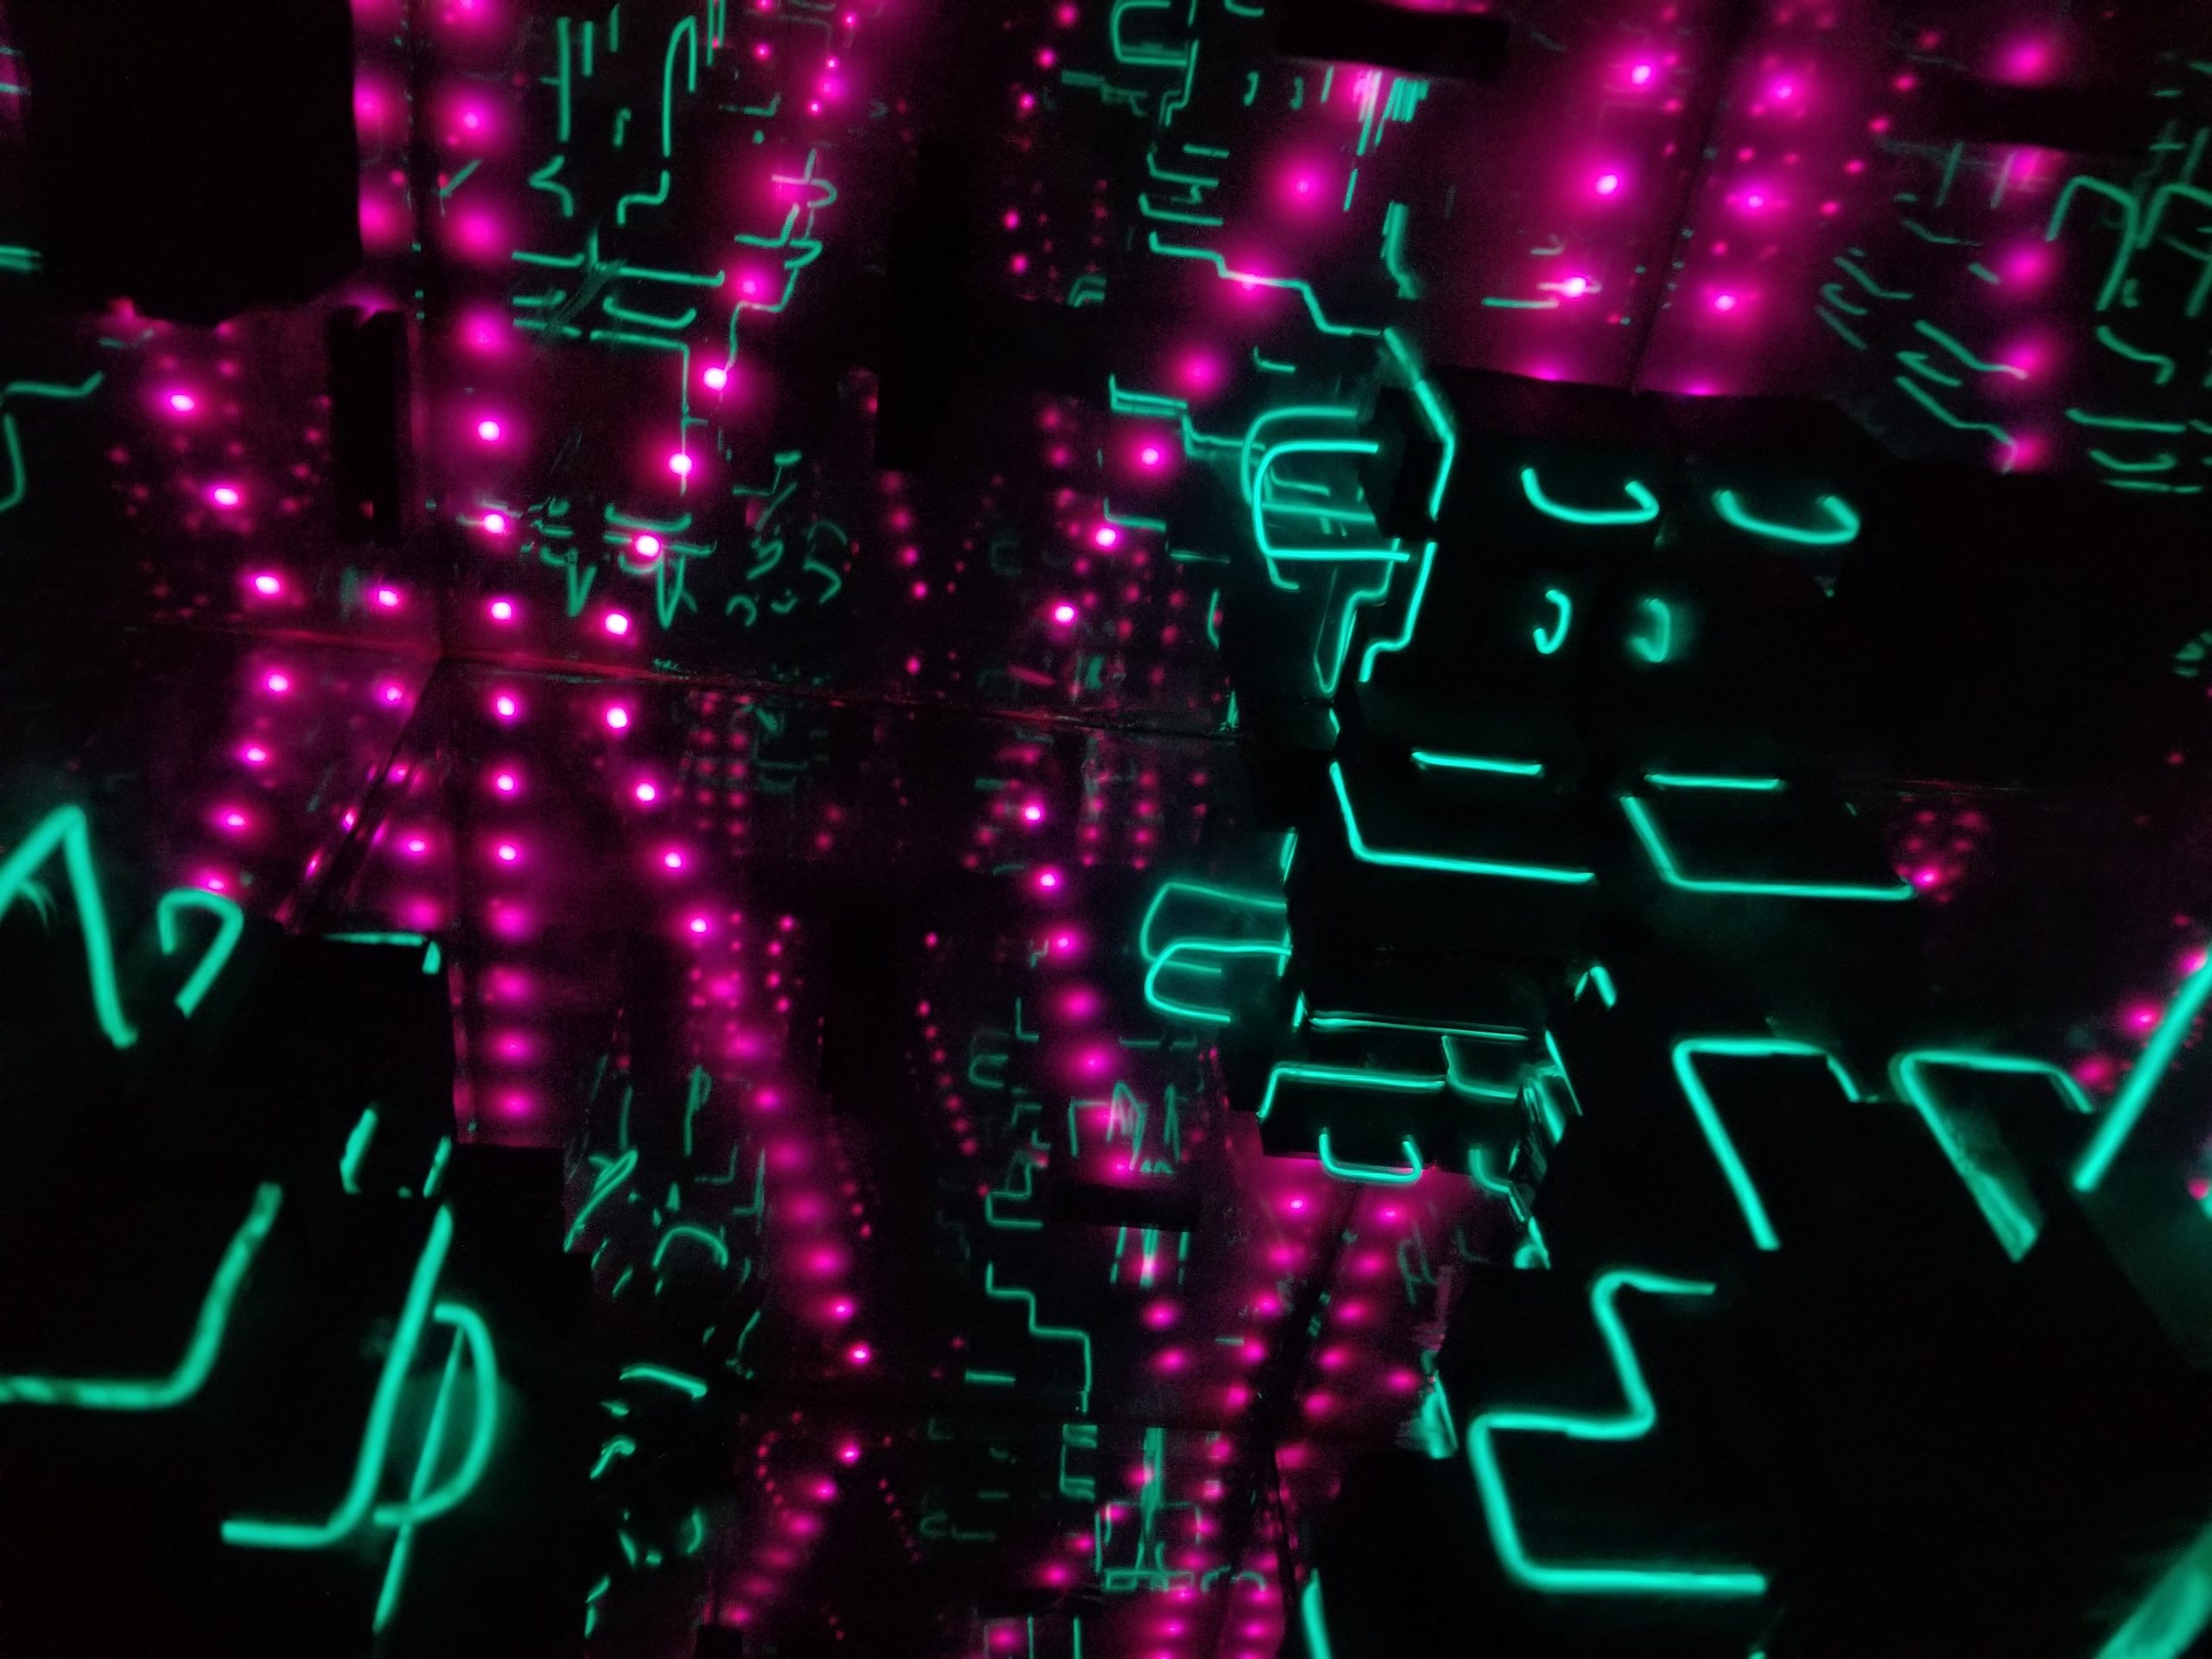
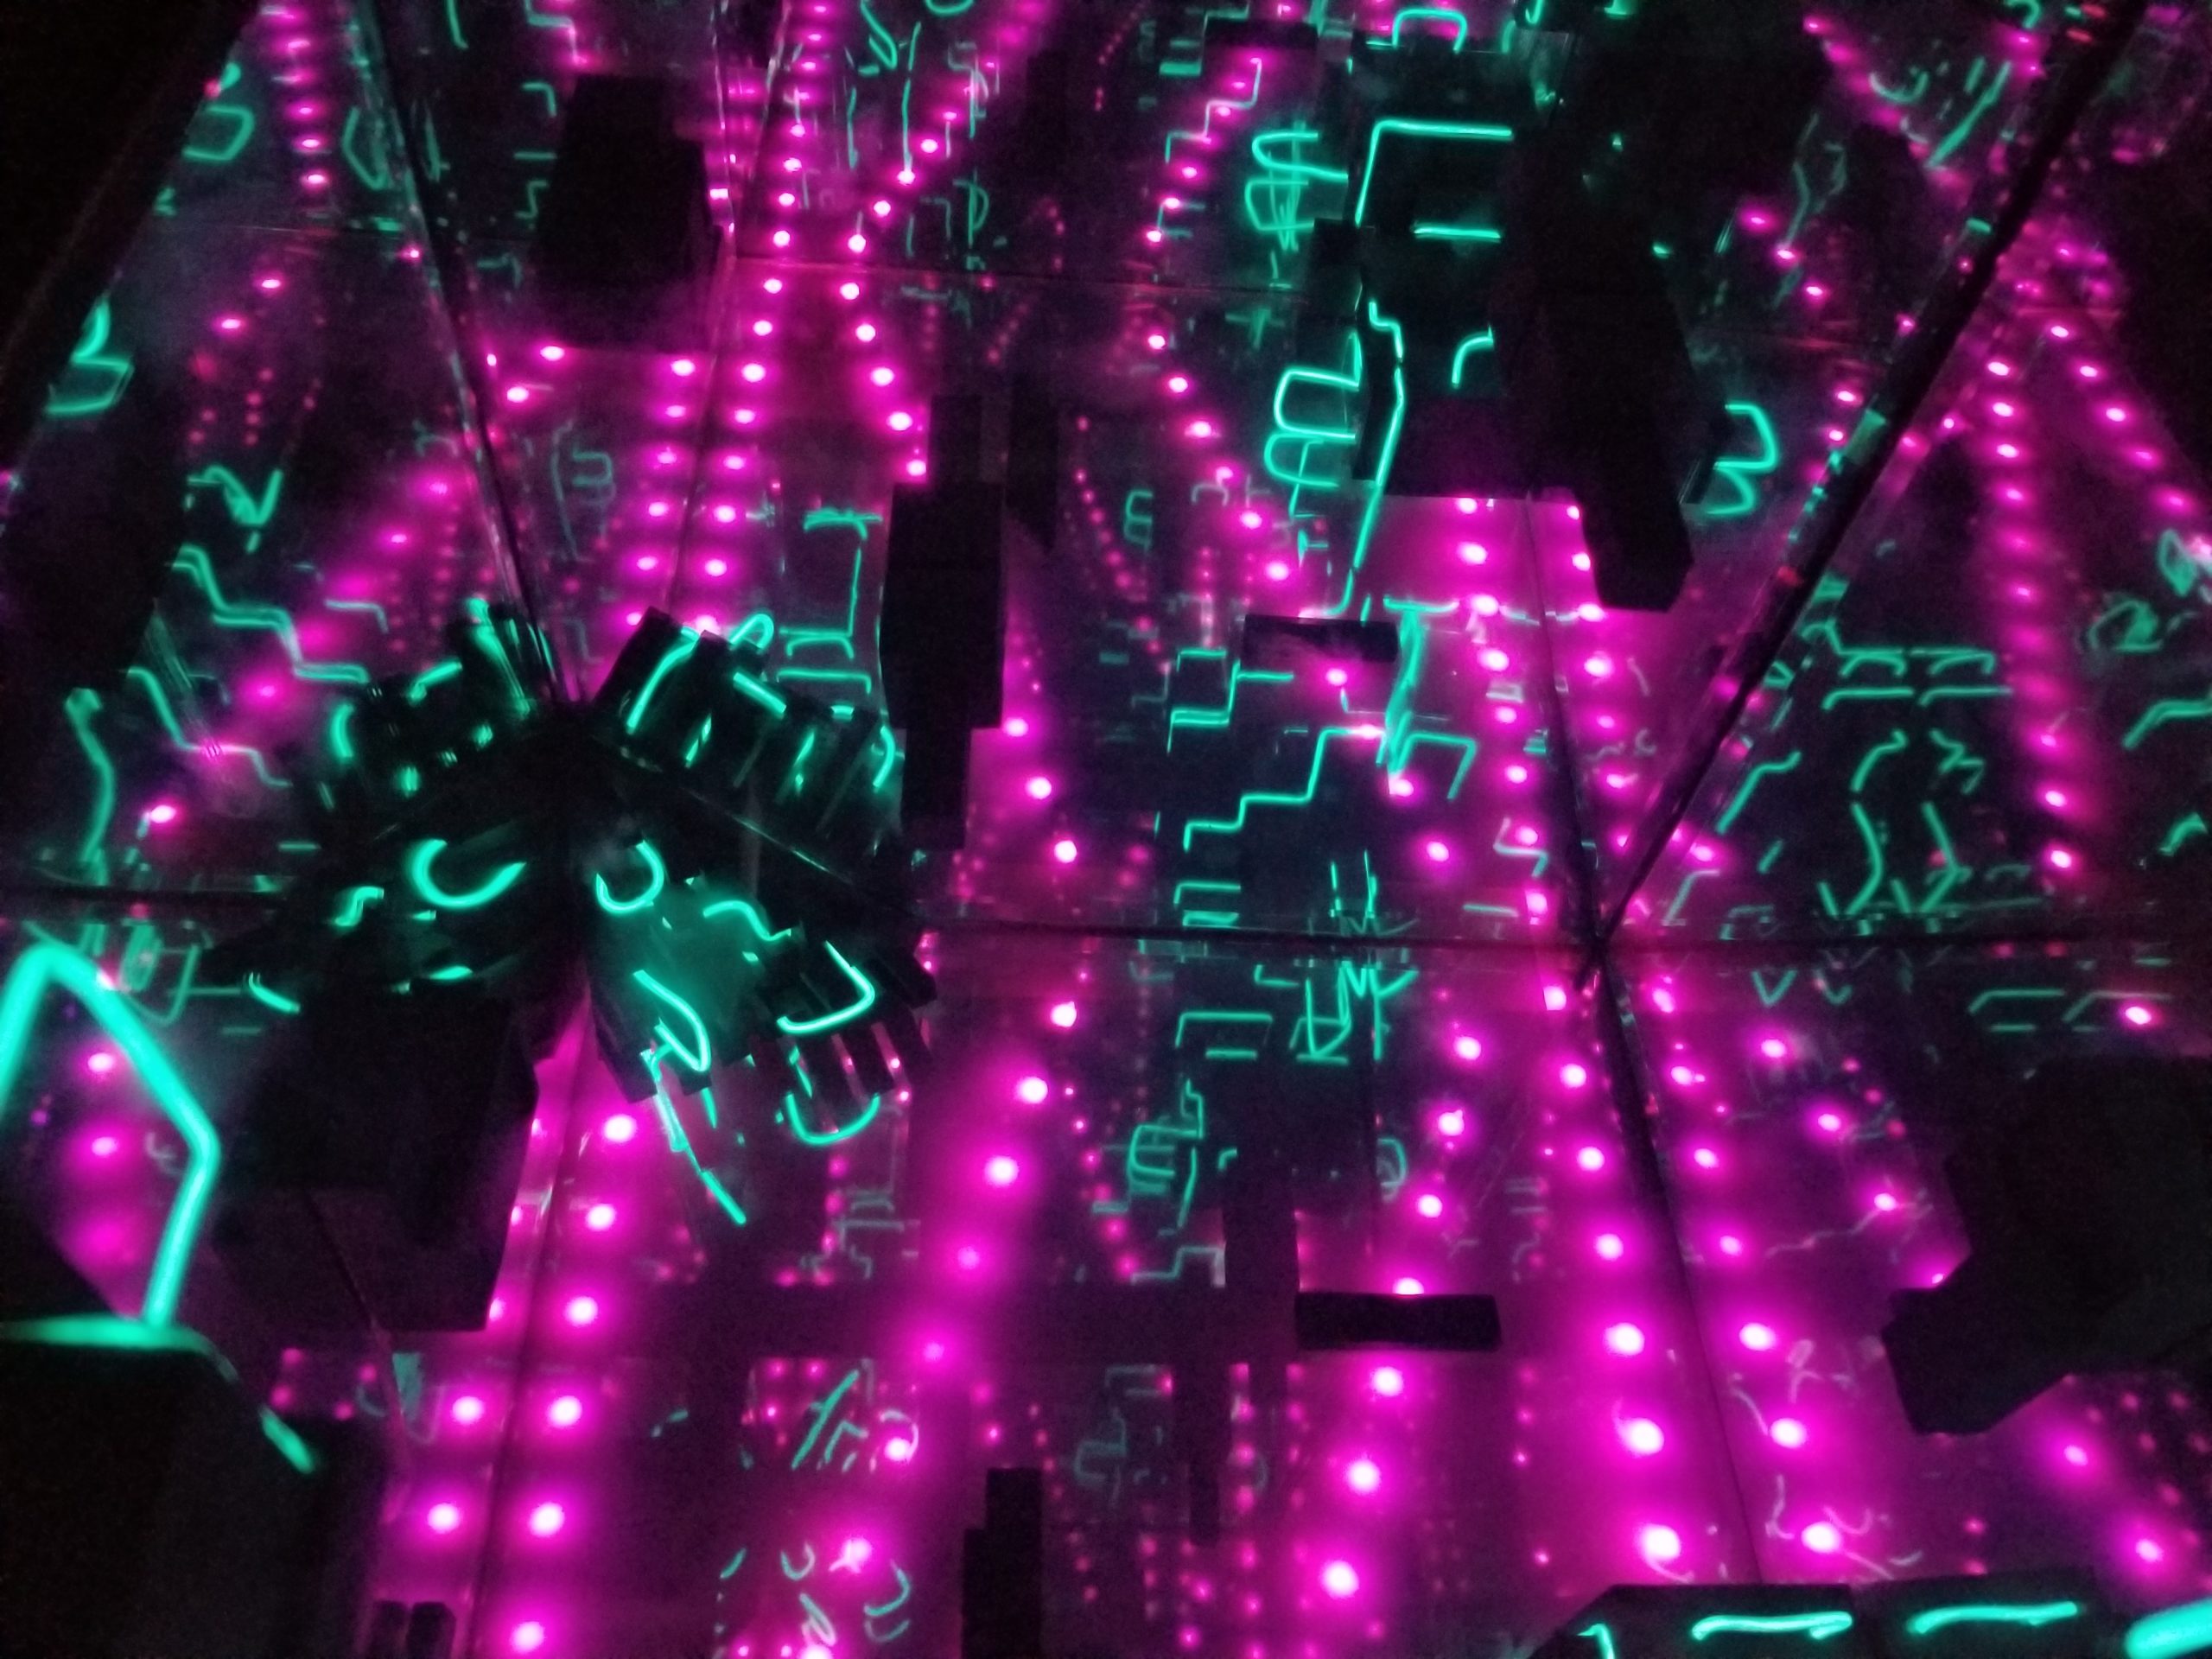
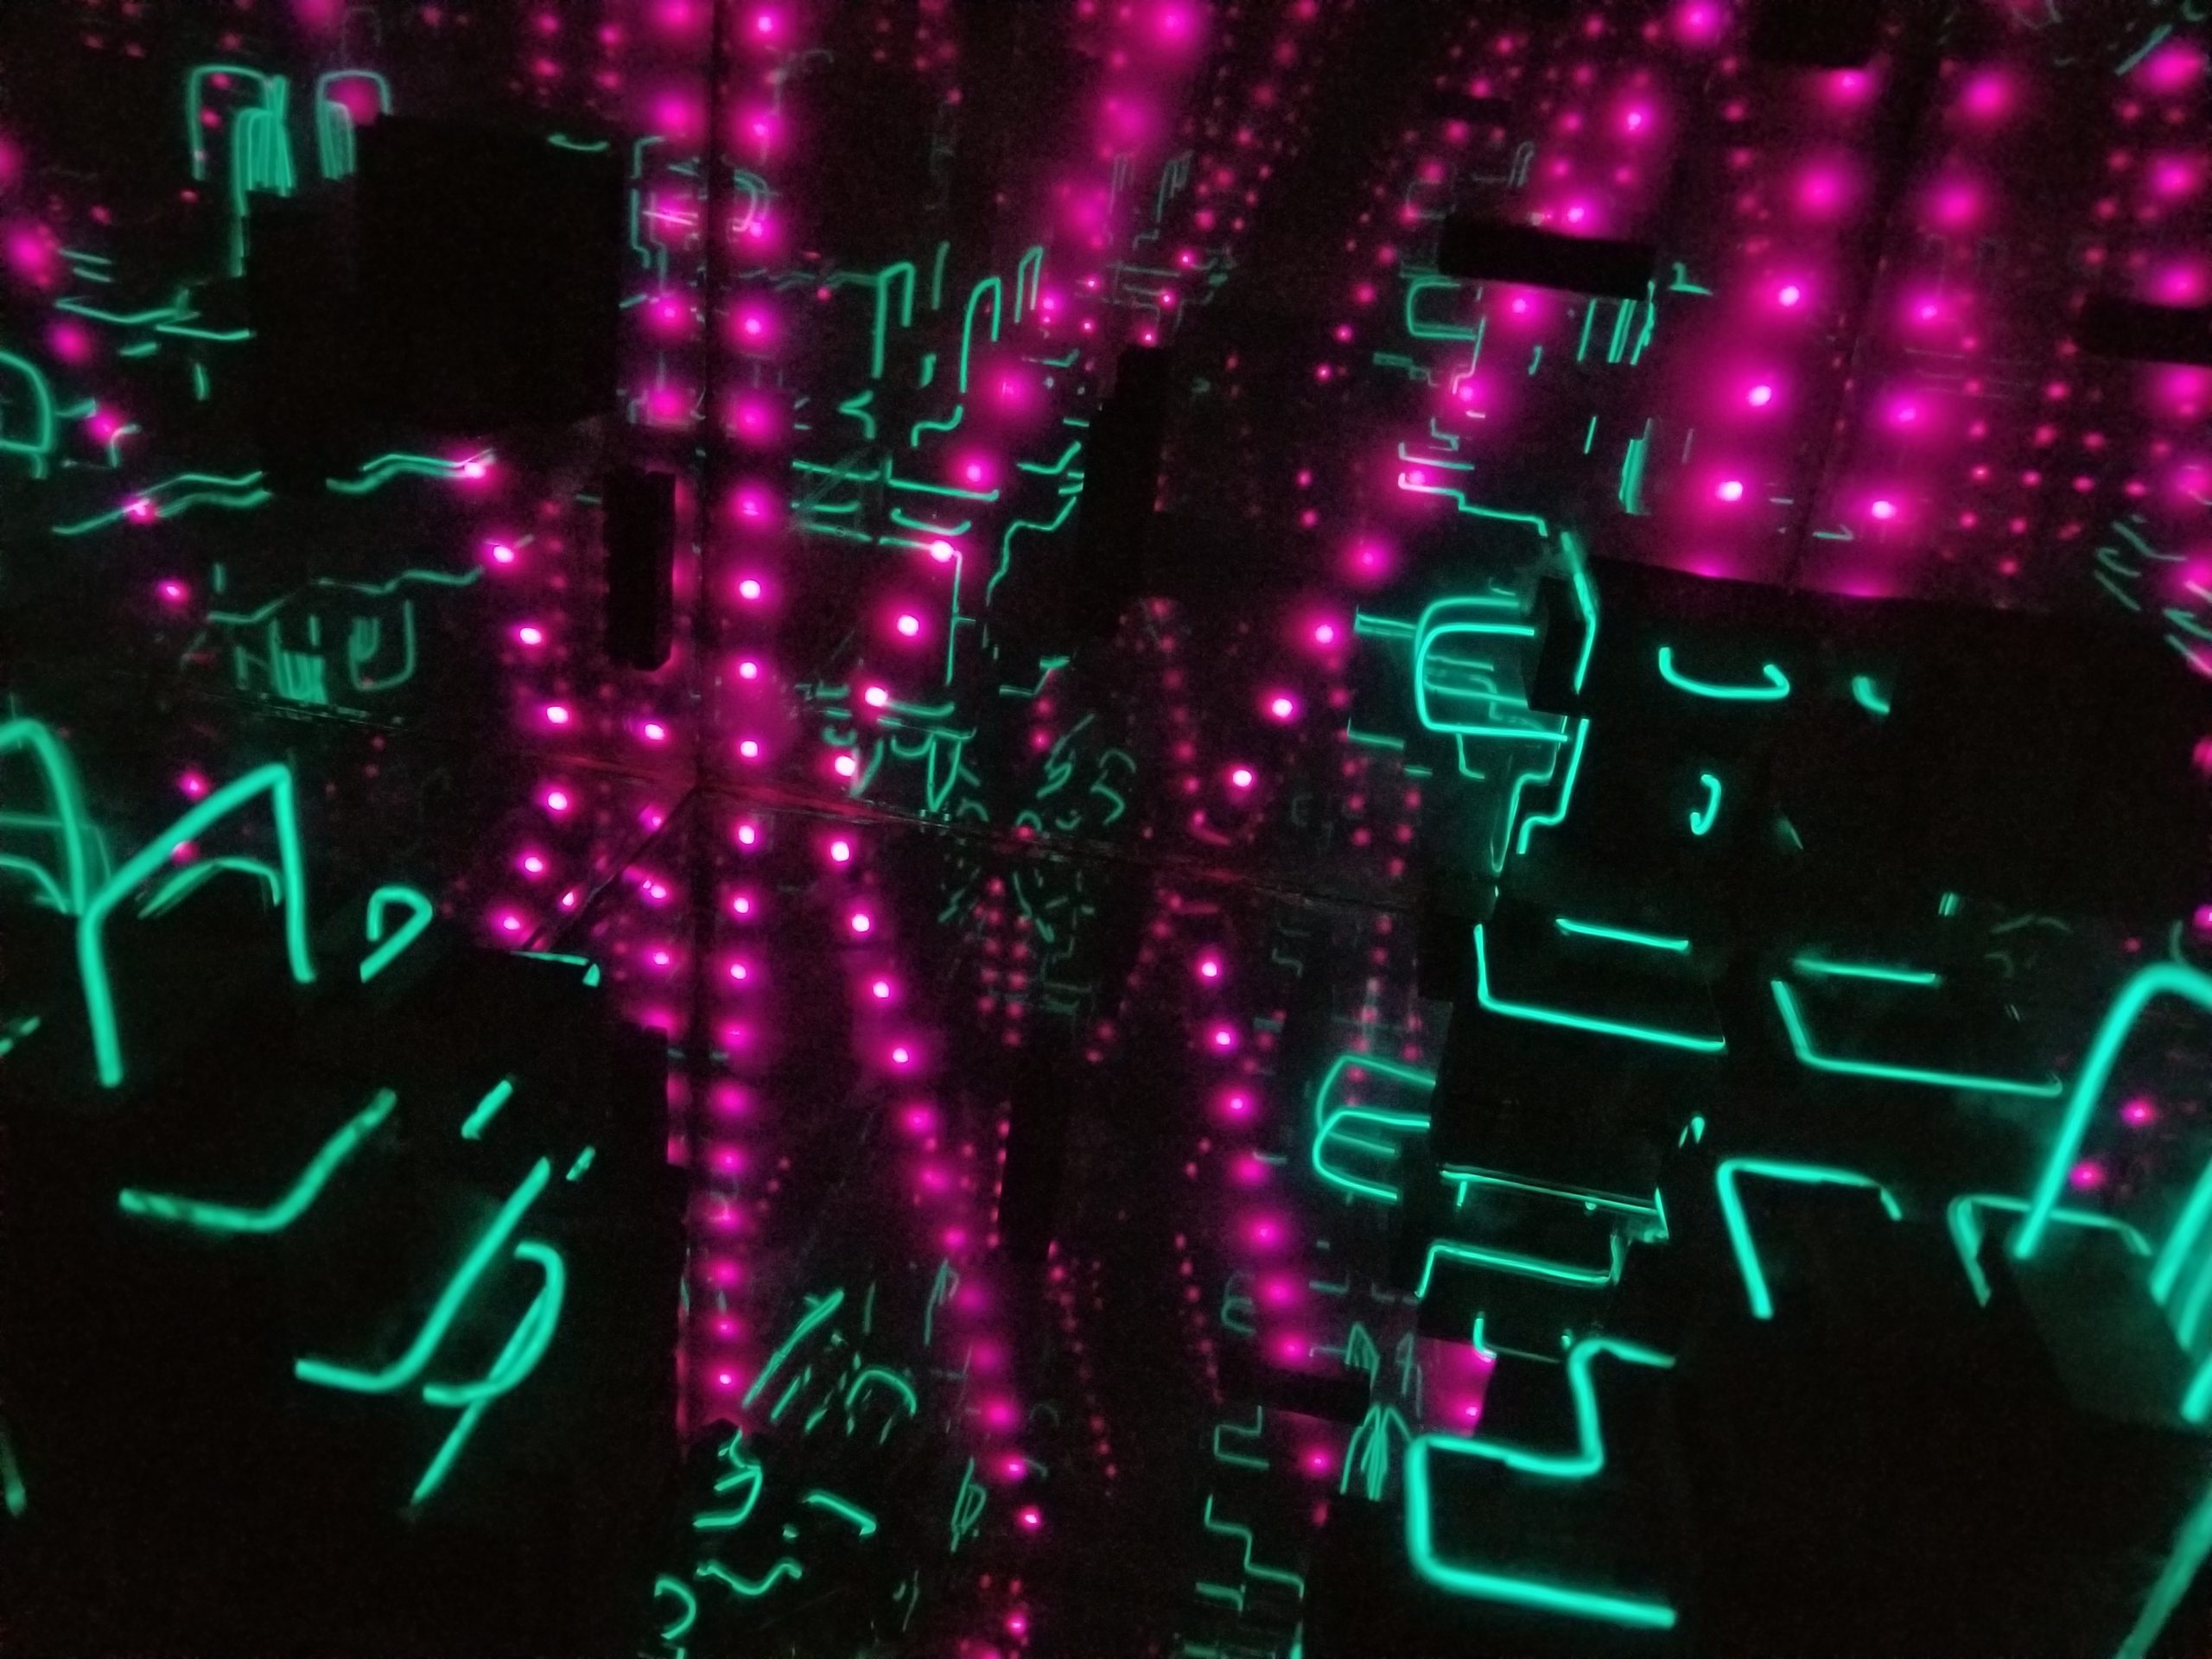
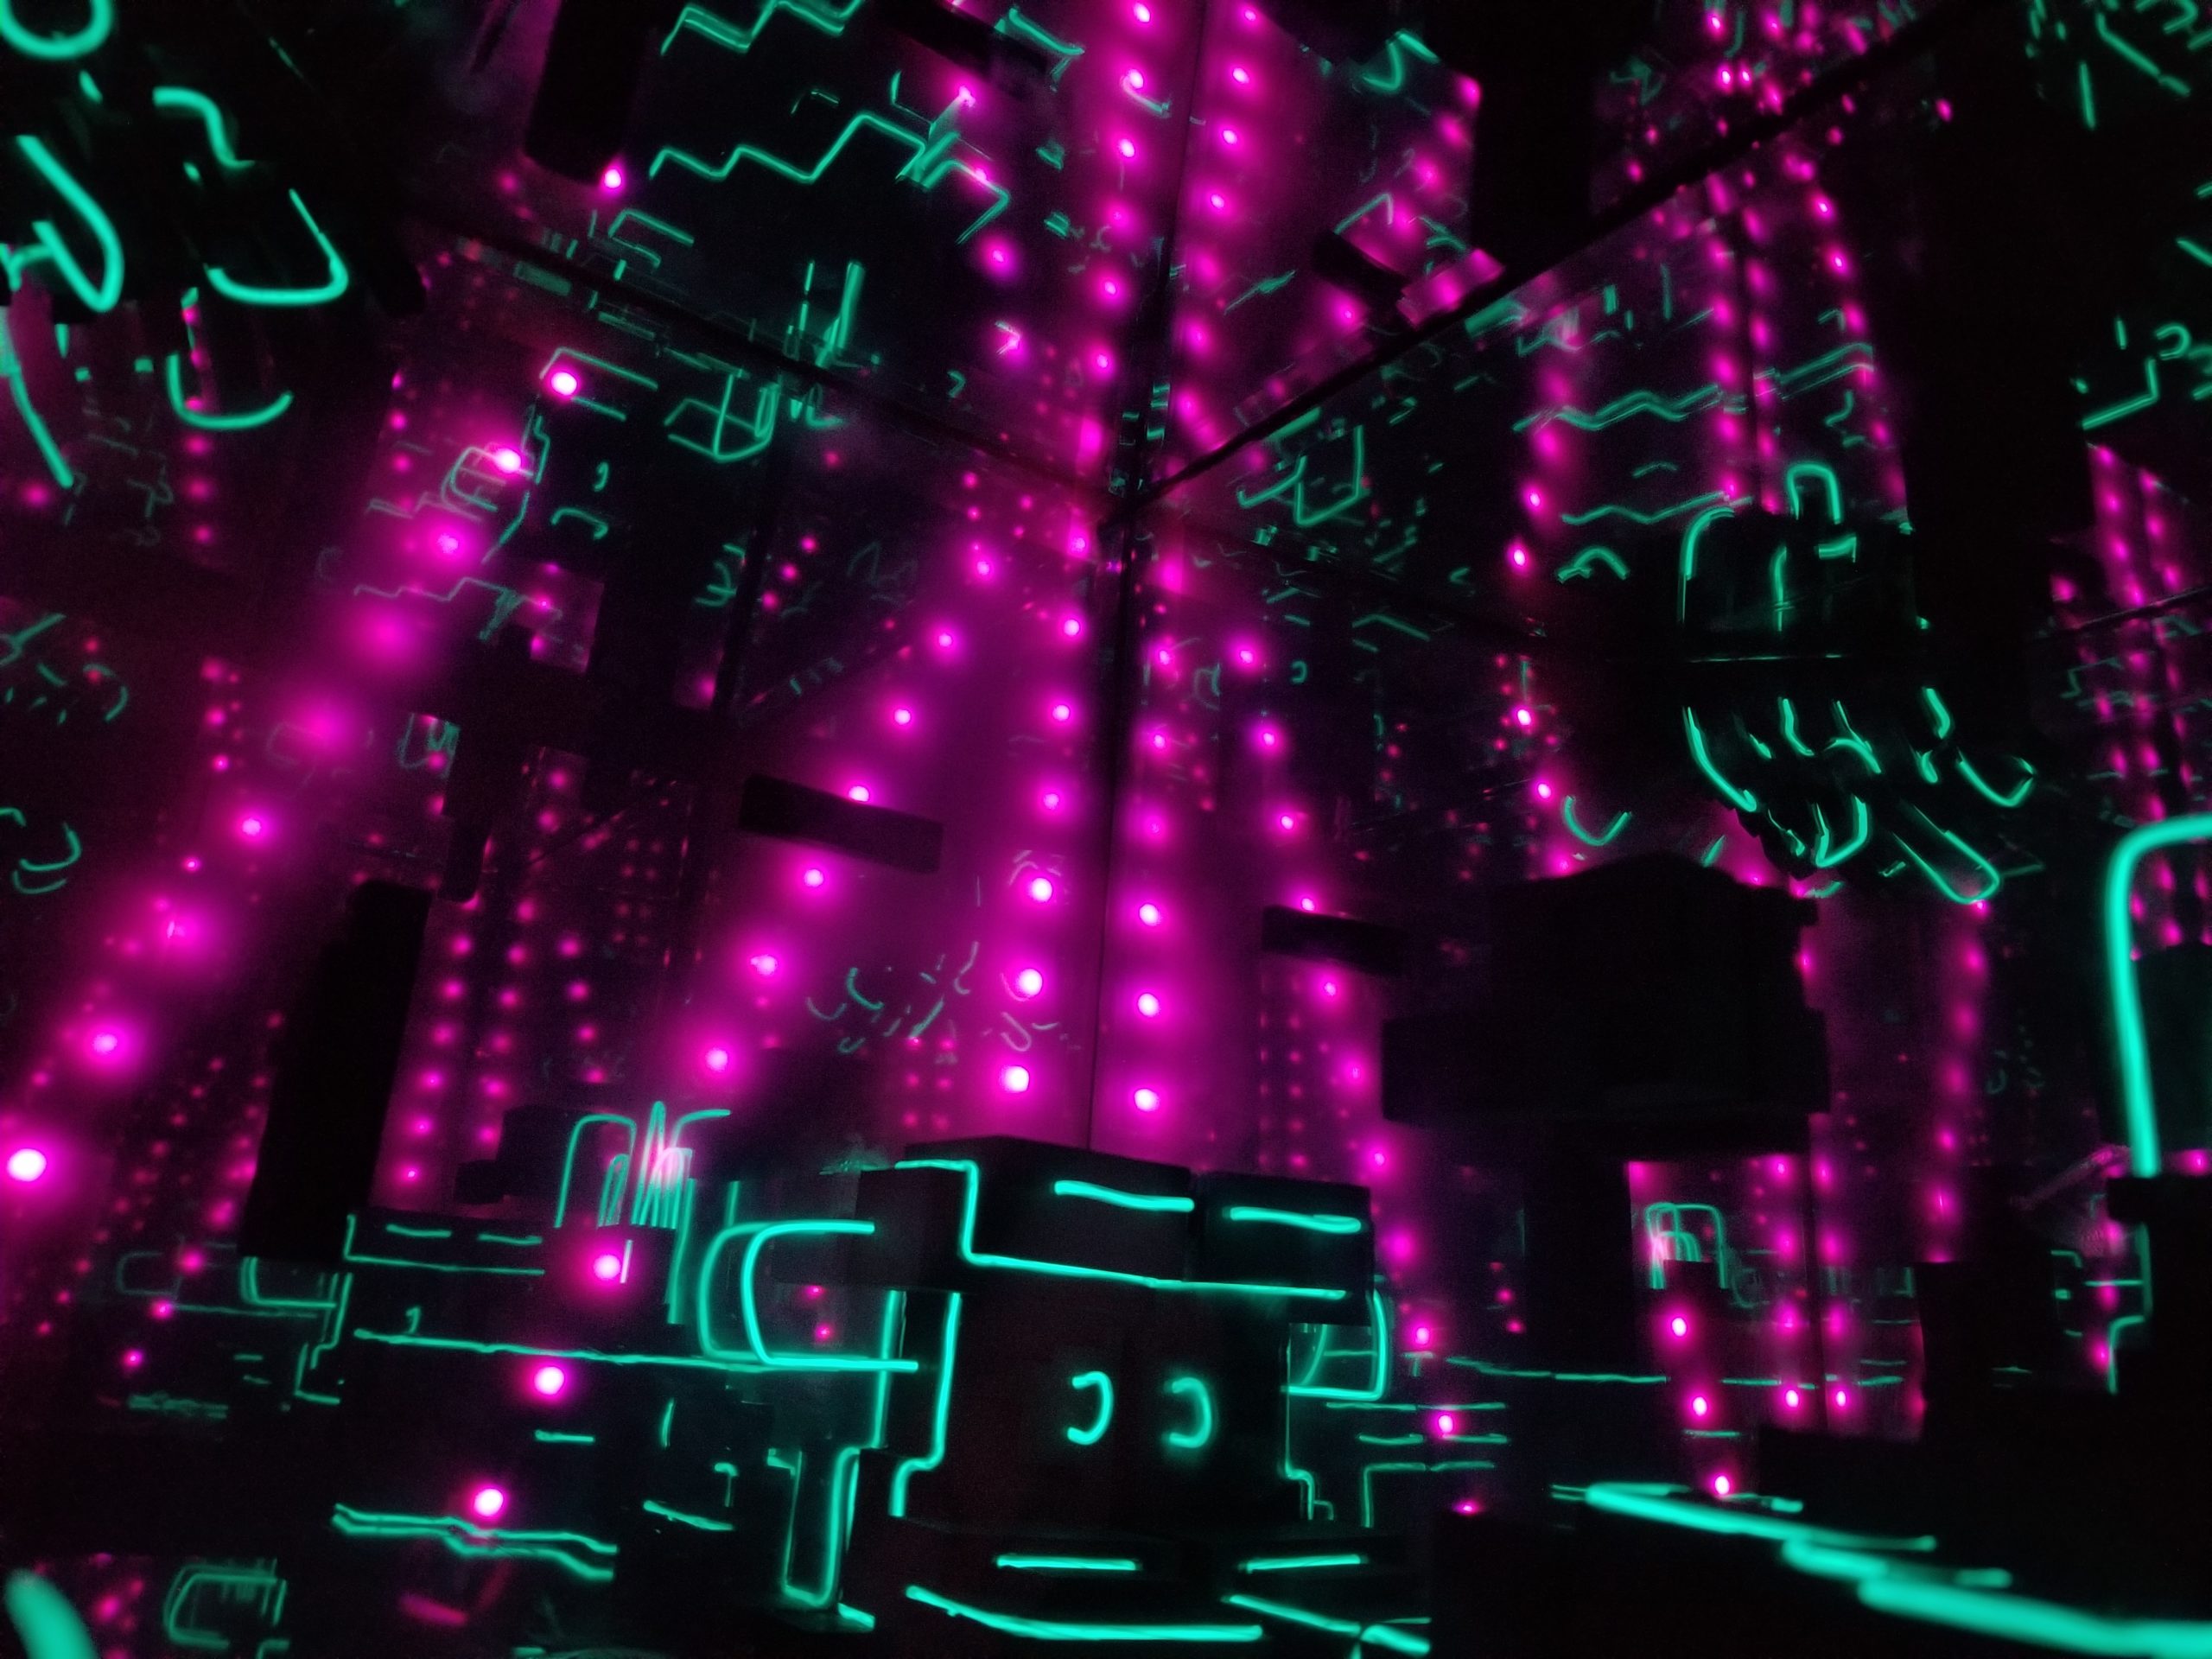
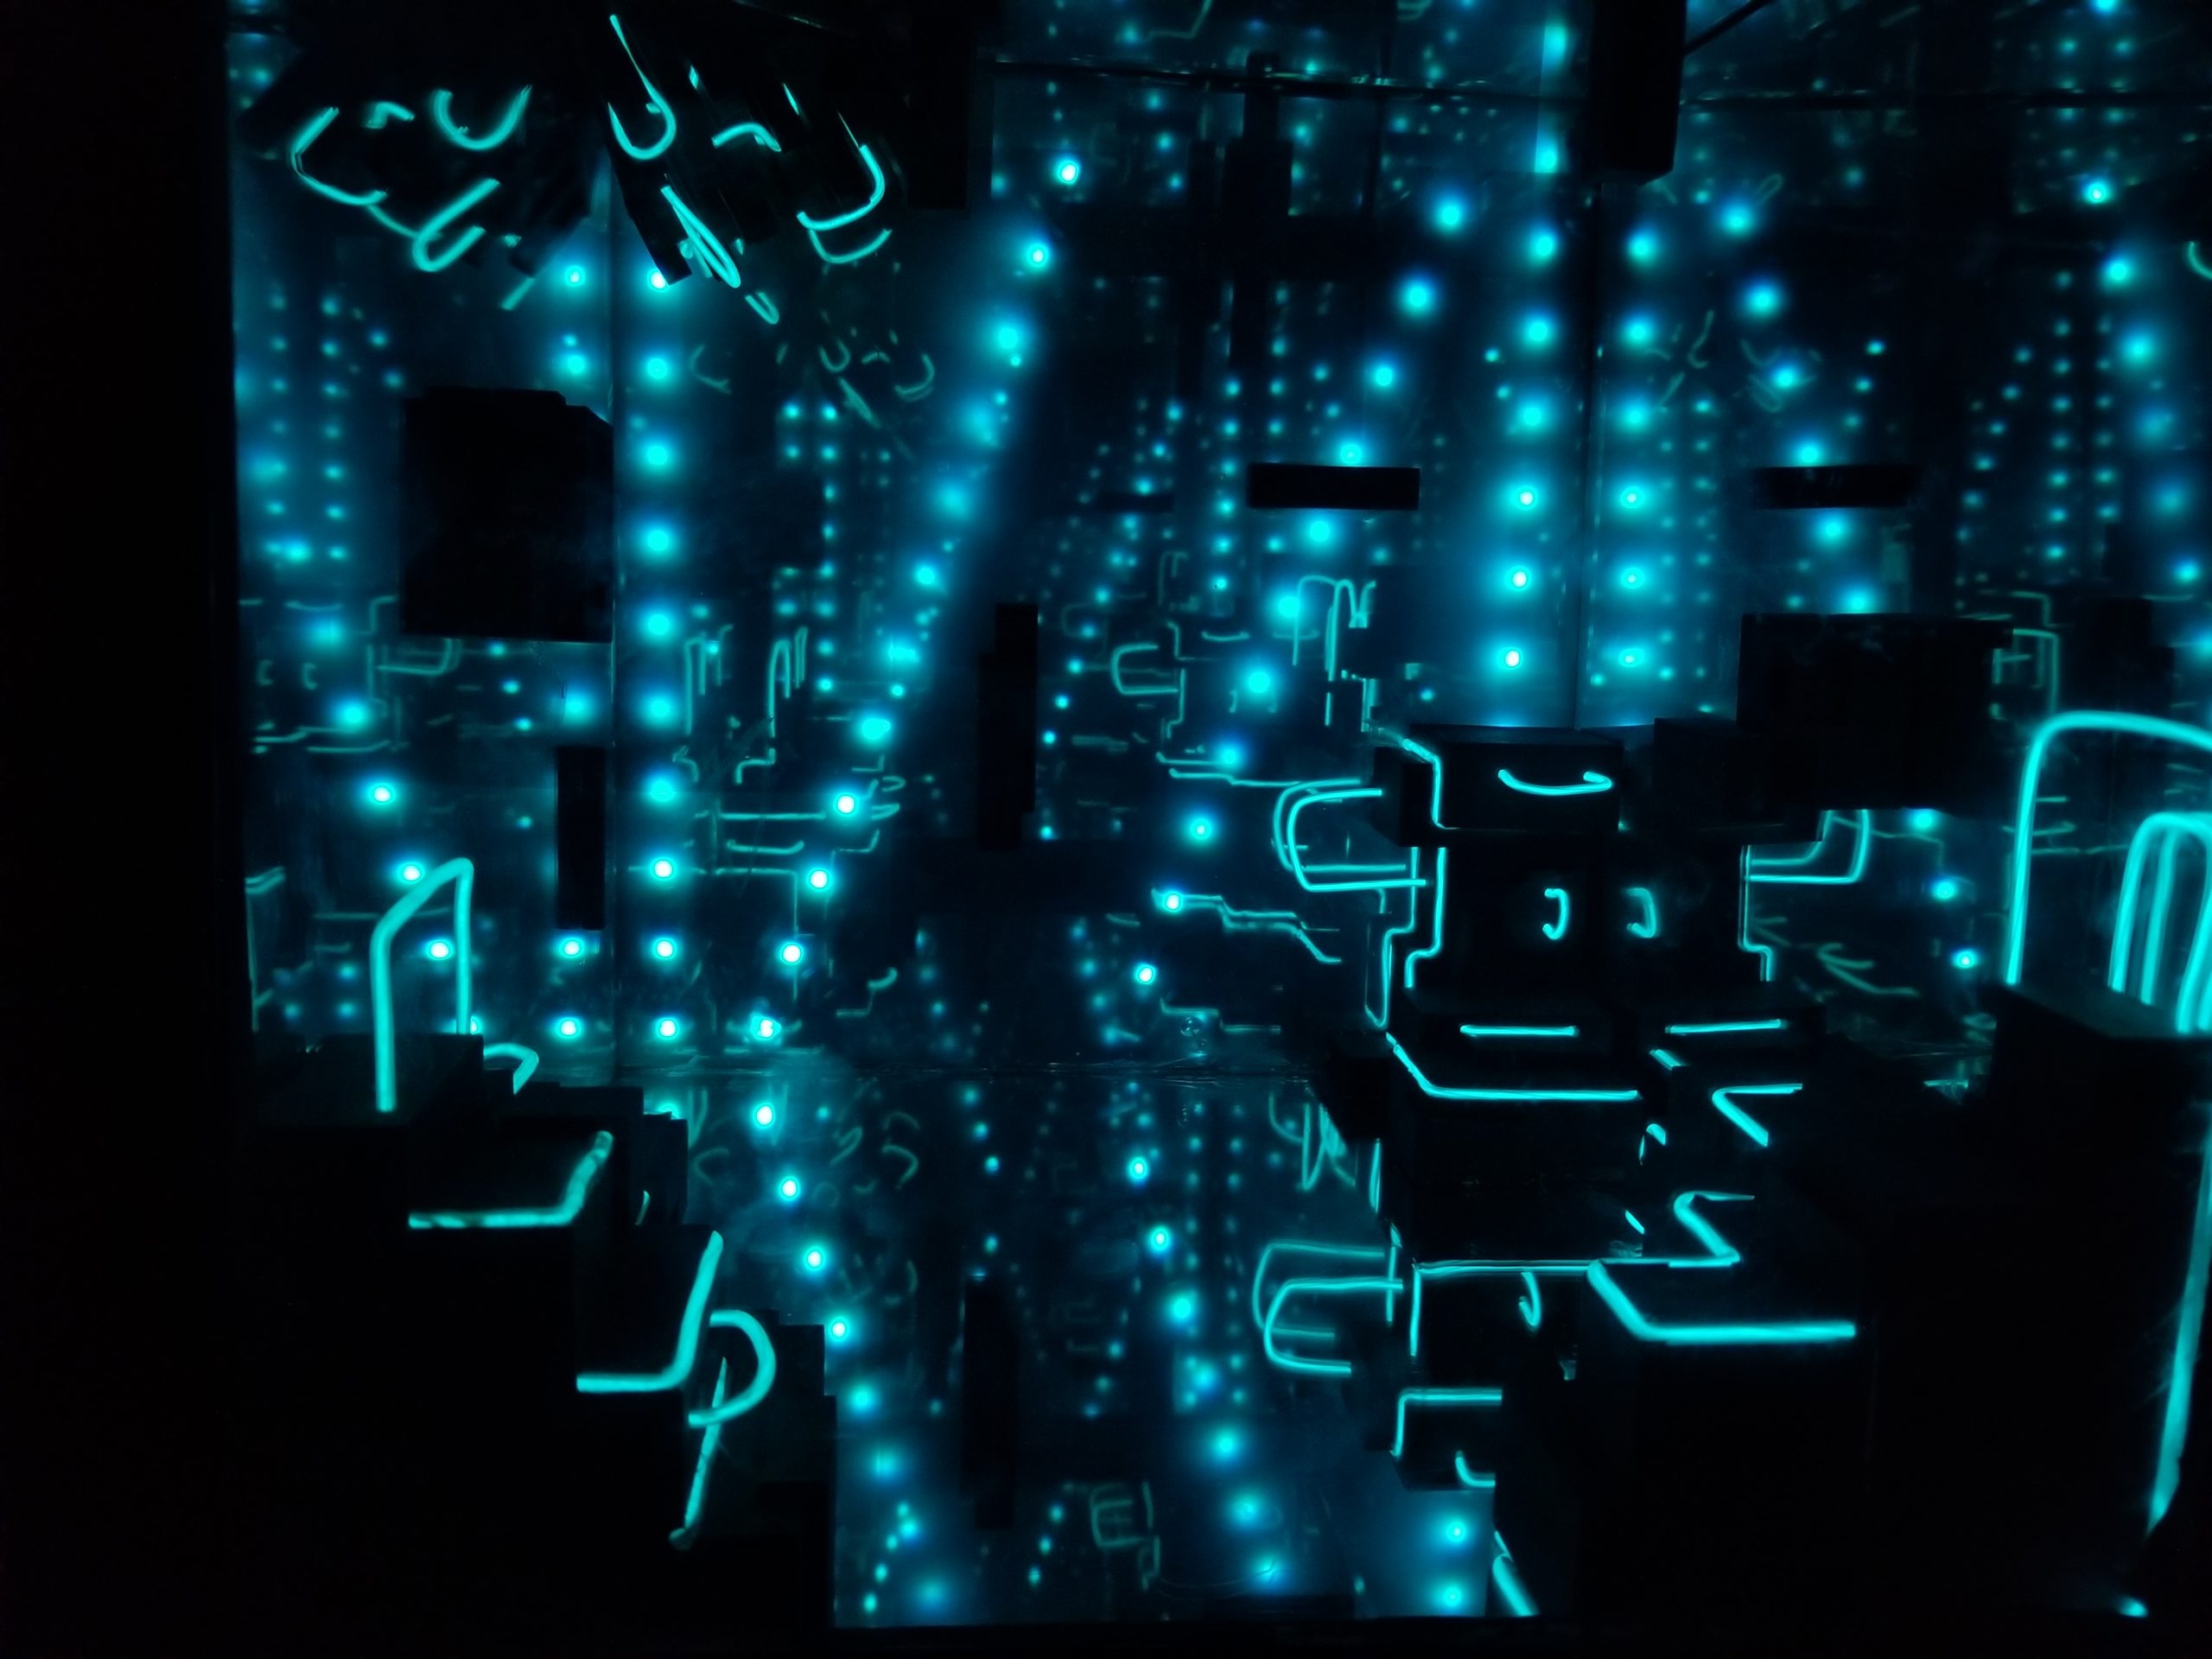
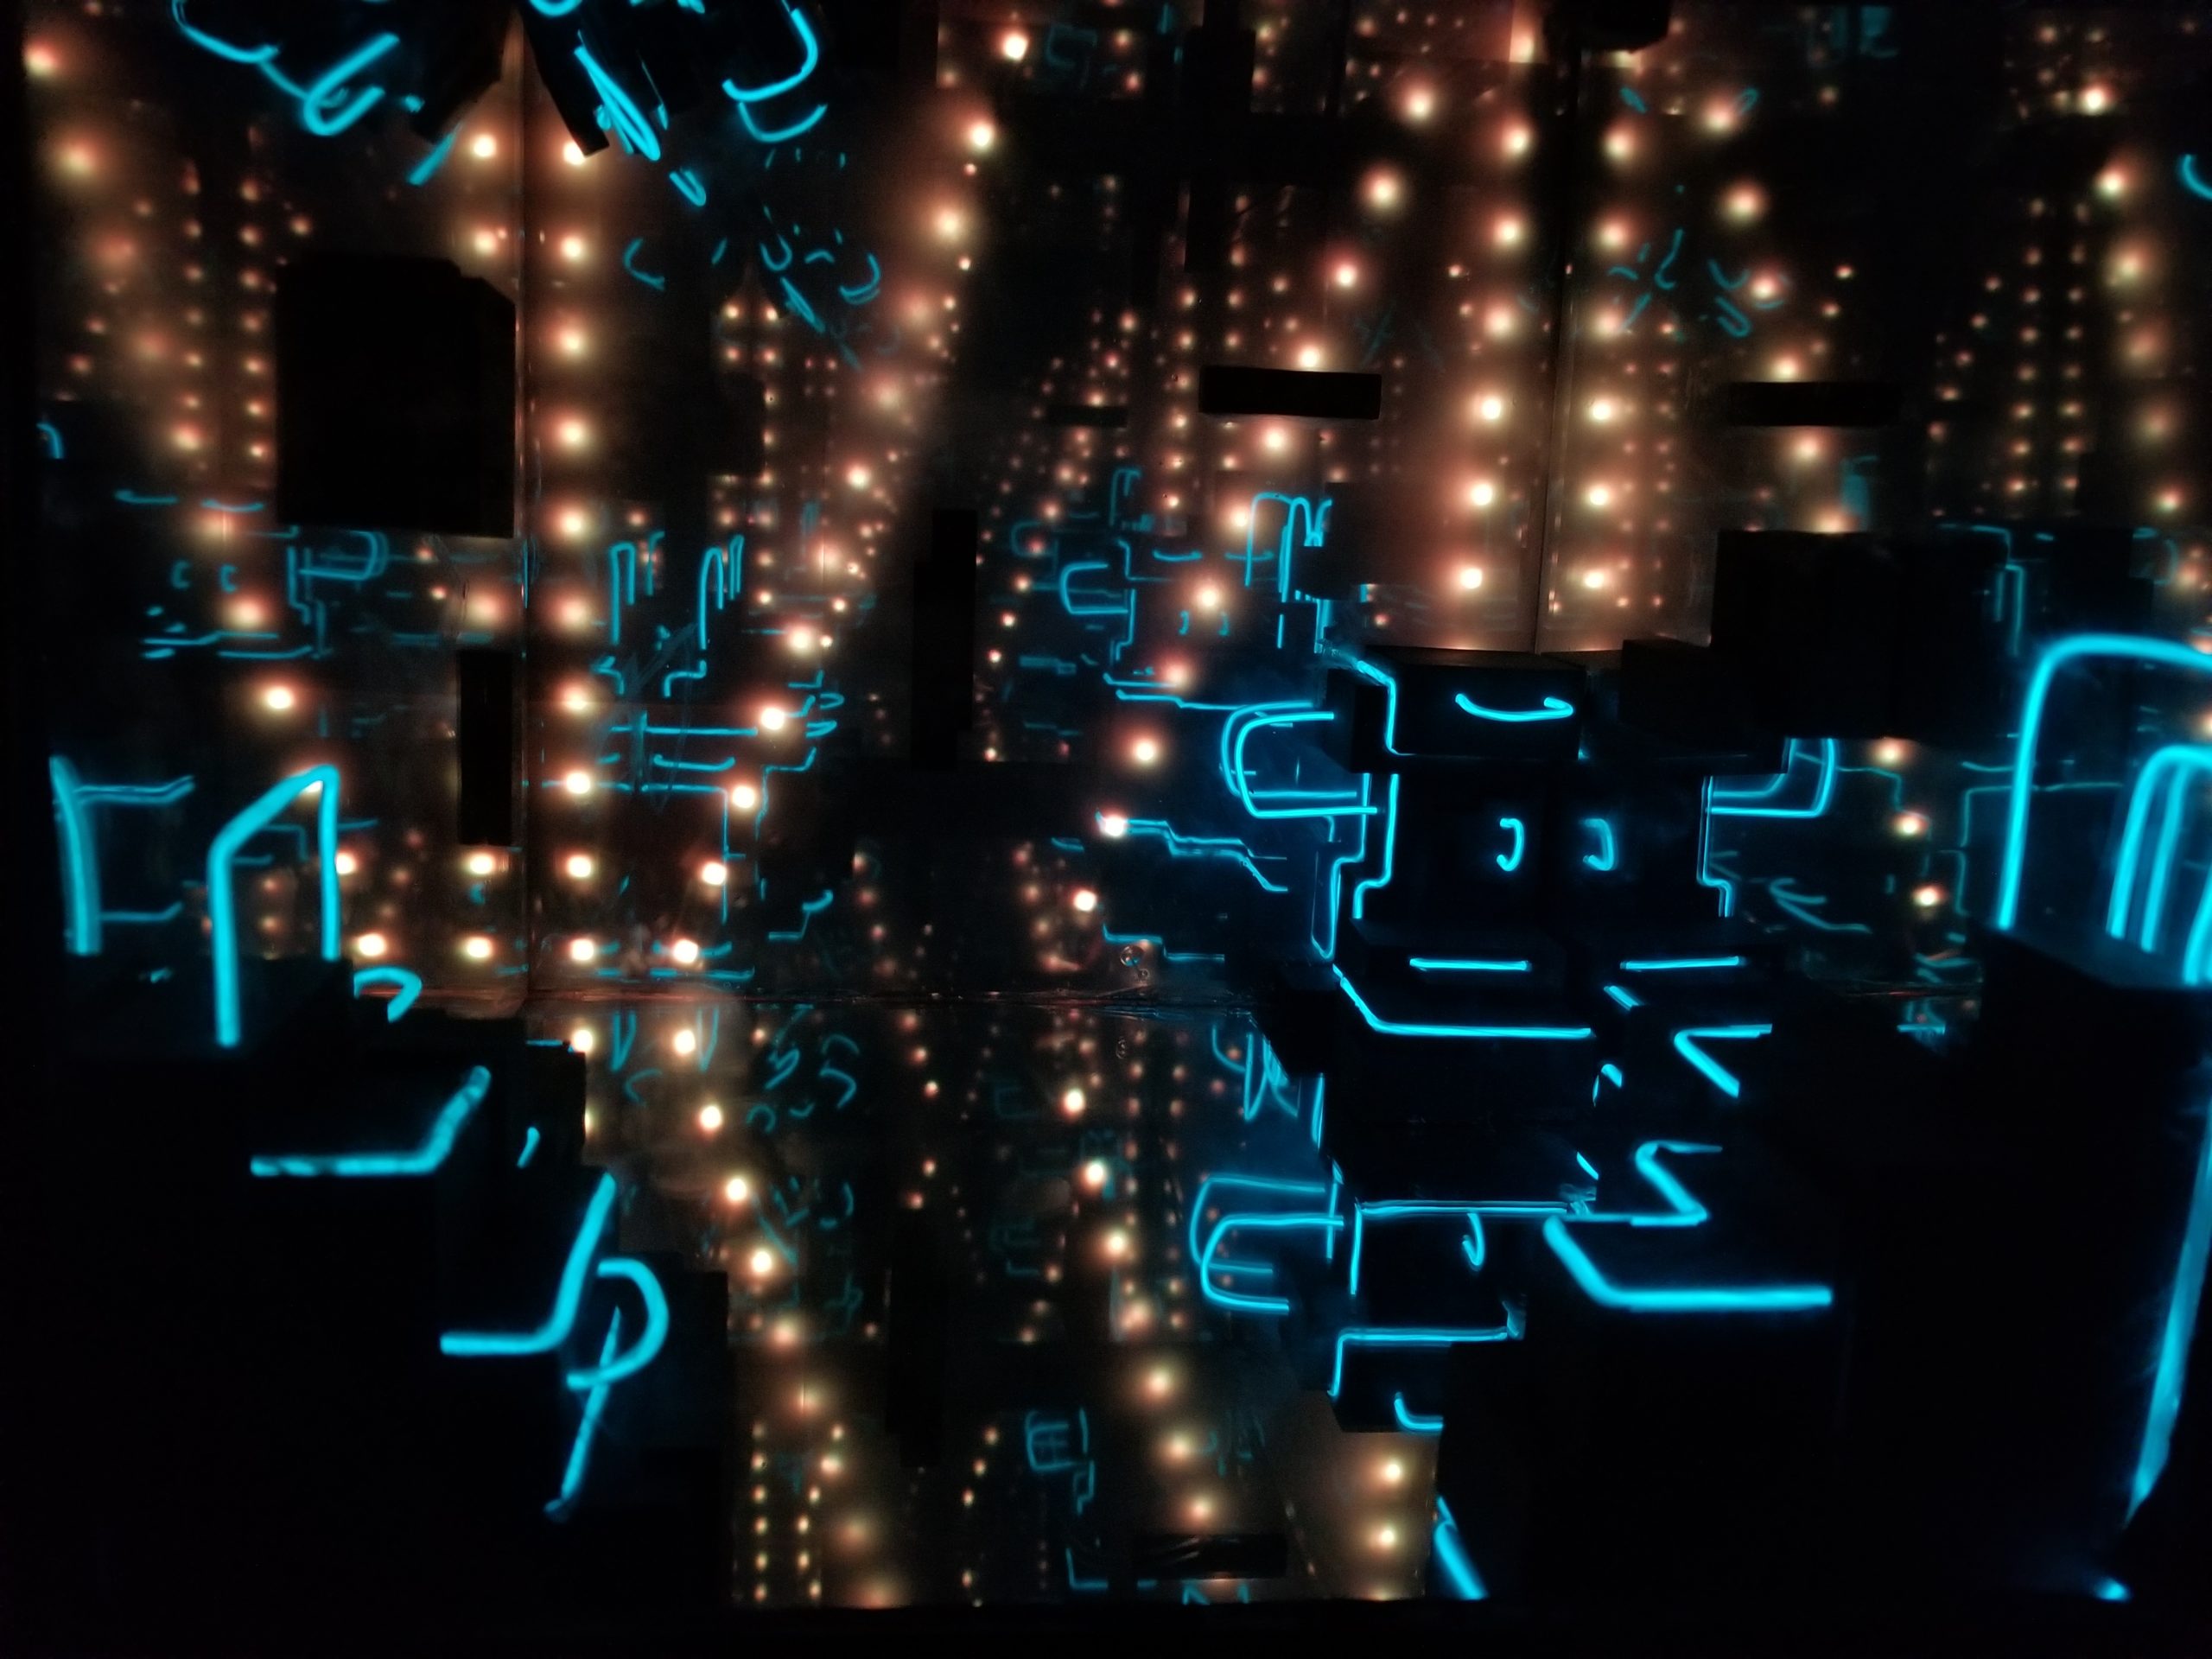
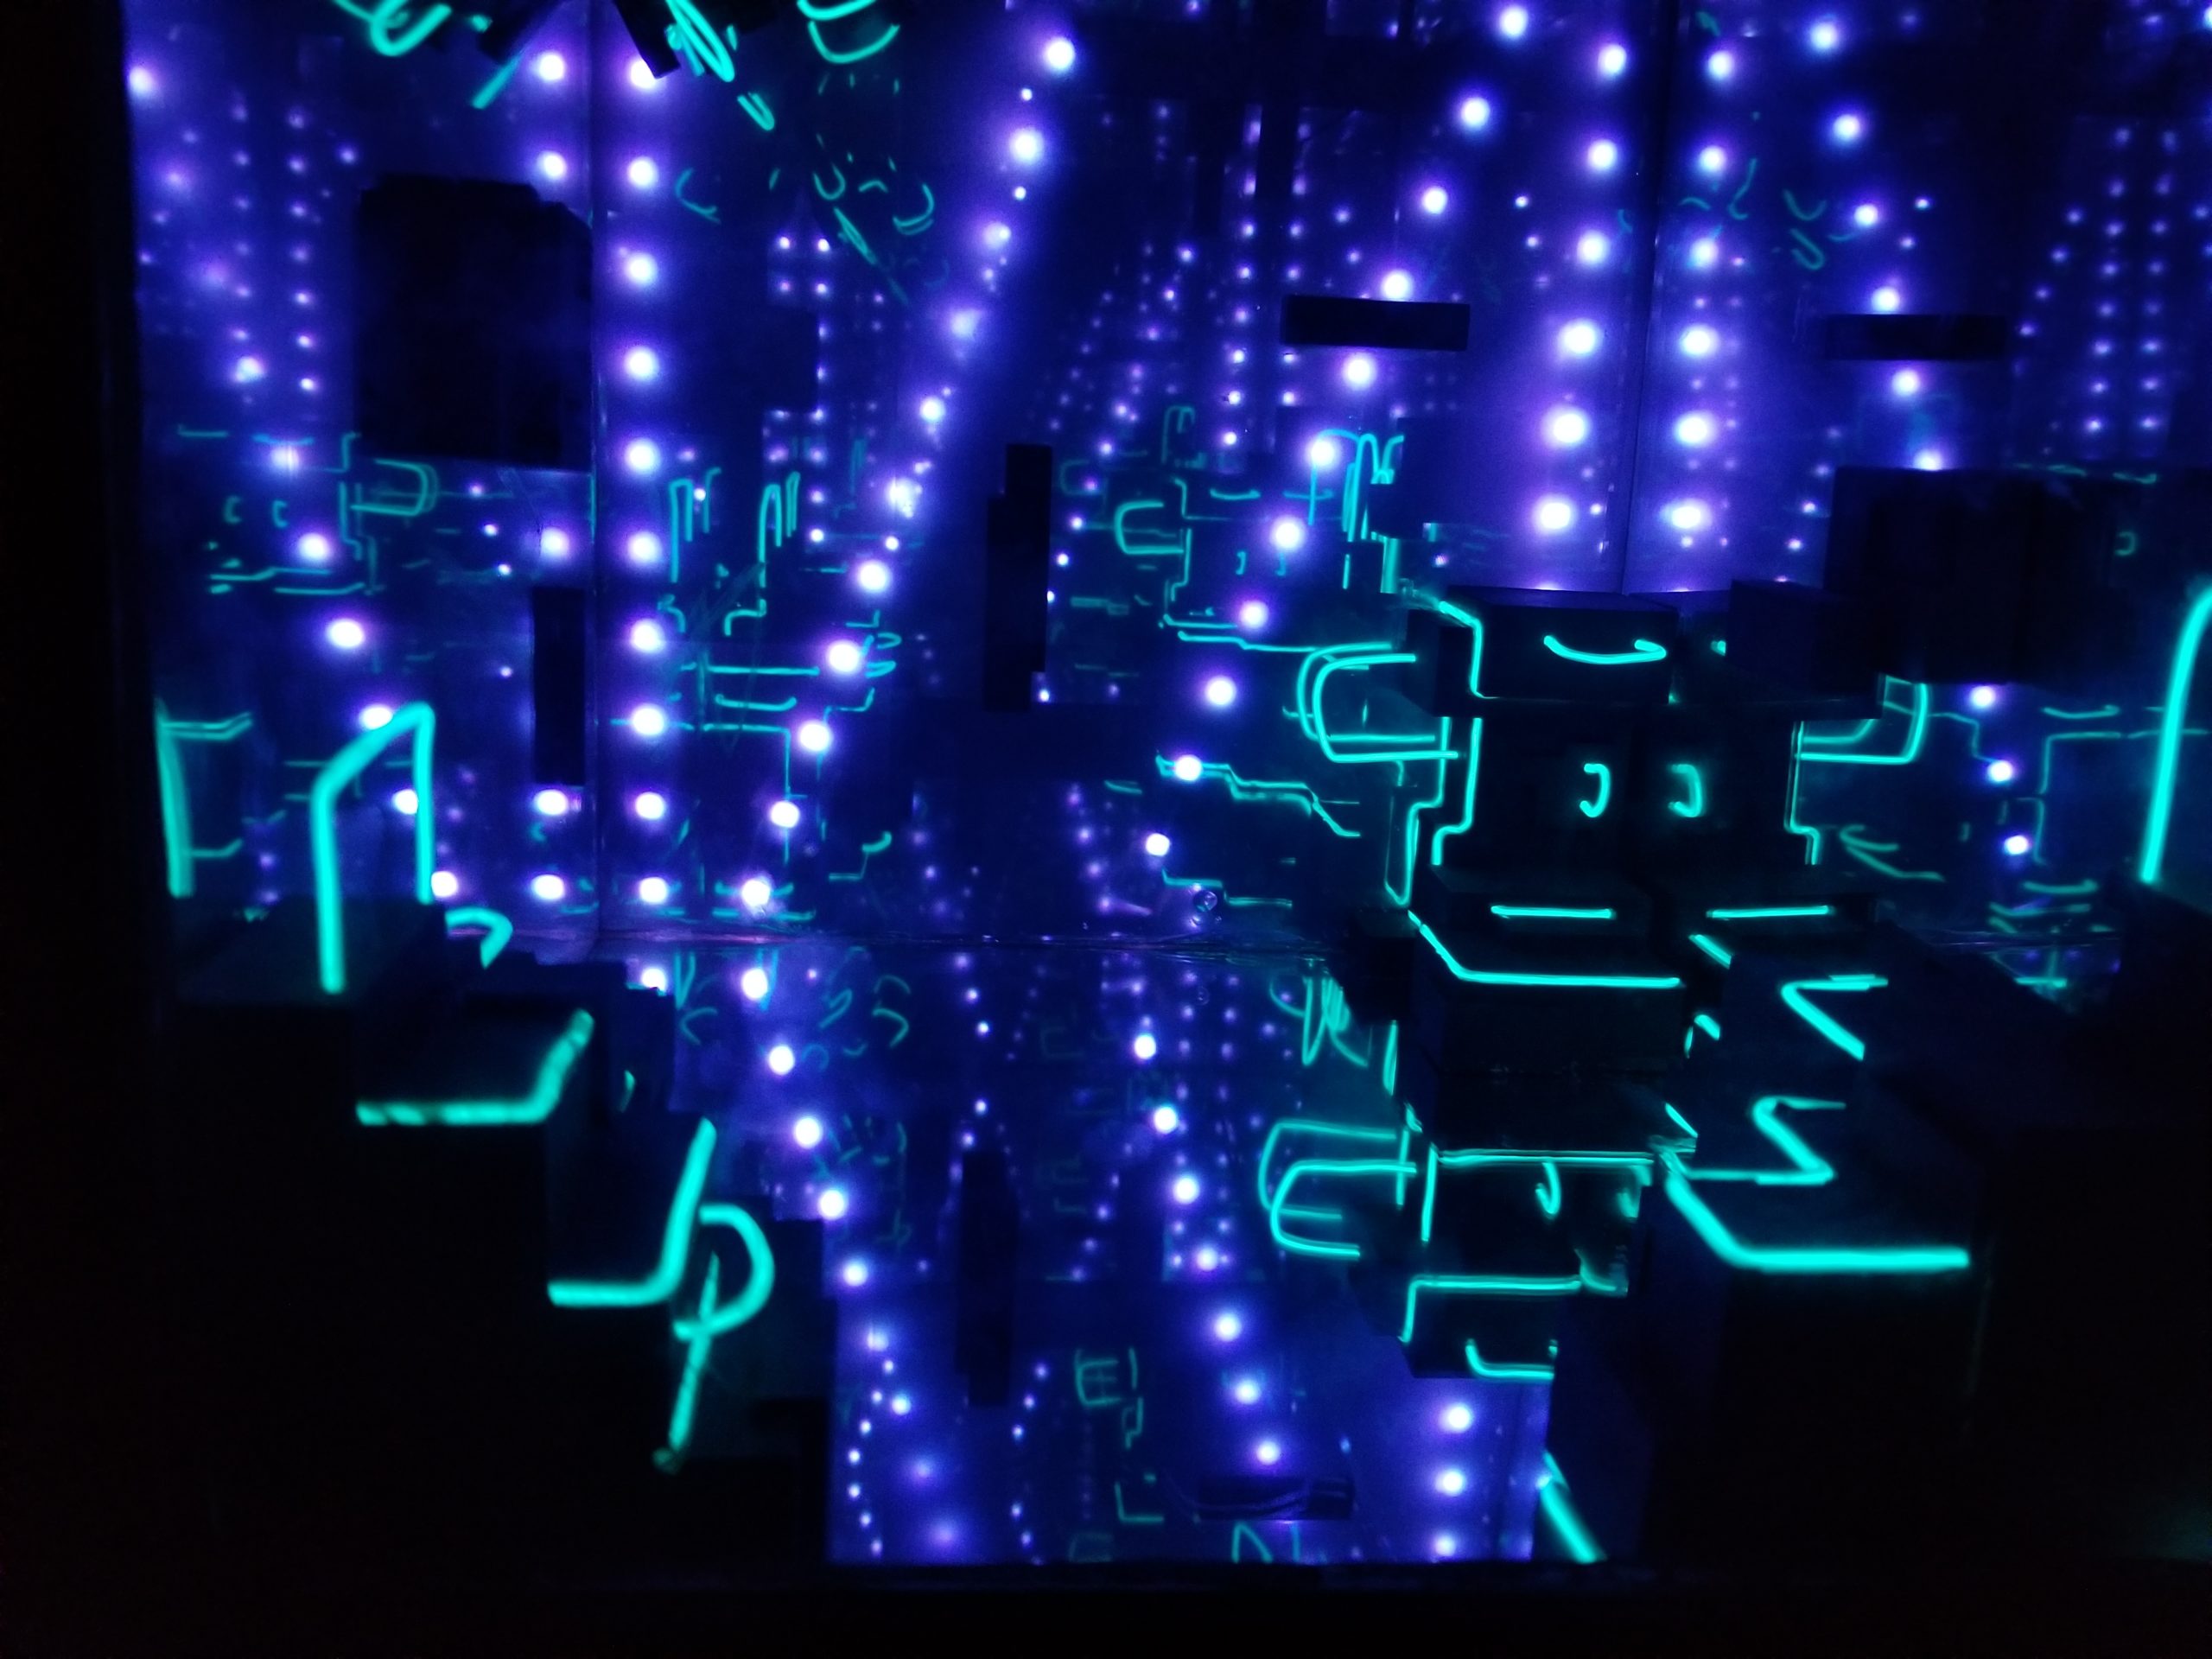
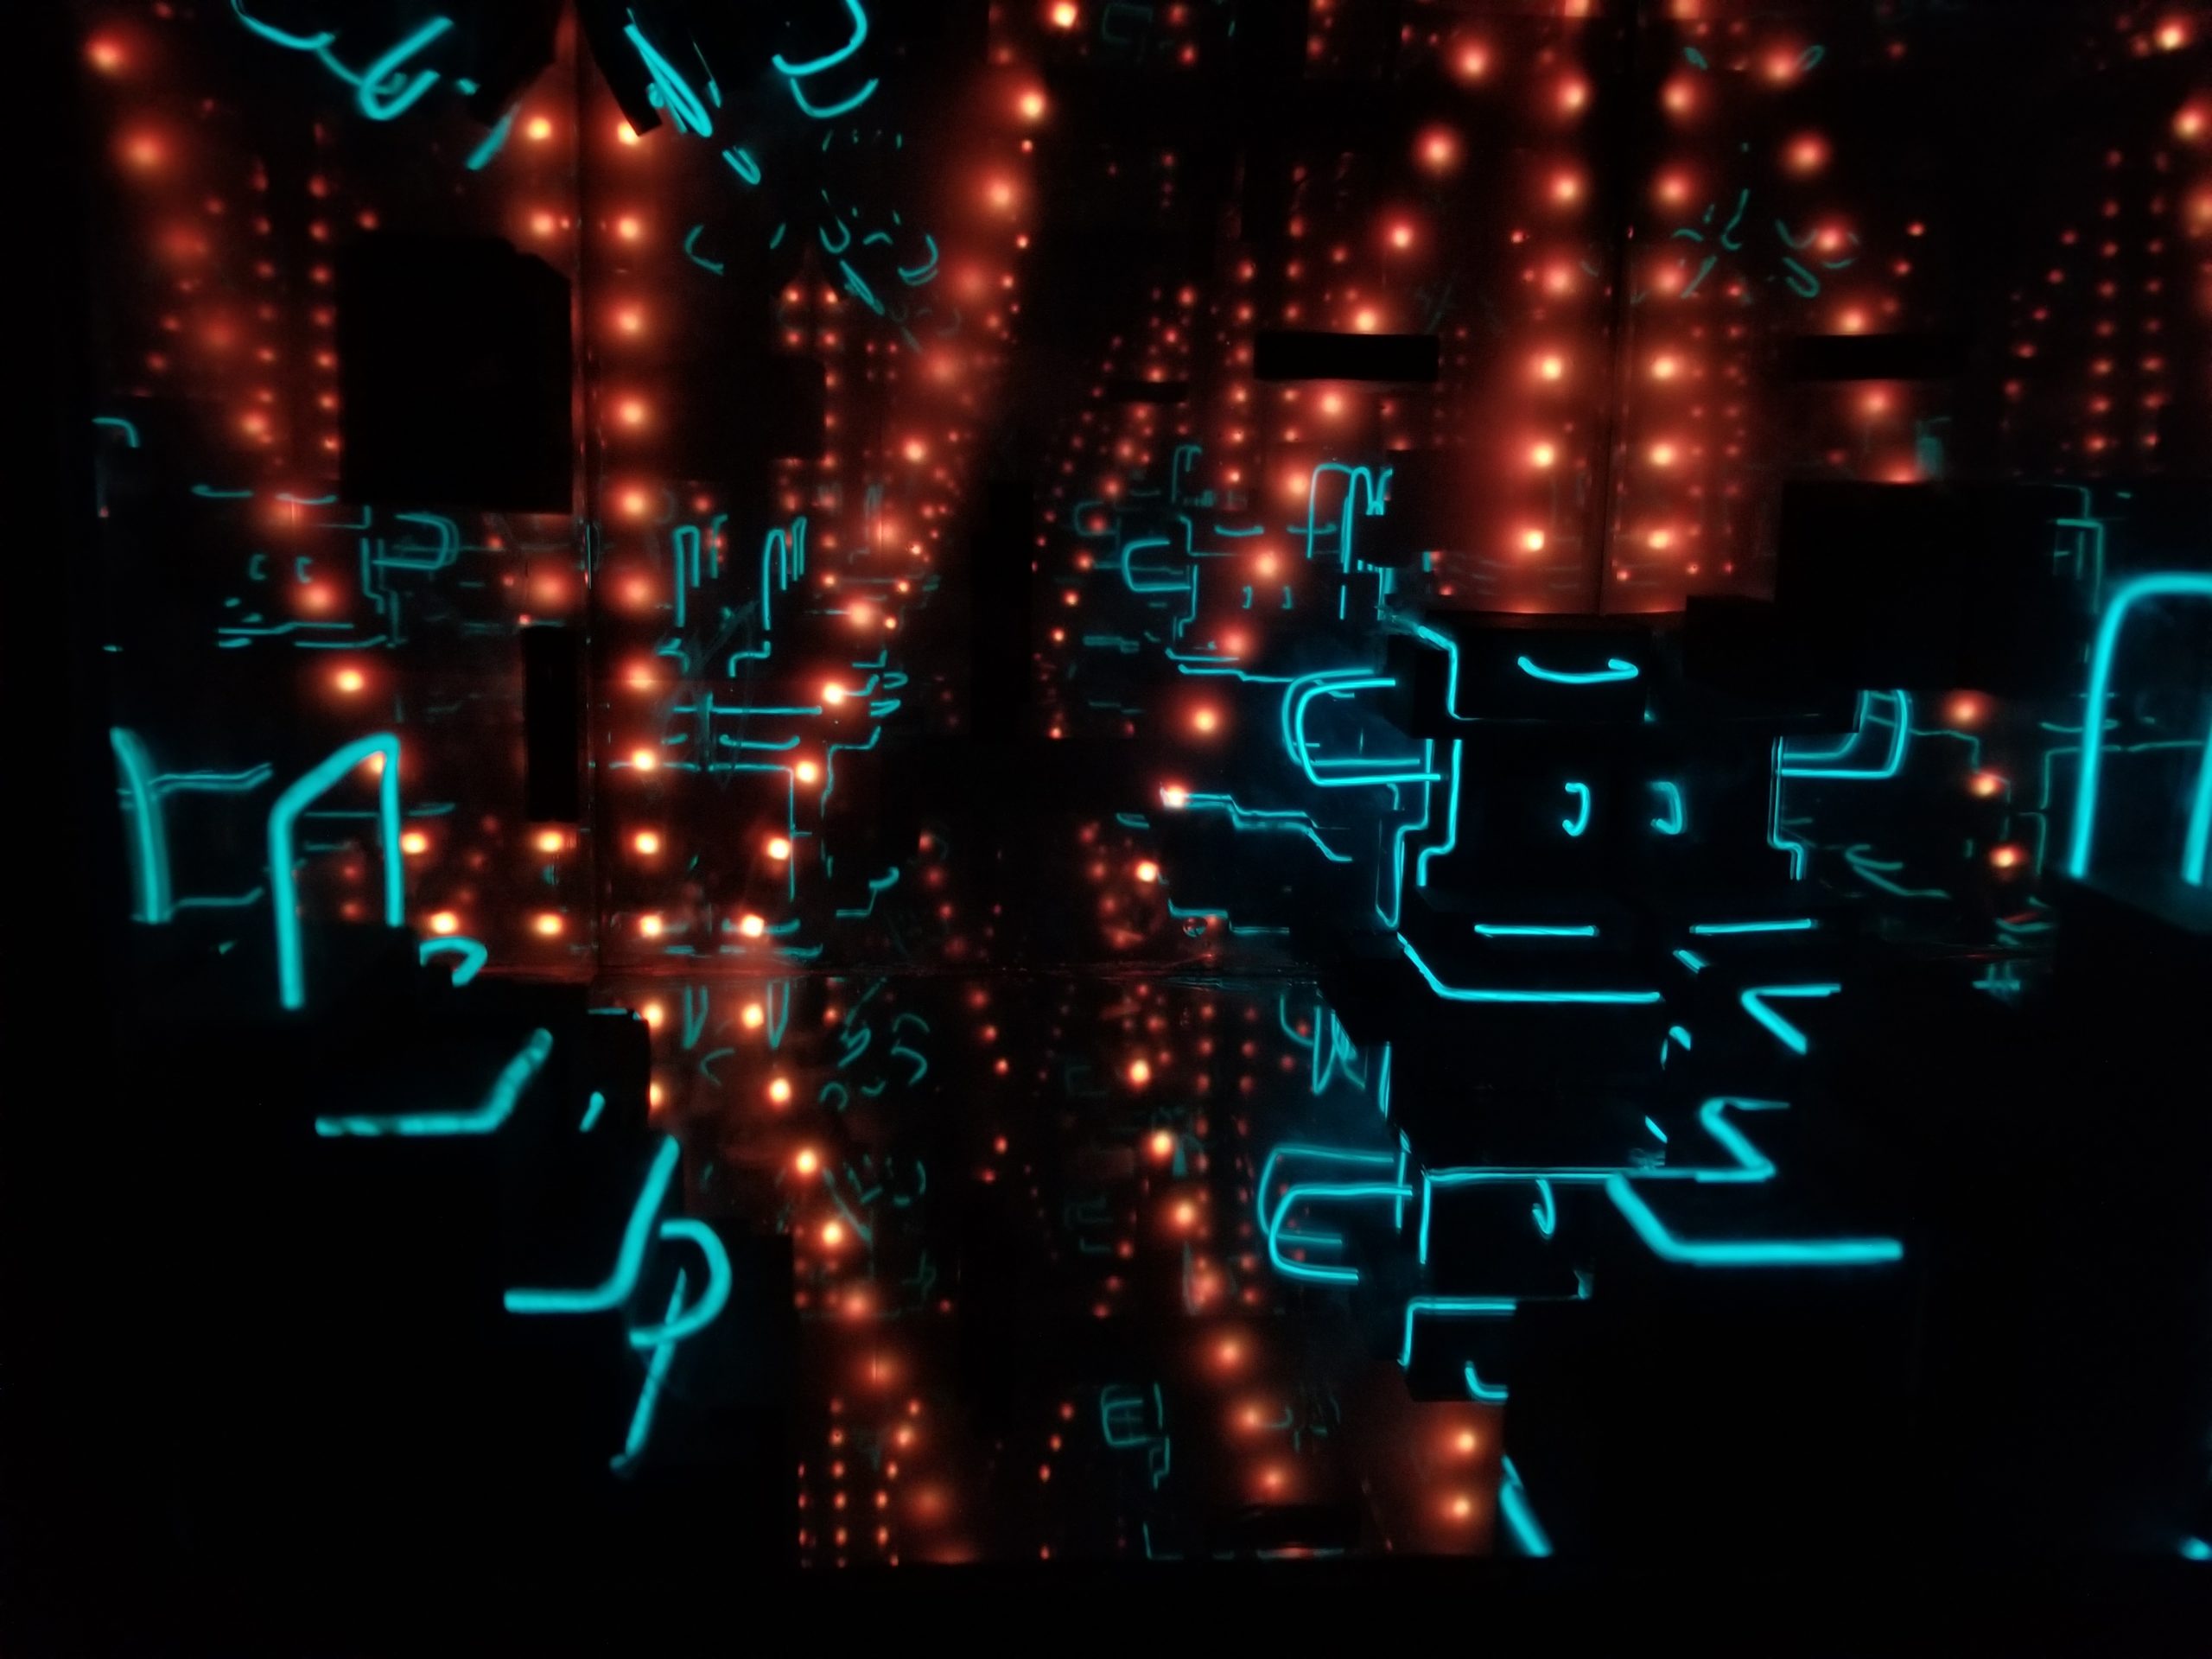
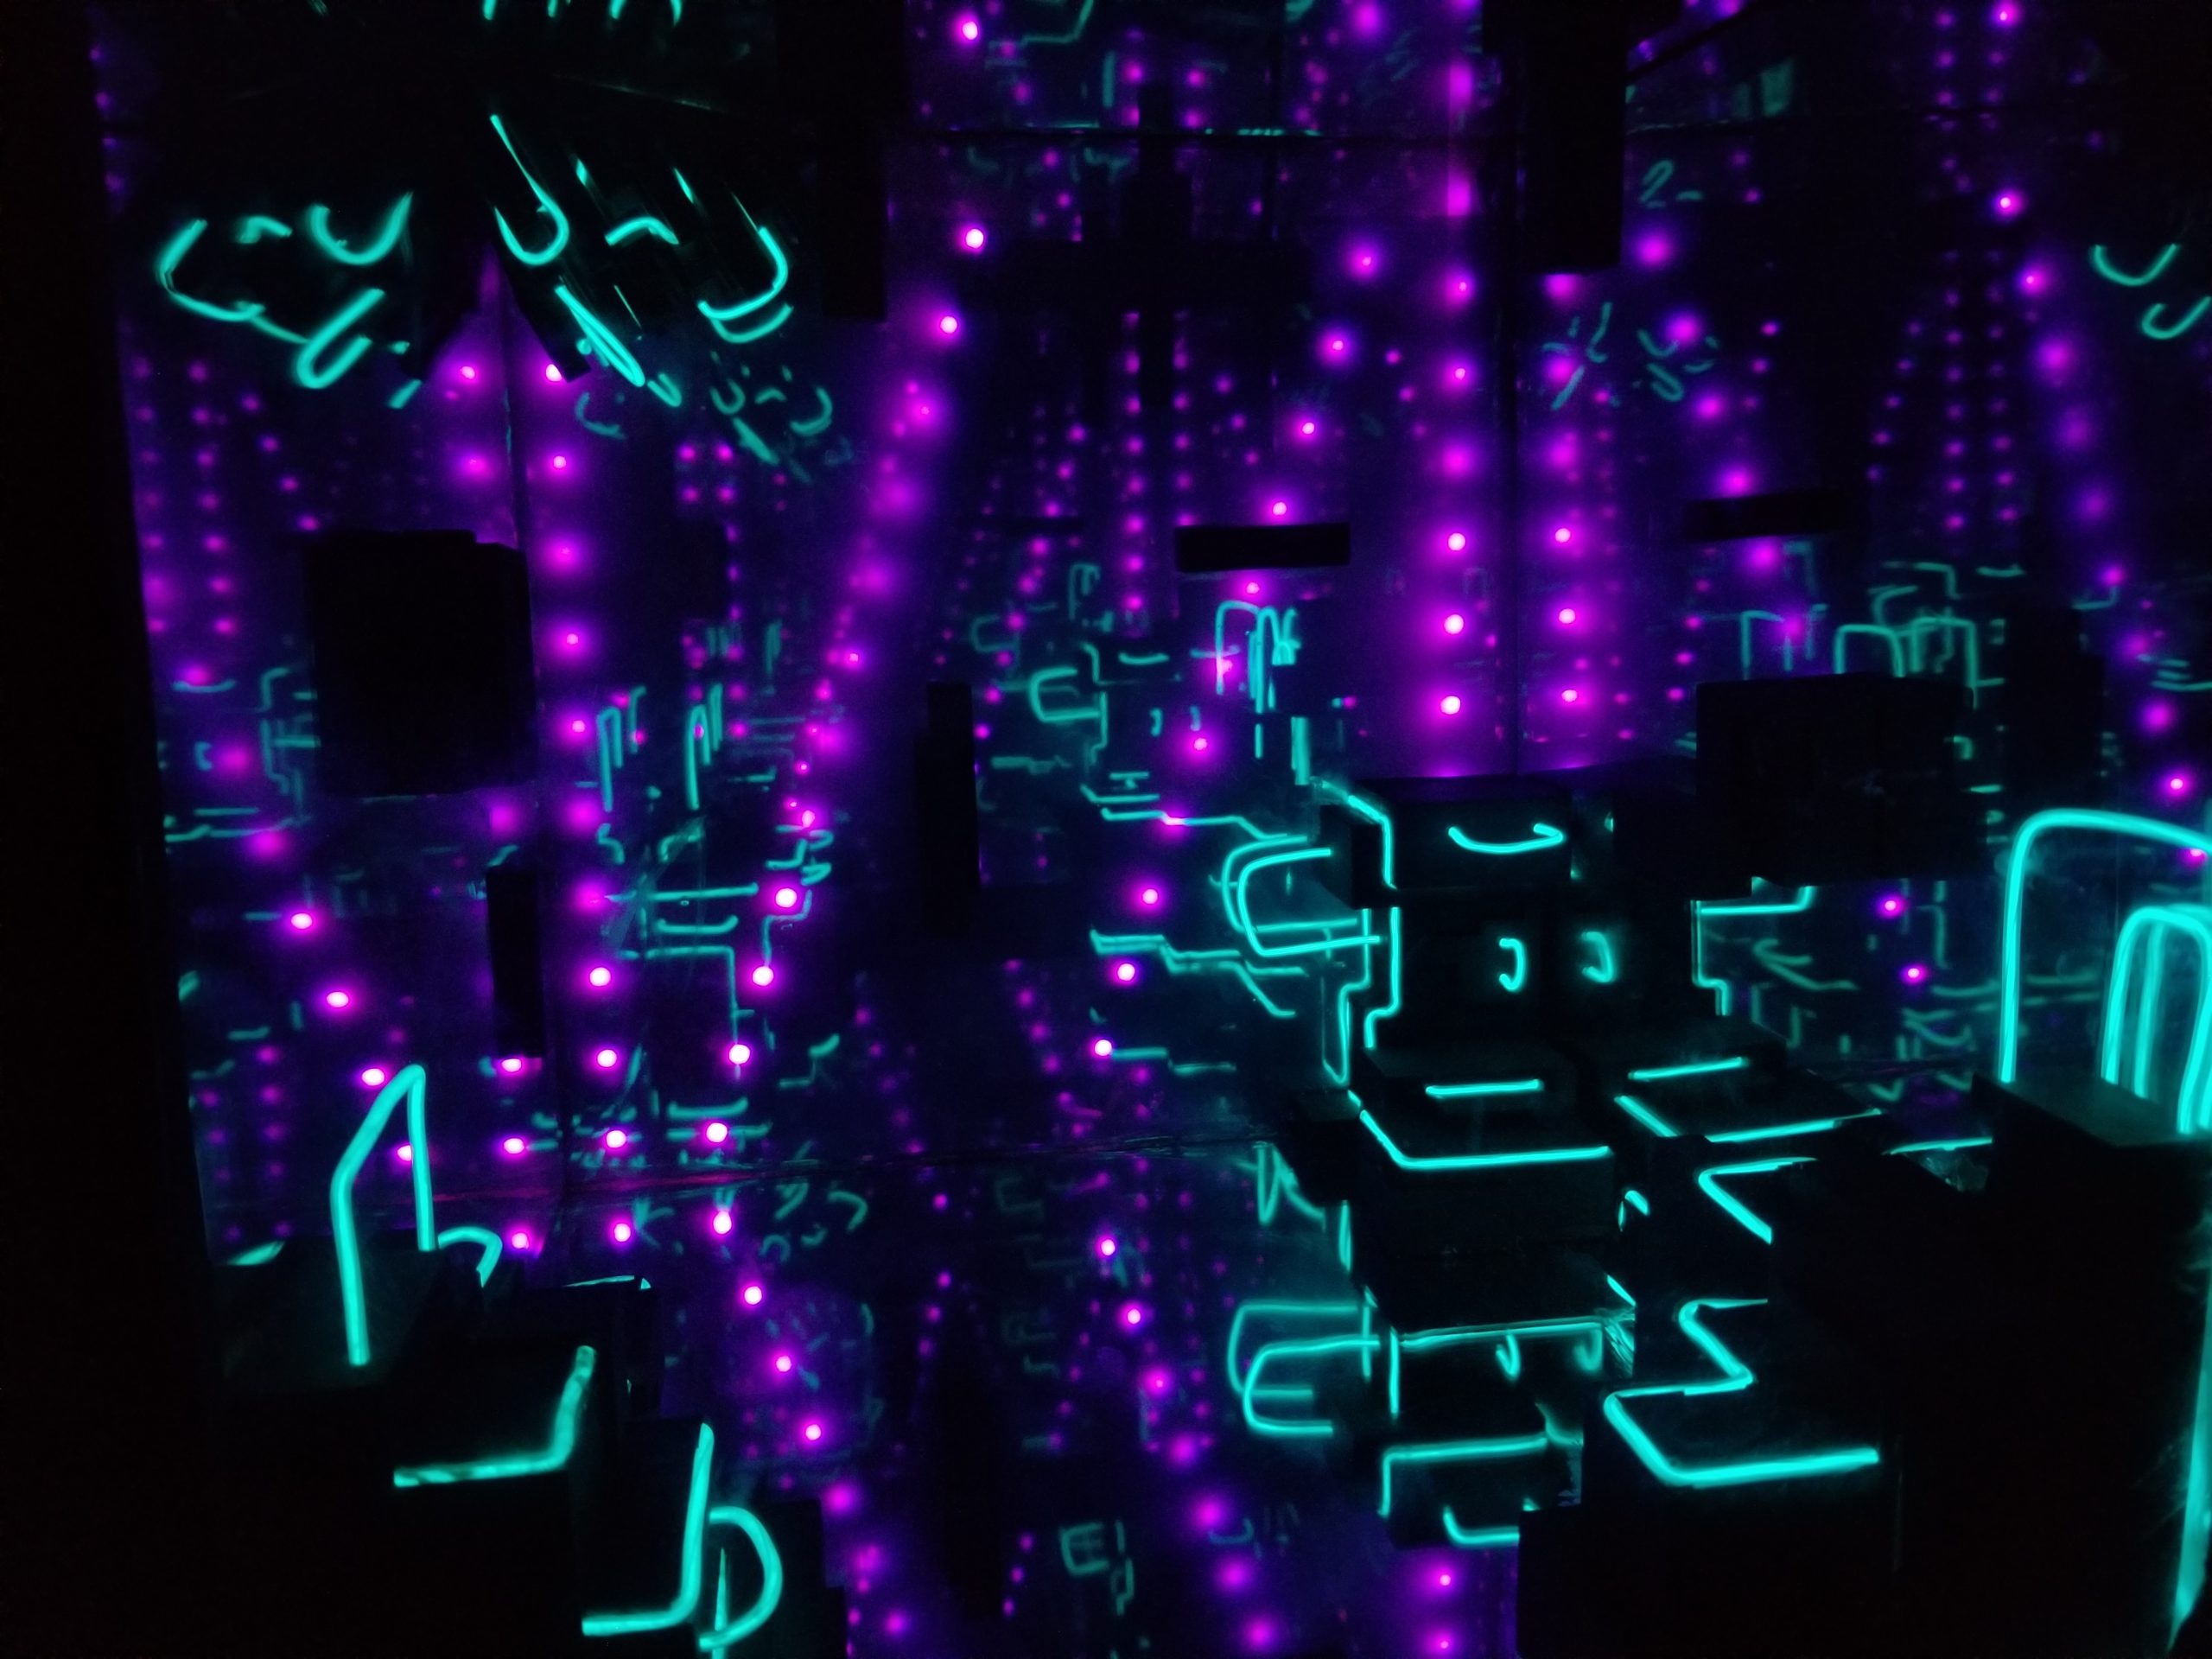
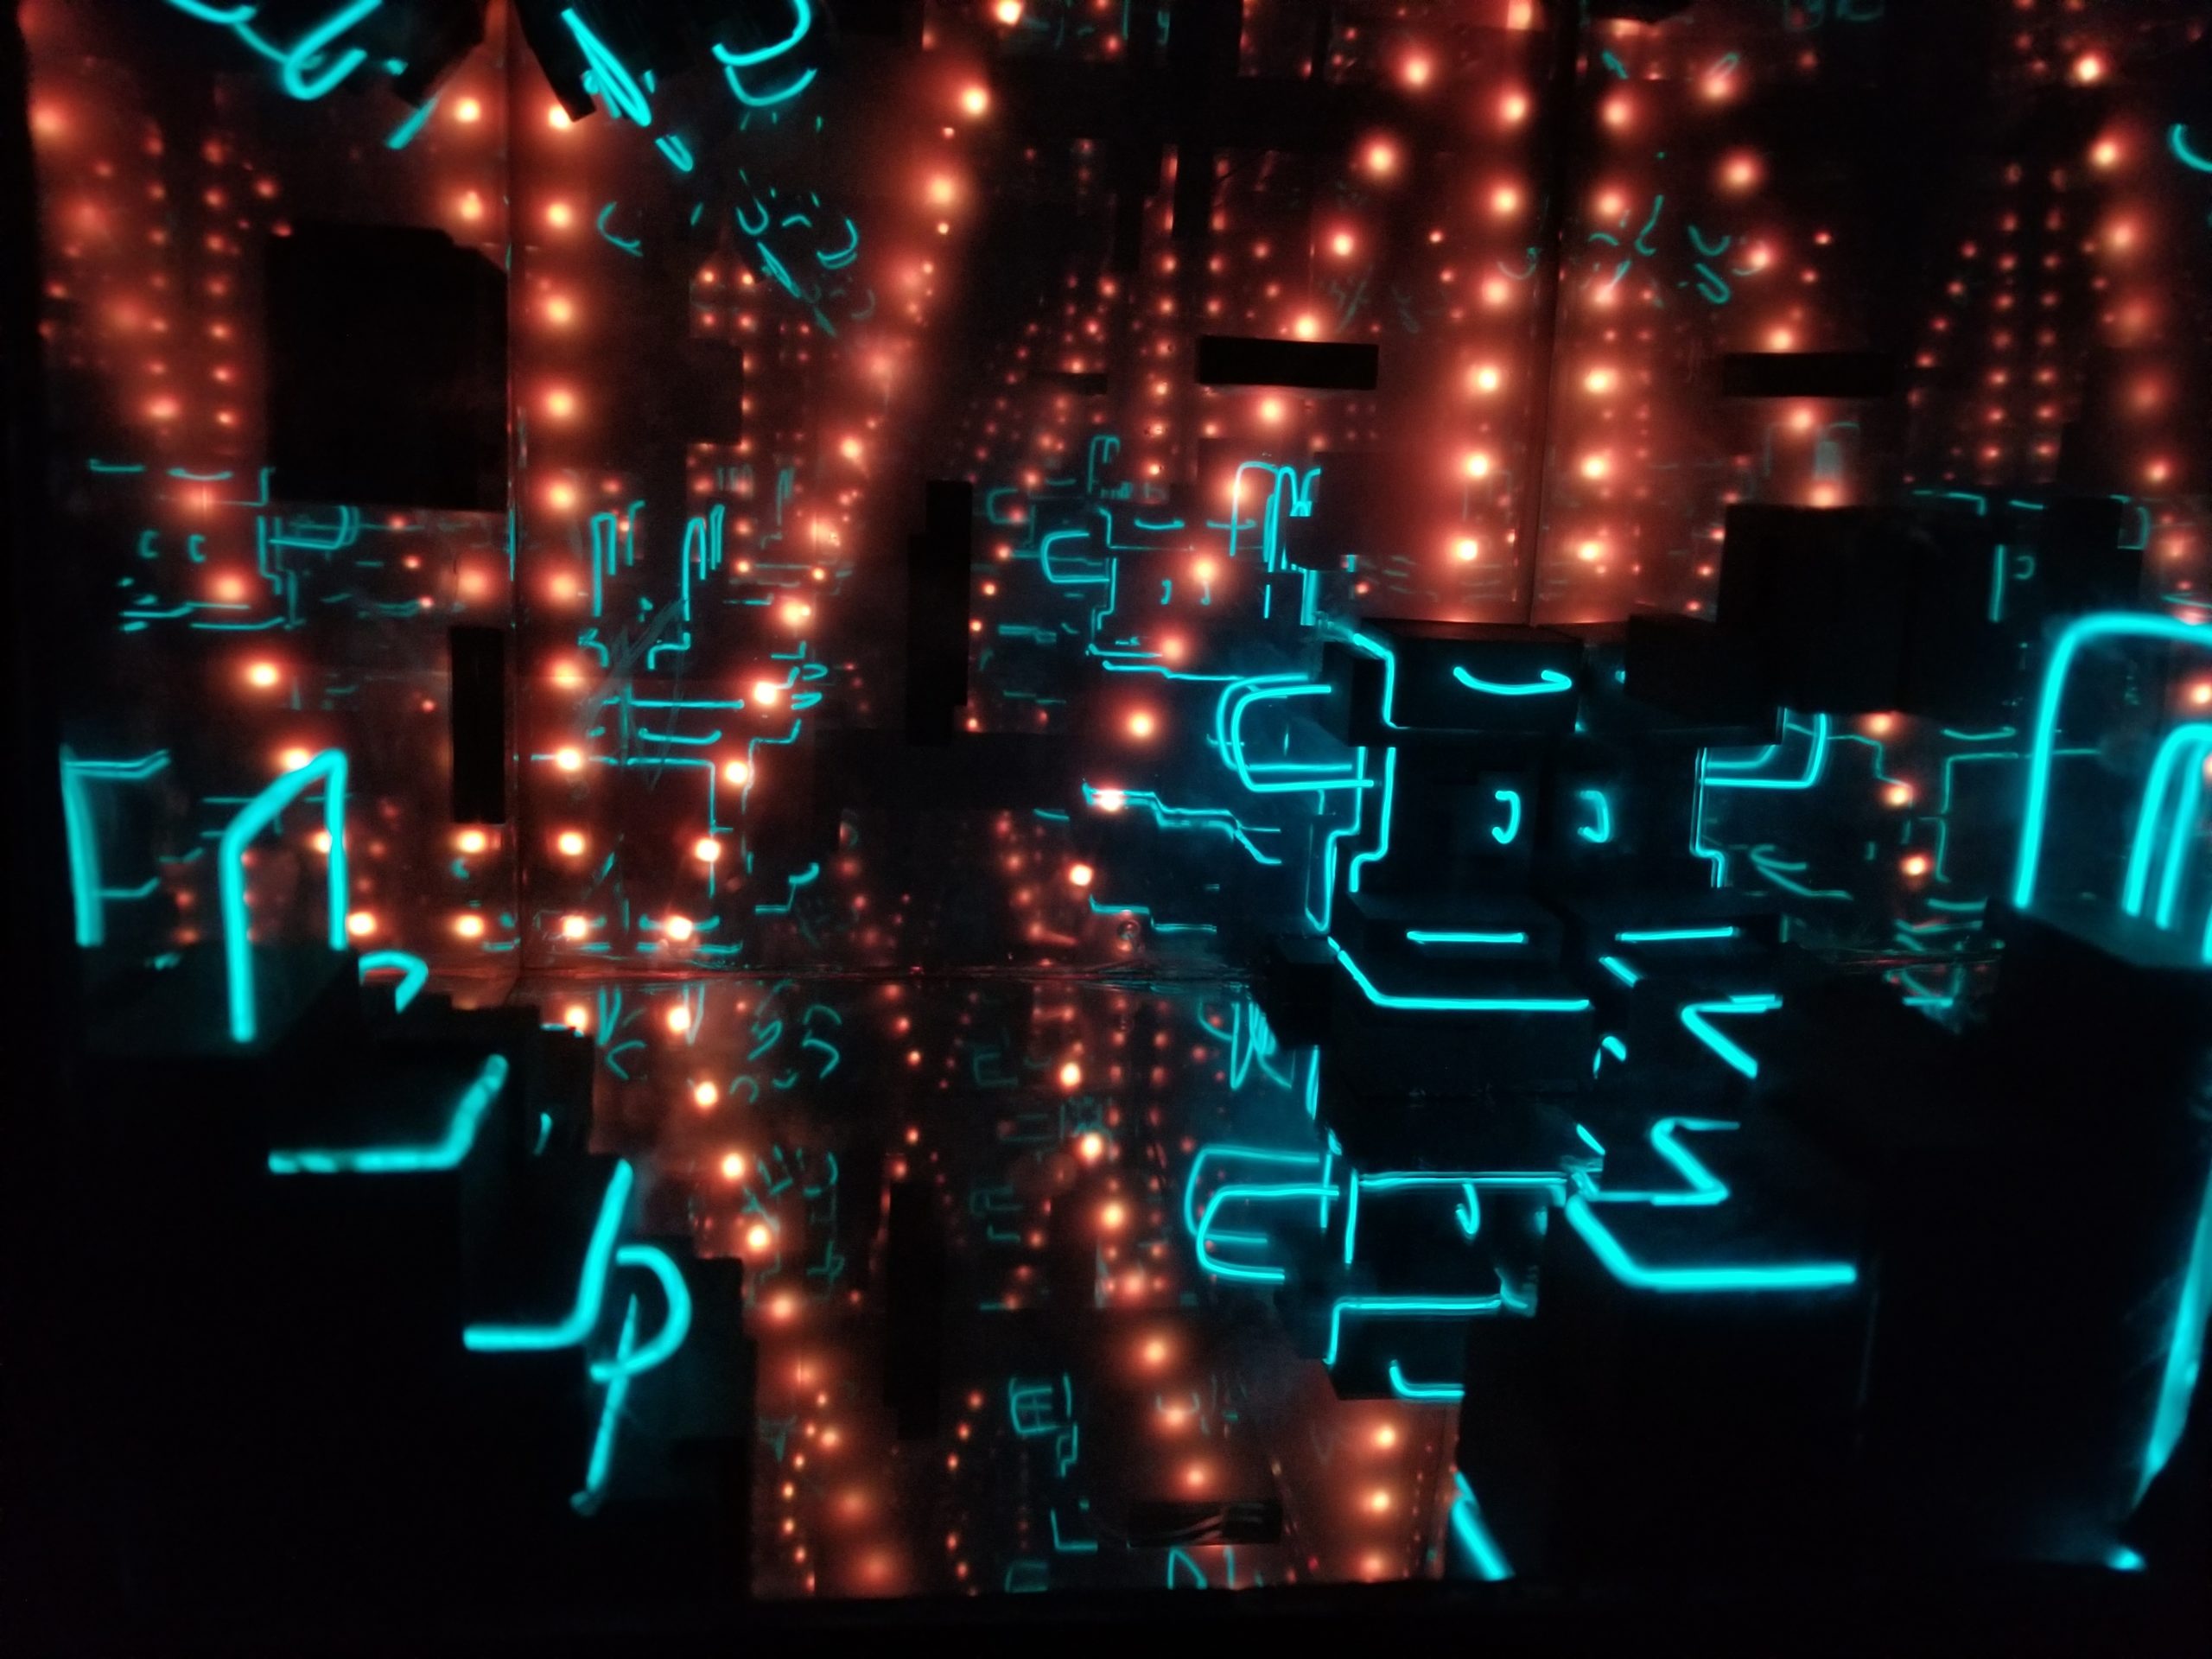
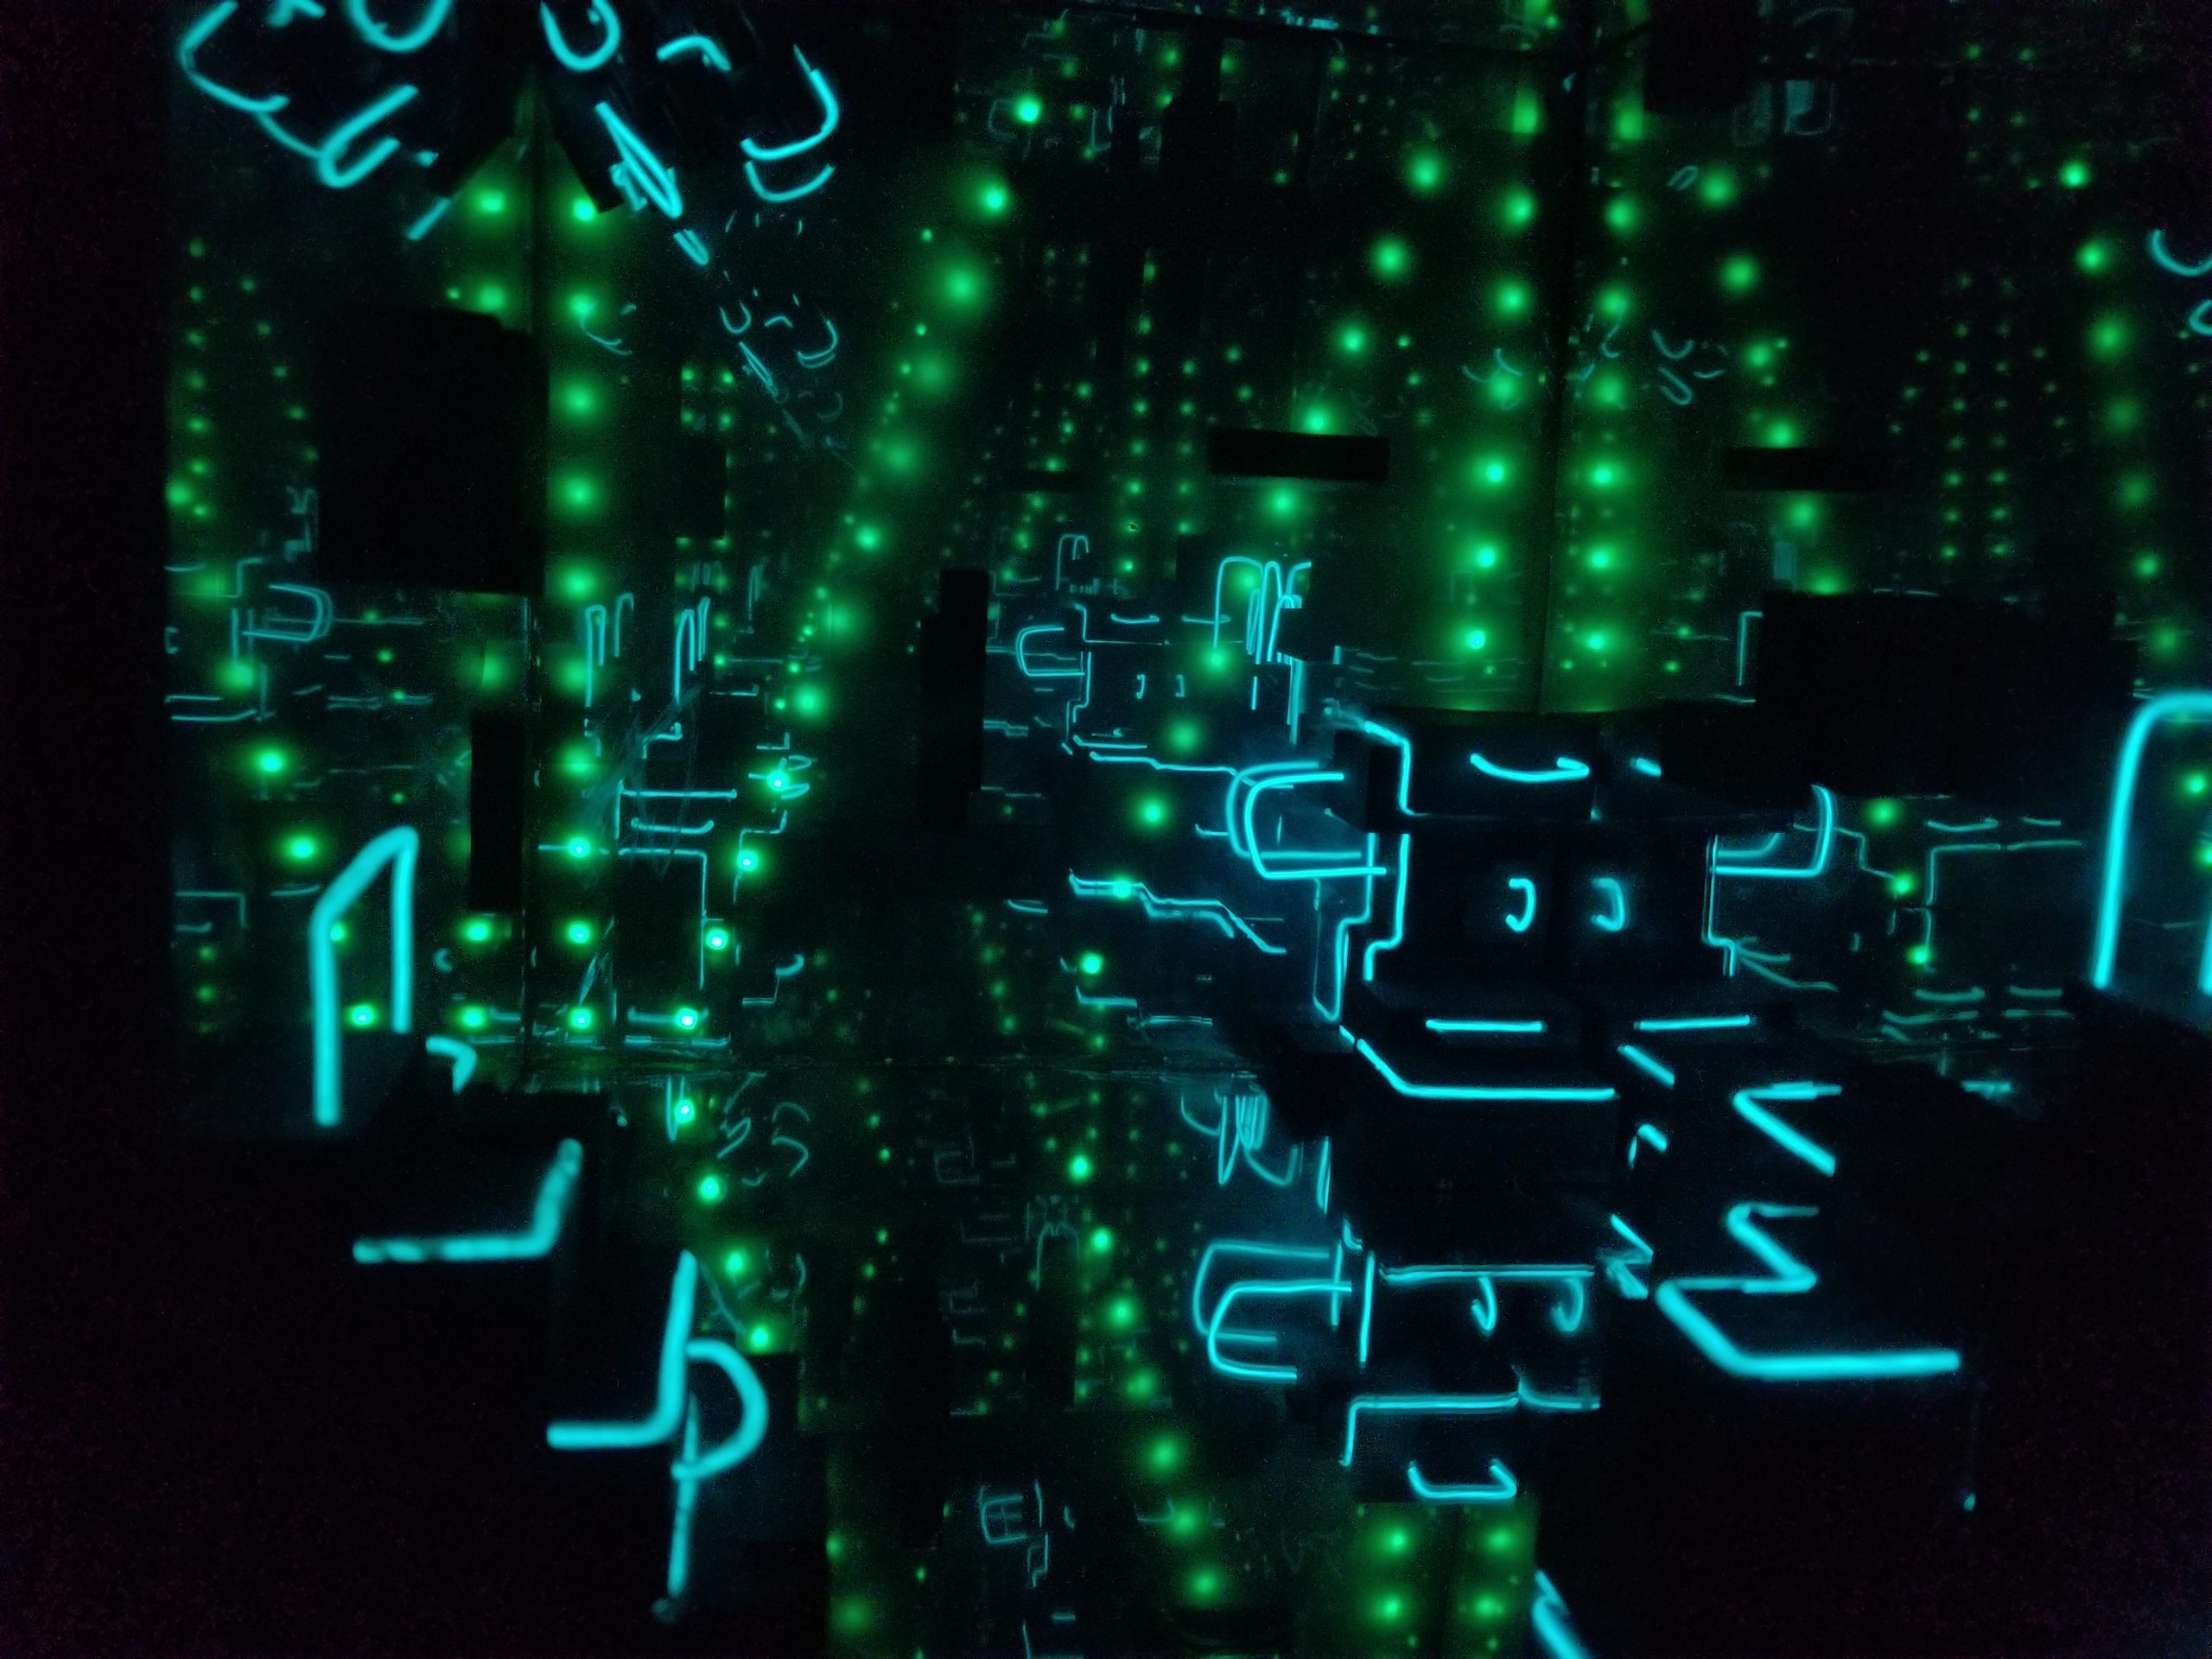
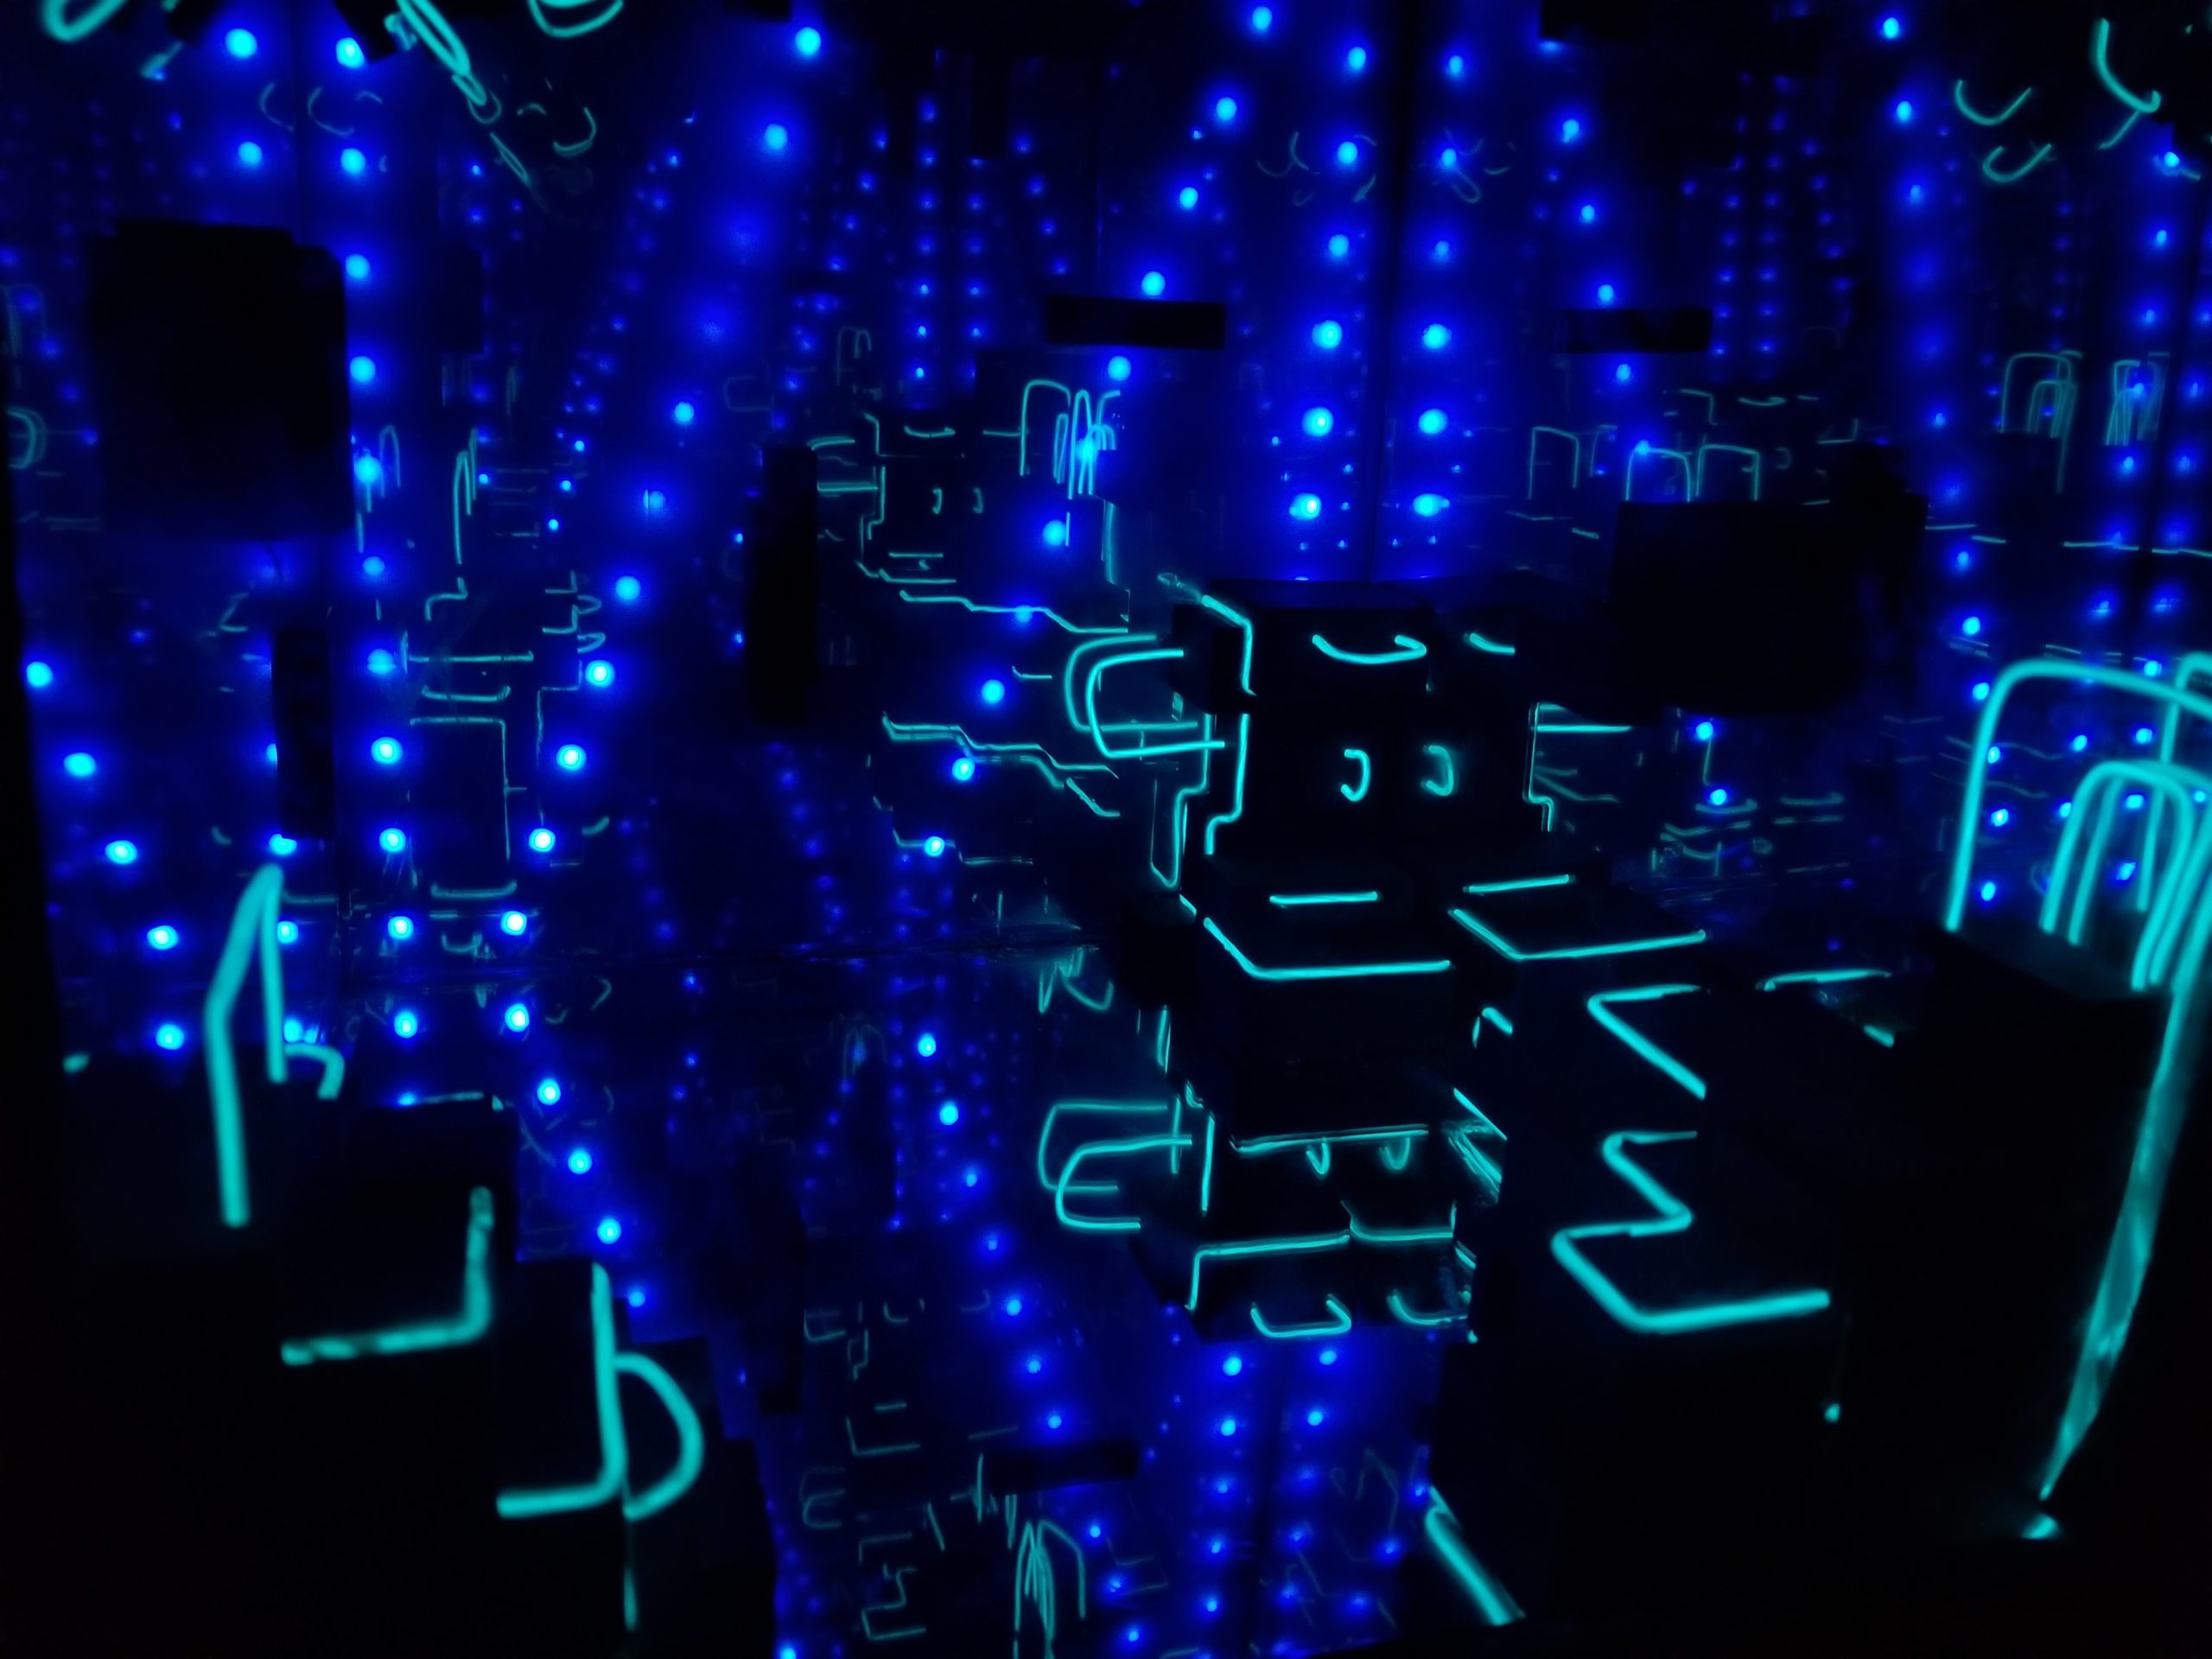
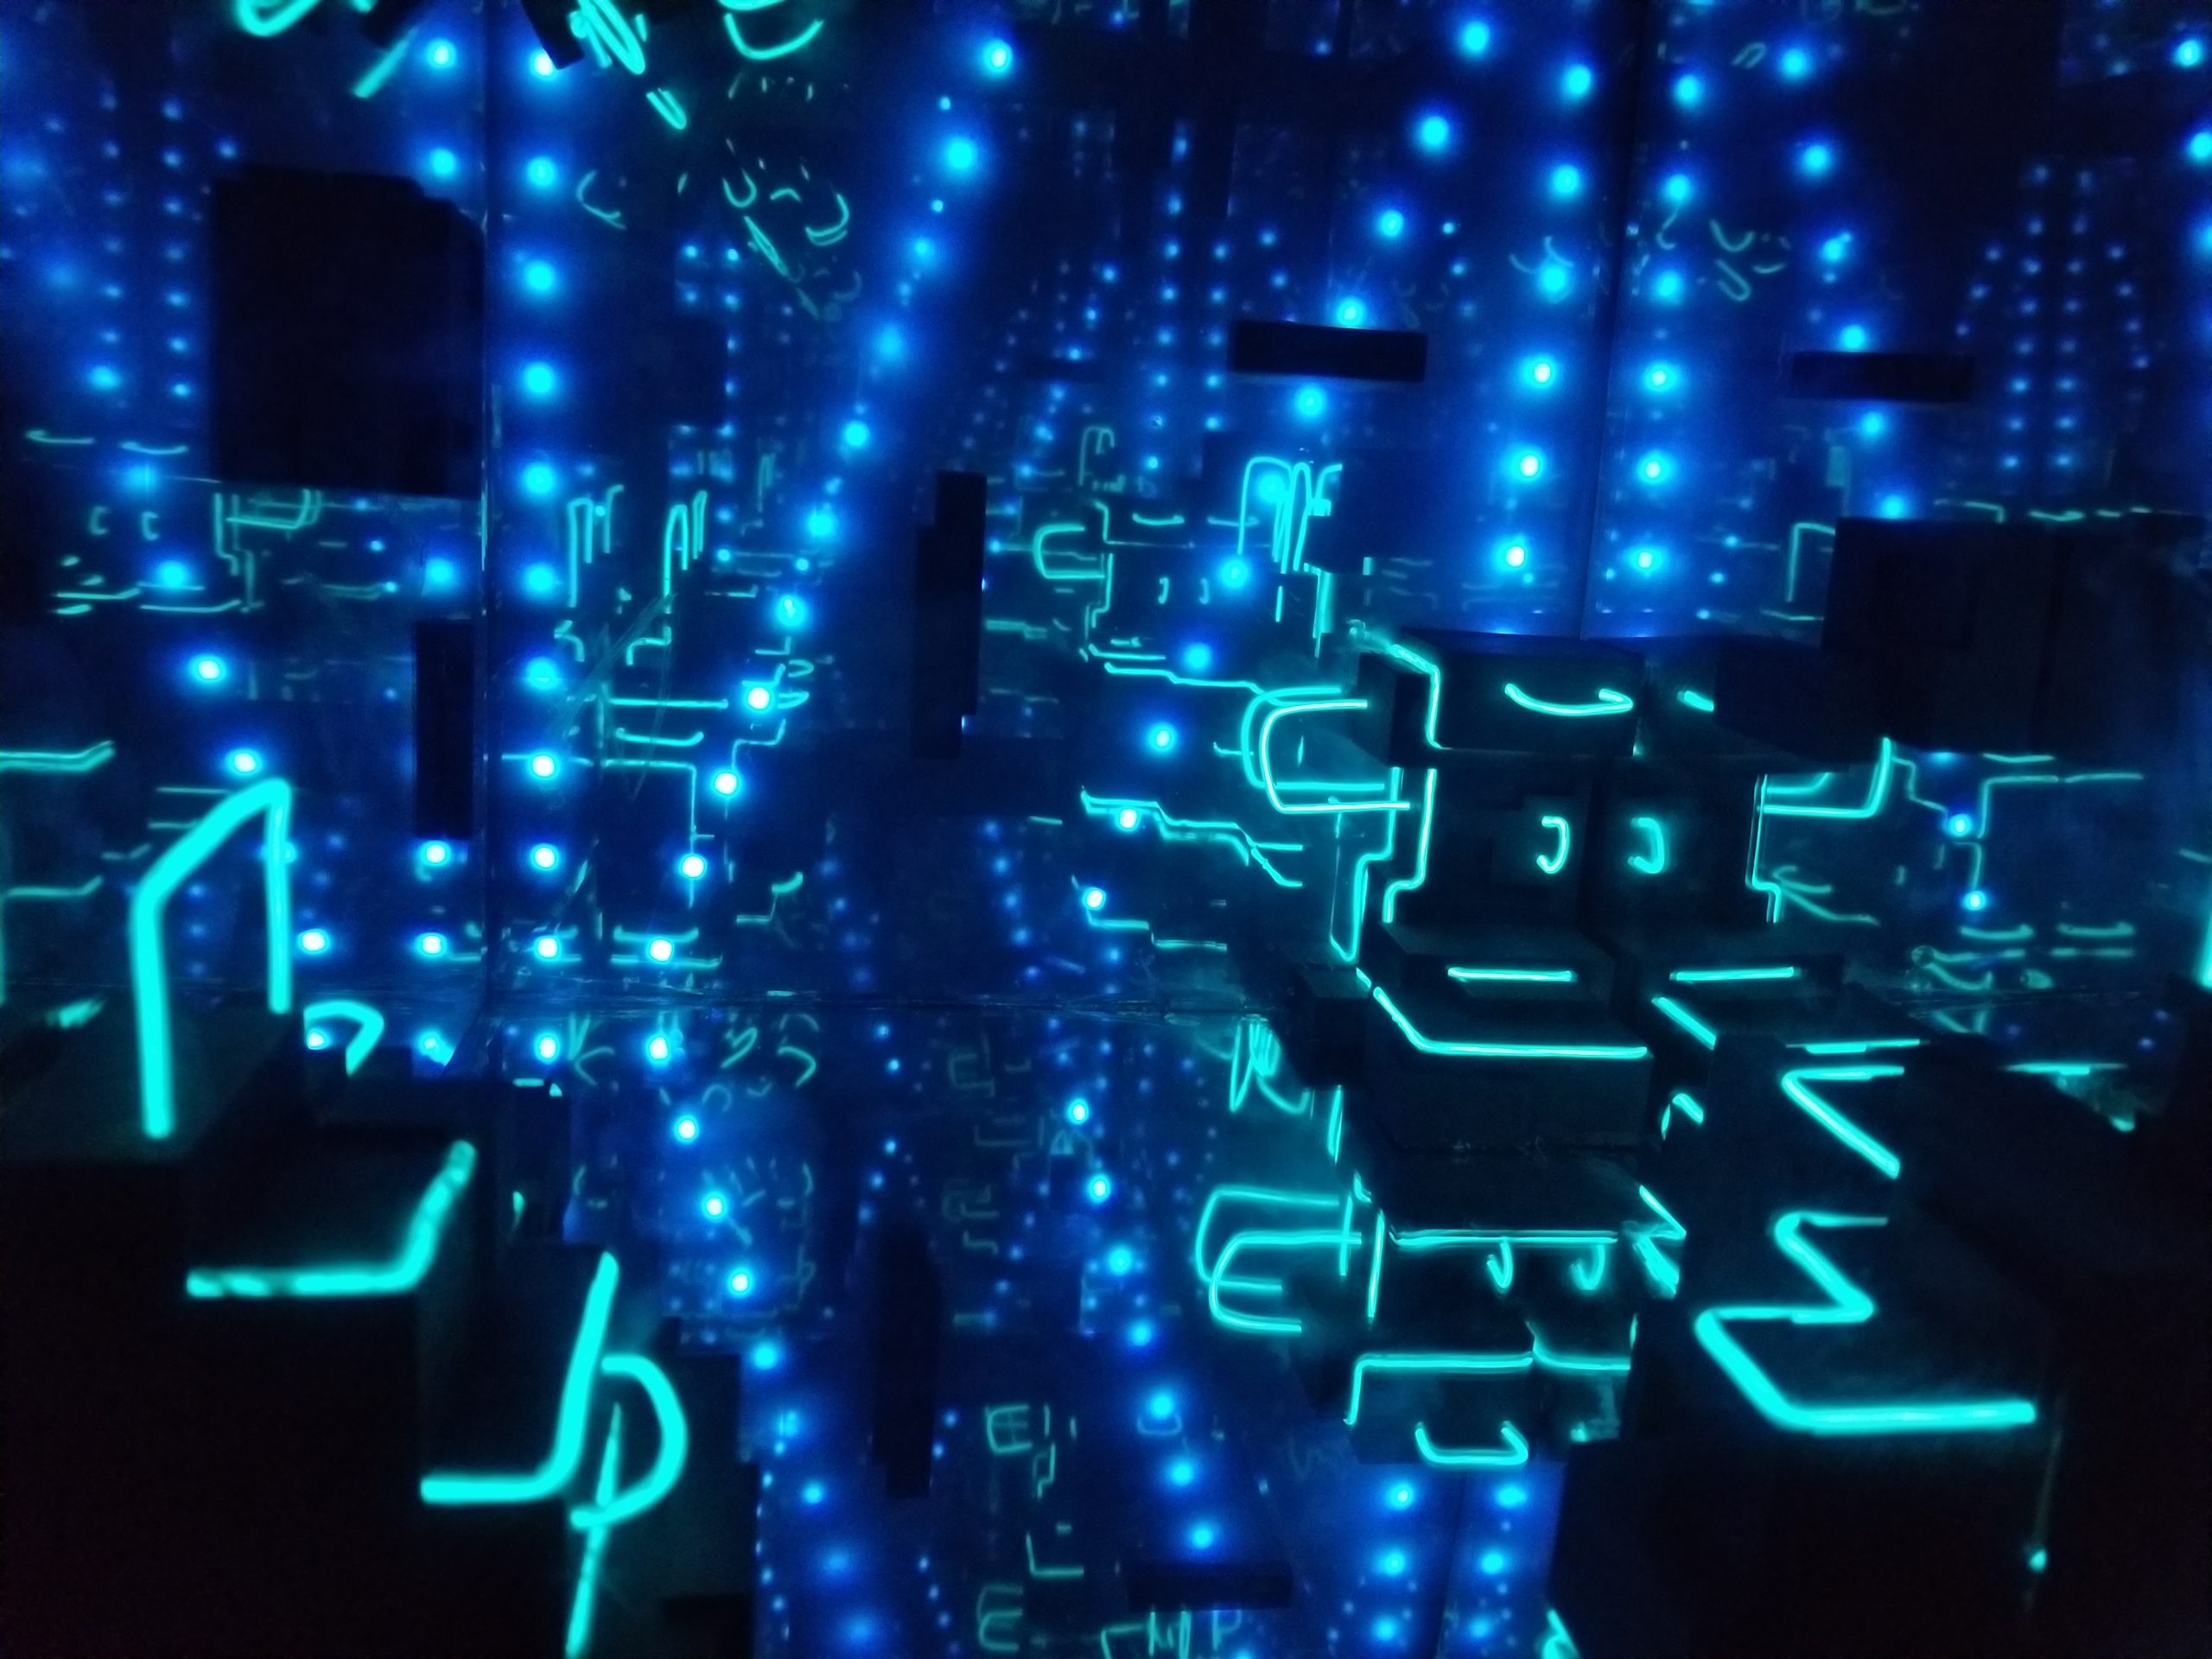
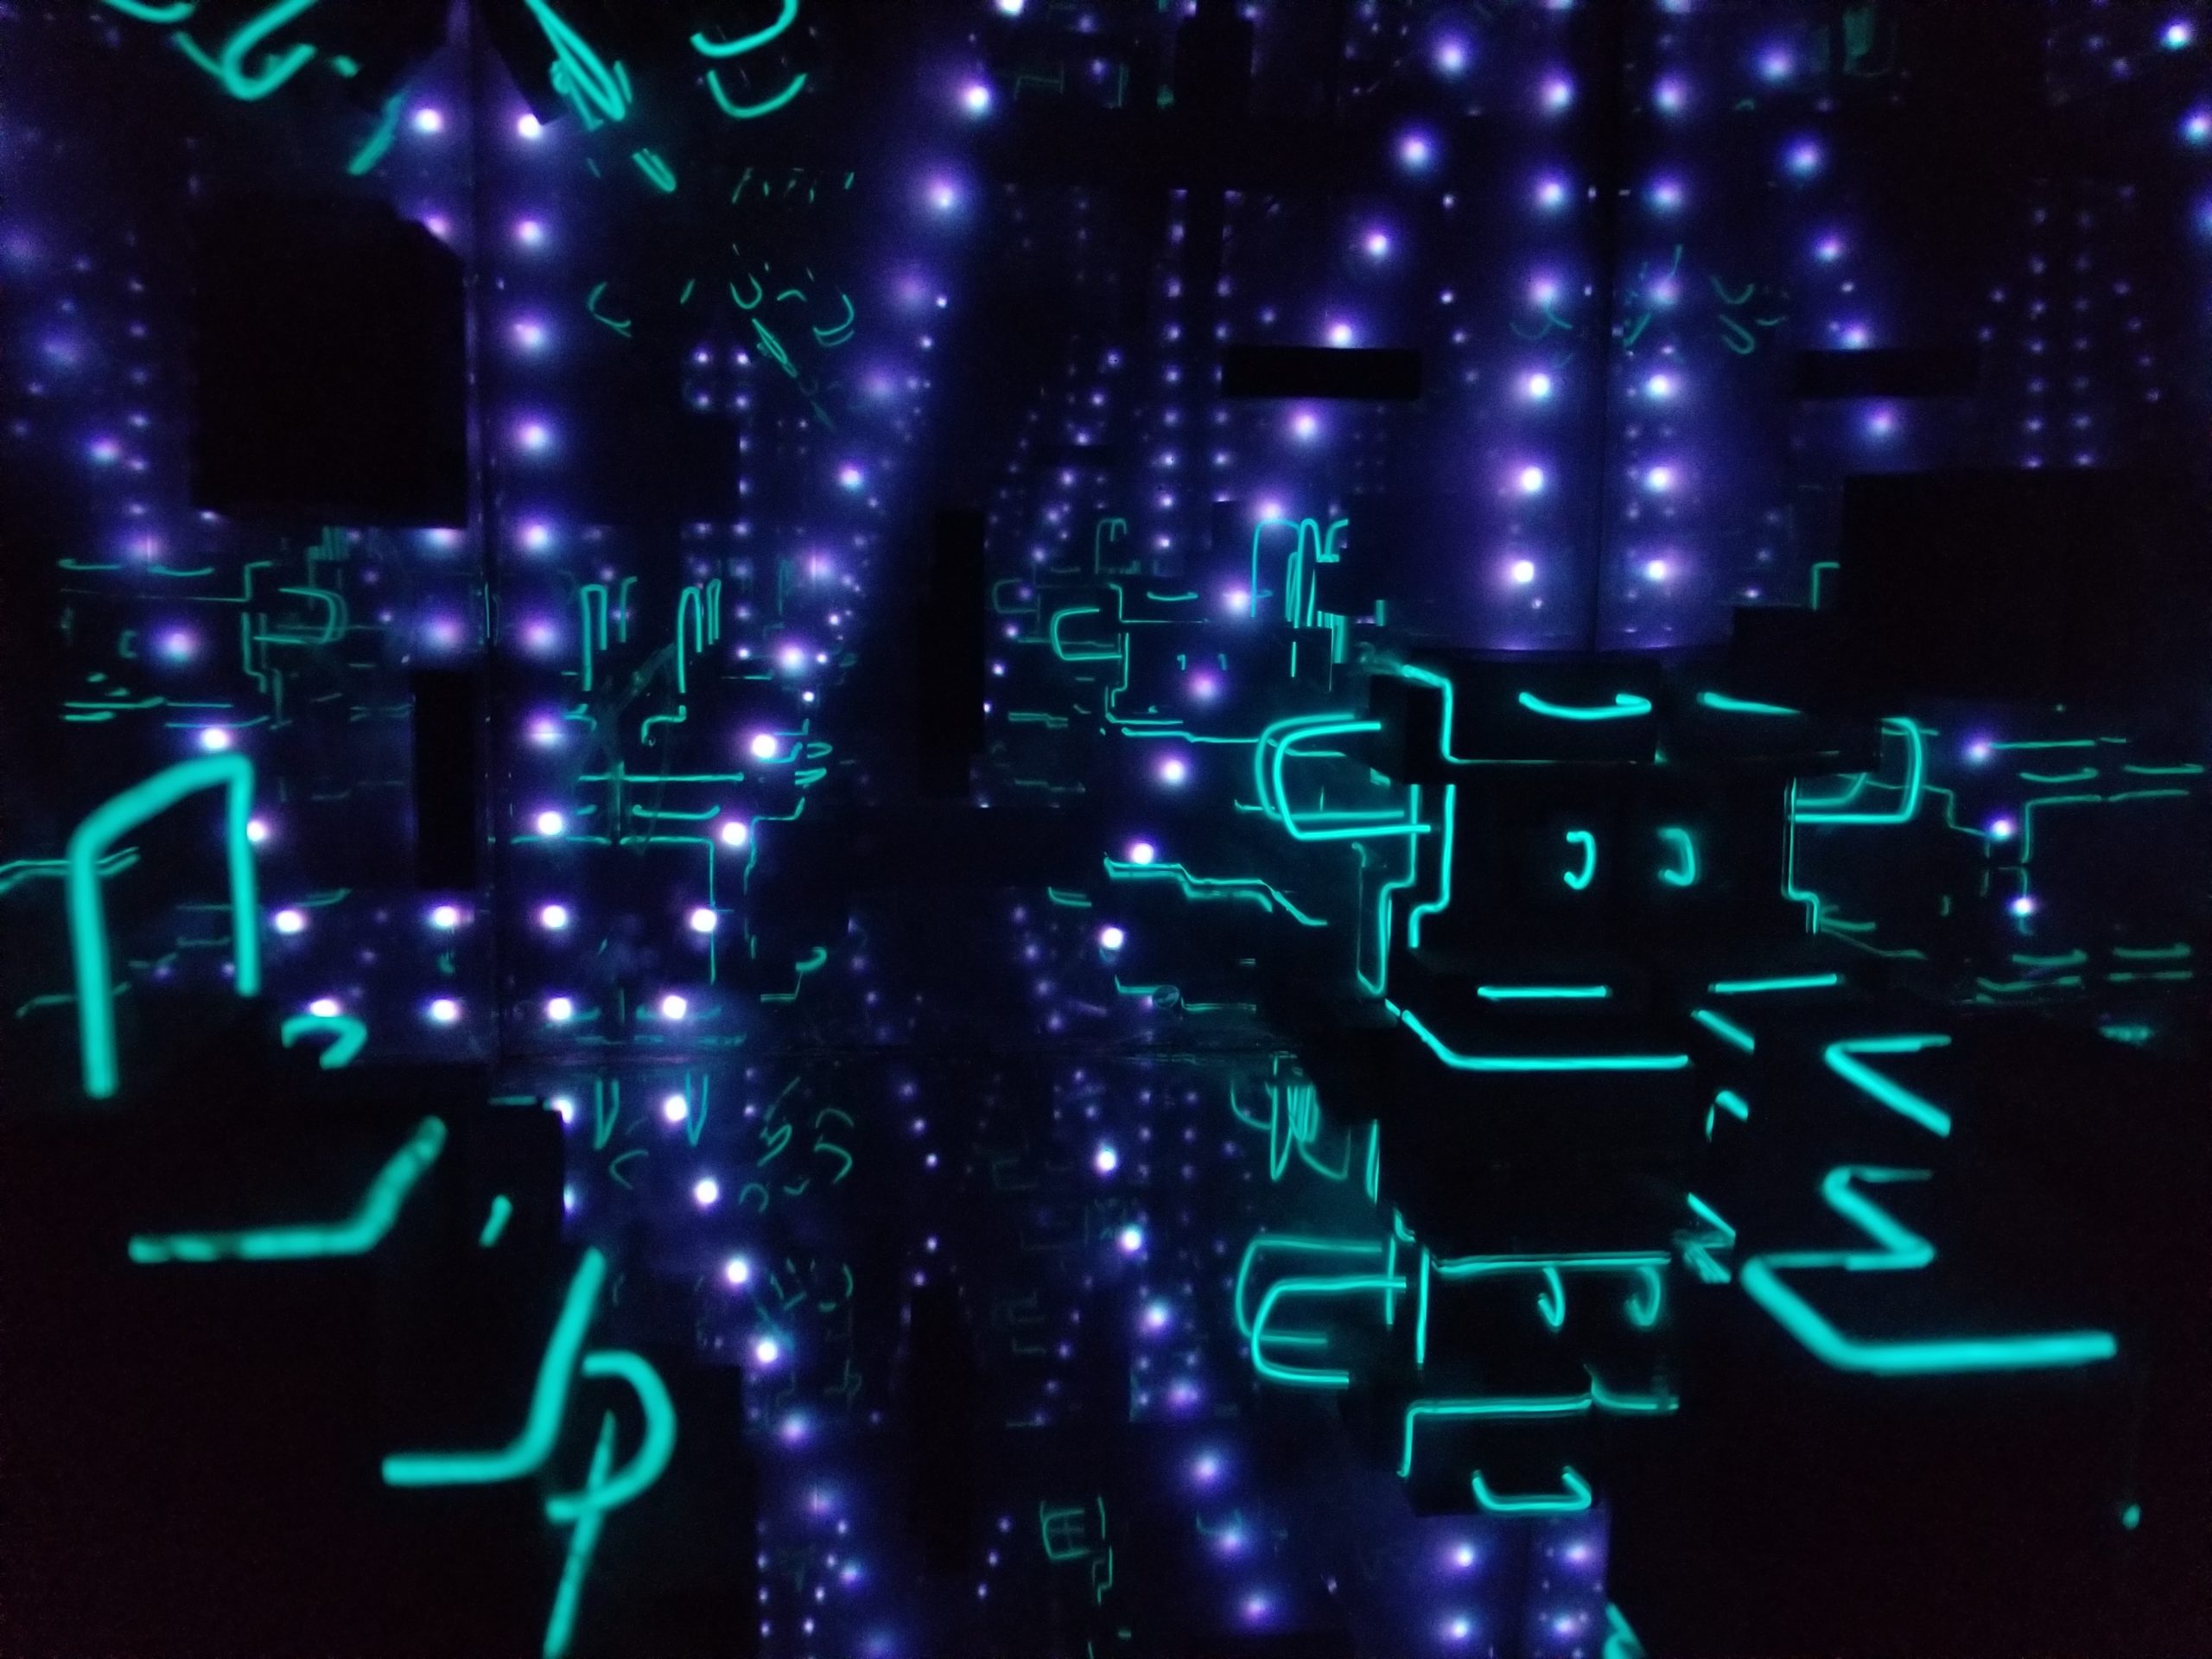
Then well, all that was left was to turn it on. Below I have images and two videos showcasing how the piece looks all lit up.