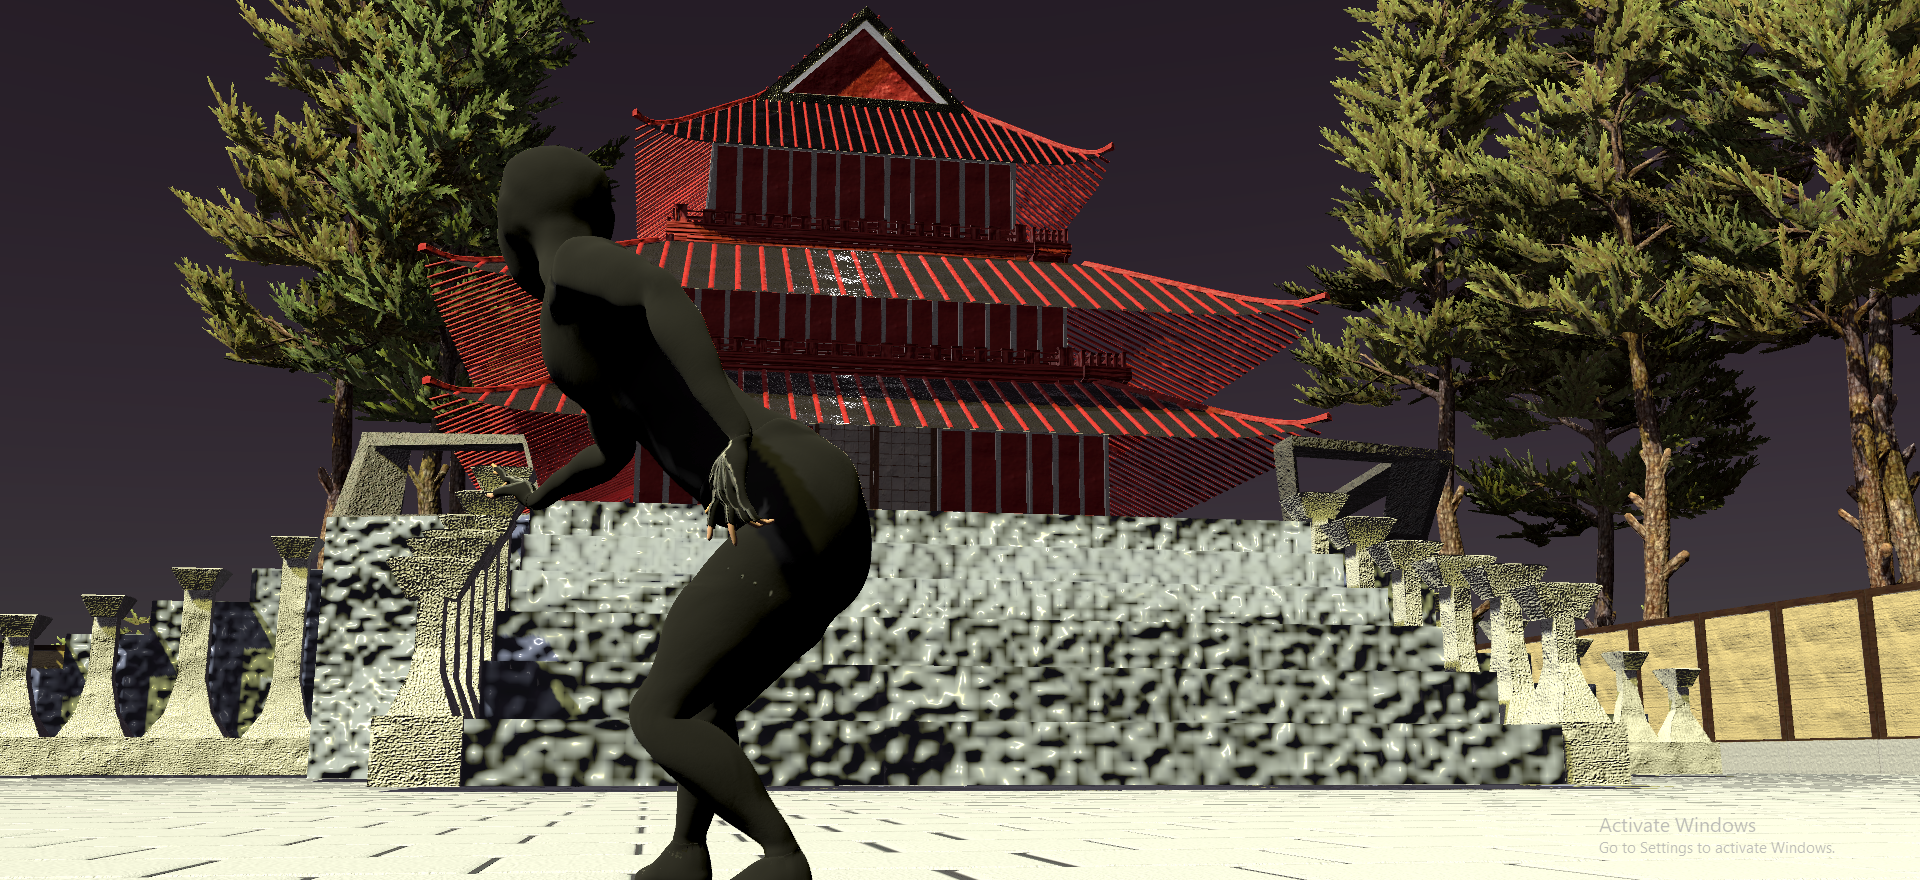
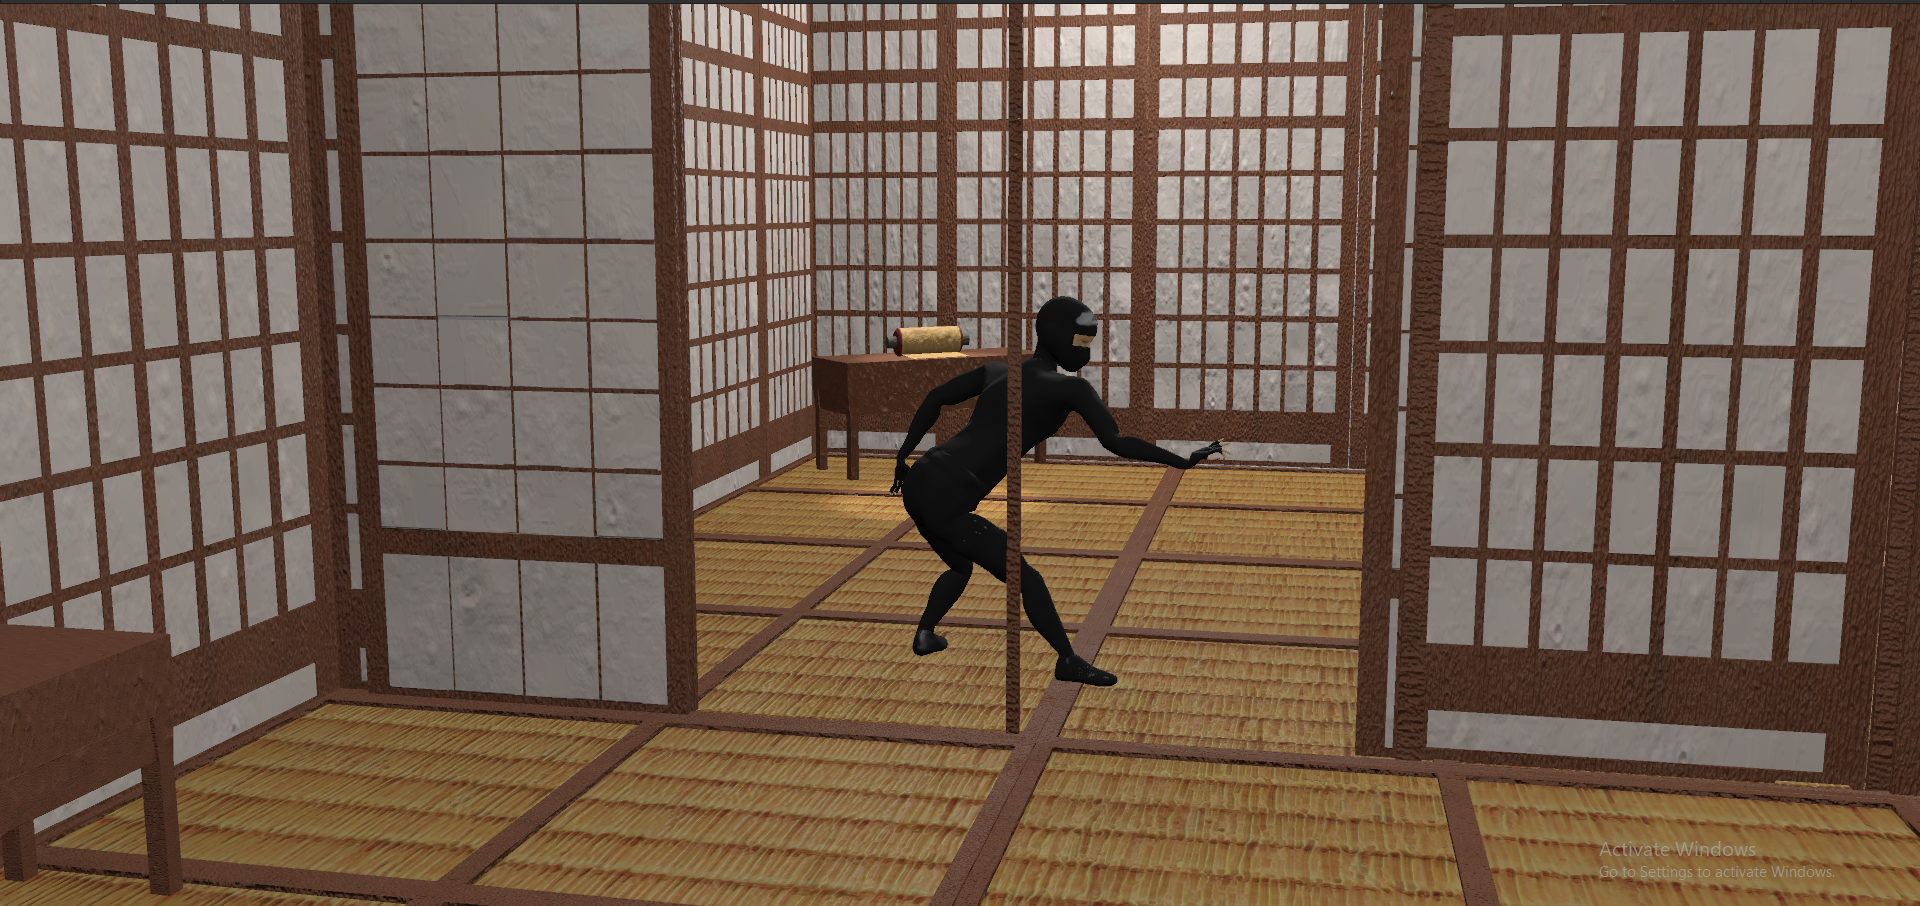
My project/concept was to create a slow-paced ninja level with was using the Sengoku period as reference. The setting I had styled my game around was an old Japanese style using textures to enhance the ceilings, floors and outdoor tiles. The environment was my main focus, and it was one of the strengths in my level that makes it stand out. I think the roof and stairs were some of the best modeling I’ve done. It brings the level together. The ninja character I created was simple but, it does show that this is a ninja game. The animations I chose to use from Mixamo are perfect for this model and I’m glad it worked in my benefit. The music I used in this game is from freesounds.com. I will leave a link below if you want to check it out. It really enhanced my level and made my level come together. The music helped emersed the player into the game. Overall, I completed my goal to create a level that looks like it came out of the Sengoku period and am happy with how it came out.
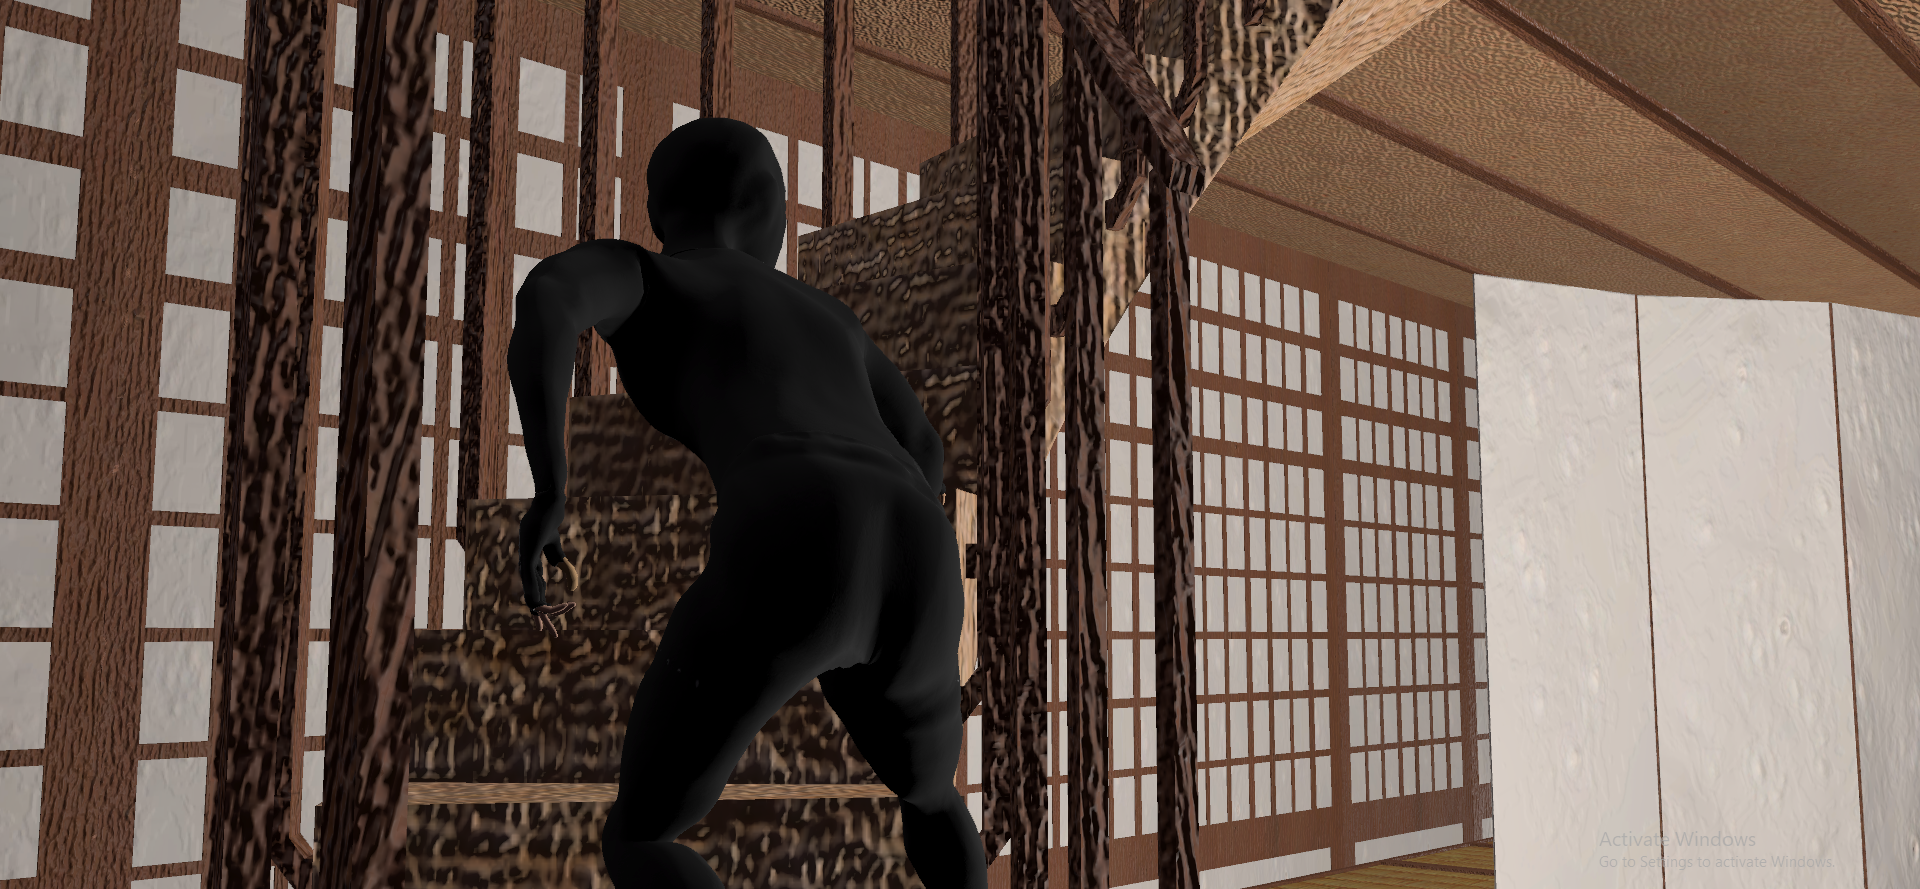
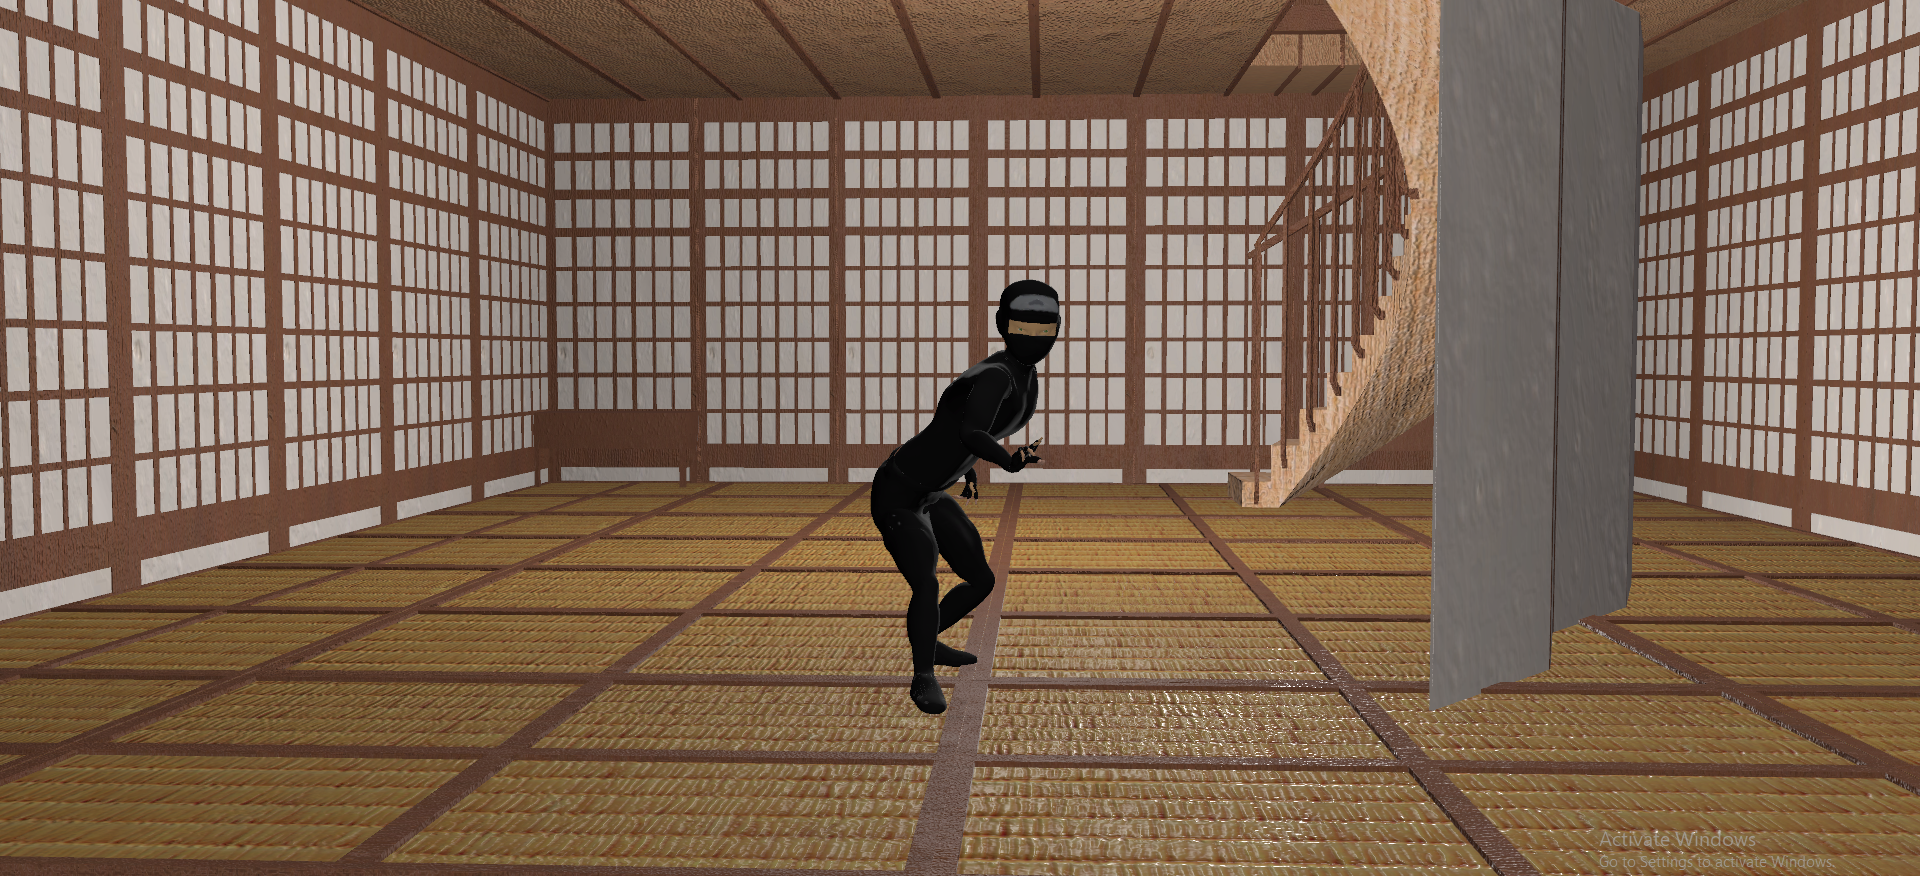
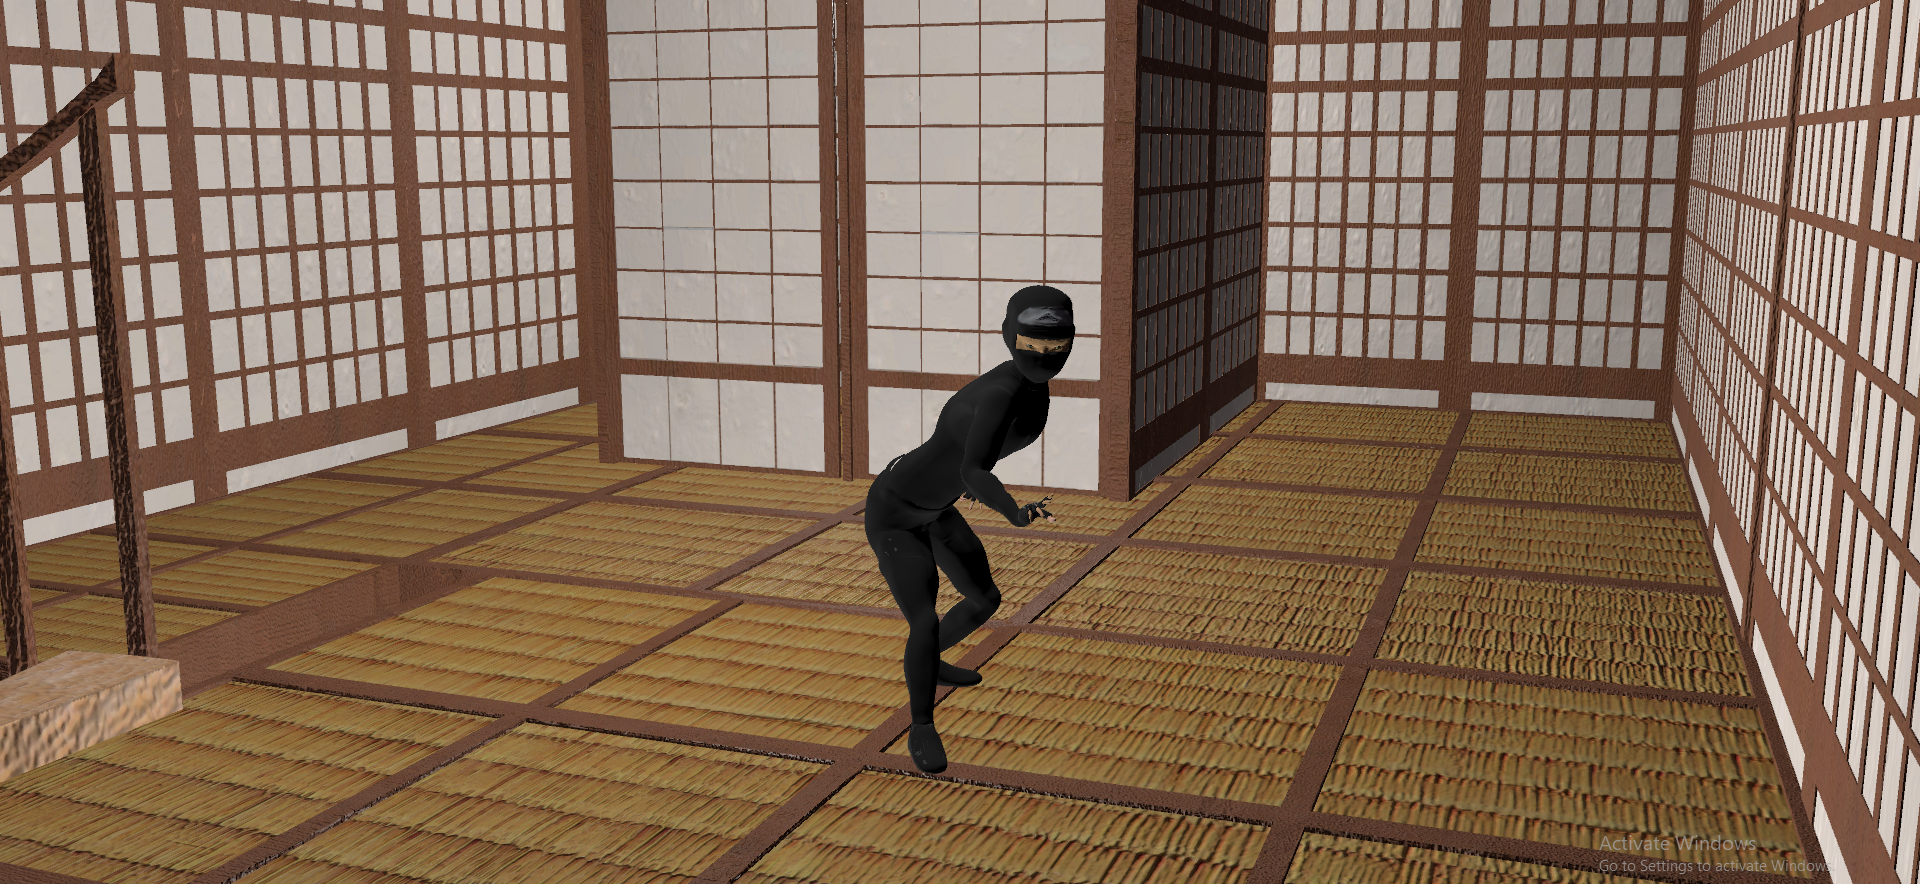
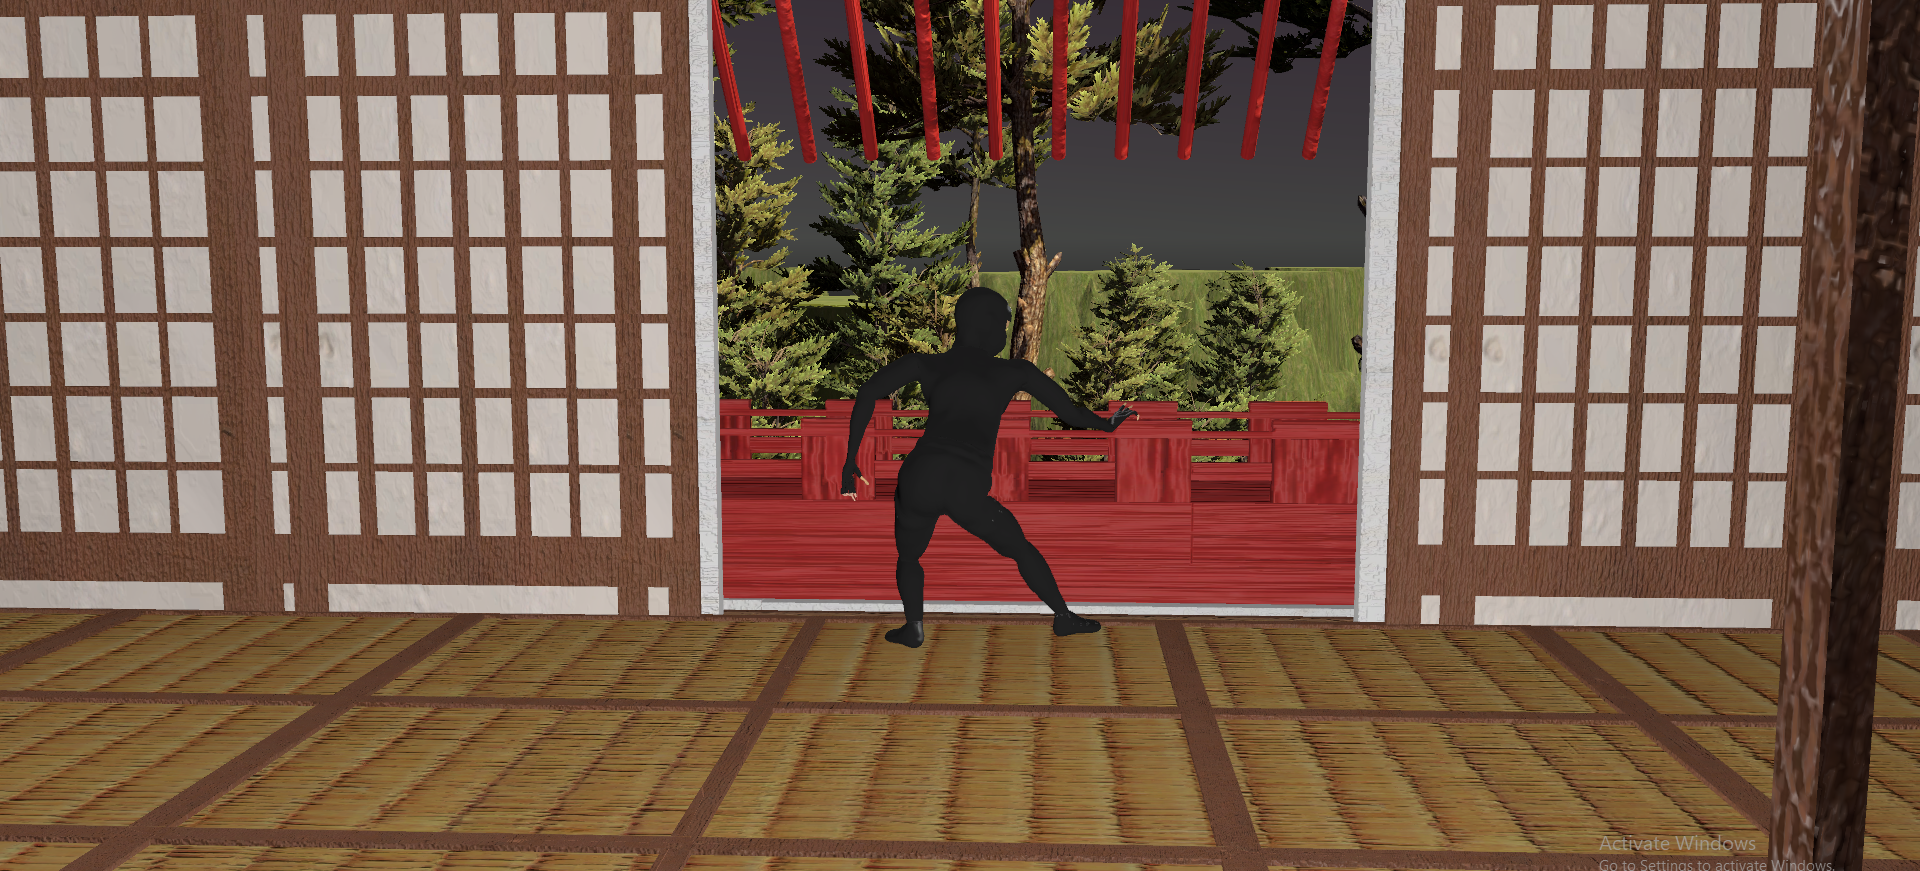
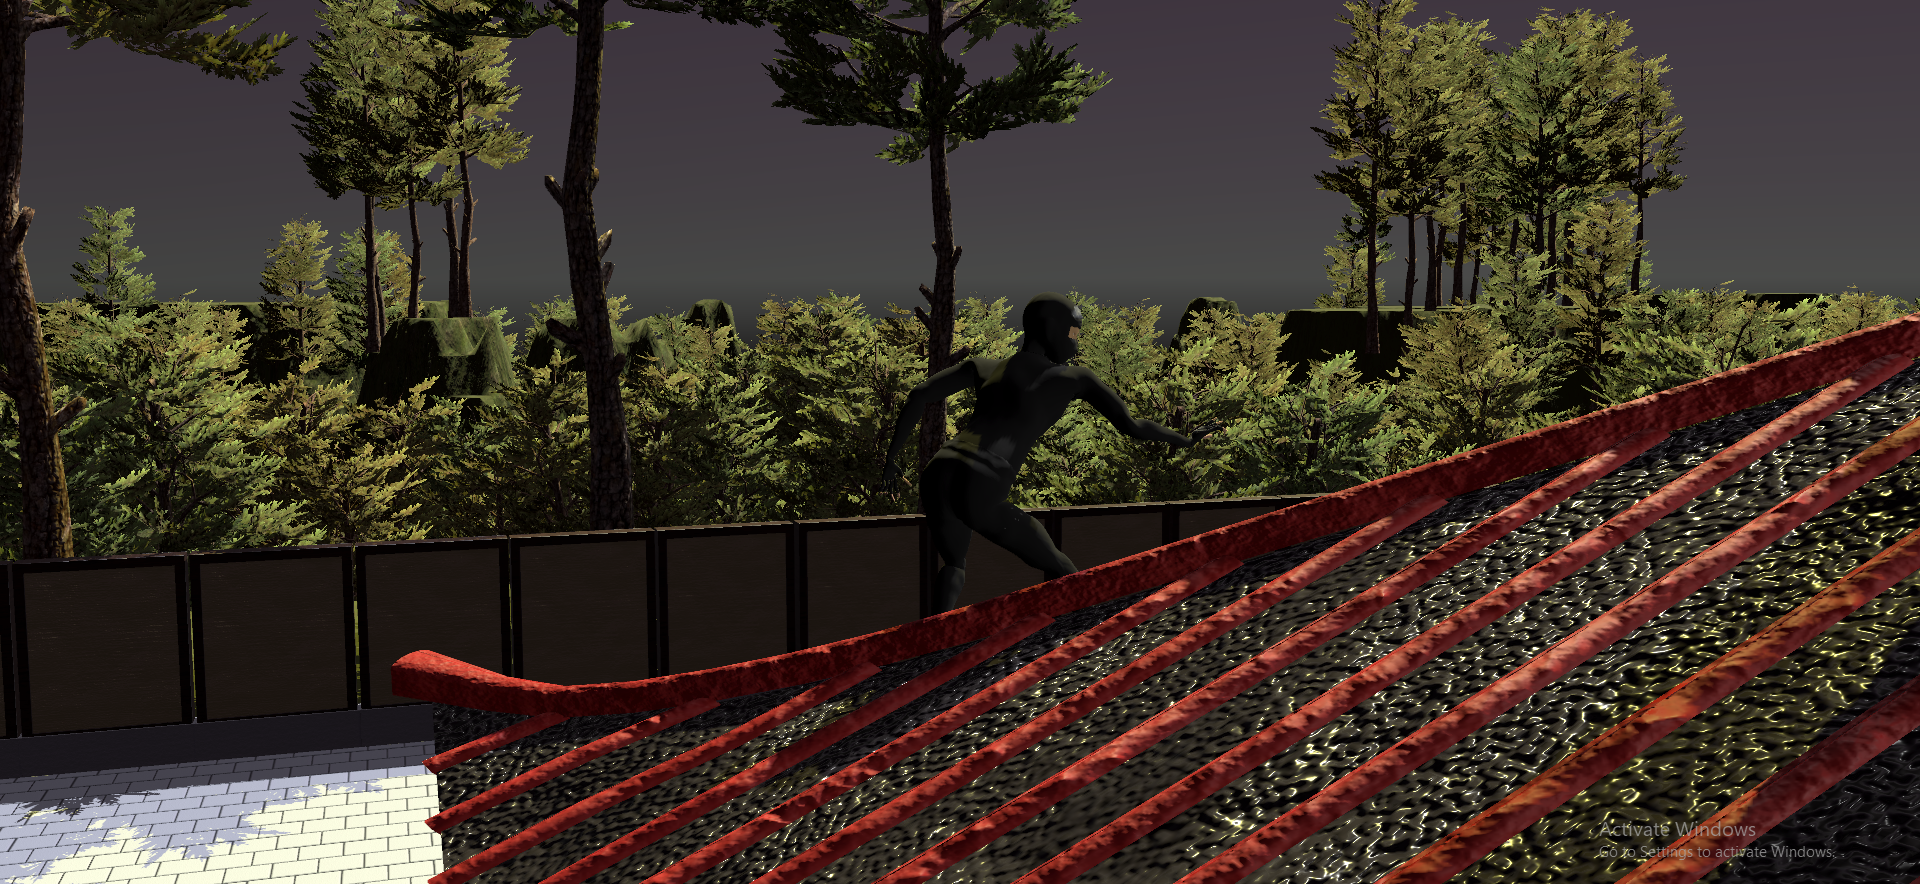
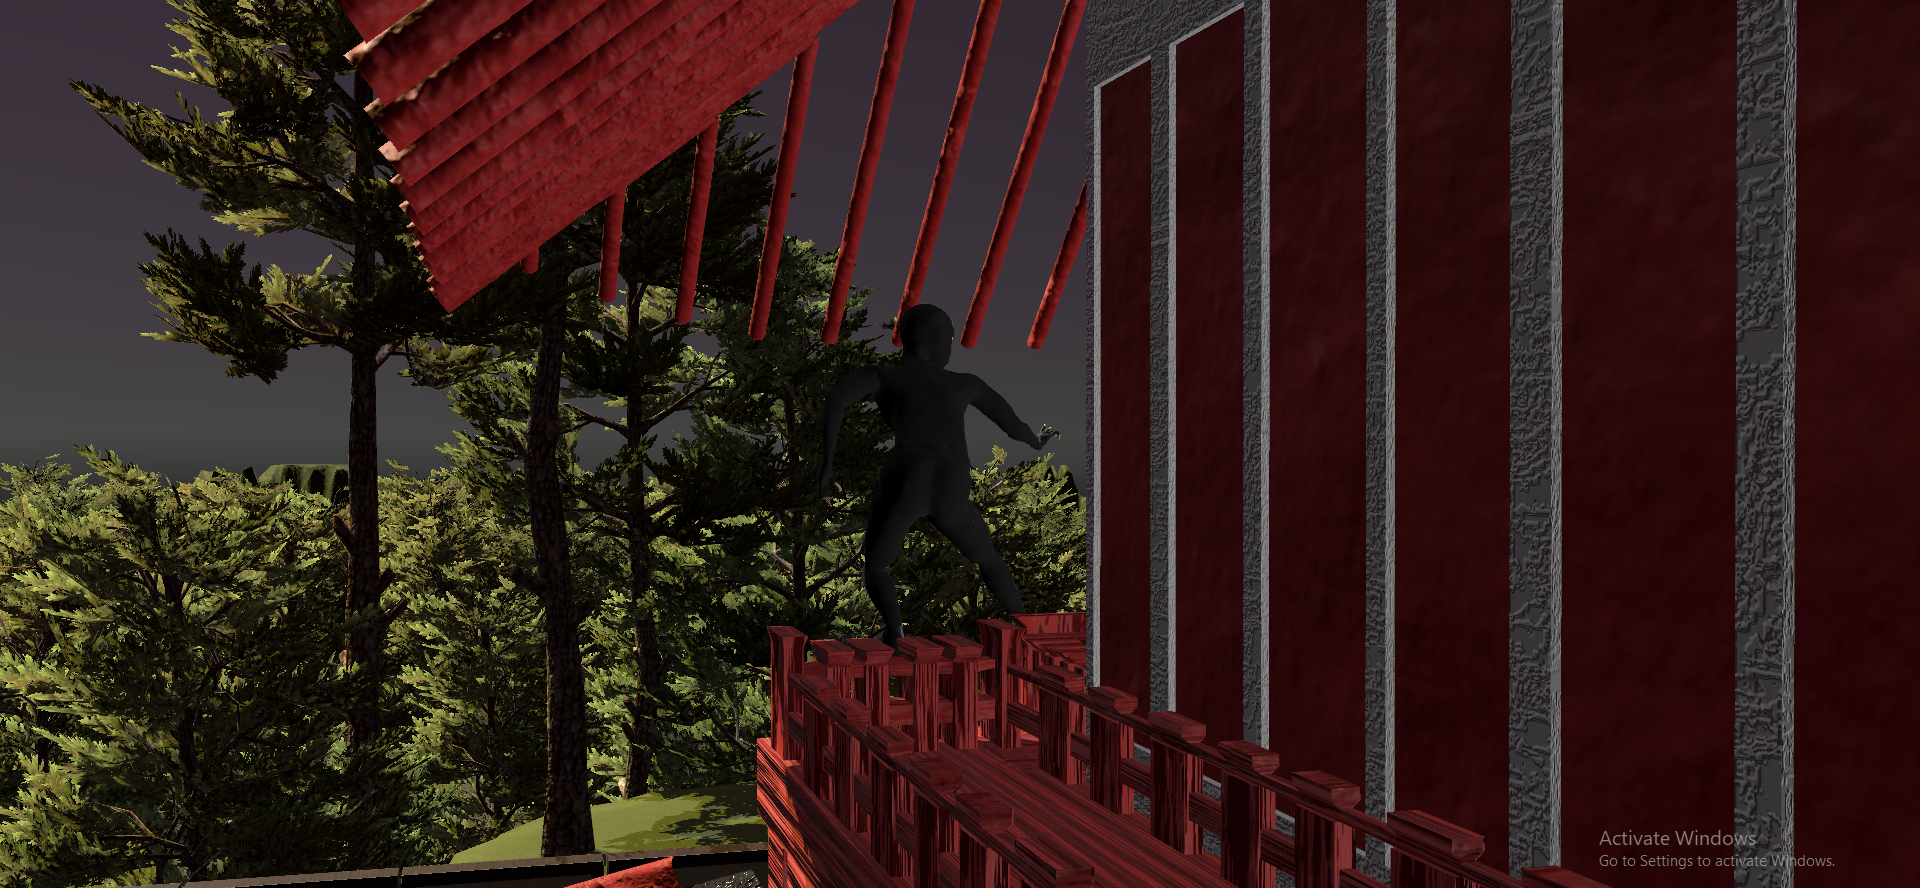
A quick synopsis of my level, is a ninja is trying to steal a scroll from this temple that contains a secret art. To get to this scroll the character must first find the key that can only be obtained following a secret path. In my level playthrough, I show you the secret doors that show you the outside world from the top of the temple, and the ninja has to continue walking on the balcony for another secret door to activate. I really like the top view you get from being on top of the balcony. You can also walk on top of the roof tiles. I find this feature to be pretty cool because you can see the outside world. For outside of the temple boundary, I use an environment pack that had trees and placed them all over the level, and the landscape was simple, and I didn’t really put that much time into it but, it works. For the sky, I created my own material and edited the material to look like a dark bluish night sky. I coded the doors to open and close and I created the animation using Unity’ Animator. They look really good, and they add to the gameplay in the level.
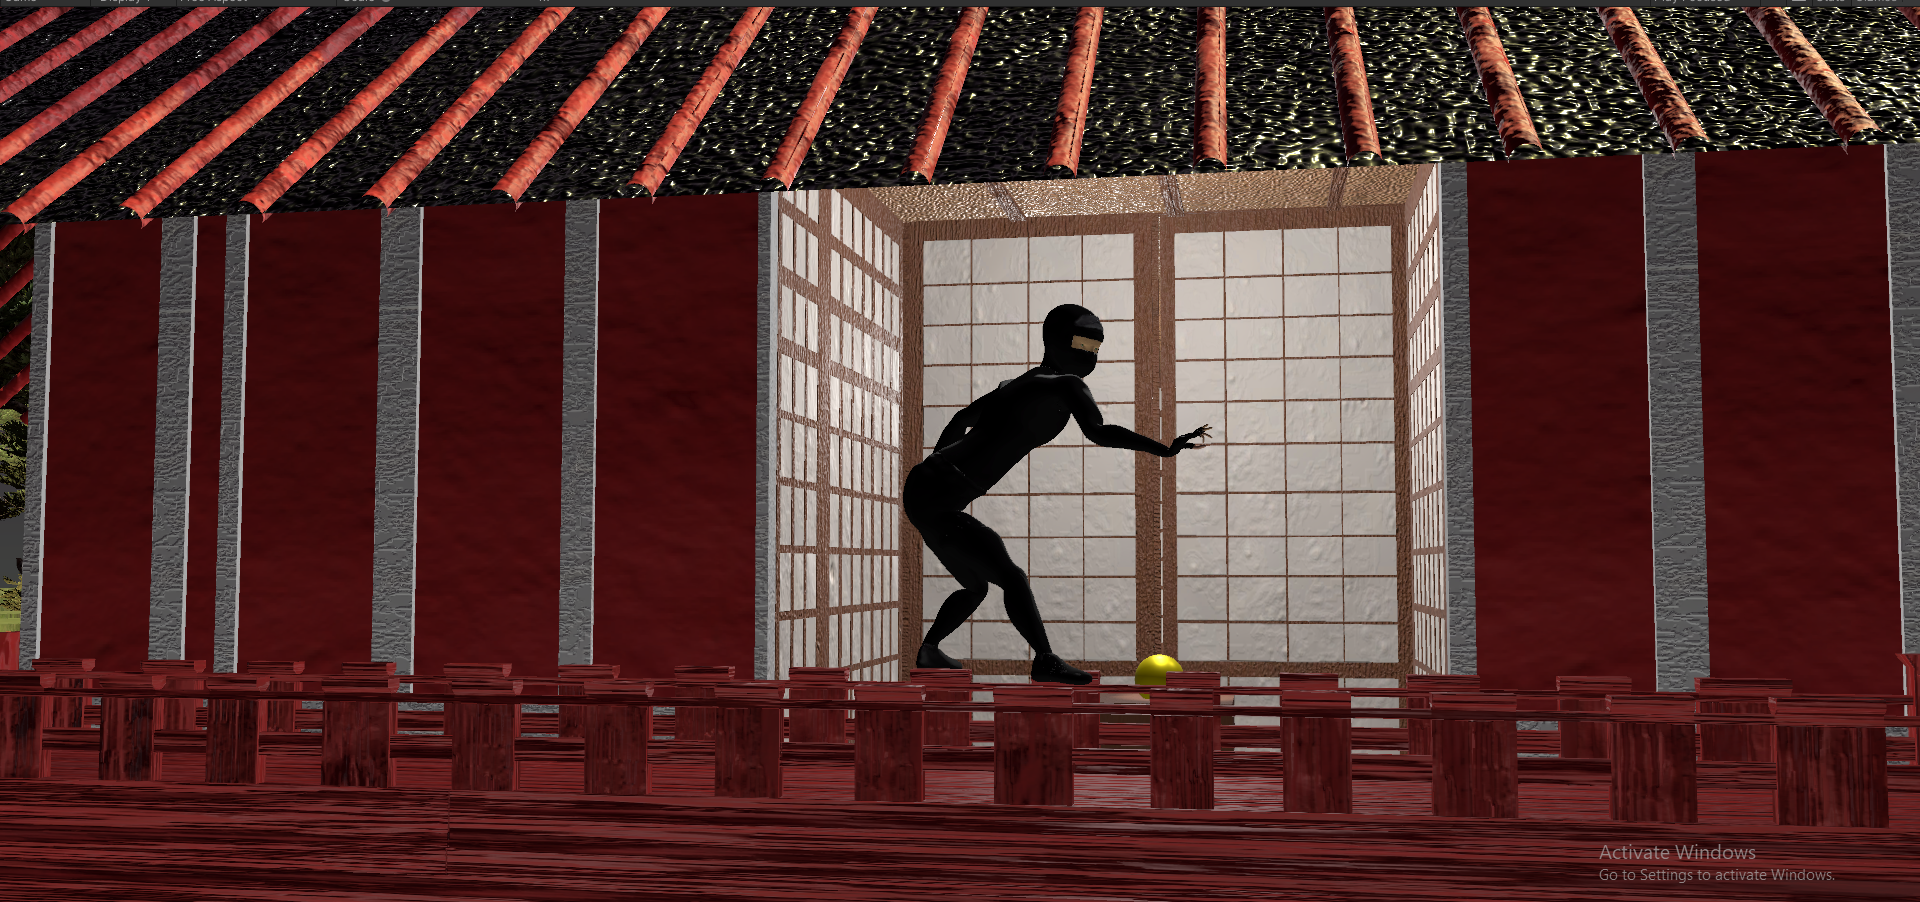
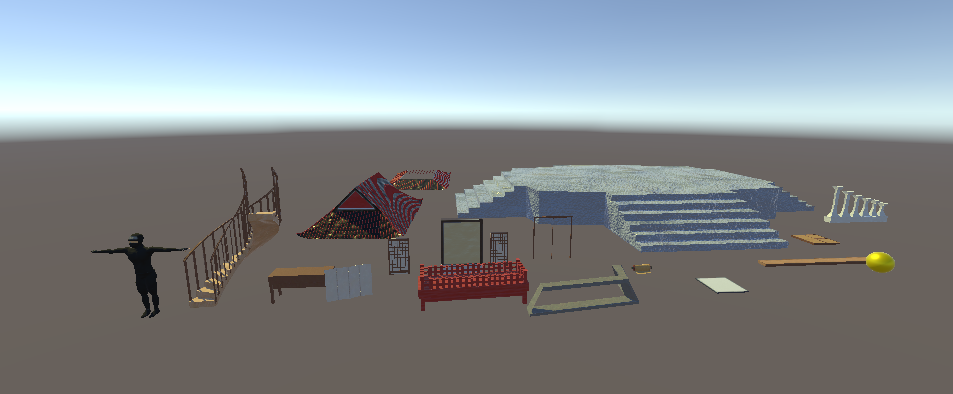
During the creation of this project there were some hurdles I had to overcome. One of them being my 3D background is minimal and I would consider it one of my weaknesses before this class. I had to really relearn Maya because it has been over a year since I last 3D modeled. I haven’t even touched z-brush before, so I had to learn the software before creating my 3D character. It was a challenge, but I overcame it through heavy learning sessions and ultimately it paid off. I found creating textures in Substance painter/sampler was my favorite part of the class. The texture in my level is by far my favorite part of my project. This class was a lot of learning but, I had fun. I am definitely going to continue modeling and learning about textures over break. I especially want to learn z-brush because this software gave me hell!! Some issues I had to solve was fixing my character model because there were holes in it when texturing and when I brought it into Maya there were overlapping loops. Thanks to Professor Ralph, I found out it was faces in my model that I had to delete (Found this out Thursday lol). You can’t see it because the model is texture black, luckily. There were some things that I couldn’t get too because there just wasn’t enough time. I wanted to create a gate but, I couldn’t get to it. The gold/yellow sphere in supposed to represent a key that I couldn’t model in time. Another key asset I couldn’t model in time were lanterns that I wanted to represent the lighting in my scene. There is lighting but, for now just imagine an imaginary light source that is there. Another issue I had was creating colliders for my model. I had to create my model very tiny compared to the environment. If the character was to big, then the character couldn’t walk in certain areas because of colliders interfering with each other. I also had to fix the camera because it would feel like it was capturing longer distances compared to the player. It still looks a little off but, it much better than before. I also couldn’t put a collider on the roof of the temple because it was interring with the movement of the player on the balcony. If the player was fell on the roof, there was no possible way for the player to get back on to the balcony (only real thing that bothers me about my project). I will definitely fix this issue over break. This was definitely a heavy course with a lot of material but, I enjoyed the process as a whole. From, creating the models in Maya, to texturing the models, to learning z-brush, and to bringing everything together in the project. My modeling has significantly improved, and I feel like I have a better understanding of UV’ing. I consider myself a 2D artist but, I felt like a learned a lot about color and how to texture certain materials from using substance painter. Understanding the human anatomy was another thing I learned a lot about, while creating my character in z-brush. The growth I experience in this class, is something I won’t overlook because I definitely got a better understanding of level design and what goes into creating a level.

Walkthrough:
Assets Used:
Here are my links for the builds!
Windows Link: https://drive.google.com/file/d/1FyLtWxnh6CNN8OEuj_3QQ6wvAcOiTi5B/view?usp=share_link
Mac Link: https://drive.google.com/file/d/1HZI66quJ83gmOF7Da32s39VQVx7xxDu5/view?usp=share_link
Credits:
Starter Assets – 3rd Person Controller: https://assetstore.unity.com/packages/essentials/starter-assets-third-person-character-controller-196526
Terrain Sample Asset Pack: https://assetstore.unity.com/packages/3d/environments/landscapes/terrain-sample-asset-pack-145808
Unity Terrain Textures Pack: Terrain Textures Pack Free | 2D Nature | Unity Asset Store
Free sound Music: Freesound – “Japan_Koto_Improv_Amateur_Session_3.wav” by RutgerMuller
that was a really creative use of the modular kit to hide part of the pagoda under the next tier! The texturing on the pagoda is really good too.