For my final project, I wanted to explore the idea of fun little games that people used to play. In this case, I wanted it to resemble somewhat of a board game that you would play with your family, like when you are camping or on a vacation. I wanted to have the project represent the formation of strong bonds that were formed when groups of people played and laughed with each other.
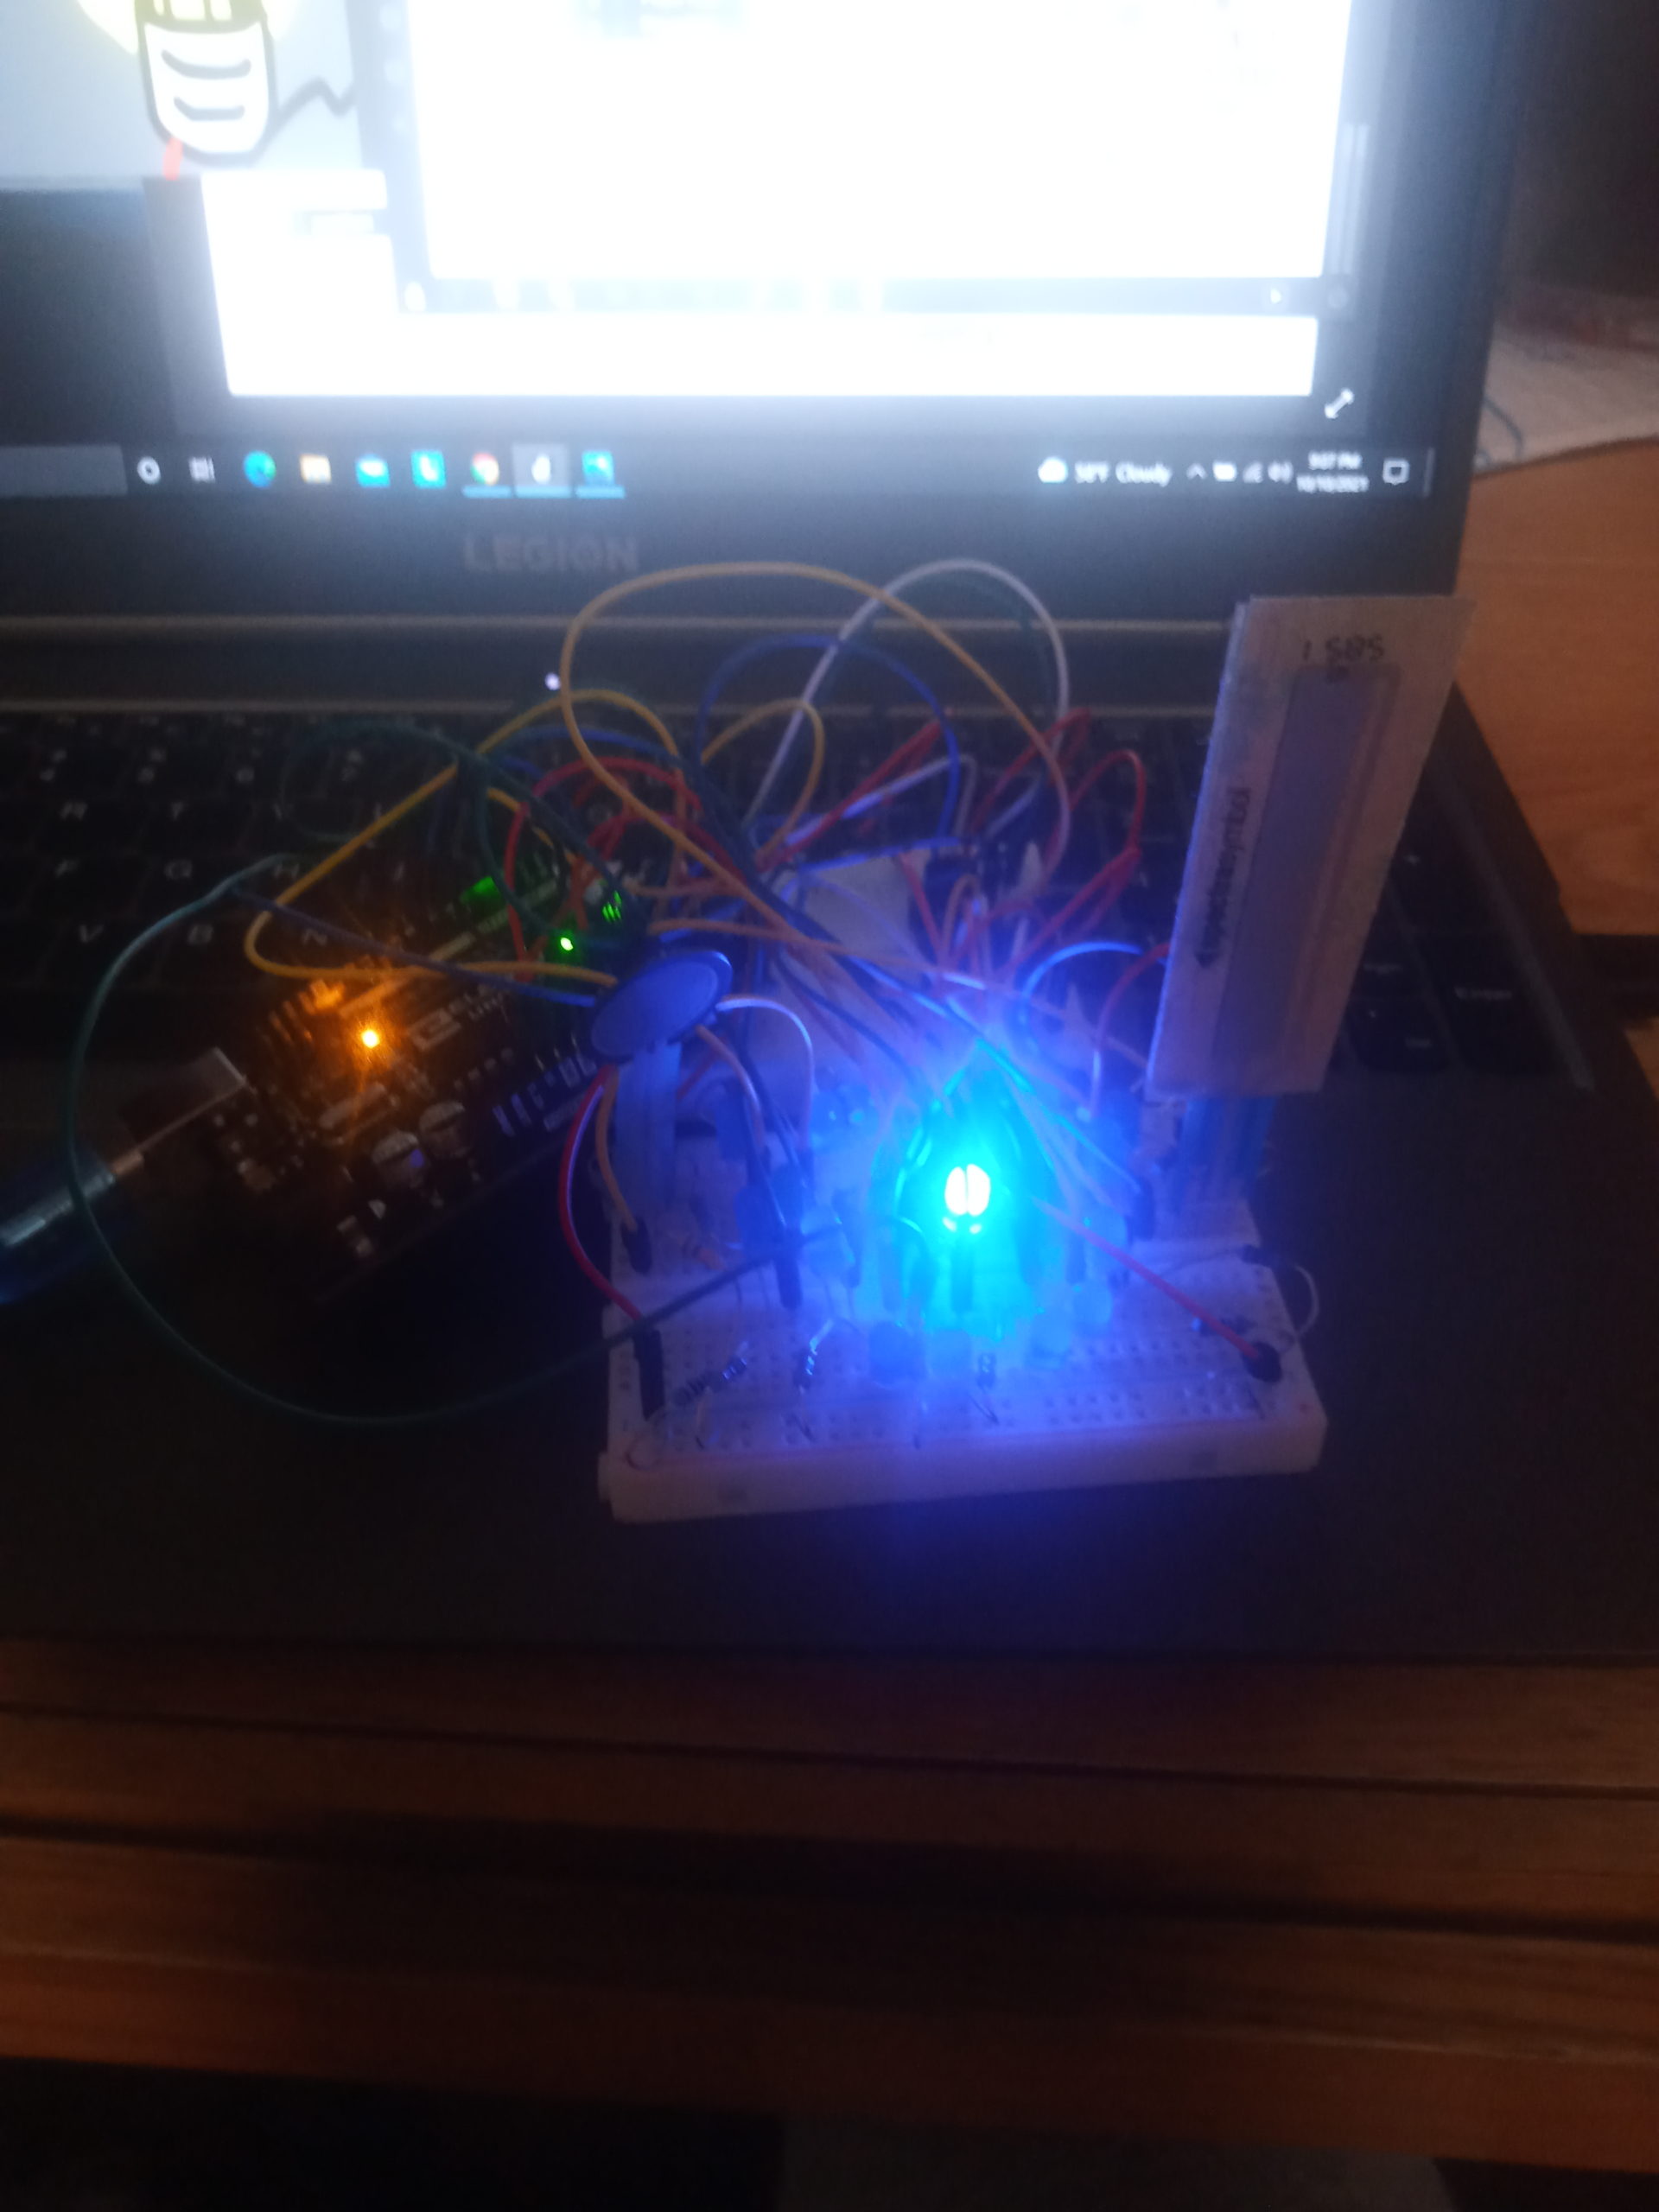
For this game, I made a roulette wheel that spins around in a circle. When the green LED lights up on the respective side, the player must hit the sensor, in order to gain a point. First person to get to 16 points wins the game. The two sensors I used for this project was the Force sensor and the potentiometer. I also wanted to make a manual reset with the makeymakey kit (issue was with trying to reset the Arduino board manually, which meant that I wasn’t able to implement it in time). On the software side, animations of which side is winning will flash and allow for indication that the response went through. When the maximum is reached, there is a short animation that will showcase the player that won the game. The physical circuit for the game is shown below.
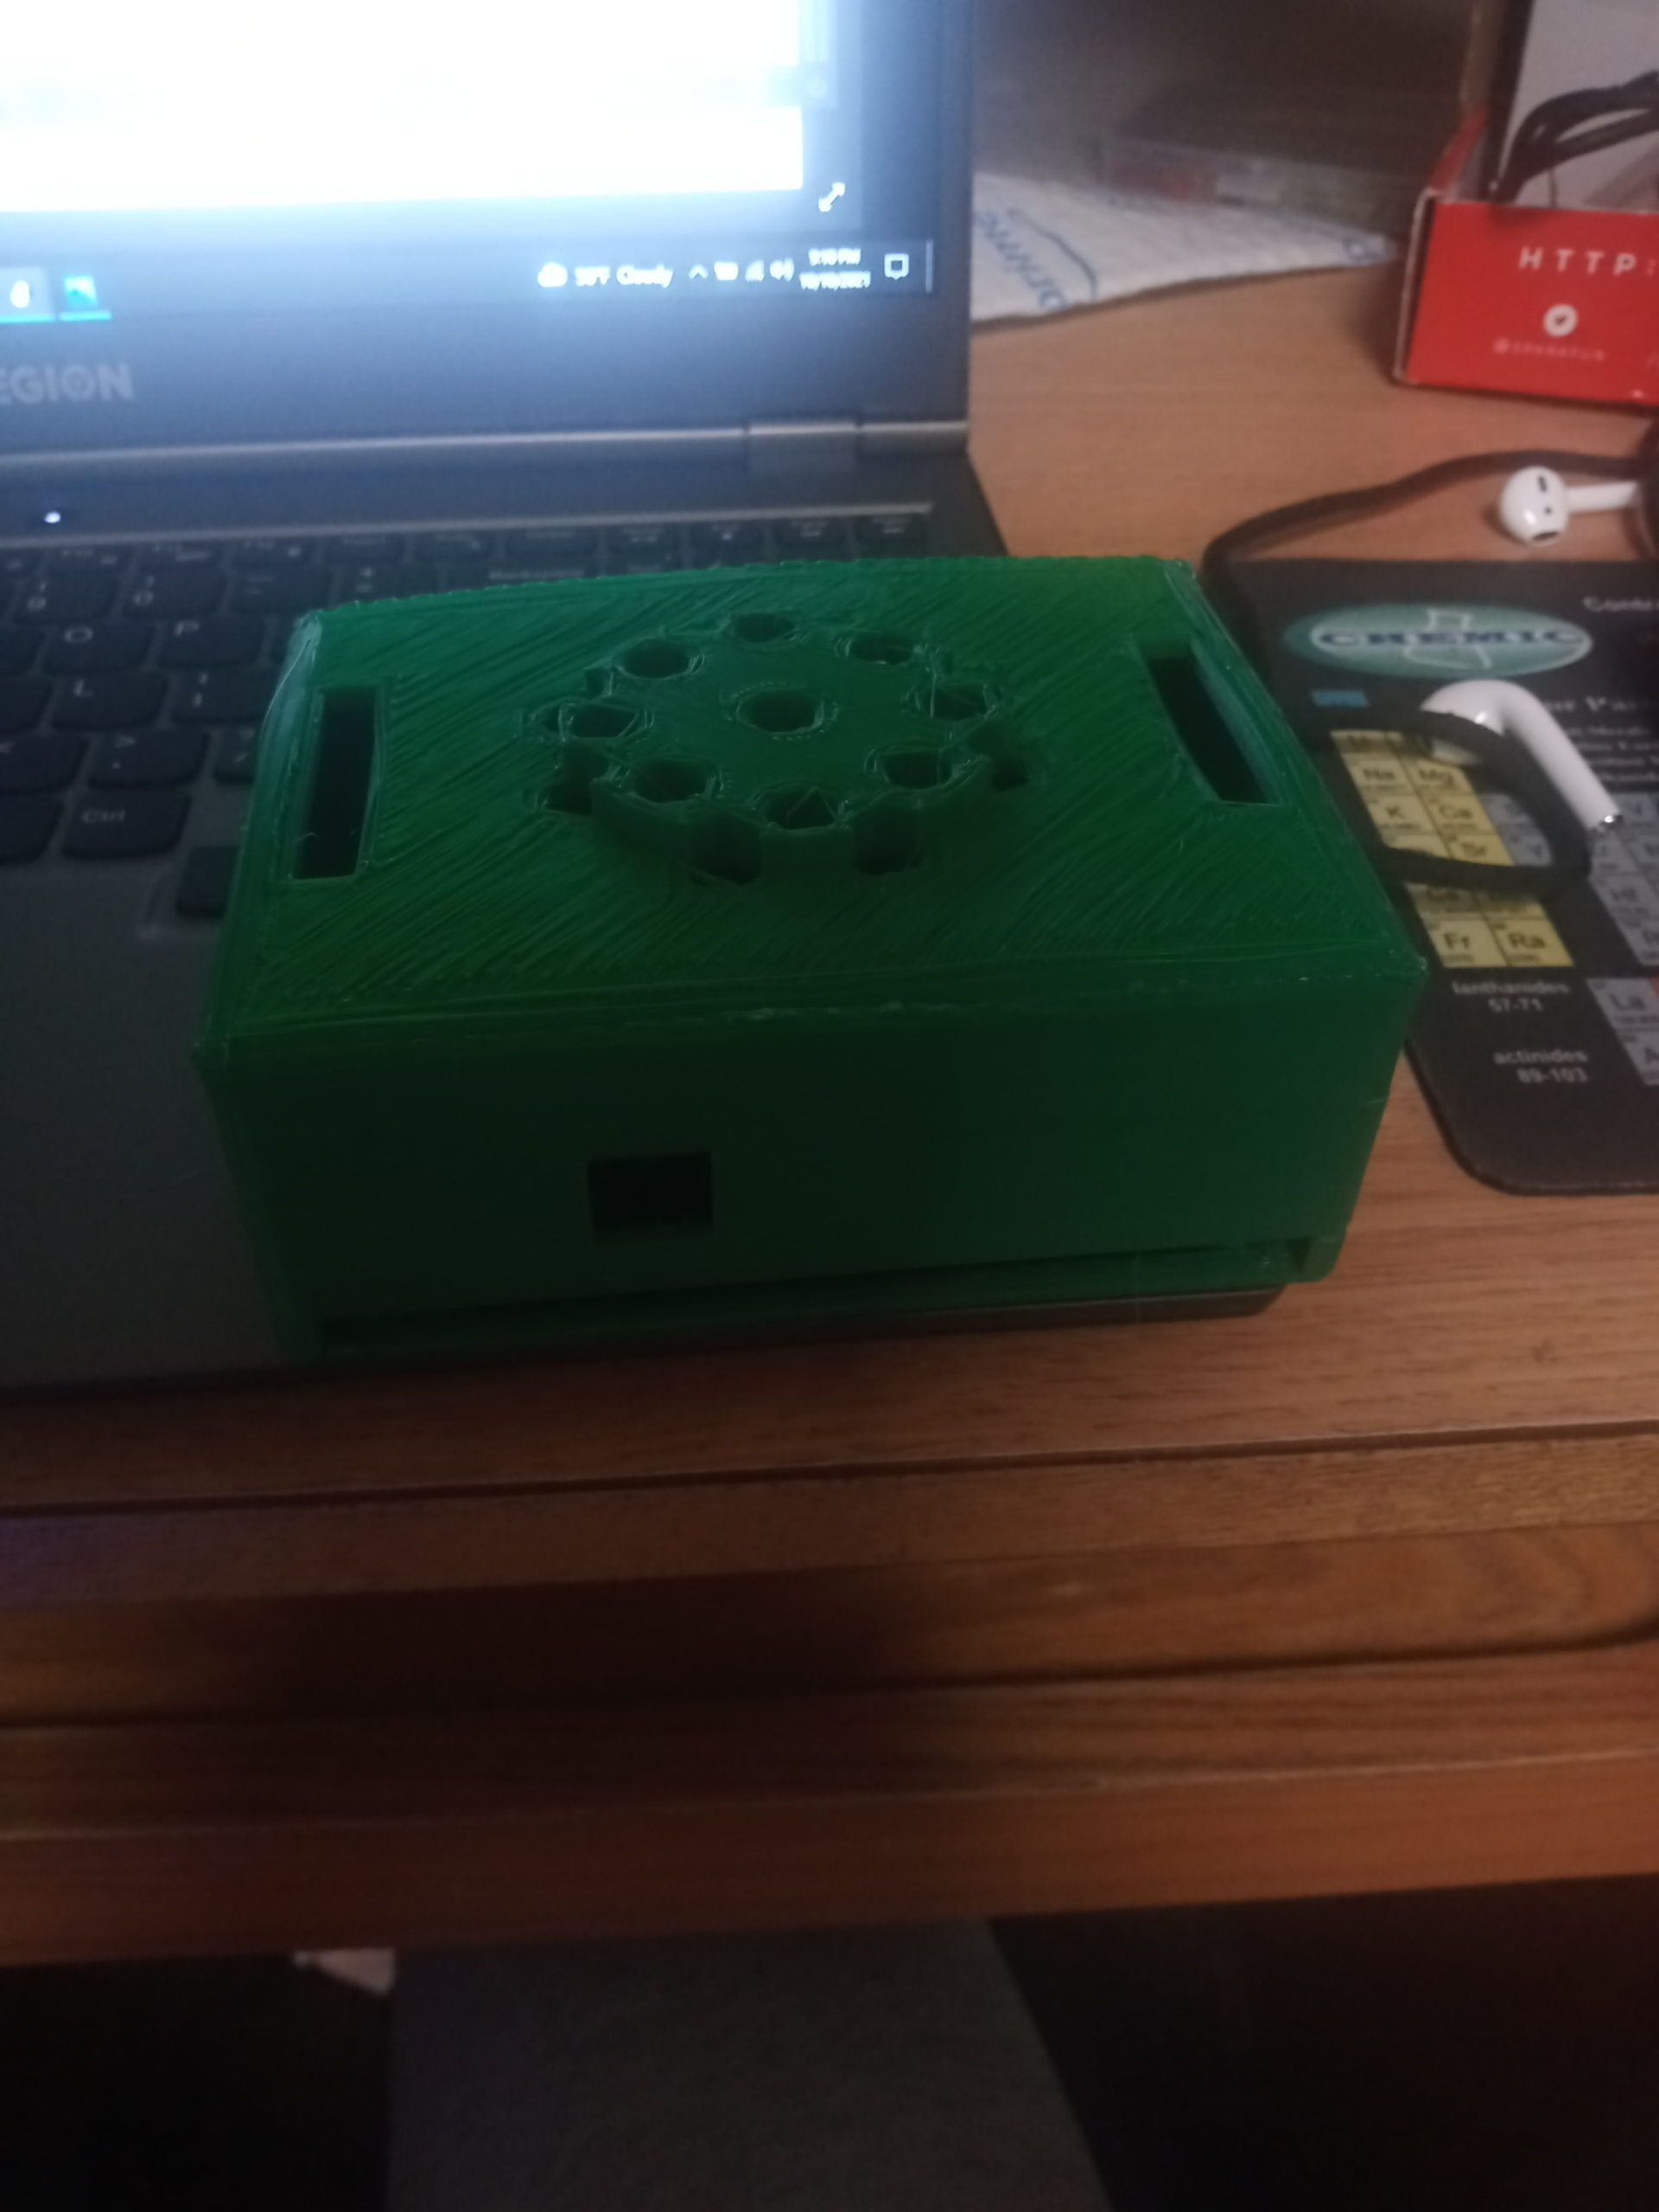
For the box, I used a software called “Inventor” to design and 3D print my box. I didn’t want to use cardboard and wood because of how I wanted to have a full complete look to it and I thought that using hot glue would only take away from that aspect. An image of the box is shown below.
Artist Question: My circuit is a little messy and really hard to fit into the box. Anyone have any suggestions as to make the wires cleaner?
Update: I made some slight changes to the design of the breadboard, allowing it to fit into the box. Here is a video demonstration of what it looks like in the box, along with better lighting (Due to the how fragile the connections are on the breadboard, the circuit is not fully in the box, but just enough to allow the user to know which LED is on). The video is divided into three parts, the first is when player one (using the force sensor) wins the game. The second part of the video is when player two (using the potentiometer) wins the game. The last section showcases what happens at the end of the game when the time limit is reached.
It’s clear that you took pride in your work here, you went out of your way to make the green case out of a presentable material, and you’re even trying to make the inside easier to work with. Great job!
As for how to clean it up, it’s difficult to say without knowing exactly how the machine works, but one idea is to just restart. Making revisions to a pre-existing thing often makes it MORE complicated, not less. But if you try again with the knowledge you have now, your second draft will be much cleaner.
I can try to revise the workings of the board layout. The issue is mostly that the piece of each wire sticks up, causing them to push back when I try to put it into the box.
I’m not sure how exactly to make the wires cleaner without knowing the setup, but perhaps some space can be saved by shortening the wires! (Assuming they don’t need to be so long.)
That is a possibility. My major issue is that I do need most of the wires and they are an inconvenience to having to use the breadboard, due to how they stick out (I would have etched out the circuit, but the PCB machine isn’t open for students until B term) .
The spinning LEDs made the piece feel almost alive with intensity!