This is an update post by Dave and Slater covering the finishing touches we made to our project and documenting our process.
The first step was to figure out what we wanted to do. We talked for a while and eventually decided we wanted to do something with an AI taking over the world, and that eventually led to our final design.
We settled on the idea that the user would have a time machine with a control panel in front of them. They would turn the machine on, spin the dial to the year 2199 and hit “go forward”. Once they arrive though, the traveler is interrupted by an AI, who would try to stop them from leaving. The user would have to do some kind of puzzle in order to unlock the “go back” button, and would escape back to 2020.

For our prototype, we threw together a couple things to see what it would look like and made sure that the concept wasn’t fundamentally flawed. We received useful feedback and settled on the idea of having to fix wires as the puzzle you need to complete before going back.
When we started, we found it easy to split the project in half, so we treated the physical control panel and the monitor/knives/lights as two separate systems that would be combined later.
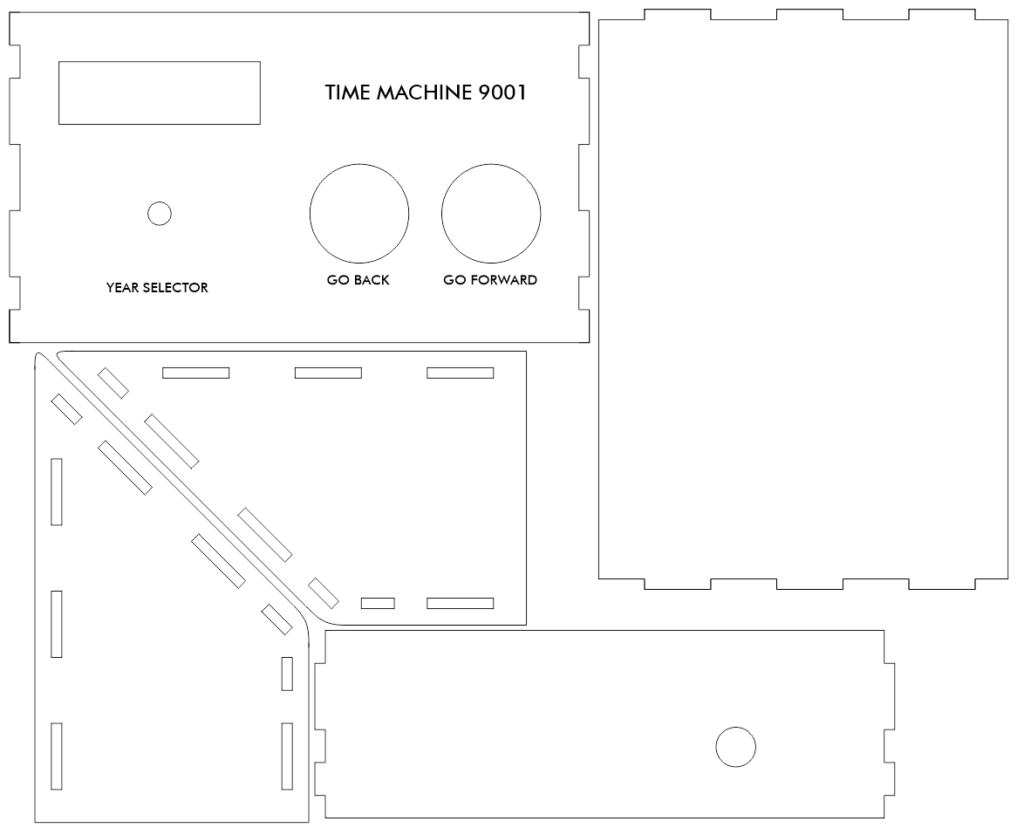
The control panel frame was drawn by Slater and we laser cut and assembled it at the Foisie Makerspace.
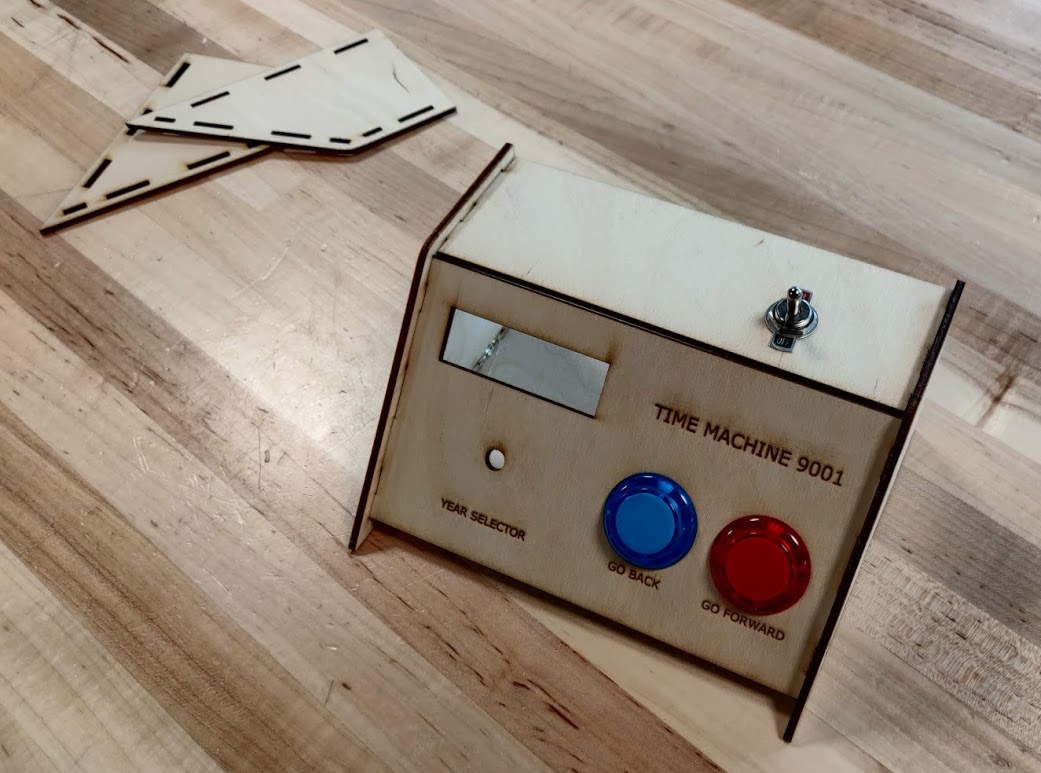
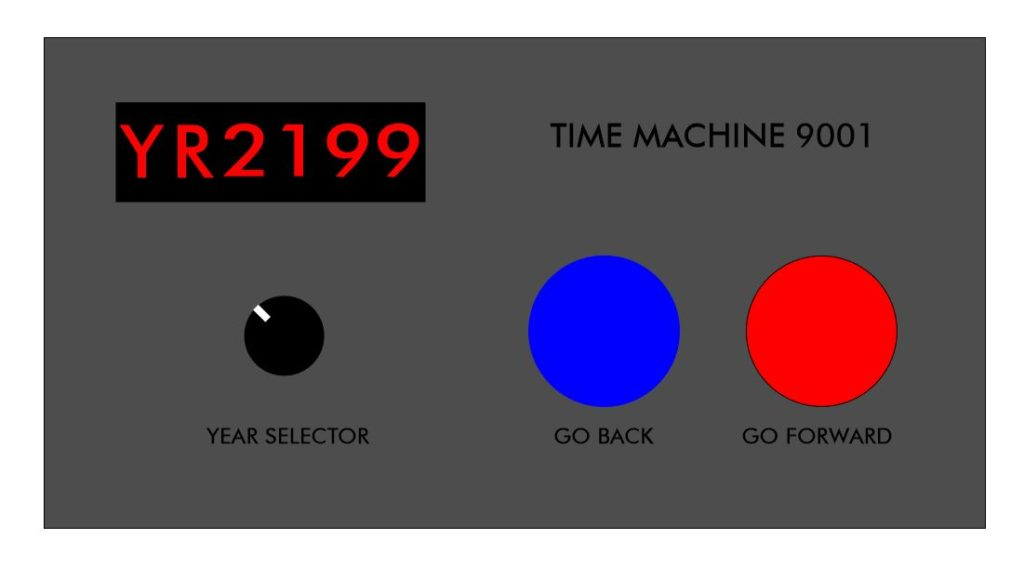
Accessible to the user are a power switch, two buttons labeled “Go Forward” and “Go Back”, a knob (using an encoder) for year selection, the wires for the puzzle, and the LED matrix display. All of these components are wired into a Raspberry Pi Zero W on the inside. Raspberry Pis are basically just a small Linux machine, meaning we could use basically any programming language (and avoid struggling with Max).

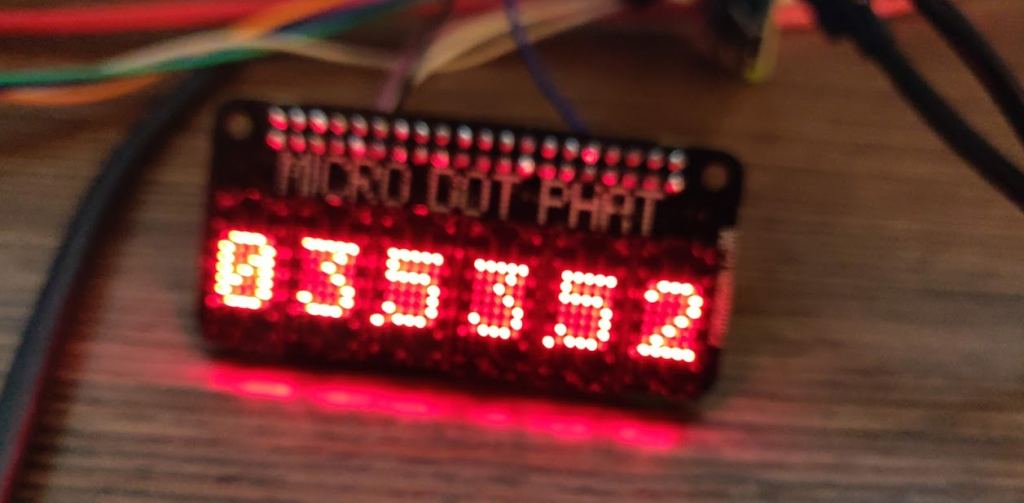

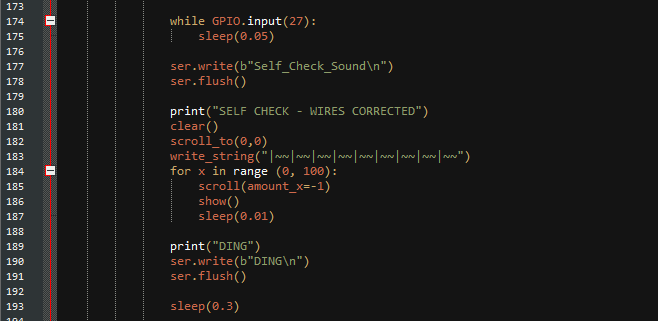
The Pi inside the control panel is running a Python script that reads all of the inputs, updating the matrix display and sending messages over serial to be read by the other system.
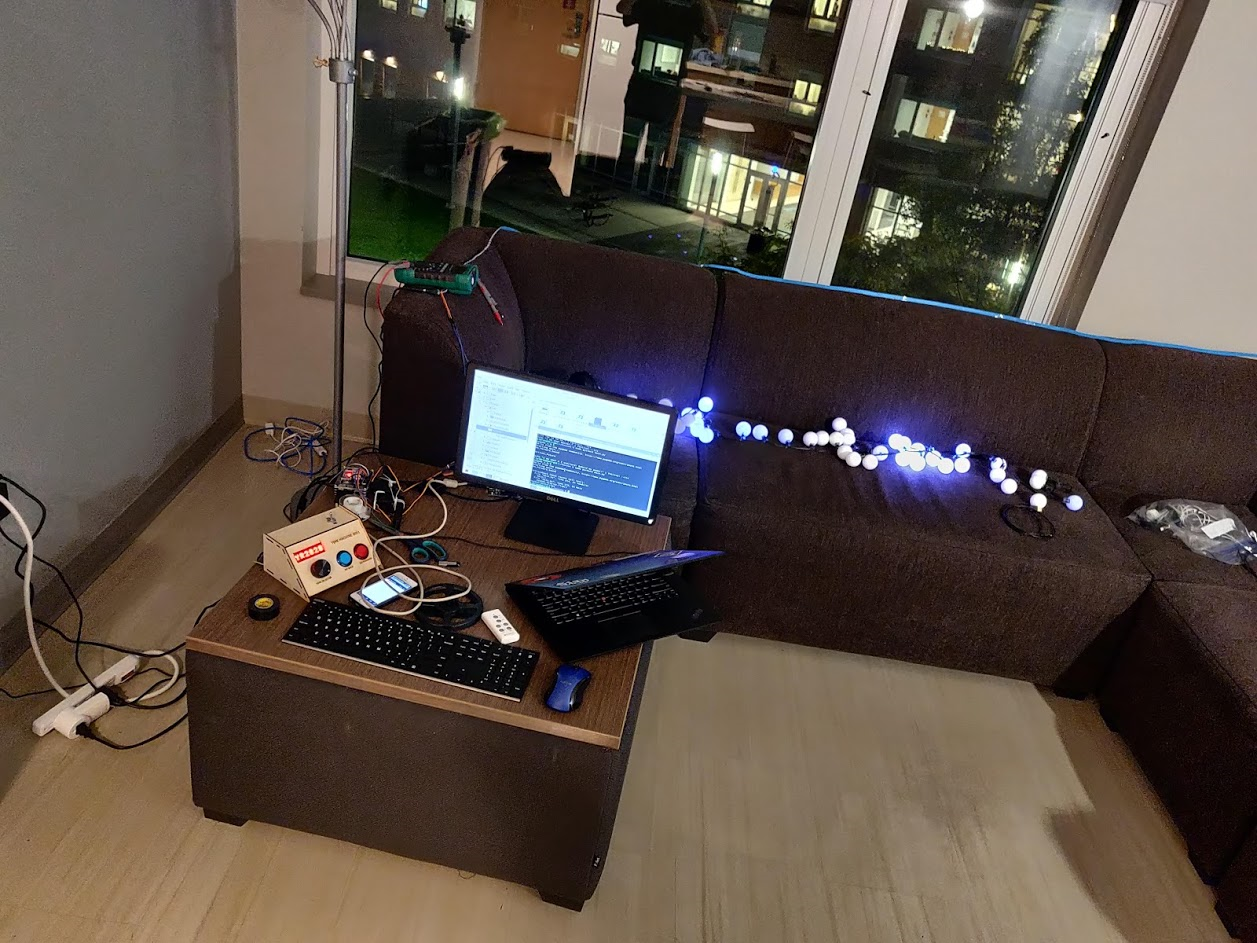
For the monitor/knives/lights system, we started by attaching the knives to the servos and testing that we could control them successfully. We also set up the RGB LED strips around the table and in the background and got some animations working on them. The servos and LED strips are attached to and directly controlled by an Arduino Uno. The Arduino can read serial messages, which can tell the Arduino to toggle the servos or set the LED animation.
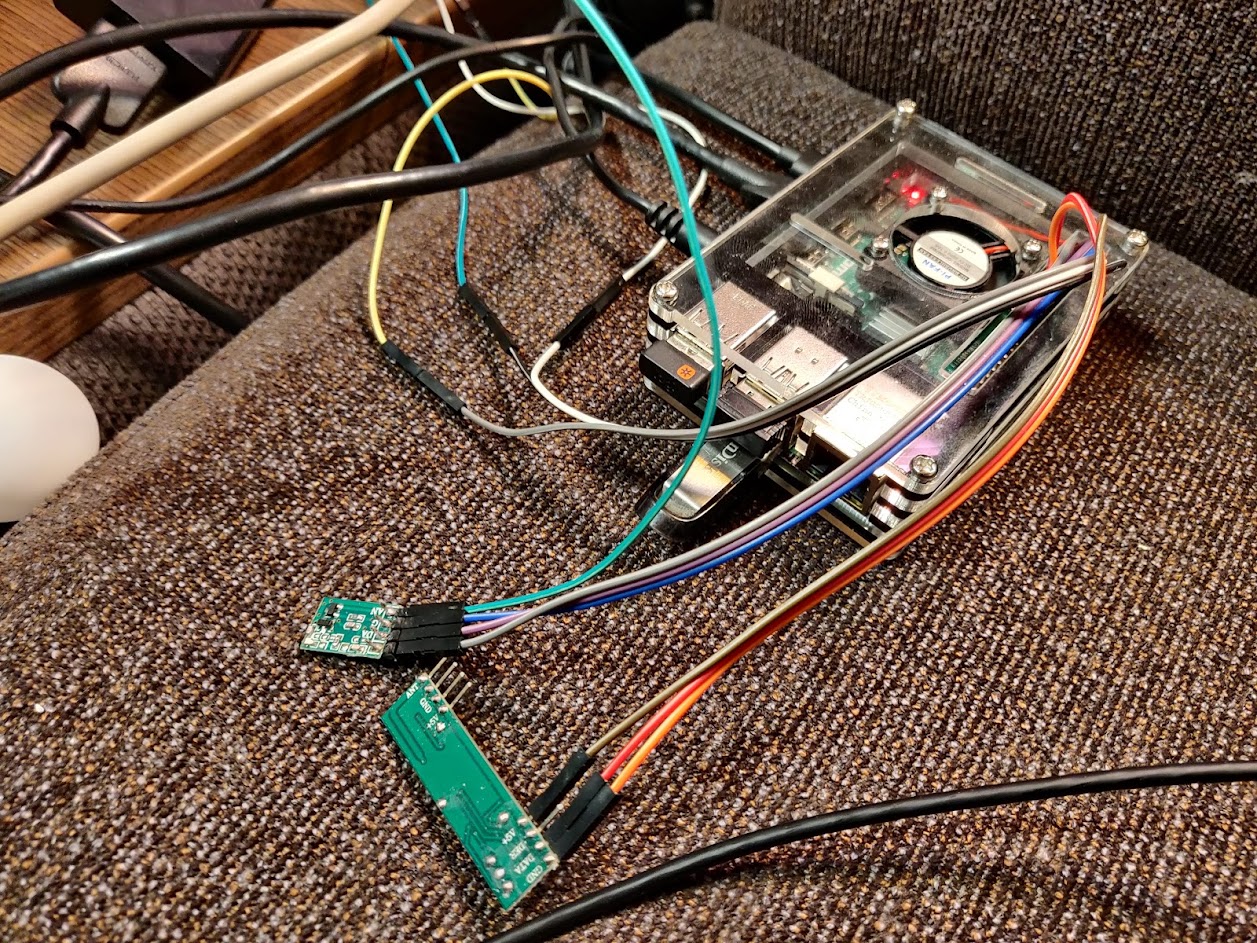
In order to combine everything together, we used one last Raspberry Pi 4B, which handles the “flow” of the interactions. It receives messages from the Pi in the control panel so it knows when inputs are used and sends messages to the Arduino to control the servos and LEDs. Other than these, this Pi also had a few other outputs. It is connected to the monitor via HDMI, and it can also control two remote-control outlets by using an RF transmitter to emulate the actual remote.
The script running on the monitor Pi is also written in Python, and uses pygame for video and to play any prerecorded audio. We put together a few sound effects which were mostly made by layering several public domain sounds from Freesound in Audacity.
WARNING: You might want to turn down the volume
For the text-to-speech, we used a program used festival, which allowed us to generate the text-to-speech in realtime, allowing us to quickly adjust, change, or add new voice lines.
After a bunch of debugging, we got all of the systems working together reliably and we were ready for our live demo.
In the couple days between our live demo and the final submission date, we took the time to add a little more polish to the output on the monitor. We added an on-screen animation during the time traveling, and animated the face of the AI using PHOTOMOSH for the glitch effects. Once the player solves the puzzle, the AI’s face gets more glitchy, and it dissolves in frustration once the player escapes.