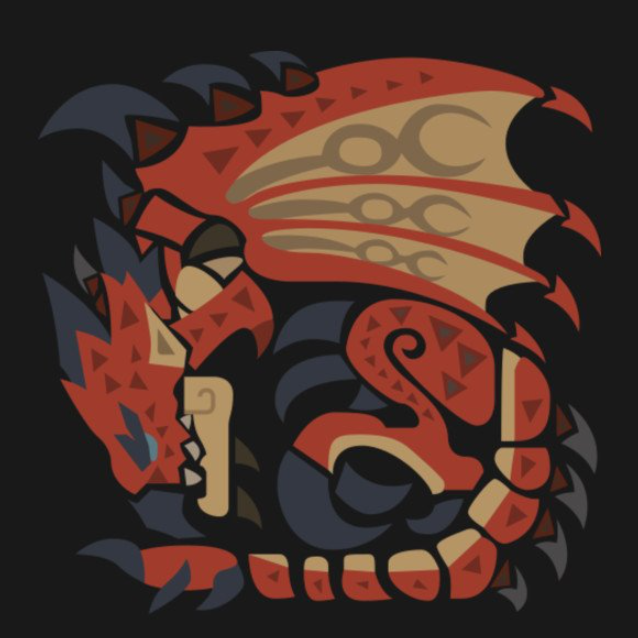
For my layers design I wanted to use differently cut wood pieces that can be put together to make a creature. The icon designs from the series Monster Hunter I thought would fit well into a layered design so I chose Rathalos to see how it plays out. I plan to segment the design similar to how you see below using rater engrave and wood staining to shade some areas and create contrast.
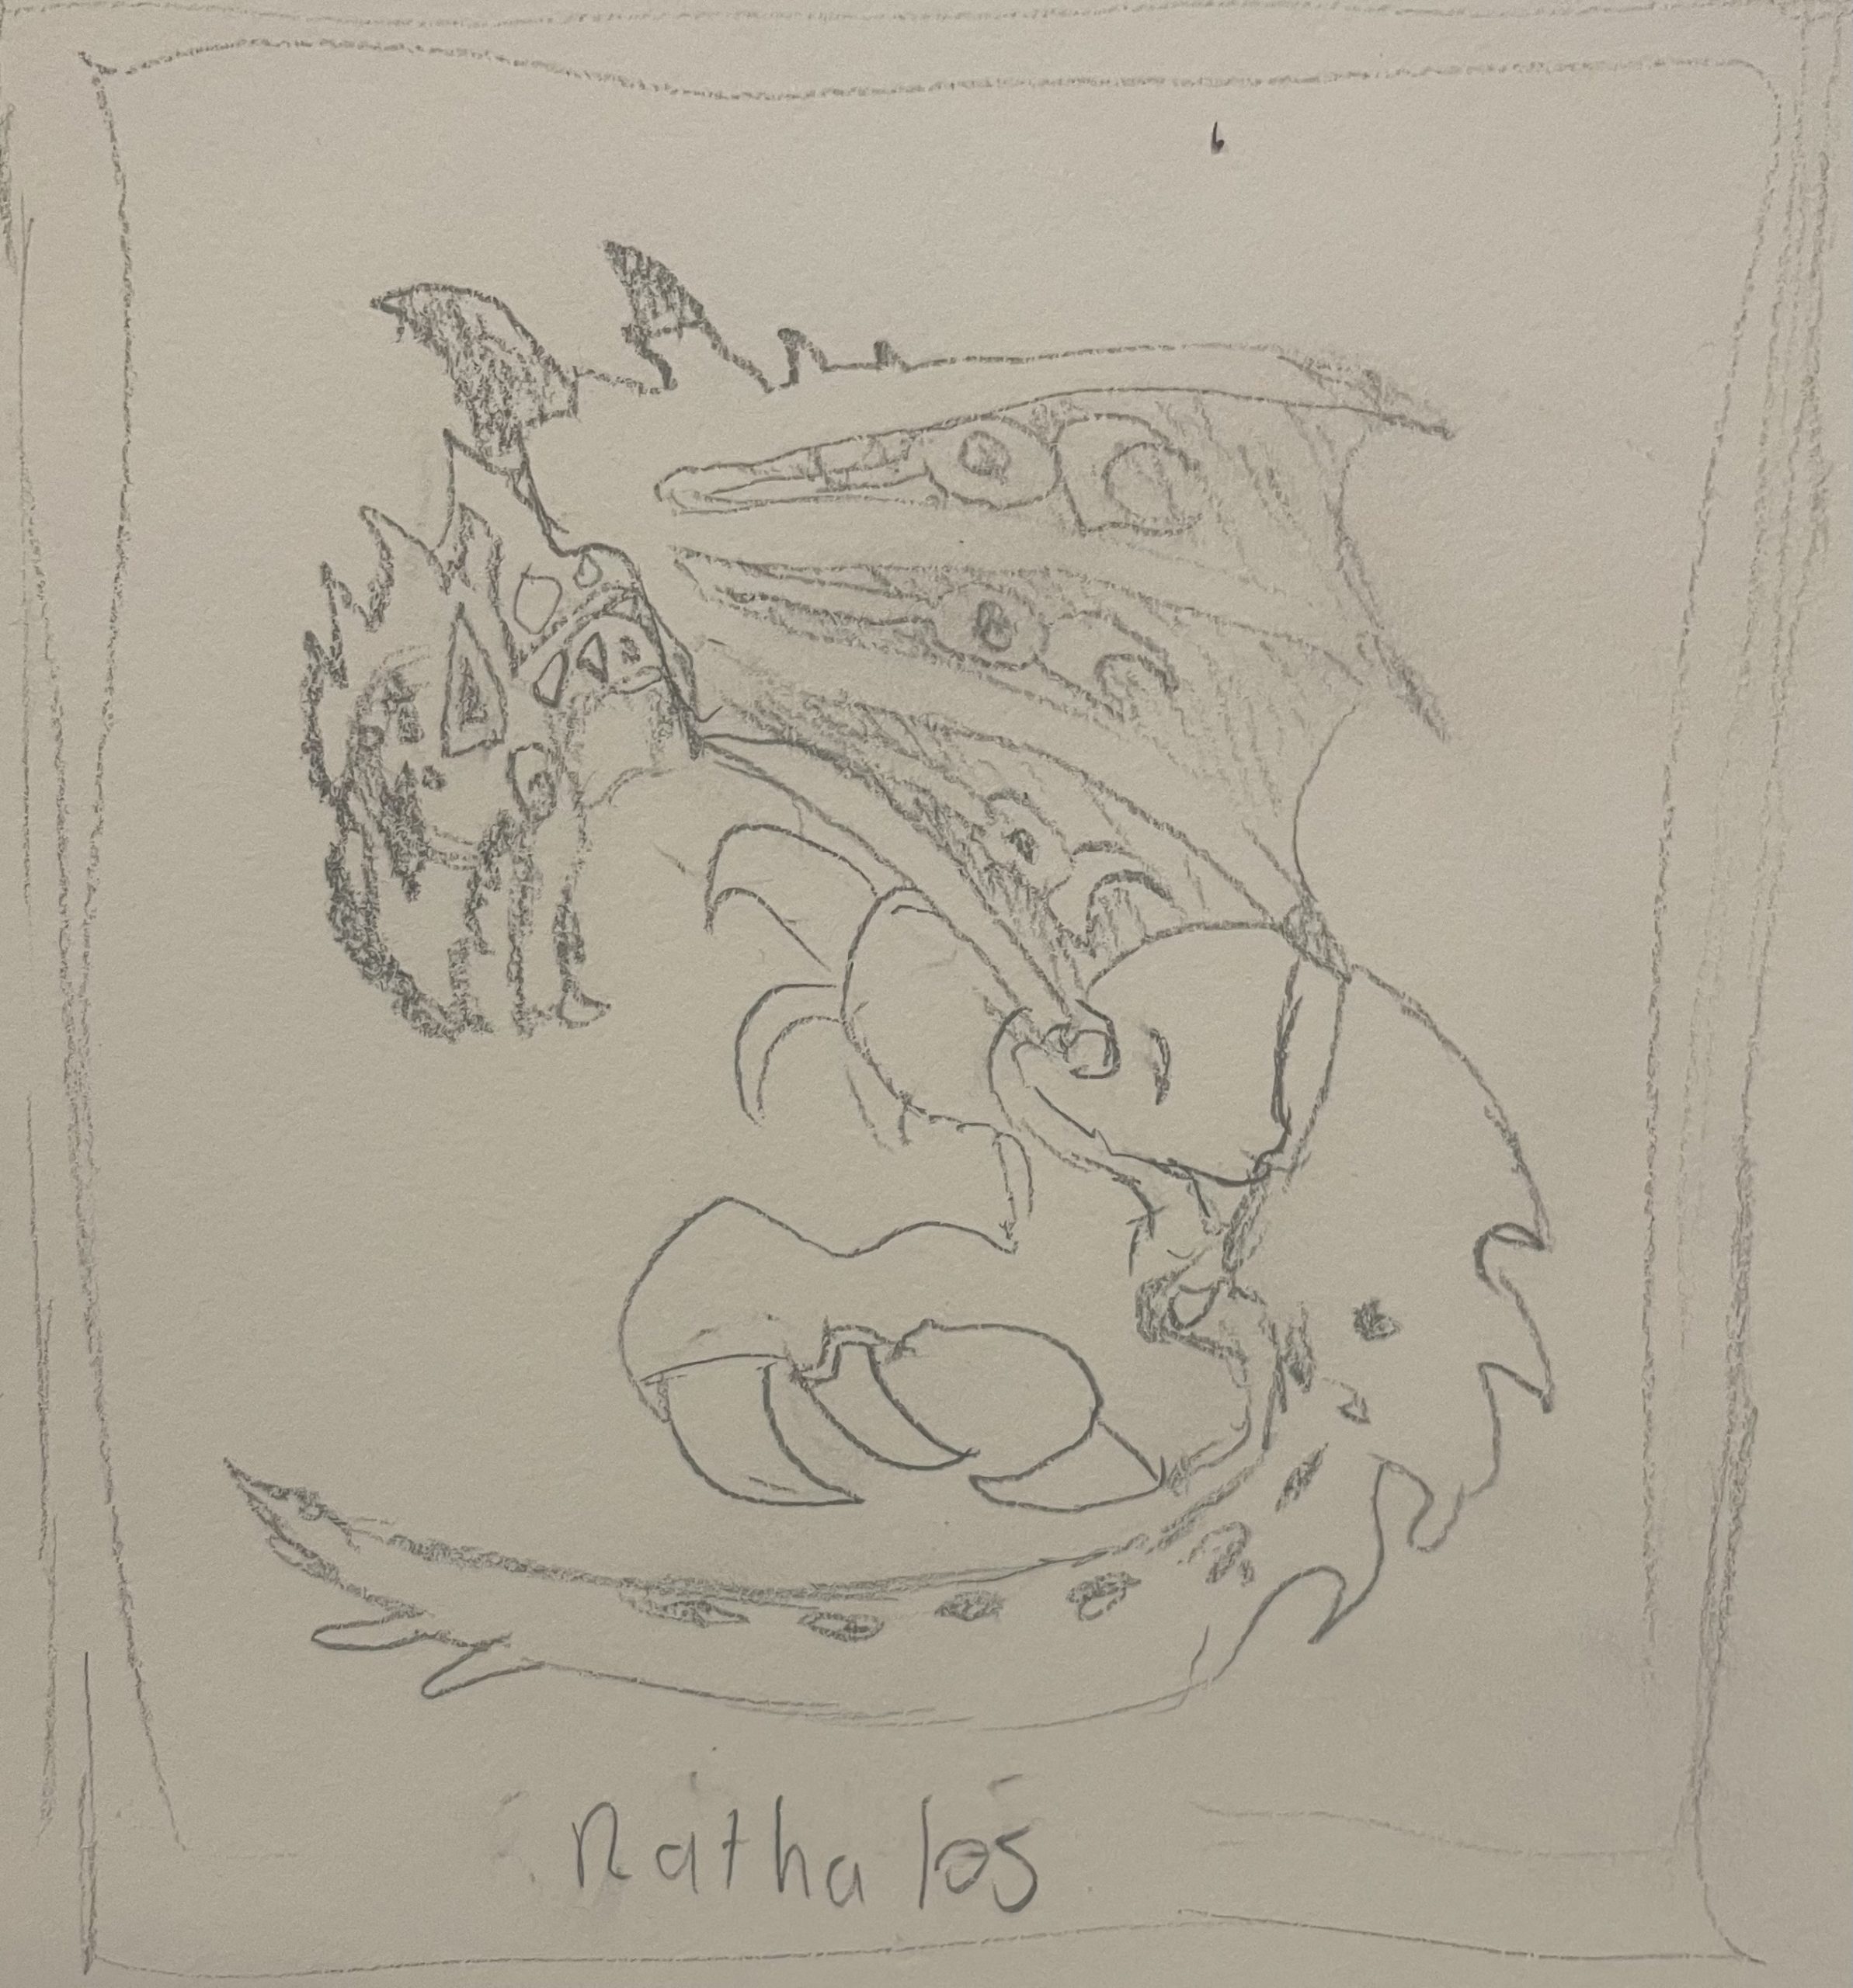
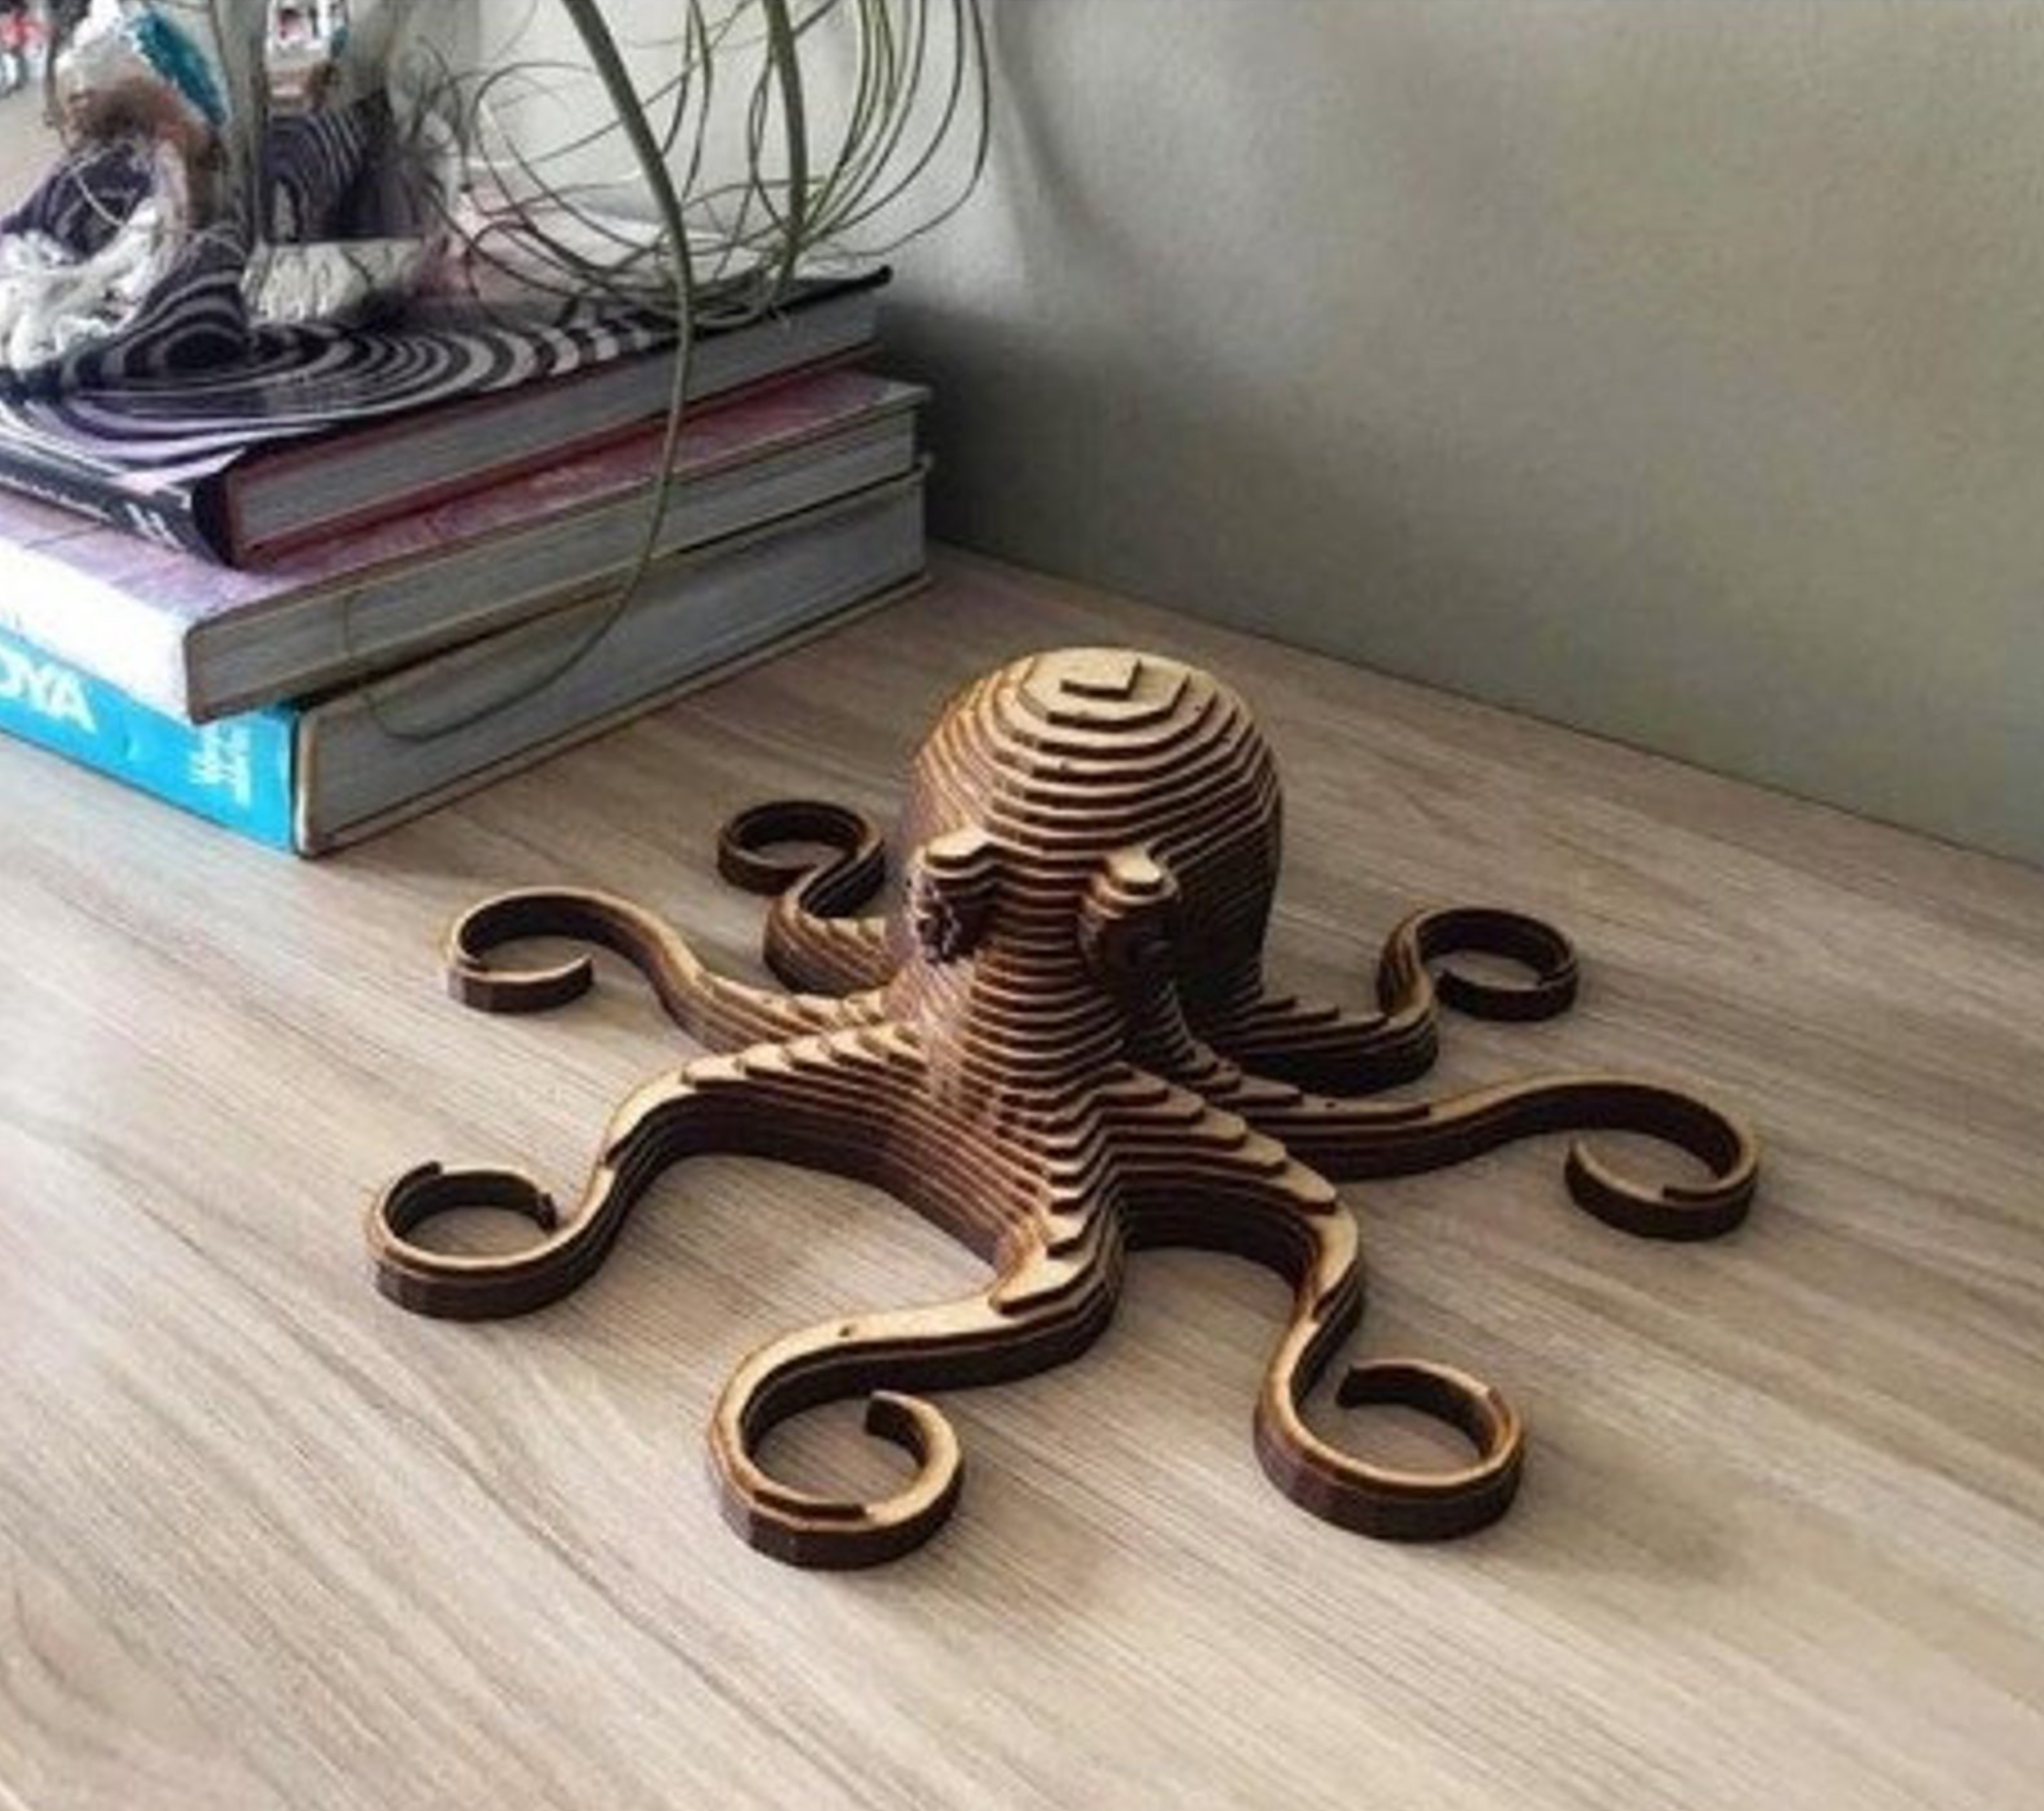
I was inspired a lot by the stacking and diorama works shown in class and hope I’ll be able to replicate a bit of the depth through a simple landscape in the background.


How are you deciding on which layers and details extend out on the piece?
I was thinking of making the tan parts one layer and the rest being layered a bit higher then the tan with the triangles being raster engraves.
Are you planning on incorporating color into this piece?
If I have time I would love to paint it once it’s cut out.
Do you plan on making a frame for it?
Yes, I do plan on gluing all the parts to a frame with maybe some stylish cravings on the corners.
How many layers do you think you will end up having?
Estimating around 3 I think, one for the frame, 2 for layering the body.
What are you thinking for the size of the piece?
Most likely 6×6 or smaller to save on supplies.
how will you execute the details? (their own layer, rastoring, engraving, a cut, ect?)
I saw your reply to one of the other questions saying you will be making the piece 3 layers, I was just wondering if the small details in the wings and the tail would count as one of the layers or if the 2 layers just make up the main framework of the body and the smaller details will be painted on?