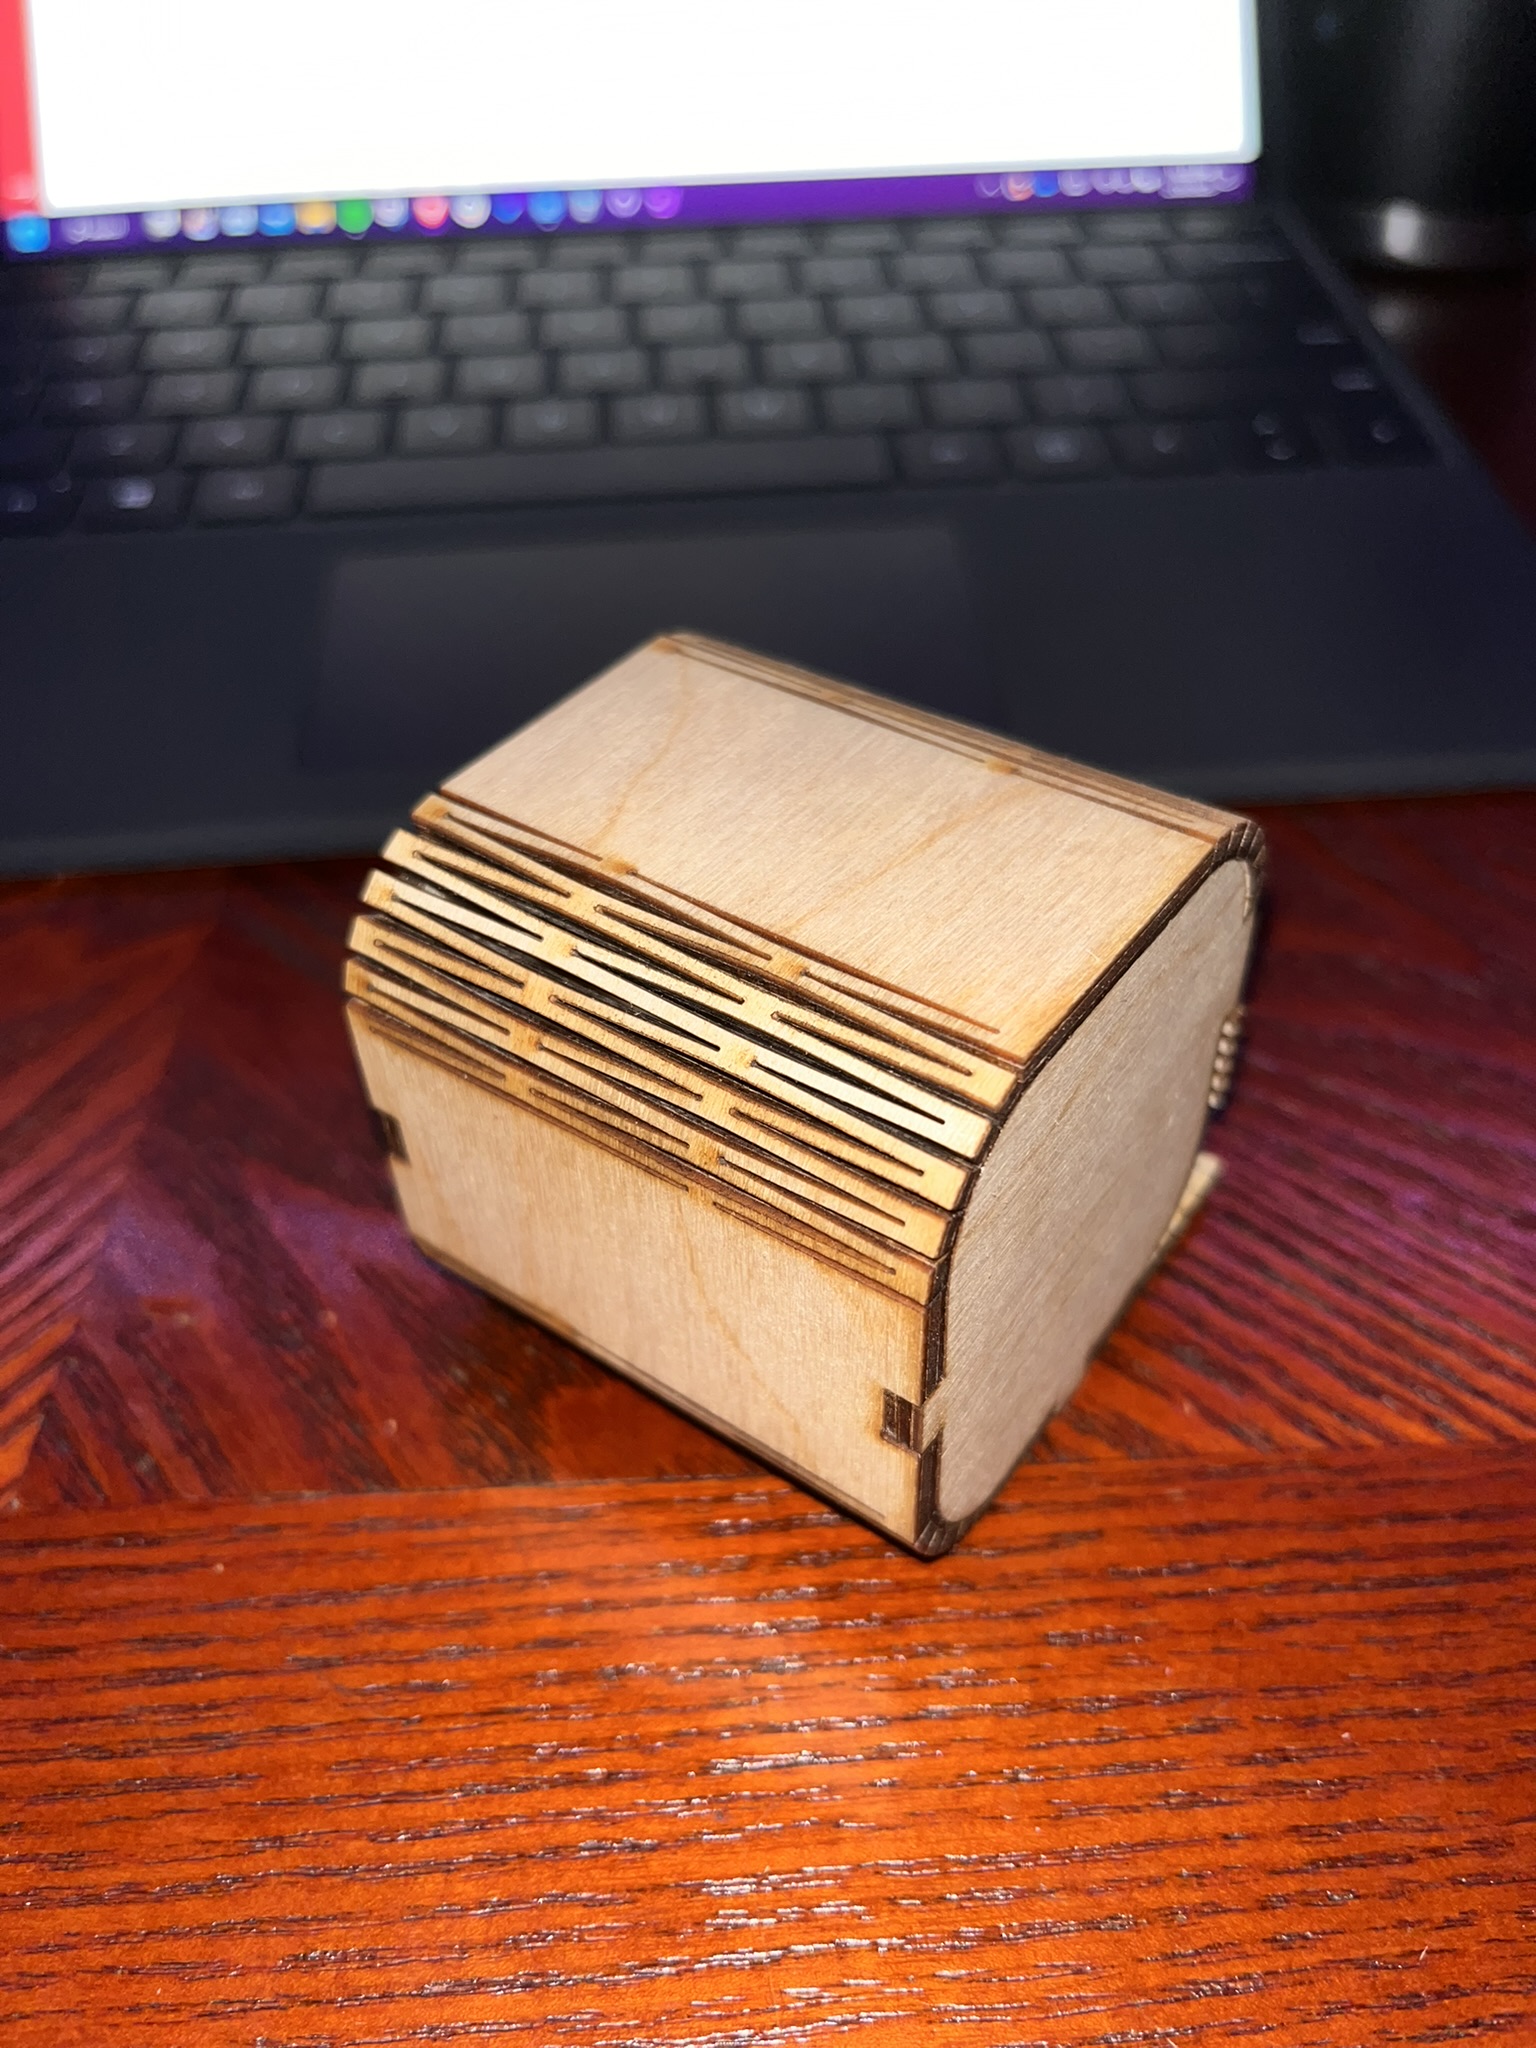
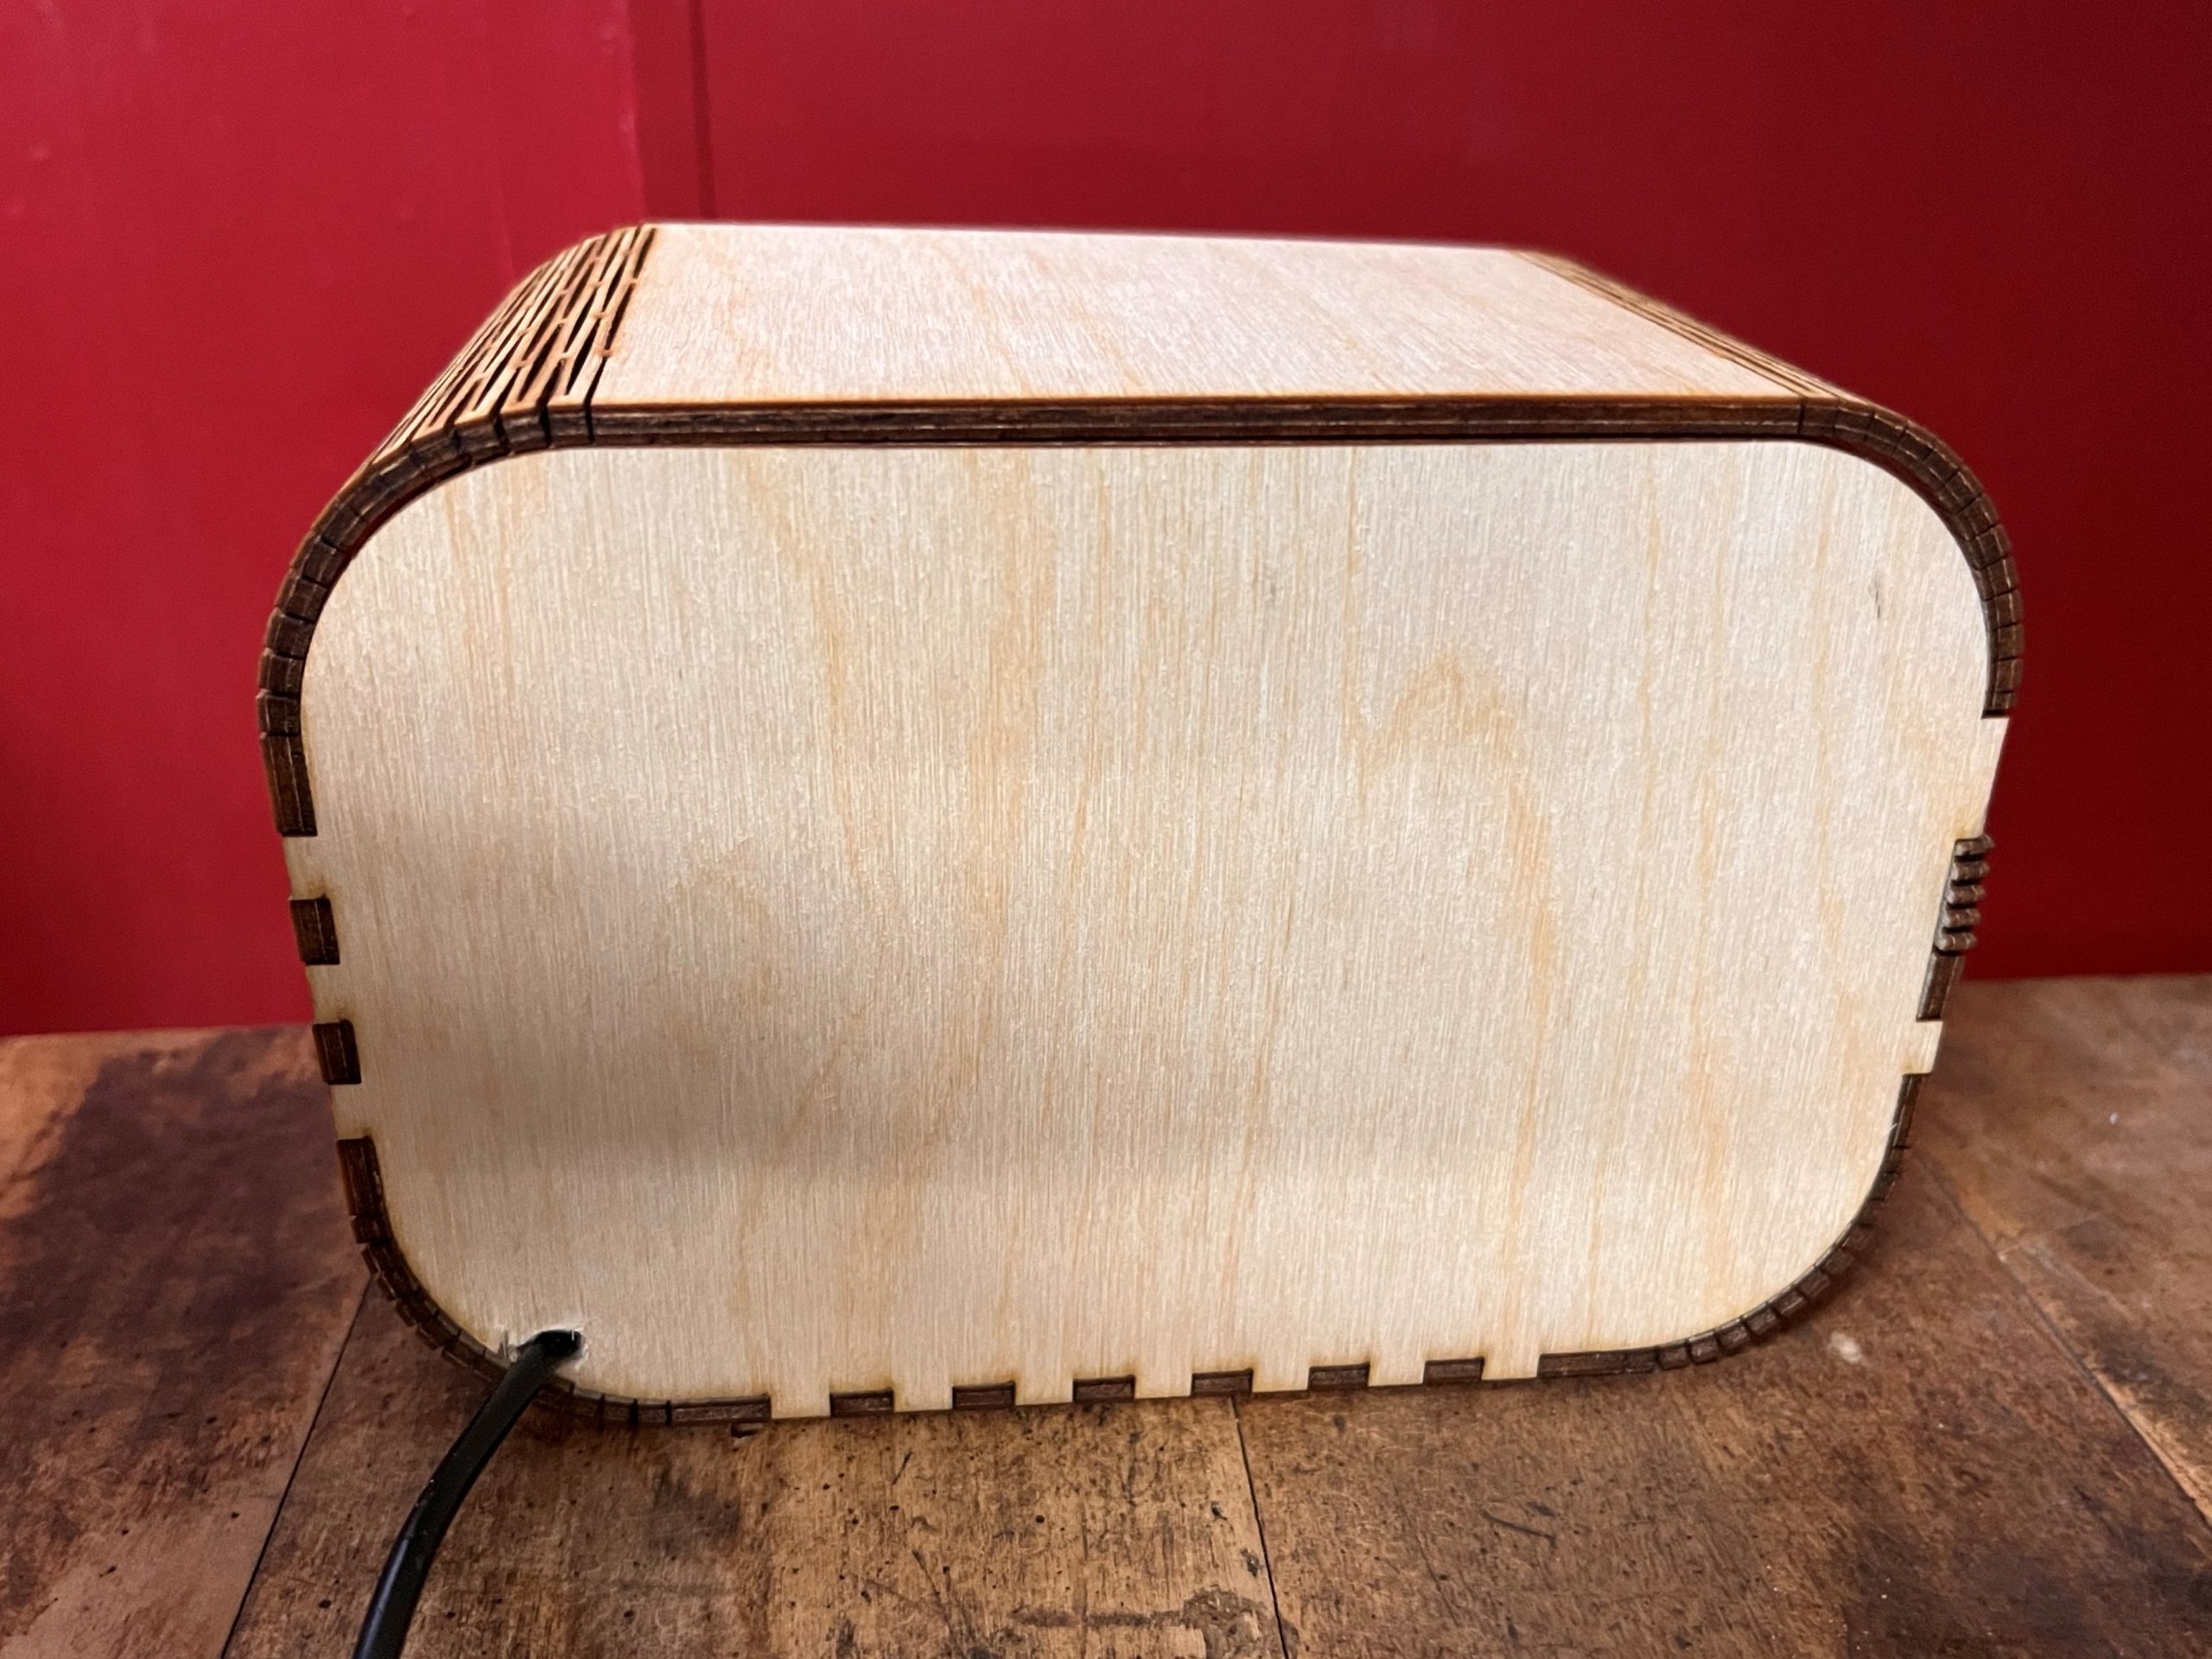
So far I have had good success with my lanterns project, I began by making a small test kerf bent box, it worked great and I didn’t have to alter my tolerances at all. I then made a few small acrylic test circles to test the settings for cutting and engraving. I then cut out my acrylic insert pieces. I then roughly assembled the whole lantern and it went together very well. I still need to remove the paper from the acrylic and print the base that will house the acrylic and the lights.
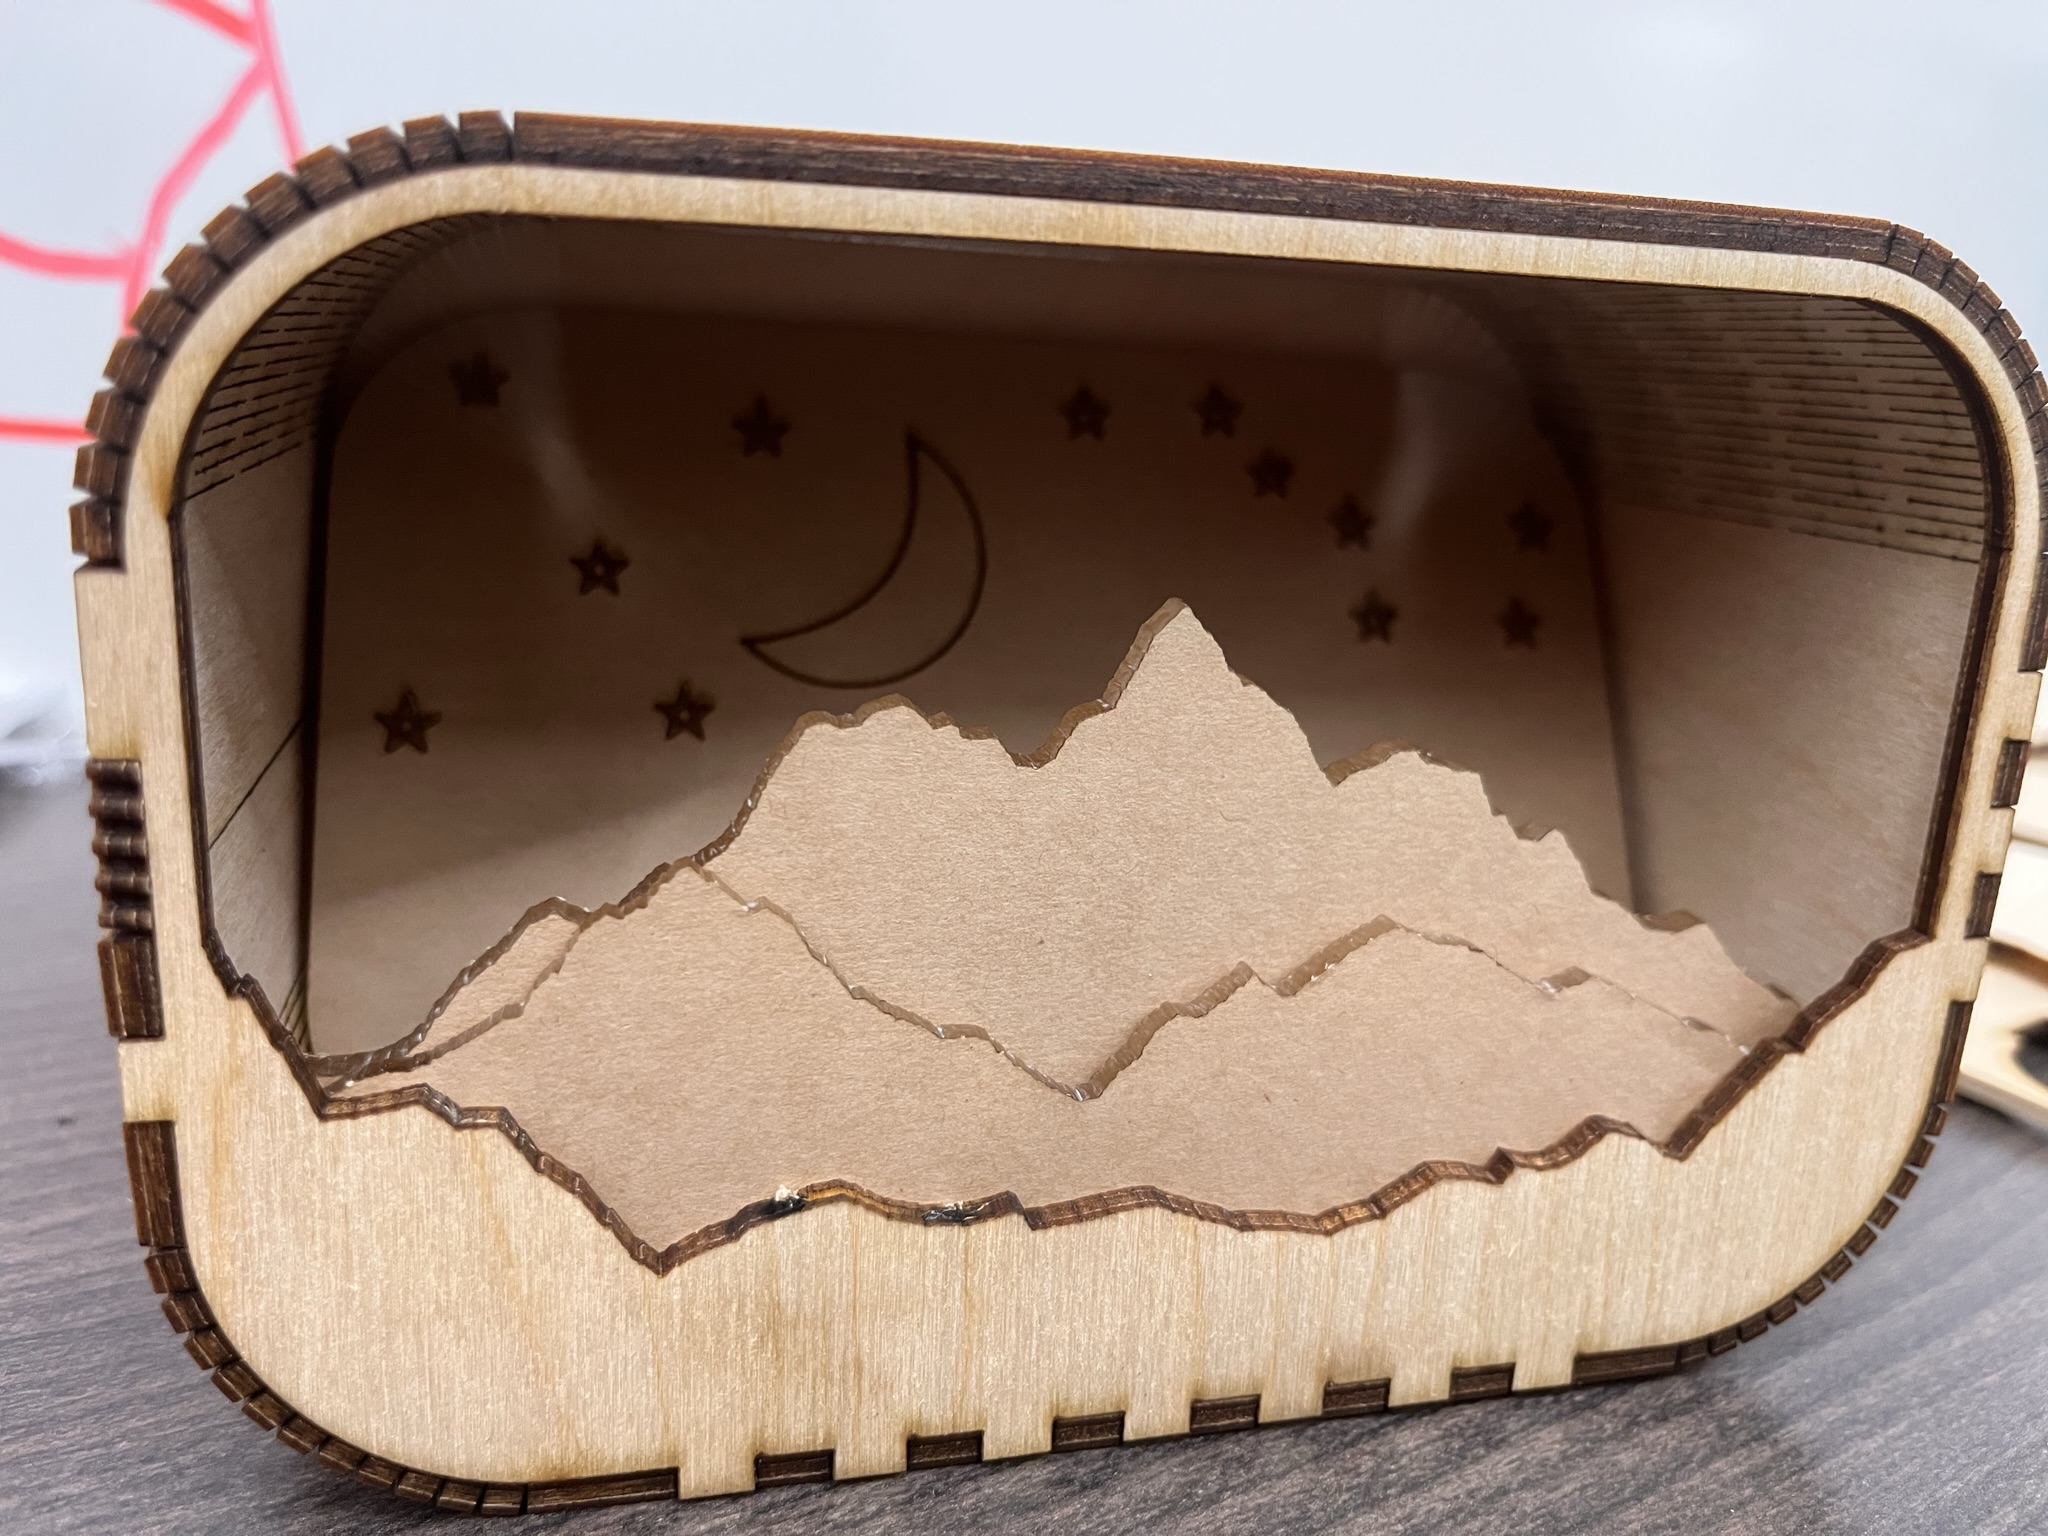
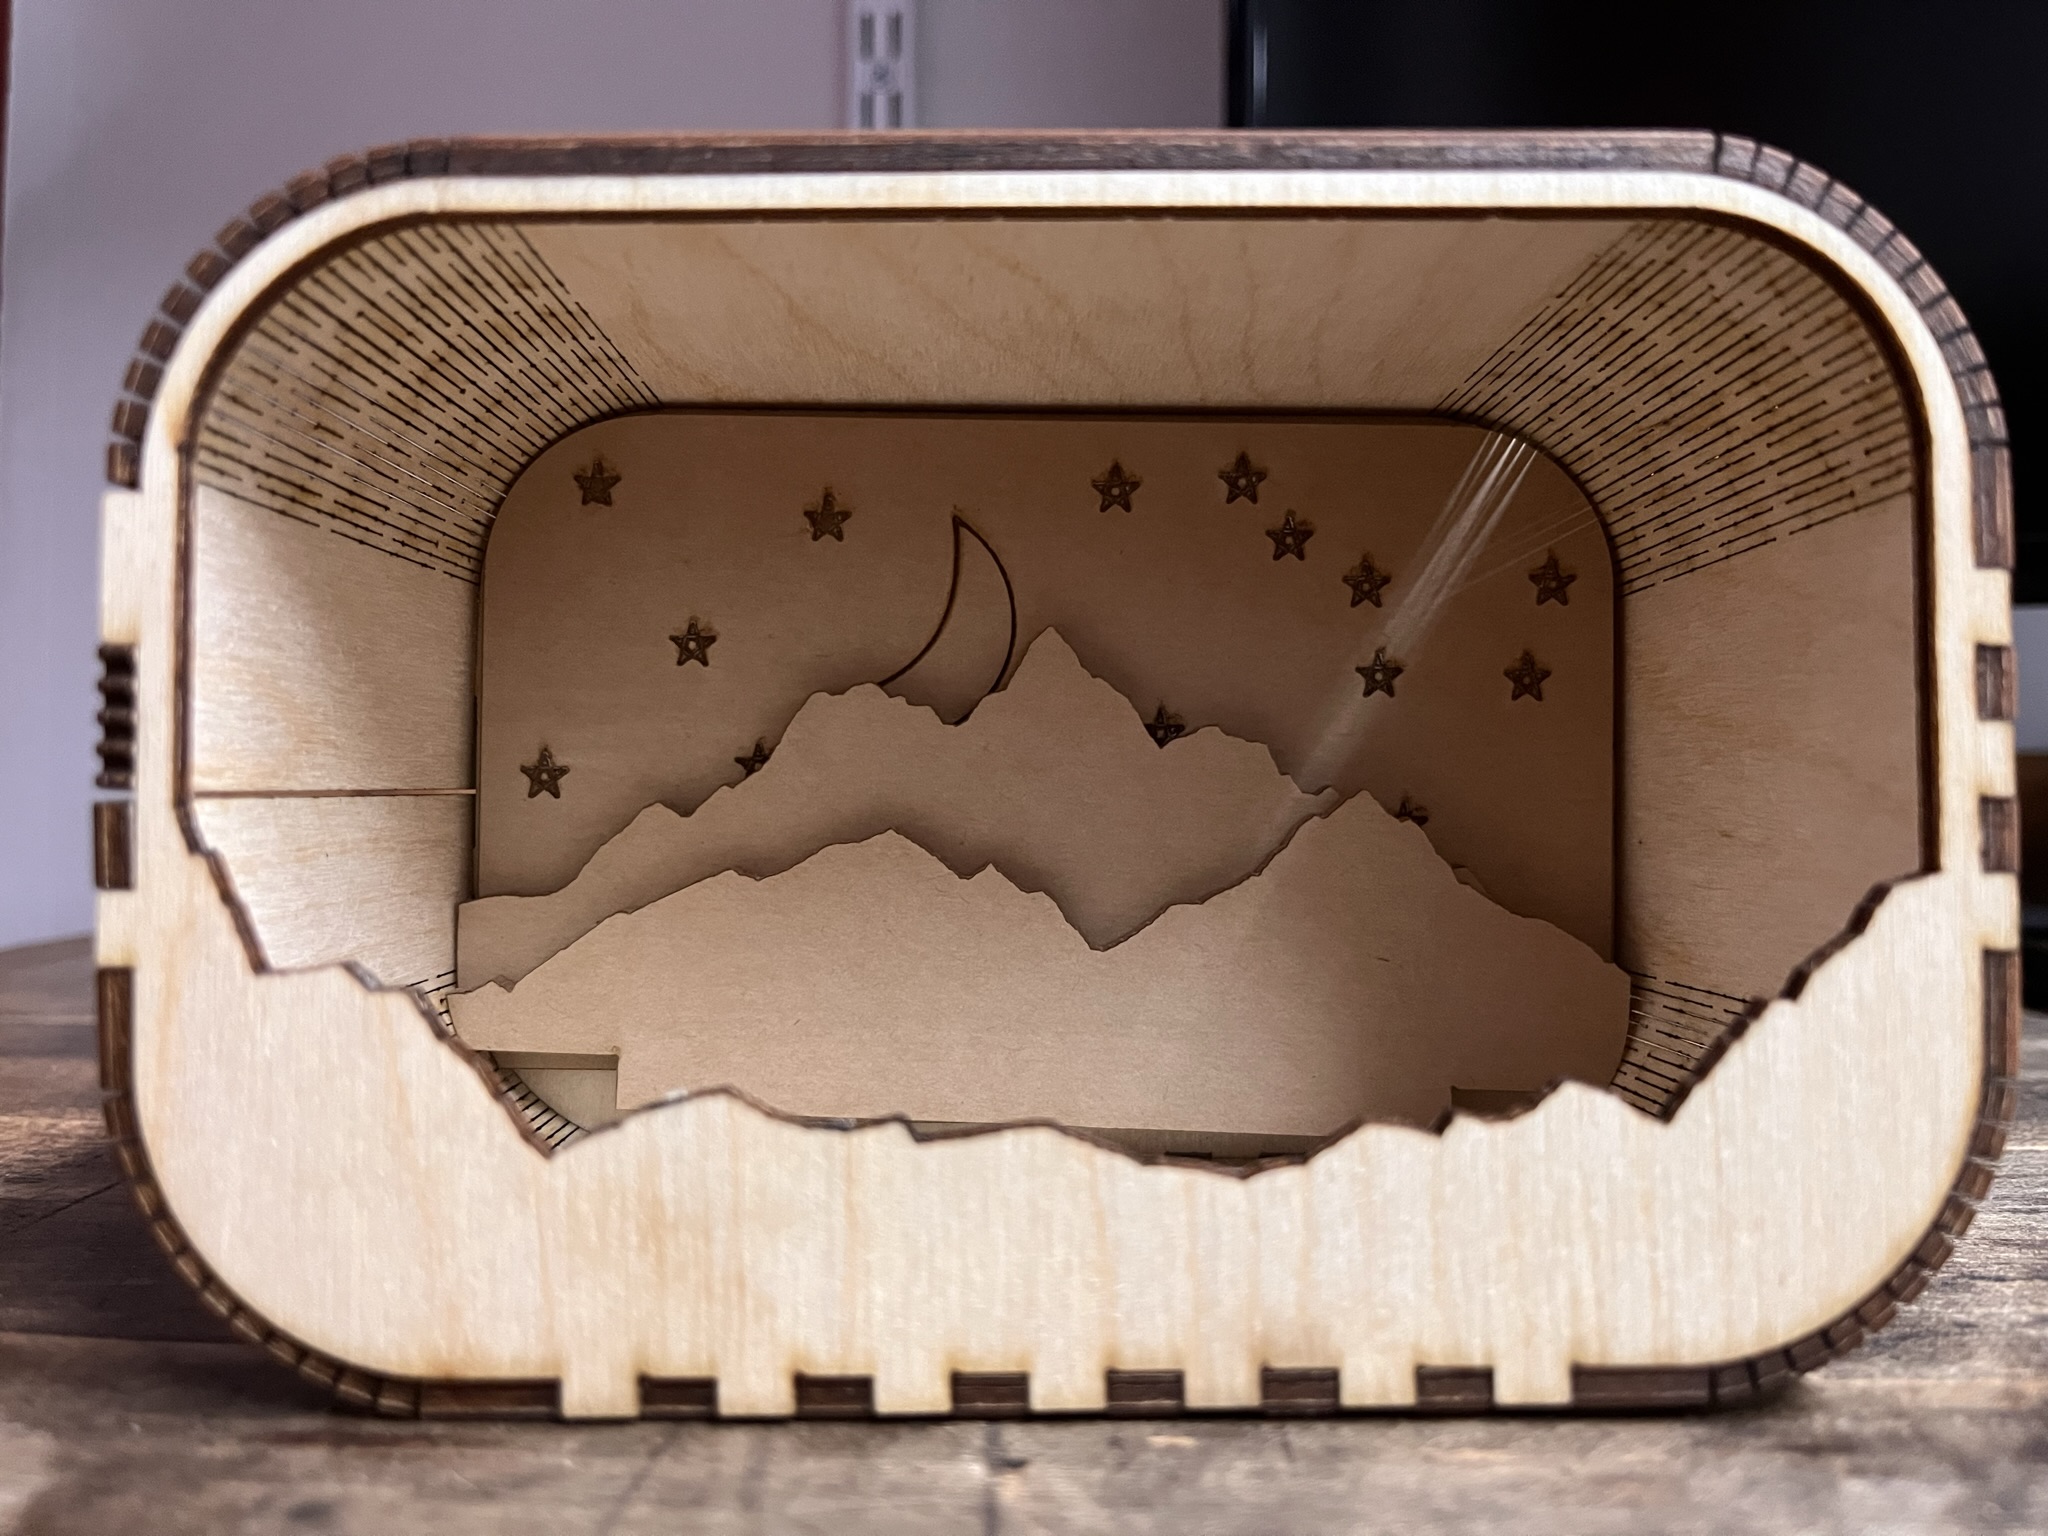
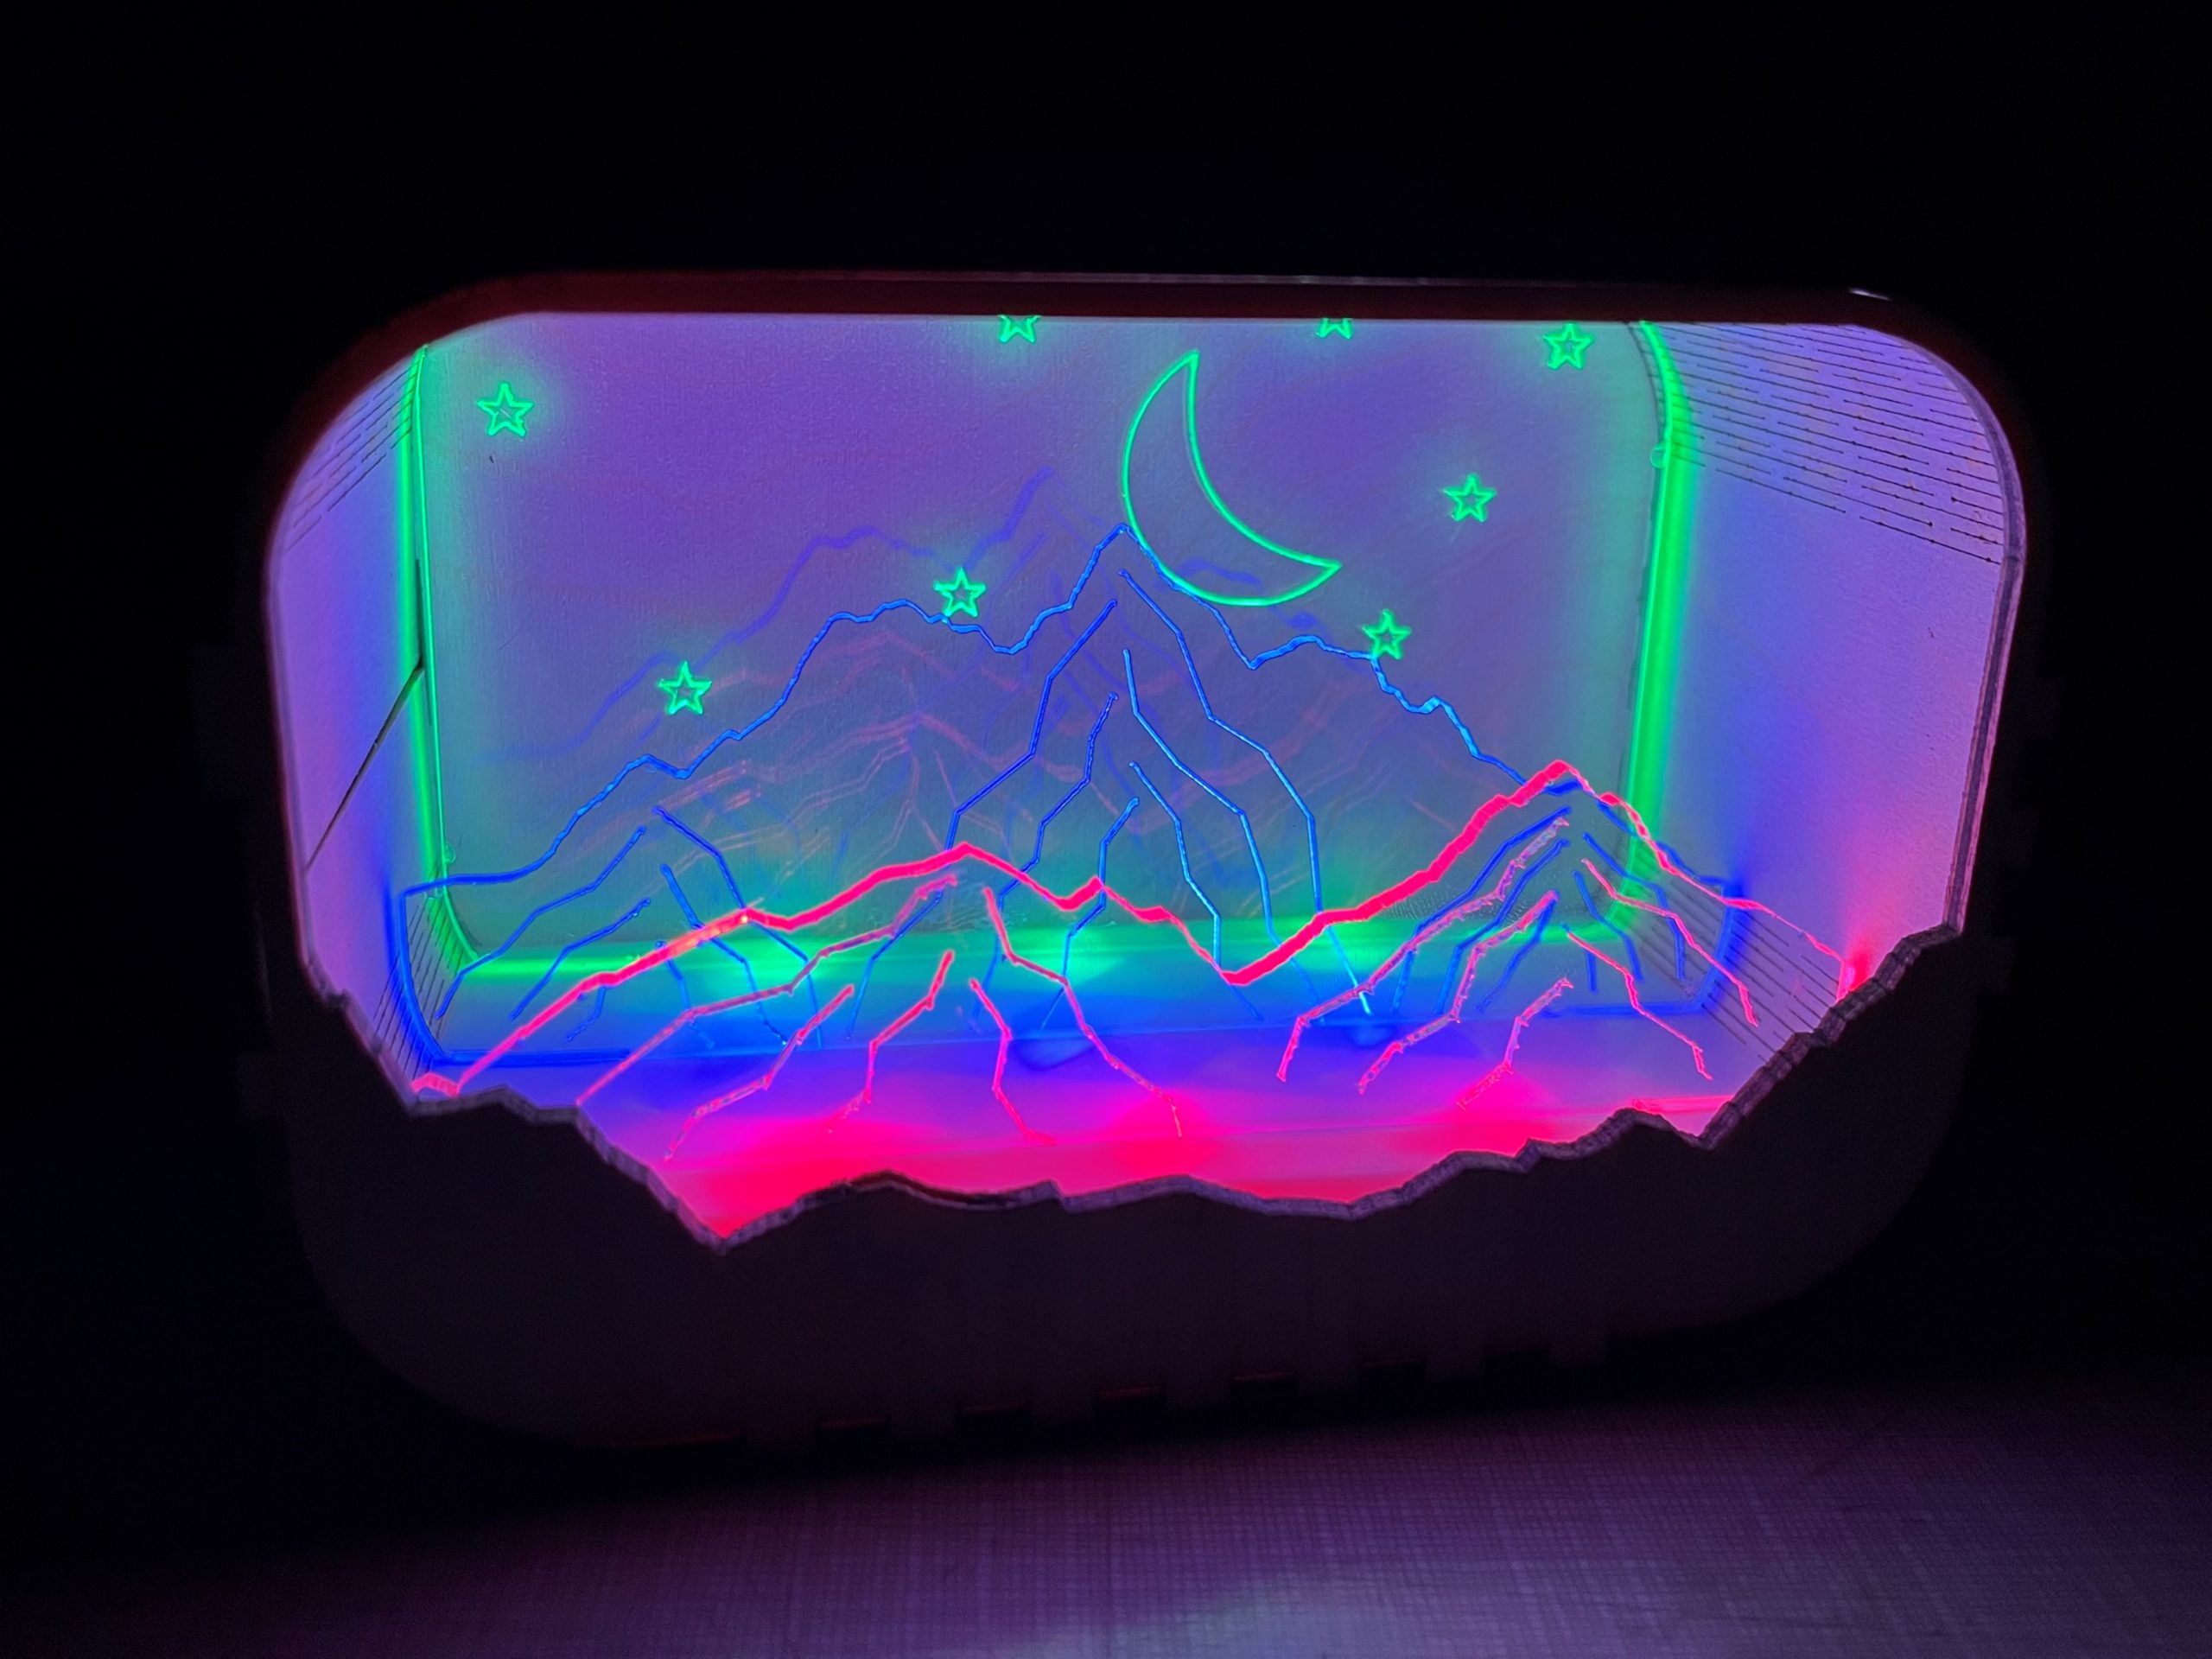
Update: I have since 3D printed the base, recut the acrylic panes to add more detail and soldered the LED light strips to provide the under glow to the acrylic. The soldering was tedious as expected and it turned out the LED colors were mislabeled so I accidentally got the blue and green flipped, but none the less I am happy with how the project came out. I was able to clop a USB cable and pull power off of it directly since my LED strips run off a 5v source.
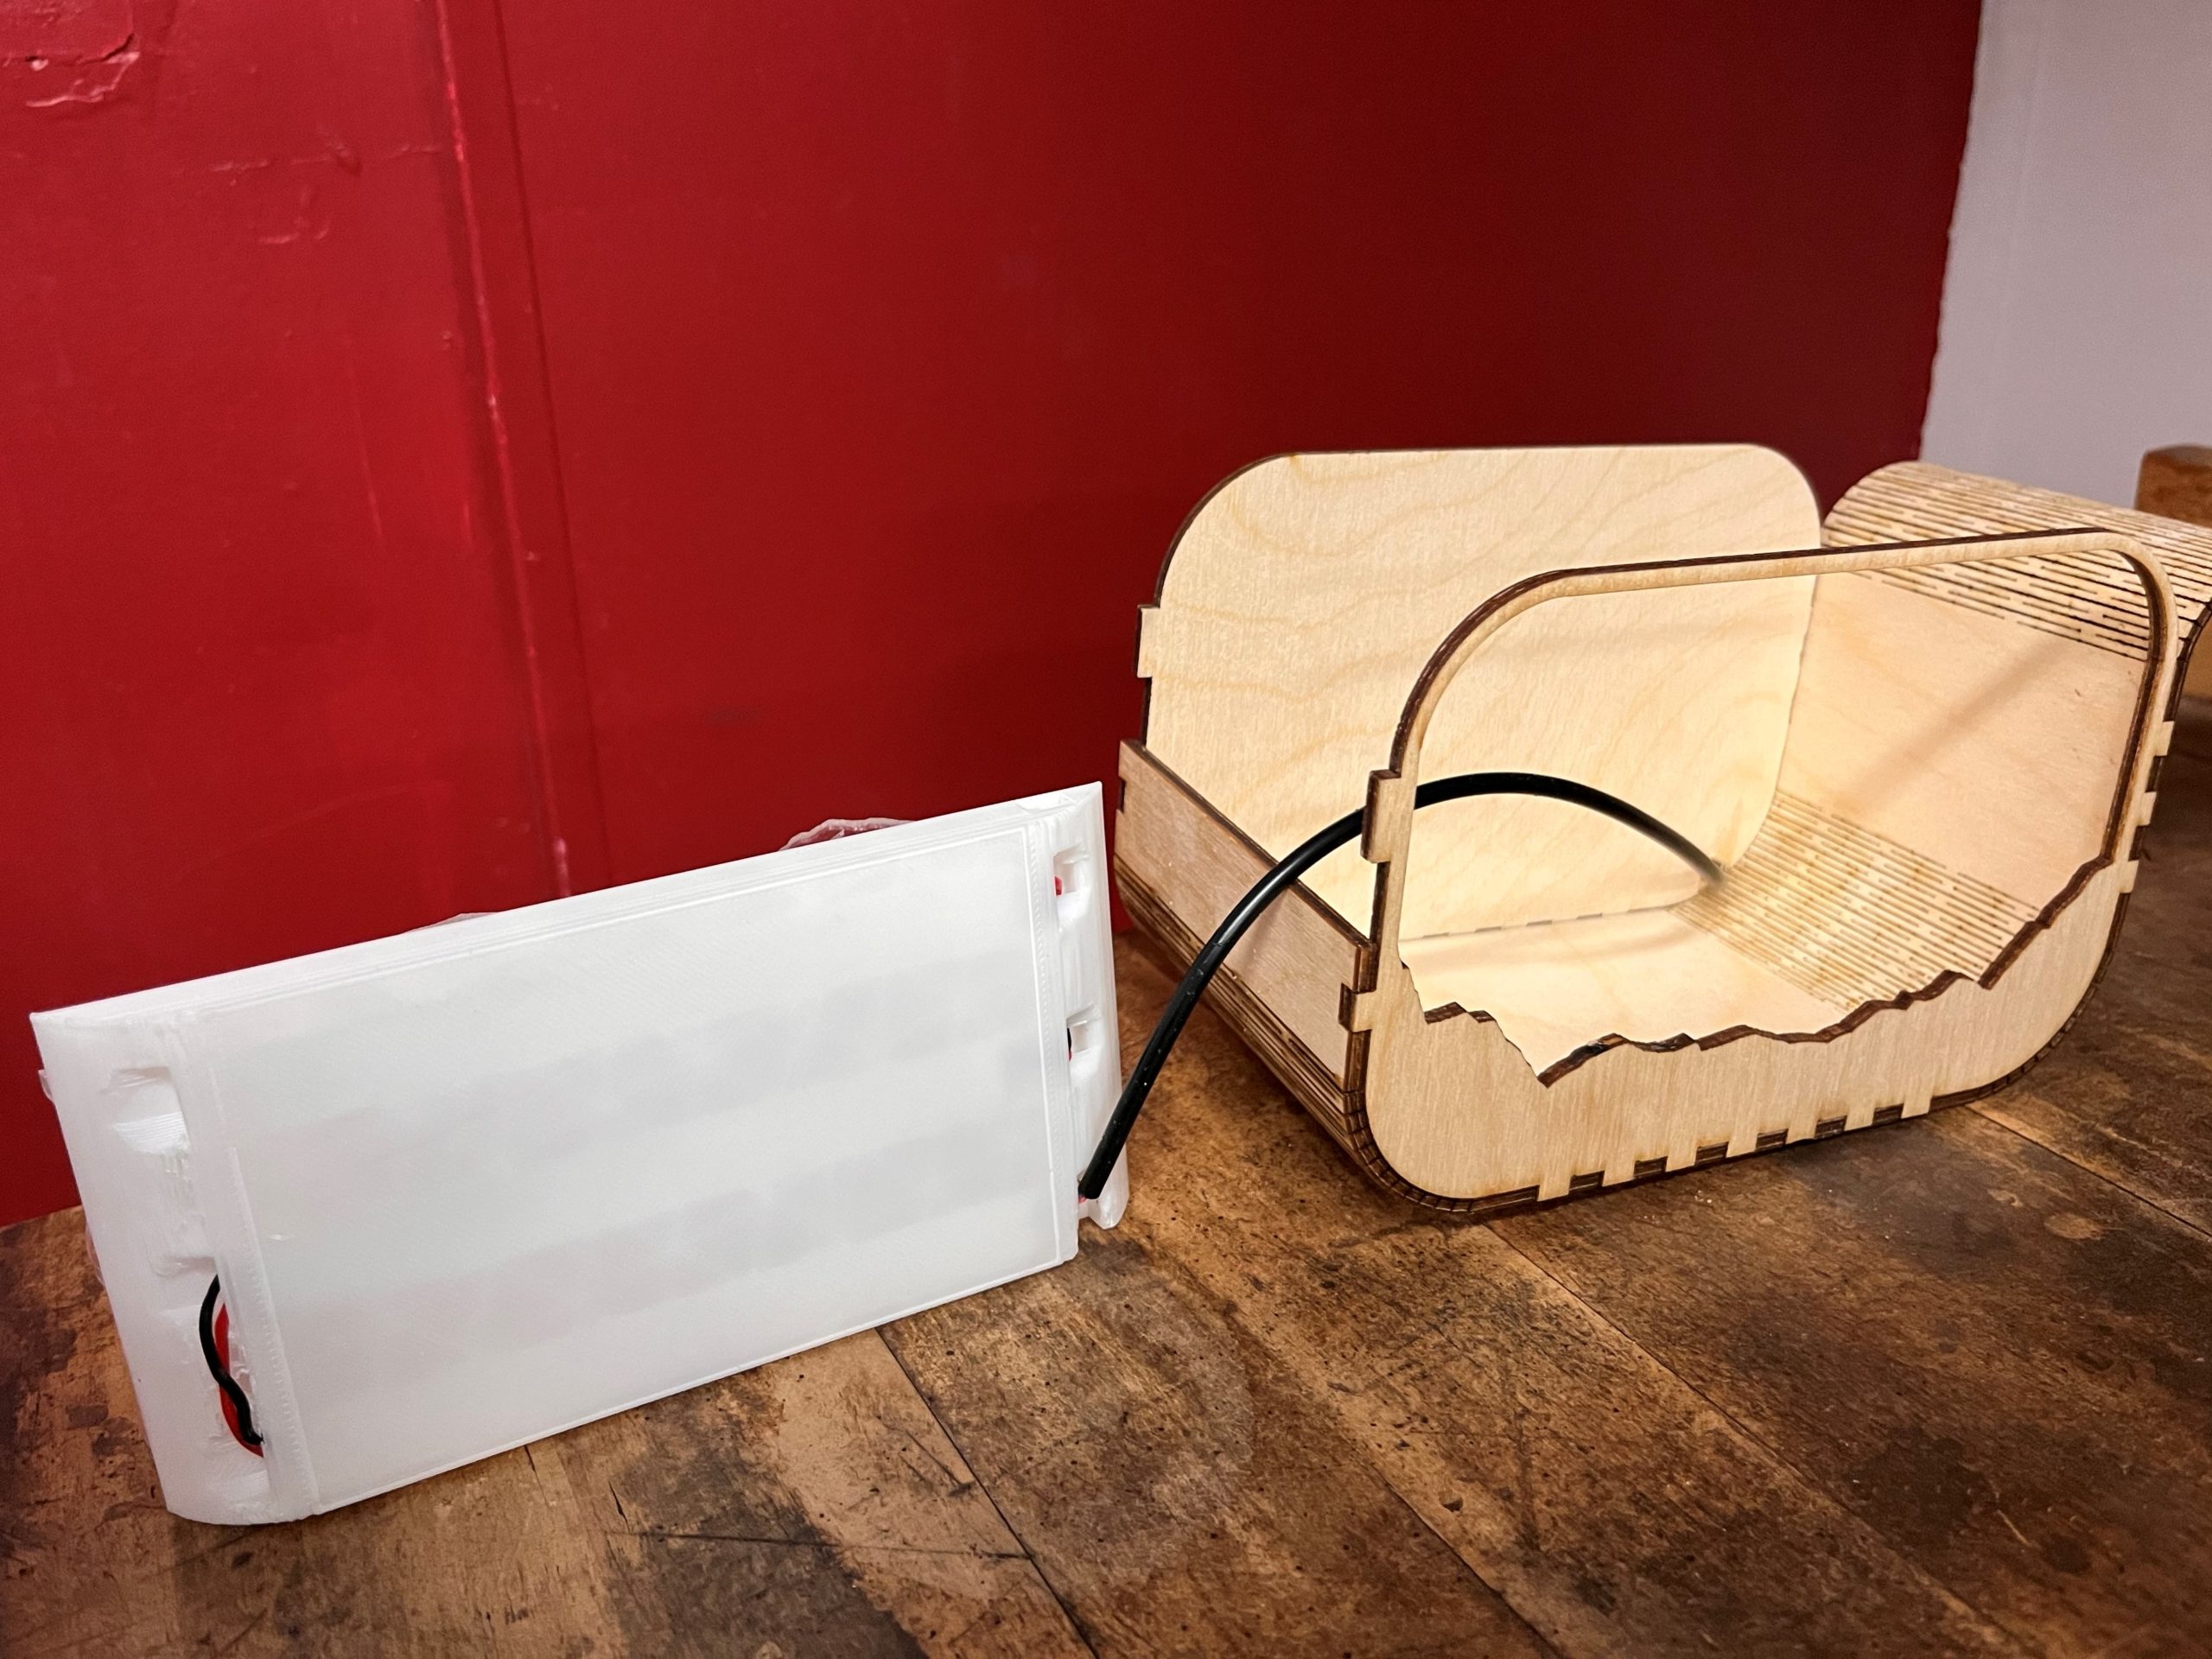
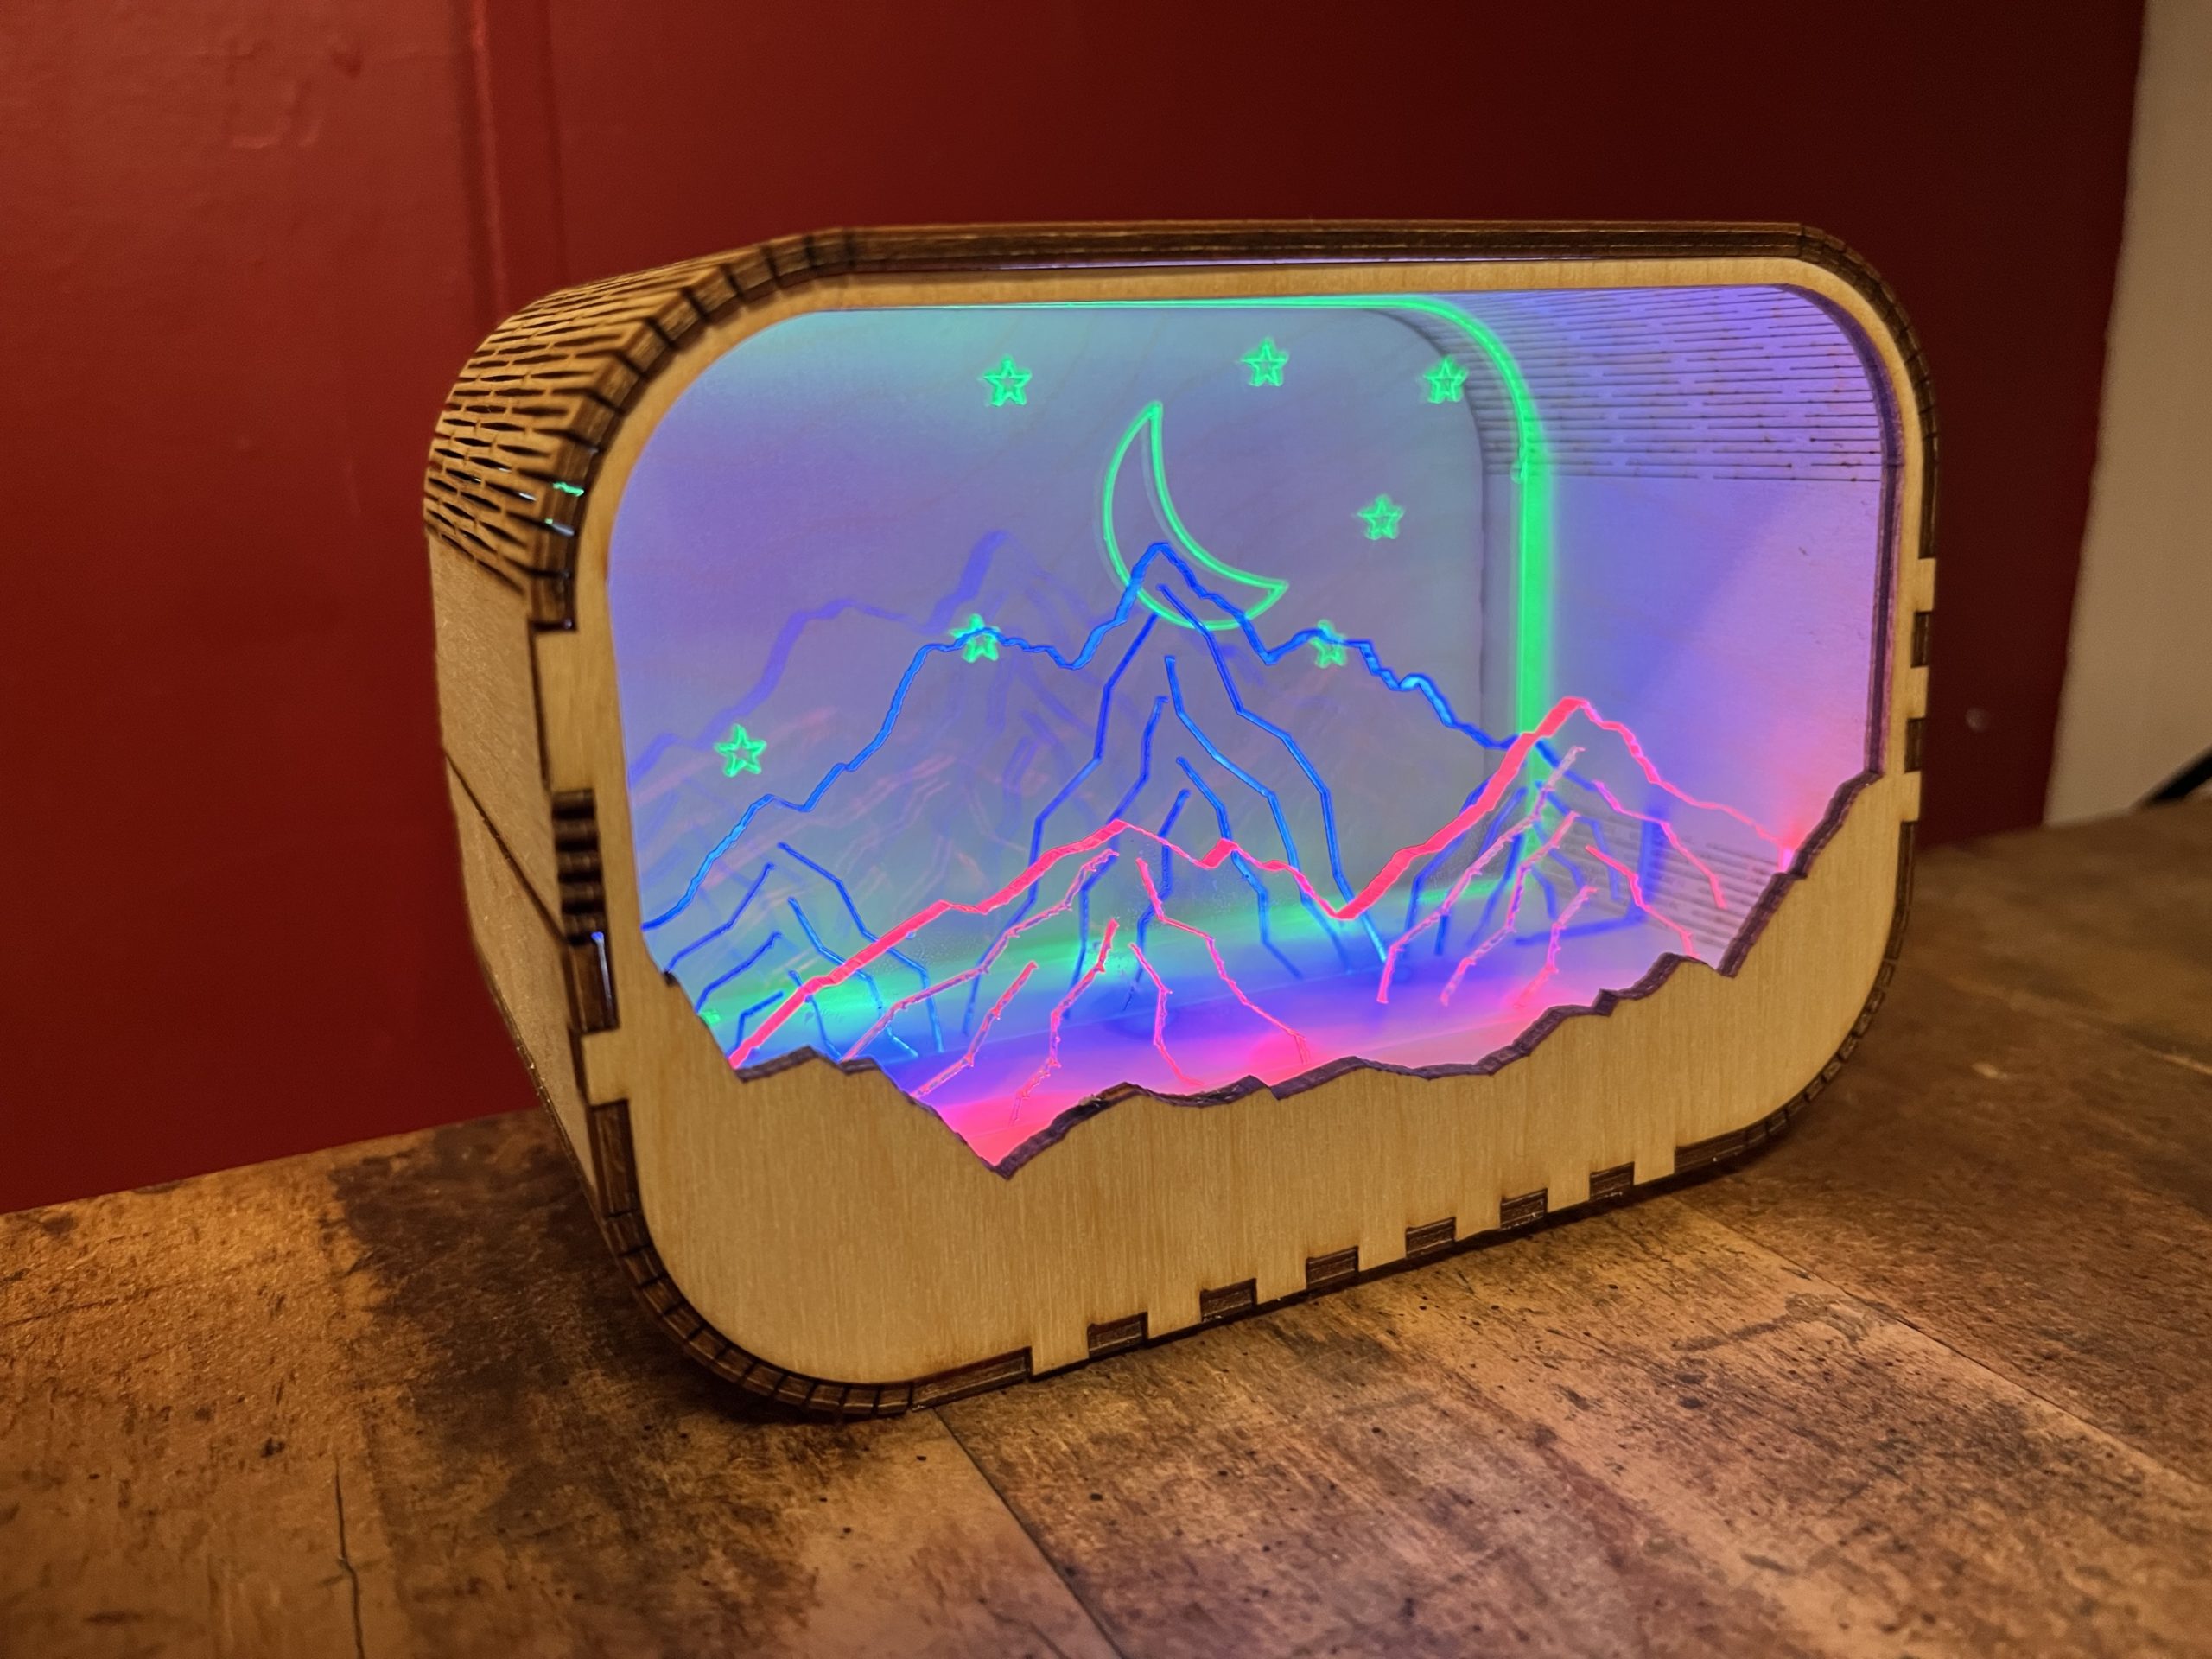

Overall I am really happy with the completion of this project and will likely use this concept in the future to make personalized gifts for family and friends!
I also appreciate the light that is escaping from the kerf, I think it adds to the piece, especially as it is not too bright. Can the LEDs change color? My opinion is that the piece would be very appealing with changing colors.