While I was making progress in this class steadily over the course of the term, posting about that progress was not as consistent. I still find that this type of information is helpful though, so I wanted to go over all the stuff that went into design for the Lantern and the Altered Toys (the Layers Project WIP post did manage to get made), in case someone else would like to know. Plus this gives the final projects their own post.
Lantern
Admittedly, my idea for this project greatly pivoted halfway through. My first thought was to create a sort of reverse-zoetrope and make all the panels into different frames of an animation. However, I am a very indecisive person and couldn’t think of a subject. And someone else also thought of the idea which made me want to try to think up something more different.
I really racked my brain for a while, and while looking up inspiration I saw this on Etsy.
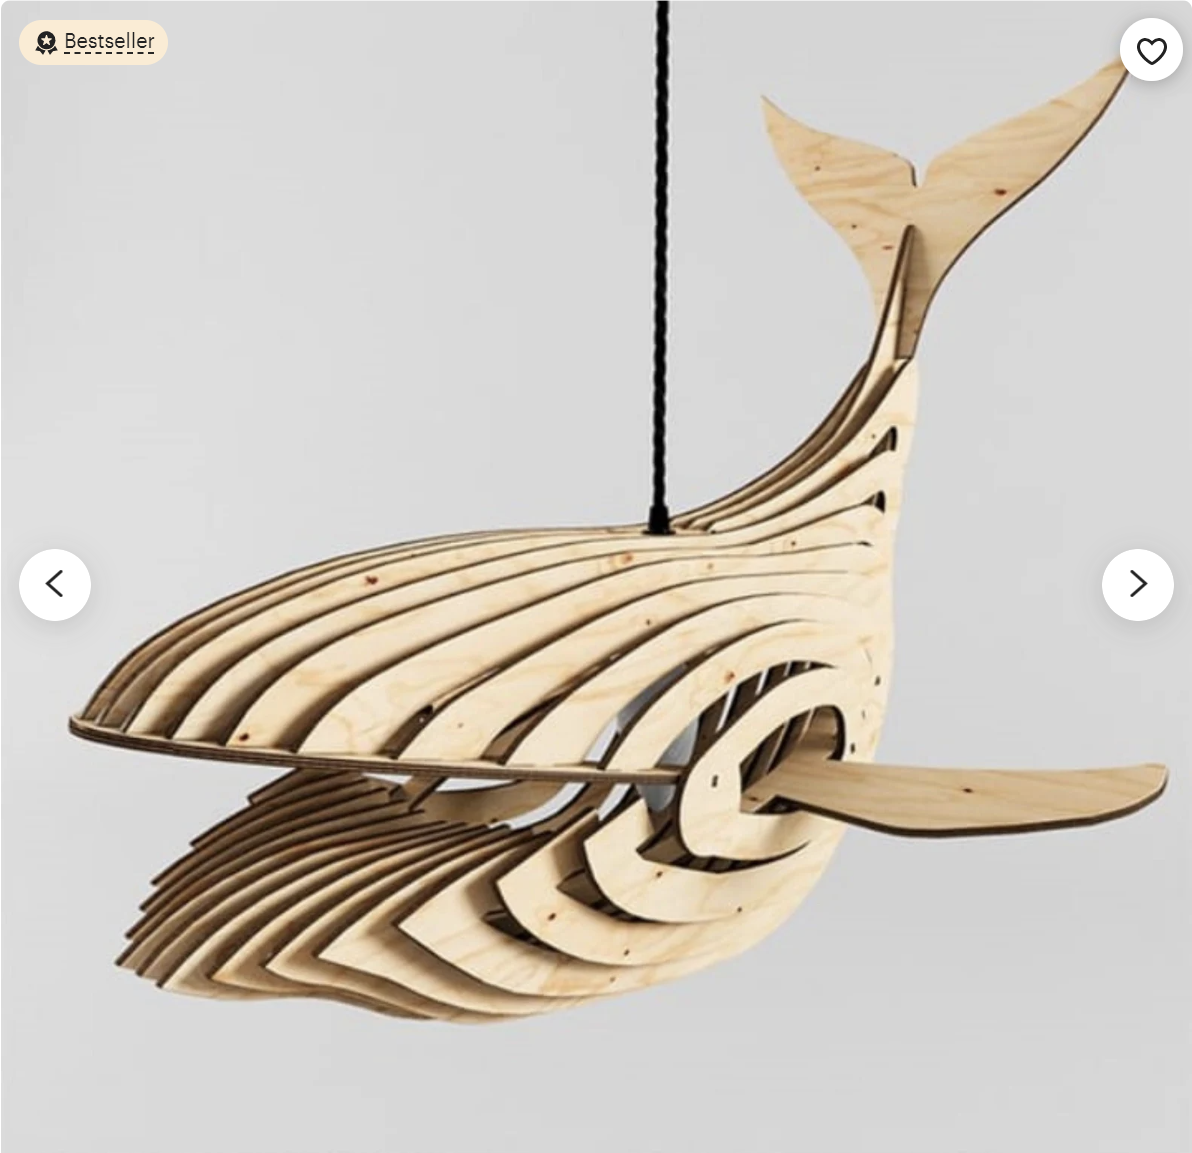
I thought an animal lantern would be pretty cool. I liked the idea of a nonconventional shape for it. So I then thought, what animal? After more ruminating I finally landed on: chimken.
I went into zBrush and sculpted this lil guy, with an inside cavity where I could put the lights.
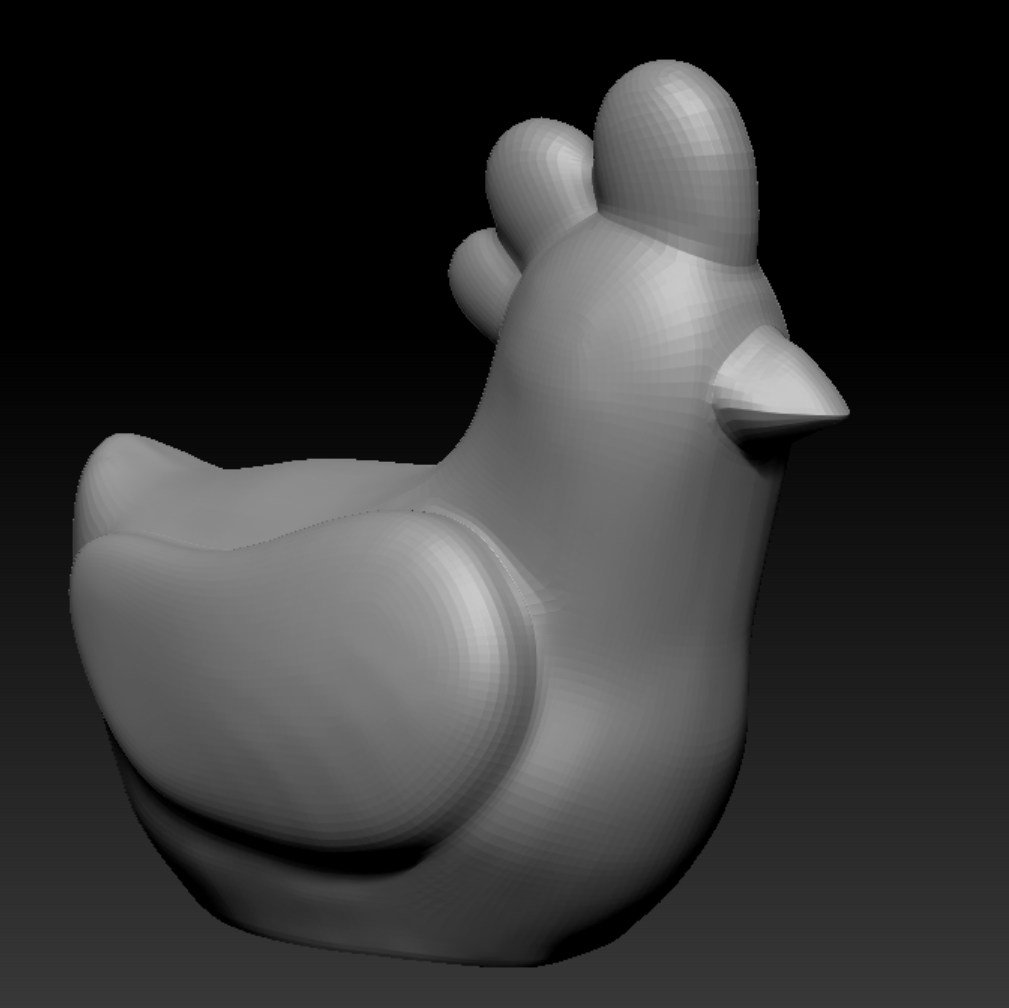
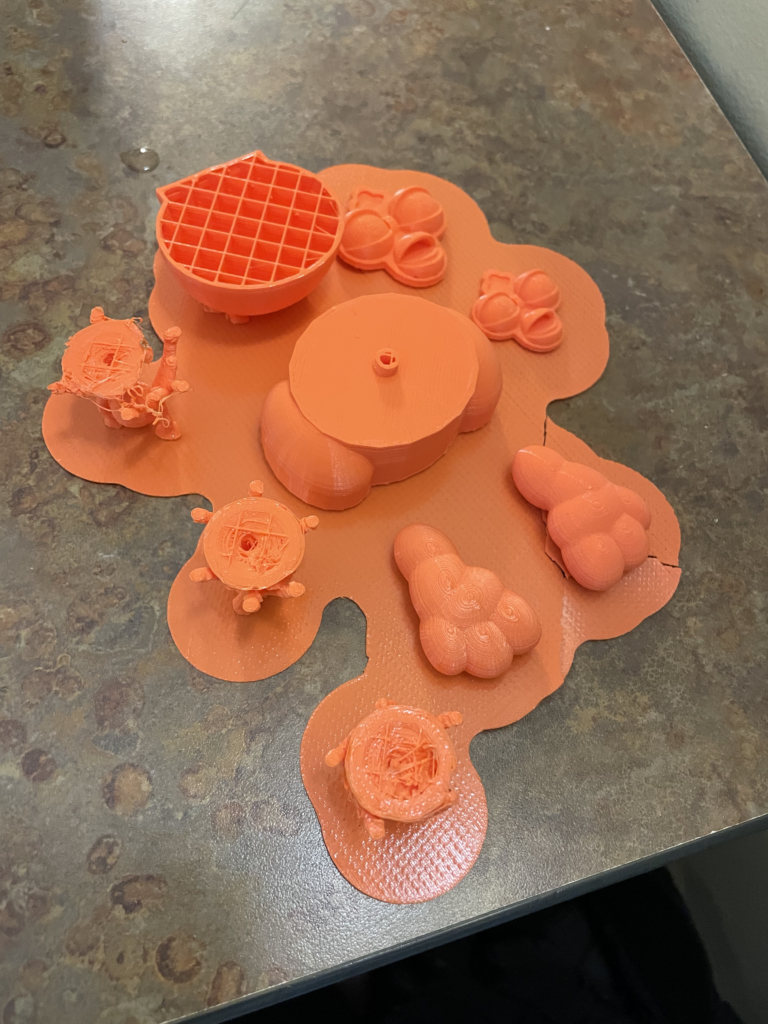
Brought that to Fusion Slicer and initially got it made with horizontal and vertical slices. However, as I was fiddling with the settings to get the slices I wanted, I ended up rotating it 45 degrees. The result was this this really interesting cross section in the chicken. I thought it would be perfect because the x shape it made kind of resembles chicken wire, and the shadows it cast might as well! I was really excited about that. I did notice that almost the entire design was red and Fusion Slicer was throwing some errors but that probably won’t be a problem, right?


Once I made that, I exported the files and brought them to Illustrator to better organize them and use less material (it was initially expected to be 9 sheets of plywood but I was able to put it all into 2!) and got it cut.
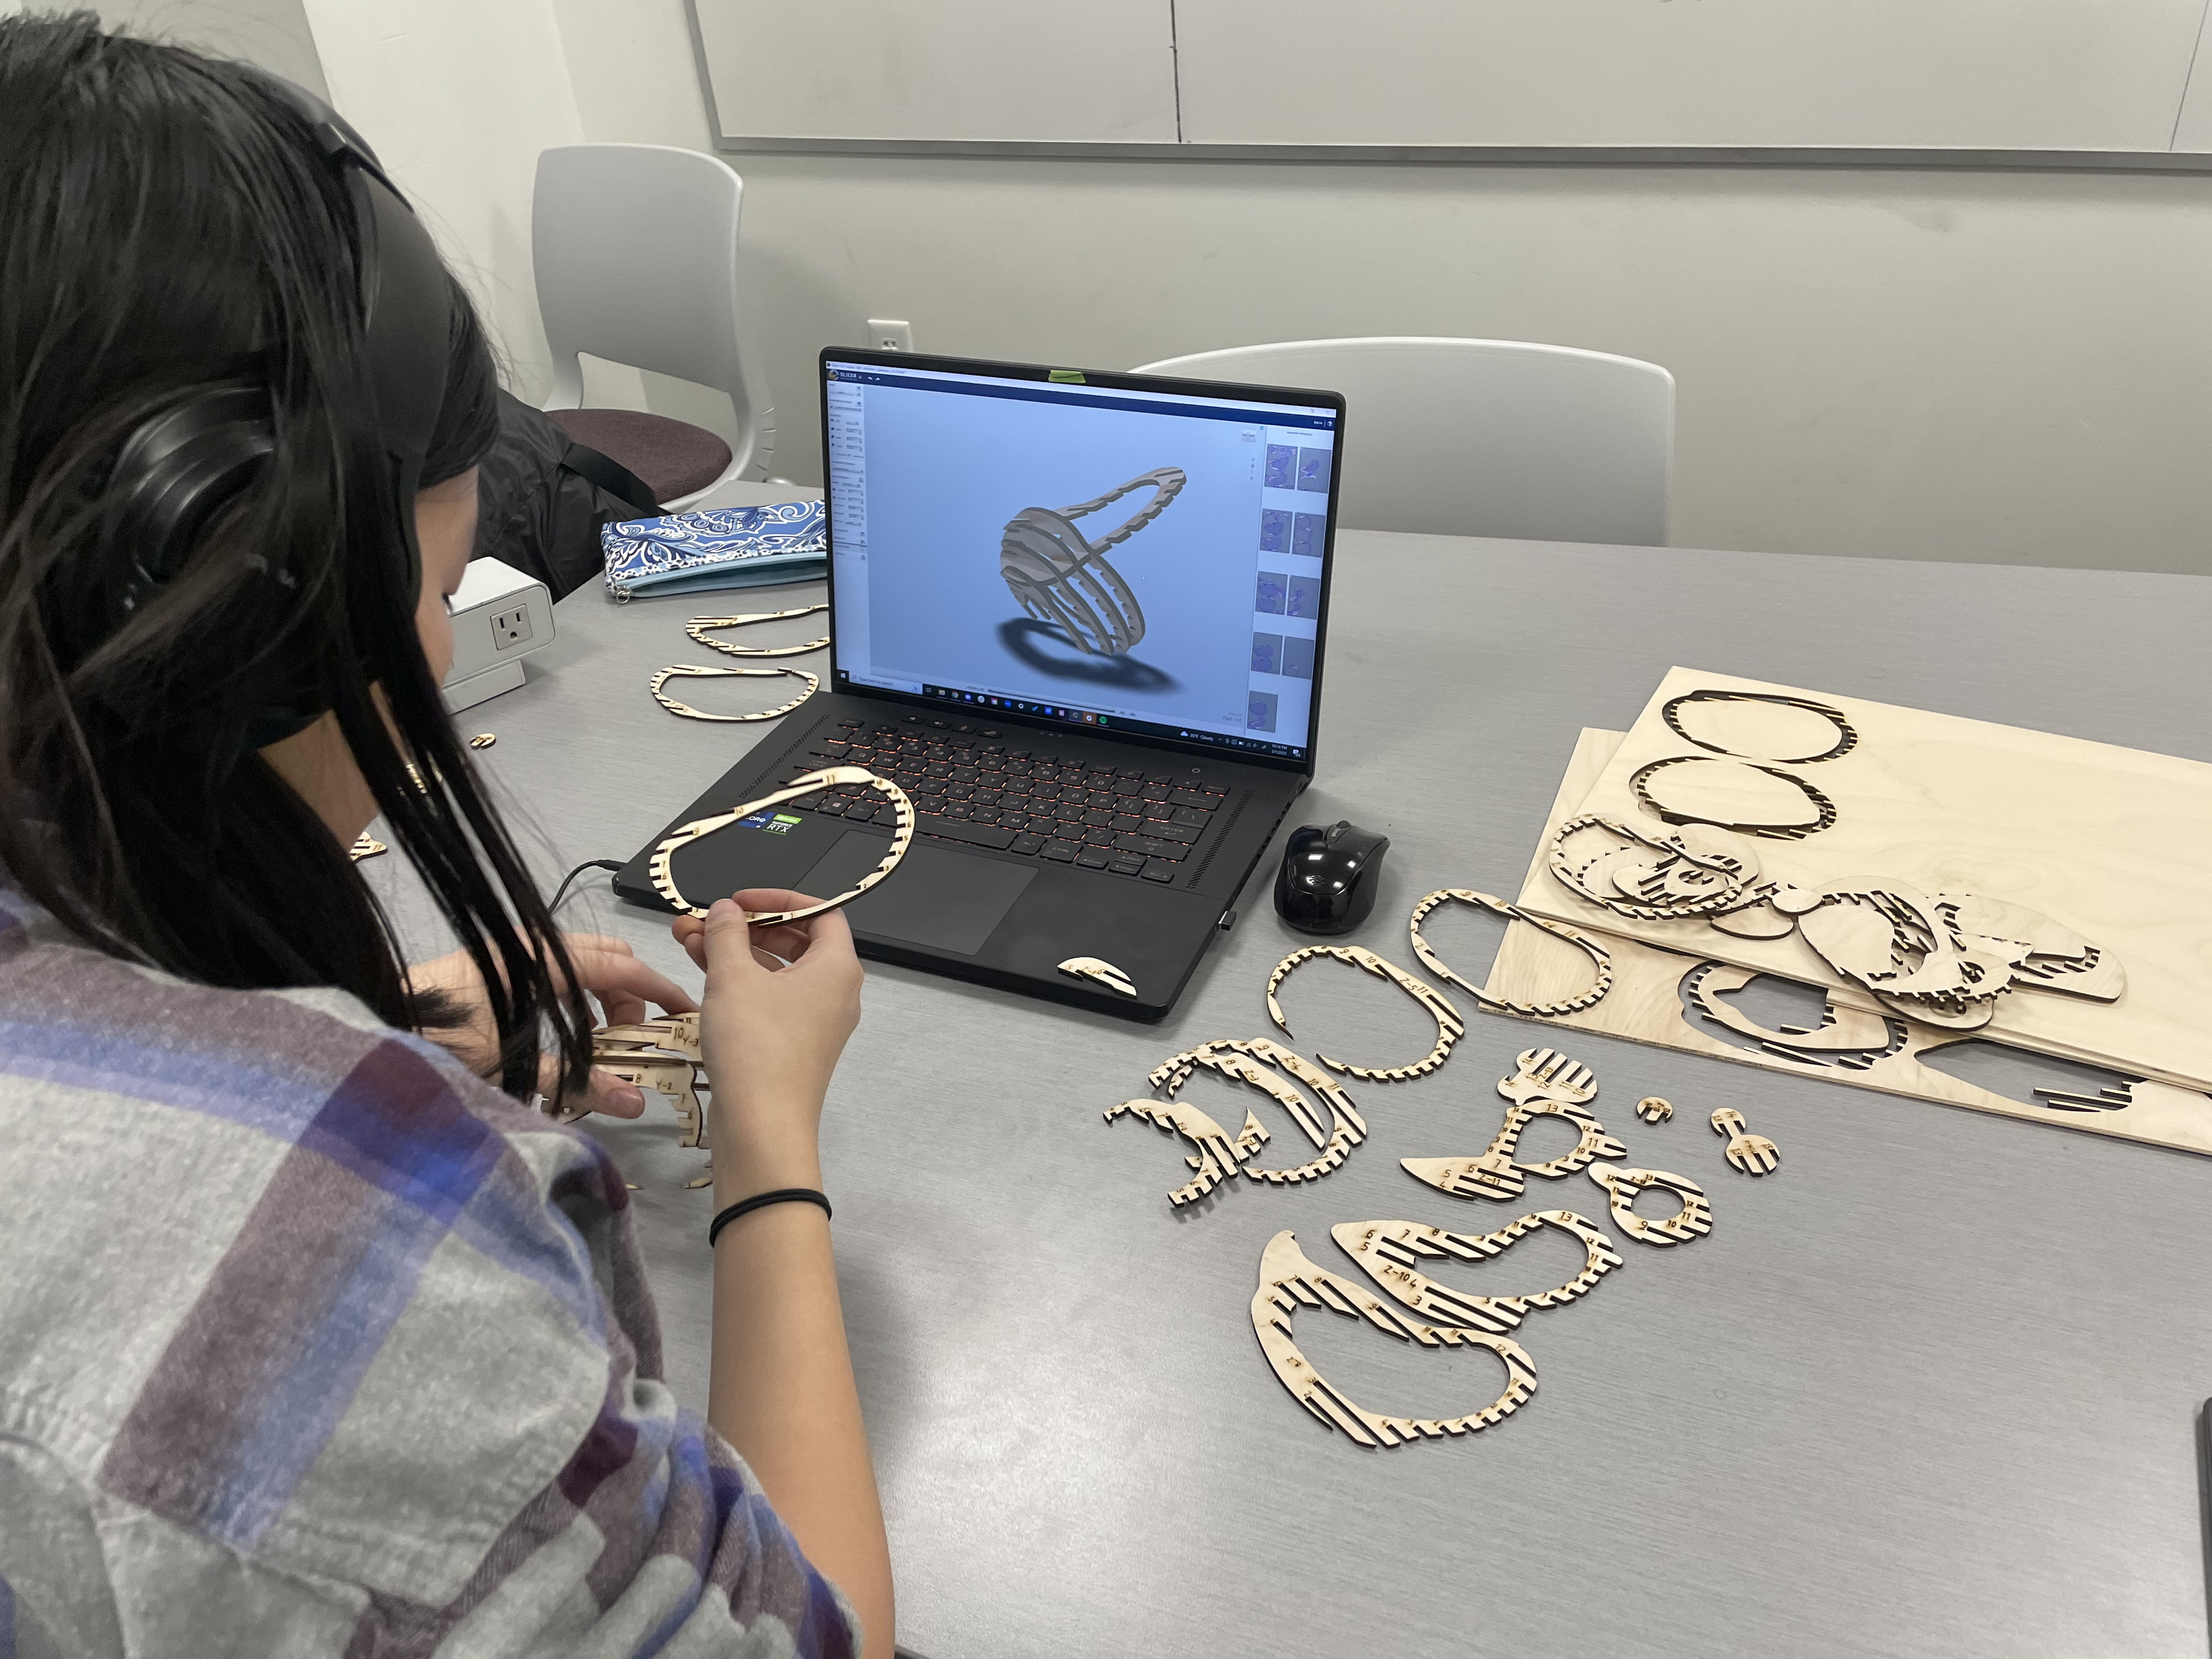
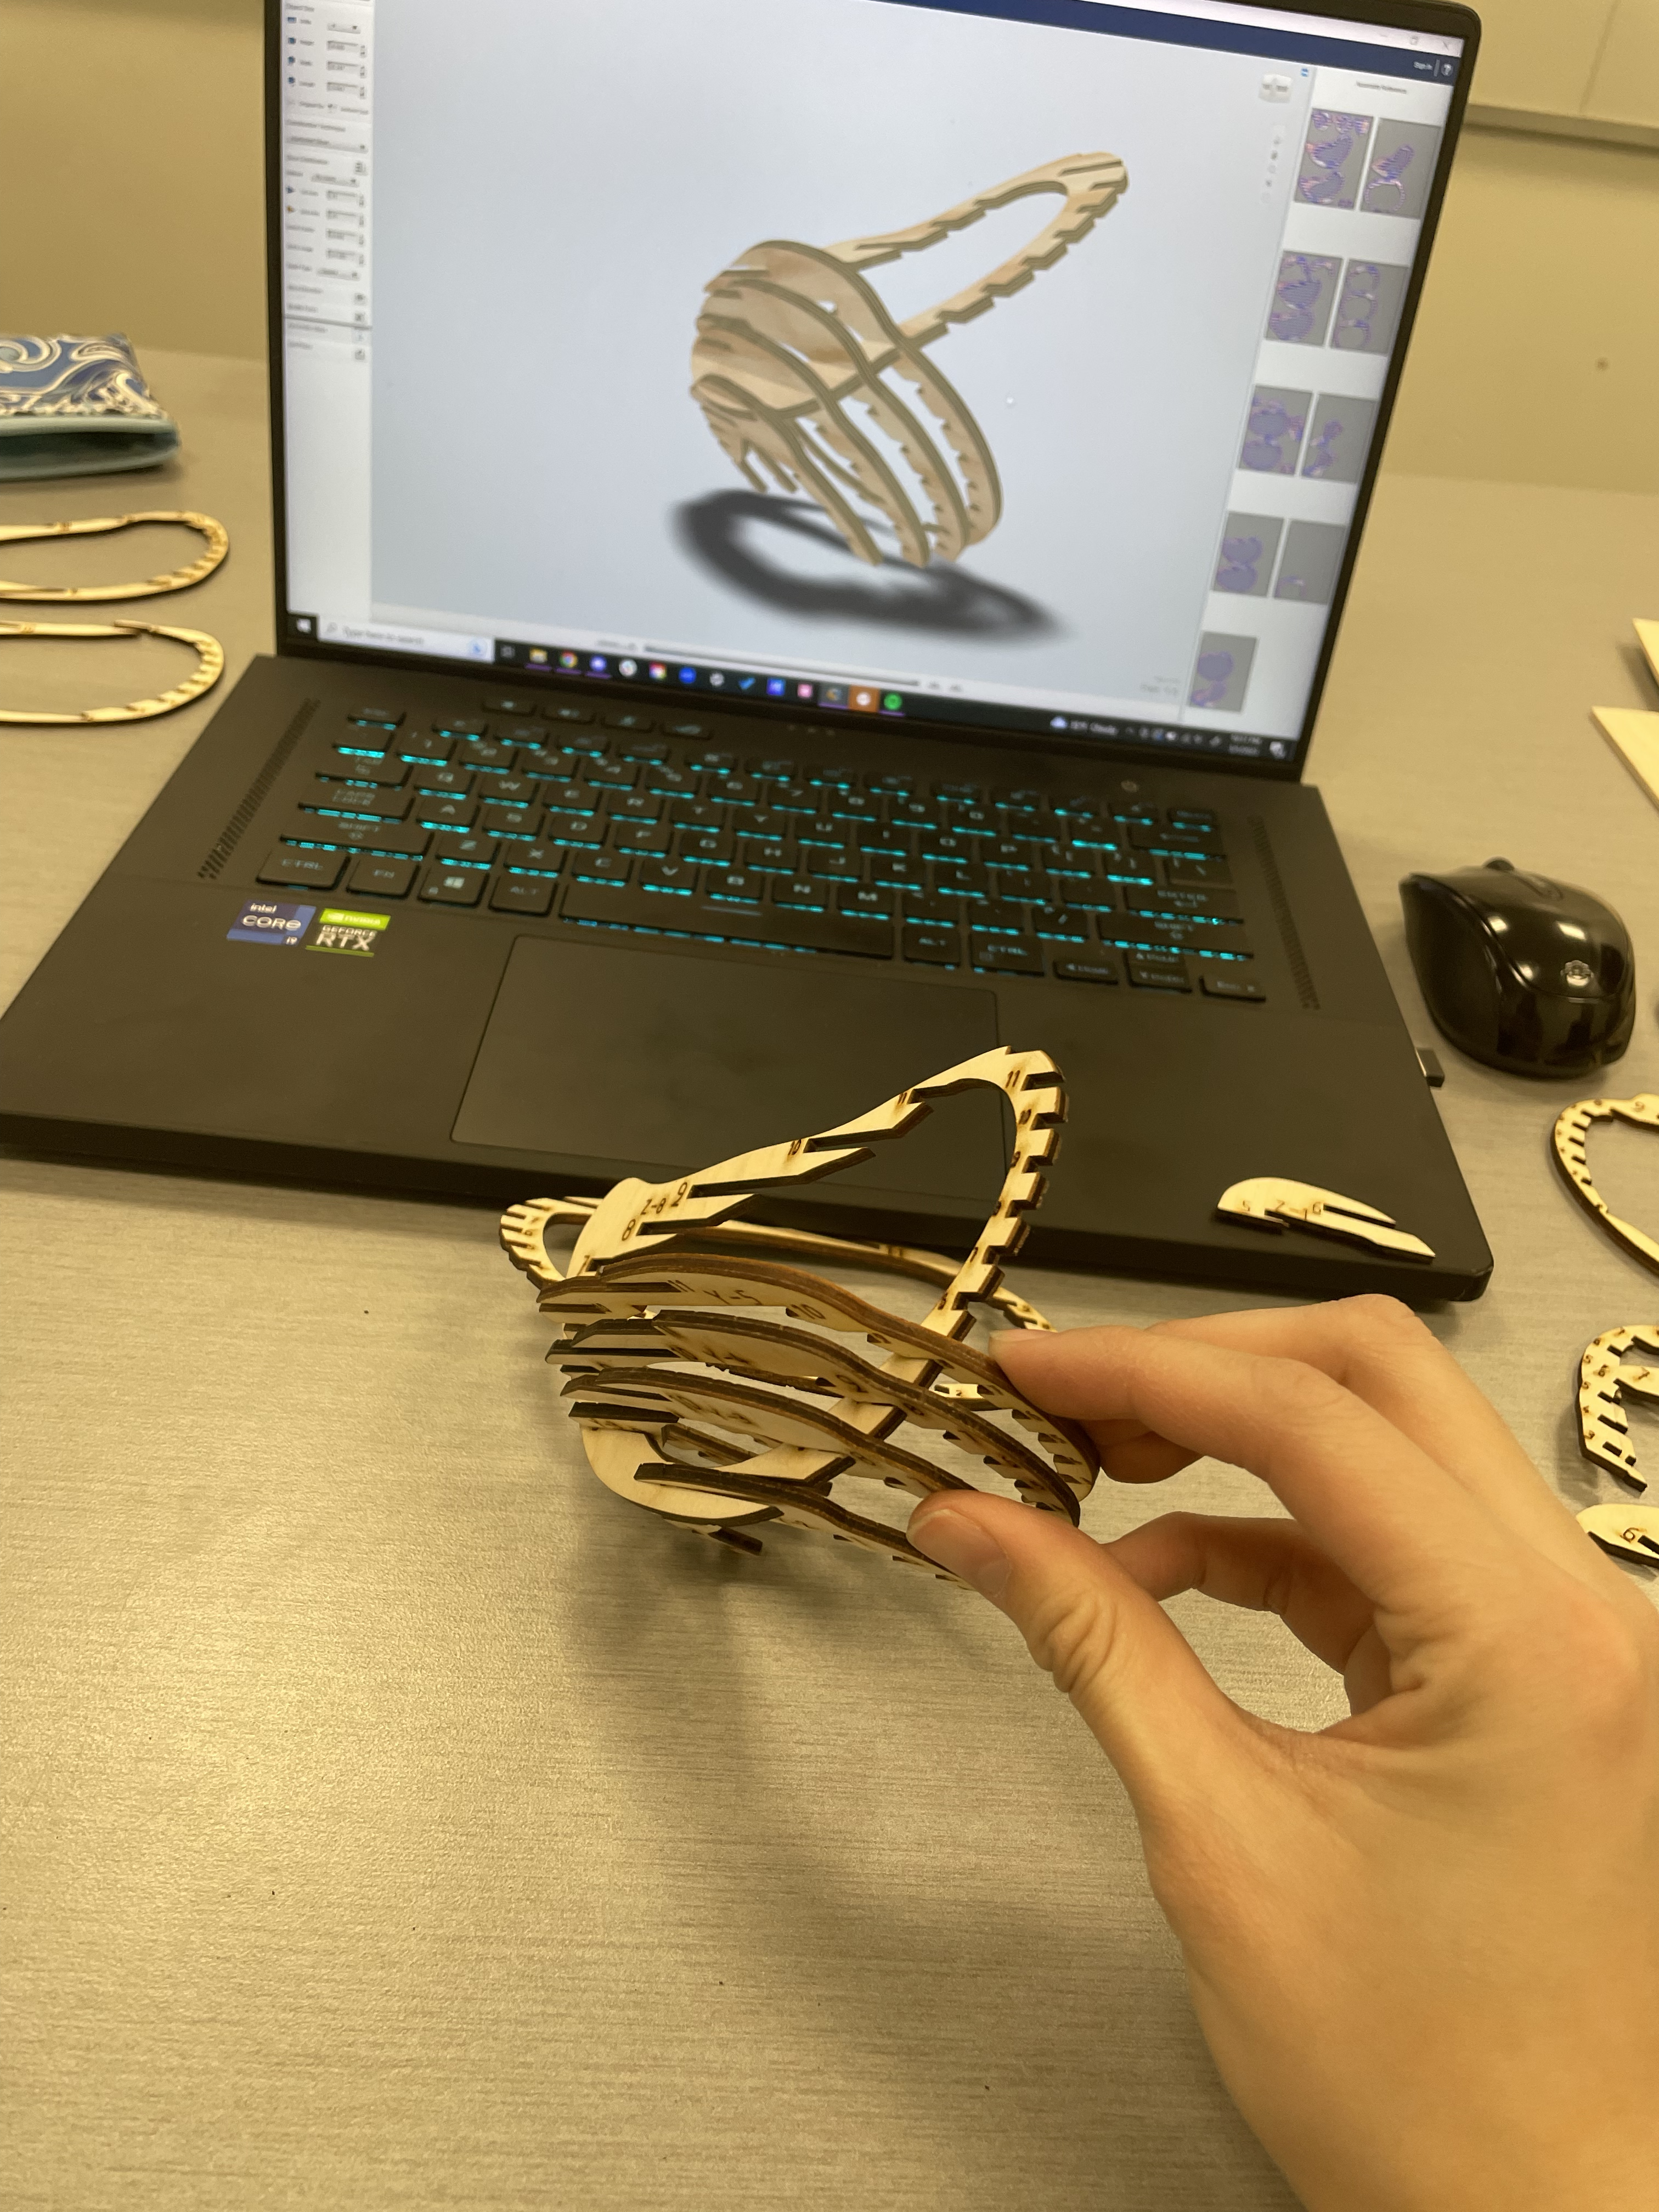
I took some pics while I was assembling it.
Altered Toys
This was another project I had to ruminate on for a while, but something reminded me of a fun little childhood toy now somewhat turned into a meme: the Furby. And of course, the first way I thought to alter a Furby is to create a long Furby.
In case you didn’t know, it has become a thing to mod Furbies, and the typical way people do so is by elongating them. If you wanna be slightly disturbed but also intrigued, definitely look up “long furbies”.
Anywho, for my projects I wanted to take the concept of a long Furby and combine it with an articulated fidget toys.
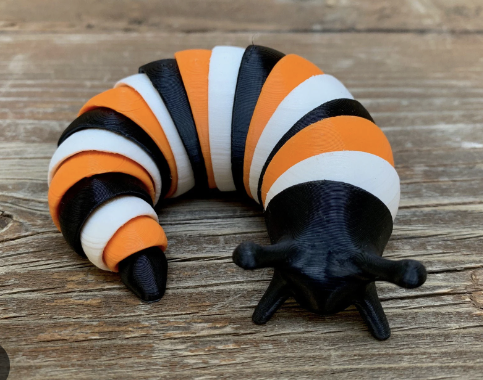
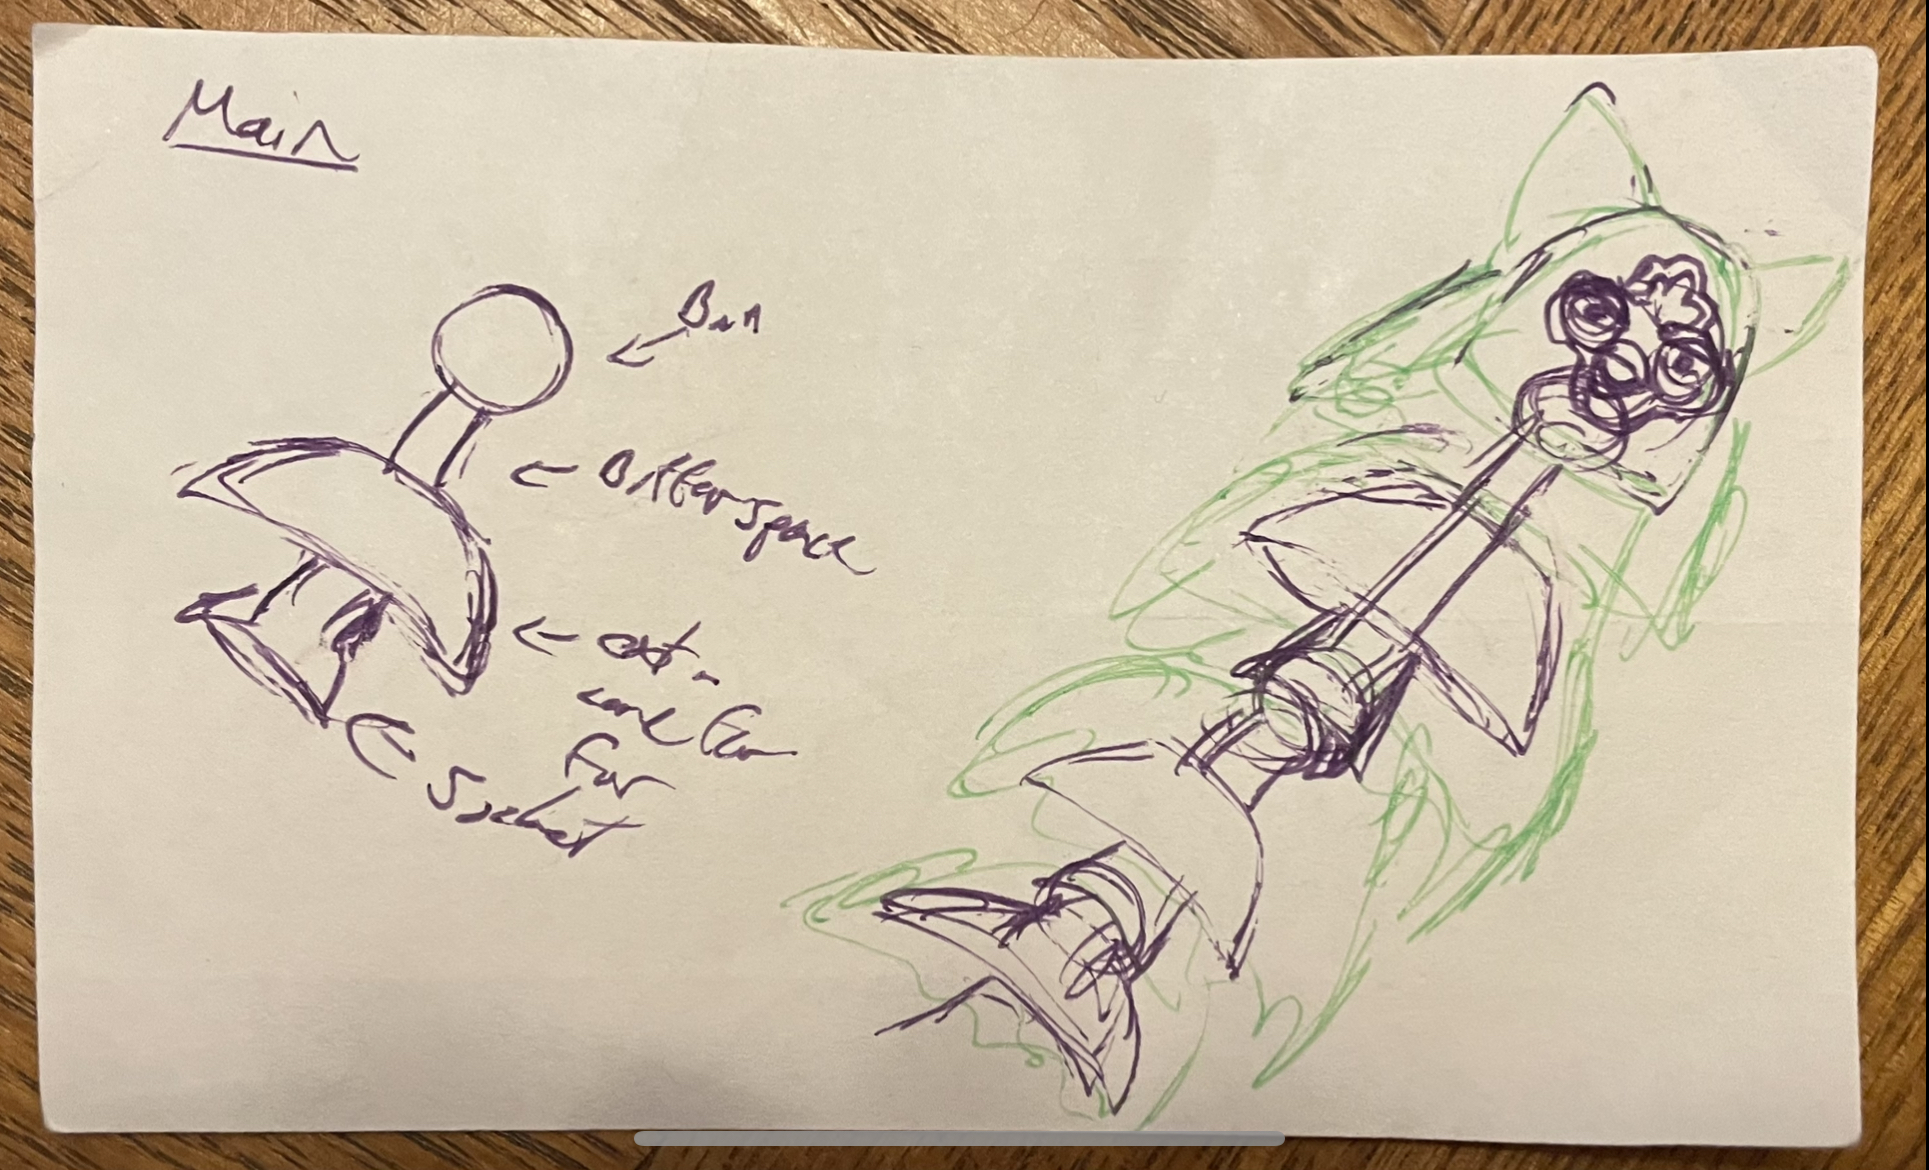
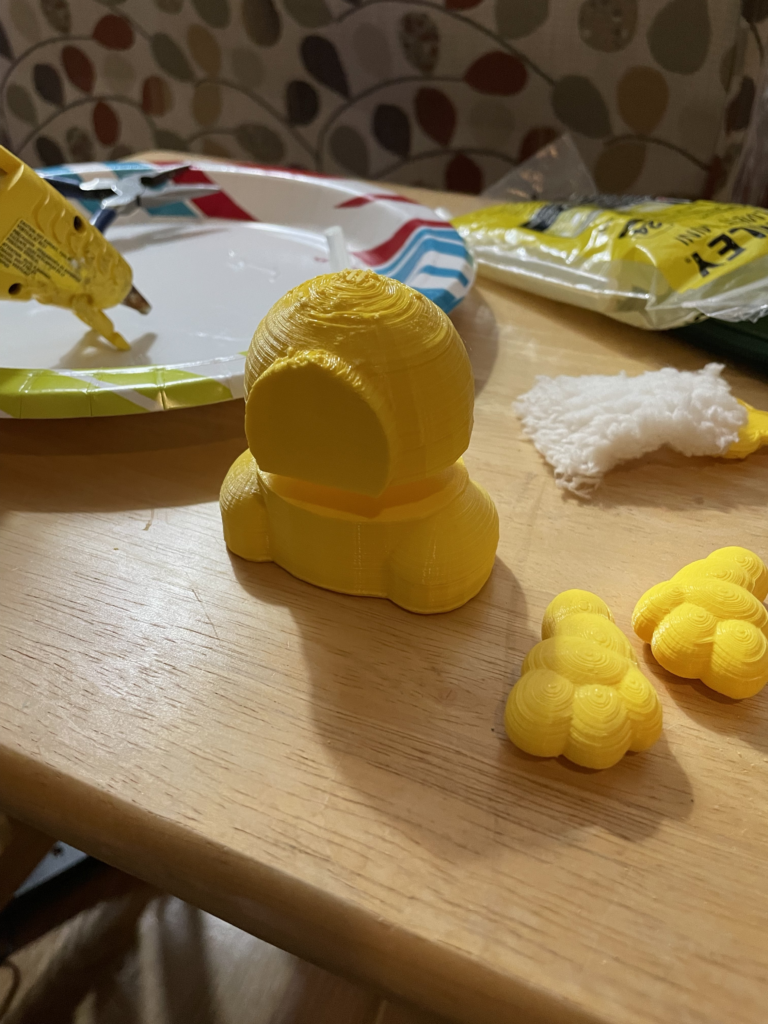
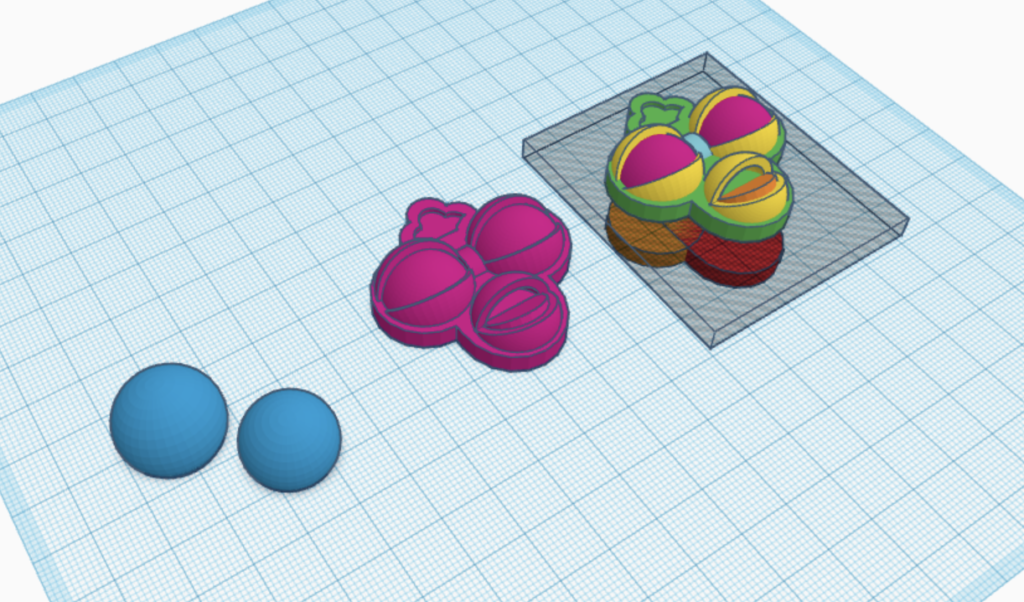
I decided I’d make the base in Tinkercad and cover it in fur to make it really look like a real Furby. I downloaded this ball socket joint to create the articulating skeleton for it, and added an extra cone for the fur to go.
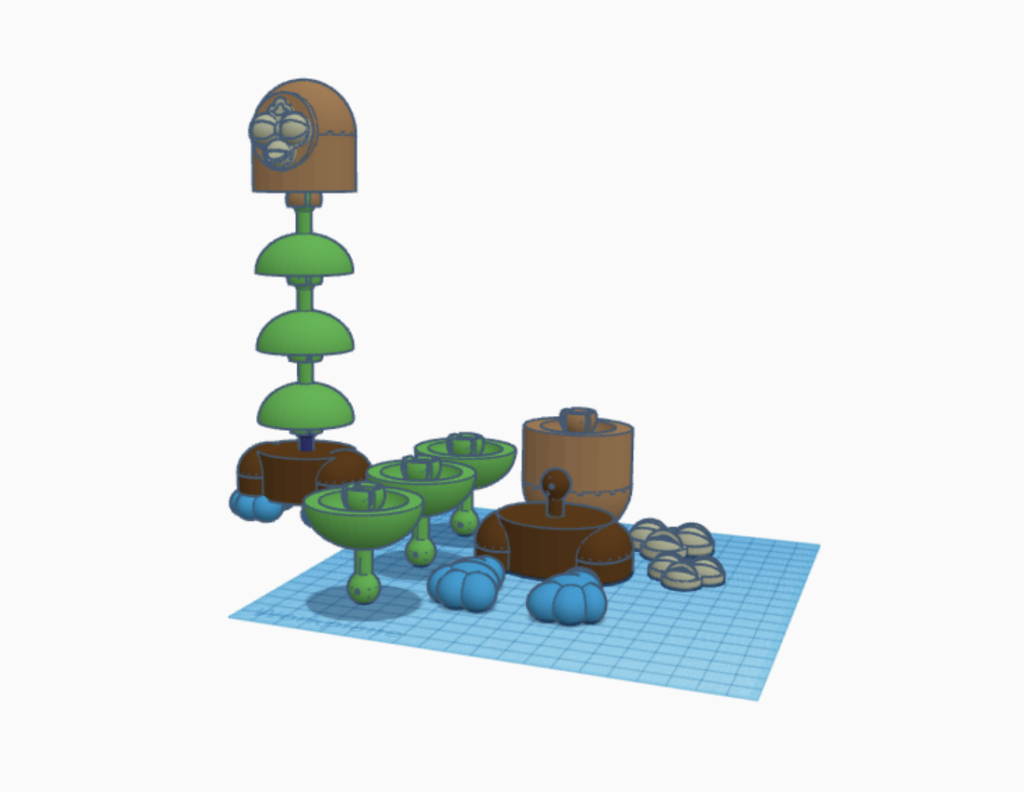
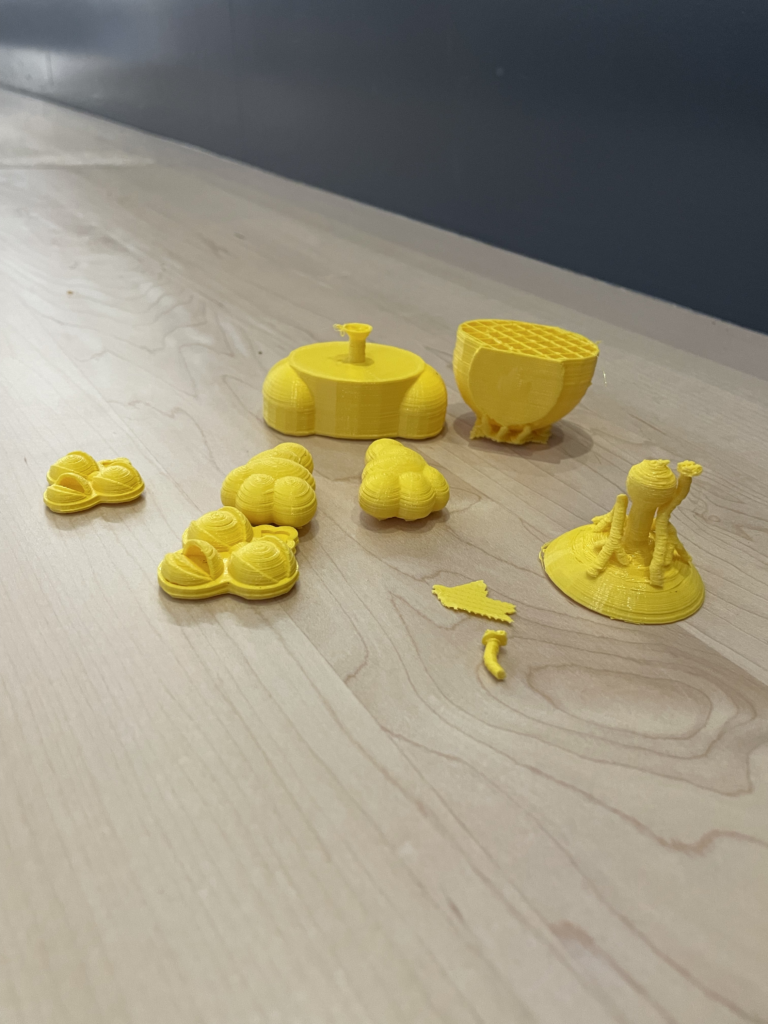
I tried to send this to the printer with time to spare, but it ended up failing…..twice. Luckily, though, the faceplate and feet were low enough that those always came out fine, and I was able to salvage enough of the head and body to make a regular-proportioned Furby.