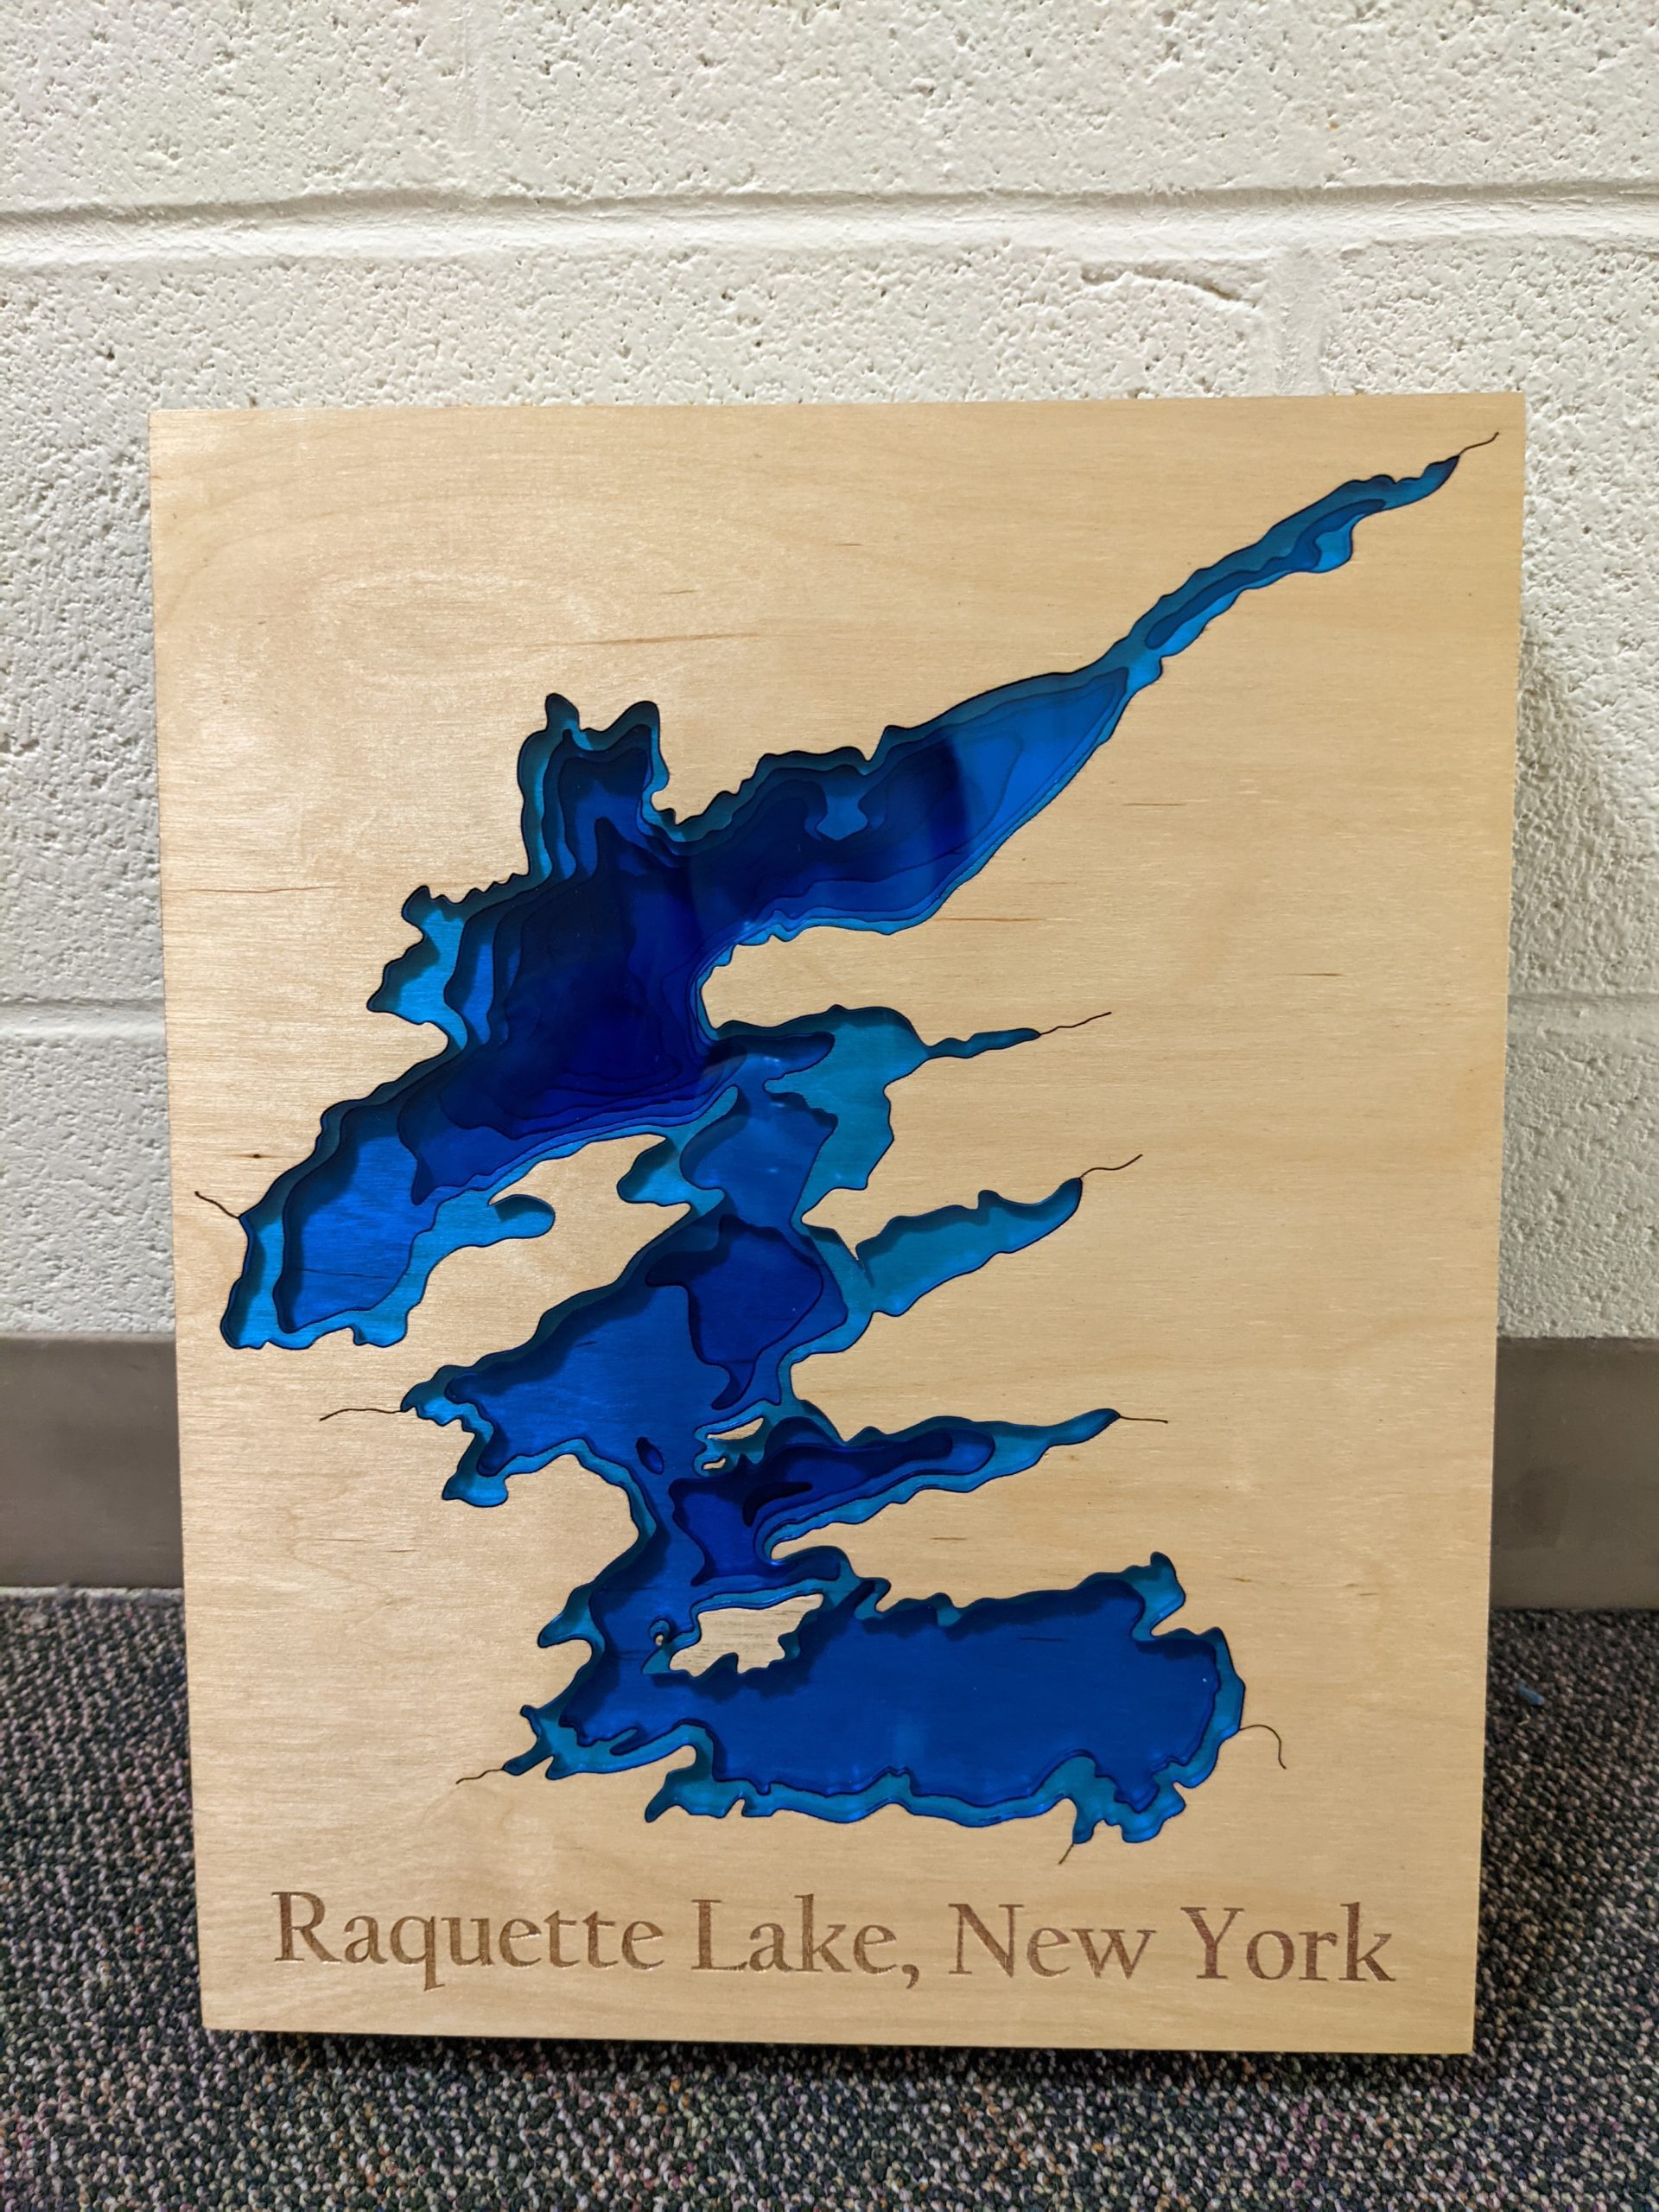
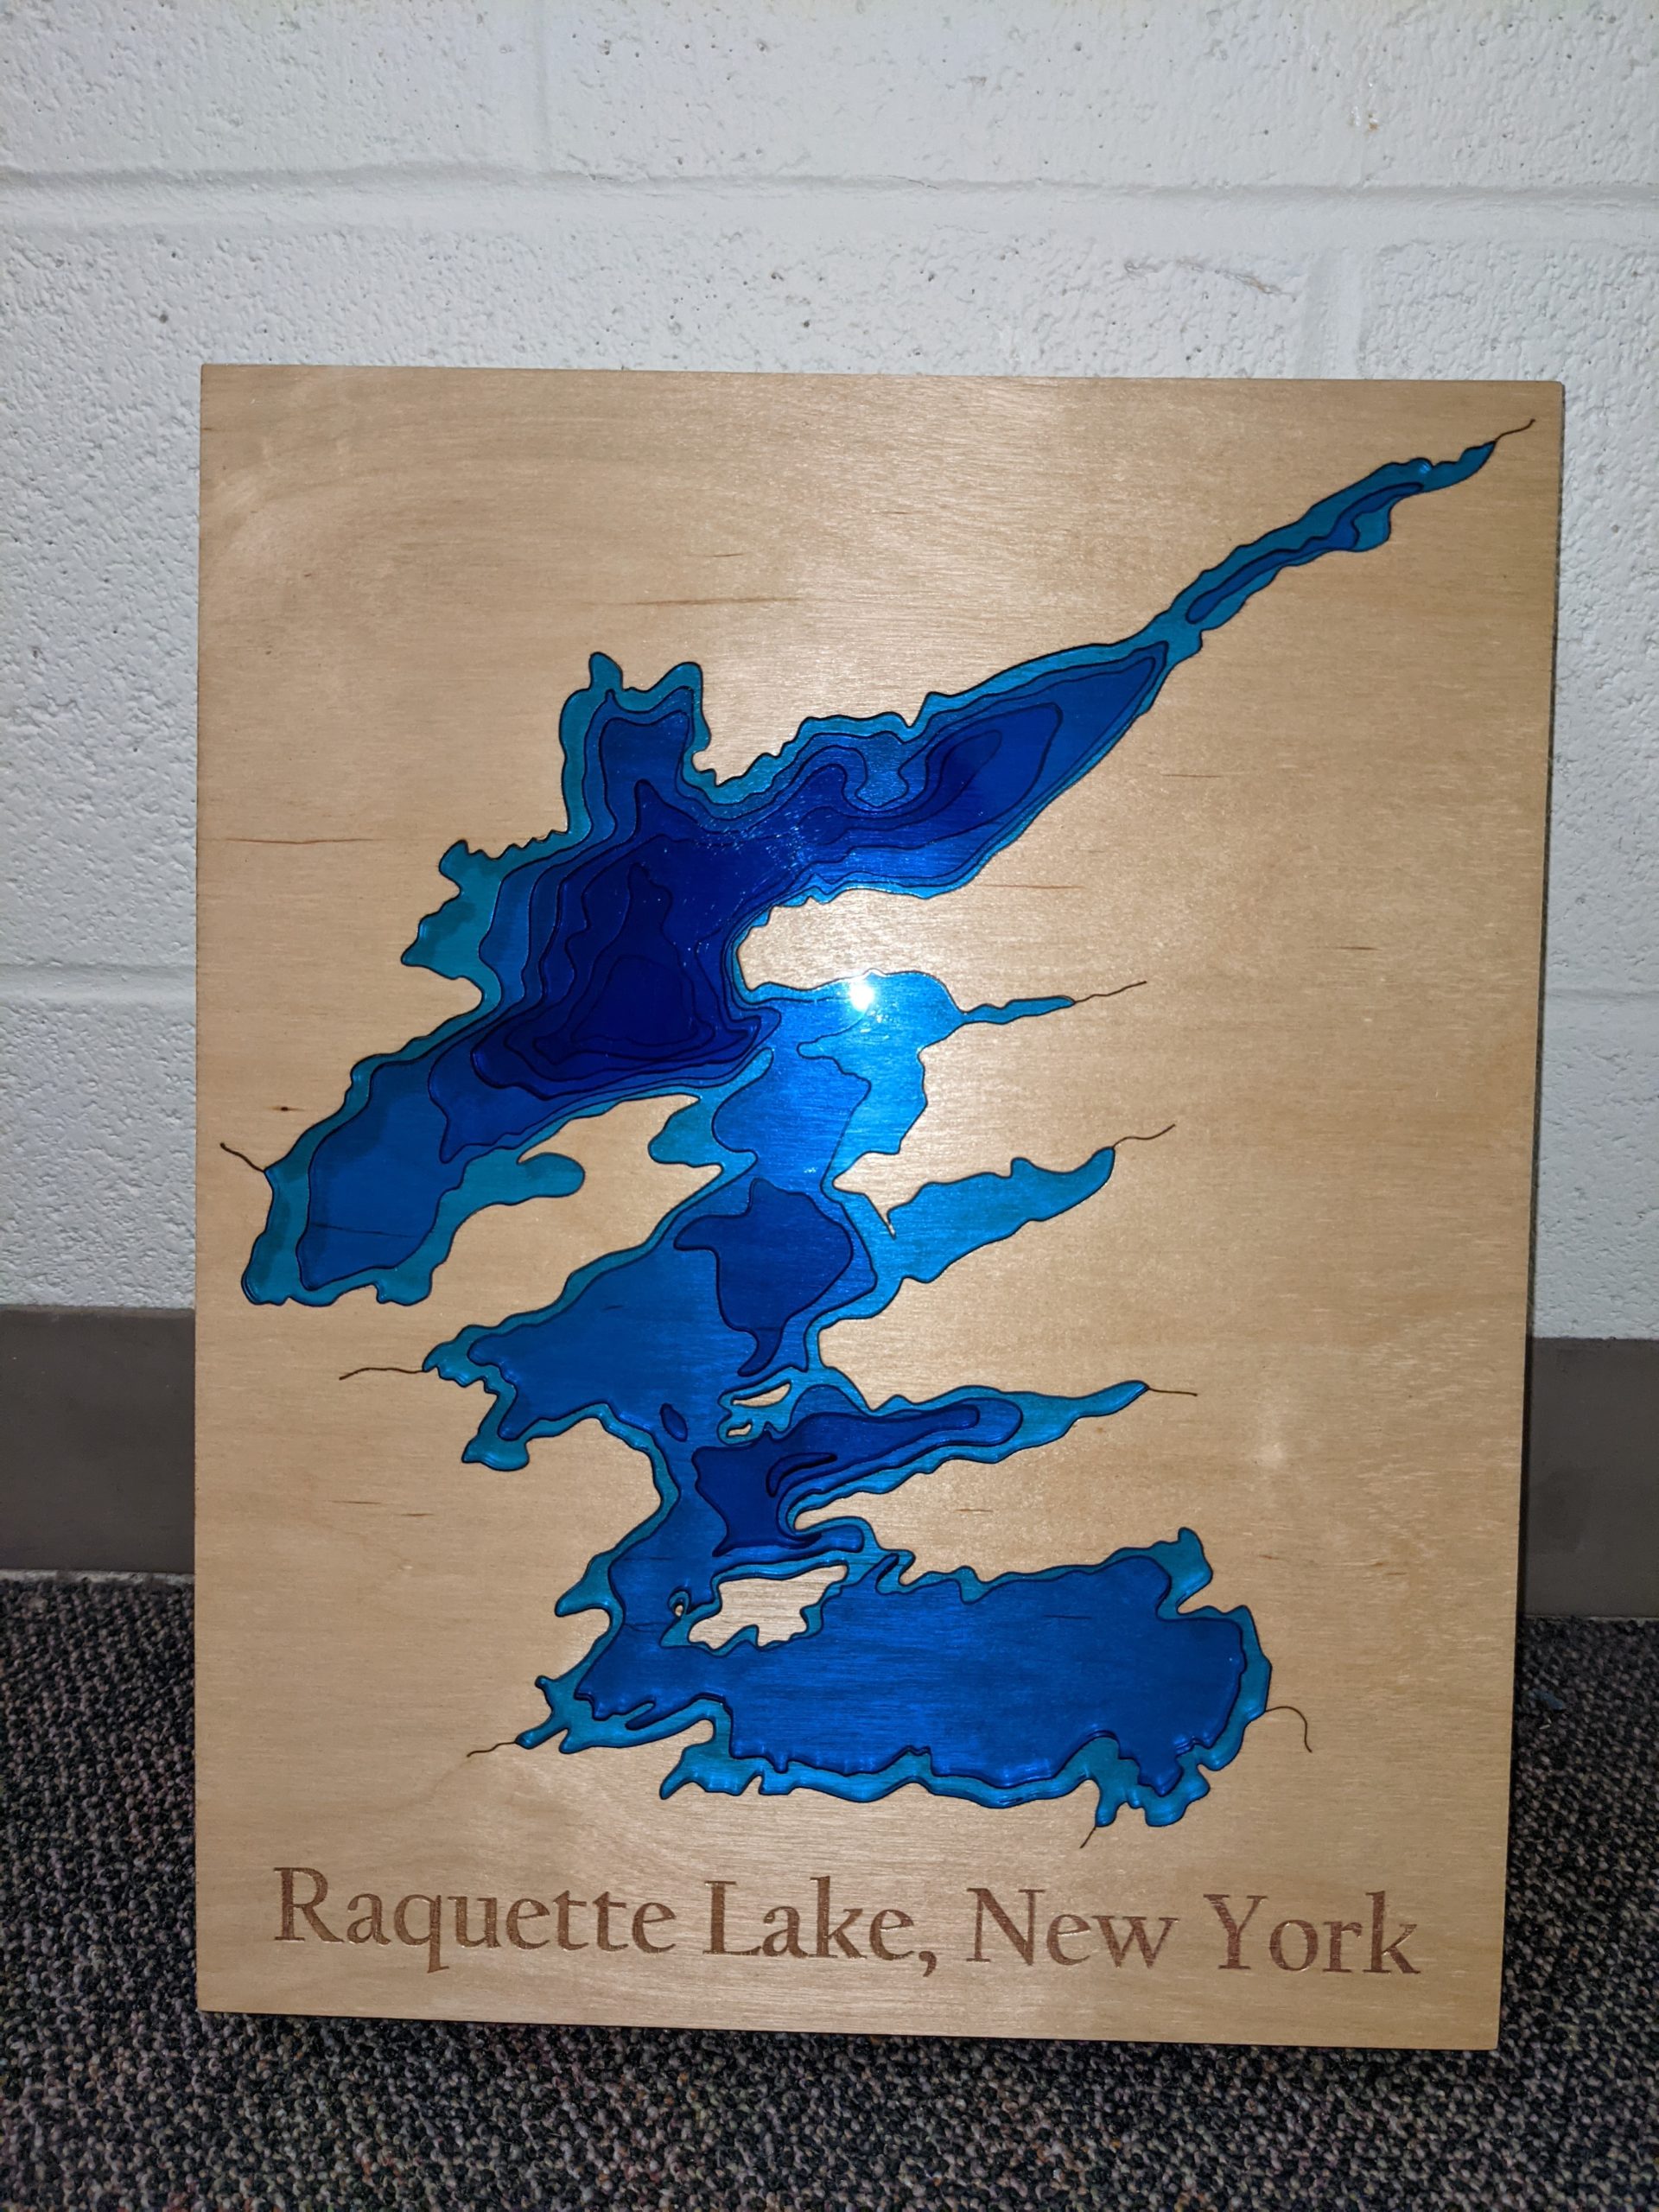
I will start off with the layers project, since that is the first project we did. I was inspired by a lake in the Adirondacks that my family vacations at every year for the past 50 years, Raquette Lake. I used a map from the DEC website and traced the different depths of the lake, with the lowest being 90 feet at the upper left corner of the lake. I used 1/4 inch pine wood and transparent blue acrylic. I cut out each layer in both the wood and the acrylic, and used a polycrylic top coat on each layer of wood, and did three coats on each. I then placed each acrylic piece into the matching layer of wood and glued the back so the acrylic pieces didn’t fall out. I ran into an issue with the wood being slightly thinner than the acrylic, so I had to compensate by adding three layers of wooden veneers in between each normal layer of wood, and I glued them together using wood glue. I am so proud of how it turned out, and the acrylic effect of the depth worked exactly how I wanted it to.
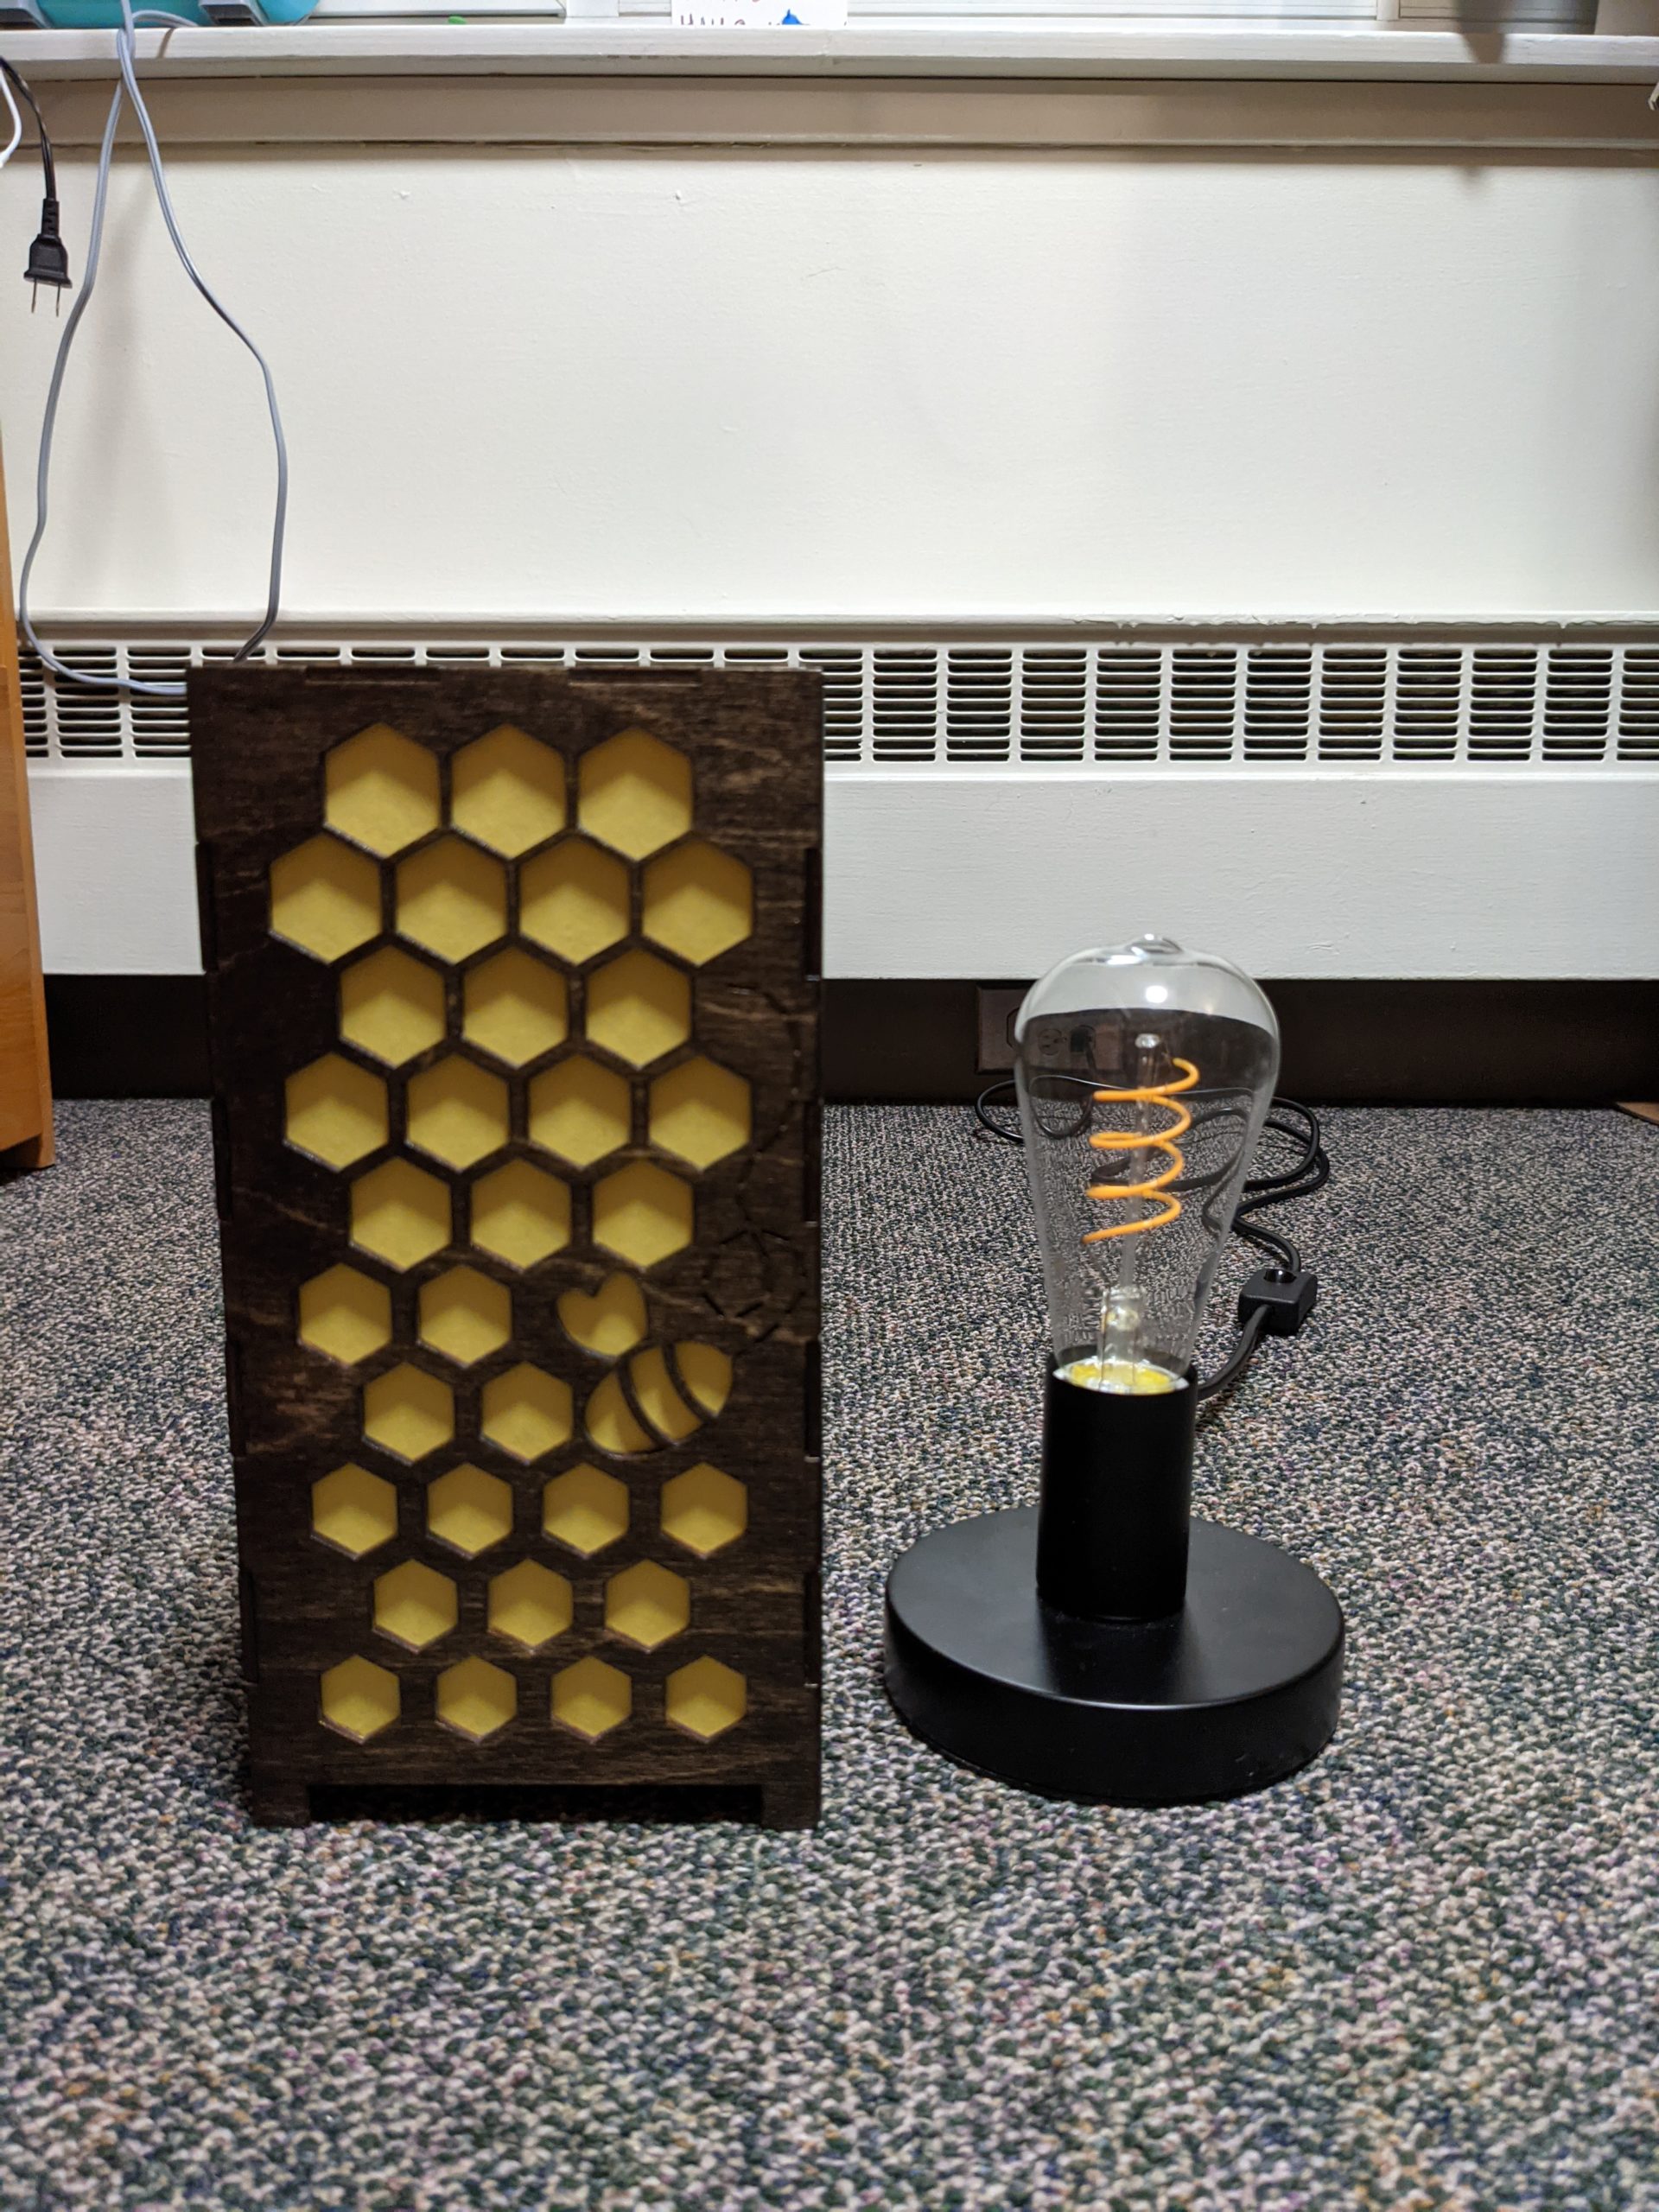
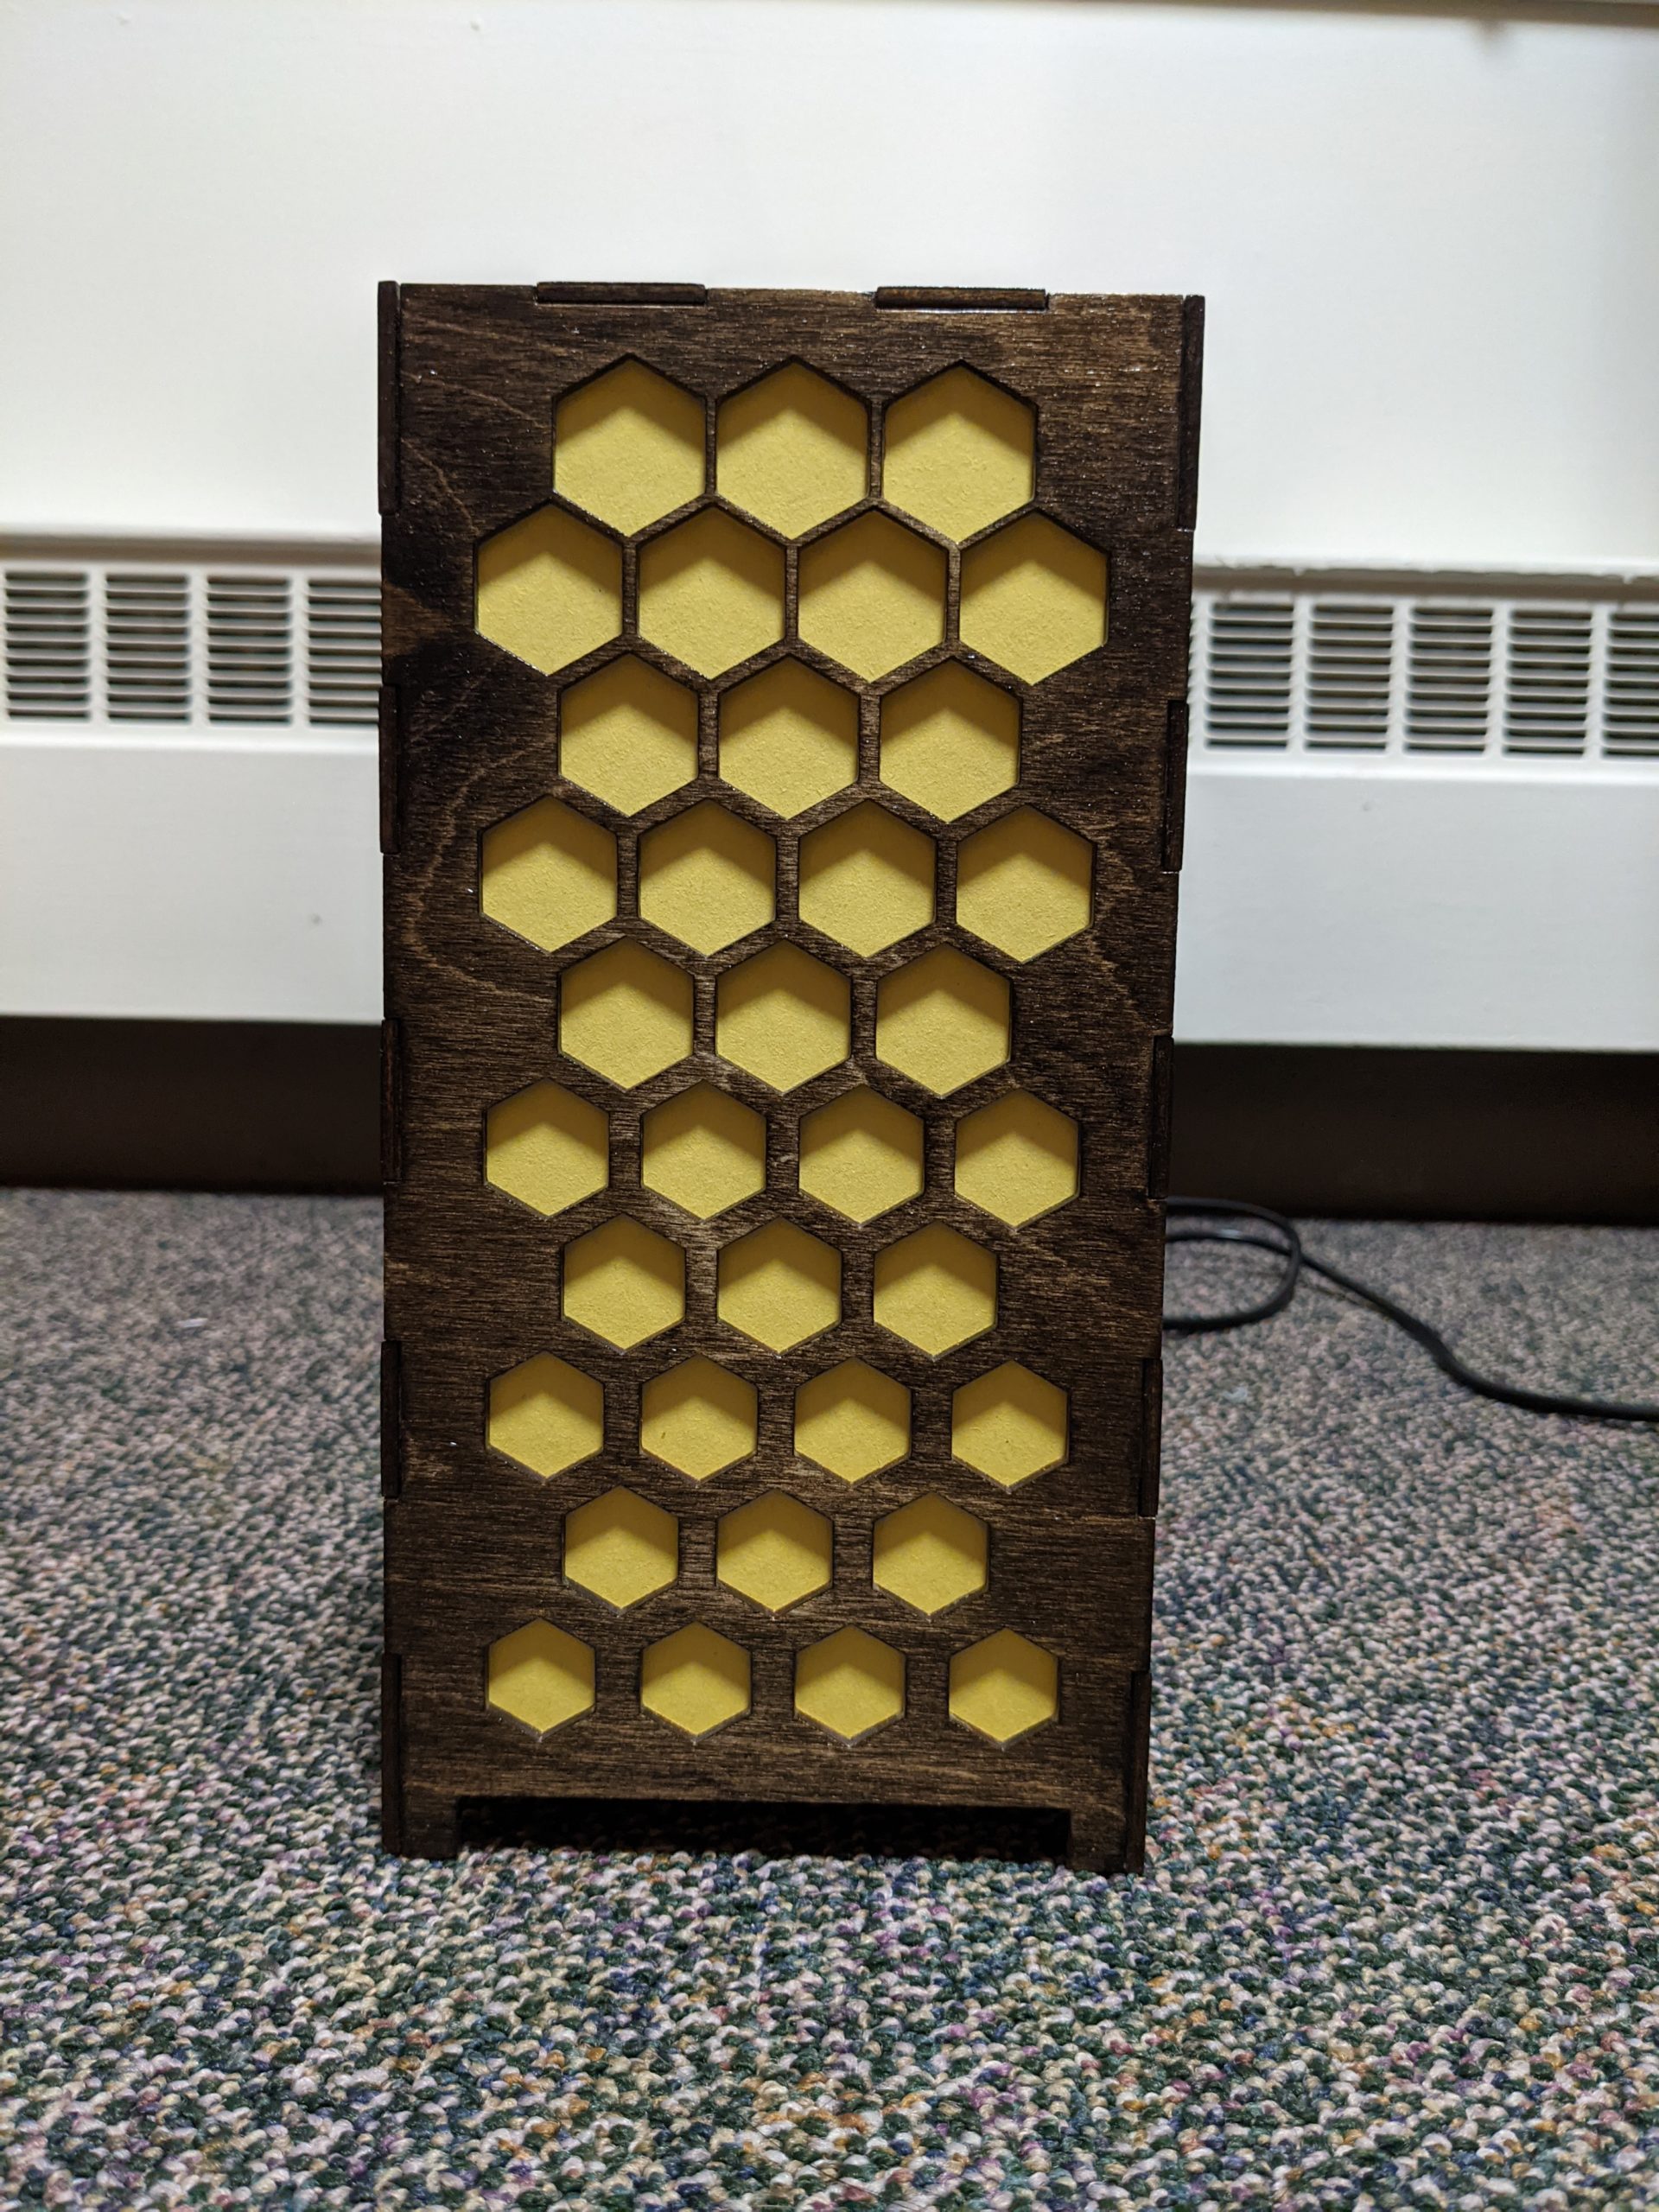
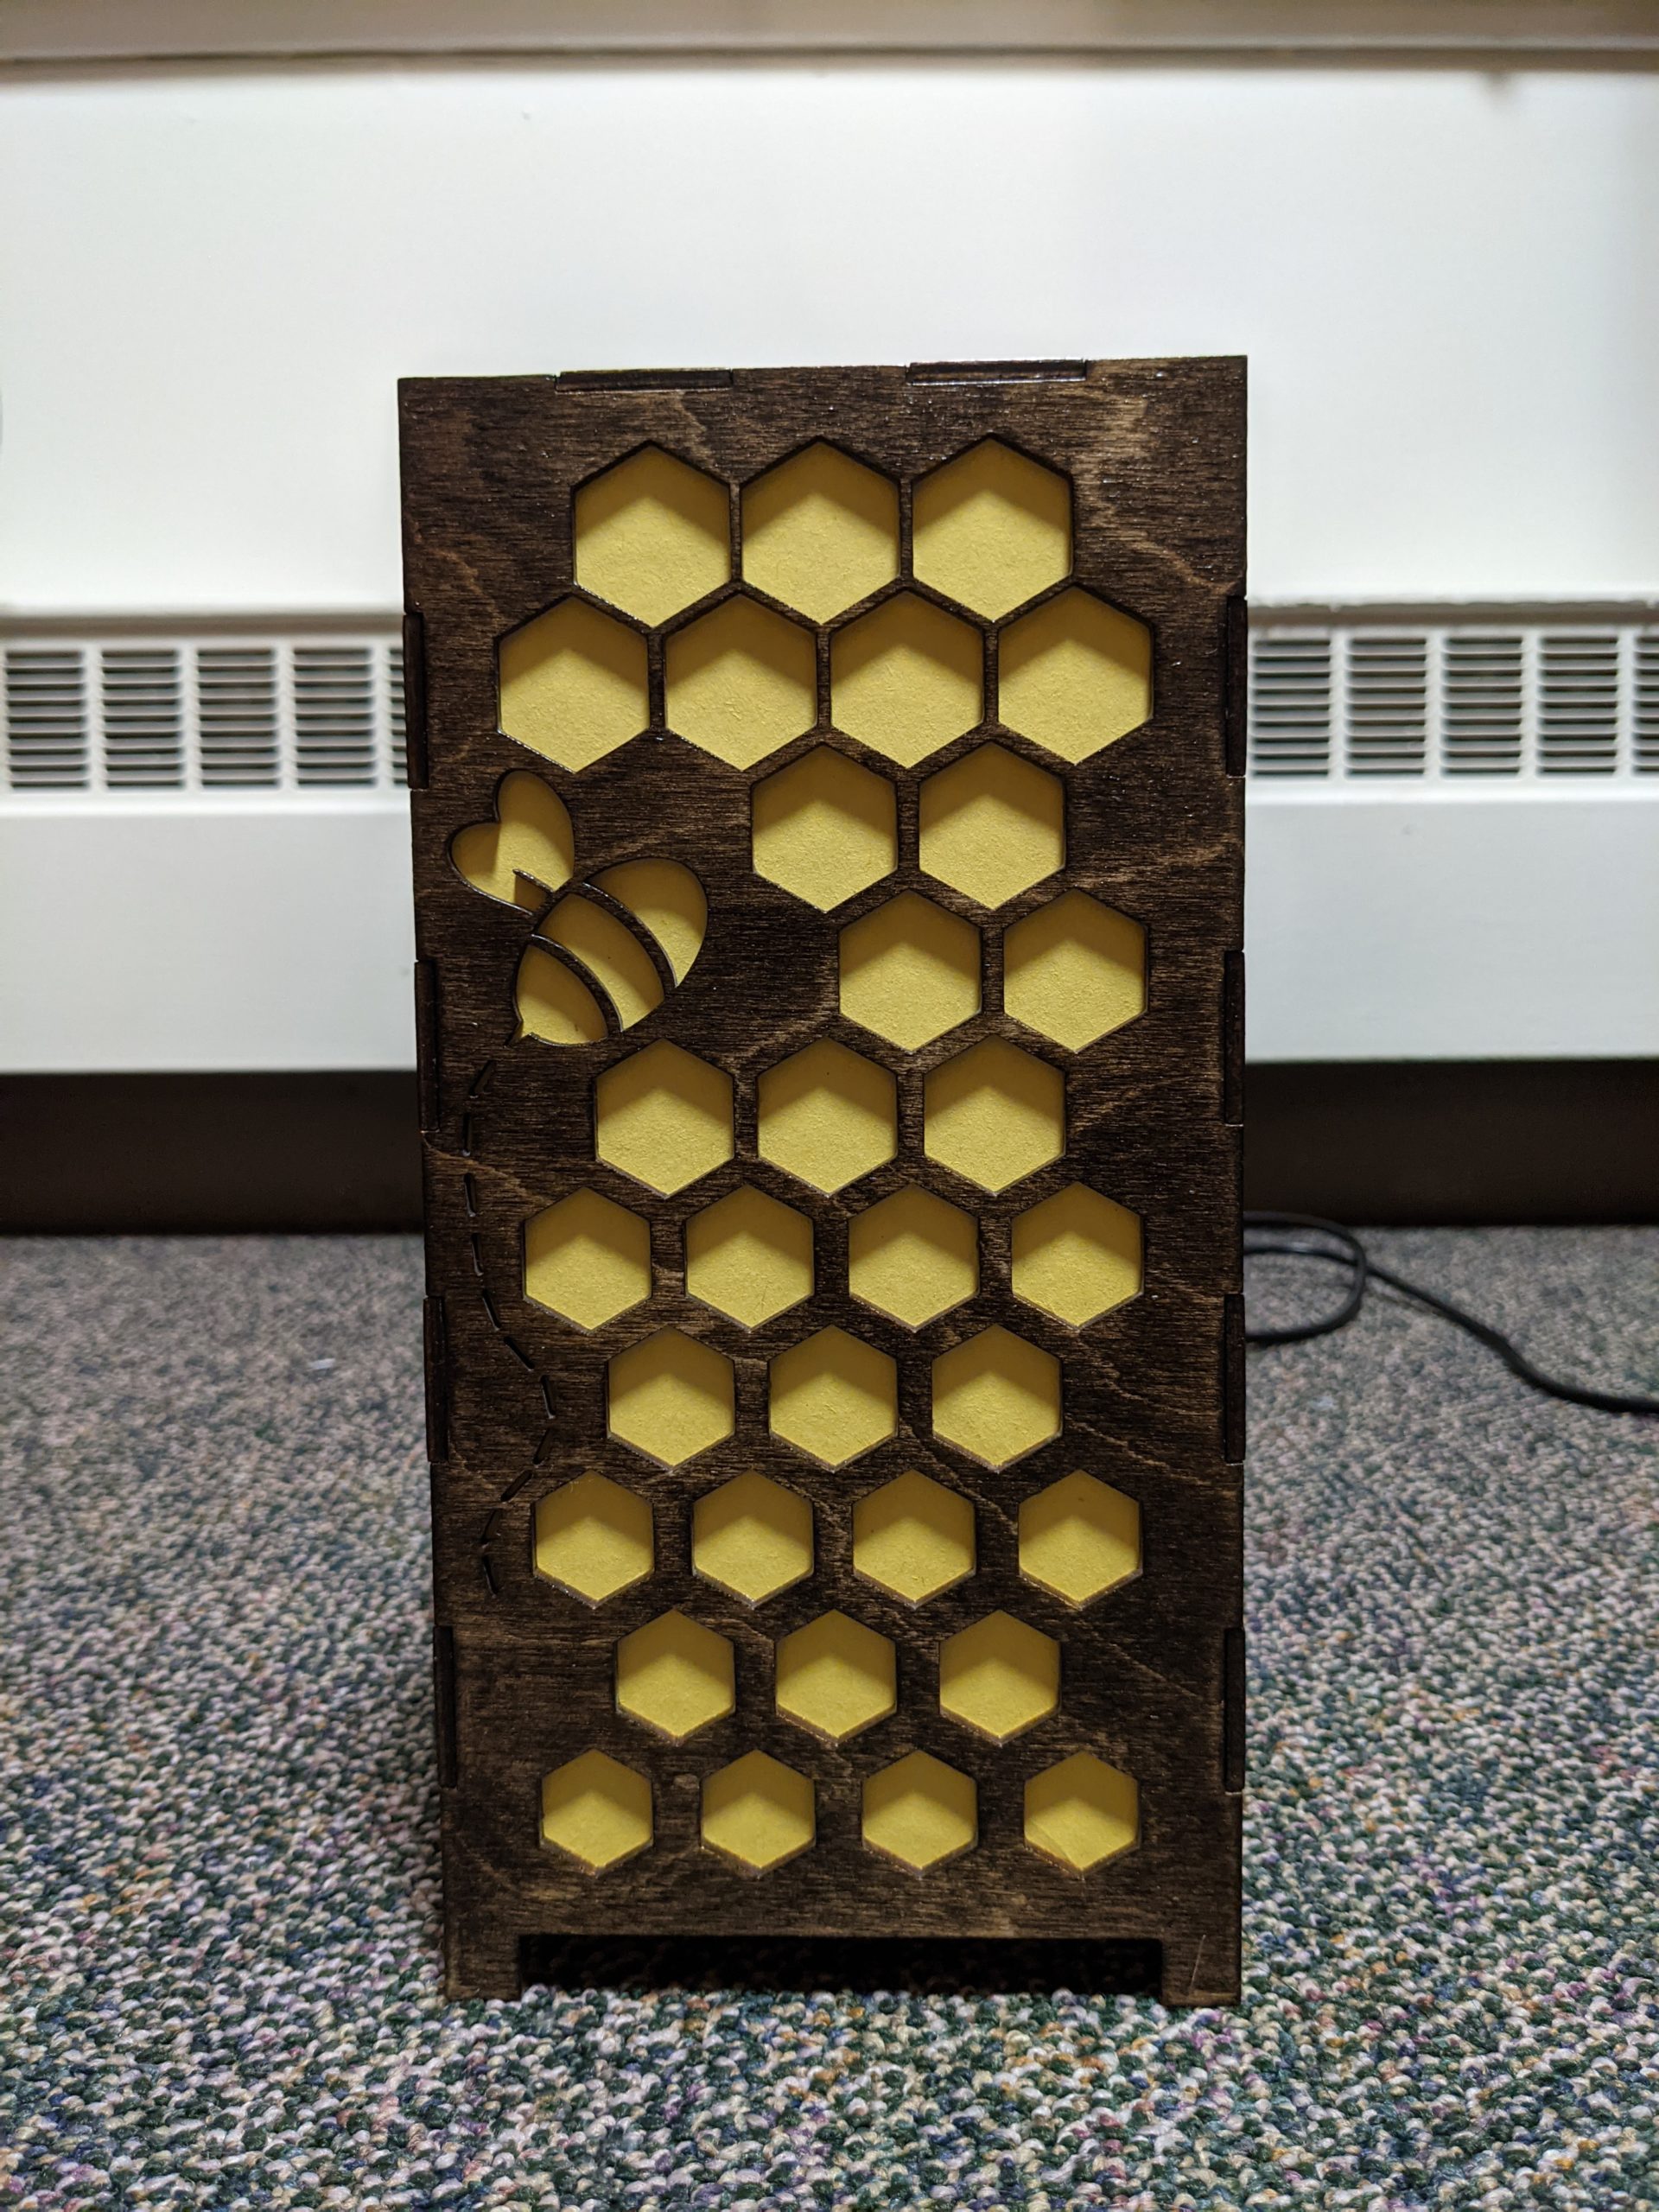
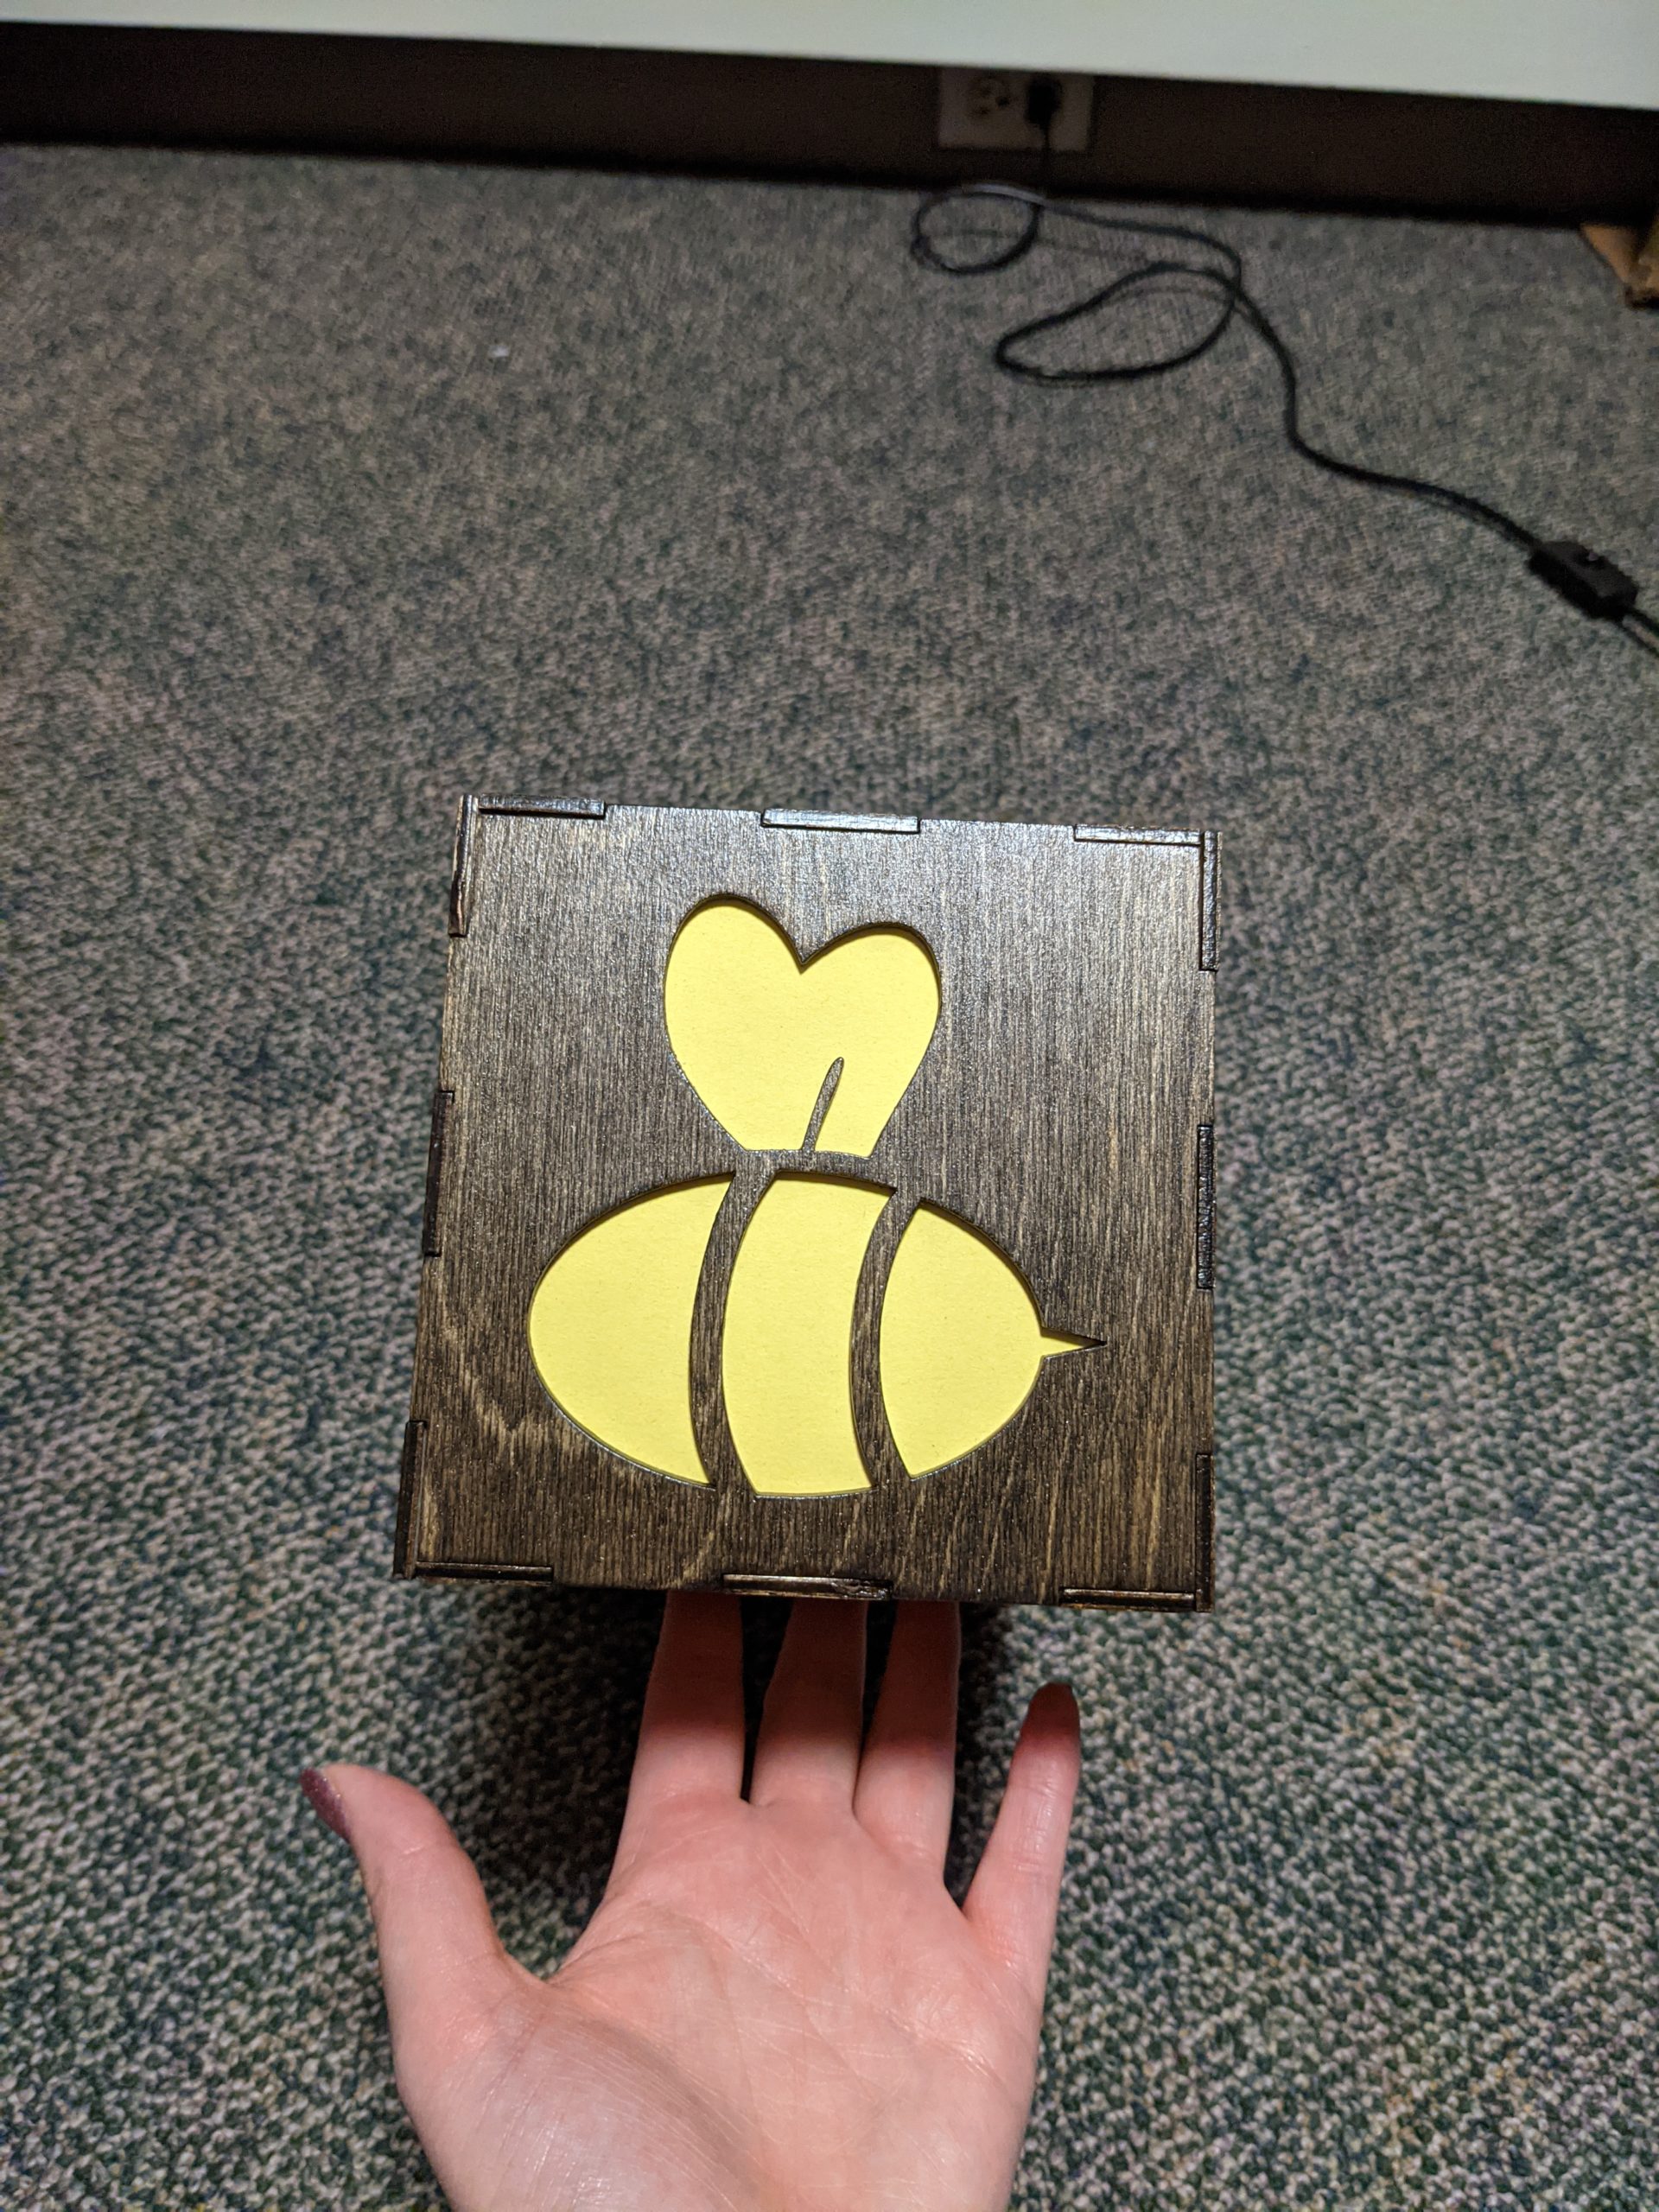
Next is the lantern project. My initial inspiration was a lantern we saw in class, that was a dissolving type of pattern, and when I was looking up some inspiration online, I found a dissolving honeycomb pattern and really liked the way it looked, so I put the same pattern on each side and created a little bumblebee cutout to put on two of the sides and the top. I decided that I wanted to do some contrasting, but complementary colors that reminded me of a bumblebee, black (or brown) and yellow! I also finished it off by doing three coats of polycrylic. I put a warm-toned lamp inside to give it a nice yellow-y glow from inside.
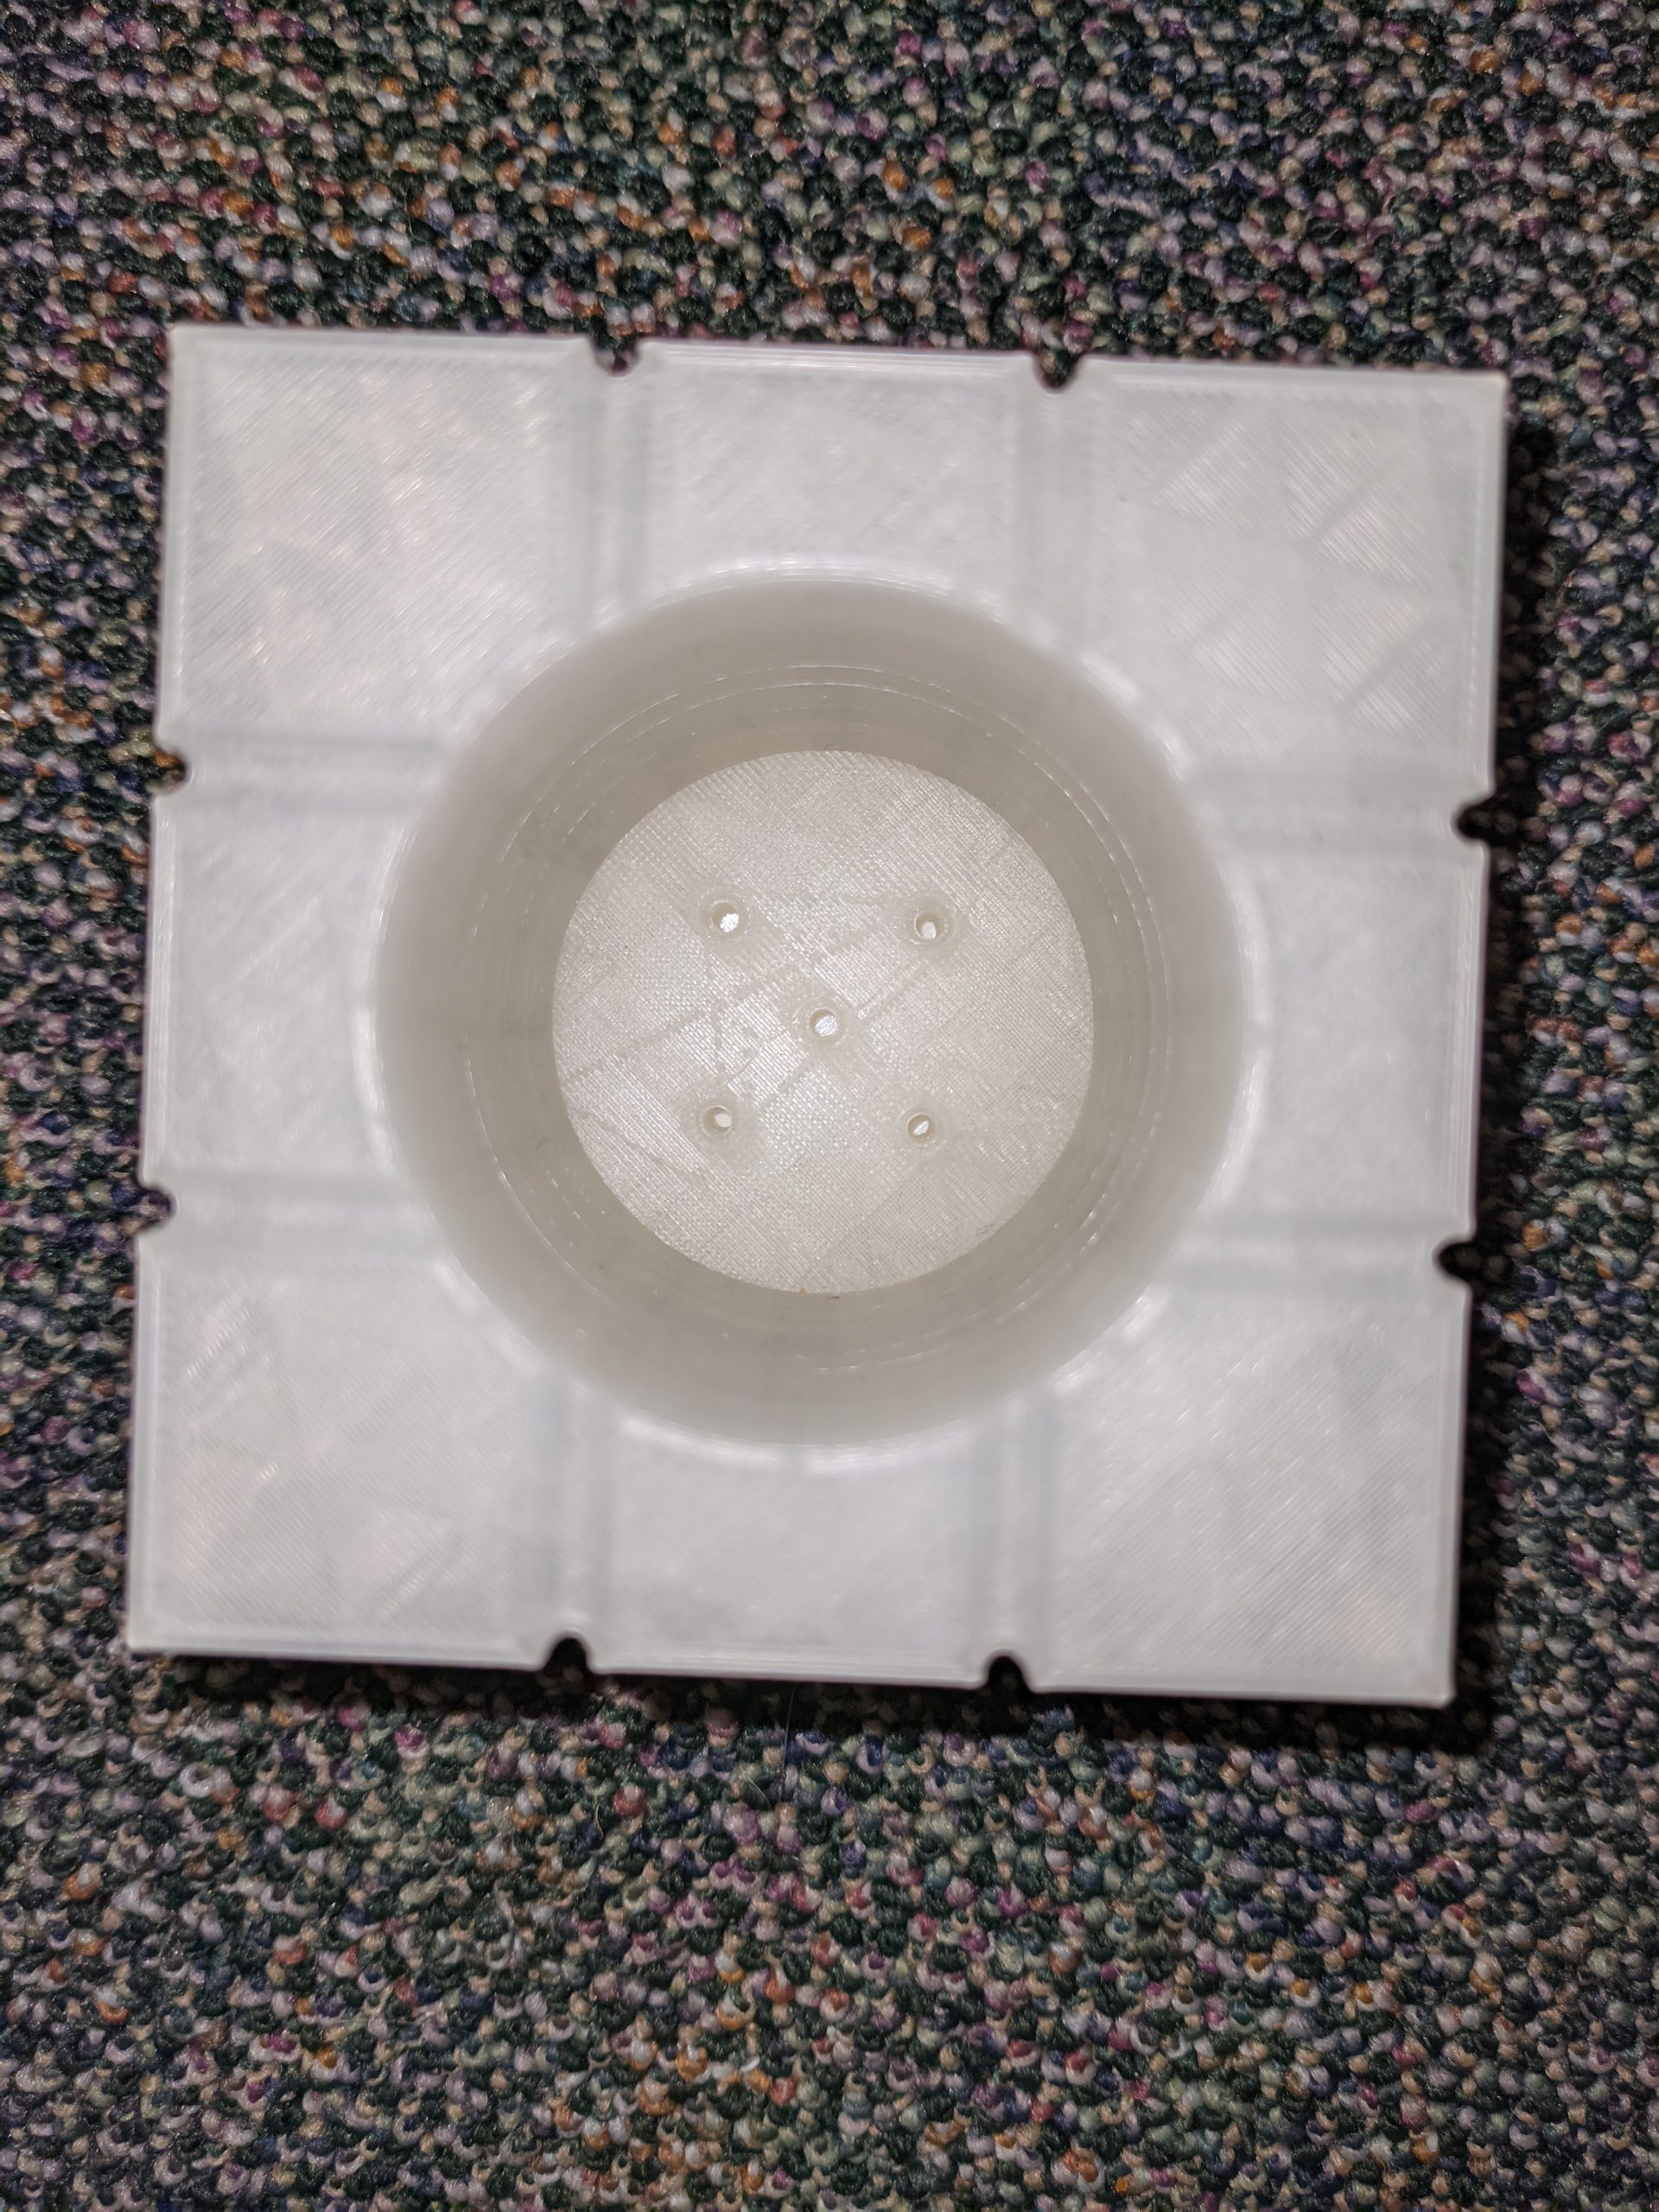
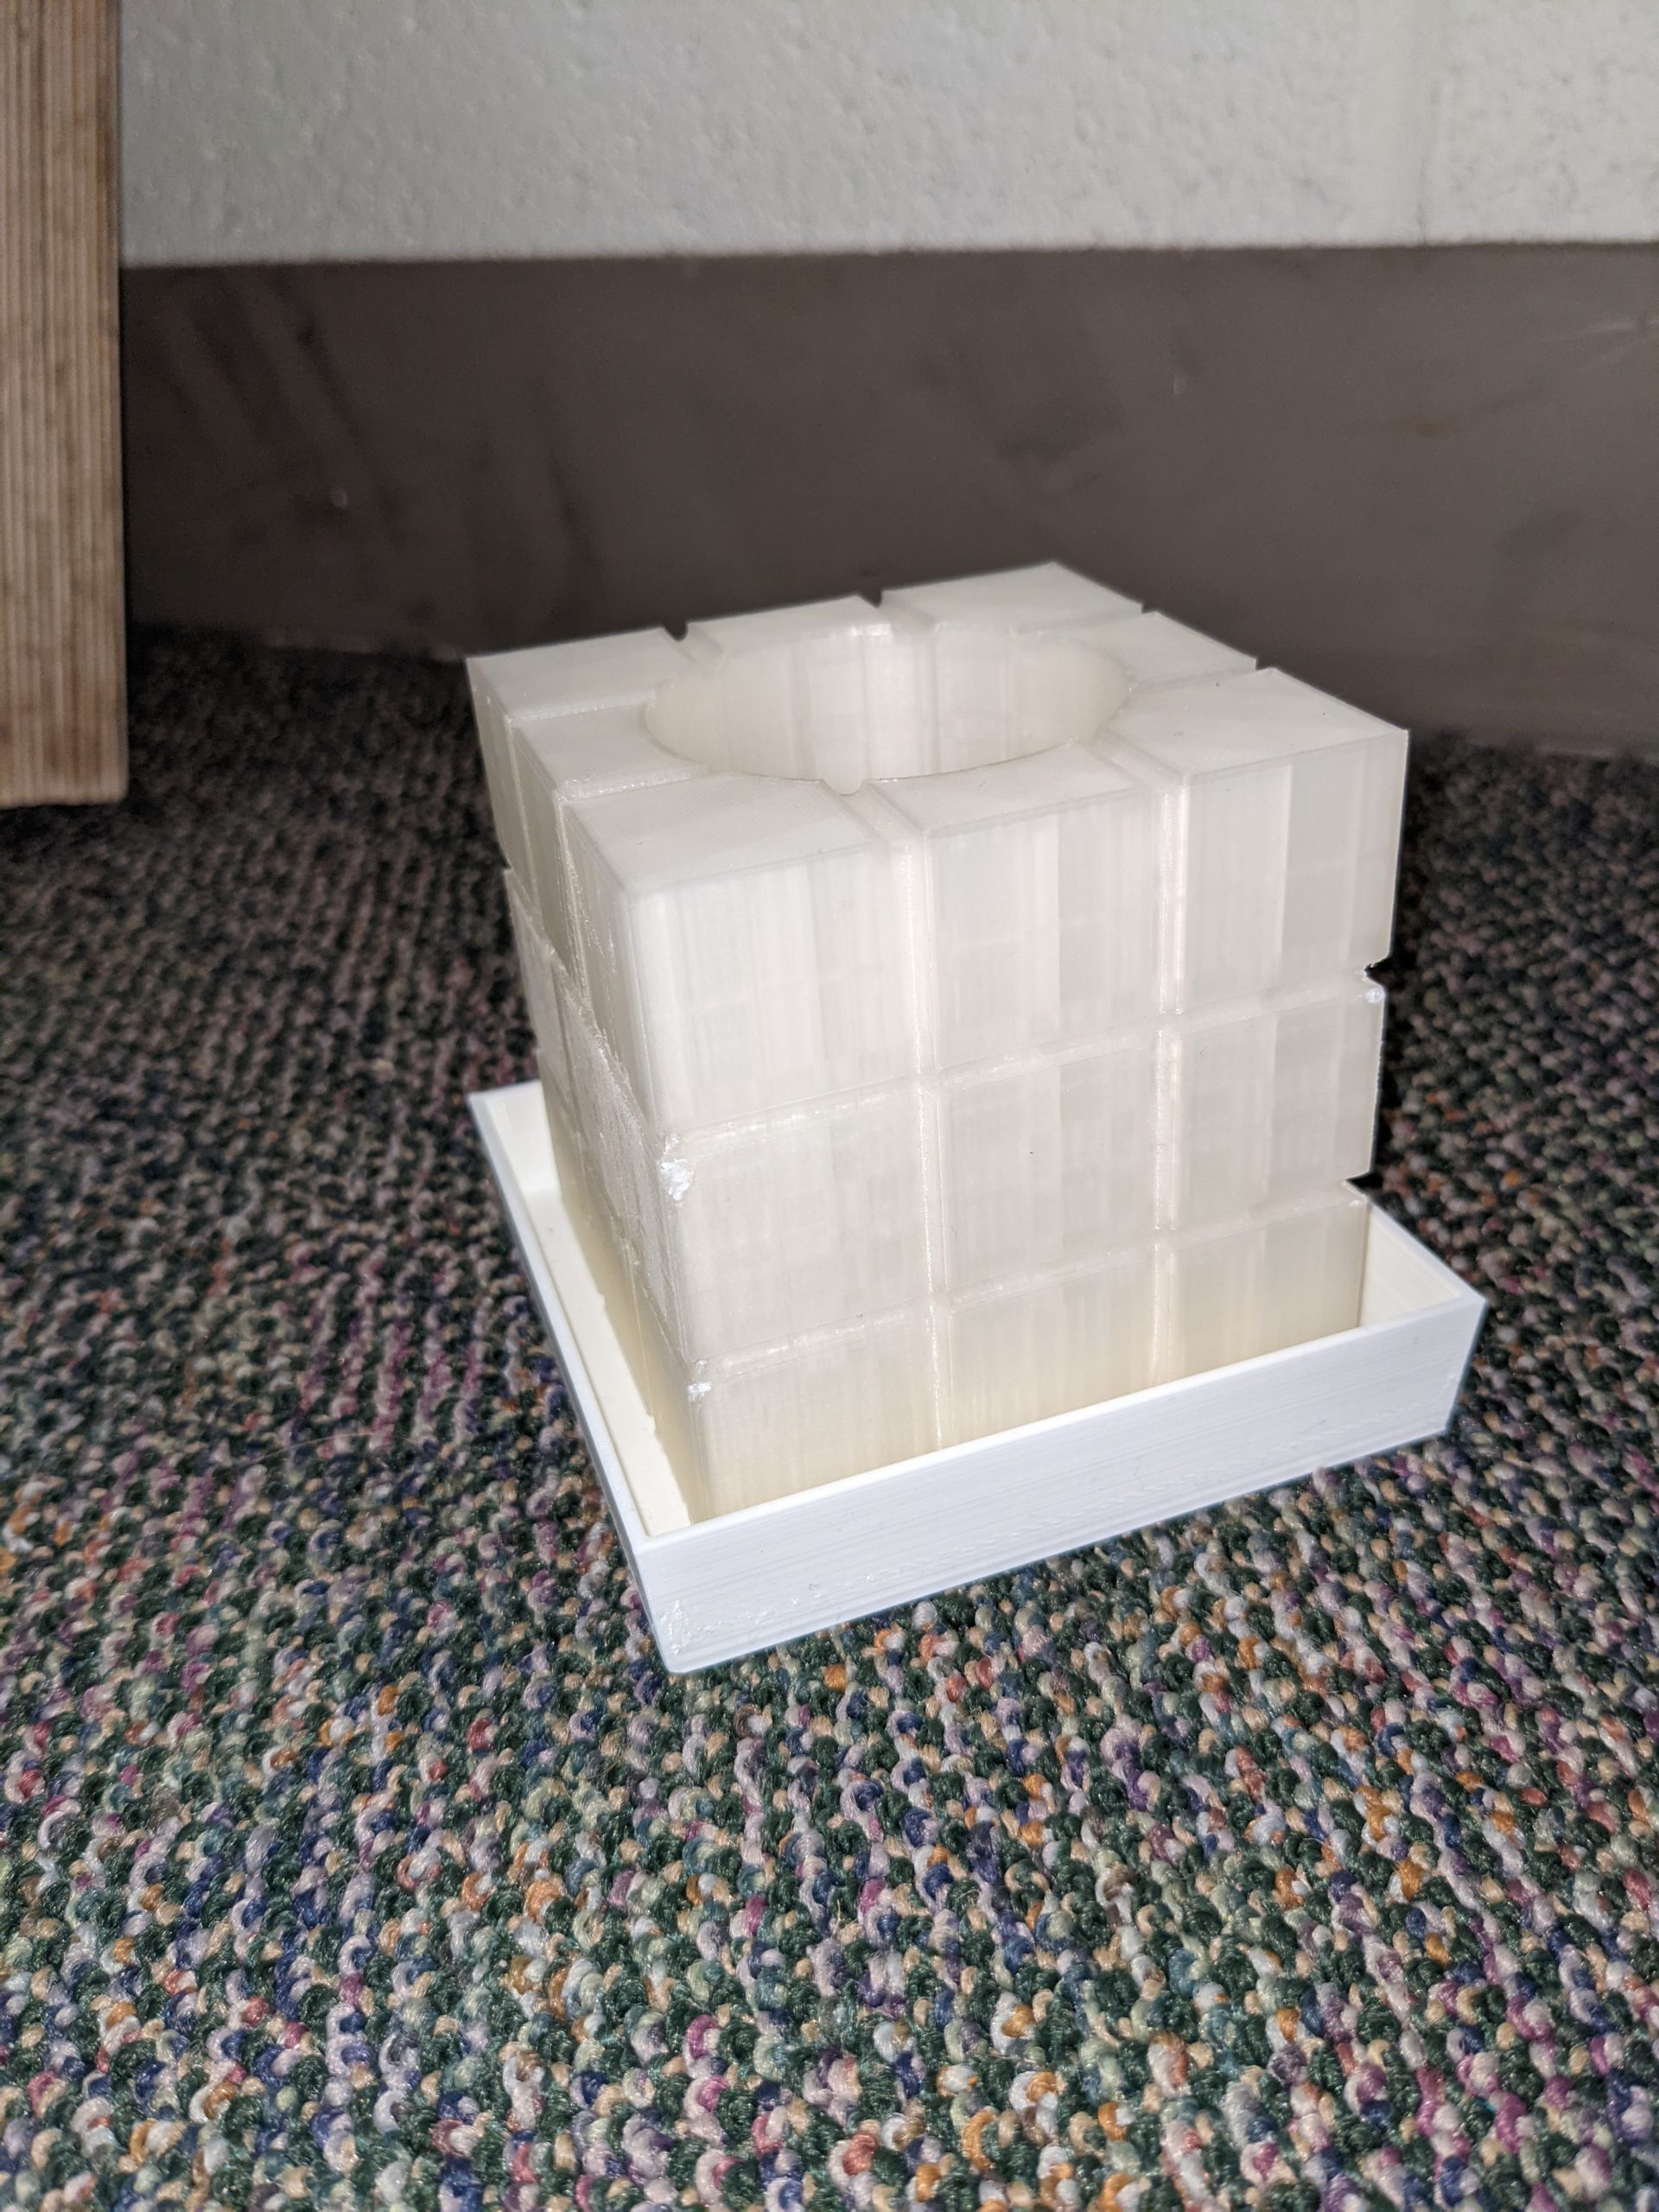
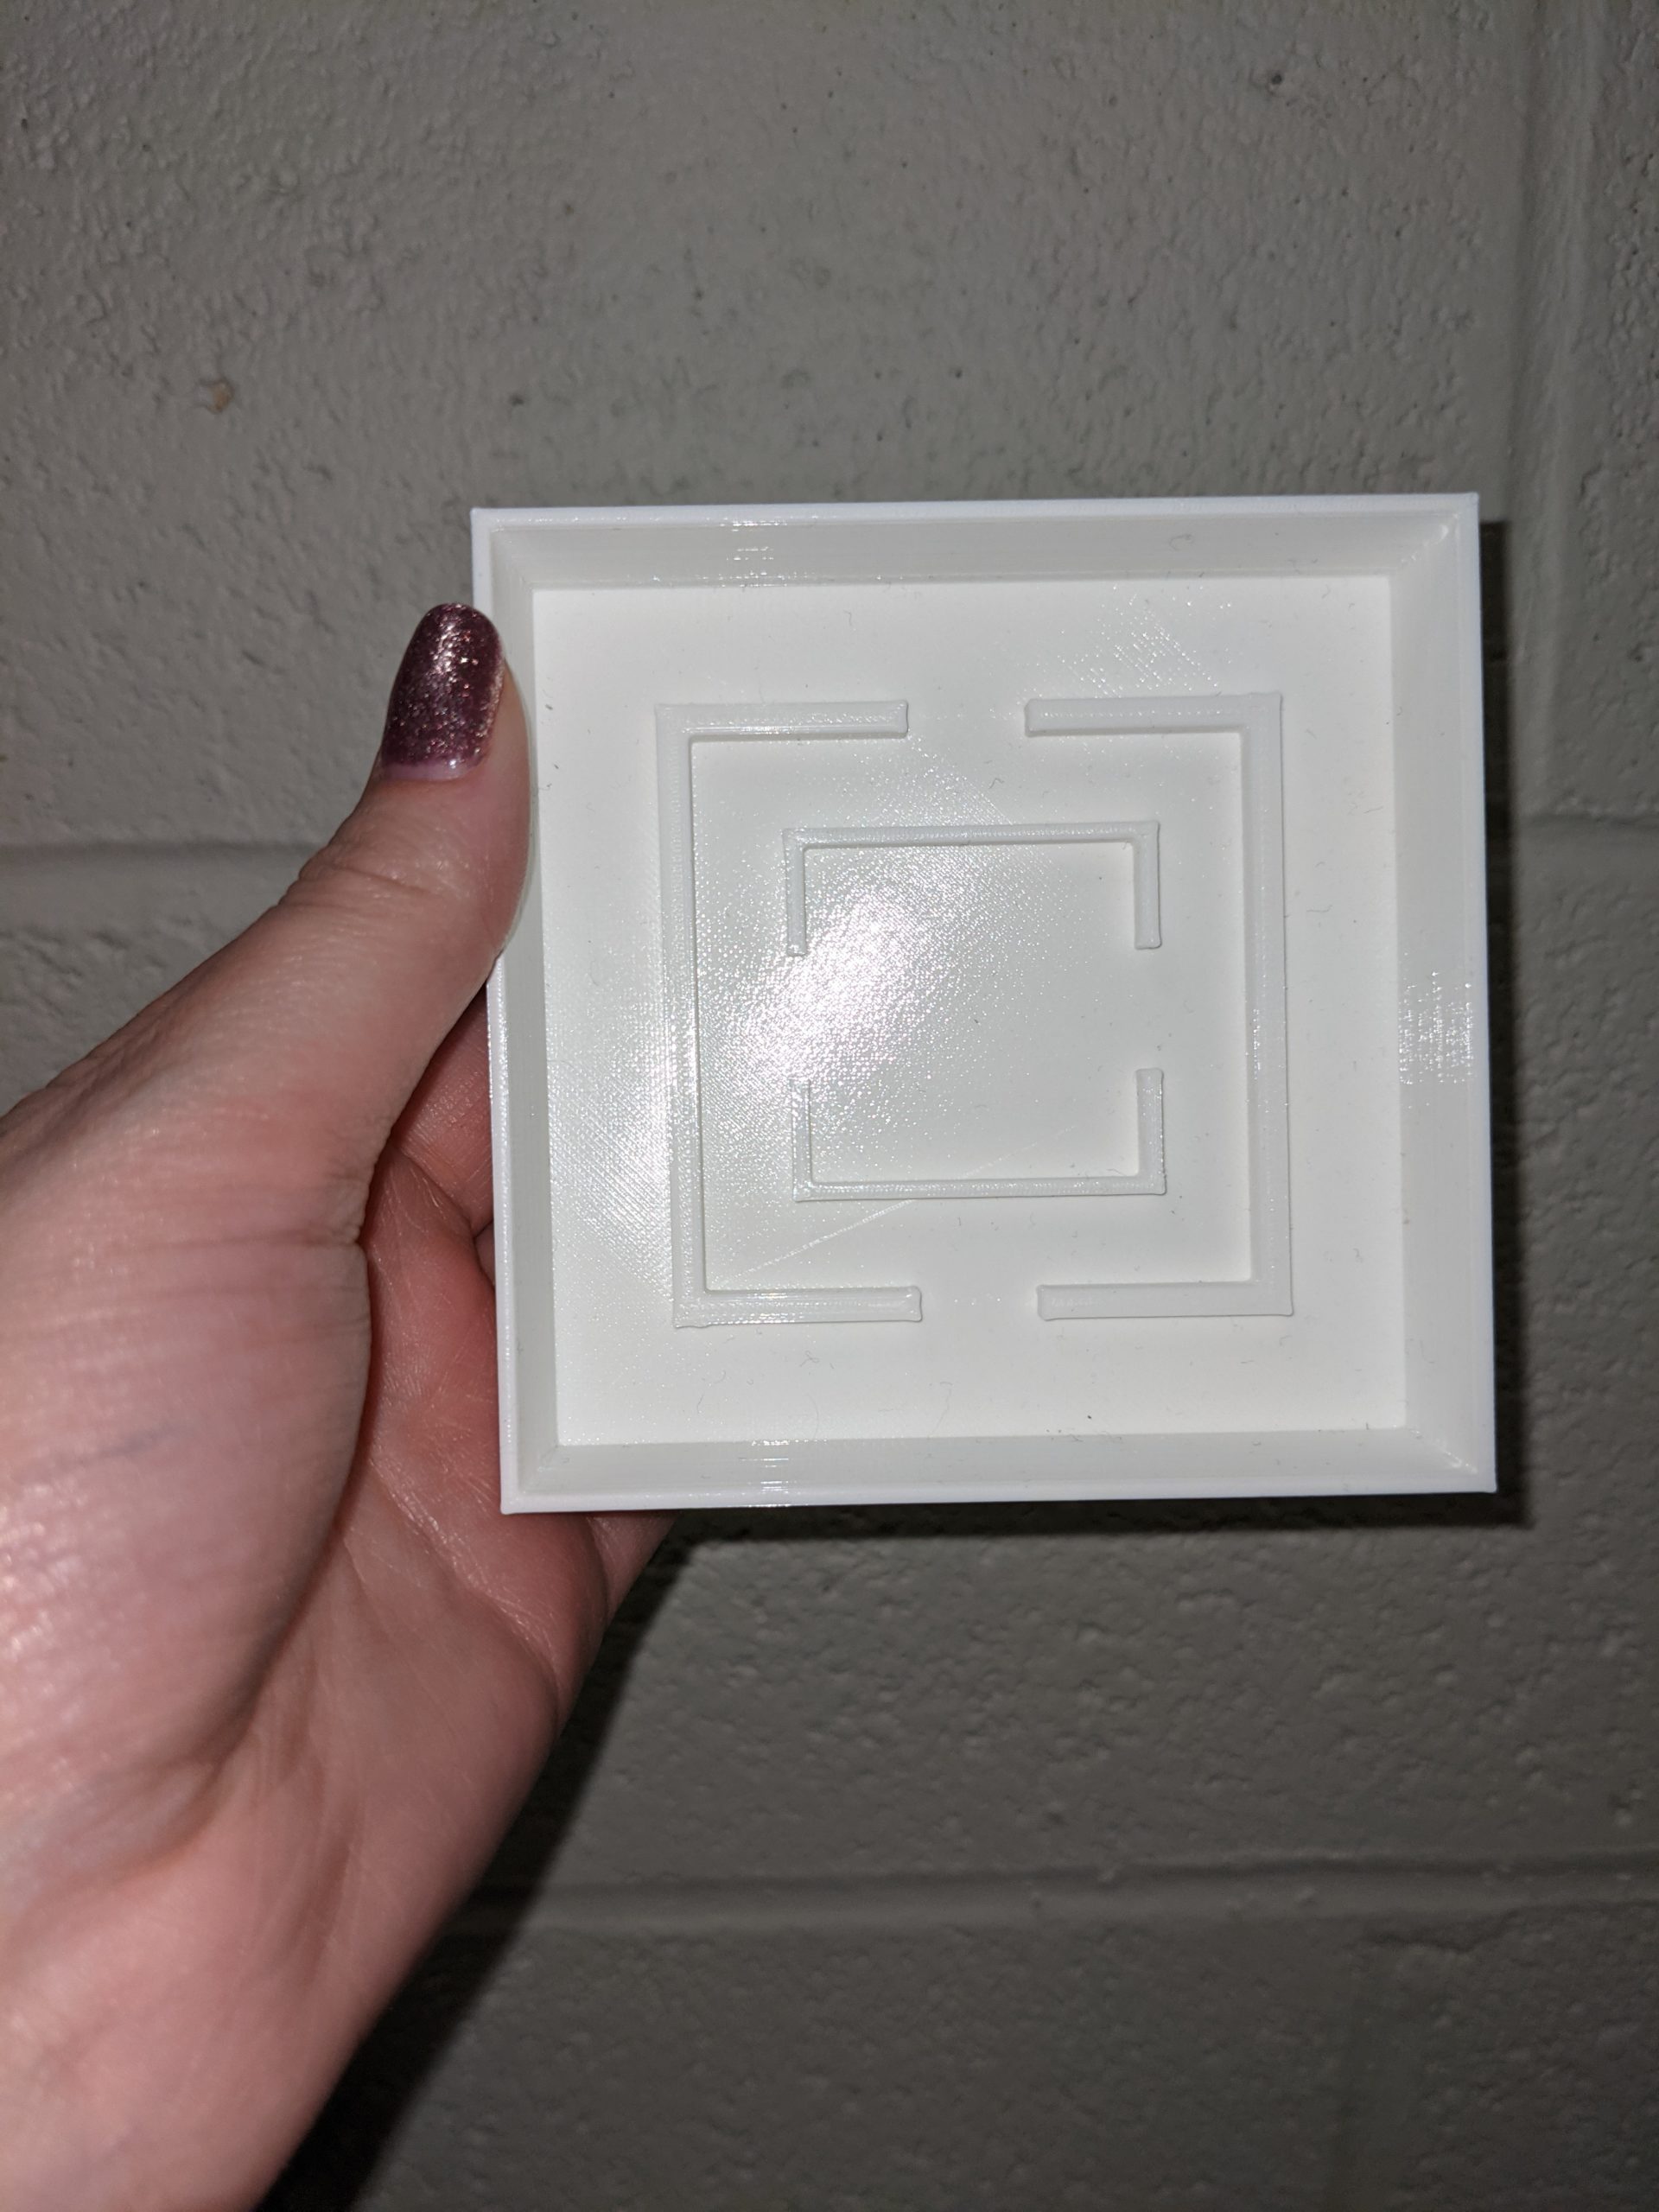
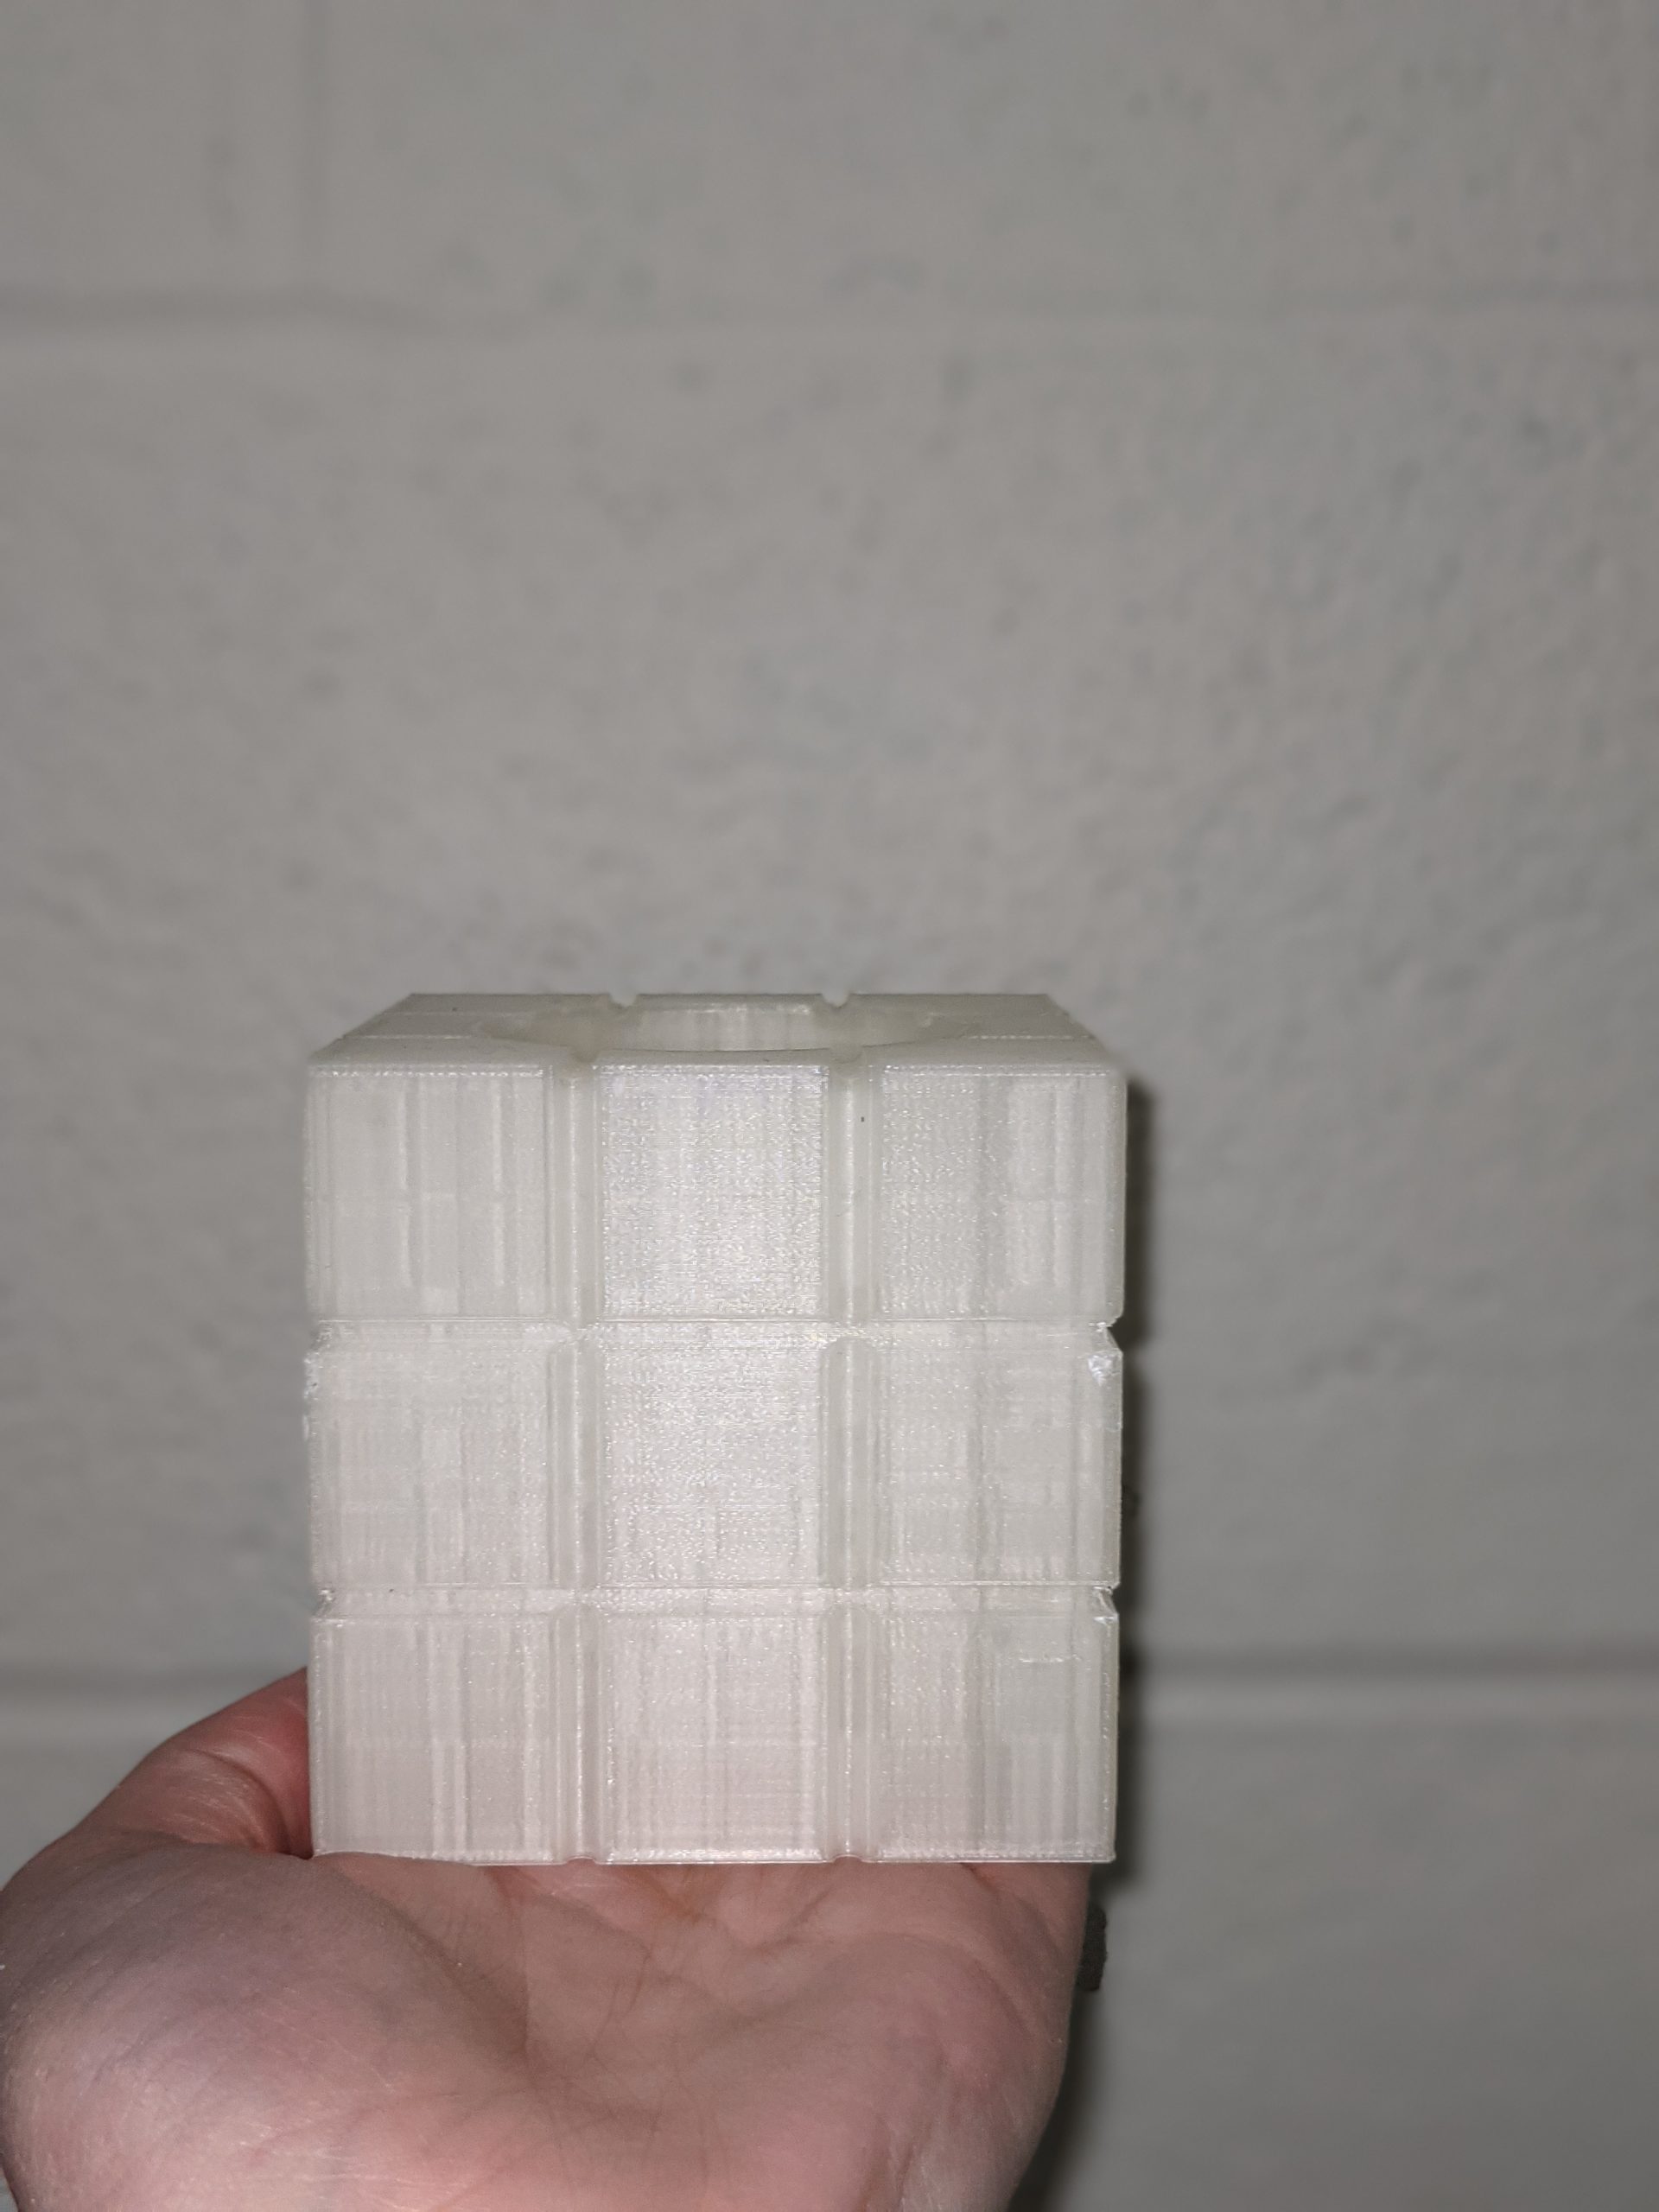
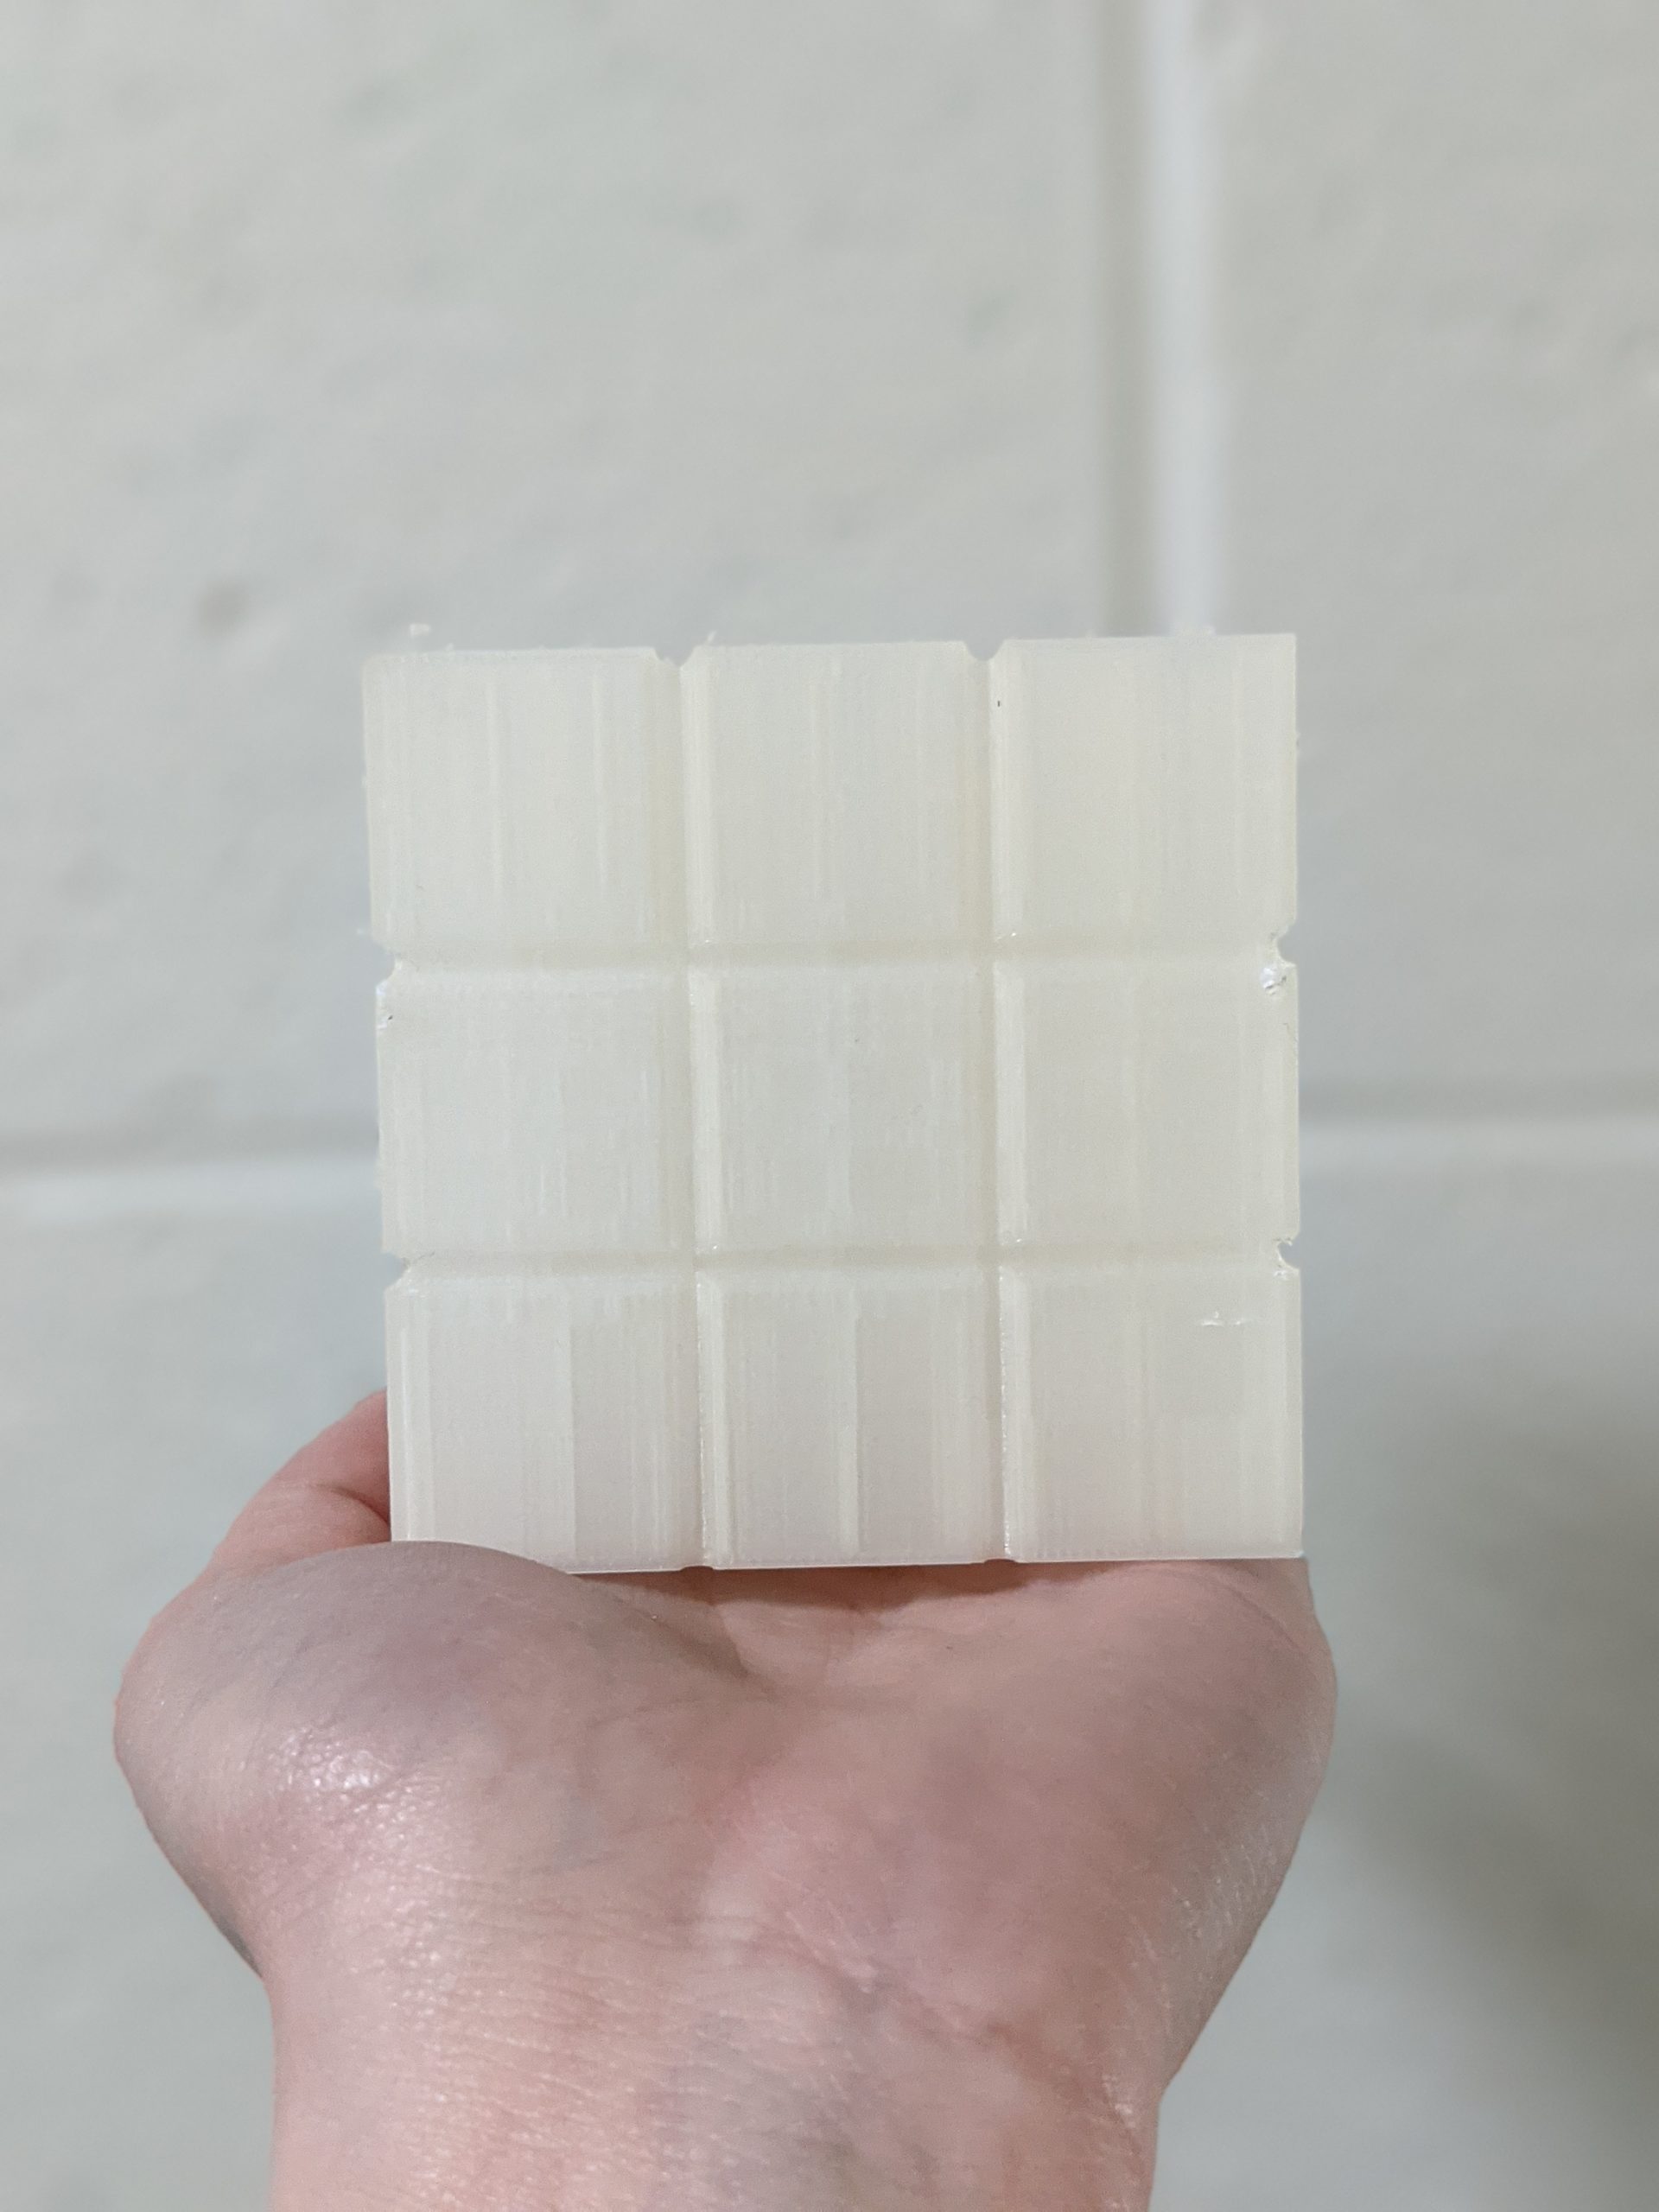
And lastly the altered toys project. I struggled for a long time on what to pick for my altered toy, and eventually landed on a rubik’s cube, and wanted to alter it by making it functional as well. I have started collecting succulents as a college student, and thought it would be nice to combine my two passions and have the rubik’s cube be a planter. I created a hole in the middle to plant a succulent, and some drainage holes at the bottom. Because of the drainage holes, I modeled a drainage tray as well for the rubik’s cube to sit in. I really wanted to leave the rubik’s cube unpainted so that you could tell that it had been 3D printed. I am really proud that I was able to learn how to 3D model and print, as it was my first time doing either.