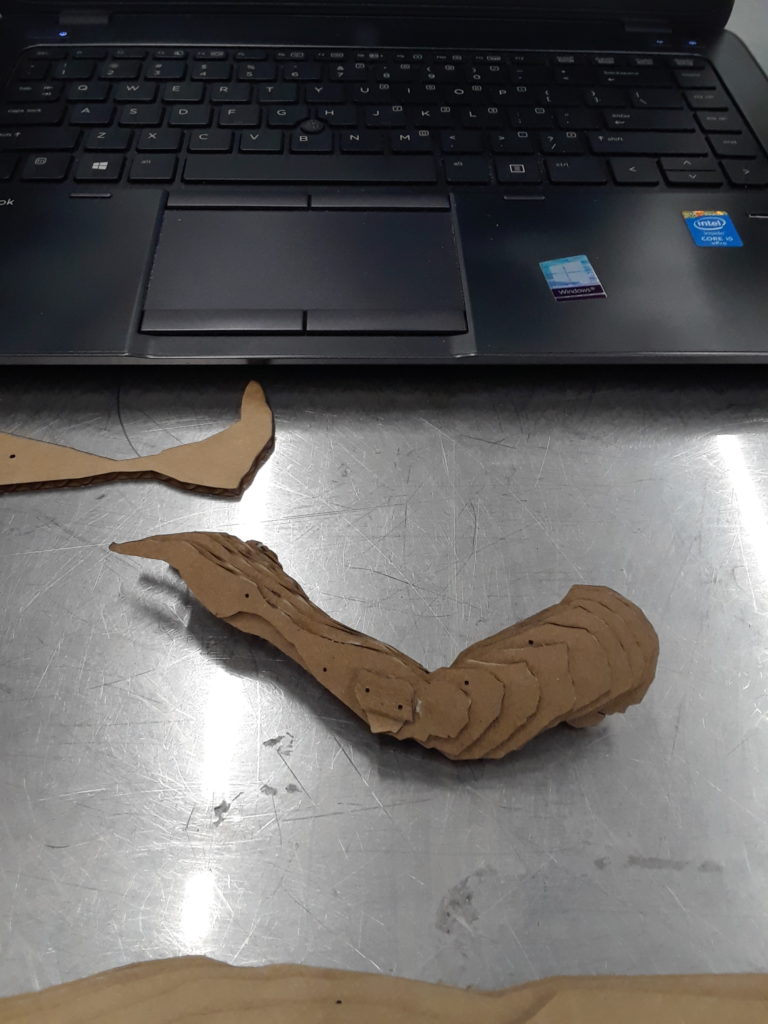
Last night I was able to complete the first cut and assembly of the Layers Project. I was able to use a cardboard box to cut my test pieces and had the power set to 15% for one pass. (The laser did cut at 10%, but the 15% was to make up for the distance from the top left corner.) The layers came out perfect and construction wasn’t too hard. I ended up using the slicer provided in class to make my pieces, and it helped tremendously with putting the pieces together. I also found that having vertical slices made it easier to construct the fingers of the project as well. While a few smaller pieces were lost in the process, I was able to have most pieces, small and large, glued together. I simply used a glue stick as my adhesive. While this was unexpected, the corrugation on the inside of the cardboard created an interesting visual effect that make the model look partially “see-through” from the front. This was a pleasant surprise, and while the sides of my final acyclic will be glass clear after cut, I plan to sand this down, but I’m reconsidering my options. Below is the final construction of the model.
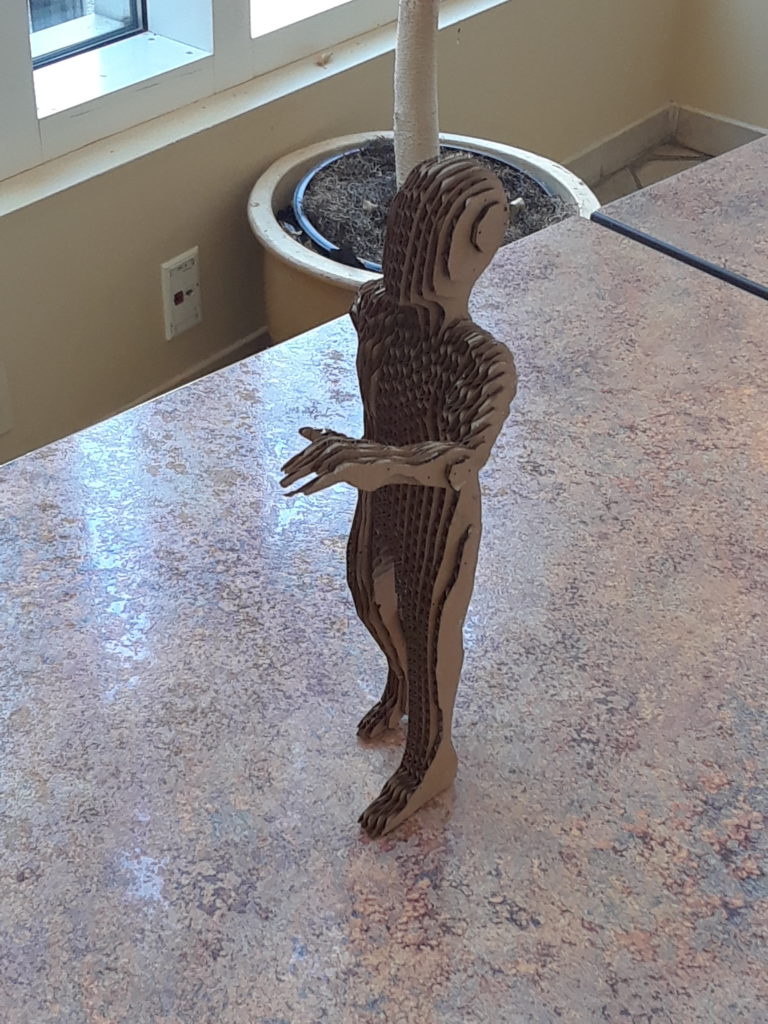
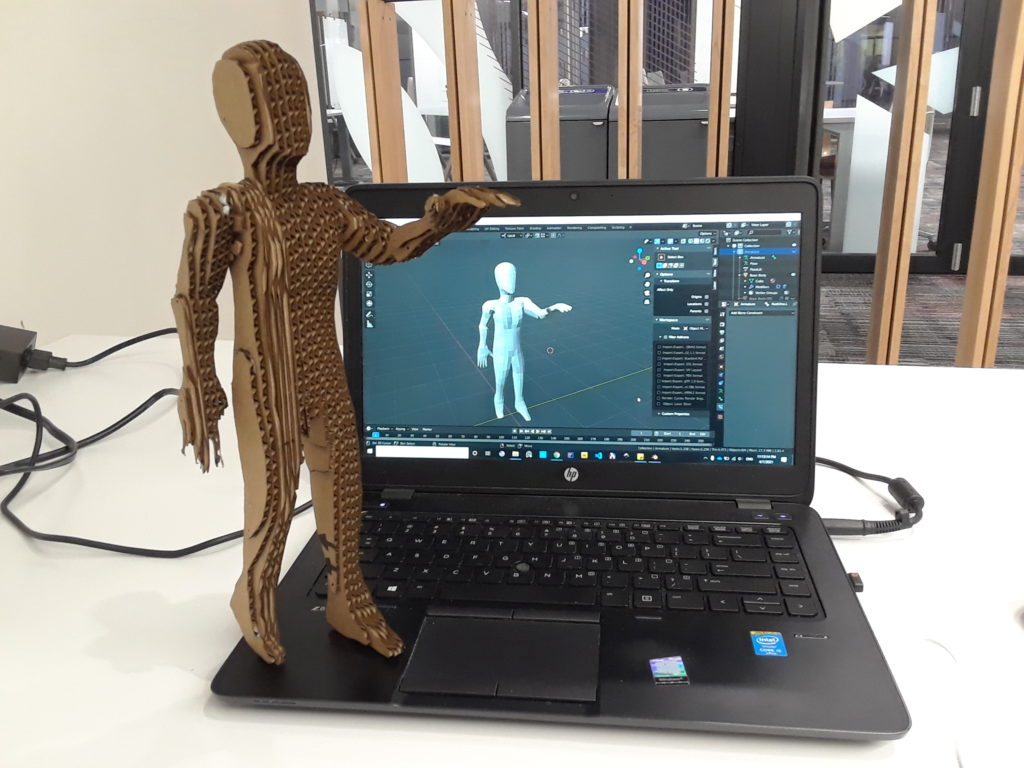
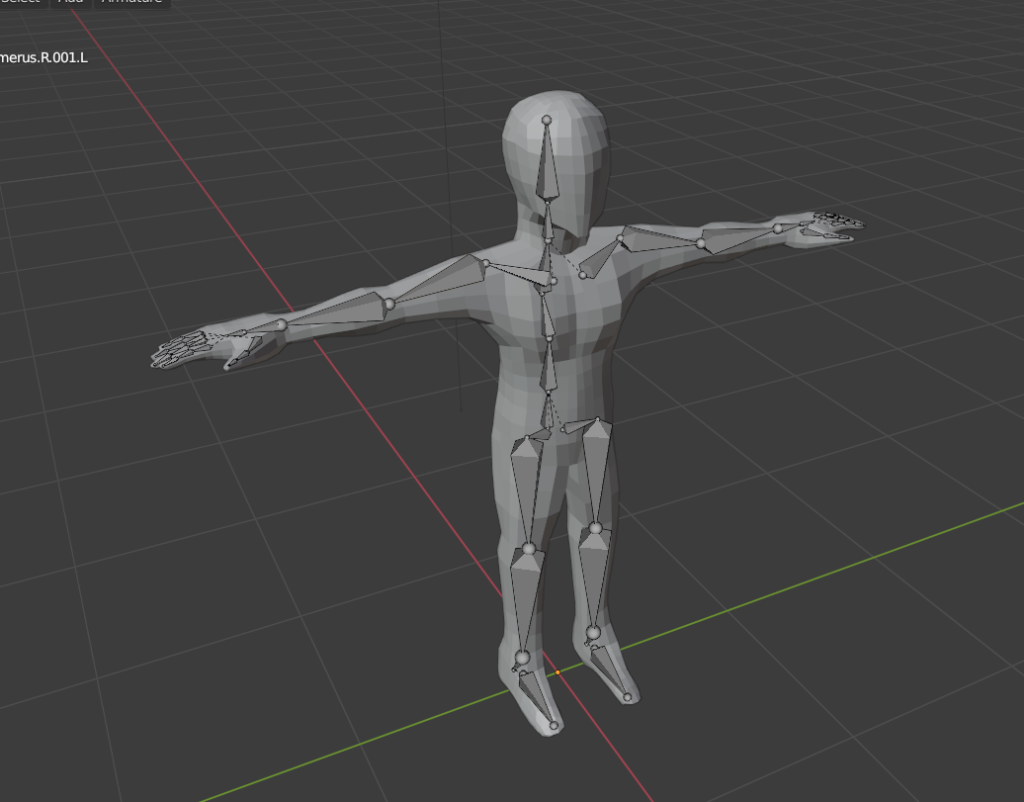
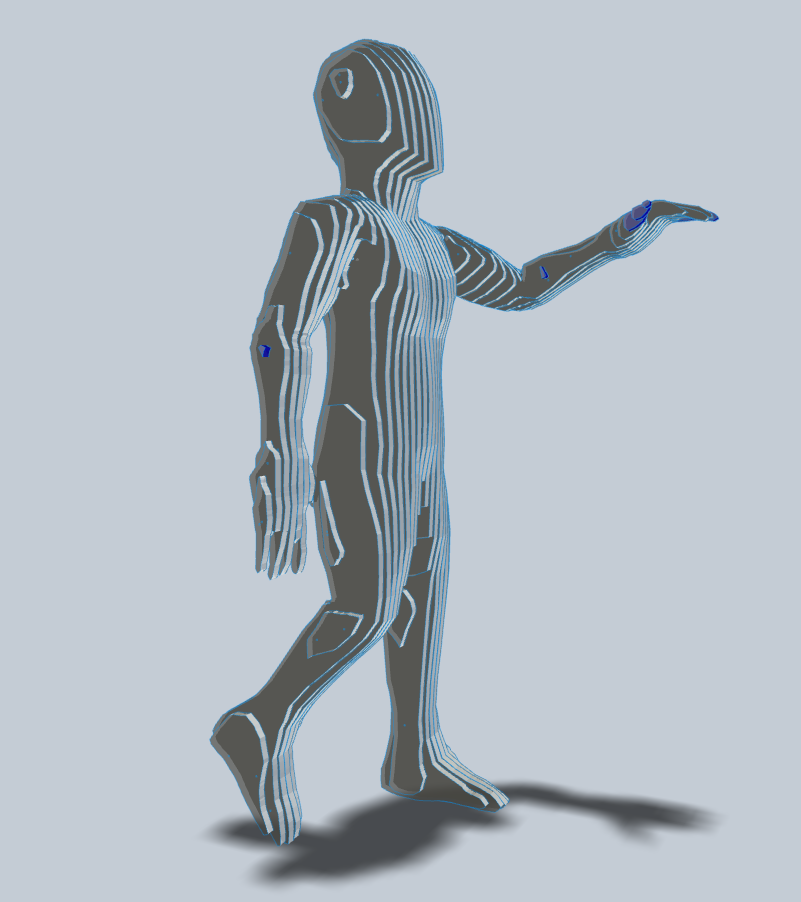
I have yet to finish modeling, as I still have some edits to complete that will add on the final details. The model built is the base layer of skin I’ve been working on over the part few days. I was only able to add an armature yesterday as a way to quickly pose and test my concept. After final construction, I was able to make the model stand up straight with out any assistance as well. However, it could be easily toppled and I have had to re-glue things a few times. I want to add just a slight adjustment to the feel to add a flatter bottom. I do plan to still create a base for the model as well, but I don’t want to exactly connect it.
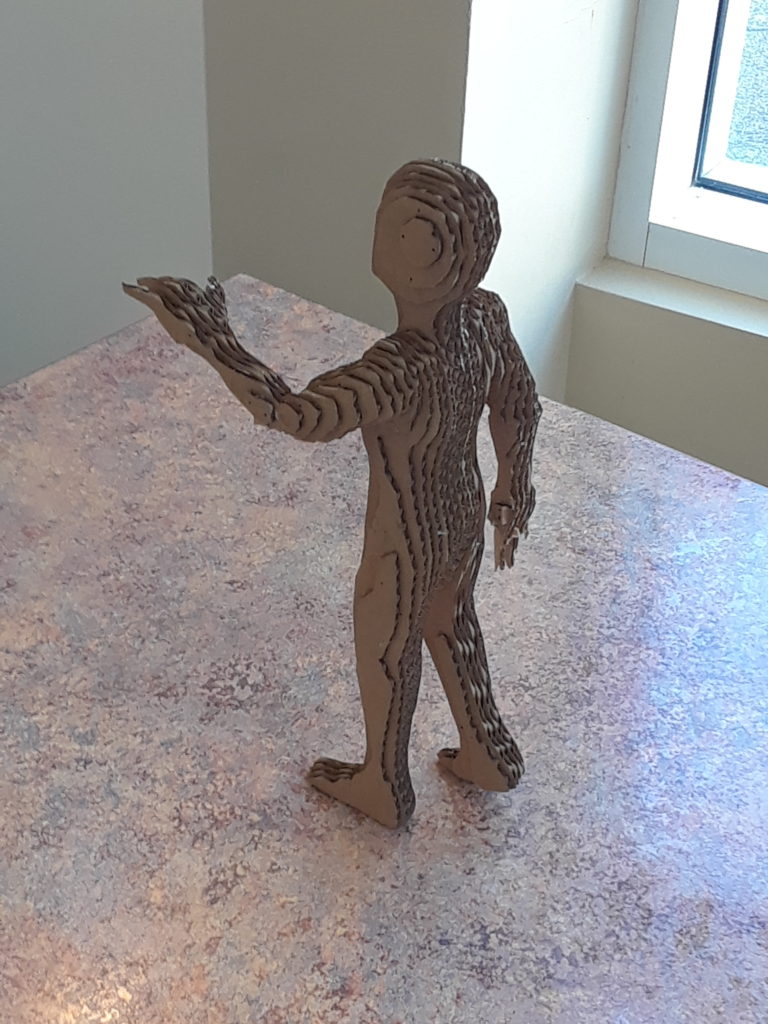
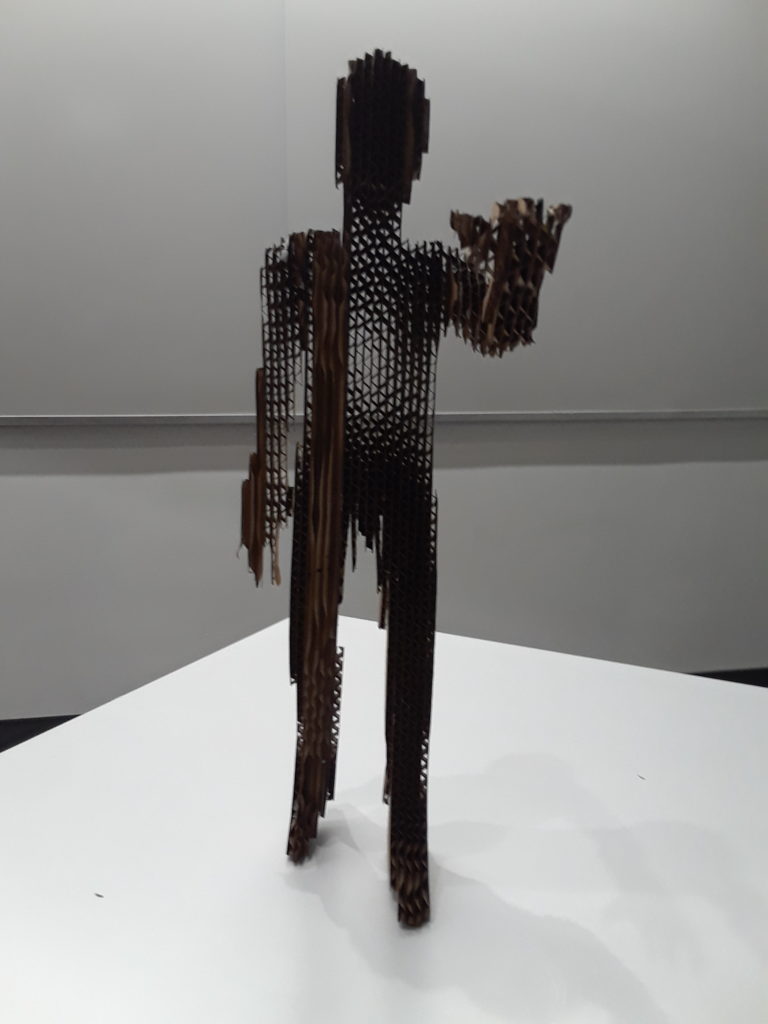
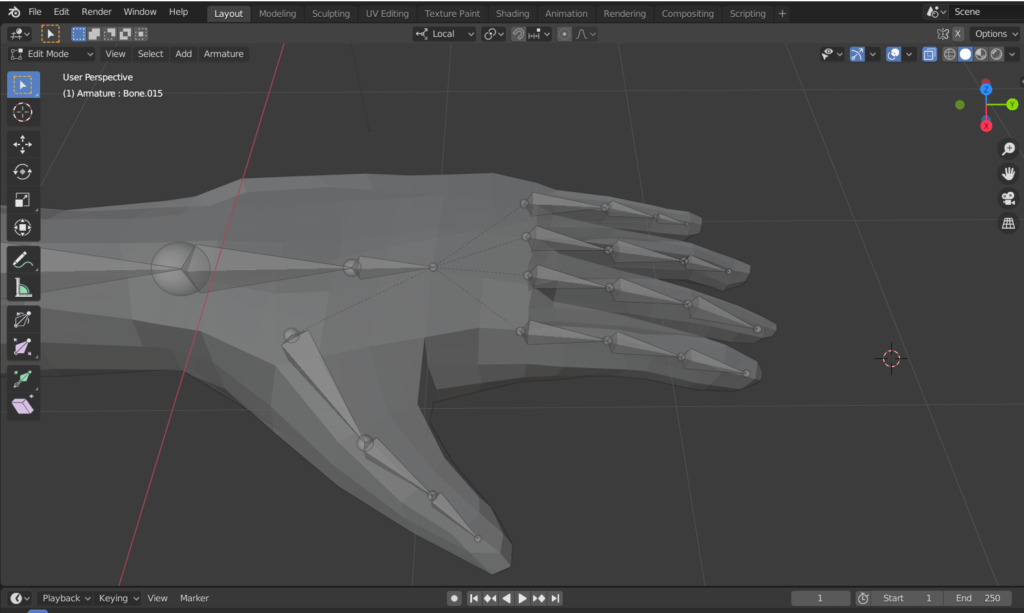
I did get a chance to see how a helmet over top would affect the layers, and I didn’t like the effect that I ended up with since the helmet did not create an enclosure effect at the scale I’m working at (the complete model is a foot tall). From this I plan to take Ece’s helmet off and either leave their face blank or give them a few features but still faceless. I’ll keep adding details, such as the collar, cuffs, and boots, but the helmet might have to wait for another day. Below are some images from slicing and modeling.


Question from me:
One of the main pieces of the piece it to play with light to make you question whether or not the model is actually there. I want to accomplish this through a very ethereal look, or making the material look see-through similar at different angles, similar to the cardboard model shown above. Do you have any suggestions on how I should work with my materials to perfect this look?
Hi!
I am not 100% sure if this would work but my suggestion to get the look you’re going for would be to play with the different colored acrylics the professor pointed out or even some of the ones that are multi colored
Hi Kat! Maybe using acrylics would create the look you are going for. I am not sure what colors exactly are available but maybe an white/clear material would do the trick!
I would agree with the other comments with acrylic. Maybe use a lighter more translucent colour to get the colour to be visible through the stacked sides and more see through, when looking down the sheets head on.
Hi Kat! If you wanted to make it look see through from front to back, maybe you could use wires, clear spacers or acrylic layers that give the feeling of space between layers that you could see through? If you wanted to make it look see through from side to side, I think you could create various cuts in each of the layer pieces but still stack them the same way. This would probably be pretty hard to do, but maybe worth the effort? Best of luck and looking forward to seeing how it turns out!
Hi Kat! I think thats a good question because the see through effect of the cardboard is definitely an awesome one. I’m going to have to agree with everyone suggesting acrylic paints. Maybe if you choose one or more colors and use it to paint one of both sides of each piece of translucent acrylic while taping the edge, the see-through effect might happen. we were talking about details too and I think using paint would let you paint some details onto the outer layers which cols be really cool
* could not cols
I don’t have much experience with materials, or how to make them see through, but perhaps using clear acrylic and acrylic cement would give you the closest effect to what you are describing.