


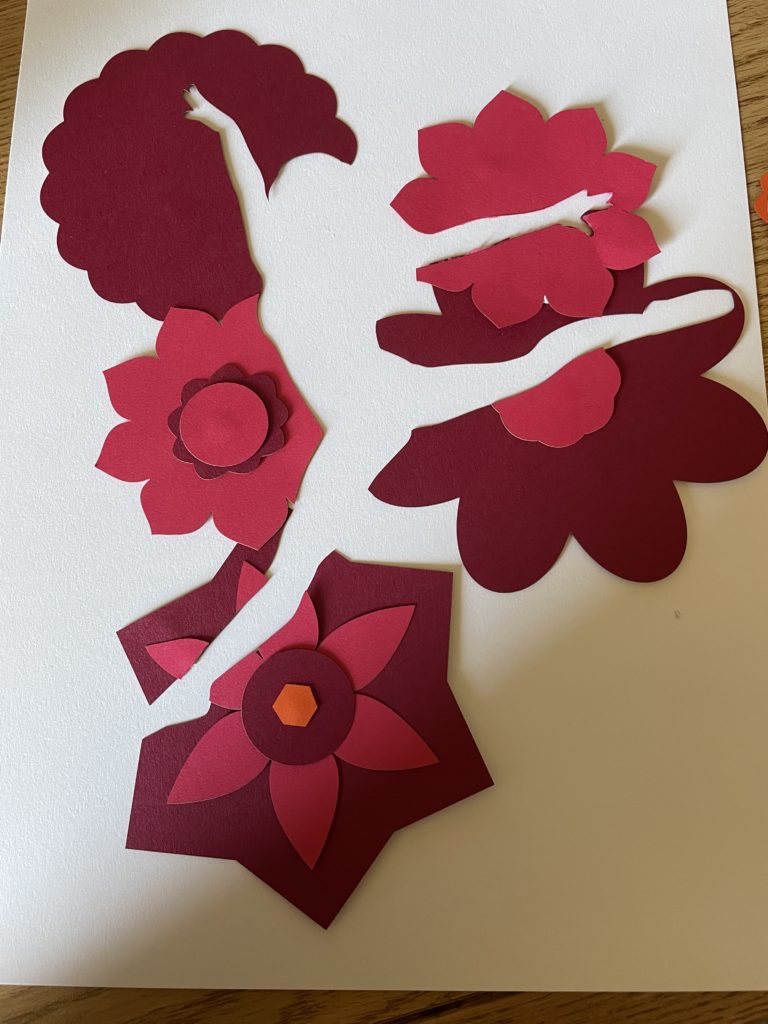
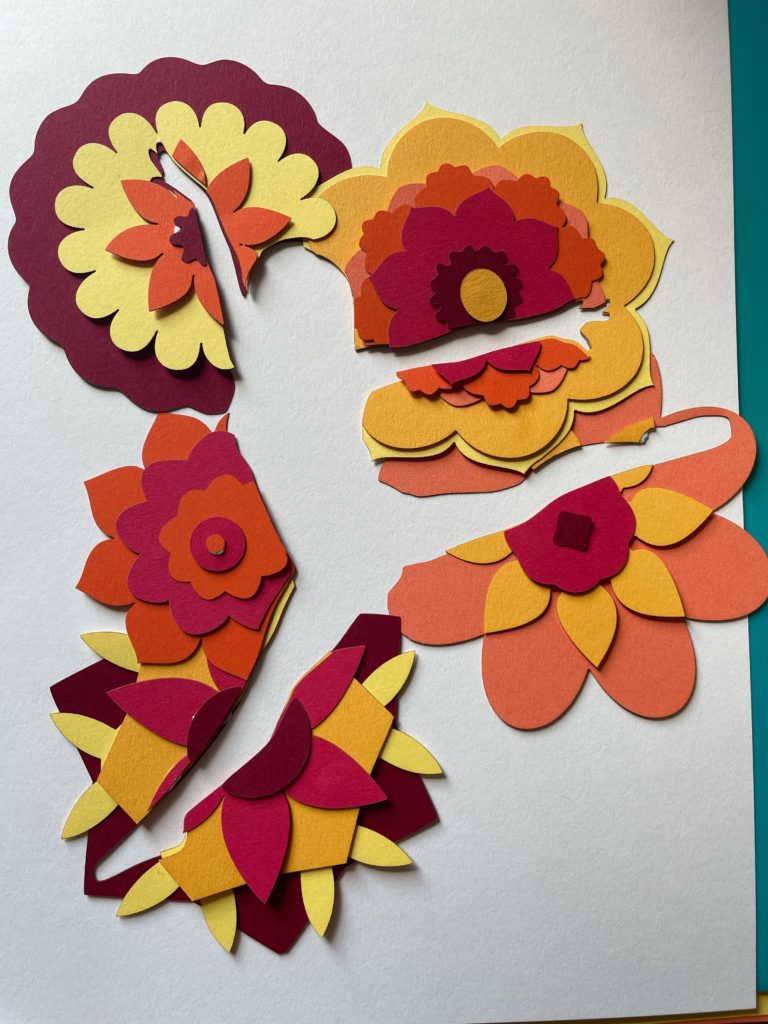
The image that has many colors is the file to help me visualize the final product as well as when I begin assembly. The way it works is that for each of the 5 flowers each color represents a different layer that will be stacked on top of the one under it. The silhouette will be cut out of each layer of each flower it intersects. The other 6 images represent how I pulled apart the different flower layers from the main design. Each of these 6 cut files will be cut out of a different color cardstock. I am using all warm-colored cardstock to keep flowers cohesive but still be able to see all the different shapes in the different layers .
Assembly is the biggest question for me that I want feedback about. I have 2 ideas so far but am unsure of either. The first is to simply glue each layer of cardstock on top of the previous layer, this would be the most straightforward plan but I feel like I want something with more dimensionality. So that leads to my next idea which is to have some sort of spacer like wooden dowels or foam to put between the layers to add height and depth. I am not confident about either of these but I think regardless of which or if any other suggestions come up I will have a plywood base and plywood silhouette.
I will update this after getting my time with the laser right before class and also add any questions about how they came out
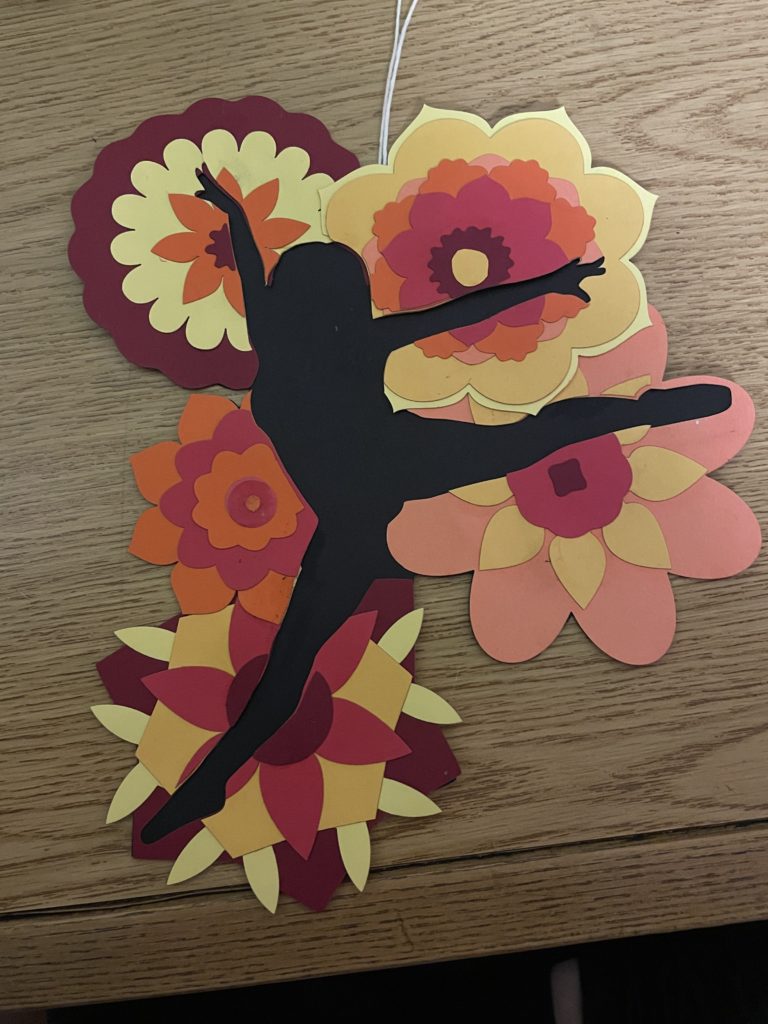
Not assembled in the final way but layed out to be able to see how it looks now that the laser is working for my files
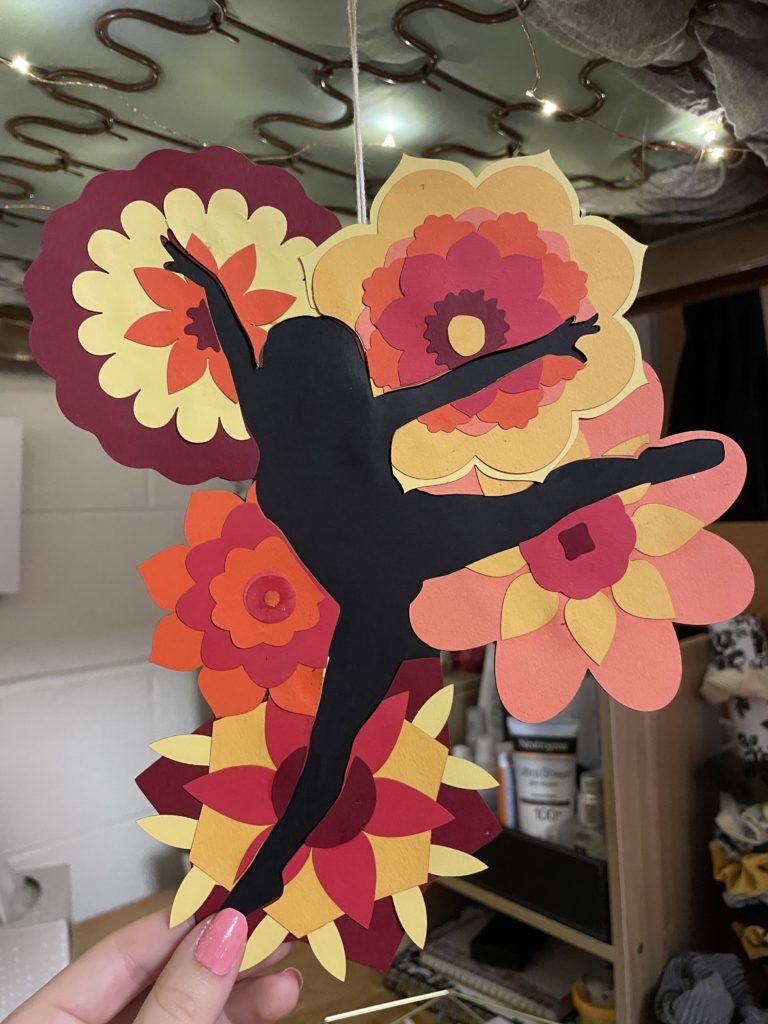

Layers Project FINISHED
I think adding some little foam blocks in the middle of each layer to bring it off the page is a great idea. The three dimensionality of this piece seems really important.
Hi Grace! I think your dowel idea would be really cool however it may be hard to execute with the smaller pieces. Would you ever try wires or string? Since you’re using cardstock it should be light enough for a wire to suspend in the air, it could look like stems for the flowers and you could cut holes with the laser cutter! Looking forward to seeing what you do 🙂
I have a similarly layered piece and I used foam tape which stuck it together with a little more thickness! You can get tapes of different thicknesses for pretty cheap on amazon. Just makes sure to put enough around the edges when you stick them together so that one edge isn’t thicker than another!
Hi Grace! I think the dowel idea might work, you won’t necessarily need wooden poles for this but adding small circles between each layer might be enough to get the depth you’re looking for. I’m excited to see the final piece!
I definitely think some small pieces of foam attatched would get you your desired look. If youre worried what it will look like along the side view, maybe you can add pieces of plywood there to cover the visible layering.
I think adding spacers is a good idea. One thing you might want to consider is how you might conceal the spacers so that they are not visible when looking at your design.
Hi Grace! I think adding the dowels or some form of barrier to create space between the layers would look really good! Maybe if the dowels are too large you could use stack smaller pieces of the cardstock underneath the layer to create a similar effect.
how did you come up with this idea
I really like how some of the artists we looked at in class played with negative space so I just started doodling around a picture I had of myself and eventually came up with the first iteration of this design
Hi! I noticed the use of the warm colors in different orders for each of the flowers. How did you decide the pose for the figure? I have an opinion about adding depth to the piece. I think using the foam in some areas, like only on certain flowers or sections of flowers, could add varying depths to the piece.
The pose is actually based on a photograph I have of myself dancing that I picked because of how dynamic it is. In my final version I hope to finish by Friday I will be adding foam tape to add more depth!
Hi Grace! I noticed that you used the flowers to create the silhouette of the figure, and I appreciate that you used an action pose. I was wondering if you designed the size and placement of the flowers based on the movement created by the figure? I also have an opinion on the layers; I think that you could create some more depth by adding foam in between each different flower, or certain petal layers.
I drew the flowers first and then moved them around and altered their sizes in order to cover the outline of the silhouette.
Hi Grace! I am stuck by the beauty in keeping the flower color pallet to only yellows, reds, and shades in between. To your question of depth I like the idea of using foam tape to facilitate the depth in the flowers. Maybe though, you don’t need to add the tape between each layer, just like the major separations of petals and the bigger shapes (so that you don’t have to fuss with tiny pieces of tape showing). I also prefer the black silhouette of your figure, it makes it clear that is the back shape but also makes the form the center of attention.
I noticed that you have used very complimentary colors in your piece. Why did you decide to go with negative space in the end instead of the draft with the black background? In my opinion, this pieces is so cute! The color palette is gorgeous and this gives me very summery and whimsical vibes. Great Job!