I decided I want t ouse the servo, alongside one of the video trackers to create a little eye things move, but only as long as they are in front of the computer.
Its more or less a metaphore for the way many of our generation limit our views to what we can see from our computers. While that is huge on an information scale, on an physical interaction, and relations scale its significantly smaller than what might be called healthy. The little geye will try to follow things that come across his vision, and at least look interested, until it exits. then turning back to a neutral position.
I just hope I can get arduino to work with my computer.
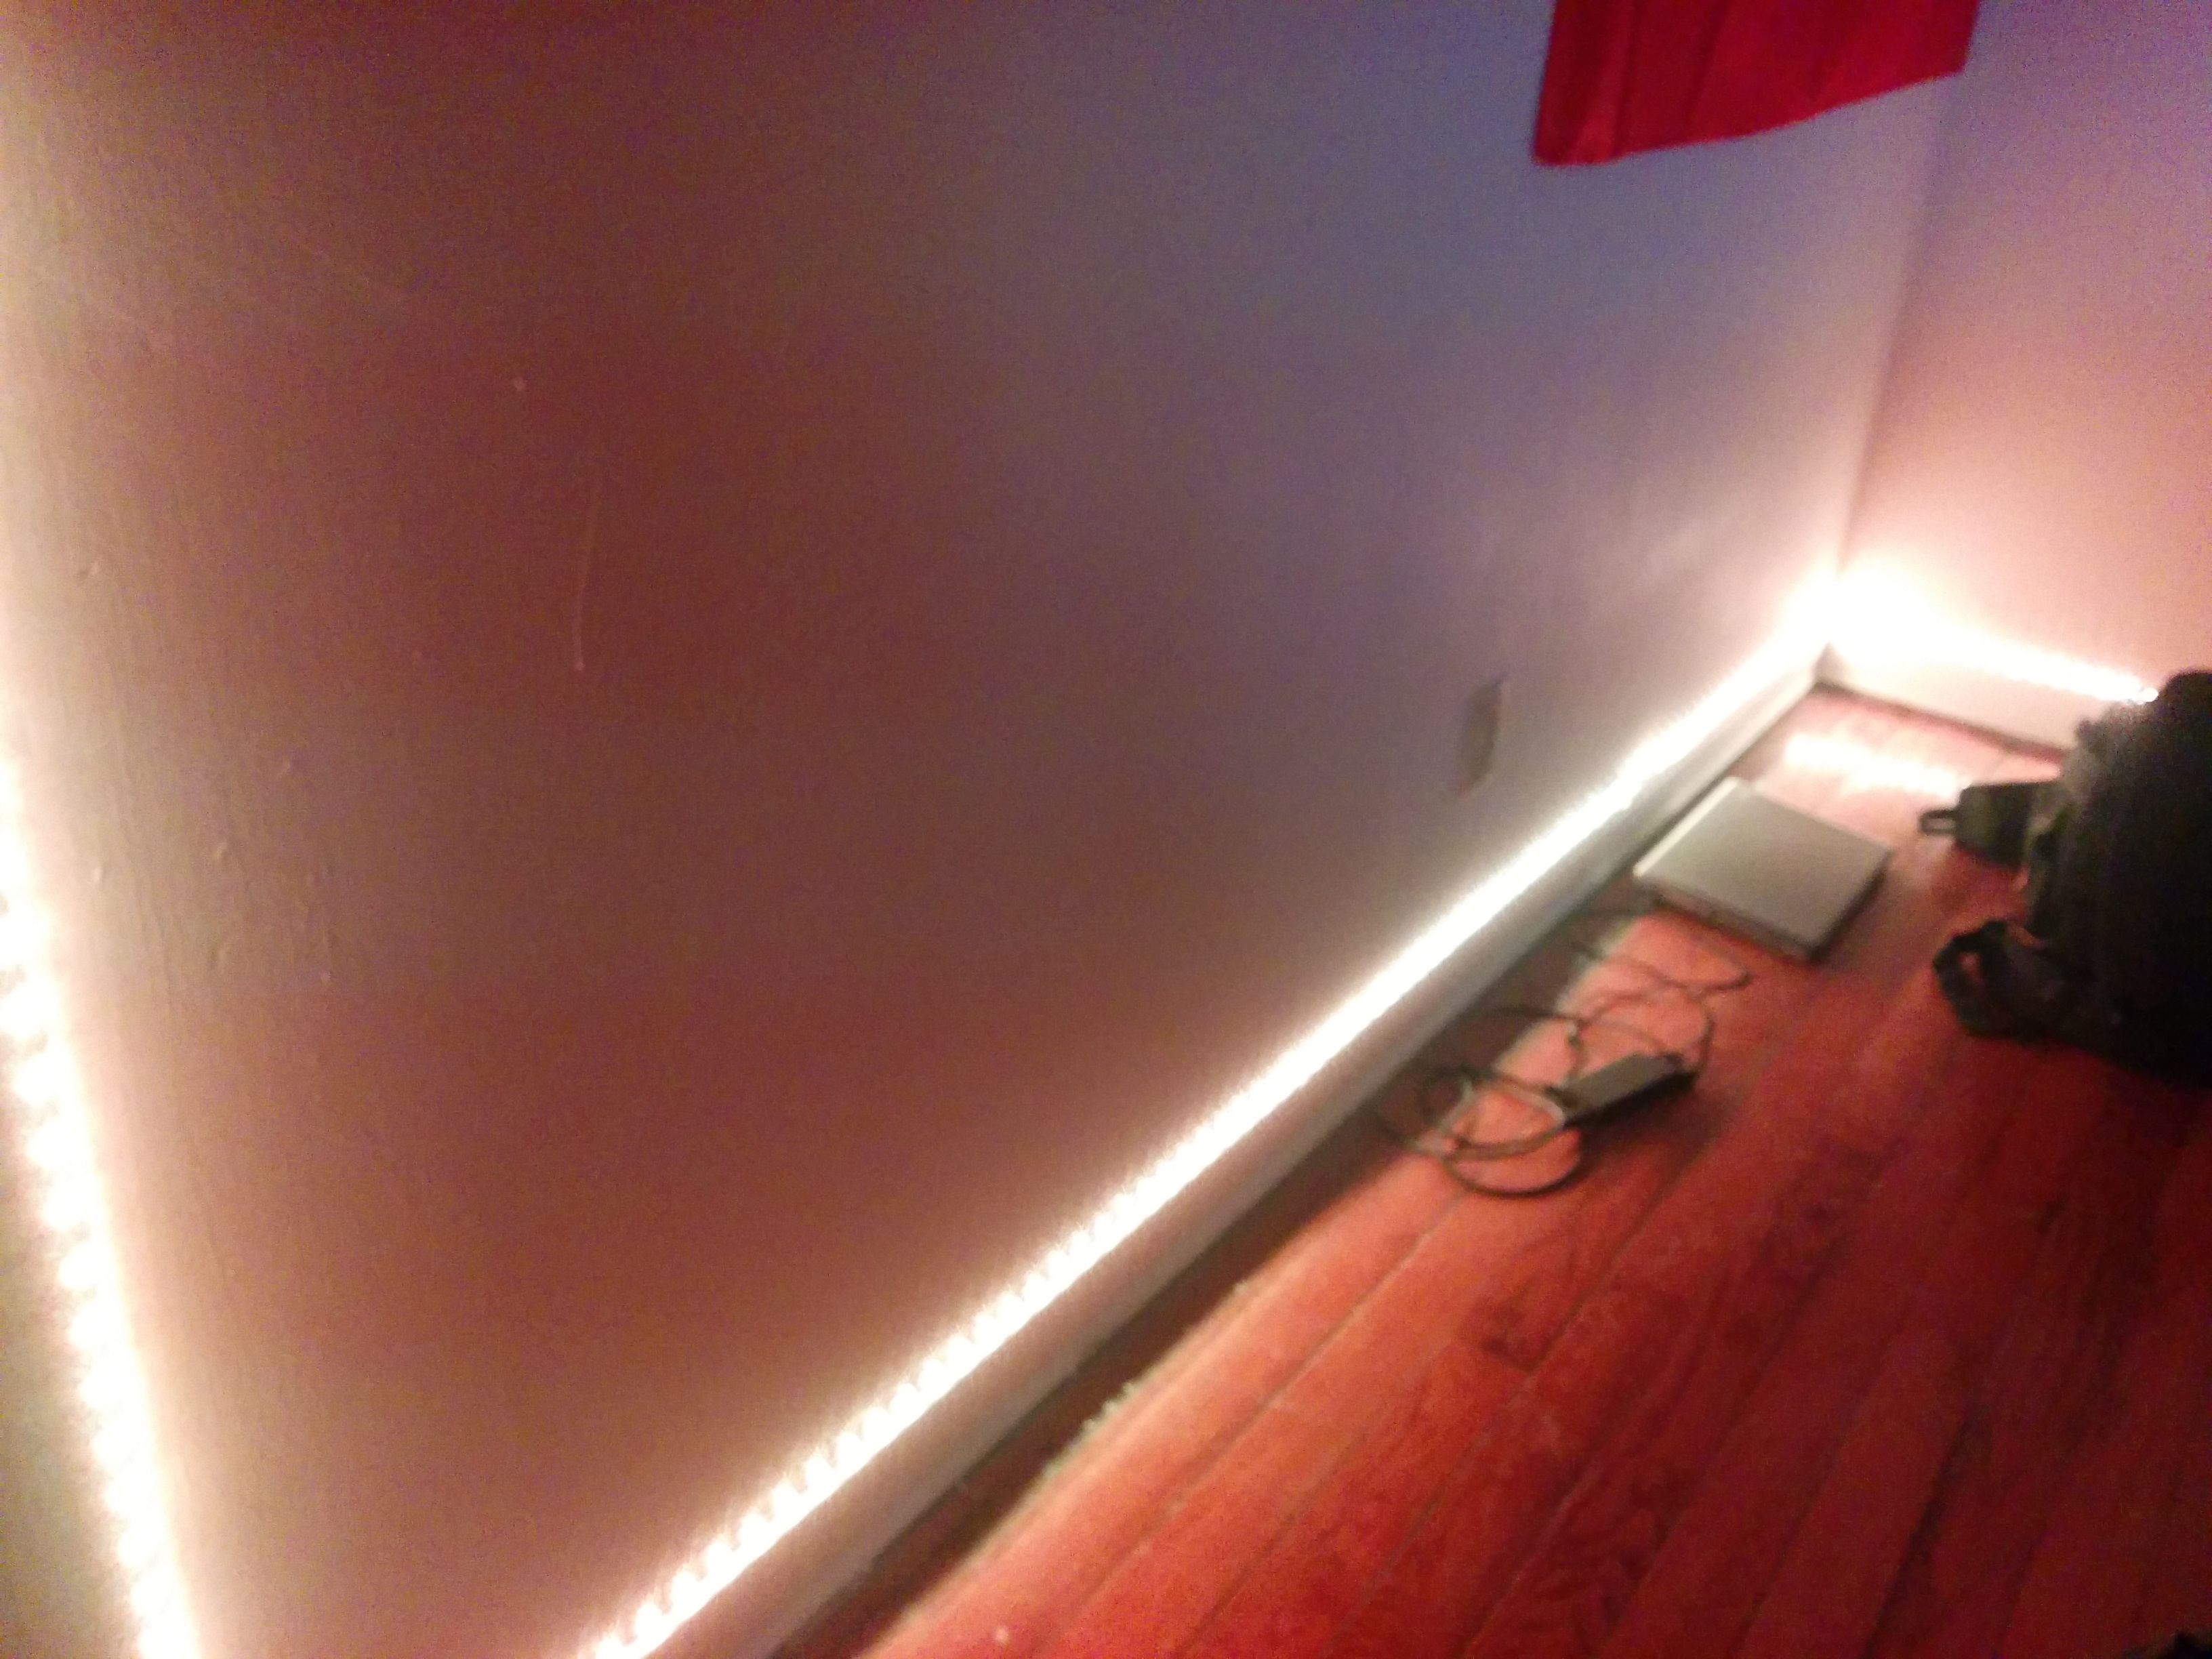
I decided to build something relating to LEDs for the final project in AR3200. The strip will be controlled using an Arduino board, which, in turn will be controller either by Max, or by my cell phone. There is a way to control the board using an Android device as a host – and I have plenty of cables for that. The image below shows my room right now. That strip will be used for the project.
The image below is the box that I will essentially be replacing using the Arduino.
The box pictured is a simple IR receiver, used by a usual 52 key remote for these lights. The Arduino board will be interfacing with the computer to respond to music. Using a similar patch for the beat boxing video remix project, the volume, highs and lows will control the colors, as well as the opacity. A preliminary mapping will have volume on opacity, lows on the reds, highs on the blues and something else on the greens. Still have to figure out how. I have found a power supply – the LED one should actually work for the board itself, I just need three TIP31 transistors from the AK department – getting those tomorrow from the ECE shop. Hopefully this will all work…
For a proof of concept, and the inspirational video:
I will not be using the Arduino IDE though for the code since Max PSW will be used for that.
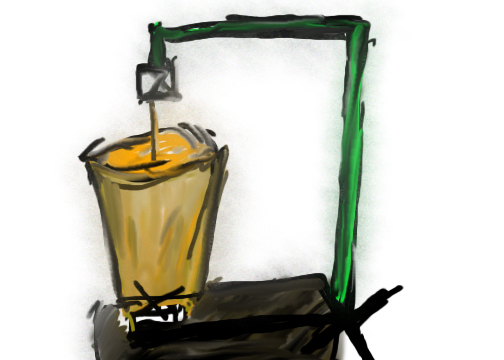
My project will combine two servos on opposite ends of a latte. The project will allow for a finger painting like experience with the latte art.
The metaphor for the project is in the stir stick, as it stands for a human finger.
Research will involve a lot of coffee. I have been looking at how to make the foamy milk that is used in a latte and economical/time efficient methods of making a lot of coffee. I also need to research pouring techniques. (I am also entertaining the idea of using a webcam + laser combo instead of the sensors)
The first servo will spin the cup while the top one controls the yaw of a stir stick. The thermistor will control the rate of spin while the soft potentiometer will control the upper servo.
For my controller demonstration, I pulled out and reviewed an old project of mine: (starts at 1:18 – arduino and processing working together with a light sensor)
Although the technology has changed significantly, I was able to get everything running again between the arduino and processing.
My project concept is a simple metaphor relating to its input device. I plan to use the flex sensor as my my input which will play several short movies or gifs once bent. The metaphor is “bending the rules”, so the movies will be of rules or laws being broken or out of the ordinary things occurring. The actual input will be the flex sensor attached to either some paper with “The Rules” written on it or something entirely different to convey “the rules”.
For research, I think I’ll have to find more images that can convey the metaphor. I’d like to have many different short movies to play at the same time, but I only have a few right now.
The whole project should come together easily based on what I’ve learned so far. I will probably have to create/edit some movies to make them work, but I don’t foresee any huge problems.
I recently stumbled upon these beautiful videos about the future of the NASA and its relevance for the future of technology and humanity. They are narrated by Neil deGrasse Tyson.
I want to make these videos interactive, using 3 different controllers:
Numark Mixtrack Pro (MIDI Controller):
This board will be used at certain points in the movie to trigger the video, by turning up knobs or spinning wheels in order to emulate the various controls and technology that is needed for our space endeavors.
Arduino Board
I will try to make a physical countdown going, using LED’s.
This will also be my training for Monday’s class.
MakeyMakey
The video talks about being bold and make the NASA’s budget 1 Penny of every tax-dollar. I want to trigger a part at the end by closing a circuit using a penny.
More concrete stuff to follow soon, I need to eat and go to class.
More concrete stuff:
This is the timetable for the first video (which is my favorite of the two):
0:33 – NASA got funded: Fund NASA (put money on weight sensor)
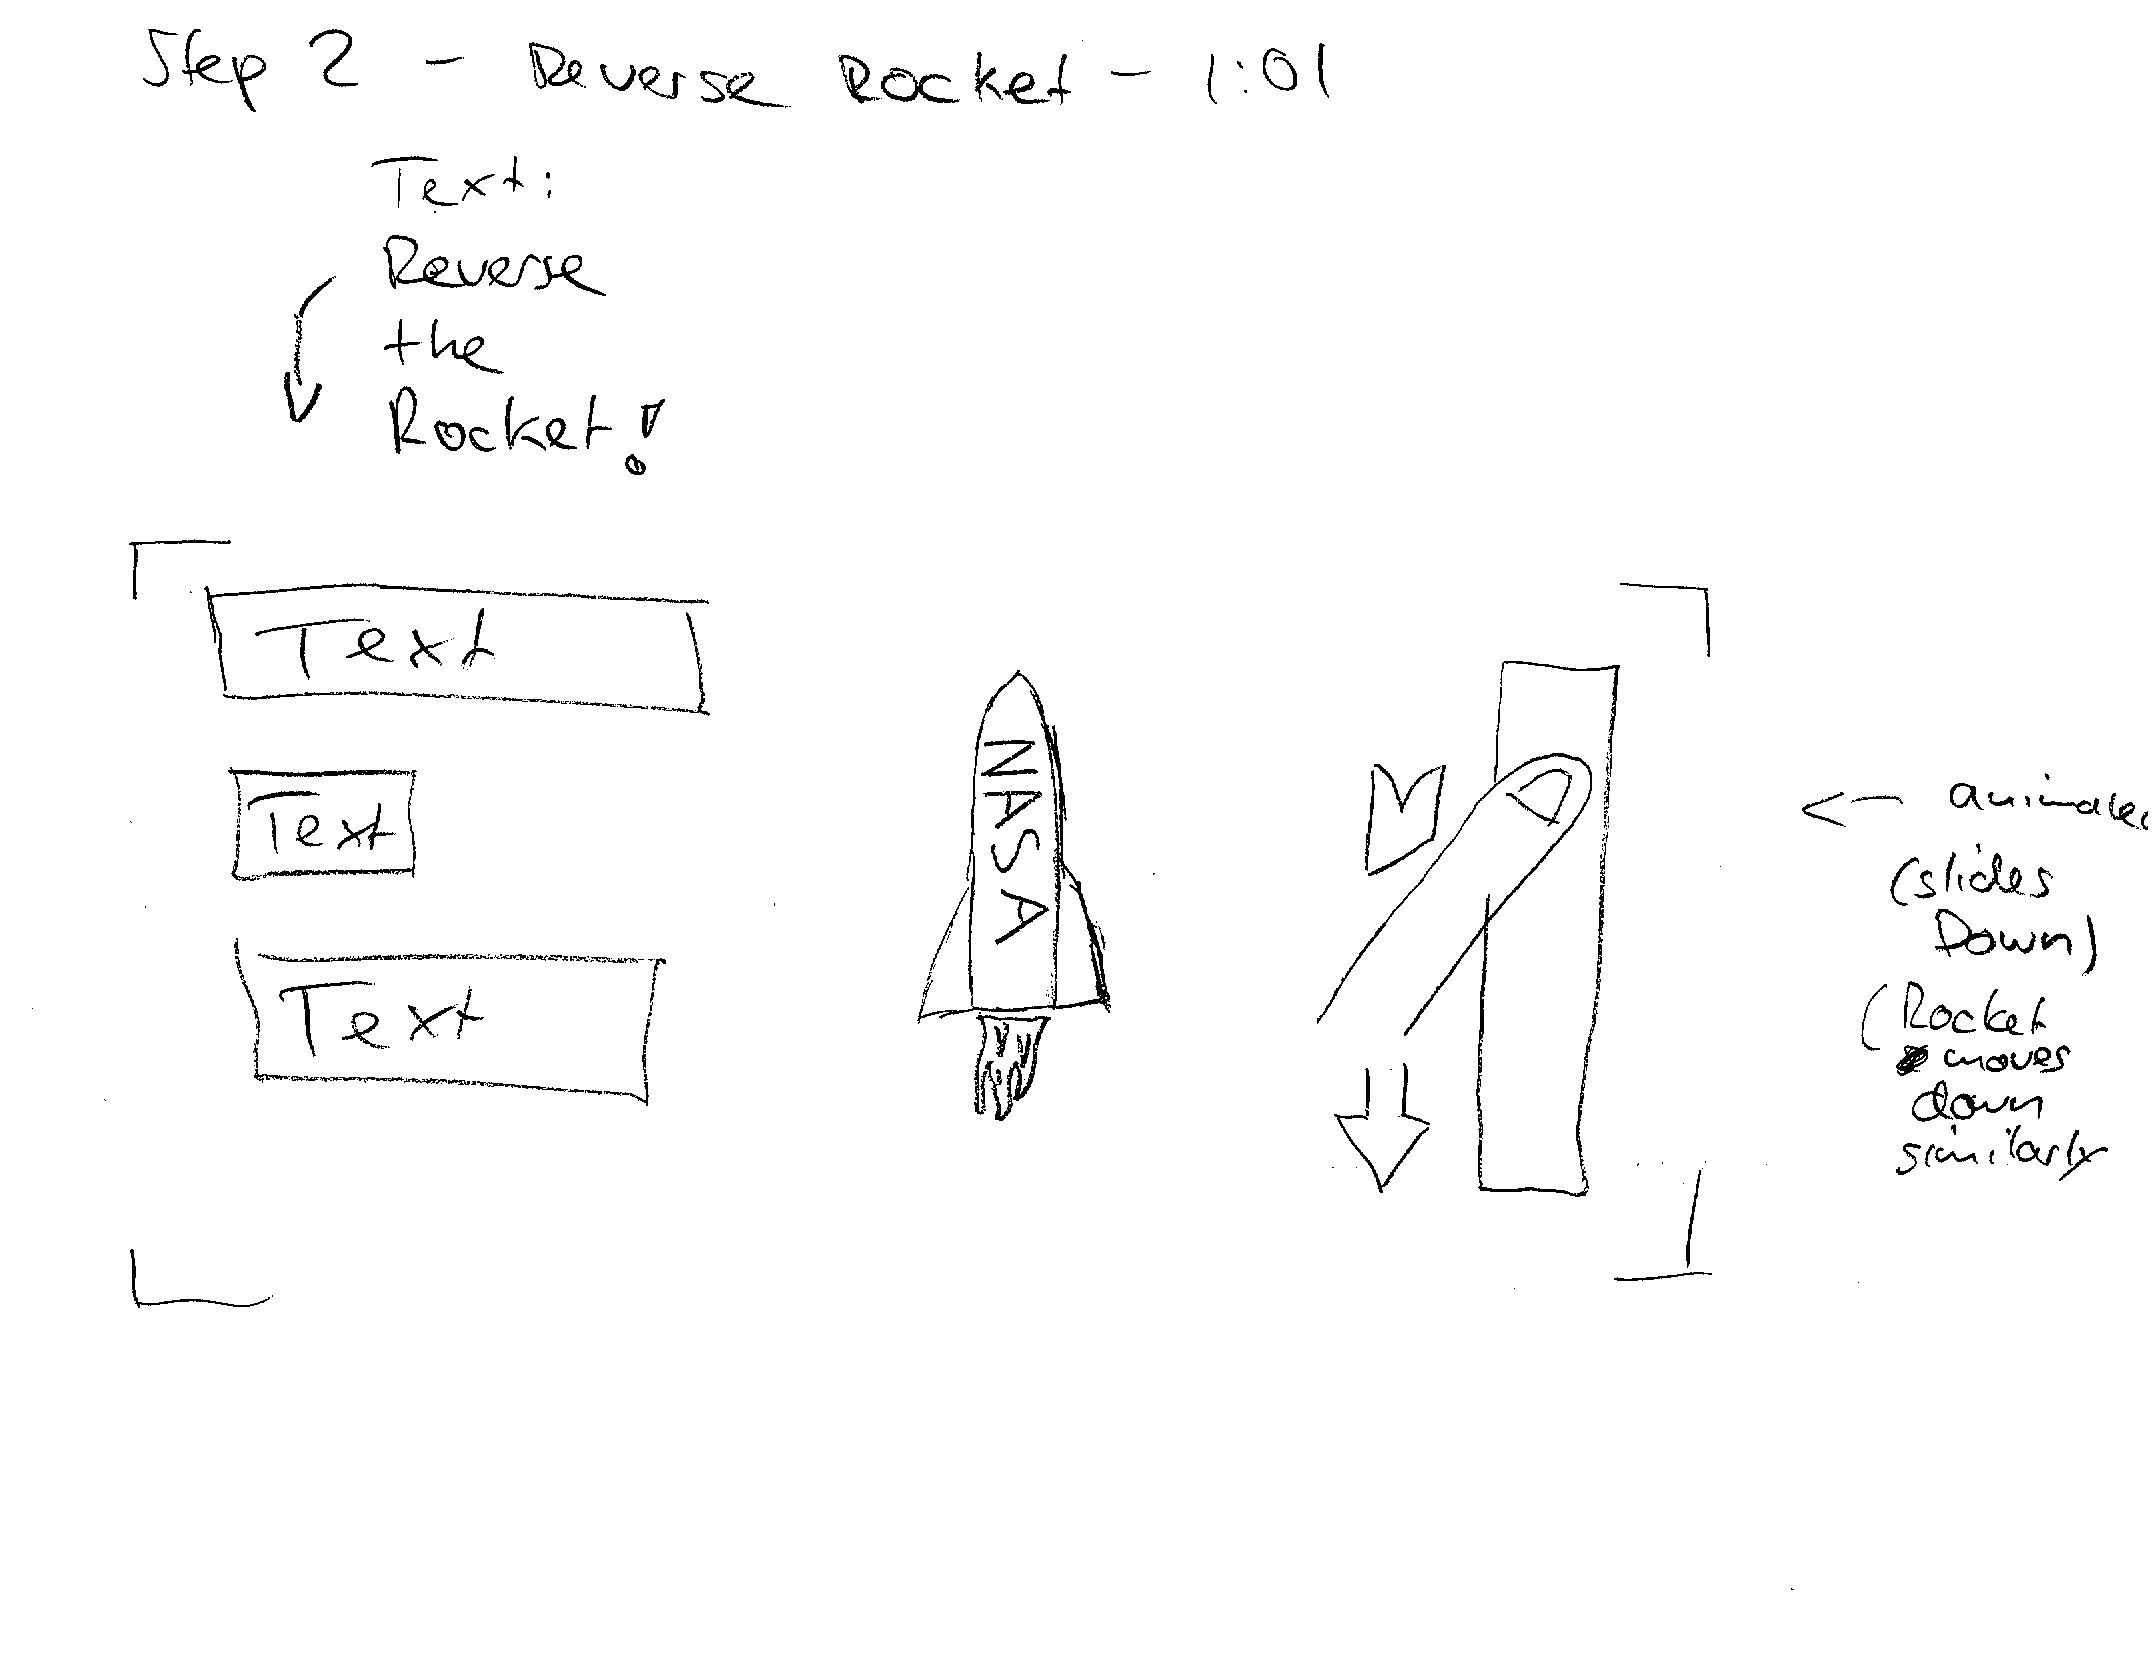
1:01 – Reverse Rocket (Arduino touch Sensor)
1:20 – Finish the drawing to close the circuit (Draw technology of the future!)
2:02 – Disconnect your future drawing and discard it. Turn back all midi knobs
2:50 –Distribute the money better! Move money from bank bailouts, tax waste, and defense budget onto technology. (Pass certain threshold in order to advance)
3:40 – Be bold! Make NASA’s budget a penny! (Place a penny on the designated spot to play the video!)
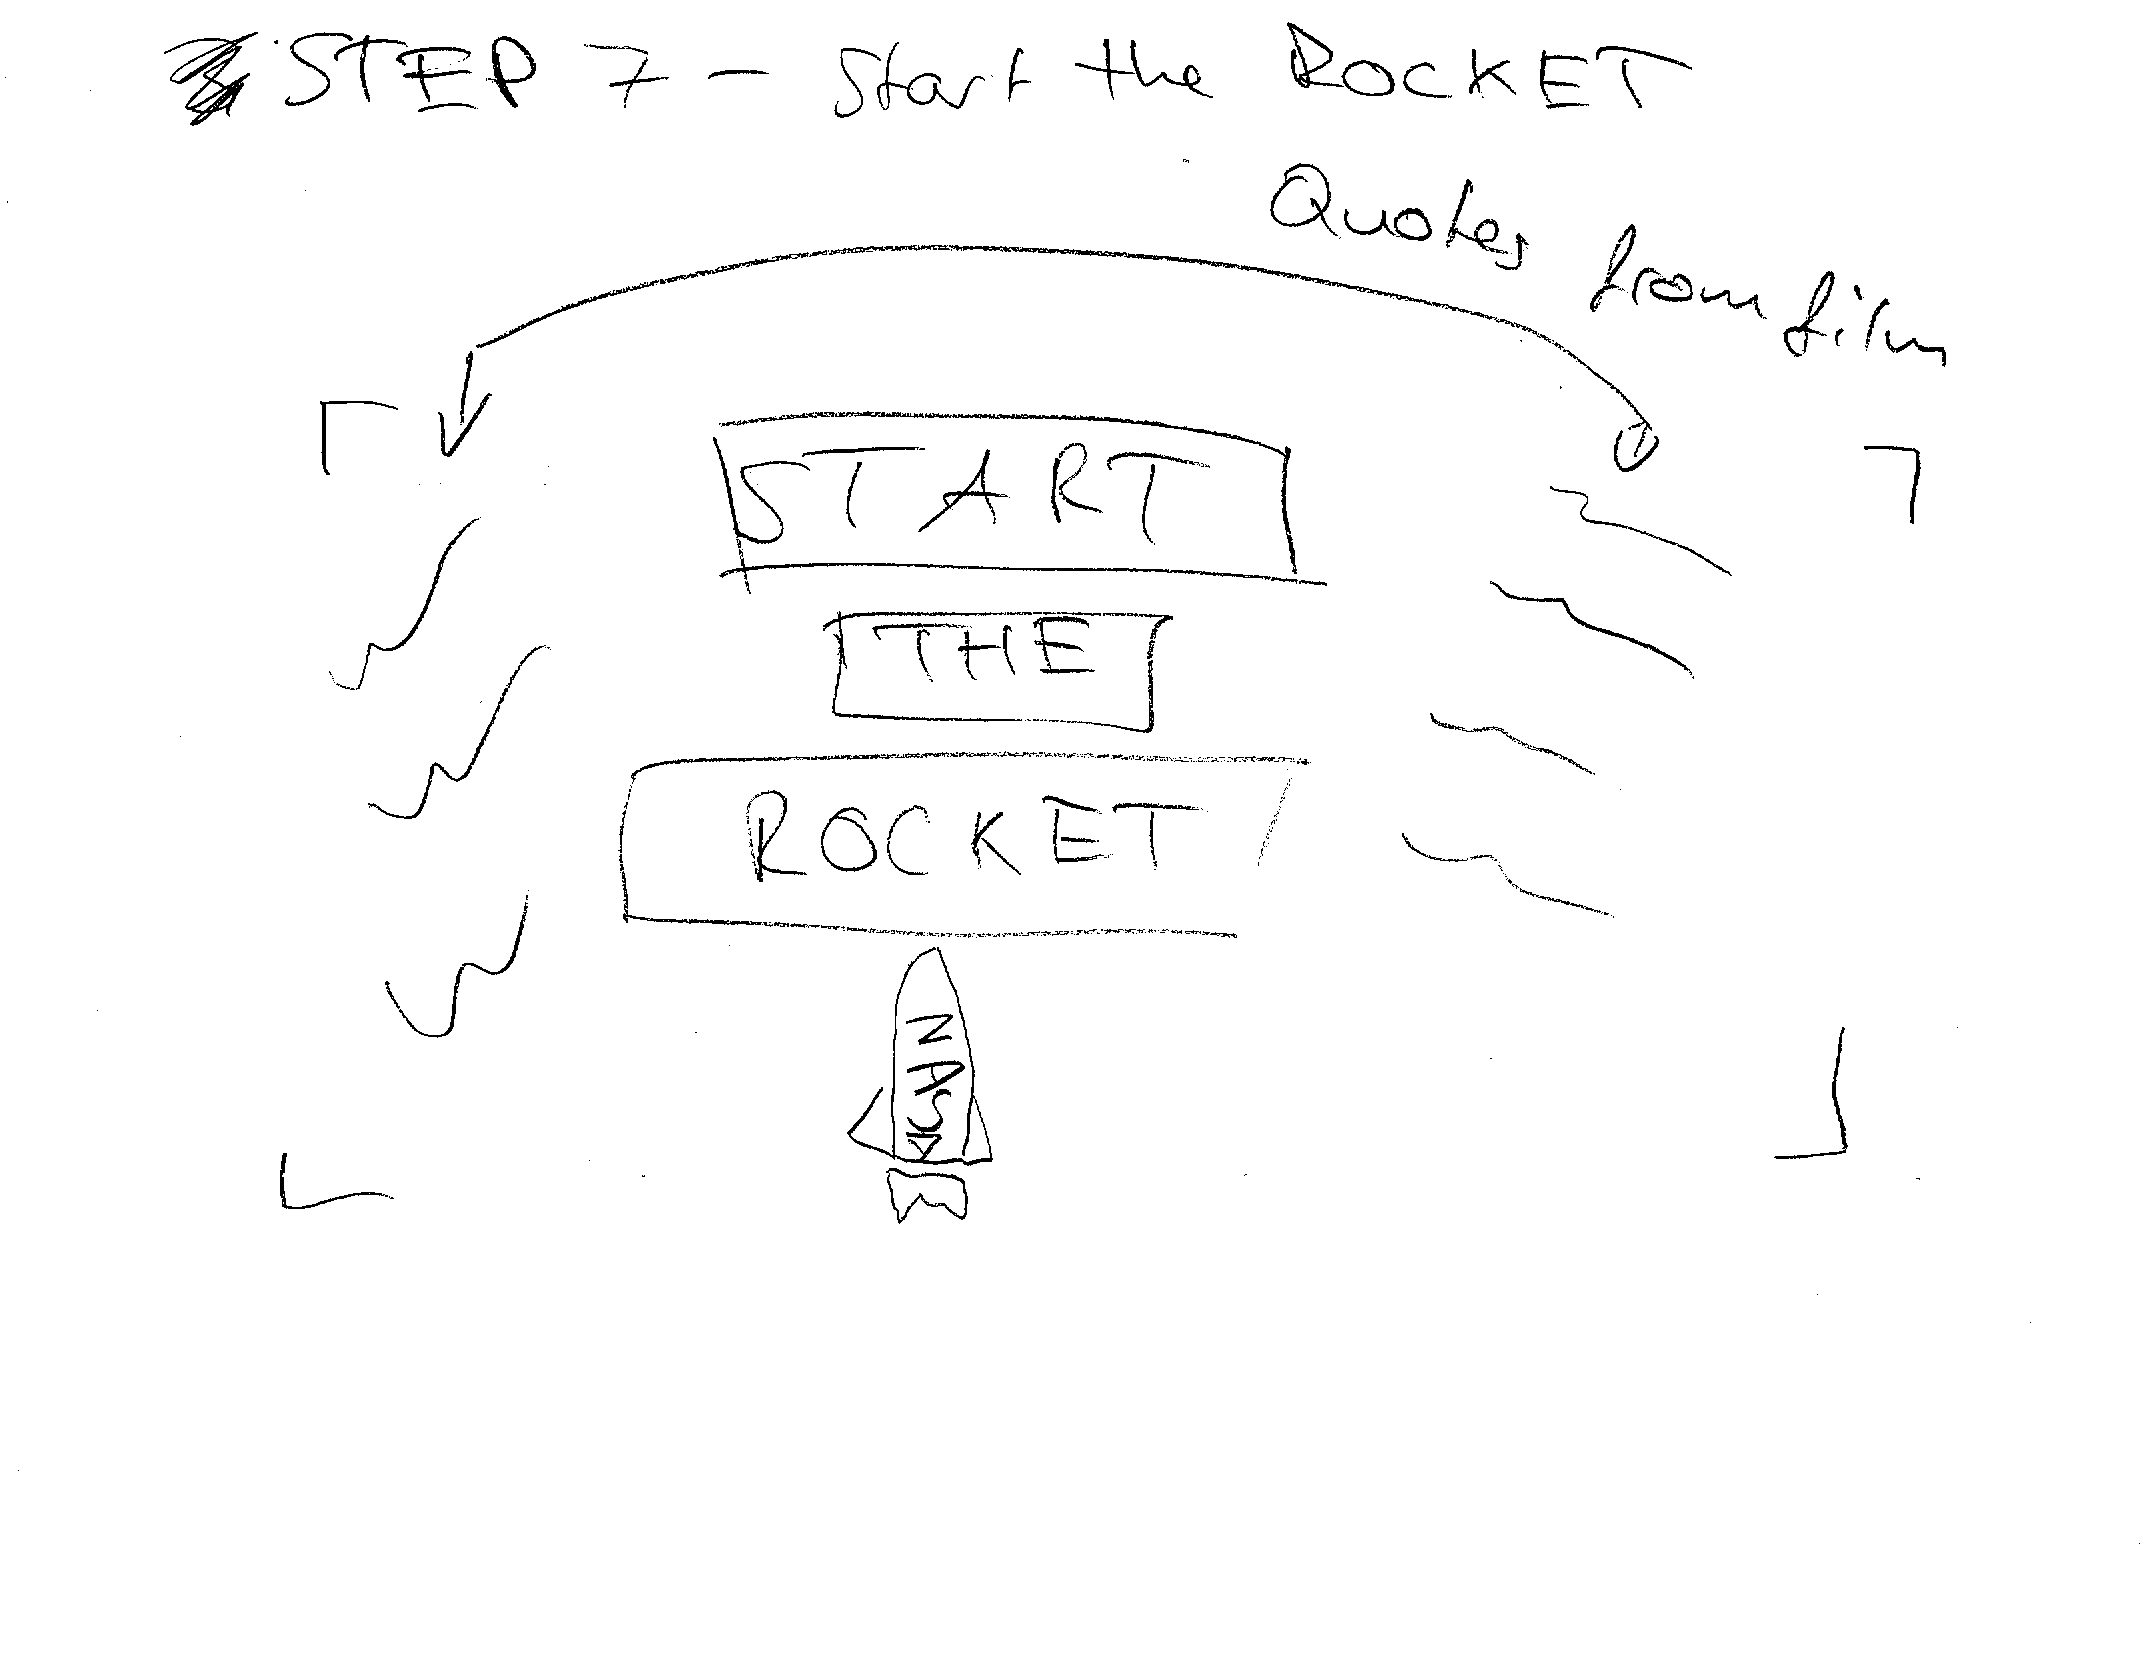
3:51 – Start the rocket! Turn all the knobs up, wait for the countdown and slide on the slider to start into the future!
How to make it happen: A Step-by-Step Plan:
Make the Arduino Countdown (due Monday!)
Cut the original video at the specific points specified. Make sure the sound is alright.
Generate all content needed for the in between explanations (PNGs, Animations etc.)
Connect all necessary devices
Map input
Make Patcher
All in all this is quite an ambitious project considering the amount of content and patching that needs to be done. However, I believe I can pull it off!
Update – Wednesday – 3:40 AM
I got done with most of the patching. I can now control the videoplayback via all the different inputs I mentioned in my sketches. It cost me an immense amount of time and nerves and I almost had 3 breakdowns.
The last step that is between me and my sweet, sweet break is the video overlays. I decided to go with simple text overlays and leave it up to the user what to do in each situation, or, at least not to go ham on animations in the overlay.
The reasons behind this simplification are as follows:
Animations will not add to the value of the project, but rather make the user look dumb (explain everything…)
The extra time is not feasible.
I am fed up with this Project beyond measurement at this point. If I would not fail a class, I would not have been able to pull this final off. Also, I cannot hear the video anymore at this point.
Oh and no arduino. Not gonna happen. I am terrible at ECE, glad I did not choose that major. Plus it does not add any value, apart from two blinking Led’s (…duh).
I make use of three different input interfaces, Makey Makey, MIDI and Smartphone. That will more than suffice.
IT IS DONE AND IT WORKS
Here is my video:
It is kind of glitchy at times, but let’s hope it works at the live demo! 🙂
So for my meme I chose the recently popular “Luigi Death Stare” From Mario Kart 8.
This meme emerged when people found that in replays with Luigi. as he passed others he would turn and glare at them wit ha look that would be thought uncharacteristic of the normally quite timid green plumber. Now the meme has escalated into a number of animated videos of Luigi flipping his lid in races, as well as a cosplay where someone would throw shells at others, then ride by slowly as if it were a slow motion replay, staring at them.
For max I relied mostly on the color track to use as a base, where the colored objects position determines the rate of the video. The height of the object dictates speed, with higher being slower, and the vertical positioning determines whether it plays forwards or backwards.
(( as a side note I also fixed the fact that the last video was private, whoops))
I wanted to do baby dance video cause I think they are just so cute and so cool.
I thought about making baby rap video or street dance remix. But in the end, i choose baby dance.
For the patch, it basically is just using the keyboard controlling the video pieces. There are 37 videos in total, 29 baby dance video and 8 baby talk video. And Arrows for four songs.
There was a lag issue I couldn’t fix it, otherwise the project will be much better.
For this project I chose to remix the Nyan Cat Meme, because it has all of the hallmarks of a great meme: annoying soundtrack, a cat and food!
Originally I was going to track the cat in 3D, by tracking four color blobs.
This proved to be very difficult and unreliable (and thus I was not able to present in class), so I resorted to adding a mobile device as a light source back to the webcam.
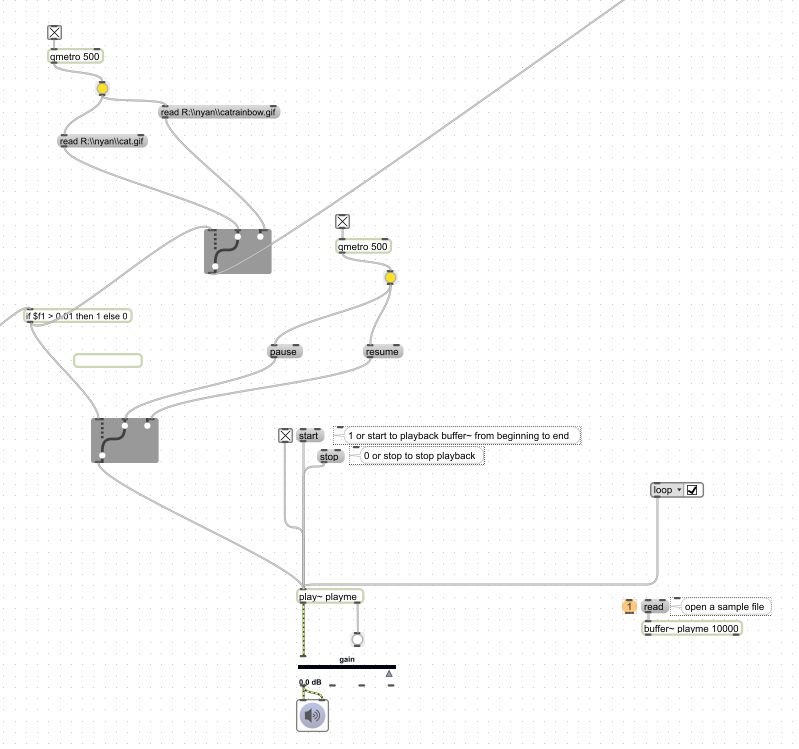
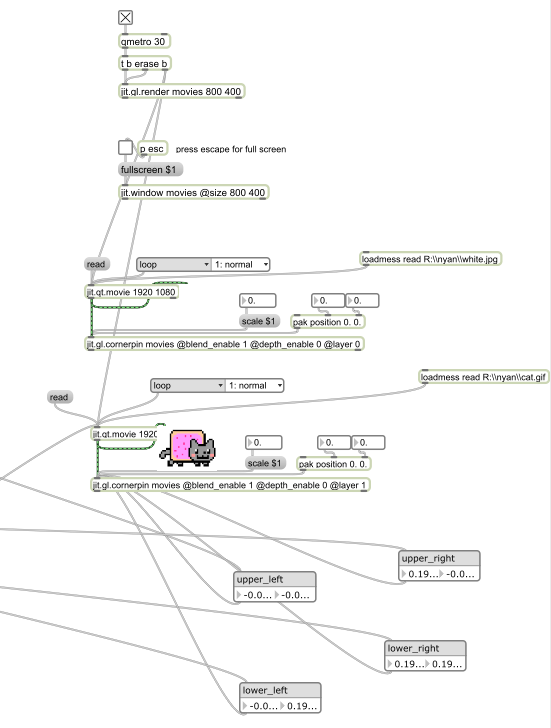
The patch itself is pretty complicated. Ill brake it down here:
This section of the patch controls when the sound and animation should start and stop. It is connected to the motion detection part
The main video and audio is a loop created from part of Filmcow’s YouTube channel’s video, John McCain and his Vegetable Friends. Other clips are from other Filmcow videos, specifically Charlie the Unicorn 3‘s musical piece, Charlie the Unicorn 4‘s musical piece, and Bino the Elephant‘s opening theme. When I was still putting the Max Patch together, I first tried some Max filters on a clip from the TV series, China, IL, seen in this link. The clip itself had a lot of nice movement and since pickings from other Filmcow videos were slim, I kept it in.
The input for the video is from an Xbox 360 controller. The A, B, X, and Y buttons are mapped to play one of the four videos in the colored keyed out regions in the McCain video as long as they are held down.
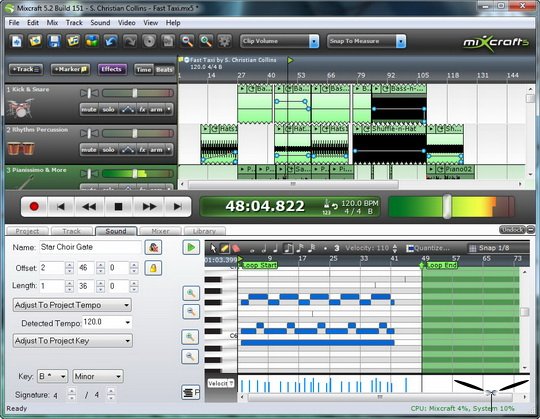
This project started out in one direction, and then just took a dive off of a cliff into another one. I first started to composite a song in Mixcraft since I have been working with that program for a couple of years now – extremely on and off. A preliminary view is below:
This then evolved into Synthesia, which is a kind of virtual-piano software that lets you learn to play the piano. Now, I have no idea what key to press, however, MIDI files are available for download and I have based some music in the final project:
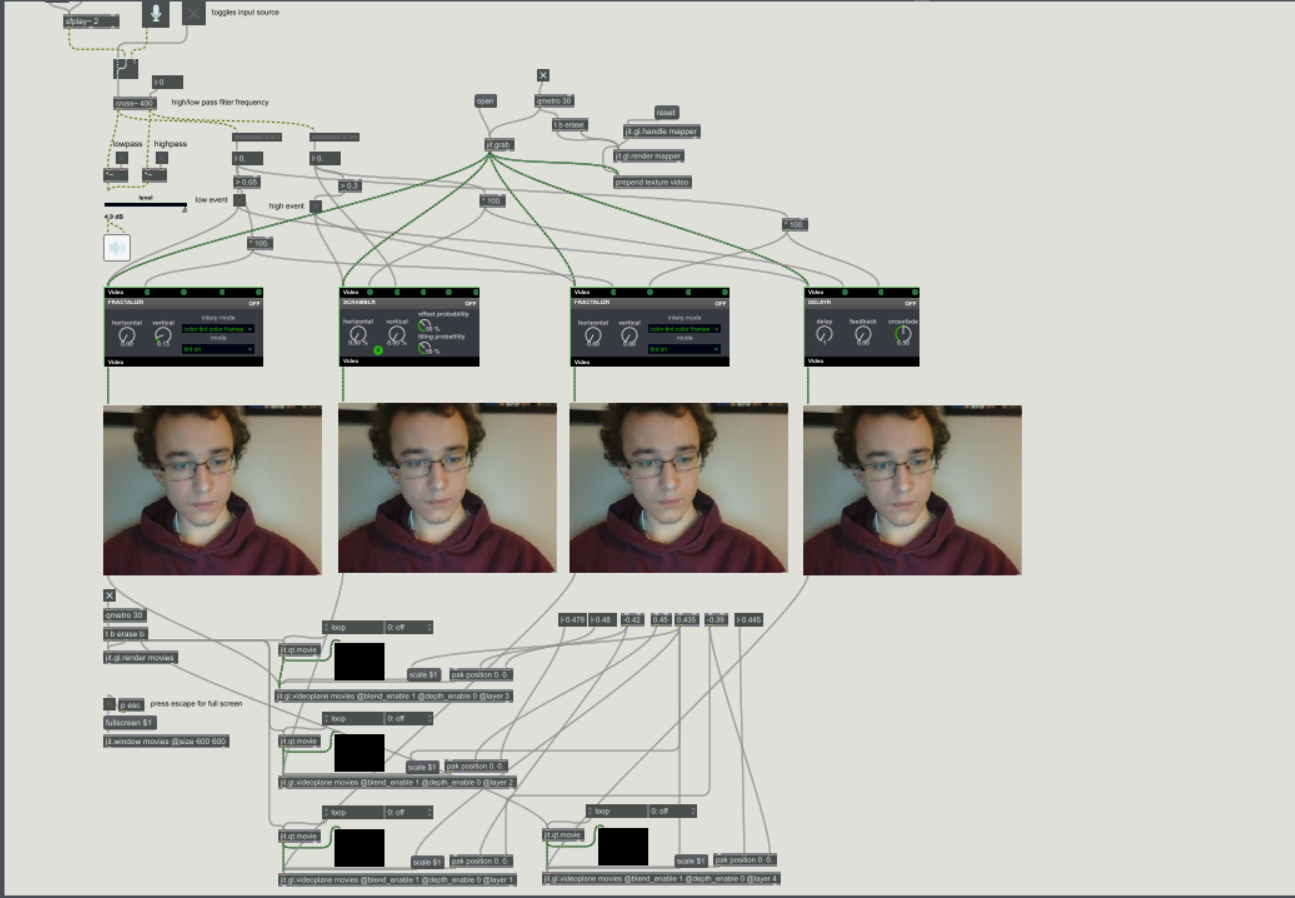
However, even if these programs greatly helped with the audio part, I wanted something different – so beatboxing! Those who know me, know that it is really difficult to get me to be quiet. This is the patch created with 3 different video perspectives of me beat boxing. The concept is rather simple actually – a high and low pass filter is used to split up the sounds. In various degrees, the effects are added to the clips.
After today’s class, I decided to add the canvas idea, hence all of the videos are now rendered in a separate window (as well as in the Max program itself). Here are some screenshots from the program below:
As well microphone input (which makes it cooler than the second method), you can specify an audio file in wav format to see the effects as well.